Deprecated: Accessing static trait property MatthiasWeb\RealMediaLibrary\Vendor\MatthiasWeb\Utils\Localization::$PACKAGE_INFO_BACKEND is deprecated, it should only be accessed on a class using the trait in /var/www/html/public_html/wp-content/plugins/real-media-library/vendor/devowl-wp/utils/src/PackageLocalization.php on line 37
I received the oven I dreamed of having, an outdoor wood-fired pizza oven. So I had to make homemade pizzas. I already have some pizza dough recipes for this, but I wanted to go one step further. There are many ways of making perfect pasta, but I’m a bit put off by temperature control. I find the relationship between the work required and the result obtained less interesting than with this version of “biga” dough, a method I share here. Despite the absence of temperature control, there are still times to respect. Here, the dough is made in two stages, with a very brief initial kneading followed by a day’s fermentation, then a little more work the next day with several flaps to be made. But the pizzas made with biga are absolutely divine! I’ll be posting recipes using this method very soon to show what they look like.
For 4 pizzas :
Day 1 :
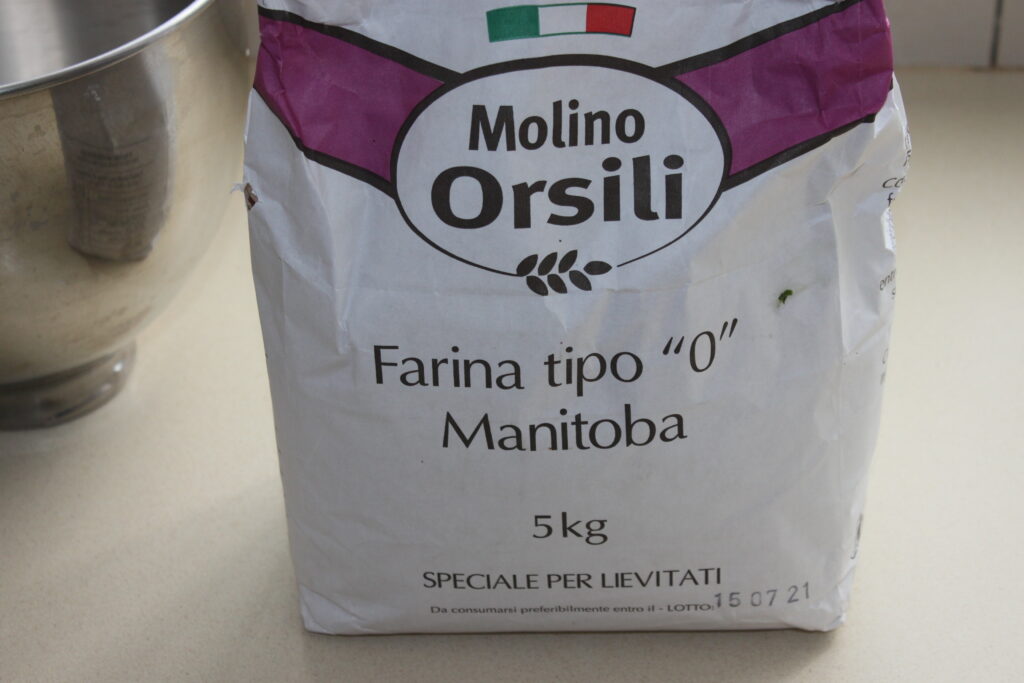
- 625g type “0” manitoba flour
- 280g cold water
- 3g fresh baker’s yeast (1.5g dried baker’s yeast)
Day 2 :
- 200g of water
- 15g salt
You can try this recipe with T55 or even T65 flour, which will produce a very good dough, but for the best results, it’s best to use Italian manitoba flour, which has a high gluten content and is very strong and resilient.
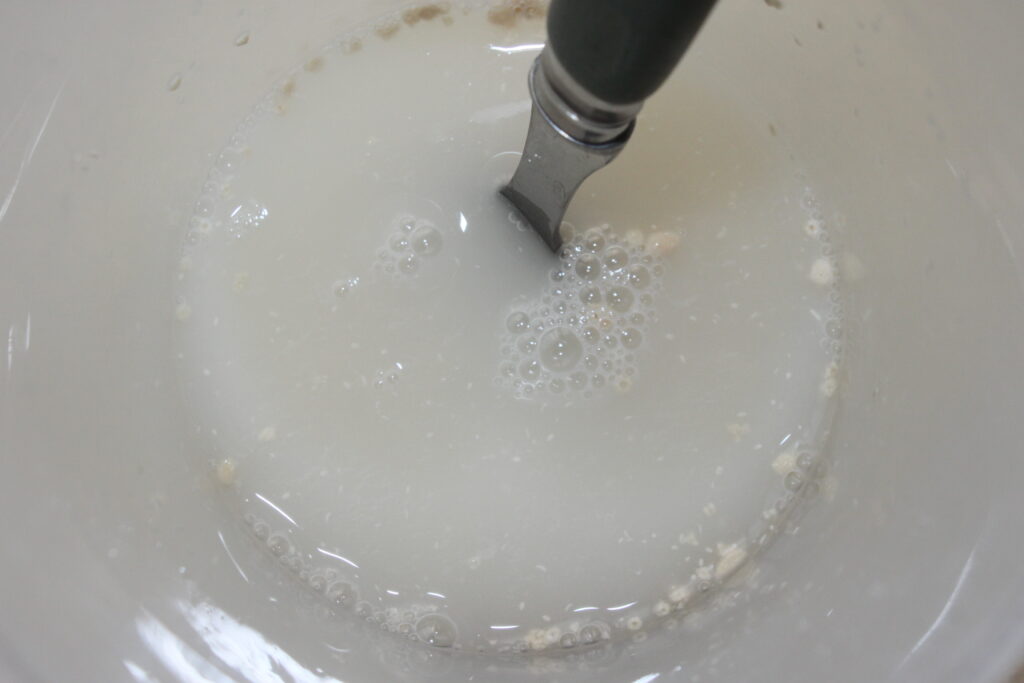
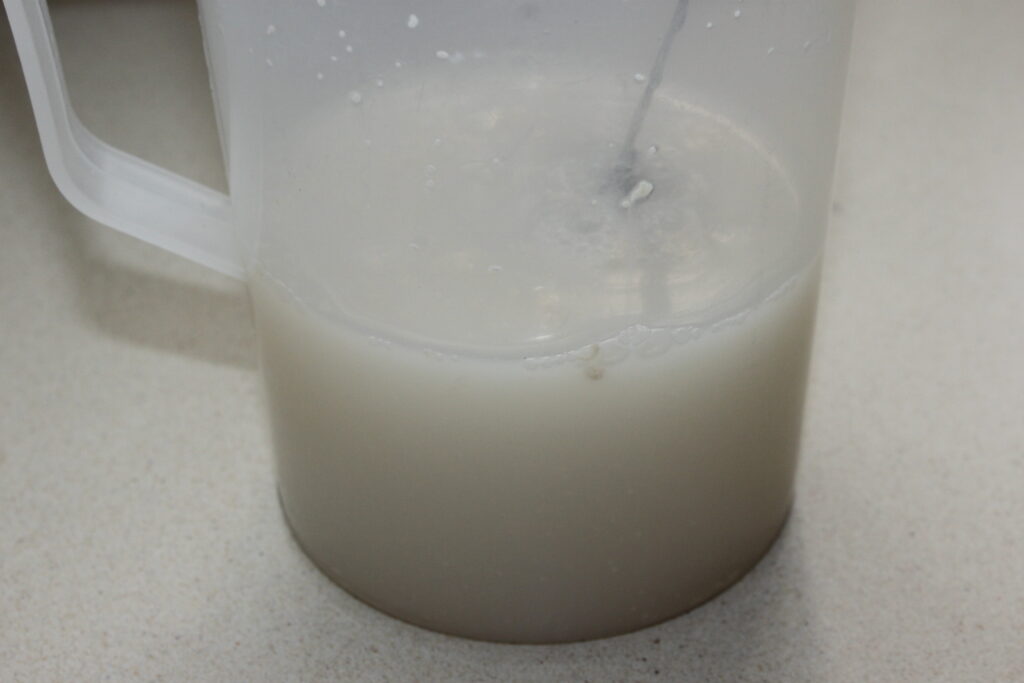
On Day 1, the day before your pizza meal, mix the water and yeast in a small bowl until the yeast has completely dissolved. Start the dough roughly 26 hours before making your meal. Around 10-11 a.m. for lunch the next day, or around 5-6 p.m. for dinner the next day.
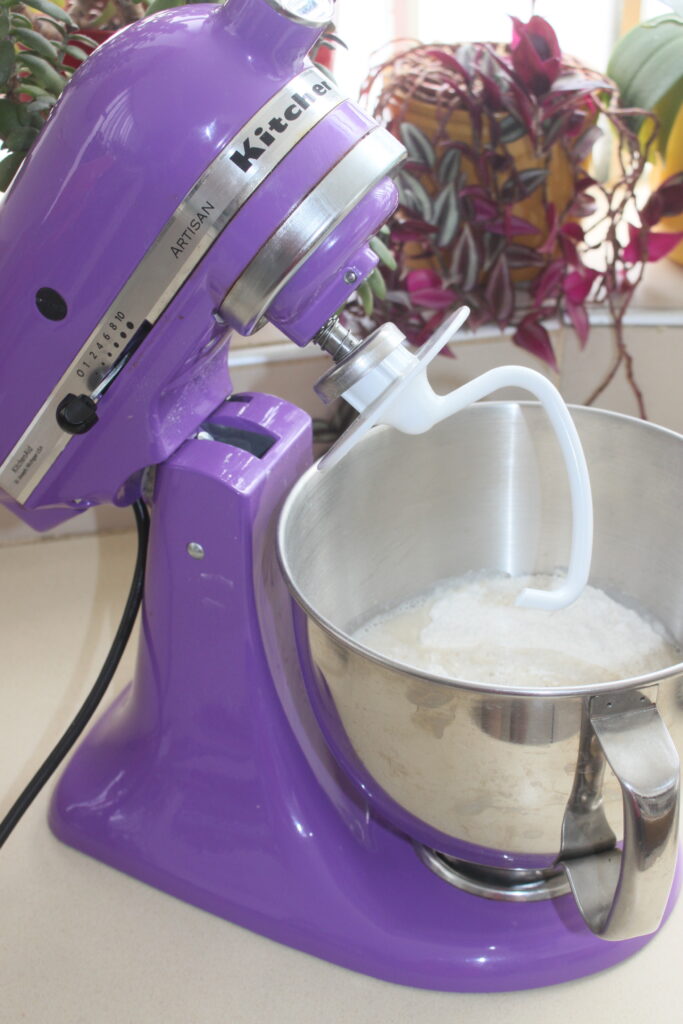
Pour all the flour into the bowl of your food processor.
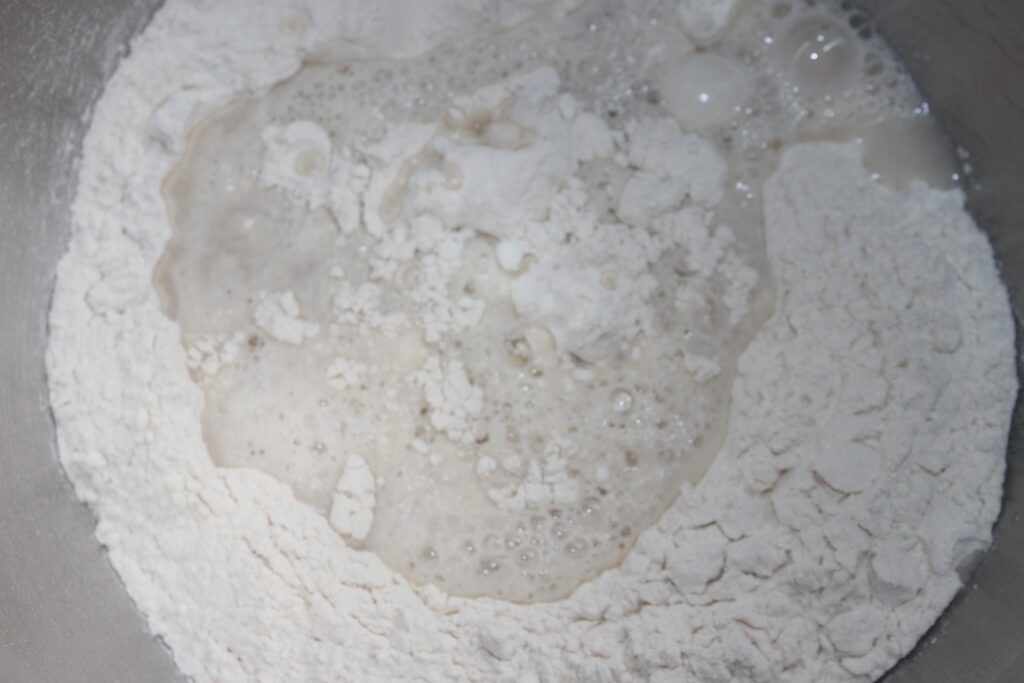
Mix with the dough hook.
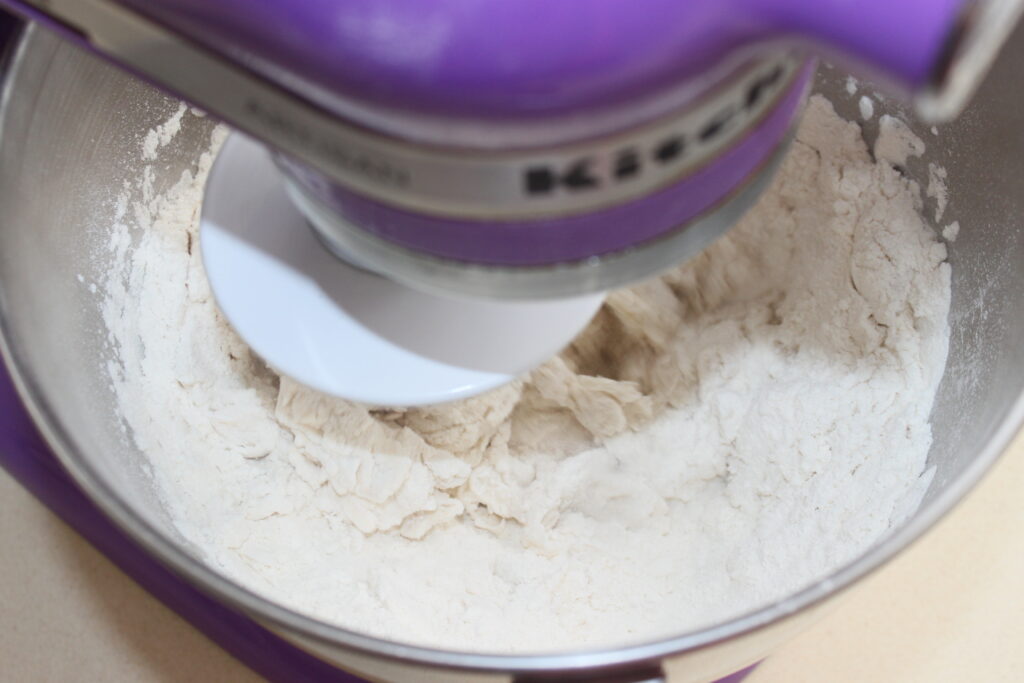
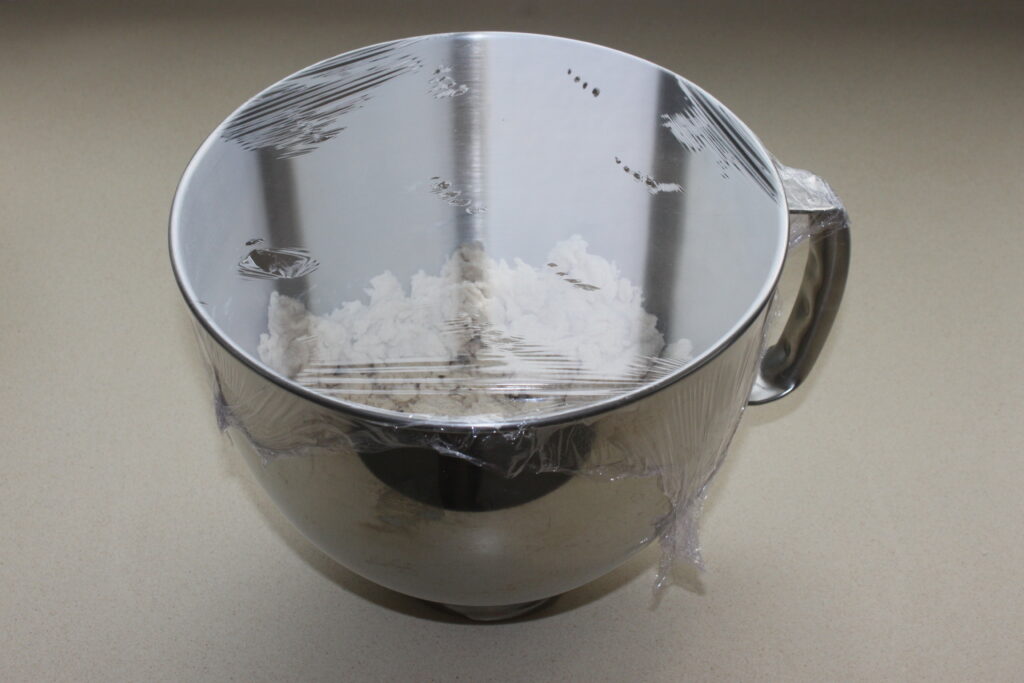
There’s very little water compared with the flour, so you’ll need just 1-2 minutes to mix the dough until it’s not homogeneous and chunky. just make sure there’s no flour in the bottom of the container. If worst comes to worst, mix by hand, bringing in the flour, then mix again briefly with the hook to obtain this texture.
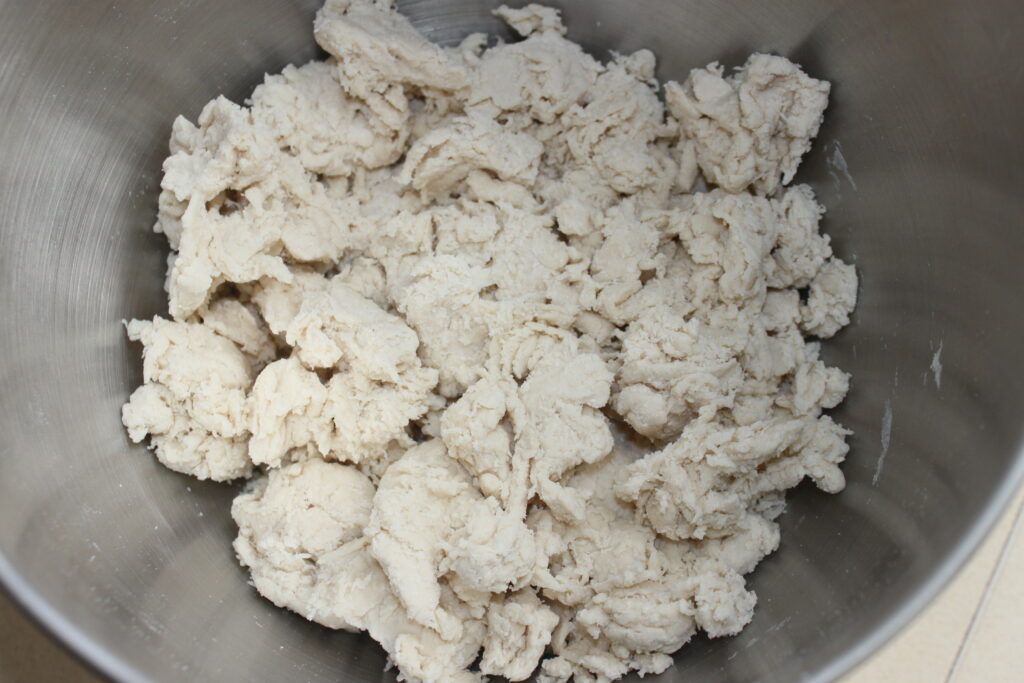
Put cling film over the bowl and poke small holes in it with a fork. Leave to stand at room temperature for 22 to 23 hours.
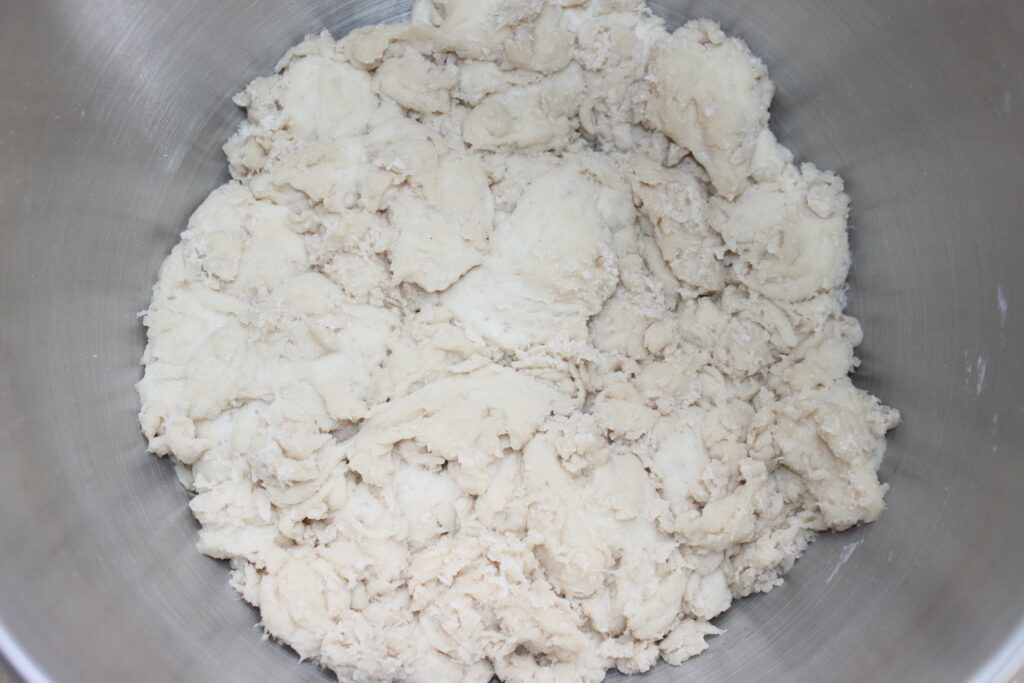
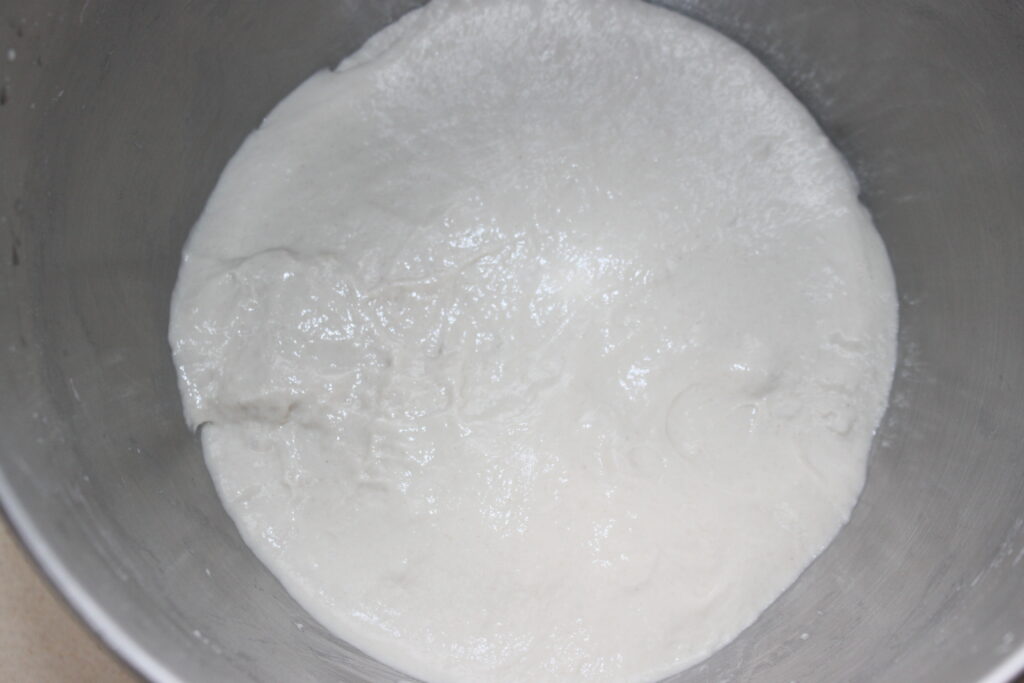
The next day, the pieces of dough changed heads a little. The dough has fermented and this will considerably change the taste and texture.
This time, add the same amount of water and salt as on Day 2.
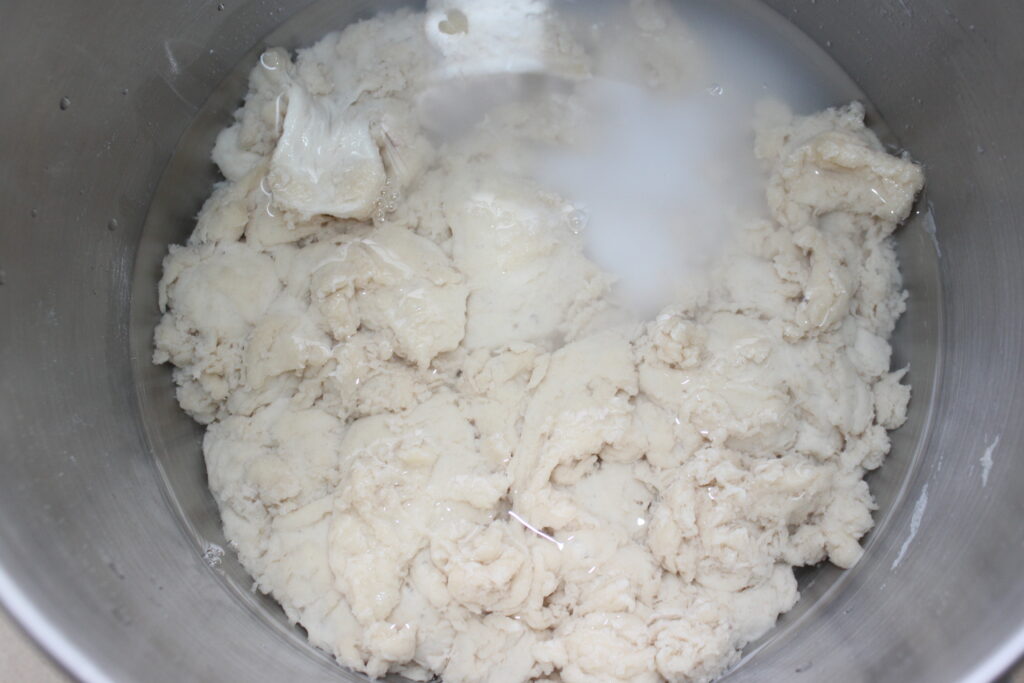
Stir gently (the water will want to come out at first).
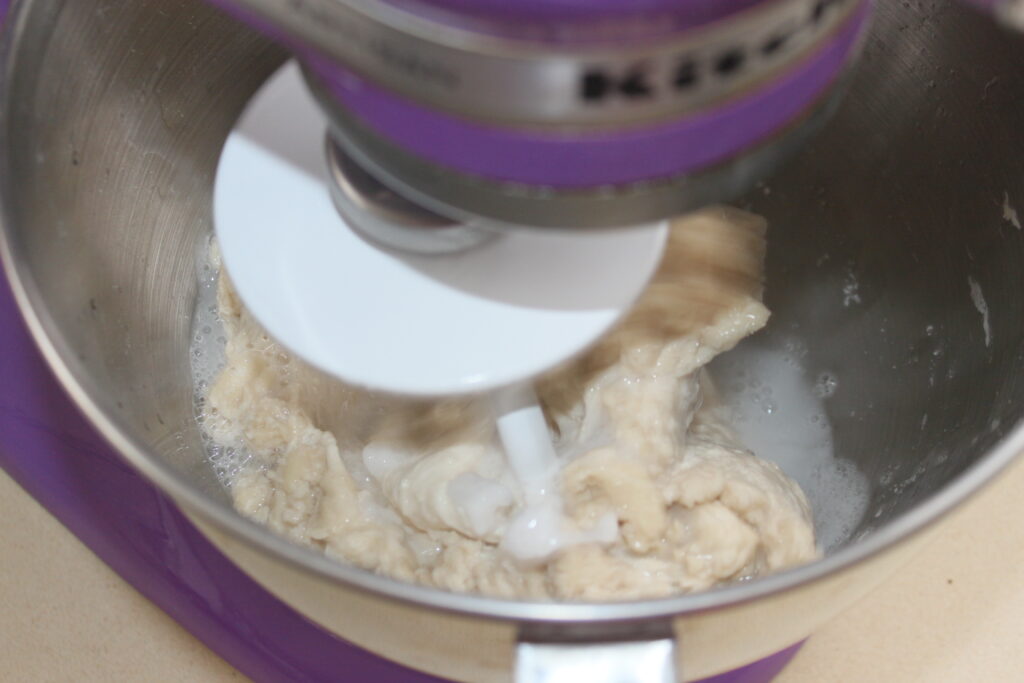
When the dough becomes more homogeneous, increase the speed and knead until the dough begins to lift from the inside of the bowl.
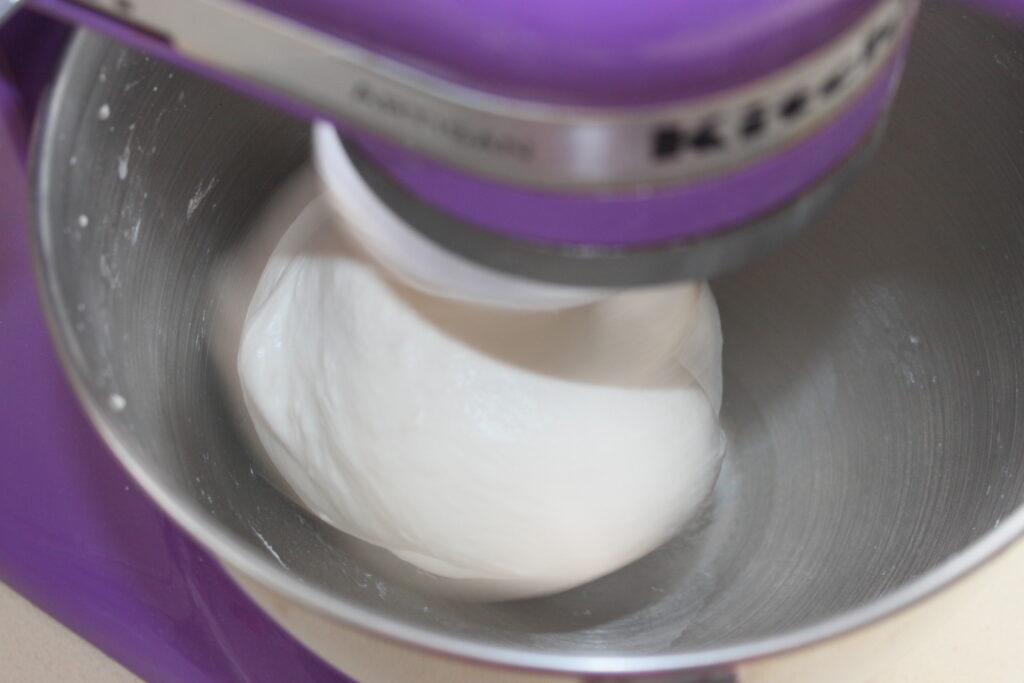
Bowl kneading is complete.
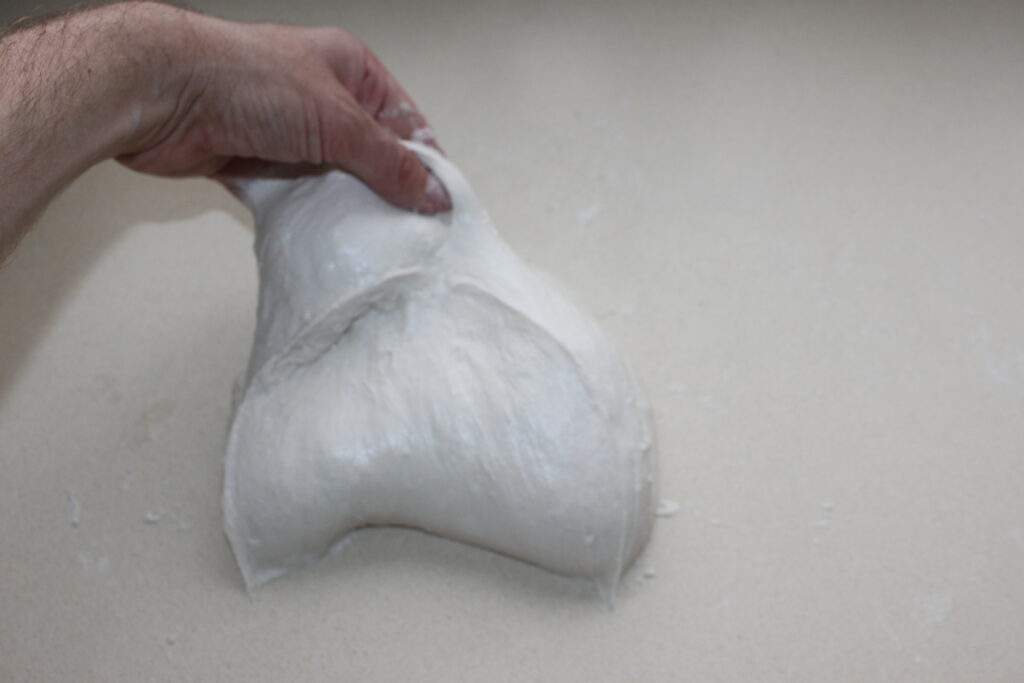
Pour the dough onto an unfloured work surface.
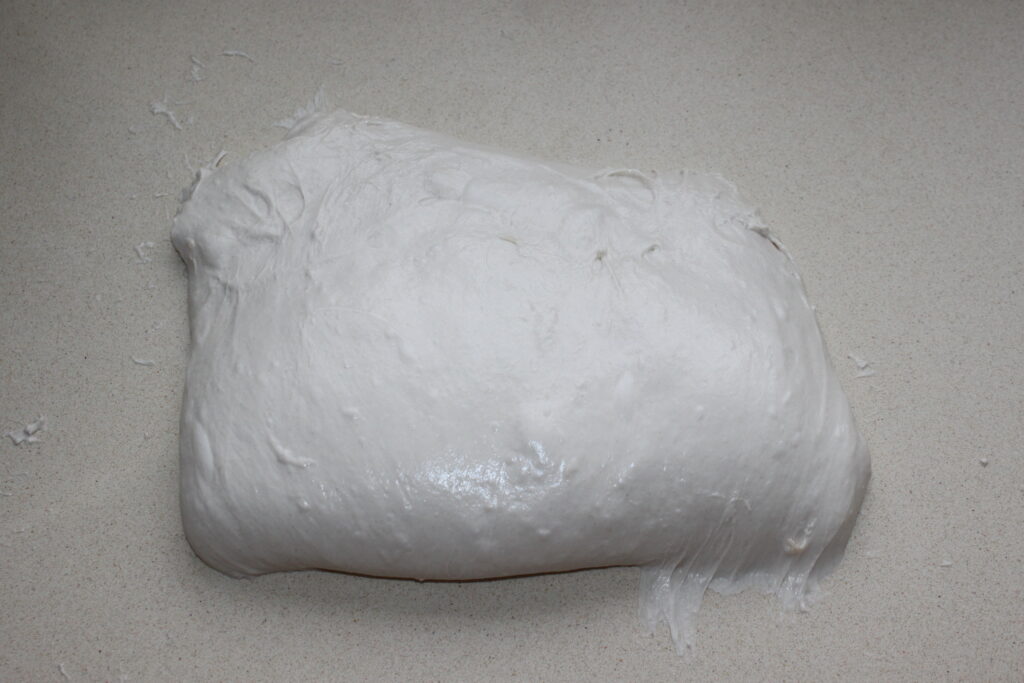
You’ll need to give it strength and elasticity, while trapping air in it by making flaps with your bare hands. This involves stretching the dough on the work surface, then folding it into the center, trapping air.
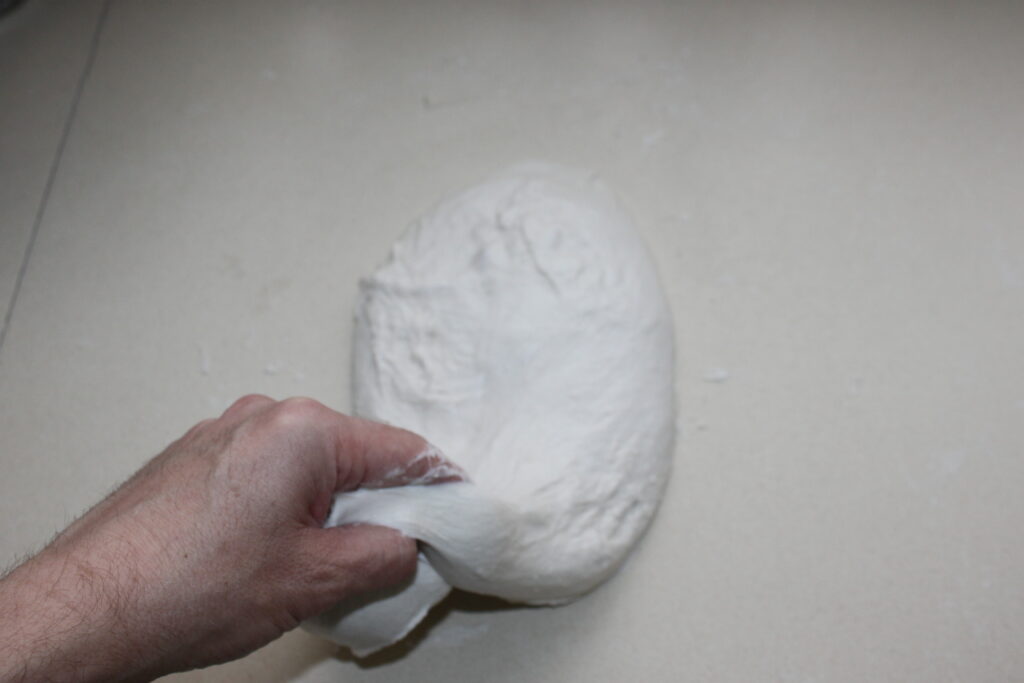
It’s not easy to take photos while making the flap! Do this 4-5 times in succession, then leave the dough to rest for 15 minutes. Do this step a total of three times, 15 minutes in between.
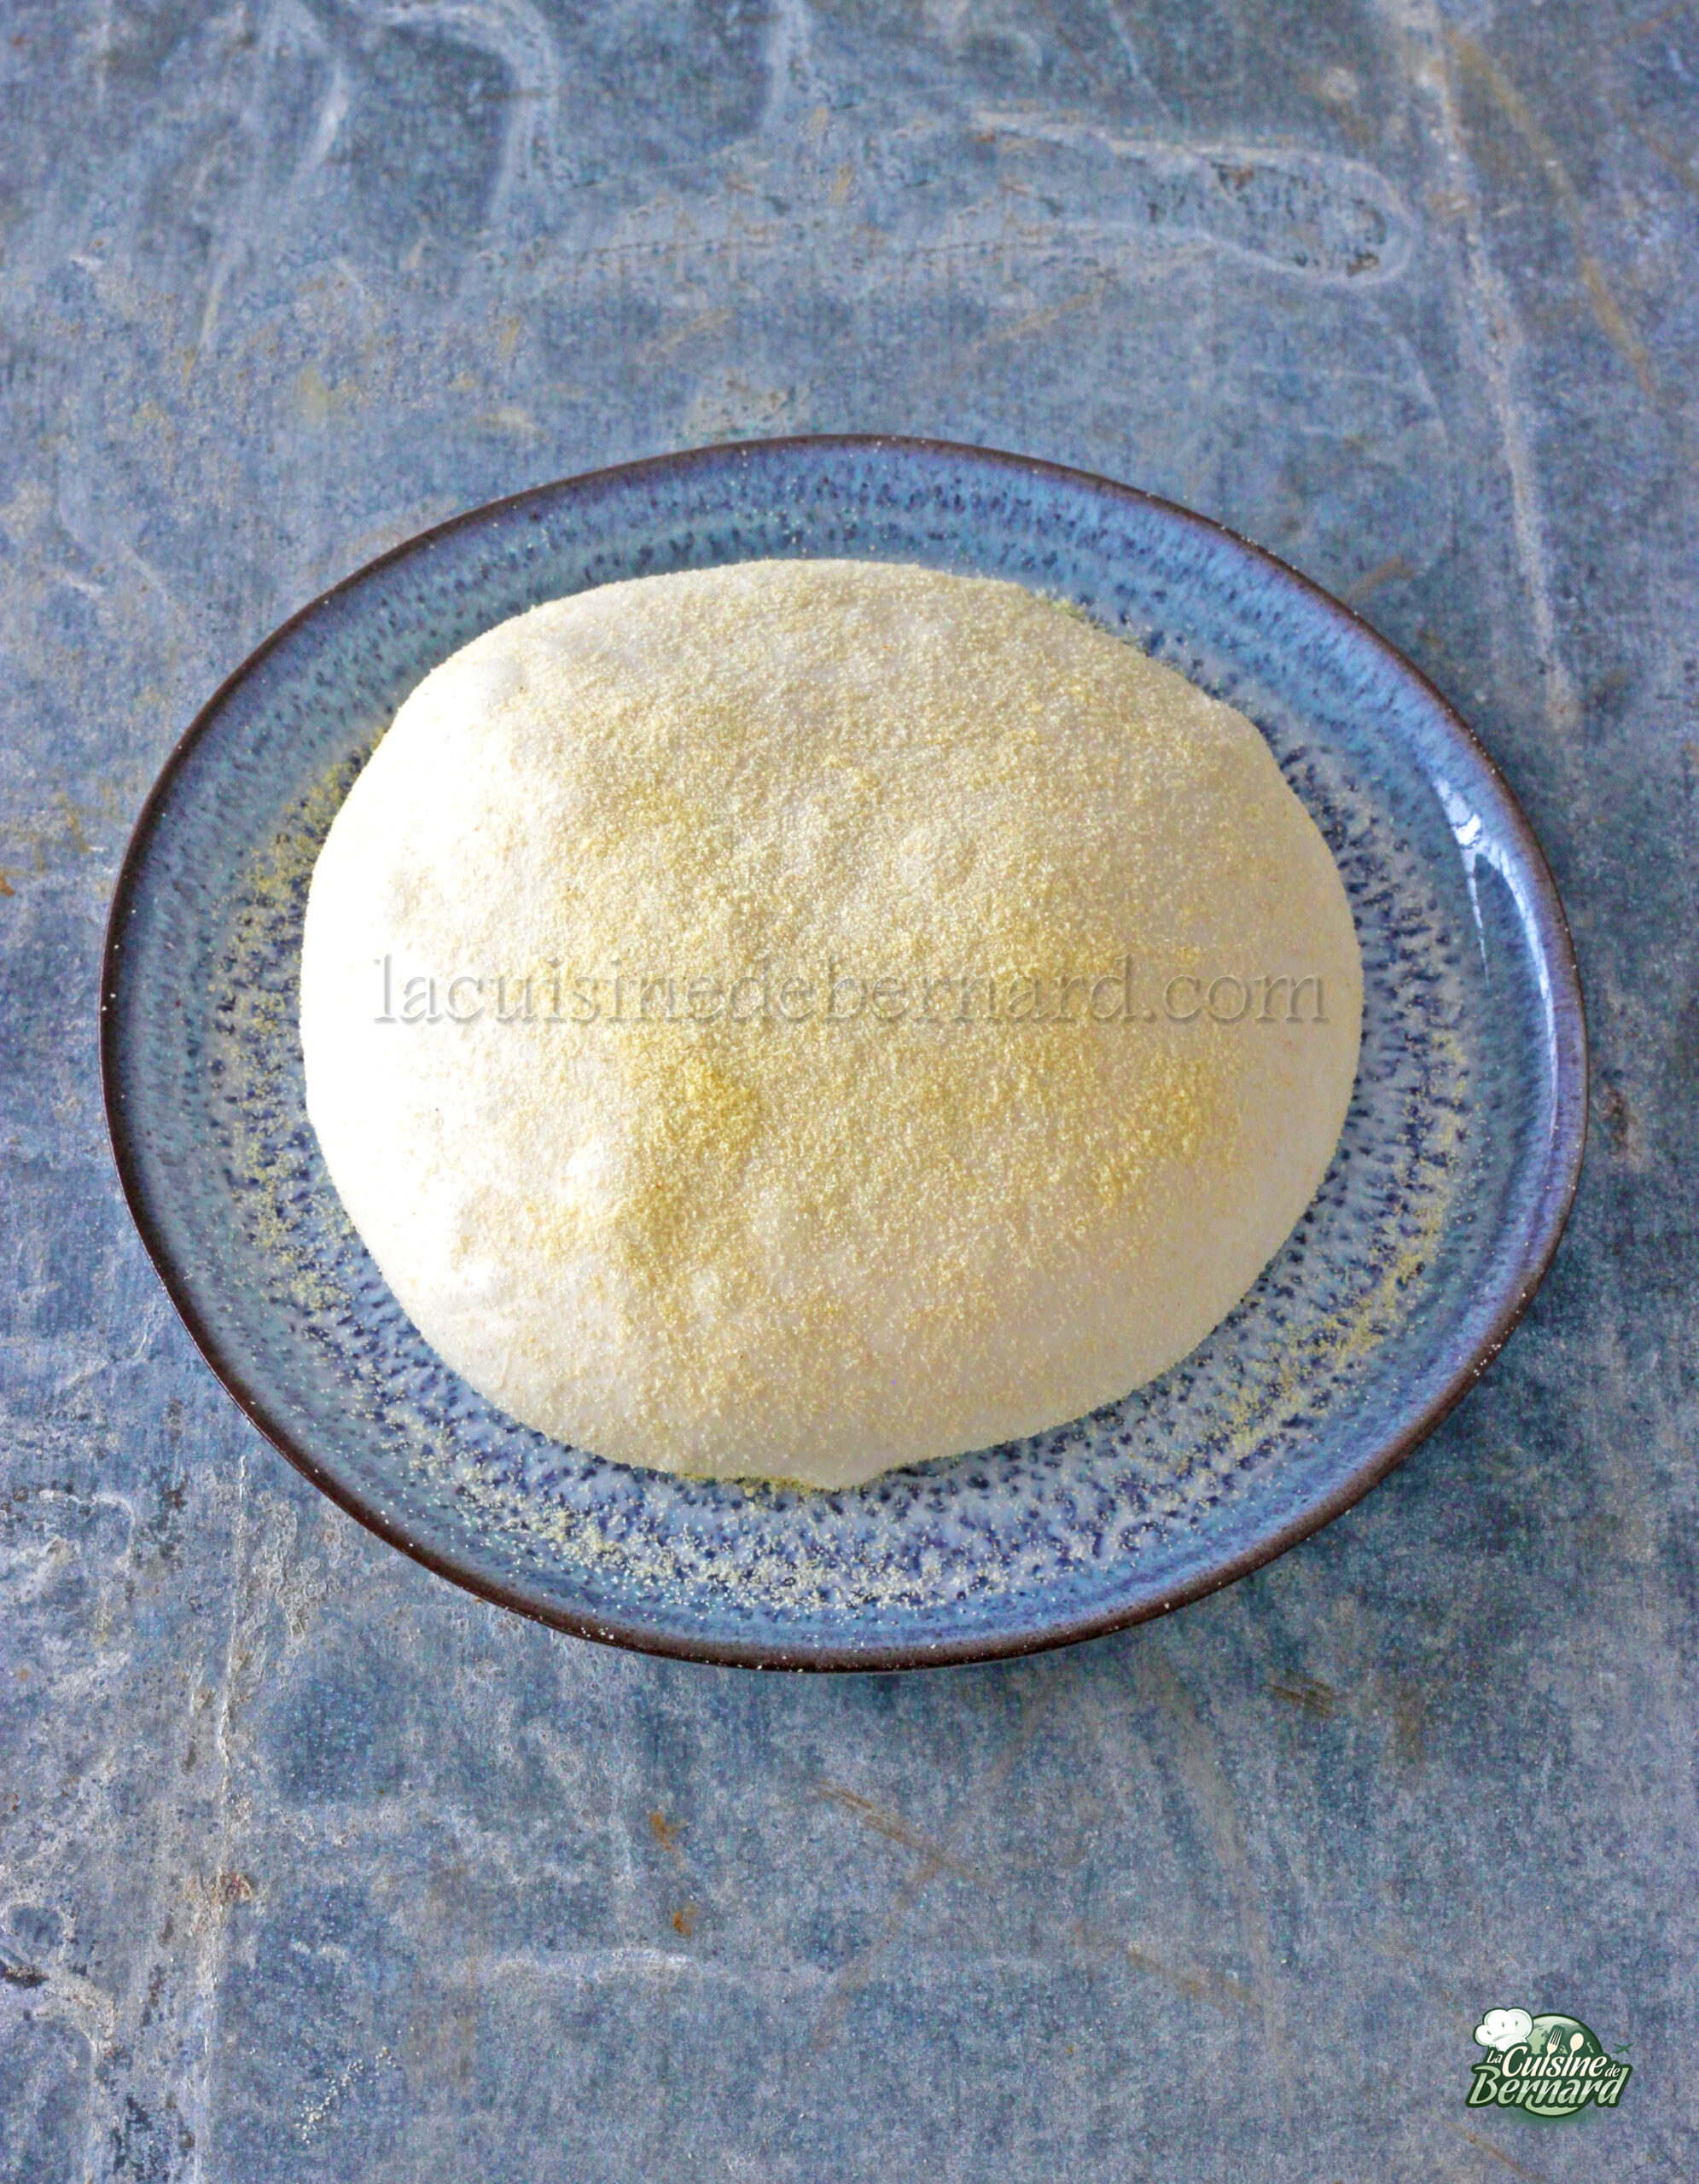
At the end of the 3 flap phases, this time let the dough rest for 1h30 by placing it back in the bowl, for example. Divide the dough into 4 equal-weight pieces.

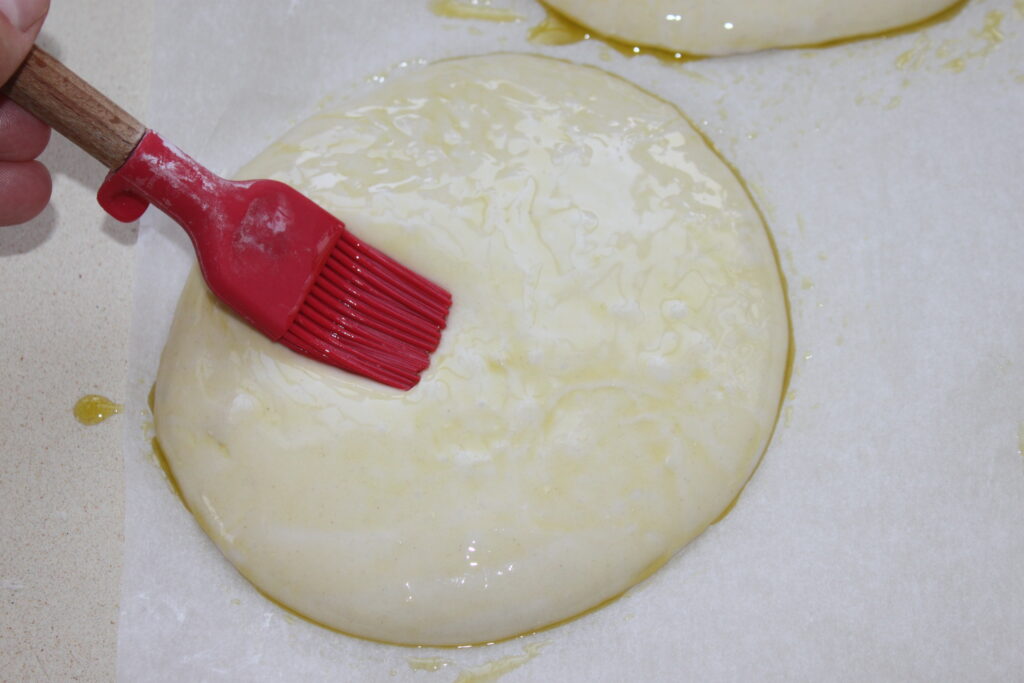
Change from photo: I don’t leave the dough on greaseproof paper, as the humidity will cause even the best paper to stick and tear. Leave the dough pieces directly on the work surface. Oil the dough pieces with olive oil to prevent them from crusting. This time, let the dough rise for 2 hours.
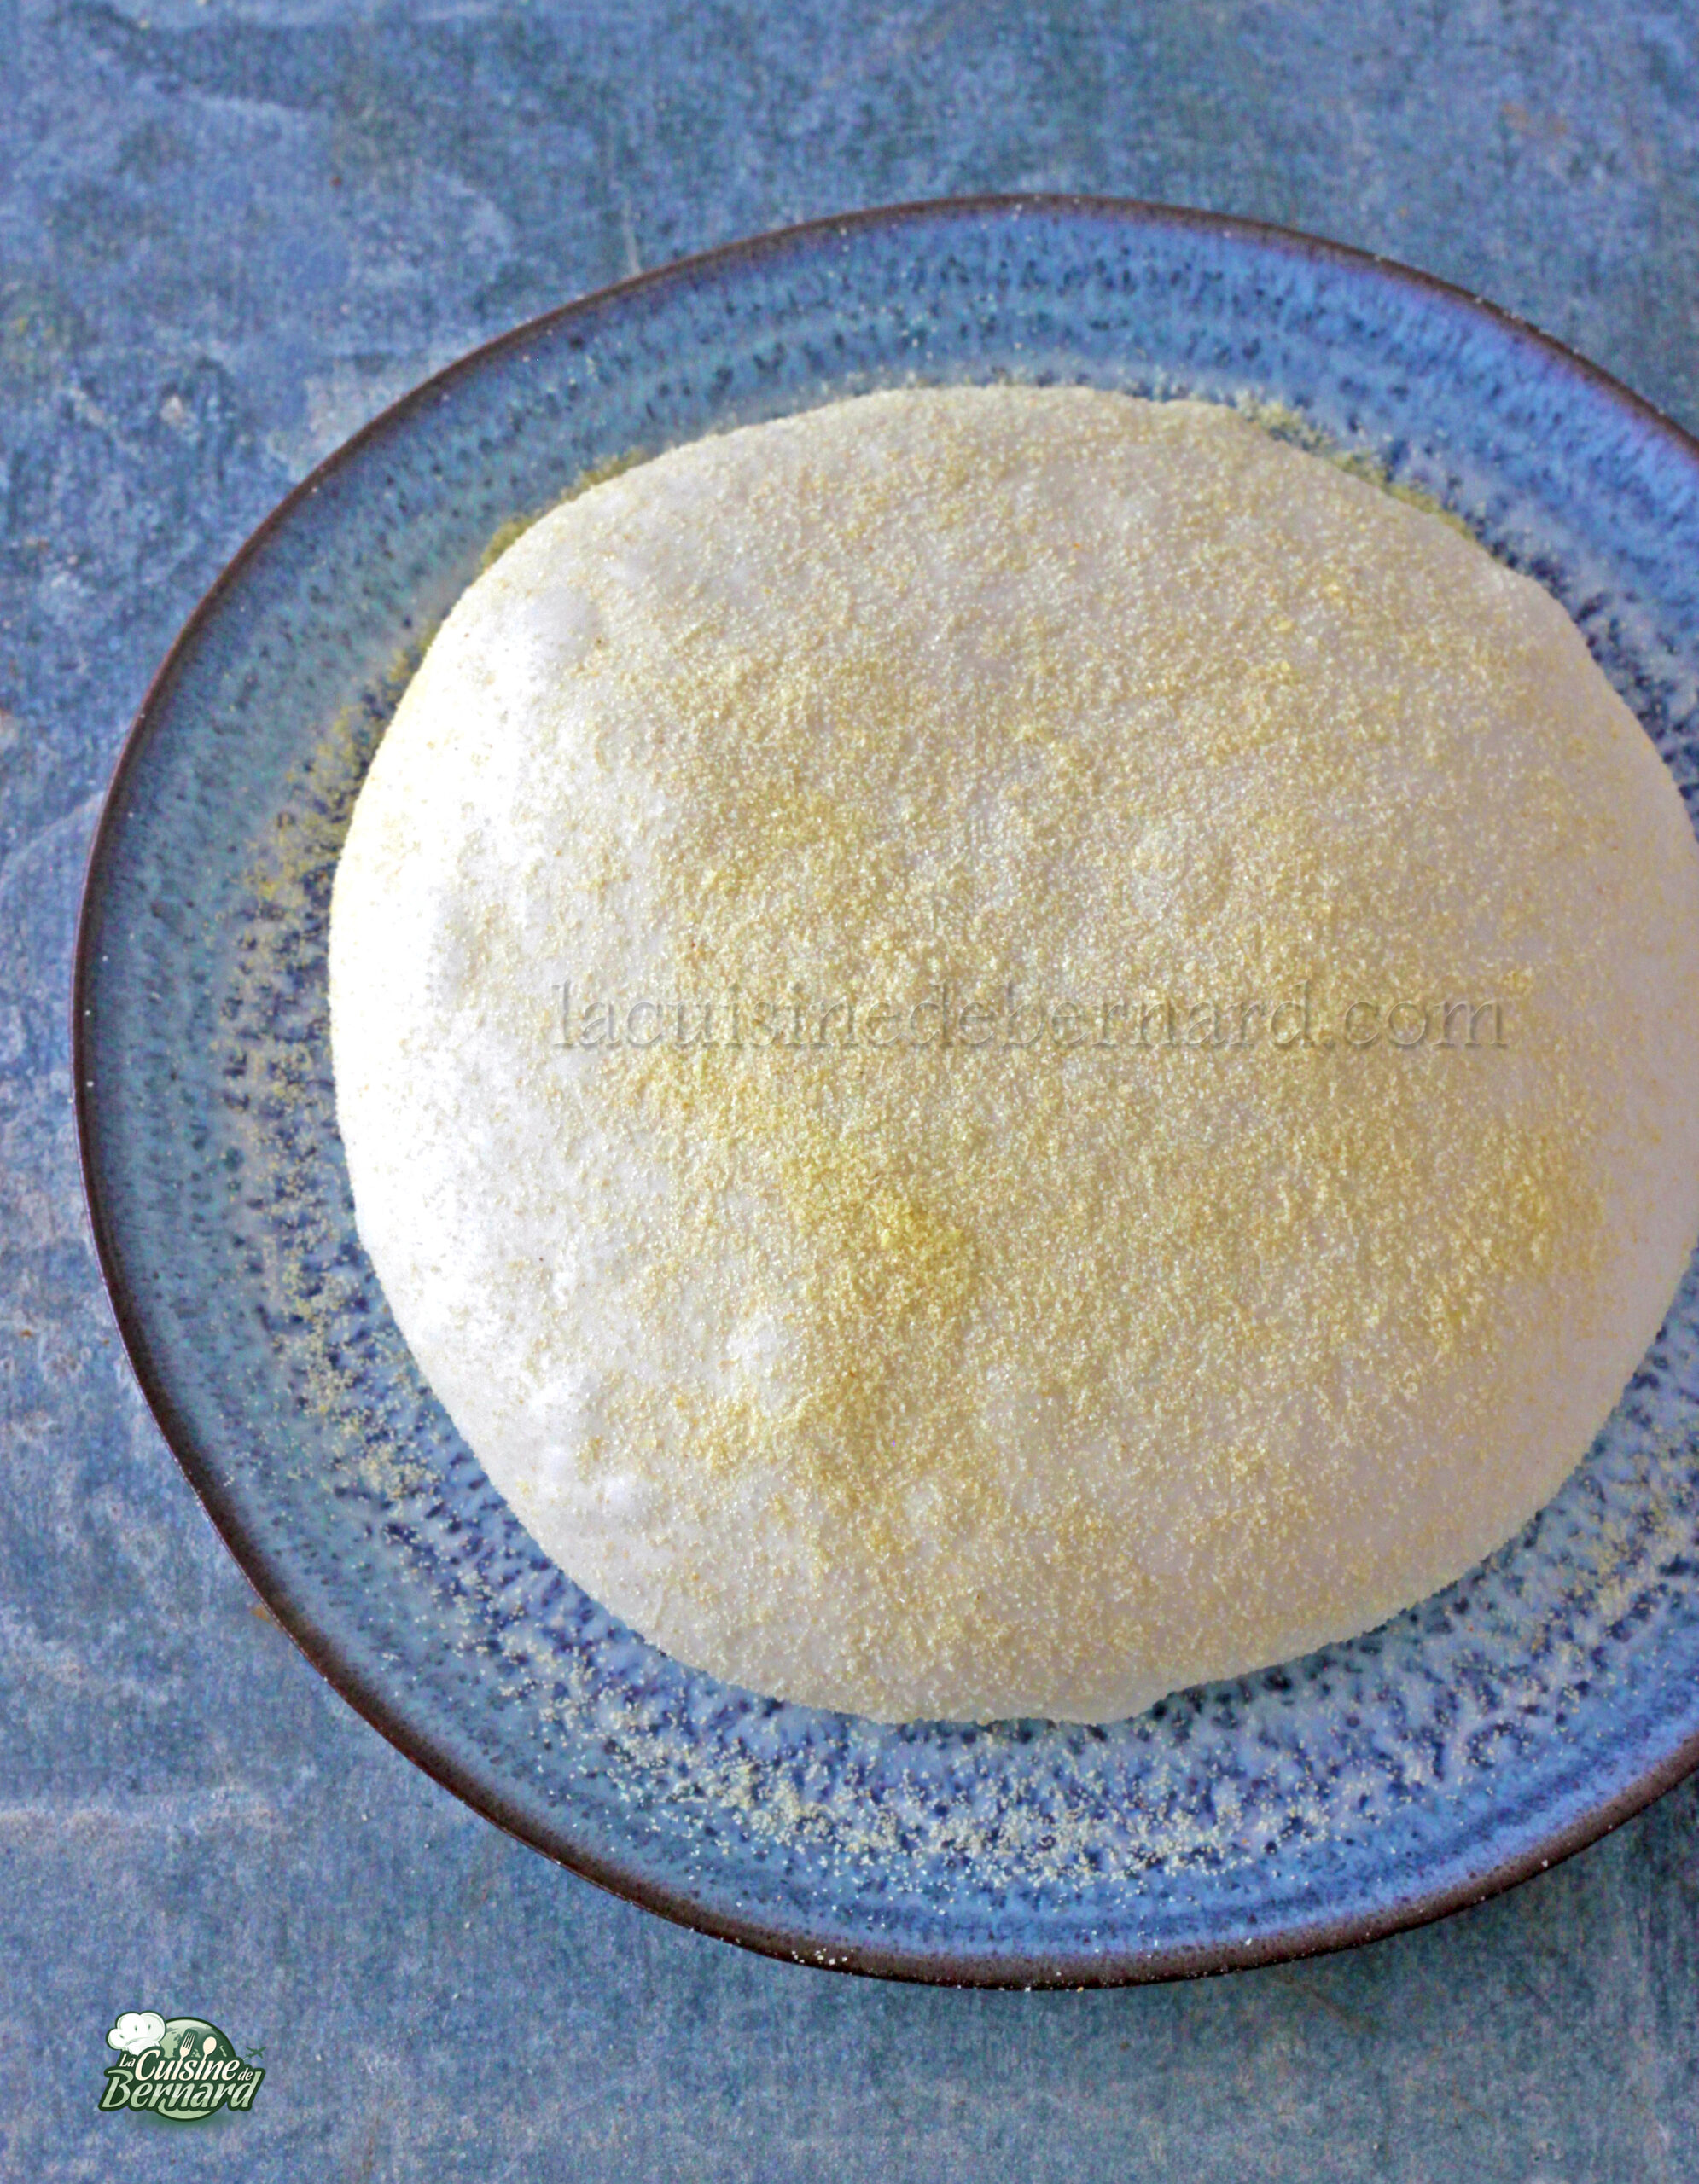
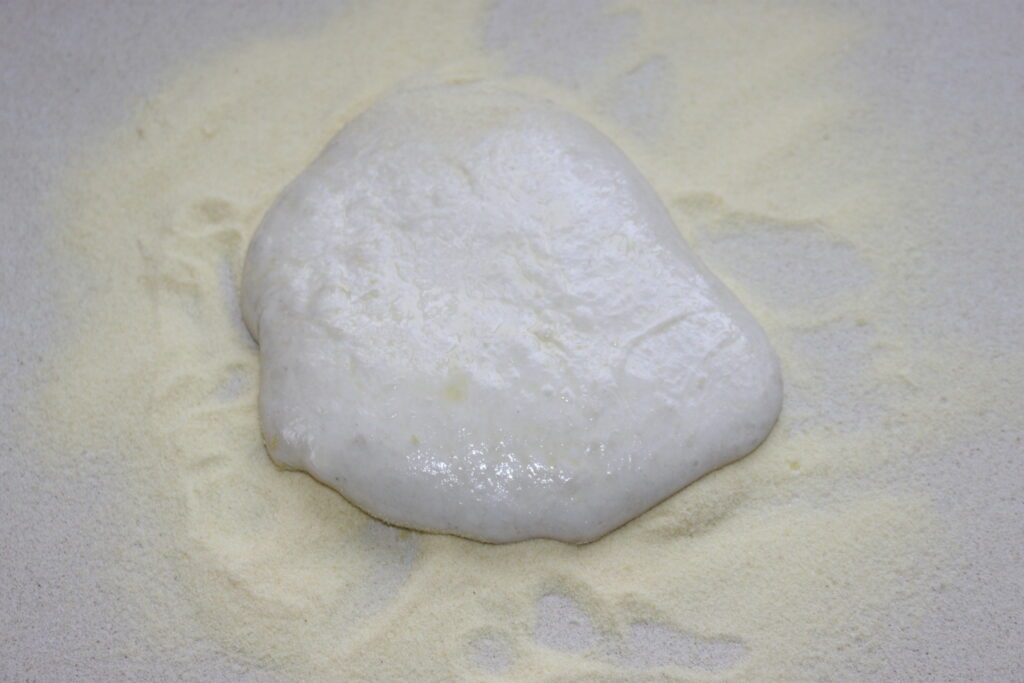
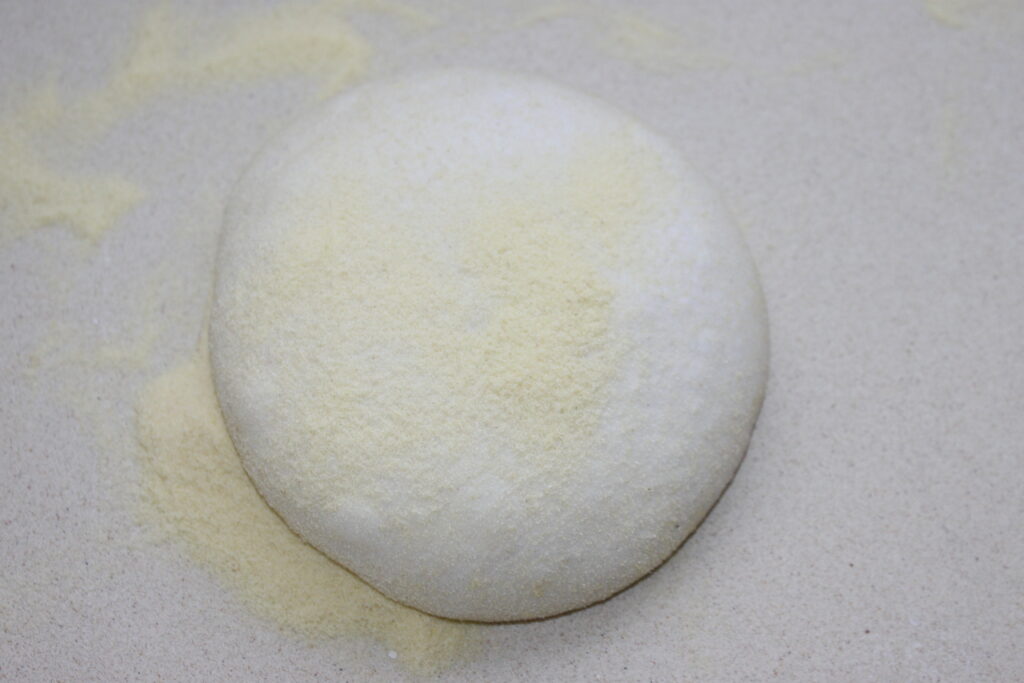
It’s finally good! If the dough sticks to the work surface, run a knife underneath. Take some fine semolina or flour and pour it onto the work surface. Place a dough piece on top.
Hand-roll the dough into a pizza shape, then proceed as usual.
Of course, I’ll quickly come up with a recipe!
Pâte biga pour pizza
Ingredients
Jour 1
- 625 g farine T"0" manitoba
- 280 g eau froide
- 3 g levure fraiche de boulanger
Instructions
- Vous pouvez tenter la recette avec de la T55 ou même T65, cela donnera une très bonne pâte, mais pour un résultat idéal, le mieux est de prendre la farine italienne manitoba, qui a un fort pouvoir de pousse et de résistance, grâce à son taux de gluten plus important.
- Le jour 1, la veille donc de votre repas pizza, mélangez l’eau et la levure dans un petit récipient jusqu’à ce que la levure soit totalement dissoute. Commencez la pâte en gros 26h avant de faire votre repas. Vers 10h-11h pour un repas le lendemain midi, ou vers 17h-18h pour un diner le lendemain.
- Versez la totalité dans la cuve de votre robot avec la farine.
- Mélangez avec le crochet à pâte.
- Il y a peu d’eau par rapport à la farine, vous allez donc mélanger très peu de temps (1-2 minute) jusqu’à avoir une pâte non homogène, en morceaux. il faut juste vérifier qu’il n’y ait pas de farine dans le fond du récipient. Au pire, mélangez à la main en ramenant la farine puis re-mélangez brièvement avec le crochet pour obtenir cette texture.
- Mettez un film étirable sur la cuve et percez-là de petits trous avec une fourchette. Laissez reposer à température ambiante pendant 22 à 23h.
- Le lendemain, les morceaux de pâte on changé un peu de tête. La pâte a fermenté et cela va considérablement changer le goût et la texture.
- Cette fois, ajoutez la quantité d’eau du jour 2 et le sel. Mélangez doucement (l’eau va vouloir sortir au début).
- Quand la pâte devient plus homogène, augmenter la vitesse puis pétrissez jusqu’à ce que la pâte commence à se décoller de la paroi interne de la cuve. Le pétrissage au bol est terminé.
- Versez la pâte sur un plan de travail non fariné. Elle est à ce stade assez collante.
- Il va falloir lui donner de la force et de l’élasticité, tout en lui emprisonnant de l’air en faisant des rabats à mains nues. Il s’agit d’un geste où l’on étire la pâte sur le pâte de travail, puis de la replier au centre en emprisonnant de l’air.
- Pas facile de prendre les photos tout en faisant le rabat ! Faites cela 4-5 fois de suite, puis laissez reposer la pâte 15 minutes. Faites cette étape trois fois au total avec 15 minutes entre chaque.
- Au bout des 3 phase de rabats, laissez cette fois la pâte reposer 1h30 en le remettant dans la cuve par exemple. Divisez ensuite la pâte en 4 pâtons de poids égal.
- Modification par rapport à la photo : je ne laisse pas la pâte ur un papier sulfurisé, car l’humidité va faire que même le meilleur papier va coller à la fin et se déchirer. Laissez donc les pâtons directement sur le plan de travail. Huilez avec de l’huile d’olive les pâtons pour éviter qu’ils ne croûtent. Laissez cette fois pousser la pâte 2h.
- C’est enfin bon ! Si la pâte colle sur le plan de travail, passez un couteau par en dessous. Prenez de la semoule fine ou de la farine et versez-en sur le plan de travail. Posez-y un pâton.
- Étalez la pâte à la main en pizza puis procédez comme habituellement.
Nutrition
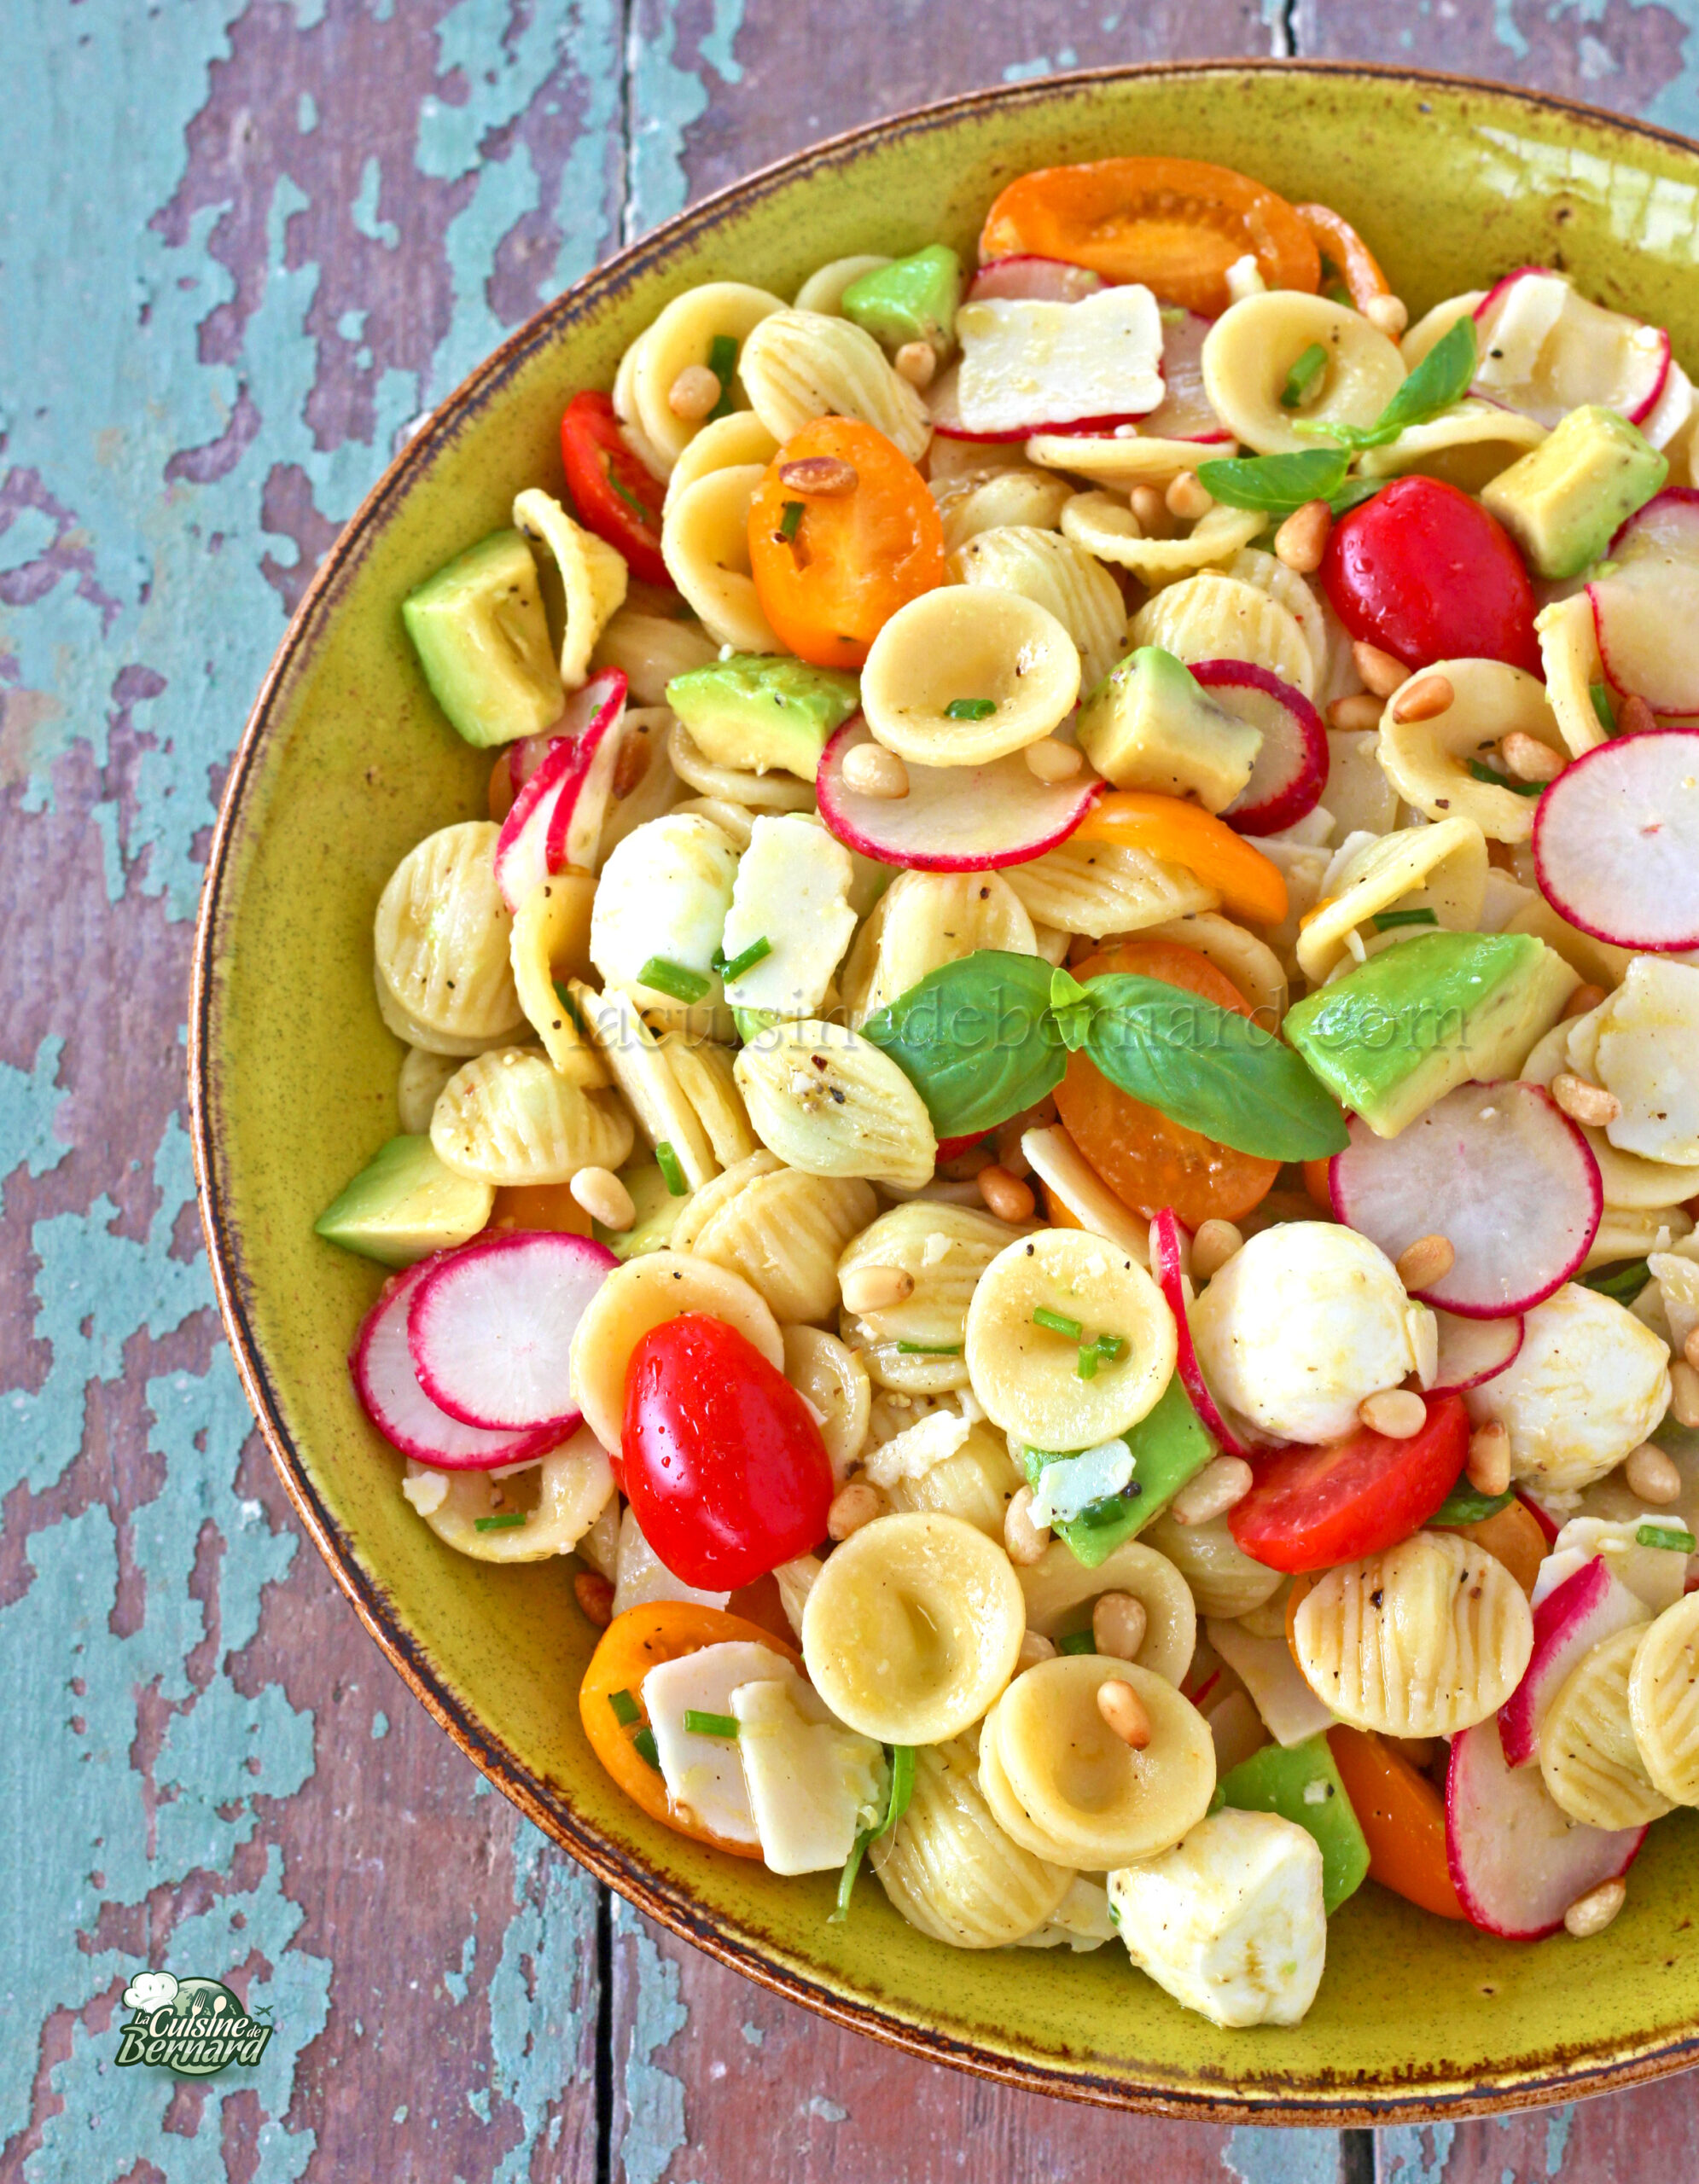
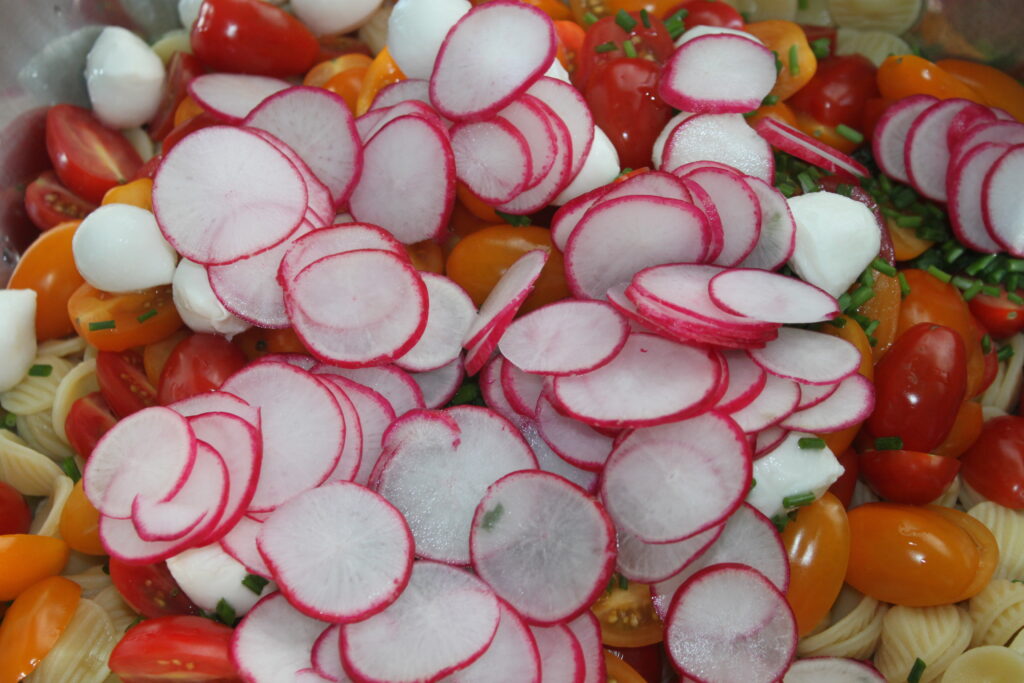
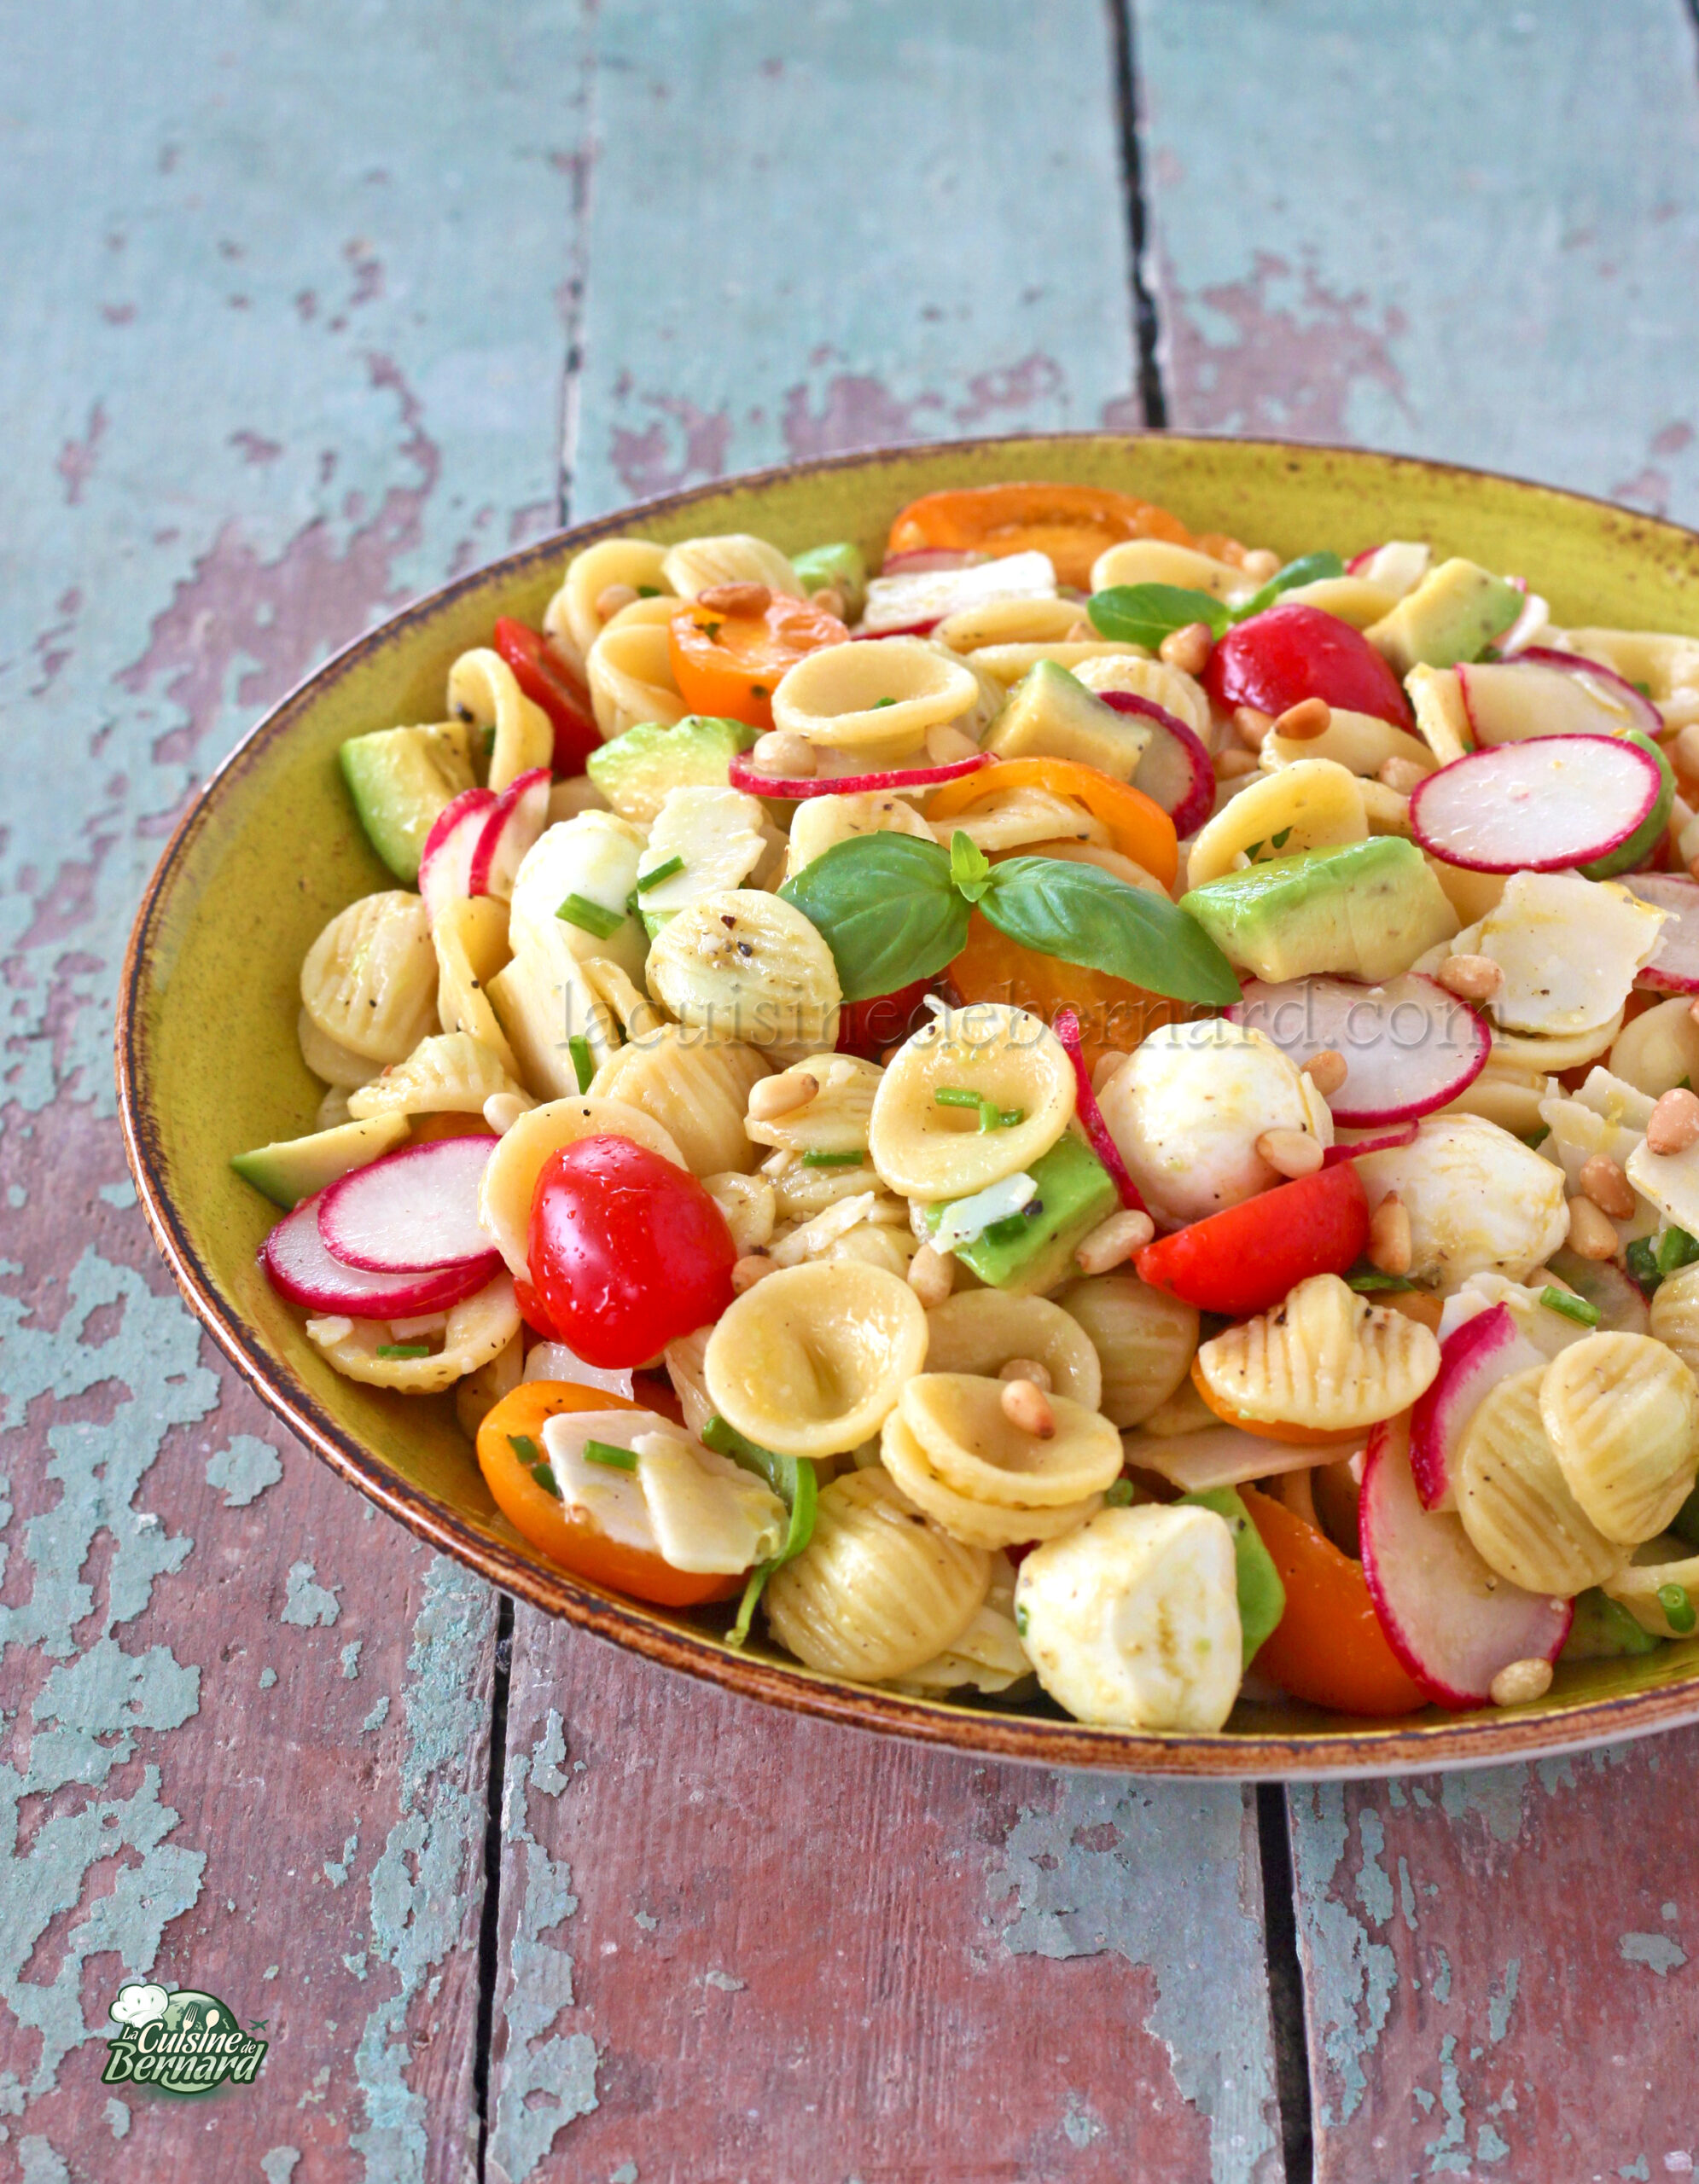
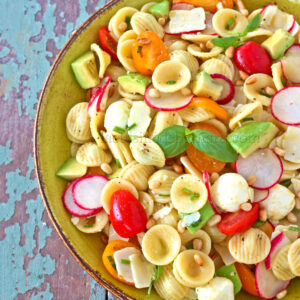
A fresh, easy, colourful and delicious summer salad! A pasta salad always has a place on the table for a simple summer meal. Nothing revolutionary here, but I’d like to suggest this recipe, which delighted me for a lovely evening with friends. The seasoning is simply olive oil, lemon zest and juice. A sure-fire hit with your guests!
Recipe serves 8 :
- 500g pasta (I used orecchiette here)
- 500g of cherry tomatoes
- 1 bunch radishes
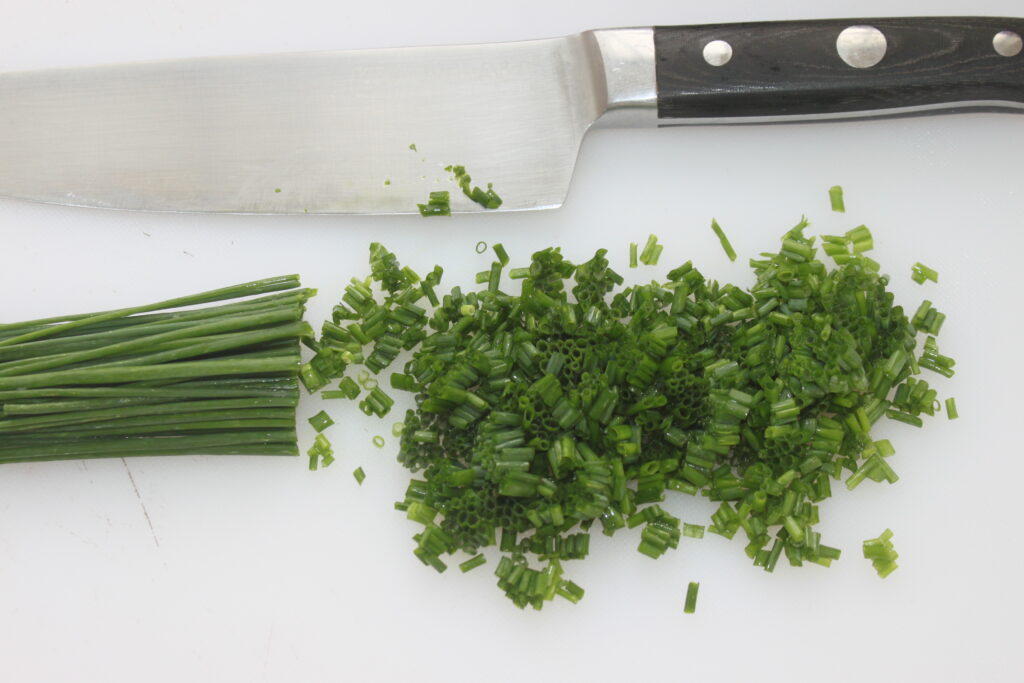
- 1 bunch of chives
- a few sprigs of basil
- 250g mozzarella
- 50g Parmesan cheese shavings
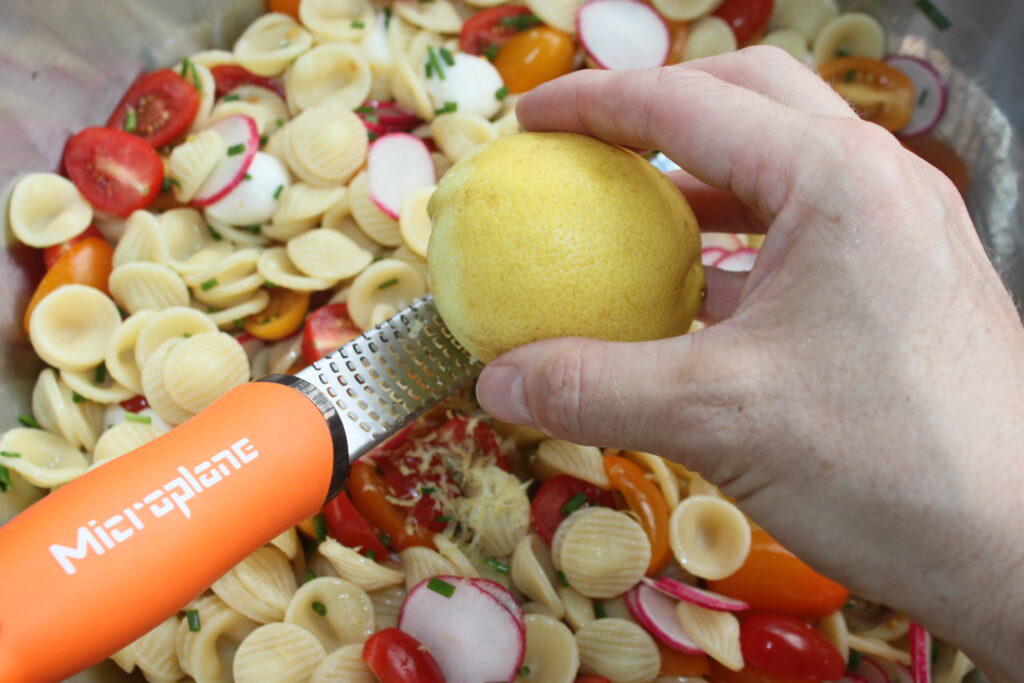
- zest of 2 untreated lemons
- 6 tablespoons olive oil
- juice of one lemon
- 2 lawyers
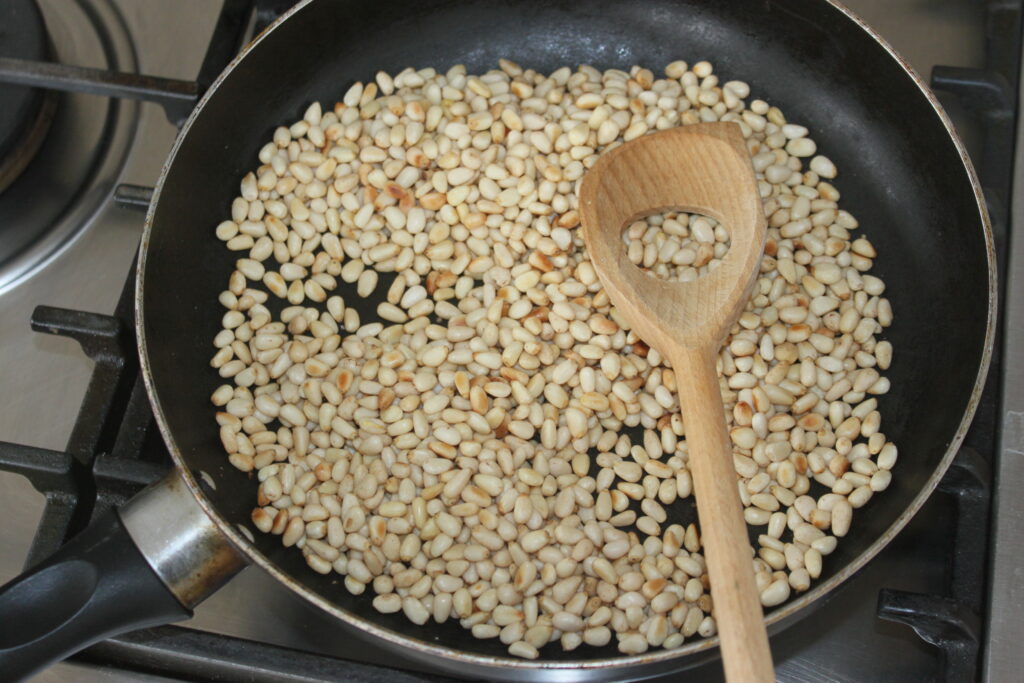
- 70g pine nuts
- salt pepper
Cook your pasta for the time indicated on the packet to get it “al dente”. Cool in cold water, then drain well.

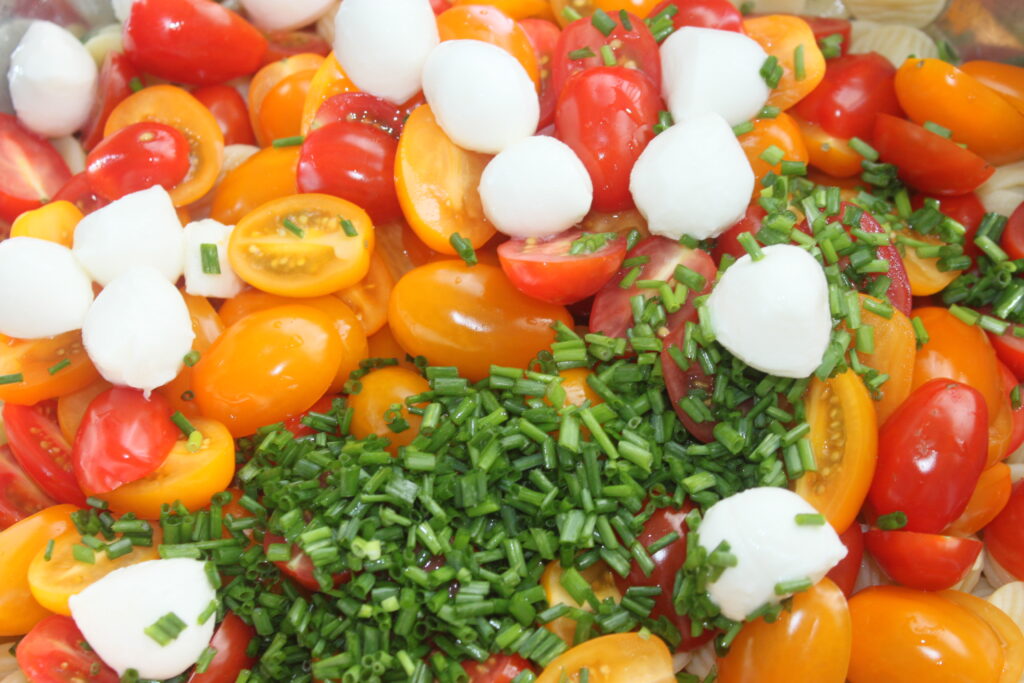
Wash and halve the cherry tomatoes. Place in a large container.
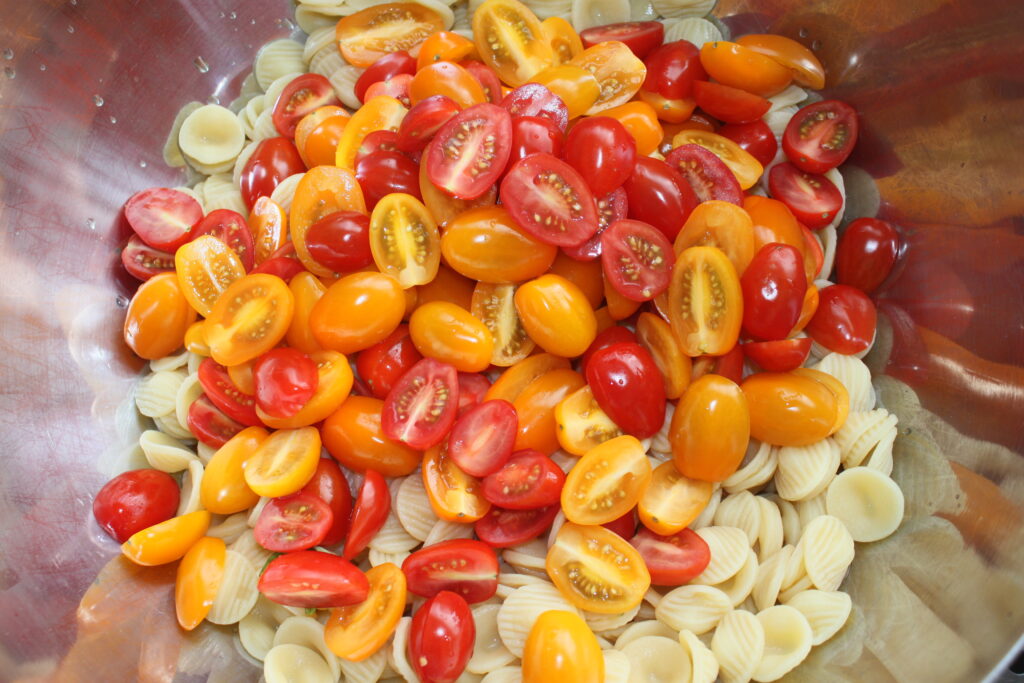
Finely chop the bunch of chives.
Put it in the dish with the mozzarella (either small balls, or take a large mozzarella and cut it into pieces).
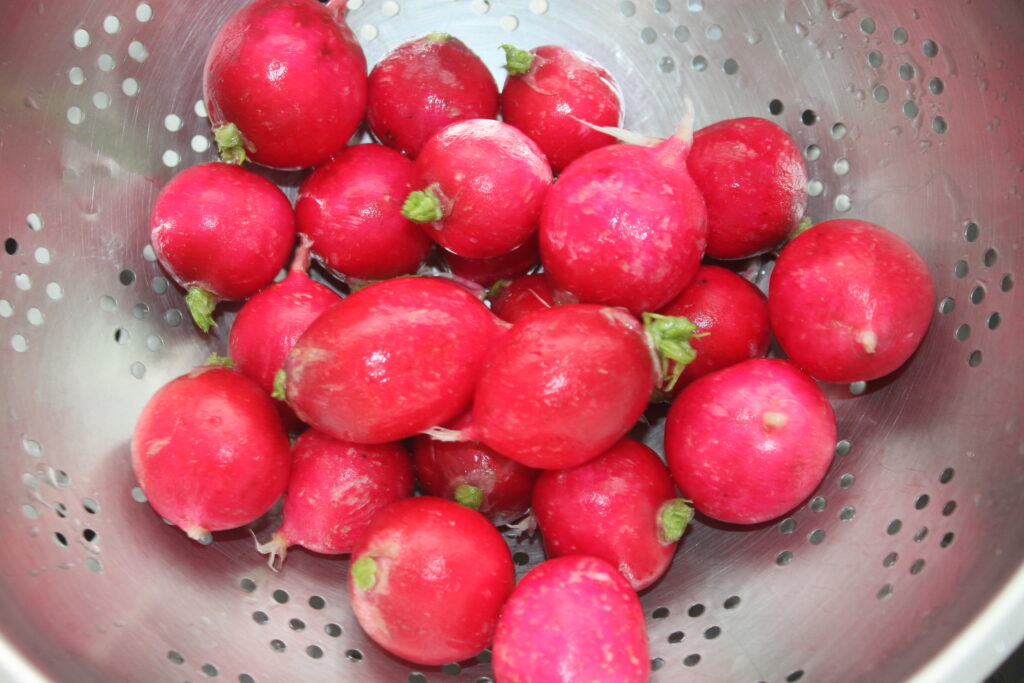
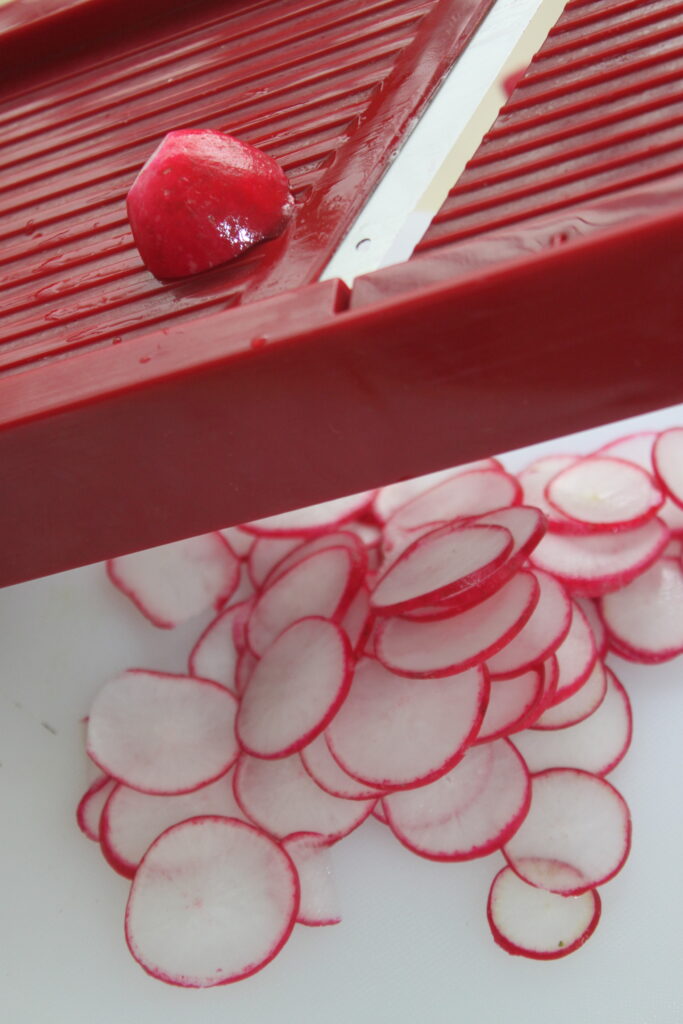
Wash the radishes, remove the stalks and cut into thin slices. I took my mandolin with me. But with a knife, it works just as well.
Put them in the dish.
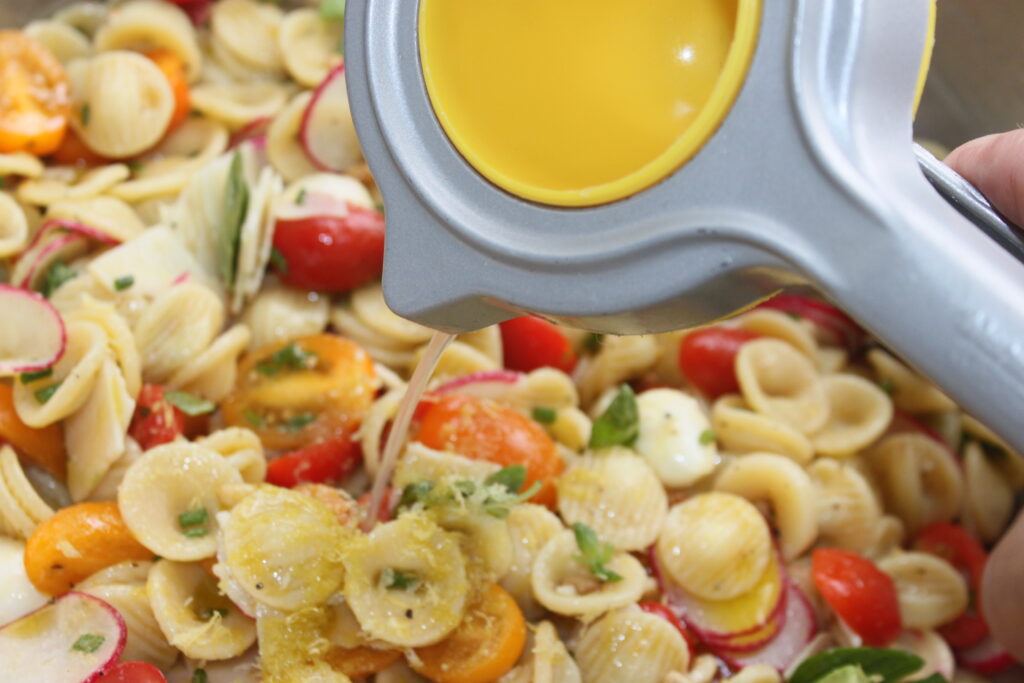
Add the finely grated zest of two untreated lemons.
Toast the pine nuts in a frying pan.
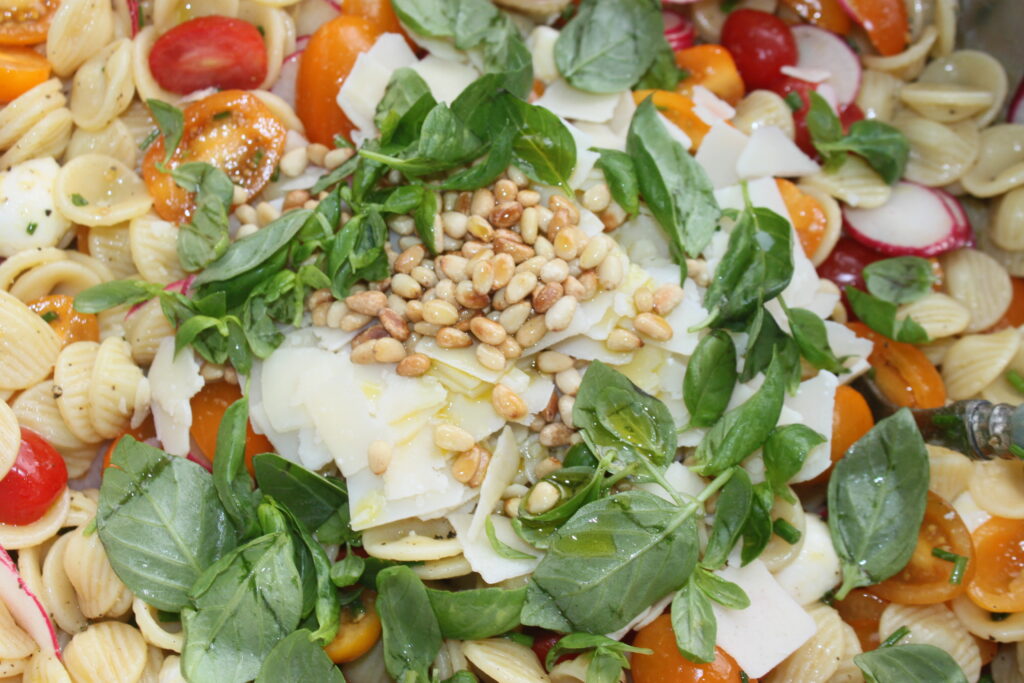
Add the basil and Parmesan shavings.
Peel and chop the avocados.
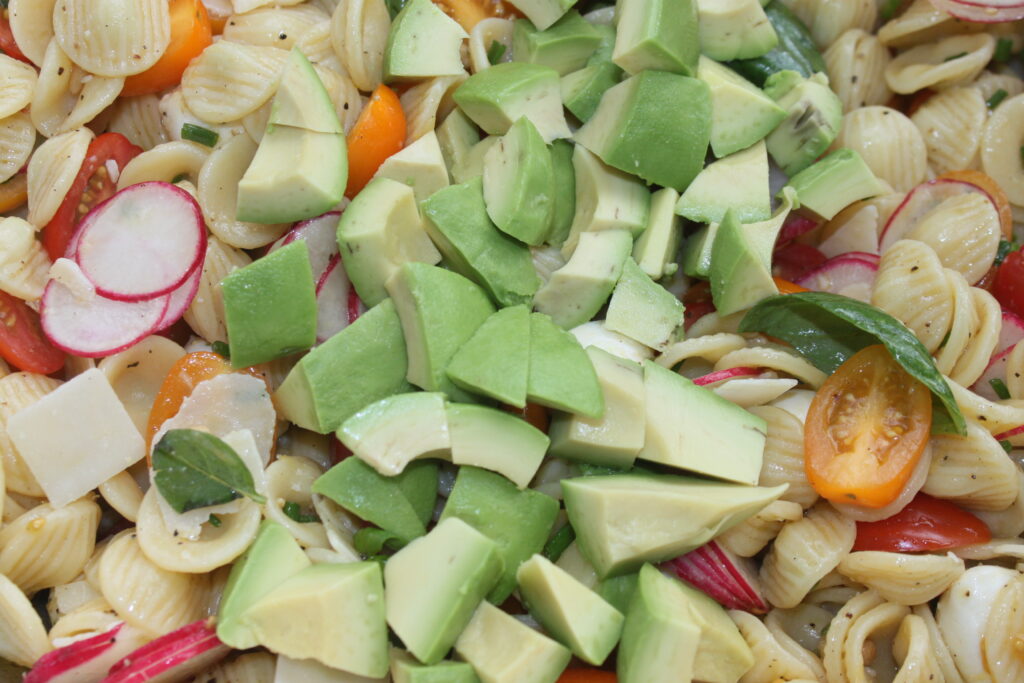
Add the lemon juice and olive oil.
Season to taste with salt and pepper, then stir before chilling for a good hour before serving.
Salade fraîche de pâtes avocats et zeste de citron
Ingredients
- 500 g pâtes
- 500 g tomates cerises
- 200 g radis
- 1 bouquet ciboulette
- 5 branches basilic
- 250 g mozzarella
- 50 g parmesan en copeaux
- 2 zestes citron non traités
- 6 c. à soupe huile d'olive
- 3 c. à soupe jus de citron
- 2 avocats
- 70 g pignons de pin
- sel, poivre
Instructions
- Faites cuire vos pâtes le temps indiqué sur le paquet pour les avoir « al dente ». Faites-les refroidir à l’eau froide, puis égouttez-les bien
- Lavez, puis coupez les tomates cerises en deux. Placez le tout dans un grand récipient.
- Ciselez finement le bouquet de ciboulette.
- Mettez-la dans le plat avec la mozzarella (soit des petites boules, ou alors prenez une grande mozzarella que vous couperez en morceaux.
- Lavez les radis, équeutez-les puis coupez-les en fines tranches. J’ai pris pour cela ma mandoline. Mais au couteau, cela fonctionnera tout aussi bien. Mettez-les dans le plat.
- Ajoutez les zestes finement râpés de deux citrons non traités.
- Faites griller les pignons à la poêle.
- Mettez-les avec les feuilles de basilic et les copeaux de parmesan.
- Épluchez et coupez les avocats en morceaux.
- Ajoutez le jus de citron et l’huile d’olive.
- Salez et poivrez à votre goût, puis mélangez avant de mettre au frais une bonne heure avant de servir.
Nutrition
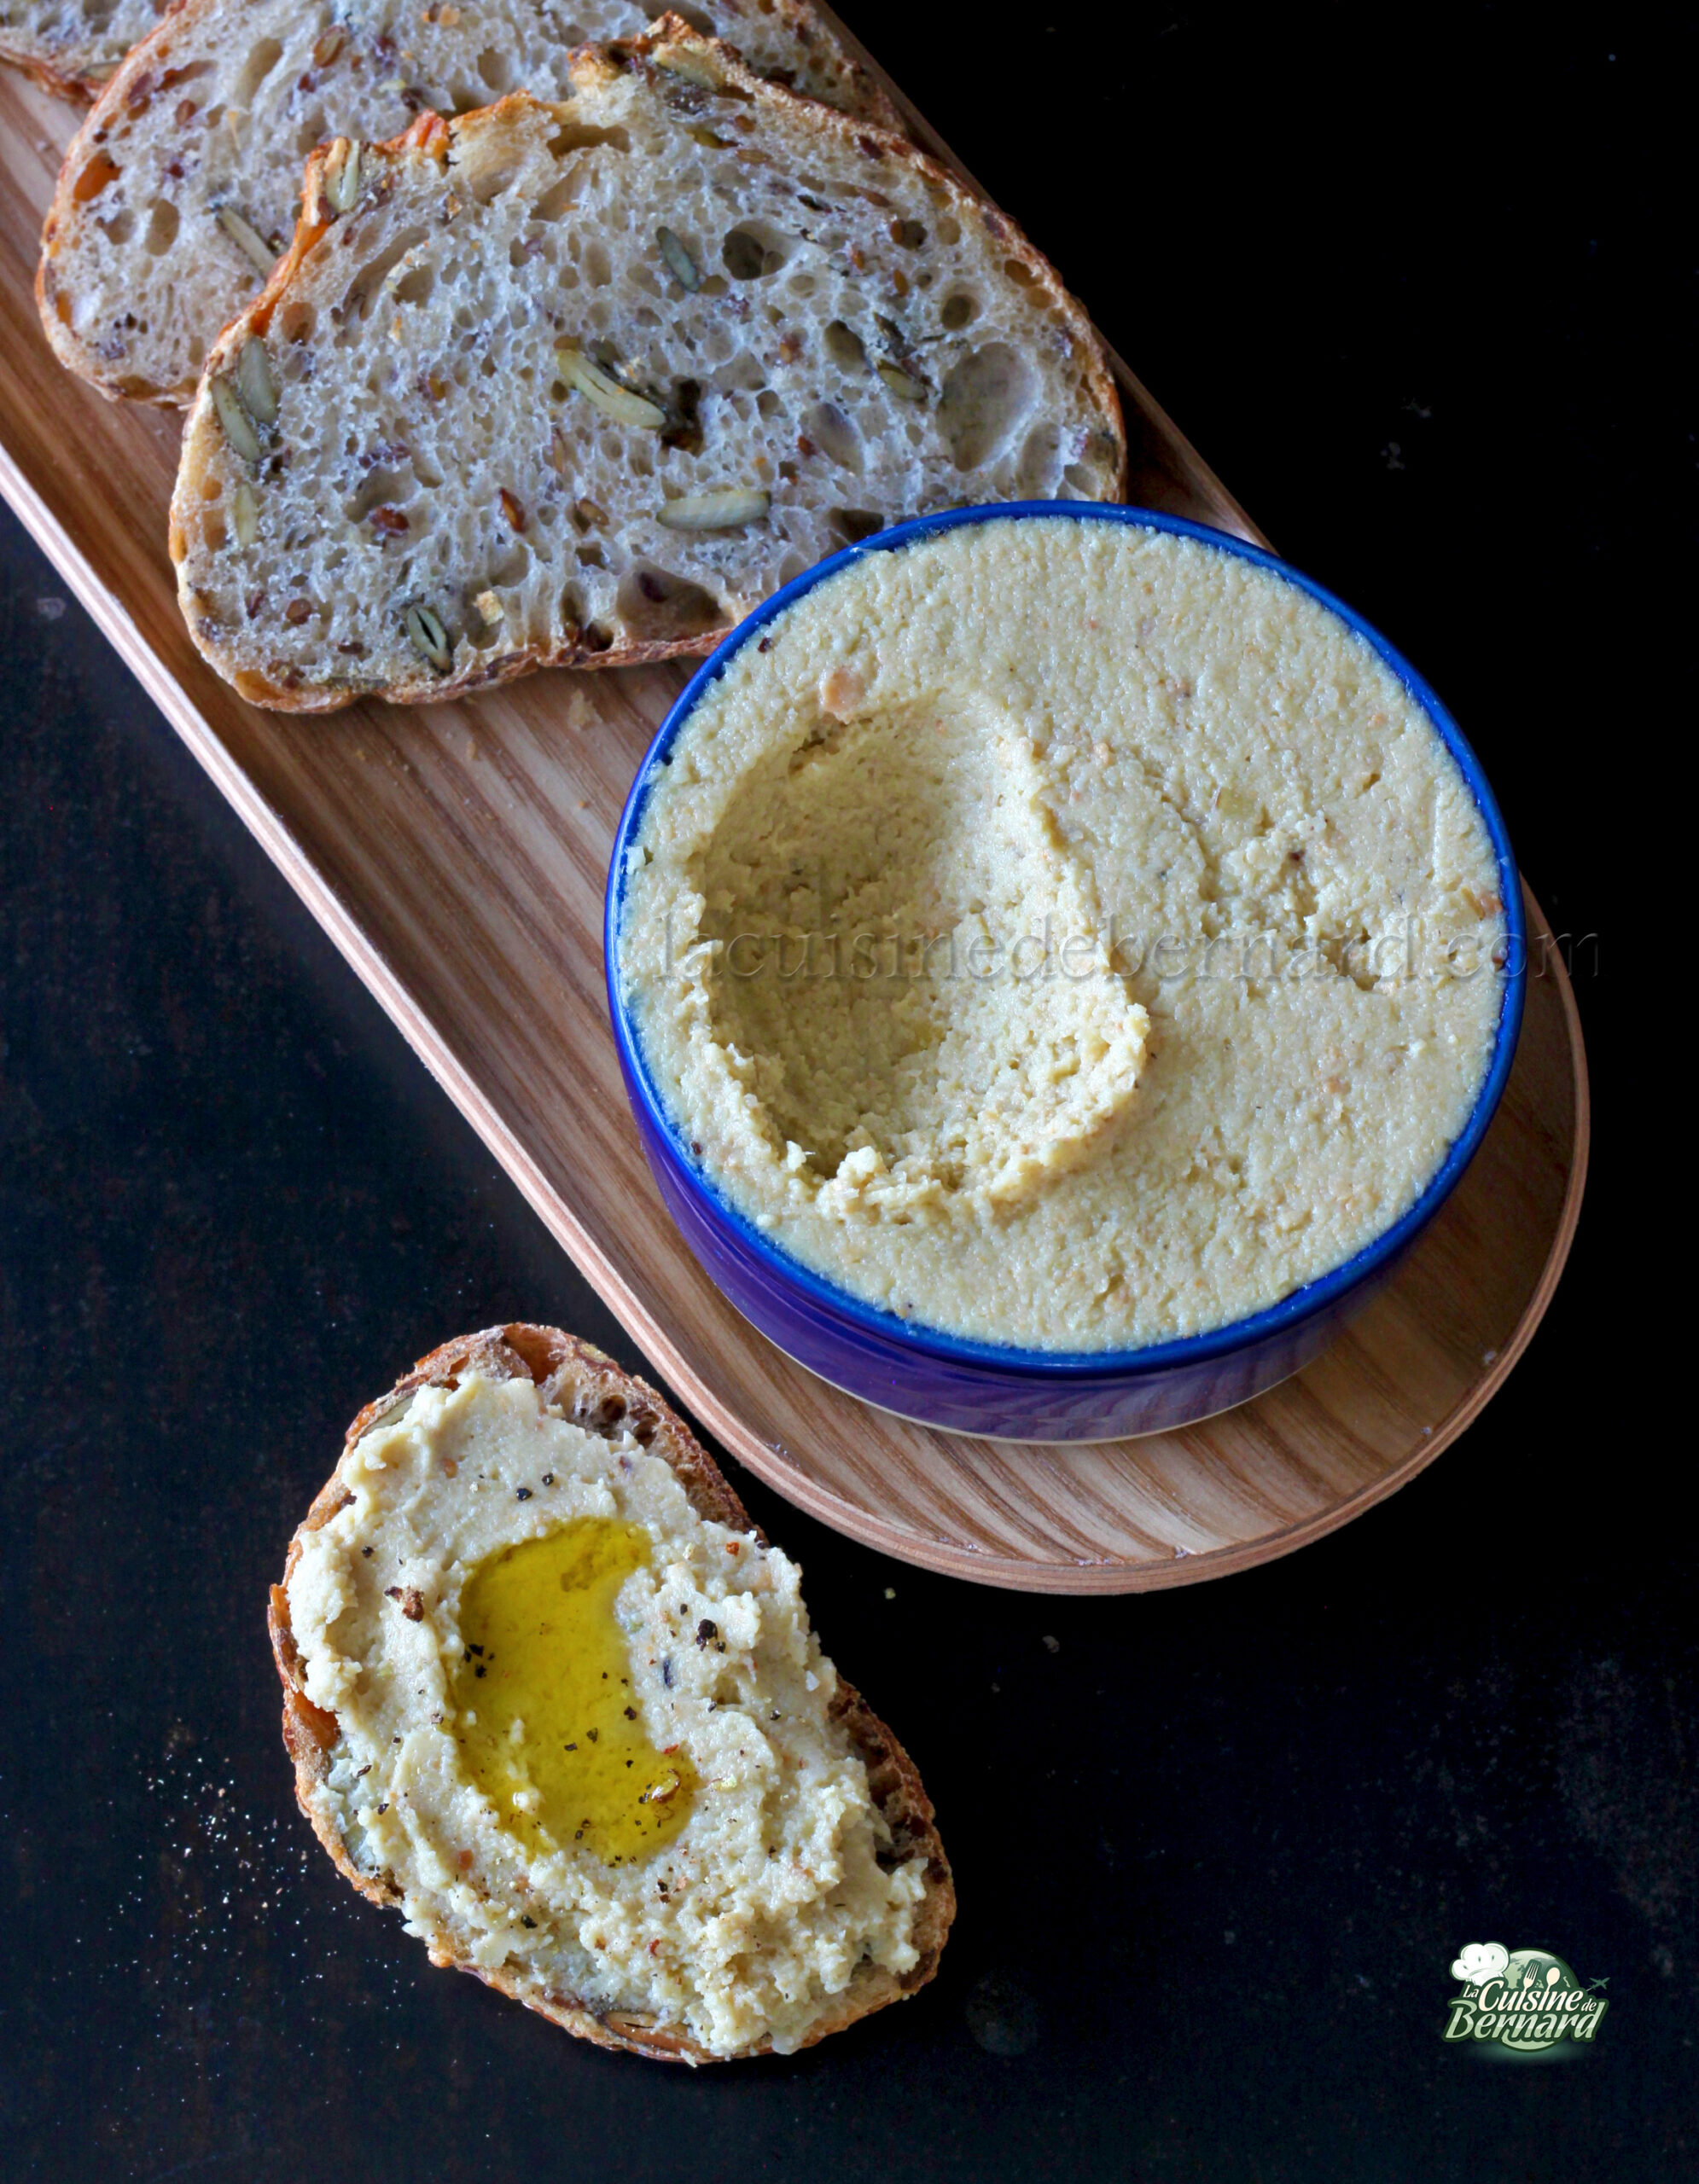
An ultra-simple recipe that’s as tasty as they come. I suggest this artichoke pesto, made with artichoke hearts, parmesan, roasted cashews, garlic and olive oil! An absolute delight on toast for a richly flavoured aperitif, or even as a pizza base with dough, in place of tomato sauce or green pesto, then topped up to your liking!
Pesto for 4 :
- 400g raw artichoke bottoms (frozen is perfect! )
- 160g unsalted roasted cashew nuts (if they’re salted, leave out the salt!)
- 65g of olive oil
- 100g Parmesan or Grana Padano cheese
- 2 cloves of garlic
- salt pepper
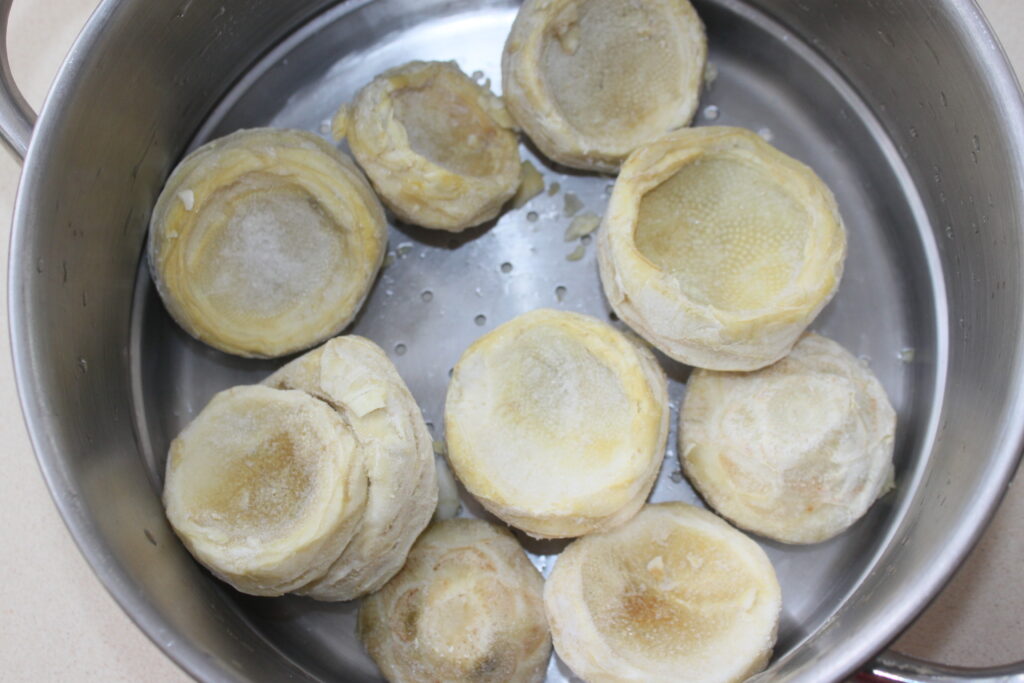
Steam the artichoke bottoms for 14 minutes. I’ve used frozen bottoms here, perfect for this recipe where they are blended.
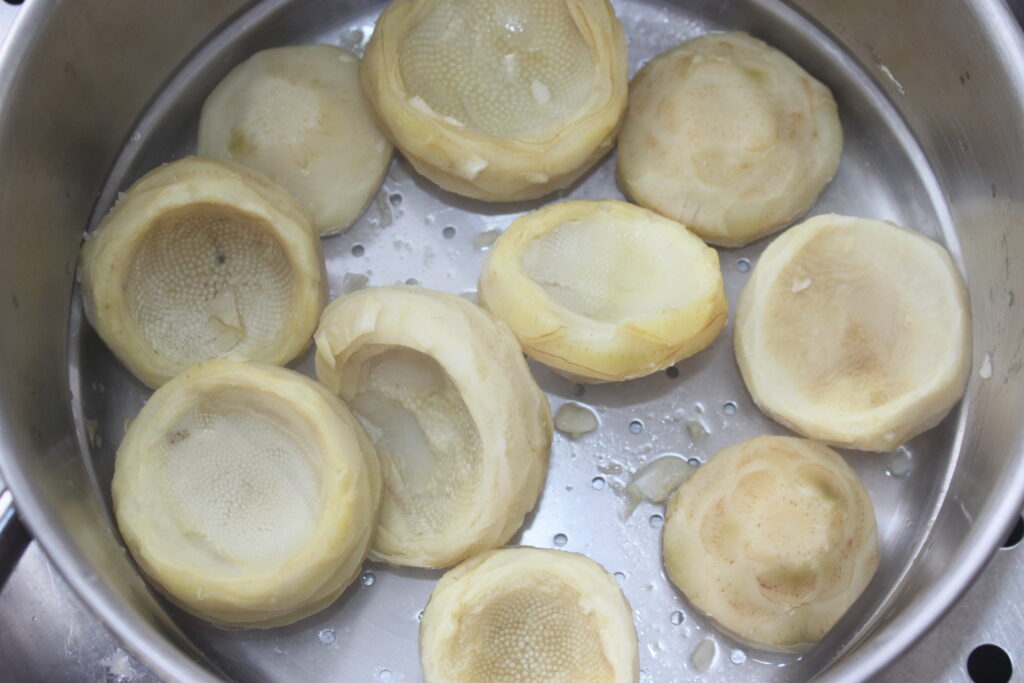
After this time, run them under cold water to stop the cooking process.
Here are the ingredients.
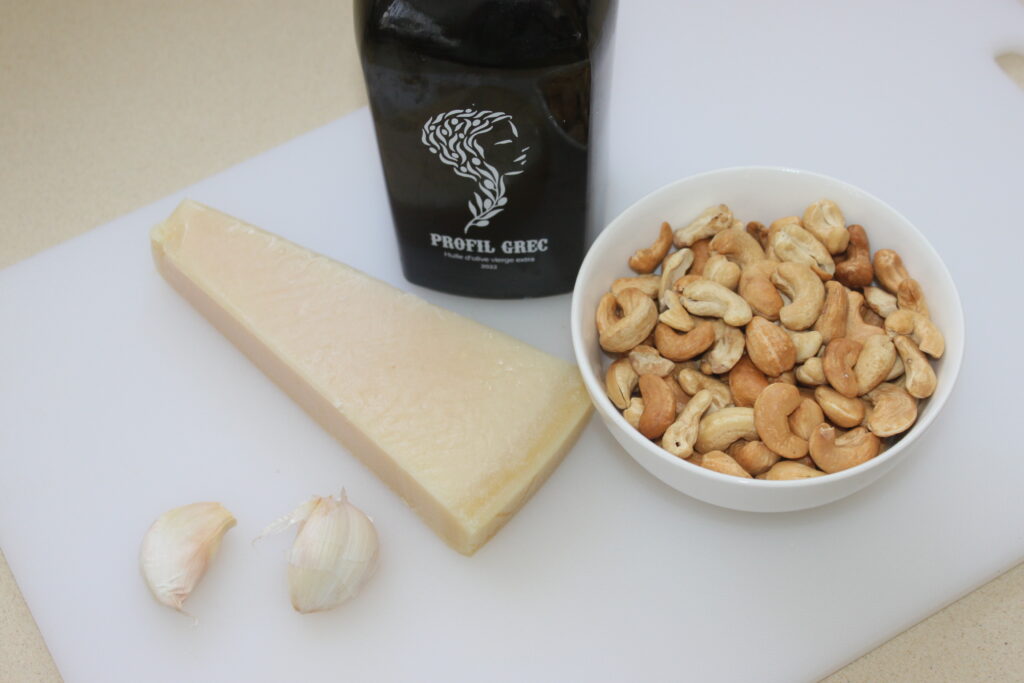
Peel the garlic cloves, chop the cheese and place all the ingredients in the blender.
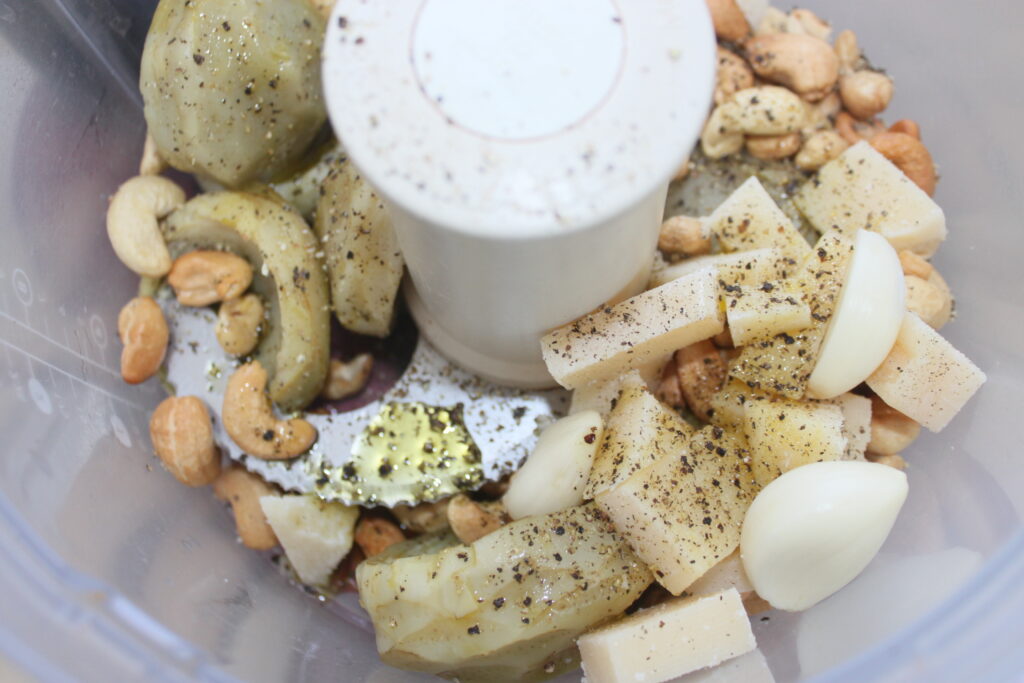
Until smooth and creamy.

Serve on bread, or as a pizza base (instead of classic pesto). You can keep it in a cool place, putting a layer of olive oil on the surface to protect it from oxidation, then cling film to keep out fridge odours.


Tapenade aux artichauts
Ingredients
- 400 g fonds d'artichauts
- 160 g noix de cajou grillées
- 65 g huile d'olive
- 100 g parmesan ou grana padano
- 2 gousses d'ail
- sel, poivre
Instructions
- Mettez les fonds d’artichauts à cuire 14 minutes à la vapeur. J’ai pris ici des fonds congelés, parfaits dans cette recette où on les mixe.
- Au bout de ce temps, passez-les sous l’eau froide pour stopper la cuisson.
- Épluchez les gousses d’ail, coupez le fromage en morceaux et placez tous les ingrédients dans le mixeur jusqu’à obtenir une texture crémeuse homogène.
- Servez sur du pain, ou en fond de pizza (à la place d’un pesto classique). Vous pouvez le garder au frais, en mettant une couche d’huile d’olive sur la surface pour protéger de l’oxydation, puis un film étirable pour empêcher les odeurs du réfrigérateur.
Nutrition
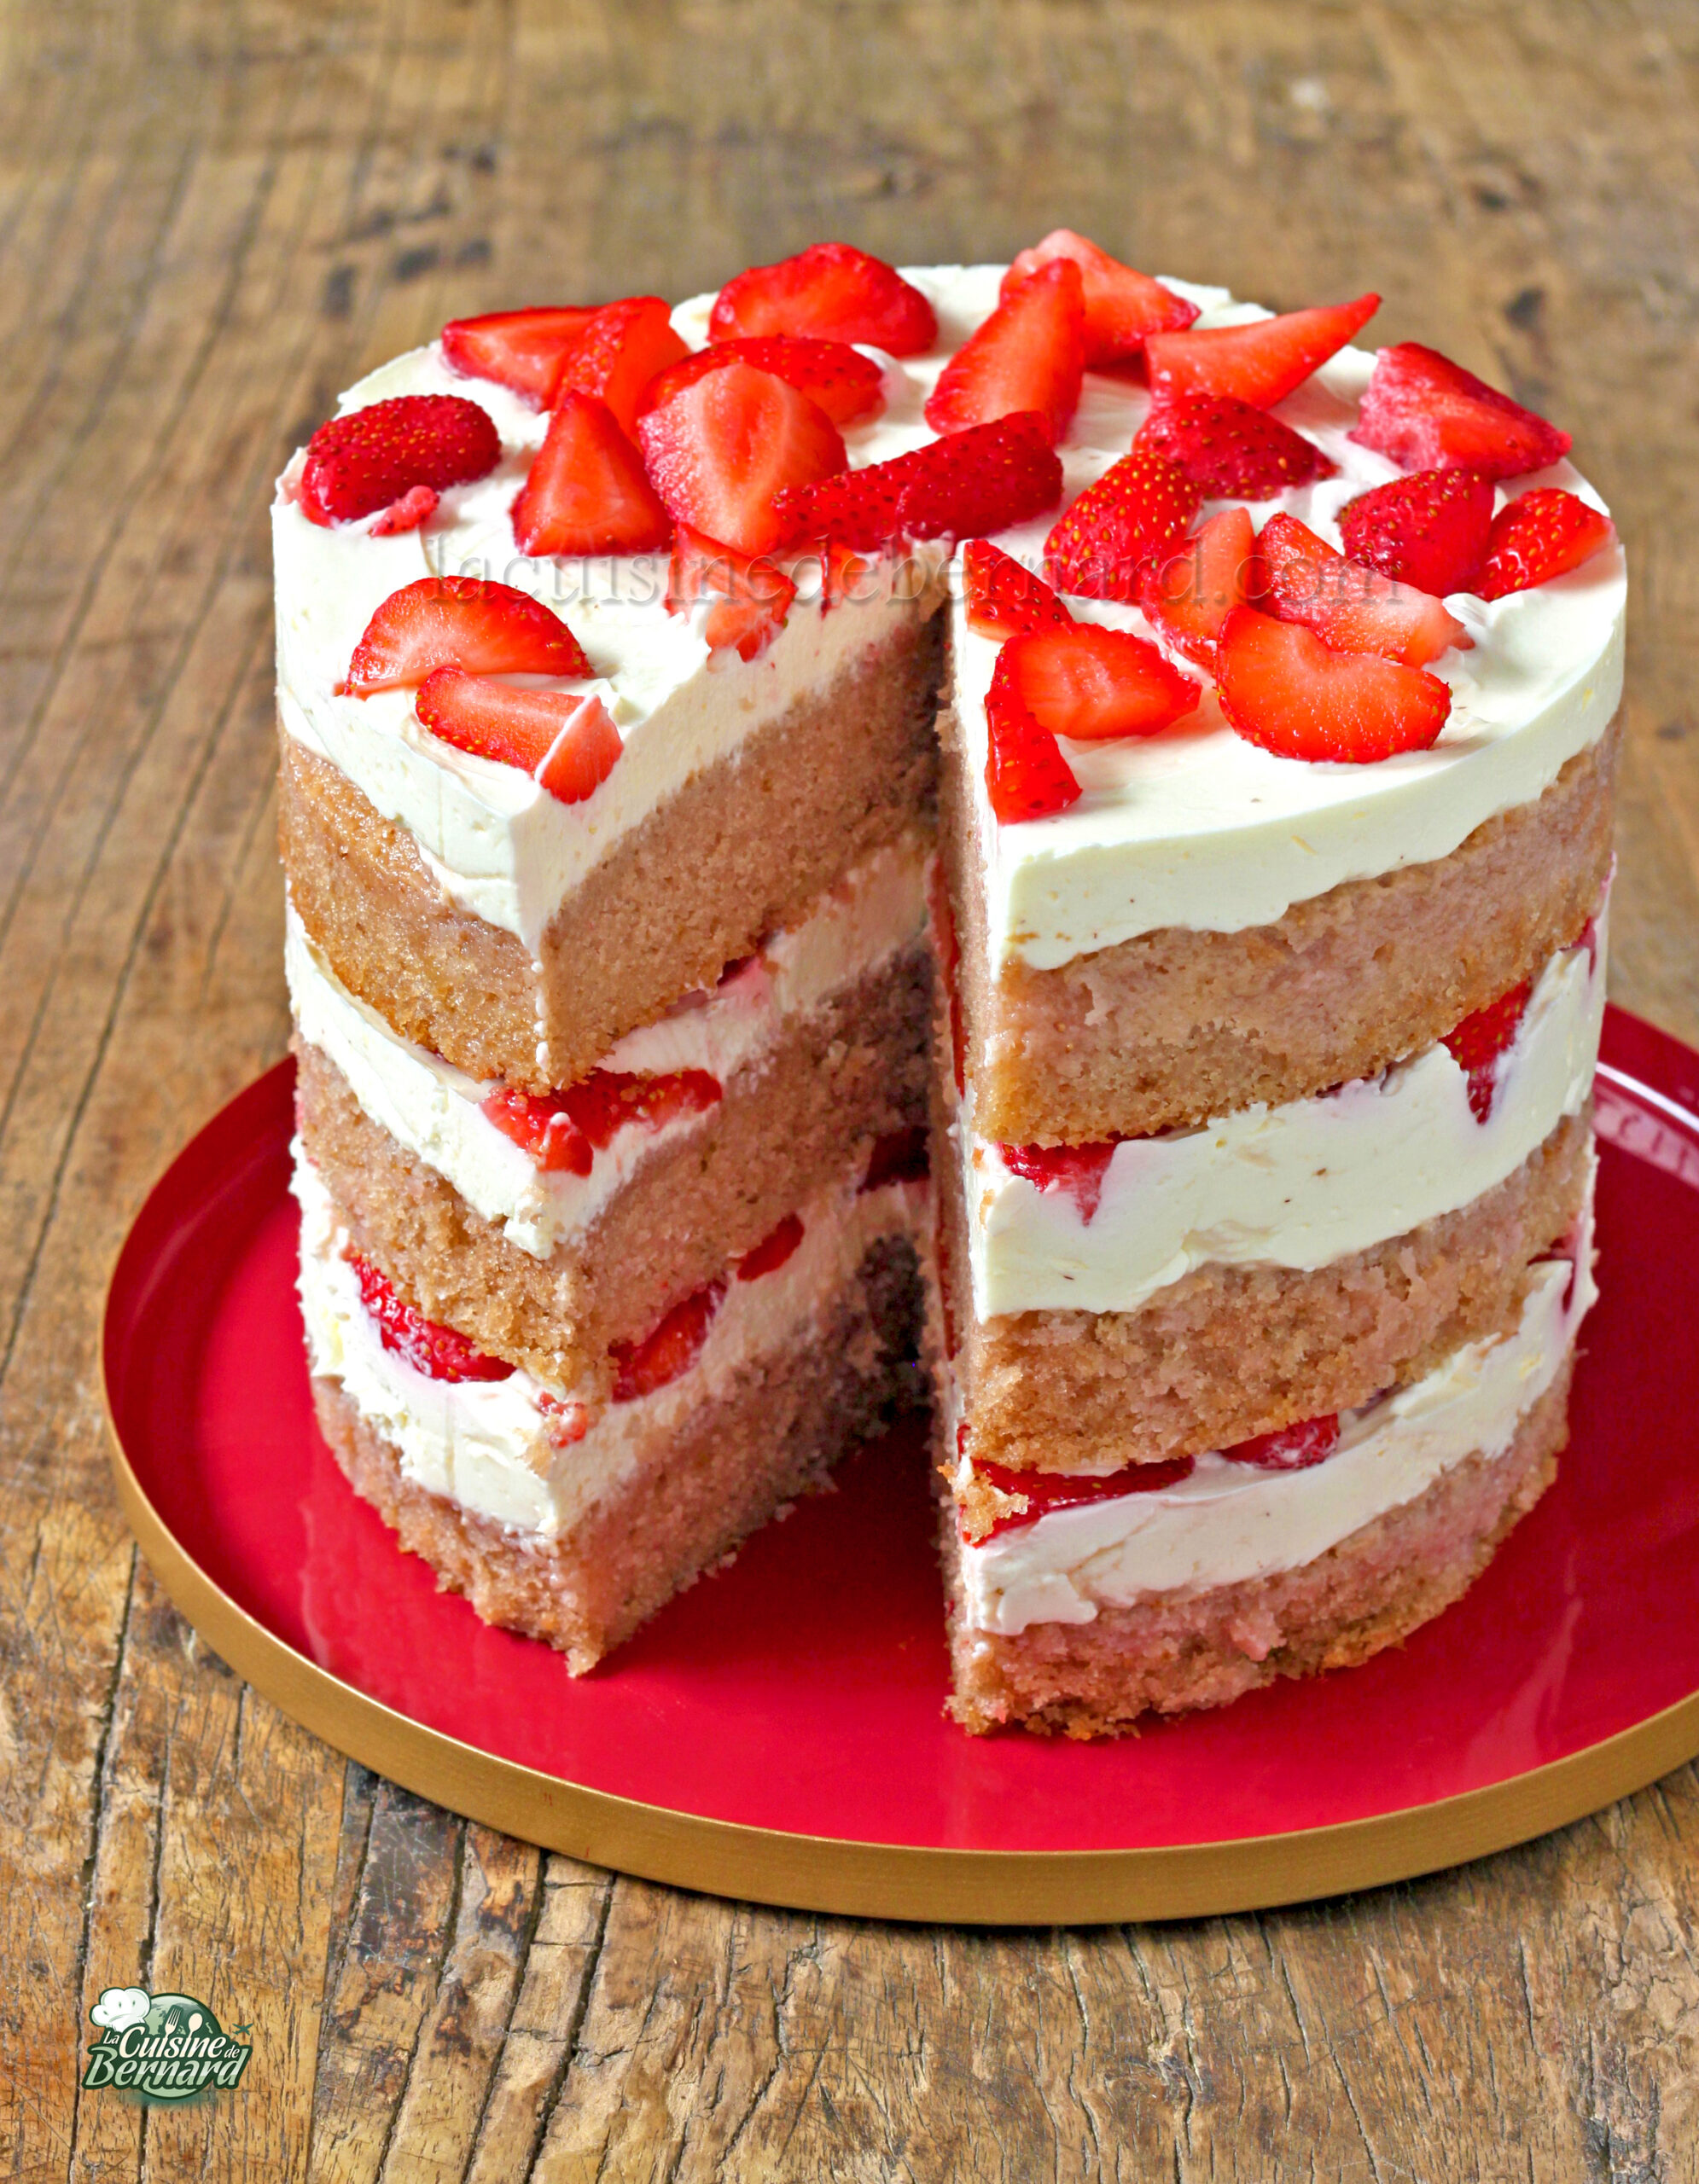
A cake forbidden to children! Just for adults who want to indulge themselves with this cake soaked in plenty of rosé wine. I put some in the dough before baking, then soak it generously afterwards. I propose this totally decadent three-tiered cake, but I also give you a more classic version at the end of the recipe with proportions for a single tier. As well as a very moist cake, I add a cream cheese chantilly and juicy, fresh strawberries. You’re in for a treat!
Recipe for a 16cm cake with 3 layers (or a single 27cm layer):
- 120g hulled strawberries
- 205g rosé wine
- 140g soft butter
- 85g oil
- 245g sugar
- 3 large eggs (180g total without shells)
- 275g T55 flour
- 3/4 teaspoon baking powder
- 3/4 teaspoon baking soda
To soak the cake:
- 40g strawberries
- 20g of sugar
- 140g rosé
For the cream:
- 250g of mascarpone
- 100ml cold liquid cream
- 35g of powdered sugar
- 300g of cream cheese
To conclude
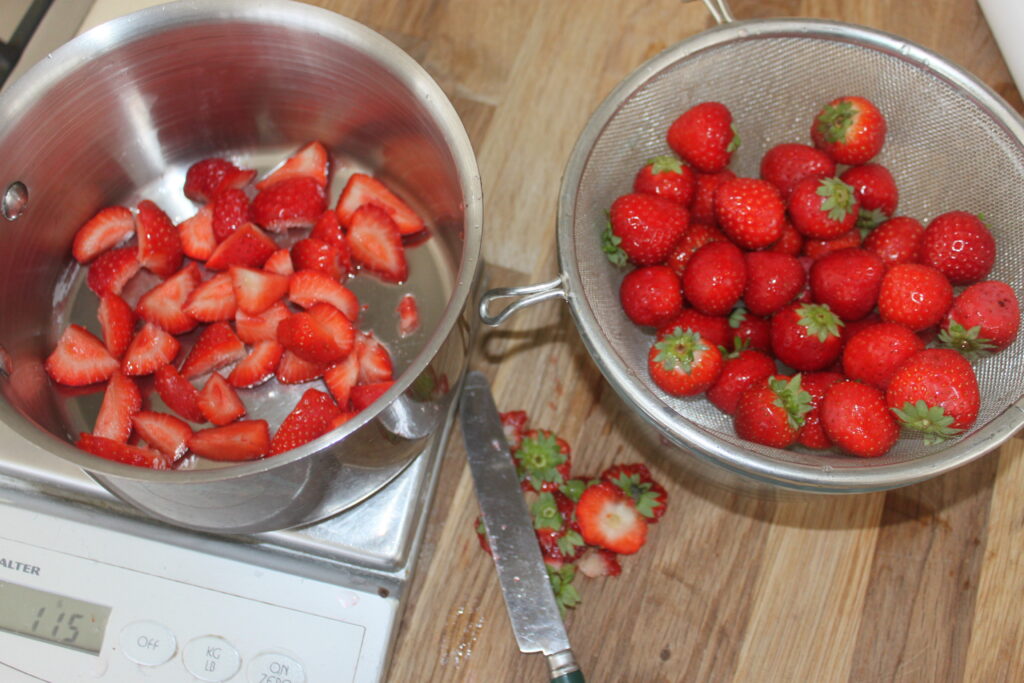
- 300g strawberries, washed, hulled and cut into pieces
Start by preparing the cakes. I’ve made a three-tiered cake here. You could make them with a single 27cm tier. You could also make a 22cm one with two thirds of the recipe below!
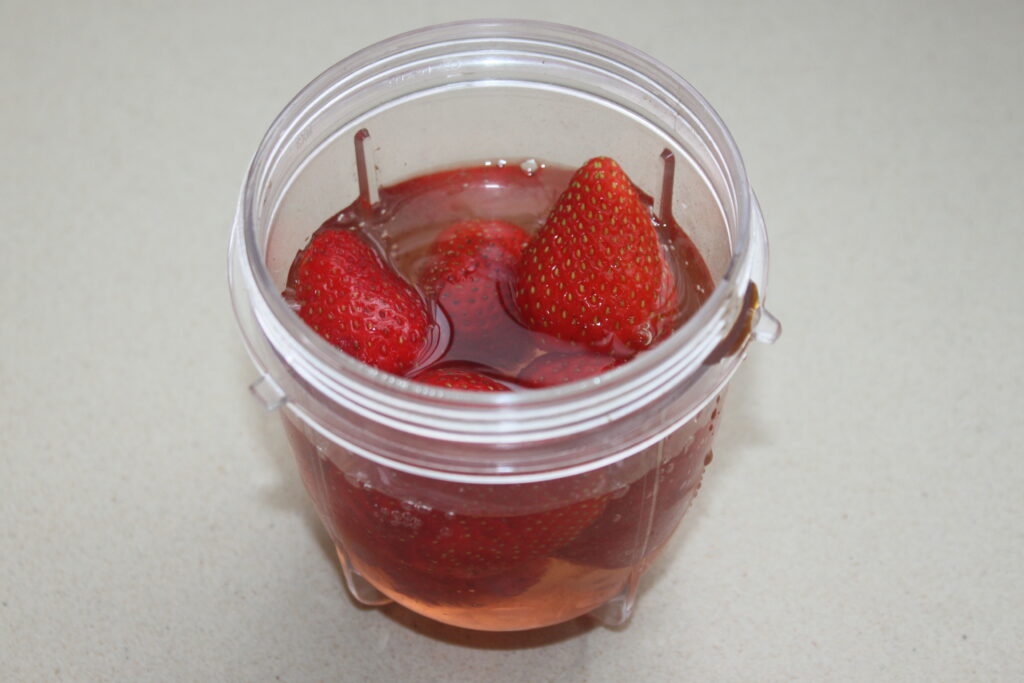
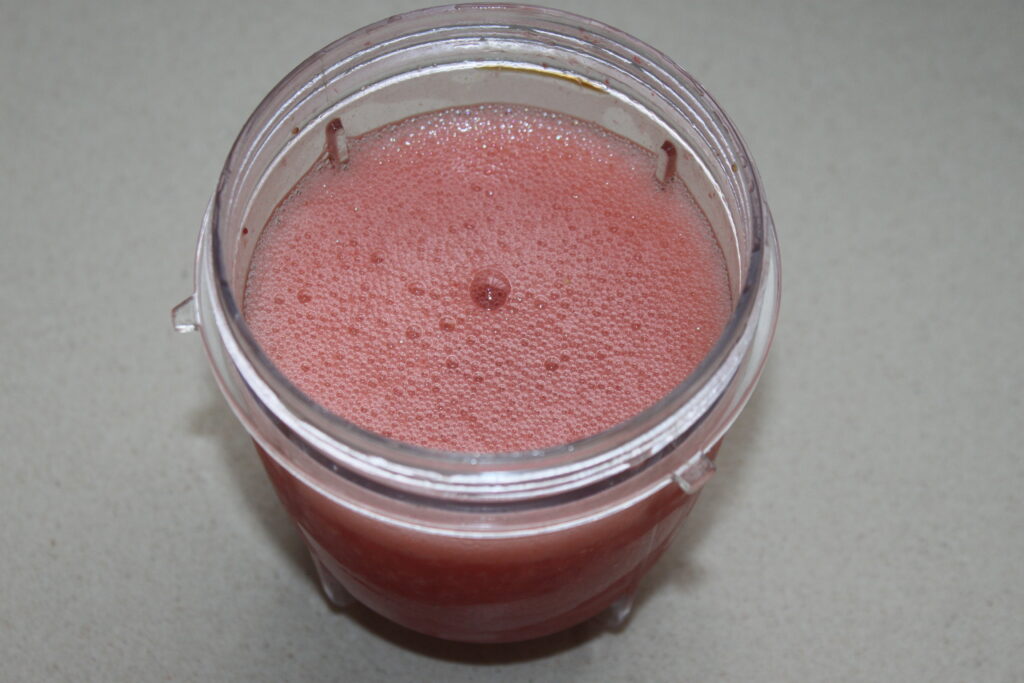
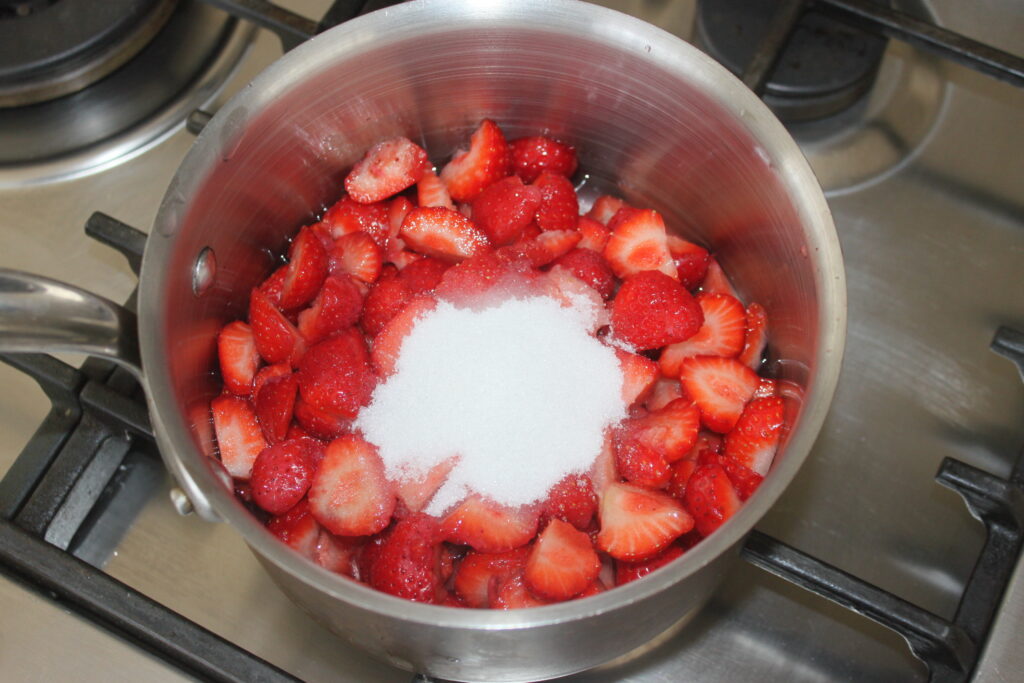
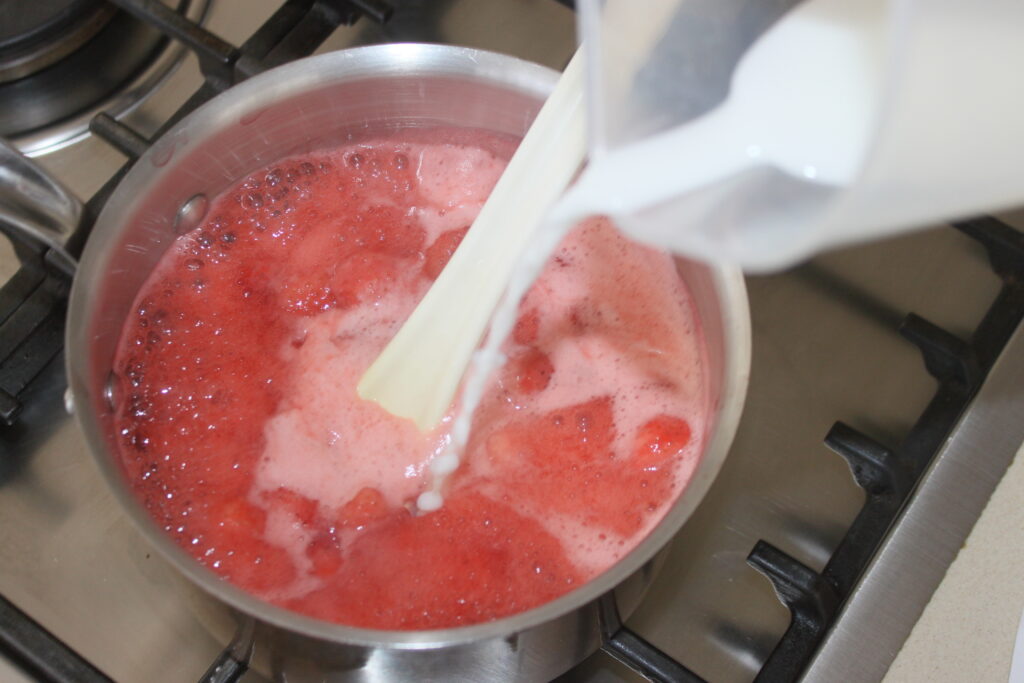
Place the washed, hulled and weighed strawberries (120g for the decadent version) in a small blender or mixer with the rosé wine and blend.
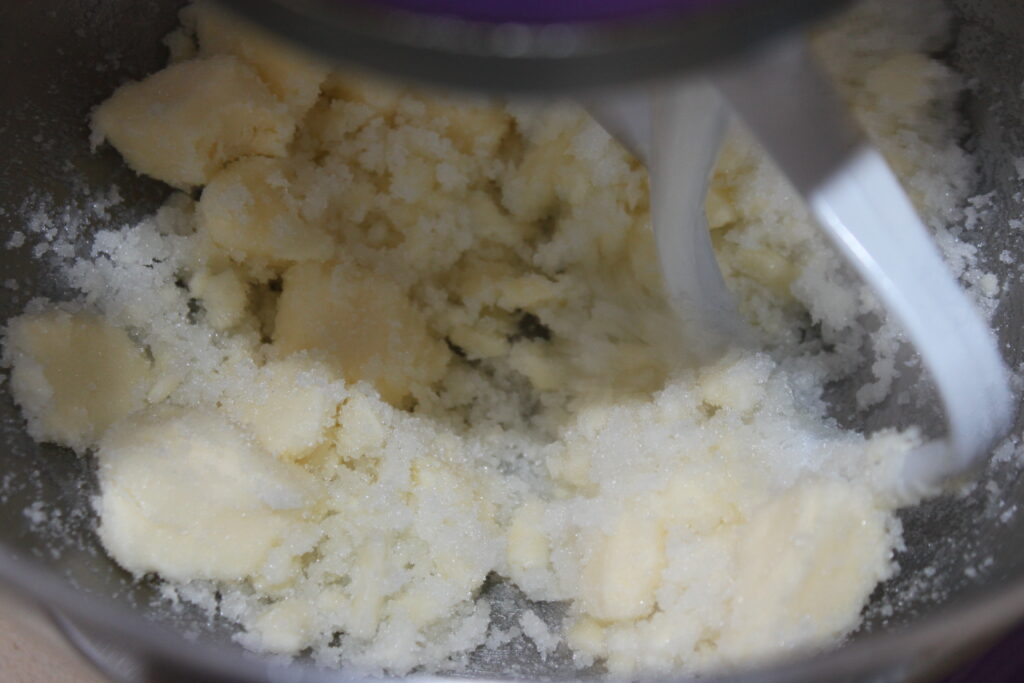
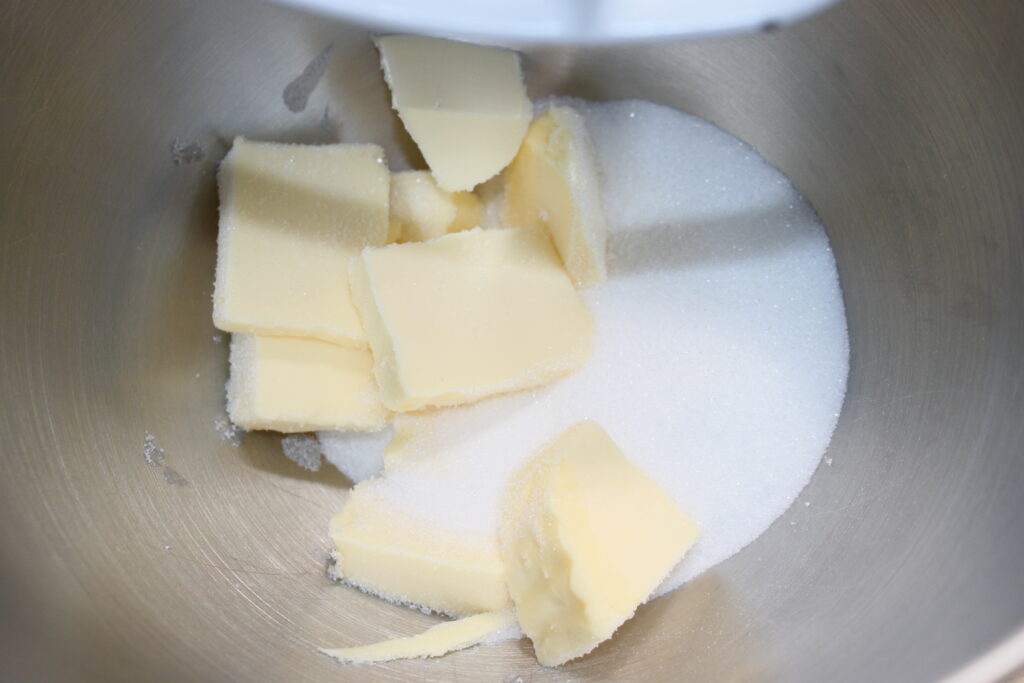
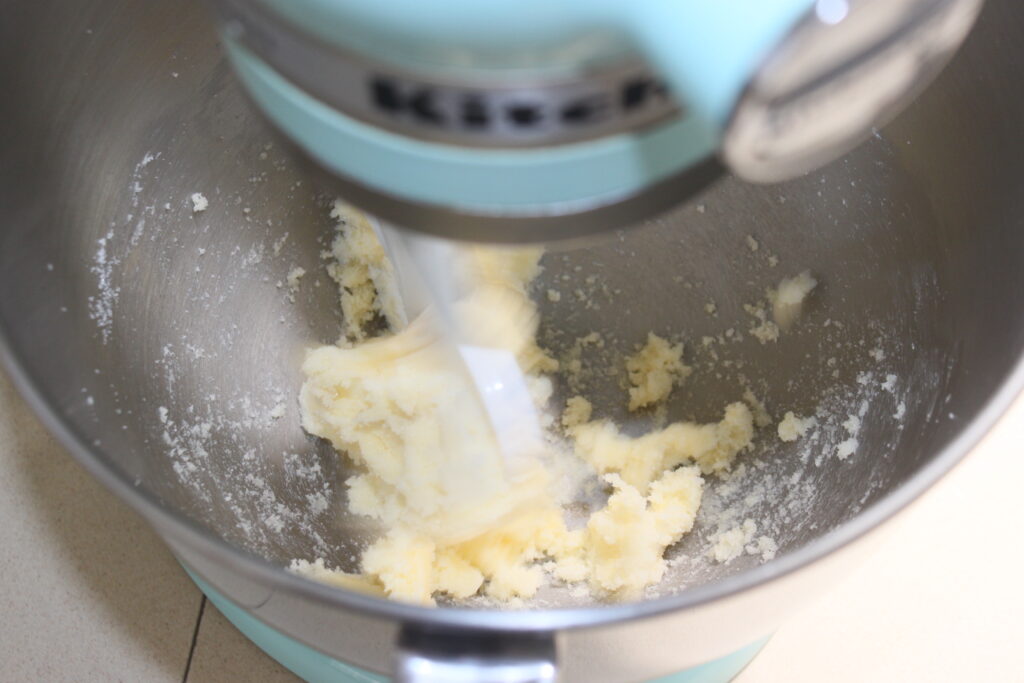
Mix the butter, sugar and oil in a bowl or food processor.
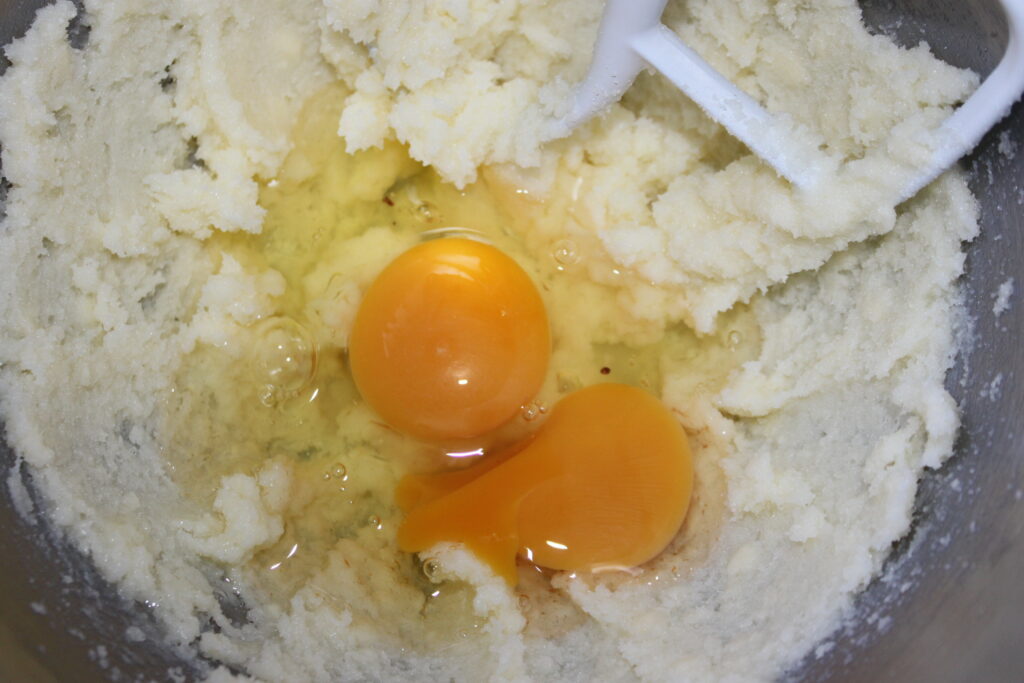
Add the eggs.
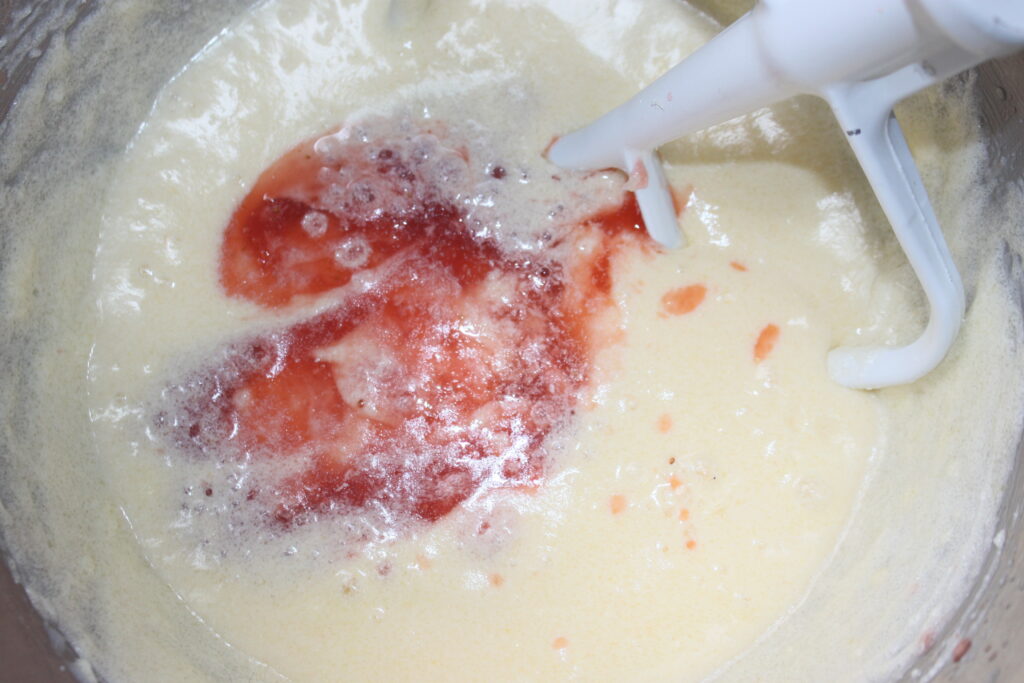
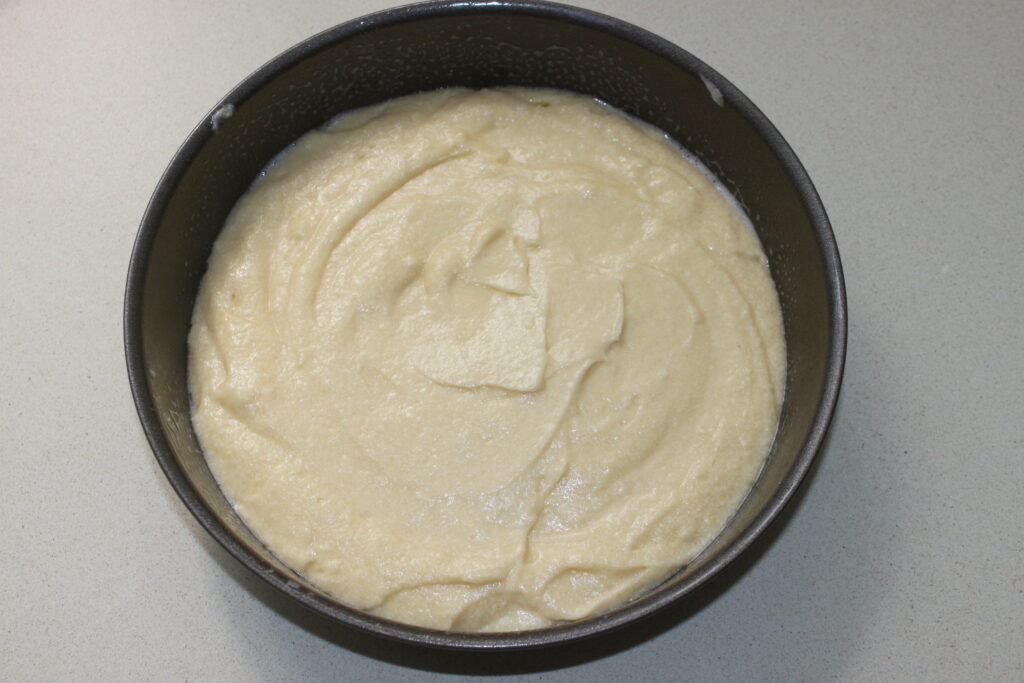
Mix well until smooth. Pour in the rosé strawberry pulp, flour, baking powder and baking soda.
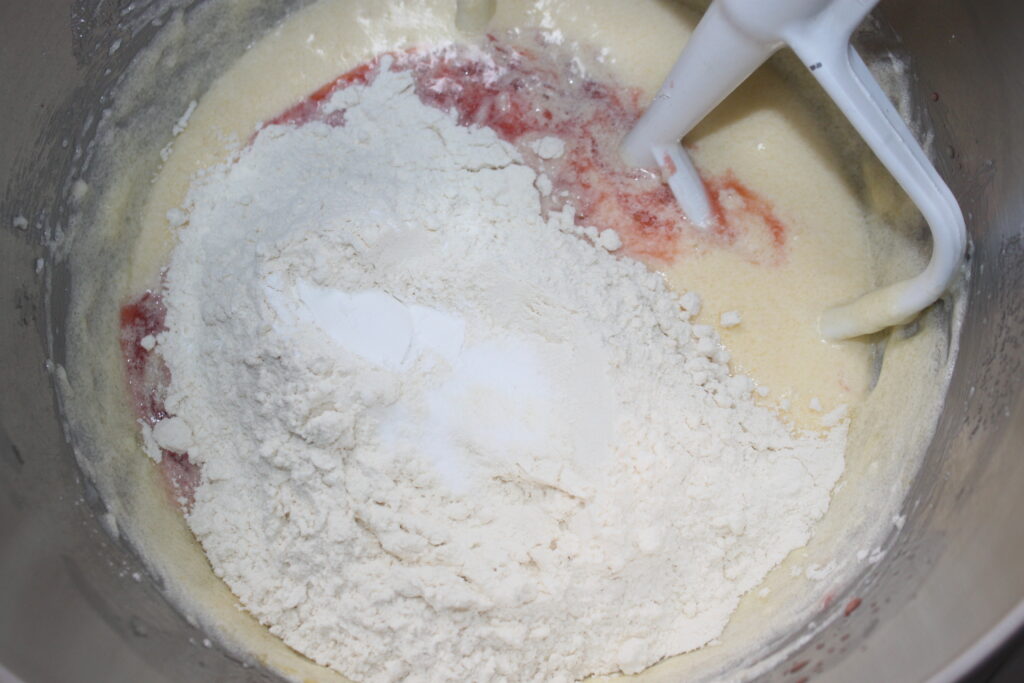
Mix well, then pour into 3 18cm moulds lined with greaseproof paper. On the edge, I put release spray, or butter and then flour. Pour roughly 415g of batter into each mould.
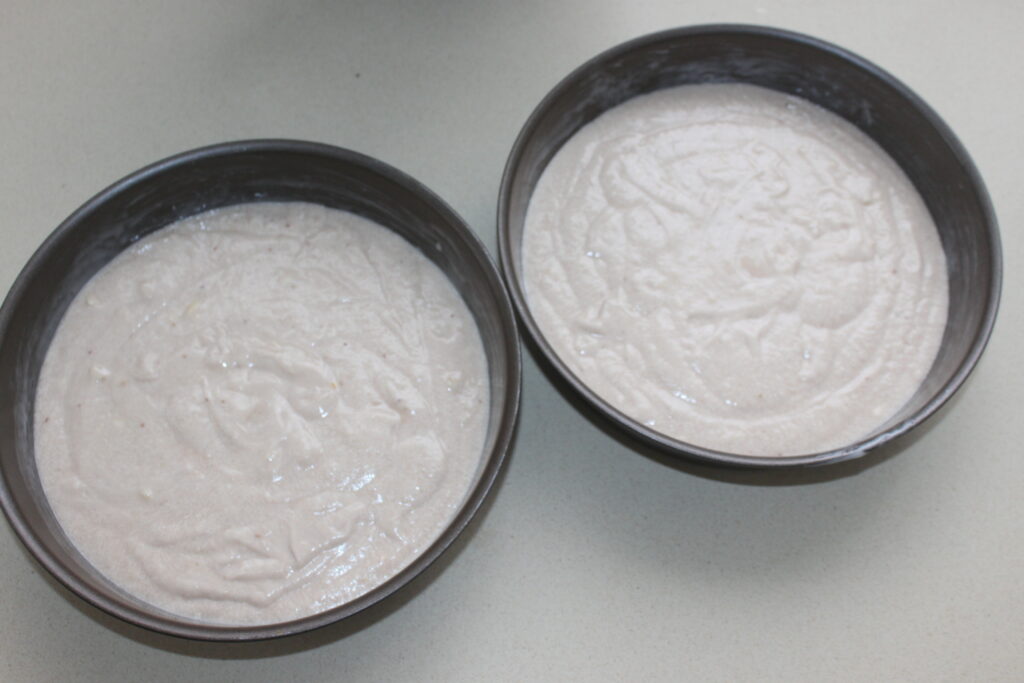
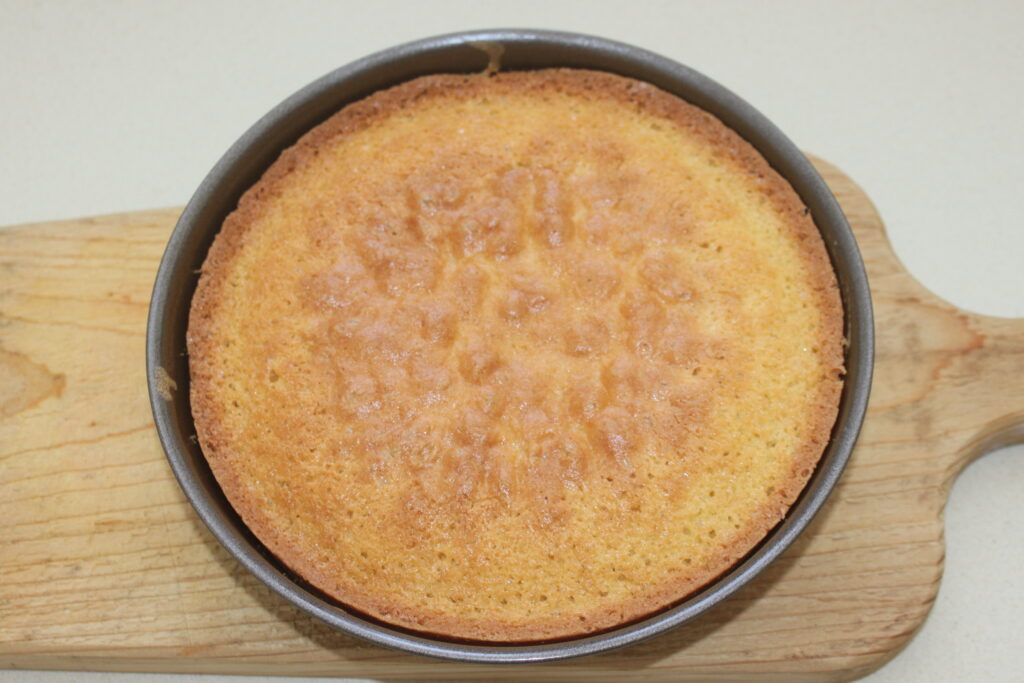
Bake for 40 minutes in an oven preheated to 160°C over static heat (also known as traditional heat), but not over fan-forced heat. This would otherwise make your cake puff up.
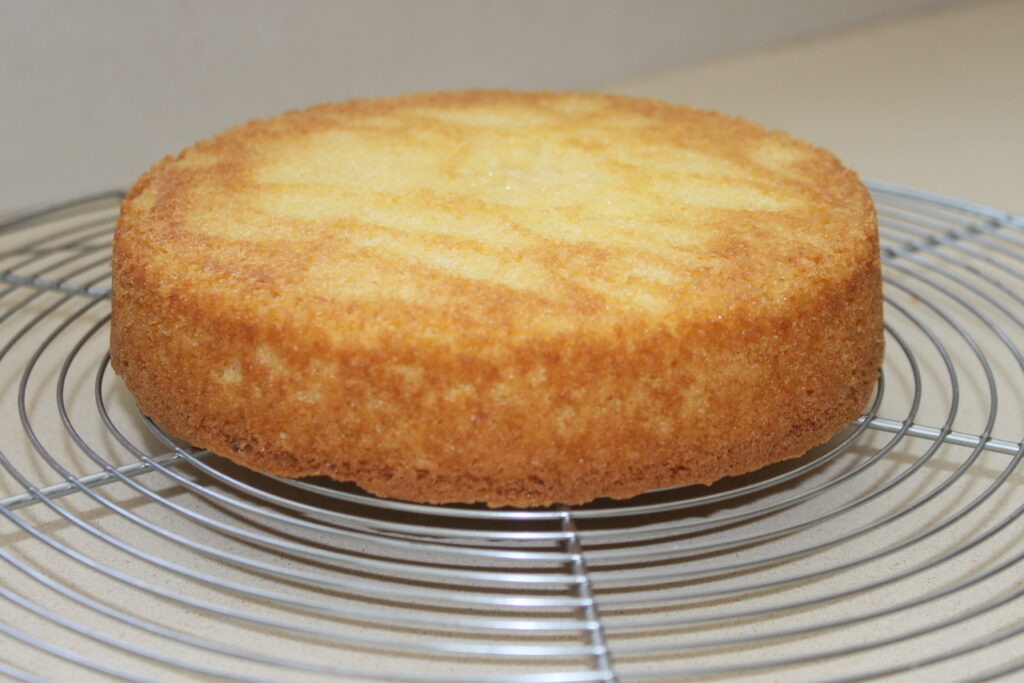
Remove the cakes from the oven and leave to cool on a wire rack.

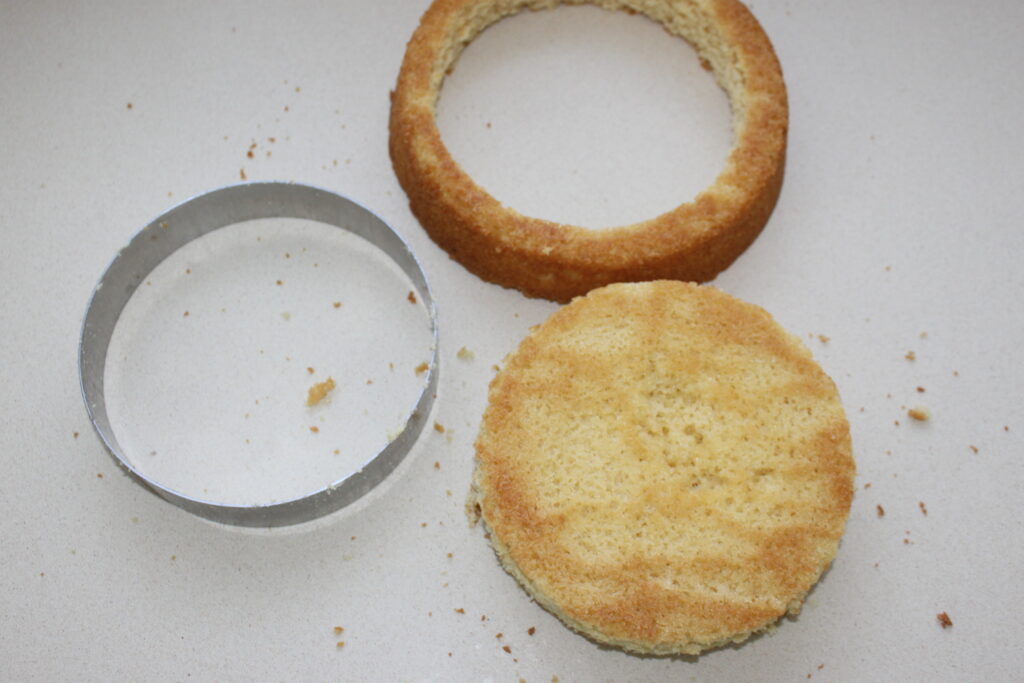
For the layered version, I used a surprise bread circle, 16cm in diameter and 12cm high. It is therefore very high. I also took the matching rhodoid (the heavy-duty plastic film). If you prefer, you can always make a single-tier version measuring 27cm (with the basic recipe) or 22cm (with two-thirds of the recipe).
Cut the cake to the size of the circle with a knife (do not press the circle into the cake to cut it! ).

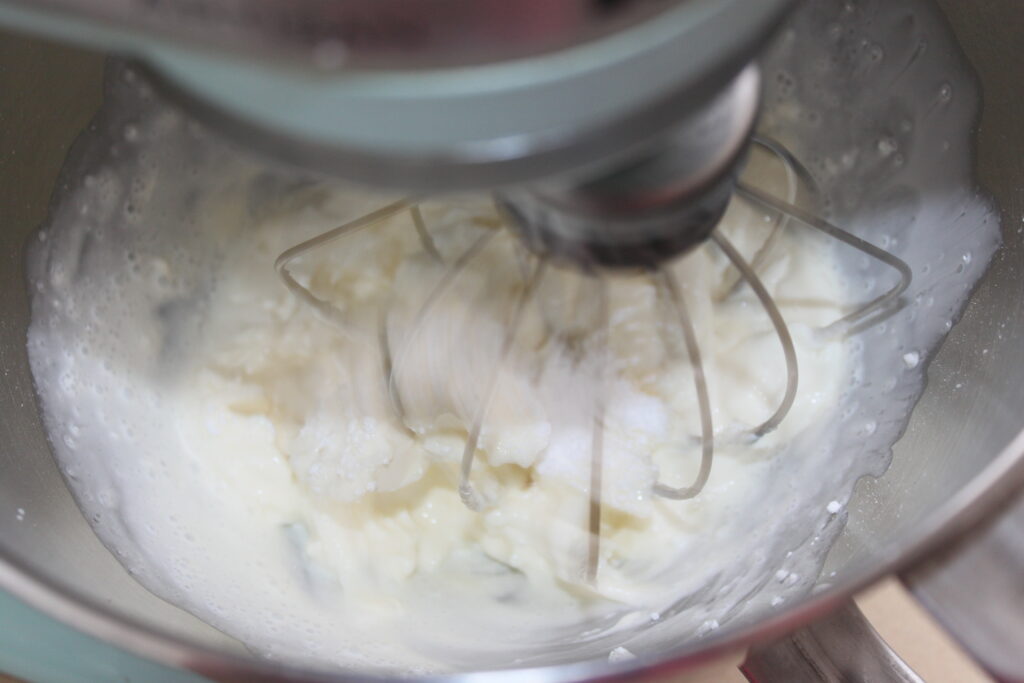
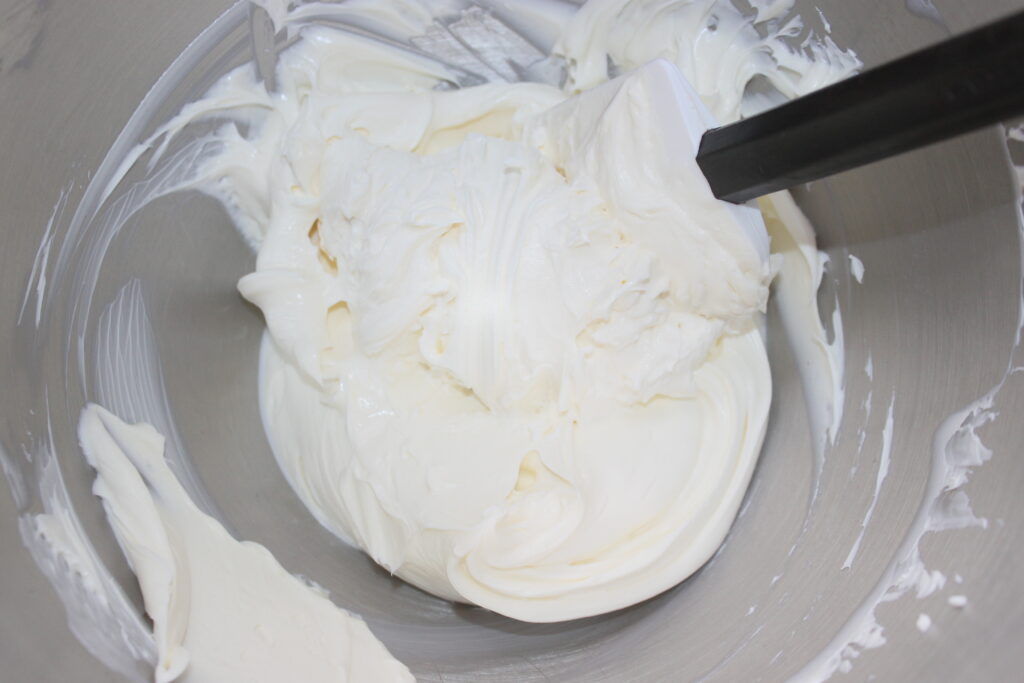
For the cream, whip the mascarpone, cold liquid cream and powdered sugar until stiff.
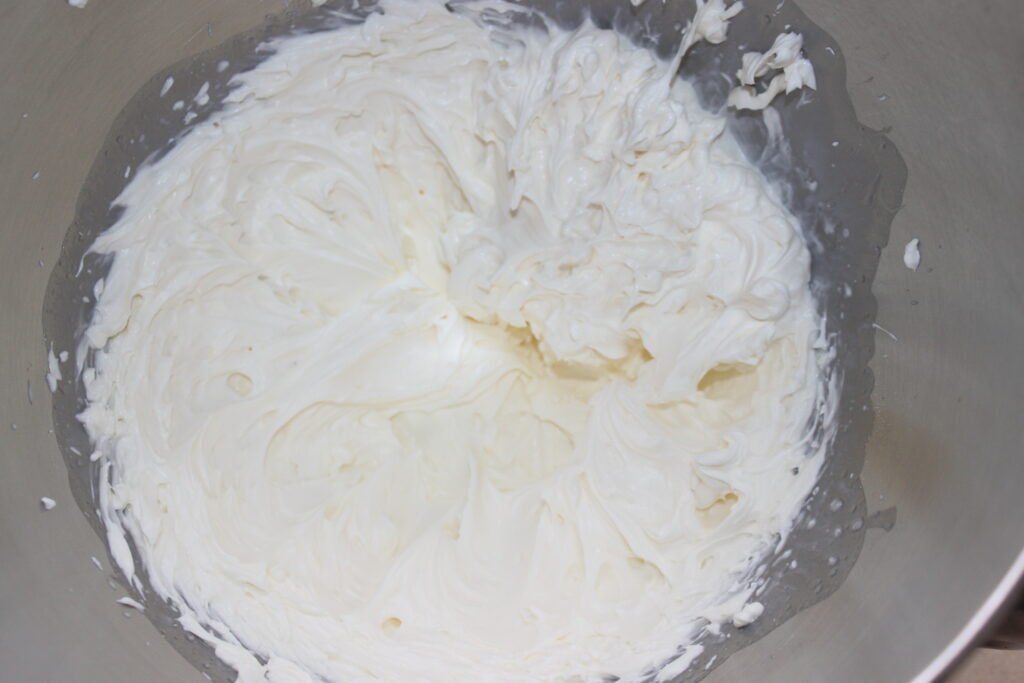
Whisk the still-cold cream cheese in a bowl to smooth it.
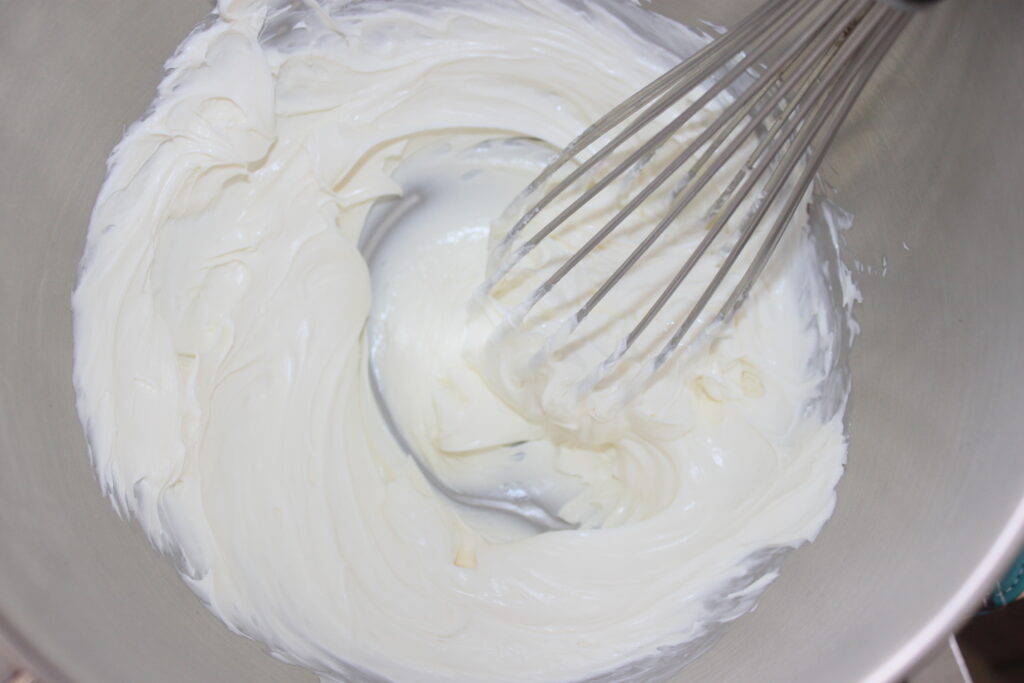
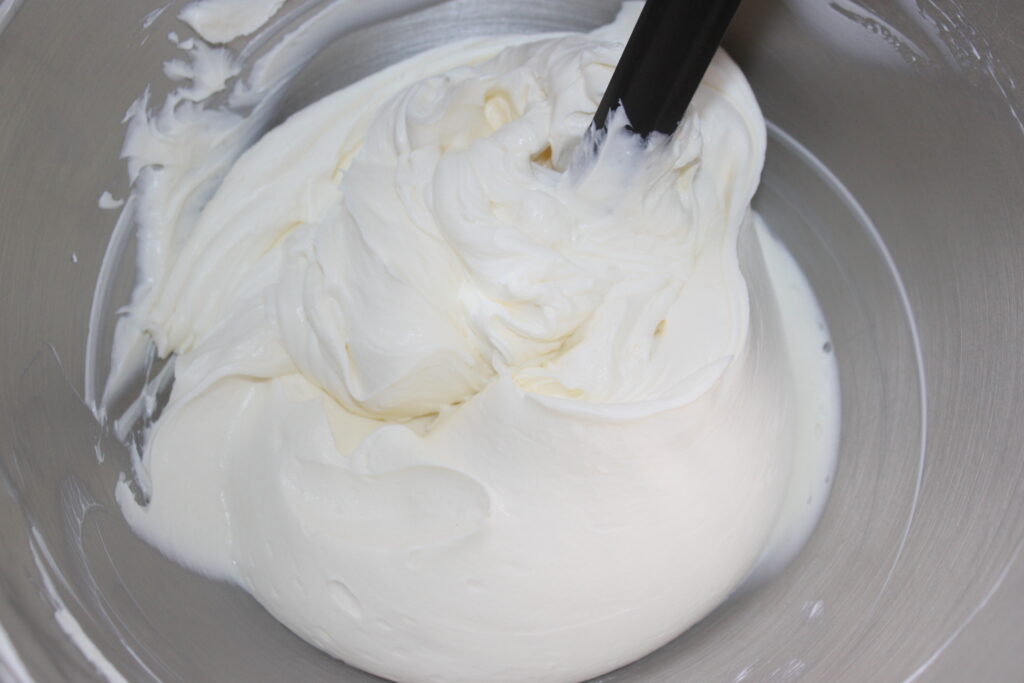
Add the whipped cream to the cream cheese by 3-4 tablespoons.
Add the whipped cream as you go, mixing gently as you would a chocolate mousse.
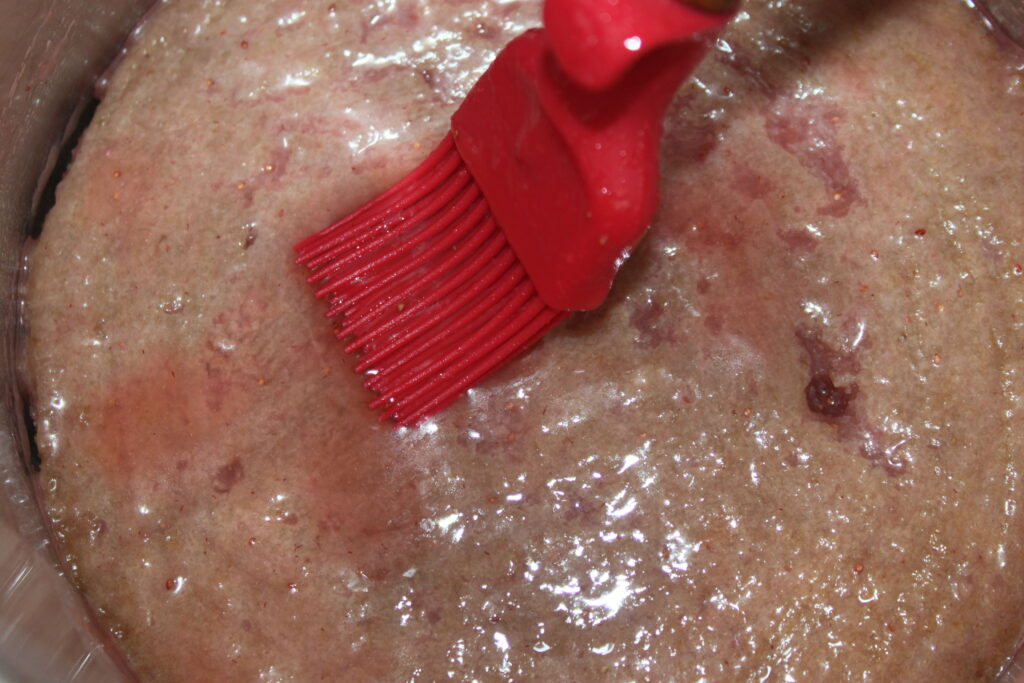
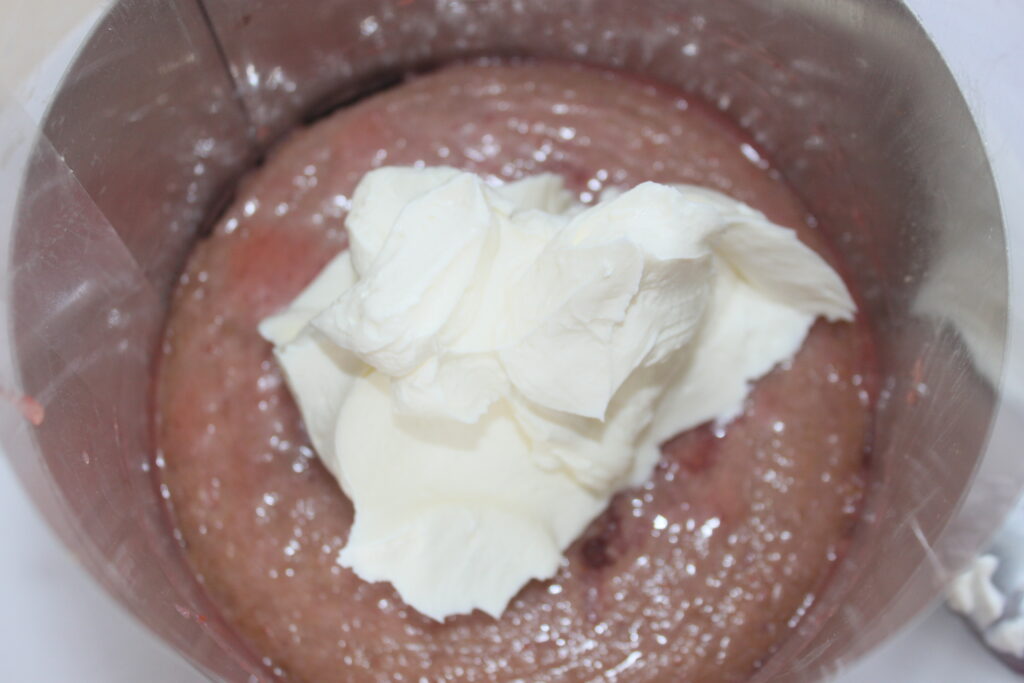
Place the rhodoid inside the circle. Place the circle on a baking tray or dish with a sheet of parchment paper. Very generously soak the cake with the rosé/sugar/strawberry mixture blended in a mixer (as at the start of the recipe). You can even add pure rosé!
Pour off a third of the cream (about 225g) and spread it over the cake in an even layer.
Then place about a third of the washed, hulled and chopped strawberries (about 100g).
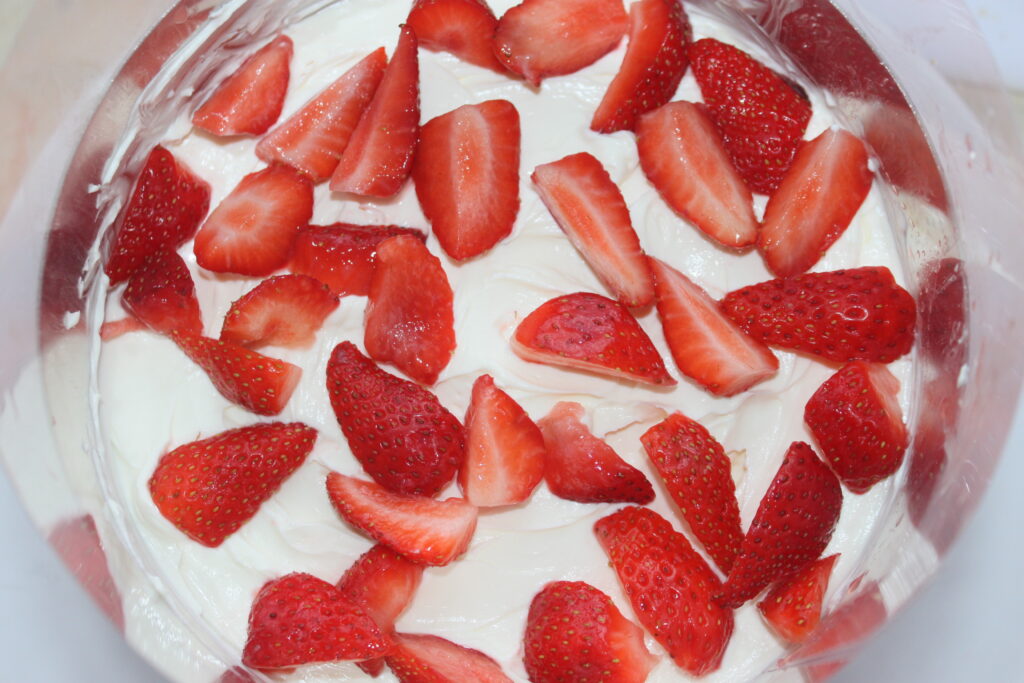
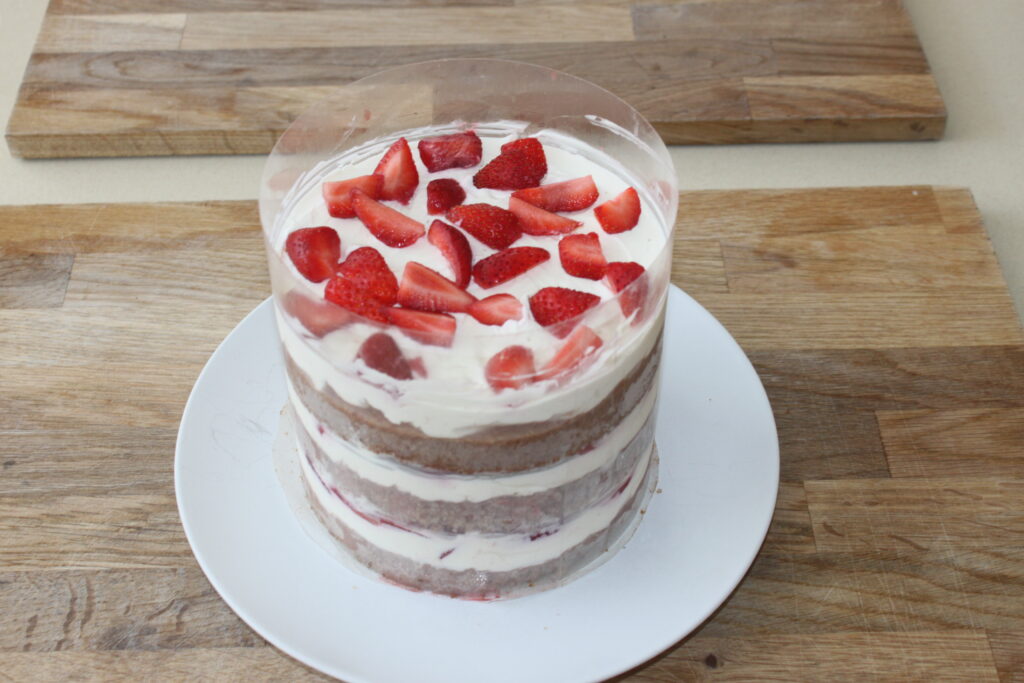
Repeat with a layer of soaked cake, a layer of cream and strawberries, and then one last time! Here we see without the circle.
Chill (with circle) for at least 4 hours. Remove the slices, carefully remove the rodhoïd and place on the serving dish.
Below is the recipe for a single-tier cake!


Recipe for 22cm single-tier cake:
- 80g hulled strawberries
- 135g rosé wine
- 95g soft butter
- 55g oil
- 165g of sugar
- 2 large eggs (120g total without shells)
- 185g T55 flour
- 1/2 teaspoon baking powder
- 1/2 teaspoon baking soda
To soak the cake:
- 25g strawberries
- 15g of sugar
- 95g rosé
For the cream:
- 165g mascarpone
- 65ml cold liquid cream
- 17g powdered sugar
- 200g of cream cheese
To conclude
- 200g strawberries, washed, hulled and cut into pieces
For this recipe, do the same, making a single cake and pouring it into a 22cm mould. Once out of the oven, leave to cool, then pour all the cream cheese whipped cream over the cake!

Gâteau Fraises Rosé et chantilly au cream cheese
Ingredients
Recette pour un gâteau de 16cm de diamètre à 3 étages (ou un seul de 27cm):
- 120 g fraises lavées, équeutées
- 205 g rosé
- 140 g beurre doux
- 85 g huile neutre
- 245 g sucre
- 3 gros œufs
- 275 g farine
- 3/4 c. à café levure chimique
- 3/4 c. à café bicarbonate de sodium
Pour la crème :
- 250 g mascarpone froid
- 100 g crème liquide entière froide
- 35 g sucre glace
- 300 g cream cheese
Pour les fraises
- 300 g fraises
Instructions
- Commencez par préparer les gâteaux. J’ai fait ici un gâteau à trois étages. Vous pourriez en faire avec un seul étage de 27cm. Vous pourriez aussi faire un de 22cm avec les deux tiers de la recette que je vous mets plus bas !Mettez dans un petit blender ou au mixeur, les fraises lavées équeutées et pesées (120g pour la version décadente) avec le vin rosé et mixez le tout.
- Dans un récipient ou le bol de votre robot avec la feuille, mélangez le beurre, le sucre et l’huile. Ajoutez les œufs.
- Mélangez bien jusqu’à avoir un mélange homogène. Versez la pulpe de fraise au rosé, la farine, la levure chimique et le bicarbonate de sodium.
- Mélangez bien puis versez dans 3 moules de 18cm garni de papier sulfurisé. Sur le bord, je mets de la bombe de démoulage, ou alors du beurre et ensuite de la farine. Versez en gros 415g de pâte par moule.
- Mettez à cuire 40 minutes dans un four préchauffé à 160°C sur chaleur statique (appelée aussi chaleur traditionnelle), mais pas à chaleur tournante. Cela ferait sinon gonfler votre gâteau.À la sortie du four, démoulez délicatement les gâteaux et laissez-les tiédir sur une grille à patisserie.
- Pour la version à étage, j’ai pris un cercle à pain surprise, de 16cm de diamètre sur 12cm de hauteur. Il est donc très haut. J’ai aussi pris le rhodoïd correspondant (le film plastique très résistant). Si vous préférez, vous pourrez toujours faire une version à un seul étage de 27cm (avec la recette de base) ou 22cm (avec les deux tiers de la recette).Coupez le gâteau à la taille du cercle au couteau (n’enfoncez pas le cercle dans le gâteau pour le couper ! ).
- Pour la crème, fouettez le mascarpone, la crème liquide froide et le sucre glace en chantilly bien ferme.
- Mélangez dans un récipient avec un fouet, le cream cheese encore froid pour le lisser.
- Ajoutez par 3-4 cuillerées à soupe, la chantilly dans le cream cheese.
- Mettez la chantilly au fur et à mesure en mélangeant délicatement, comme pour une mousse au chocolat.
- Placez le rhodoïd dans le cercle. Posez le cercle sur une plaque ou un plat contenant une feuille de papier sulfurisé. Imbibez très généreusement le gâteau avec le mélange rosé/sucre/fraise passé au mixeur (comme au début de recette). Vous pouvez encore ajouter du rosé pur !
- Versez un tiers de la crème (environ 225g) et étalez-la sur le gâteau en une couche uniforme.
- Placez ensuite environ un tiers des fraises lavées, équeutées et coupées en morceaux (environ 100g).
- Recommencez avec une couche de gâteau bien imbibé, une couche de crème et de fraises, puis encore une dernière fois ! On voit ici sans le cercle.Mettez le tout (avec le cercle) au frais pour au moins 4 heures. Décerclez, ôtez le rodhoïd délicatement puis posez sur le plat de service.
Nutrition

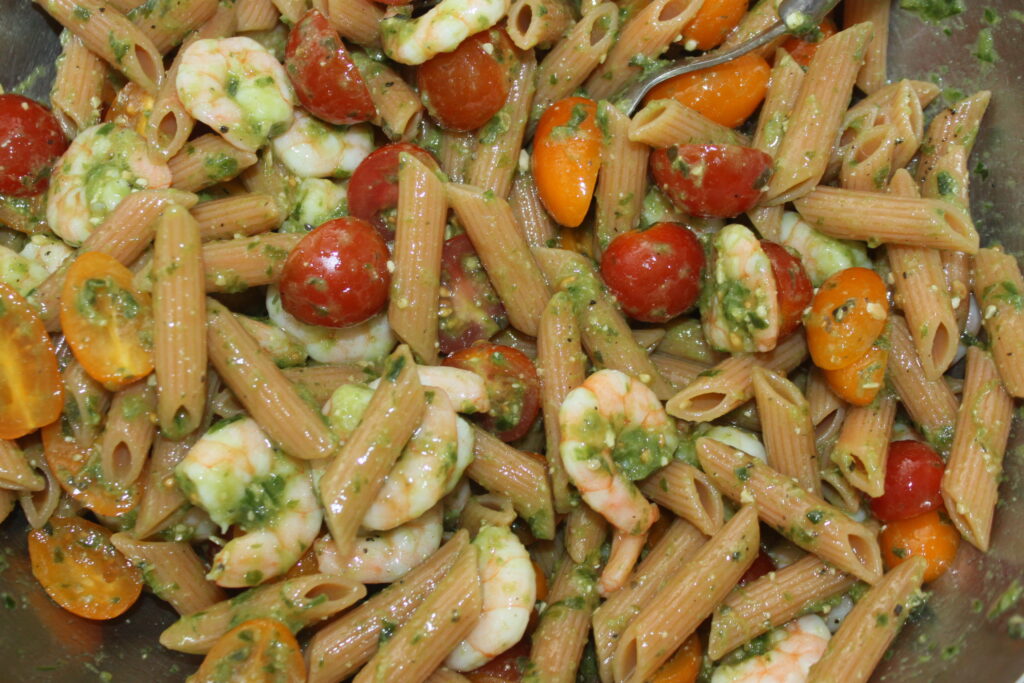
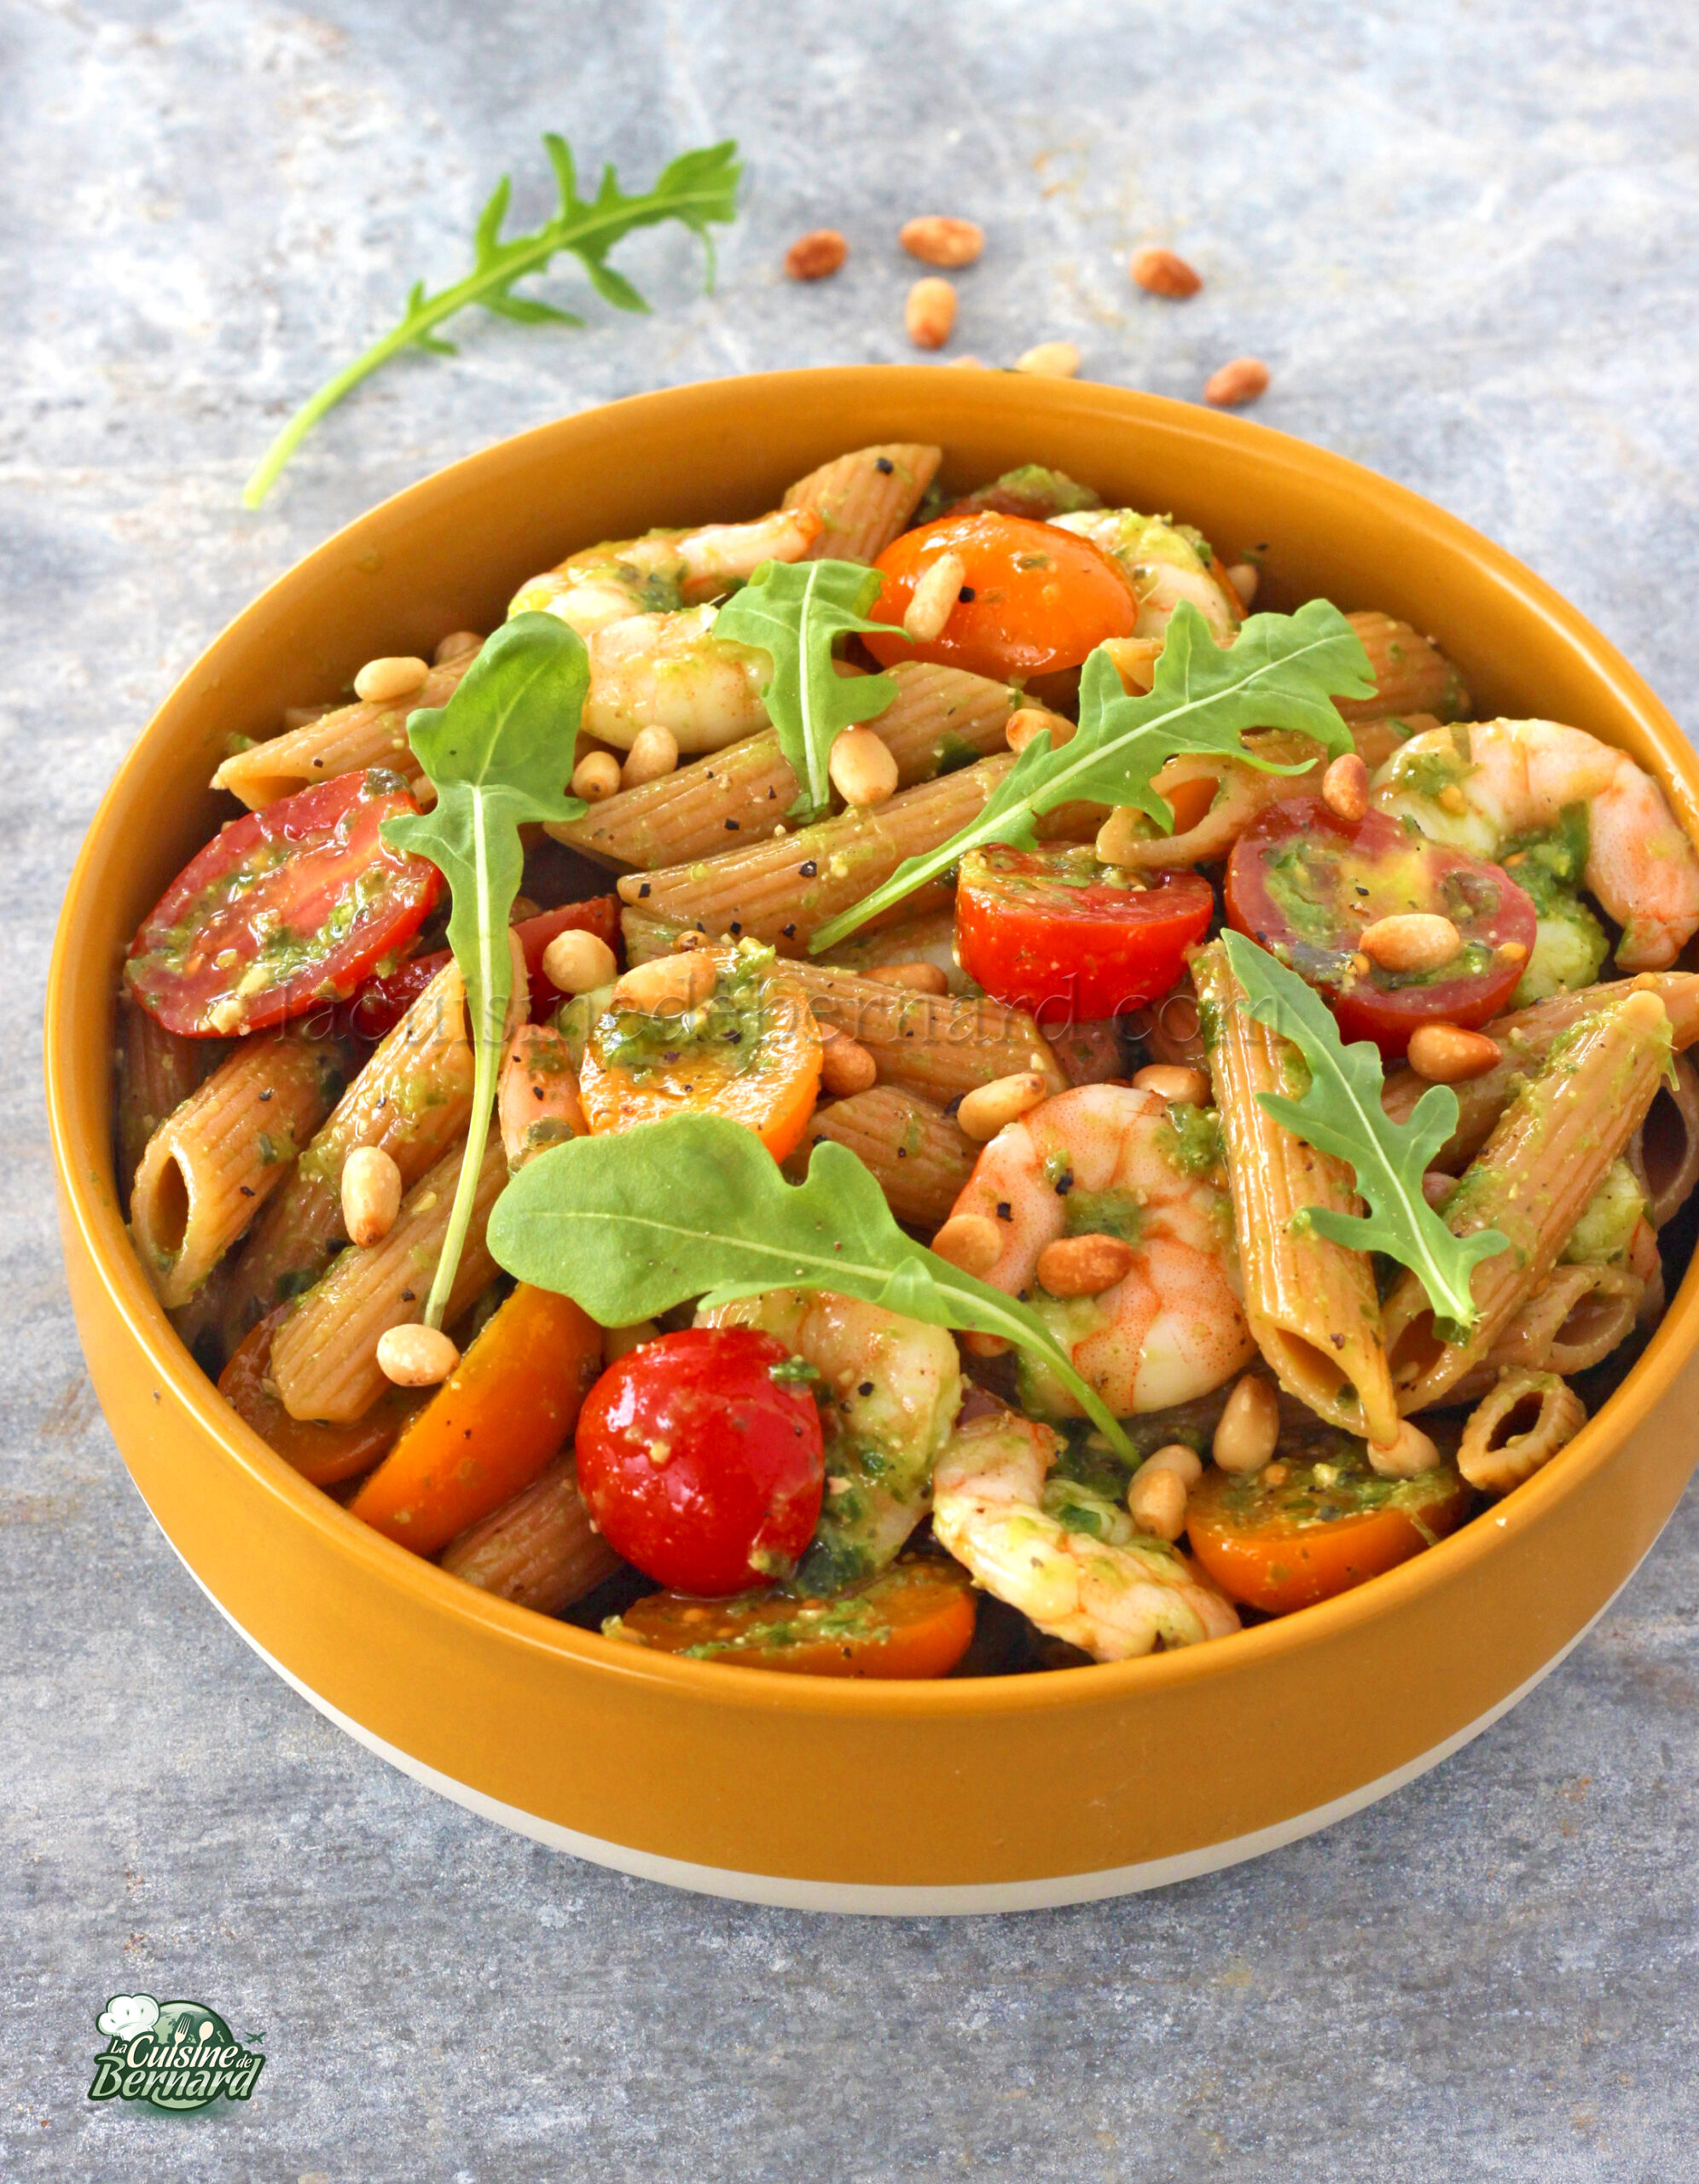
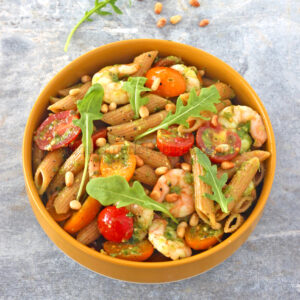
I’m a fan of coral lentils, but I like a little variety. Here’s a recipe for coral lentil pasta with shrimp, cherry tomatoes and pesto! A fresh, well-balanced dish in every respect! I often buy this pasta (I’m in no way sponsored to do so!) which isn’t really pasta at all, as it’s made from 100% coral lentils. With homemade pesto and toasted pine nuts, it’s a dish I make authentically often at home!
Recipe for 4 people:
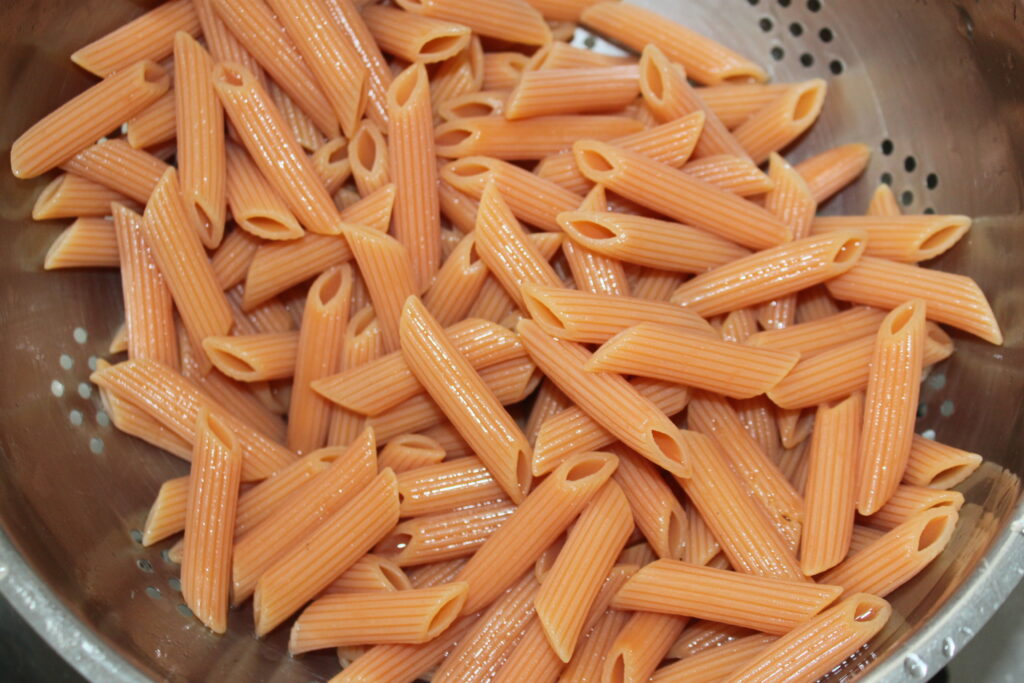
- 250g pasta (in this case 100% coral lentils)
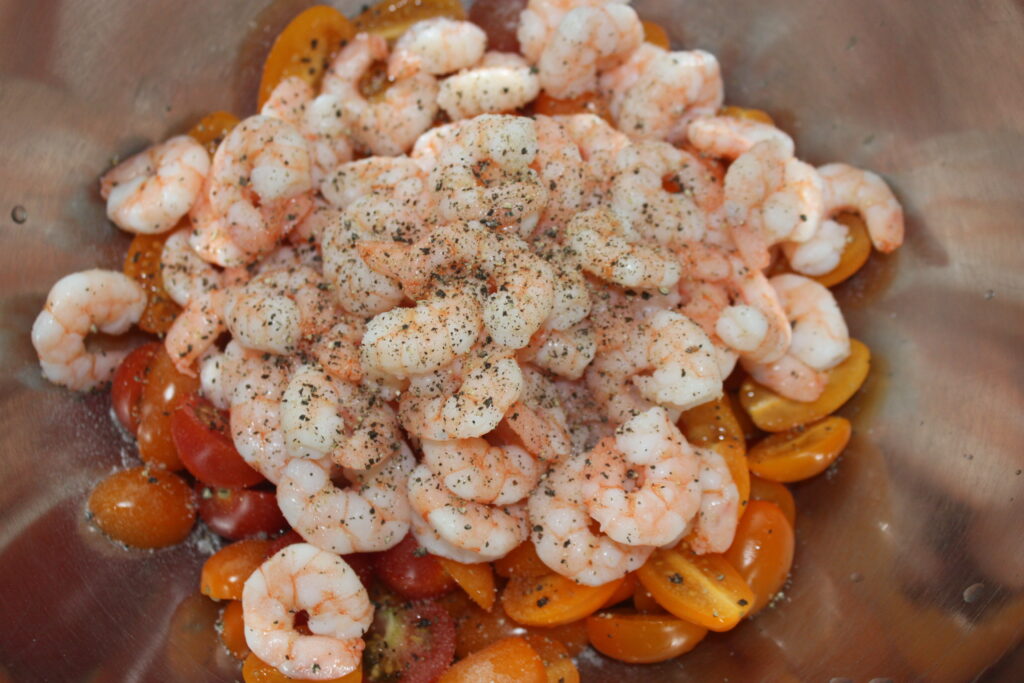
- 300g cooked shrimp
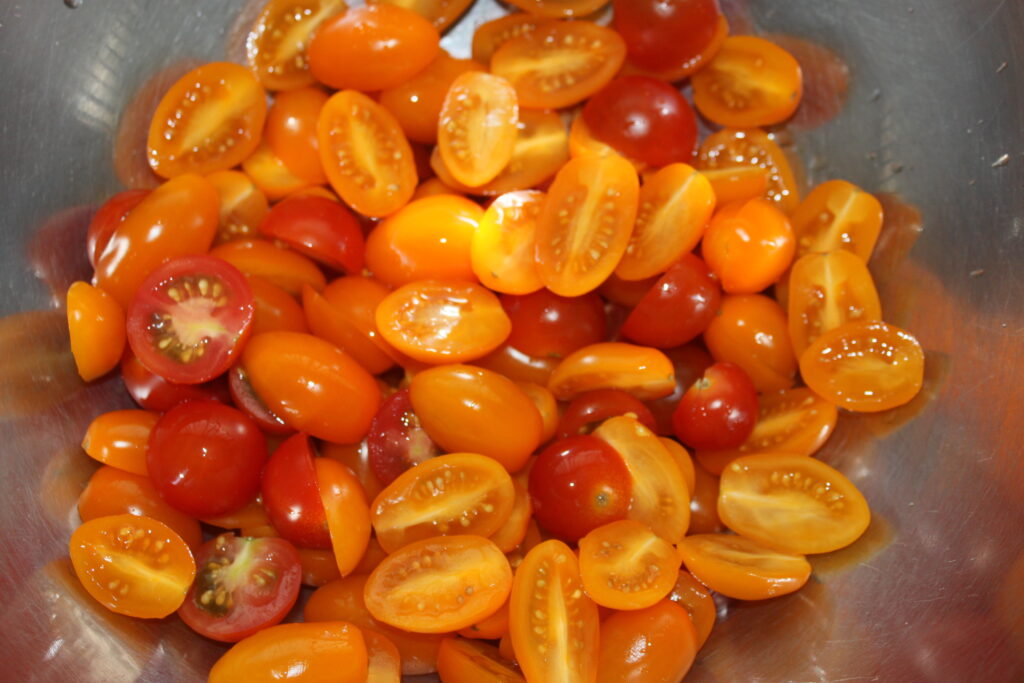
- 500g of cherry tomatoes
- 3-4 tablespoons pesto (here a wild garlic pesto recipe HERE)
- 2 tablespoons of olive oil
- 50g toasted pine nuts
- salt pepper
- rocket or salad
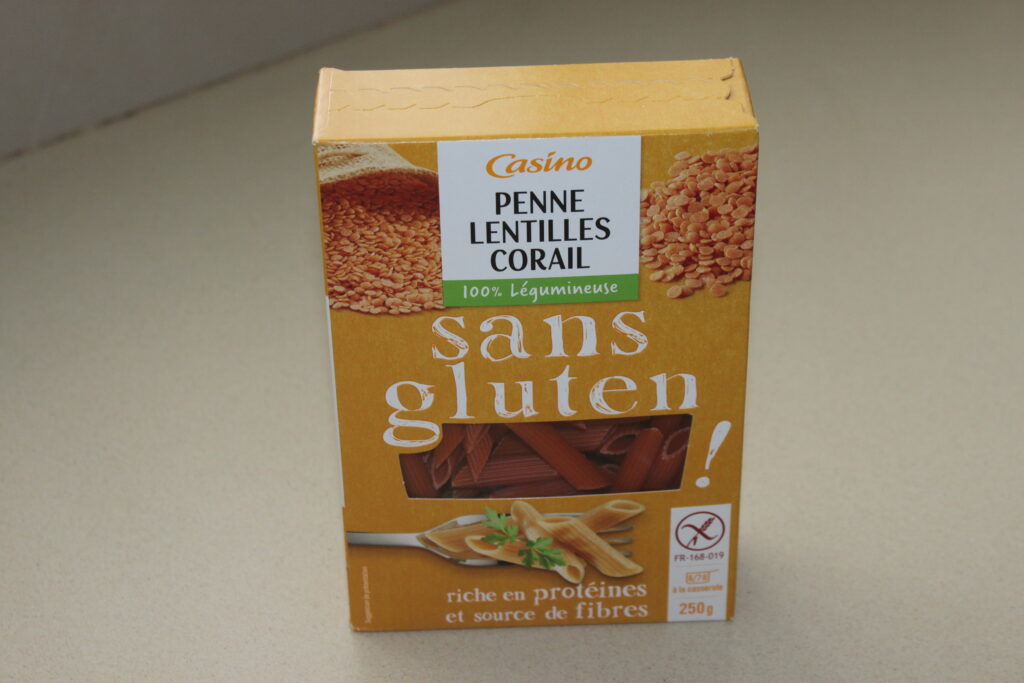
For this recipe, I used this pasta, which turns out to be 100% coral lentils. I find them at Casino. Let me make it clear that I’m not in any way sponsored or canvassed to talk about them, it’s just that I find them really good, they hold up perfectly to baking. I love coral lentils and I also love having the option of eating them in this format.
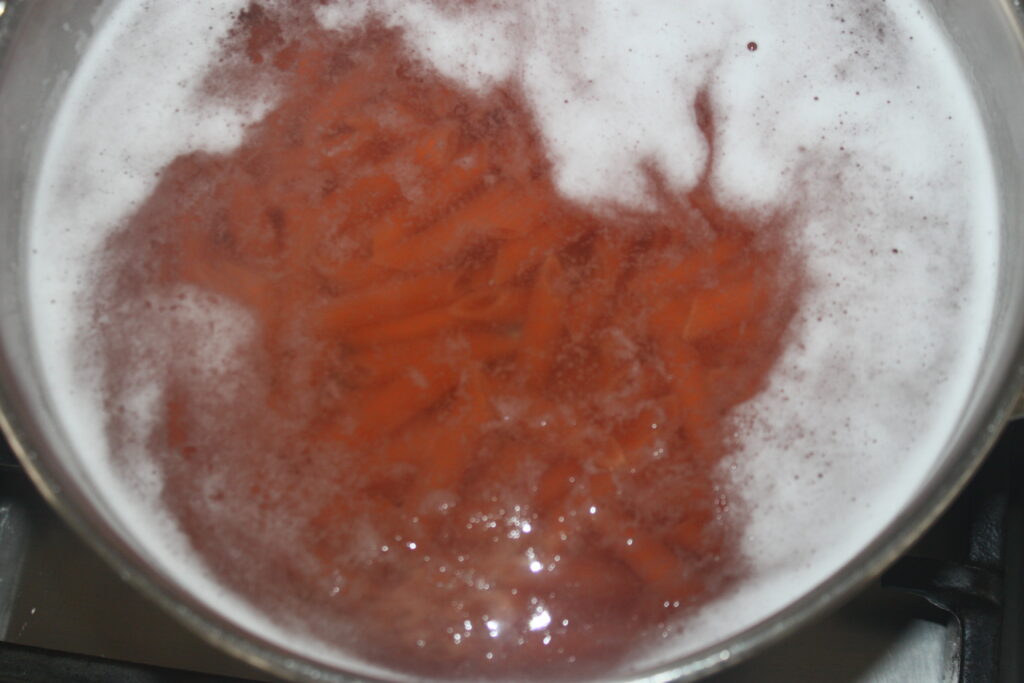
Cook in boiling salted water for 7 minutes.
When cooked, drain and rinse in cold water to cool completely.
Wash and halve the cherry tomatoes.

Place in a large salad bowl with the cooked, peeled shrimp, salt and pepper.
I use homemade wild garlic pesto, but you can also use a classic pesto. For my bear garlic pesto, click HERE.

Add the cooled pasta.
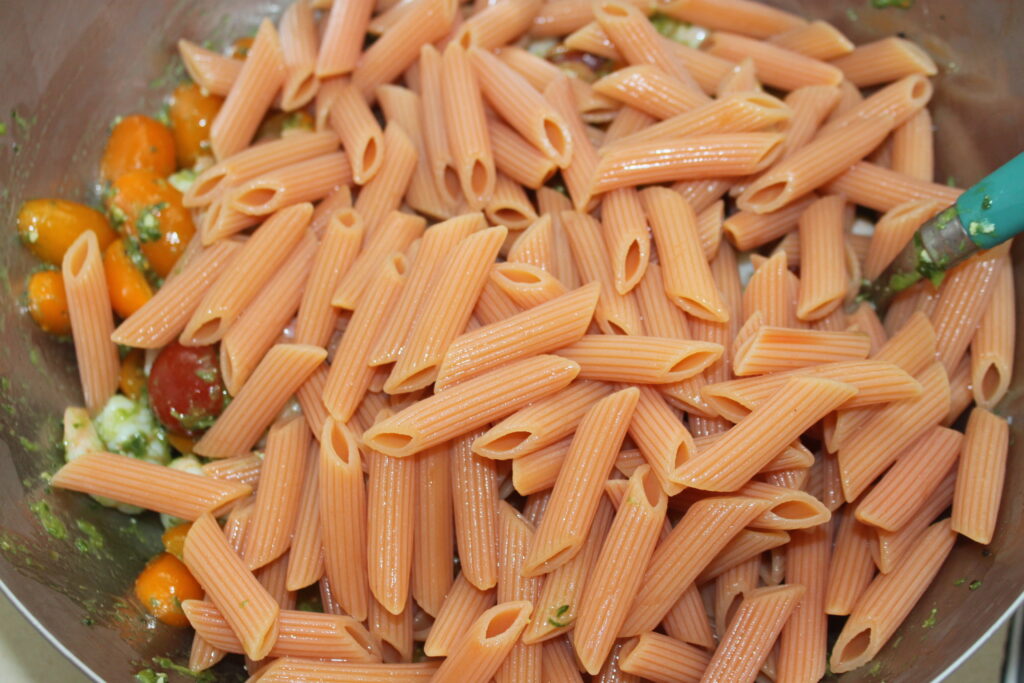
One mix and it’s almost done!
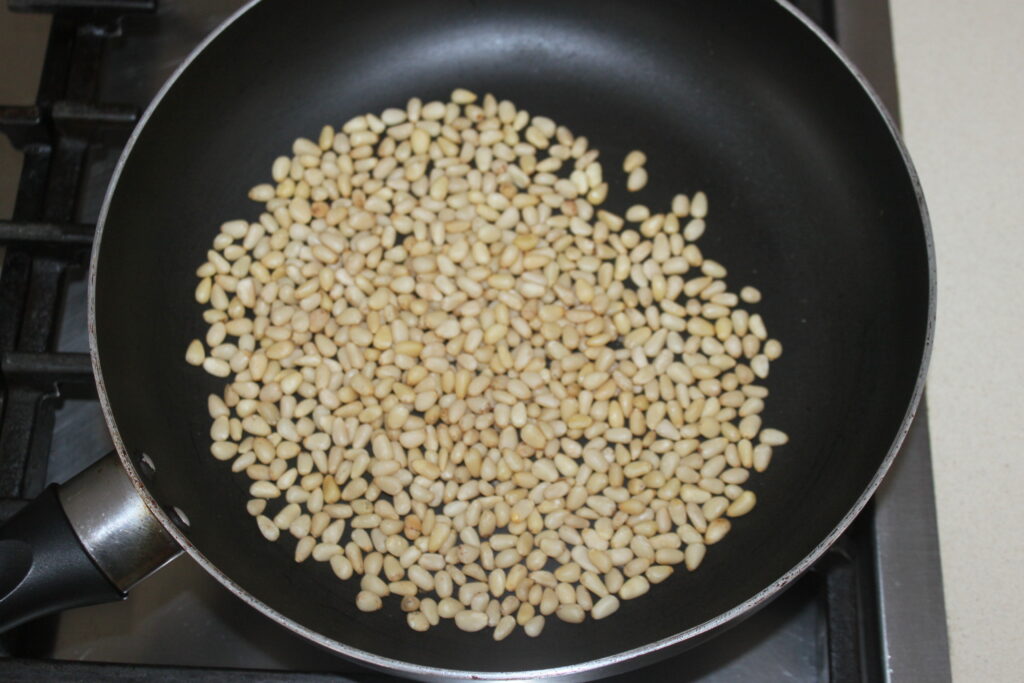
Toast the pine nuts in a frying pan.
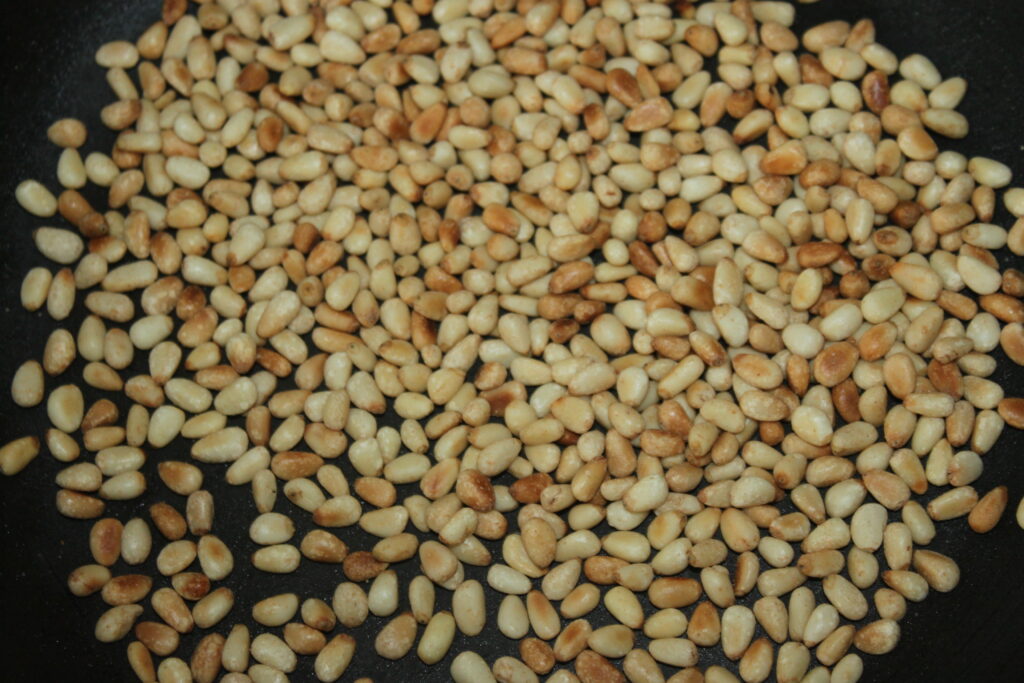
Add them at the last minute, then serve the salad chilled! Add arugula to taste, not just as a garnish as in the photo. Don’t hesitate to apply a generous amount before mixing.
Salade
Ingredients
- 250 g pâtes de lentilles corail
- 300 g crevettes roses cuites
- 500 g tomates cerises
- 4 c. à soupe pesto
- 2 c. à soupe huile d'olive
- 50 g pignons de pin
- sel, poivre
Instructions
- Pour cette recette, j’ai pris ces pâtes qui sont au final des lentilles corail à 100%. Je les trouve chez Casino. Je précise que je ne suis en aucun cas sponsorisé ni démarché pour en parler, c’est juste que je les trouve vraiment bien, elles tiennent parfaitement à la cuisson. J’adore les lentilles corail et j’aime aussi pouvoir avoir l’option de les manger sous ce format là.
- Faites-les cuire à l’eau bouillante salée 7 minutes.
- Quand elles sont cuites, égouttez-les puis rincez-les à l’eau froide pour les refroidir complètement.
- Lavez et coupez les tomates cerises en deux.
- Placez-les dans un grans saladier avec les crevettes cuites et décortiquées, du sel et du poivre.
- Je mets du pesto maison à l’ail des ours, mais vous pouvez mettre un pesto classique. Pour mon pesto l’ail à des ours, c’est par ICI. Ajoutez les pâtes refroidies.
- Faites griller les pignons de pin à la poêle.
- Ajoutez-les au dernier moment puis servez la salade mélangée et bien fraiche !
Nutrition
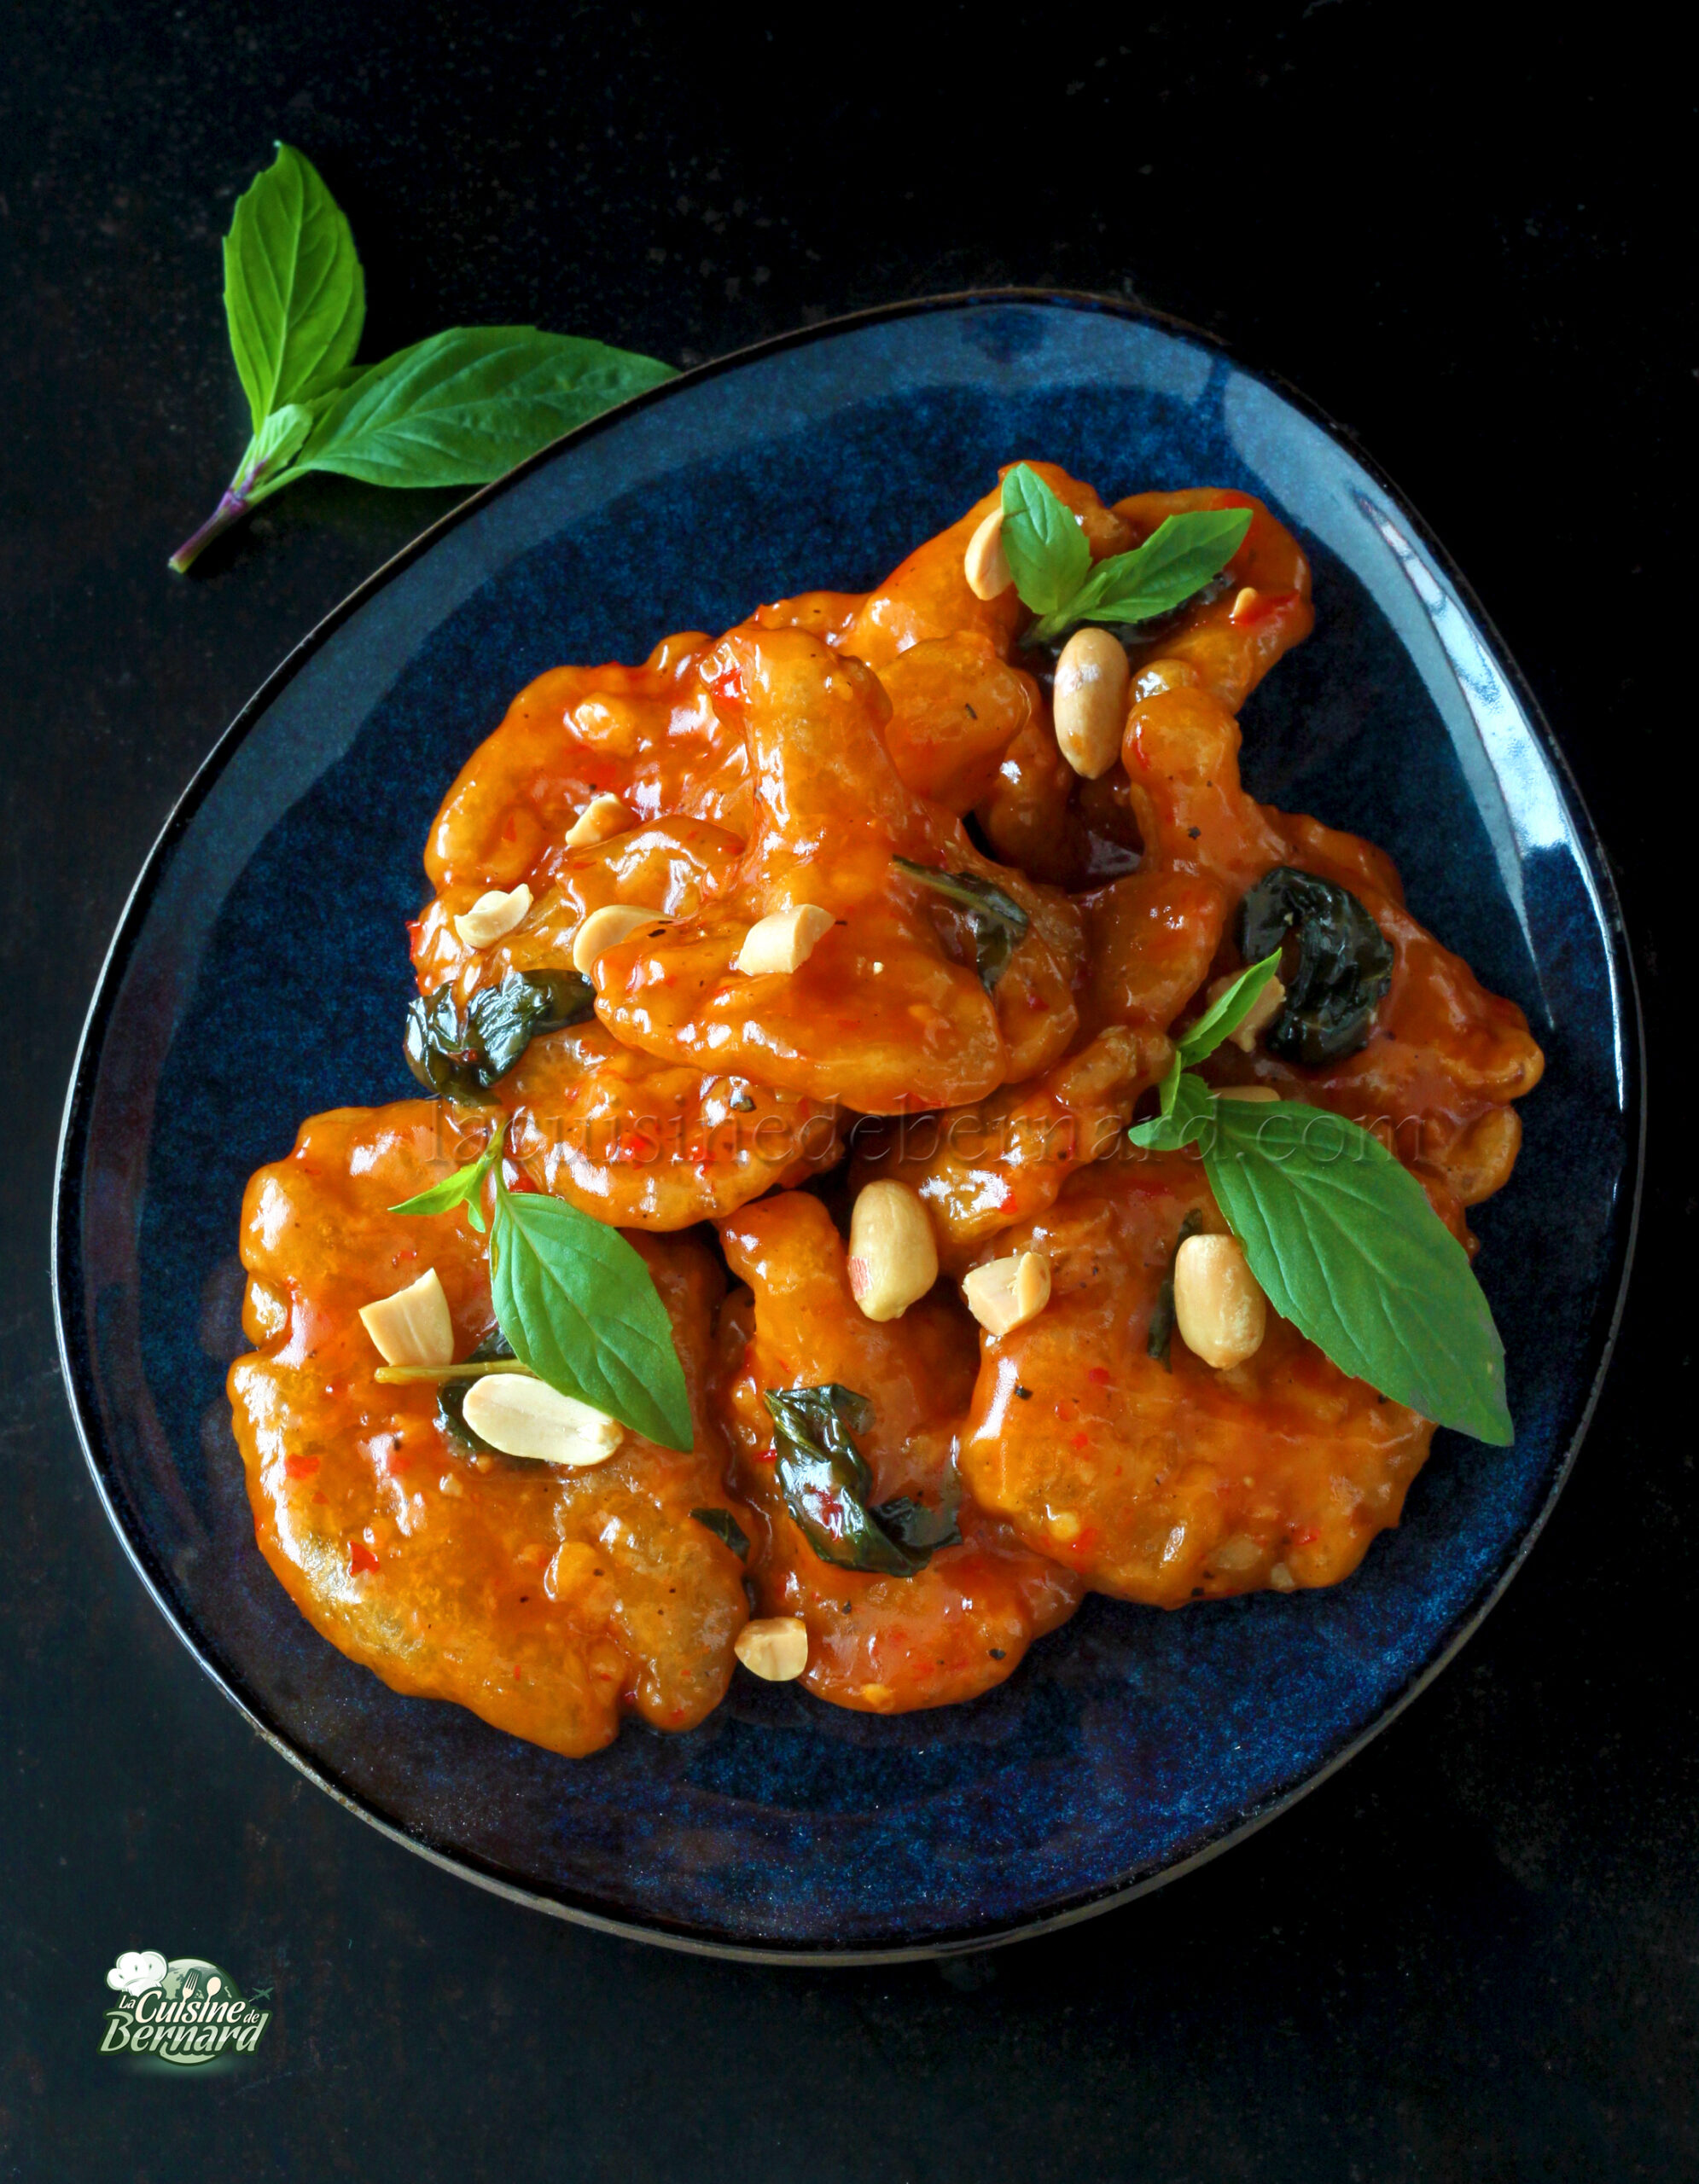
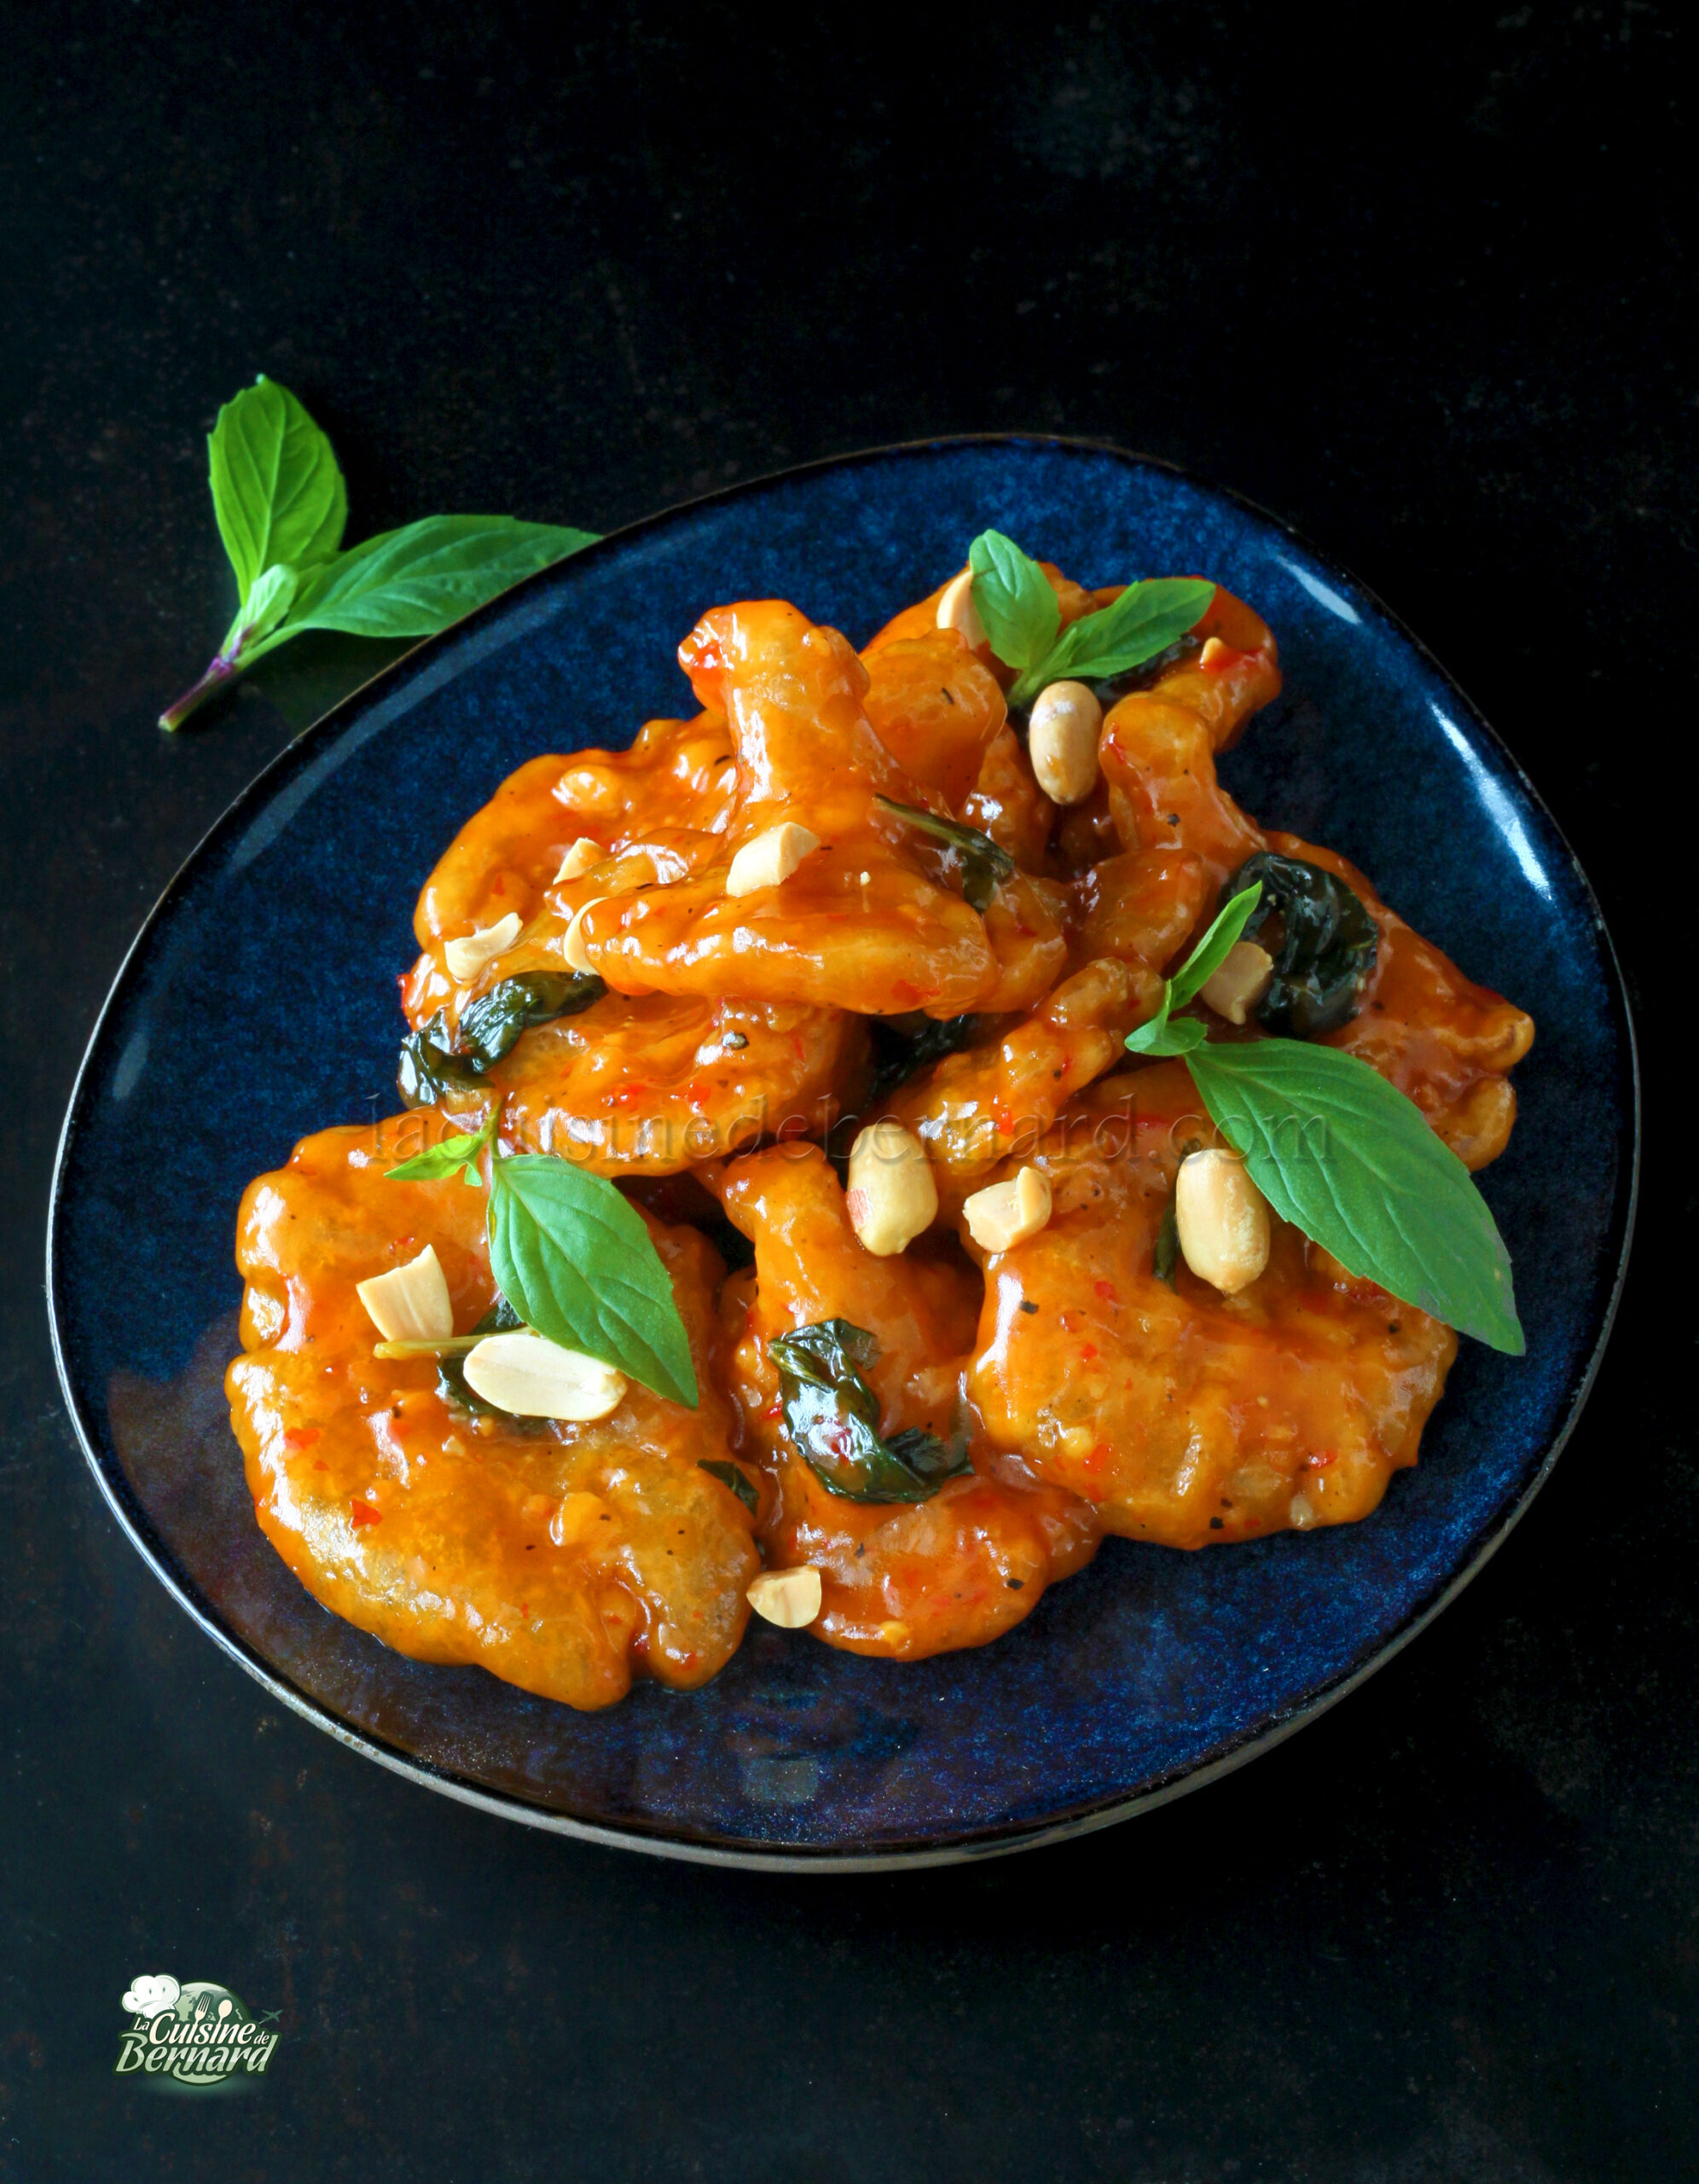
Here’s a recipe that’s 100% vegan, but you can adapt it to whatever you like: other vegetables, meat or fish. The result is very crunchy bites in a sauce that’s spicy, but not too spicy! A little delicacy that’s very easy to make once you have all the ingredients on hand!
Recipe for 4 people:
For the dough:
- 120g flour
- 130g of water
- 1 teaspoon paprika
- 1 pinch chilli pepper
- 1 teaspoon of sugar
- salt pepper
- 1/2 teaspoon baking powder
For the rest :
- 500g mushrooms (or chicken or mixed vegetables)
- 400g of tapioca starch
For the sauce:
- 3 tablespoons sugar
- 2 teaspoons of rice flour
- 1 tablespoon of clear soy sauce
- 3 teaspoons garlic pepper sauce
- 1/2 tablespoon rice vinegar or alcohol
- 8 tablespoons of water
- 1/2 teaspoon sriracha sauce
- 1 tablespoon of oil
- 2 garlic cloves, peeled and pressed with a garlic press
- a few leaves of Thai basil
- a handful of roasted peanuts
- 1 teaspoon sesame oil
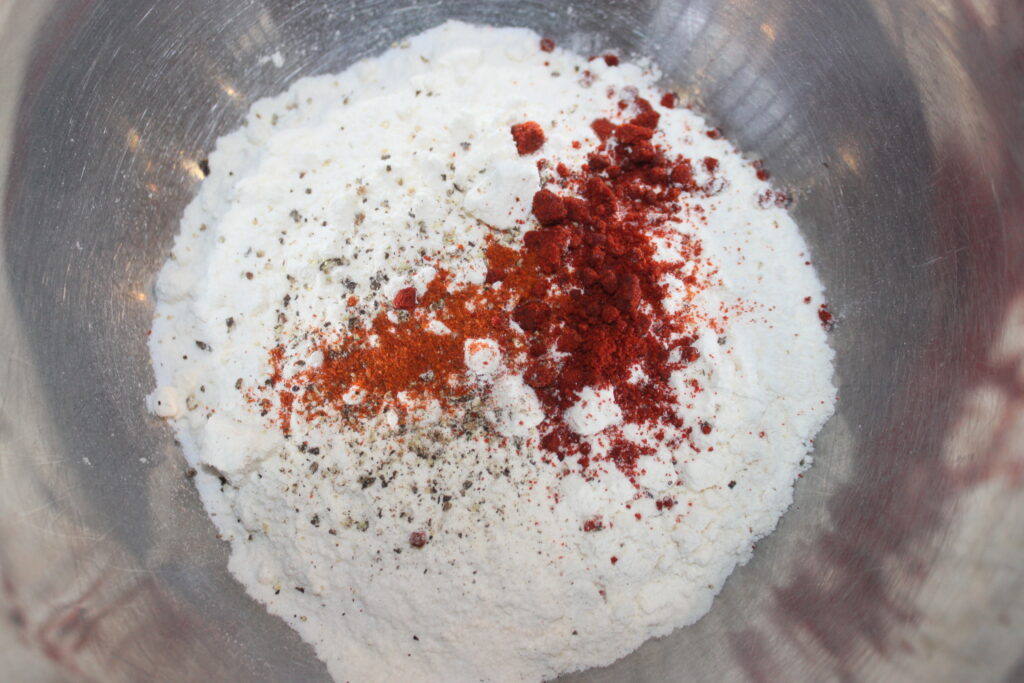
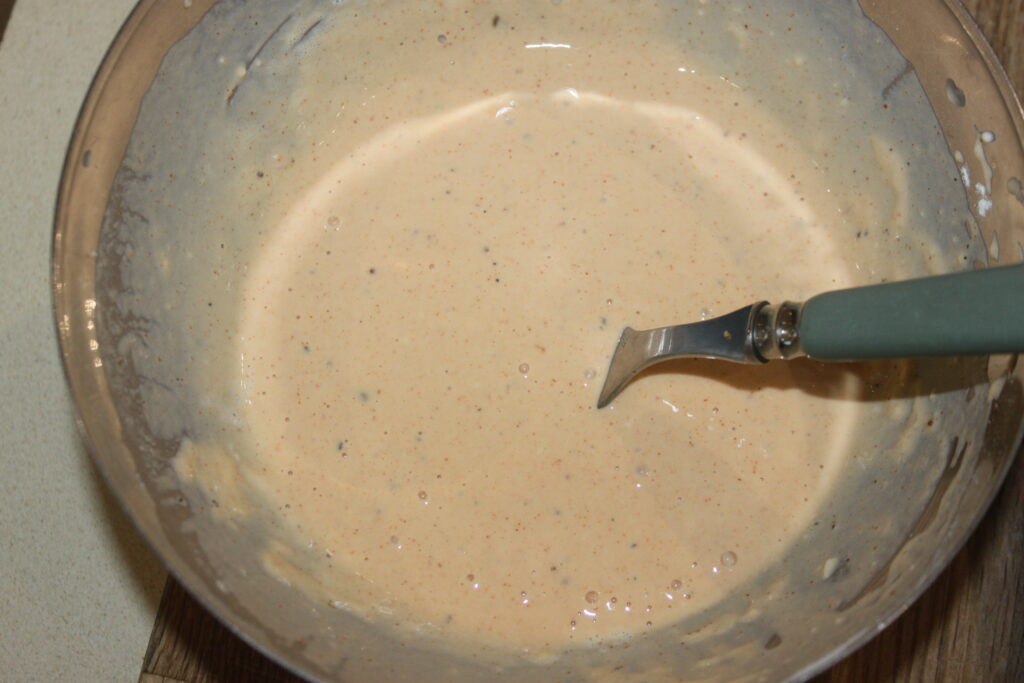
First prepare the dough by mixing all the ingredients together.
I used mushrooms, but you could use any vegetable, meat or fish.
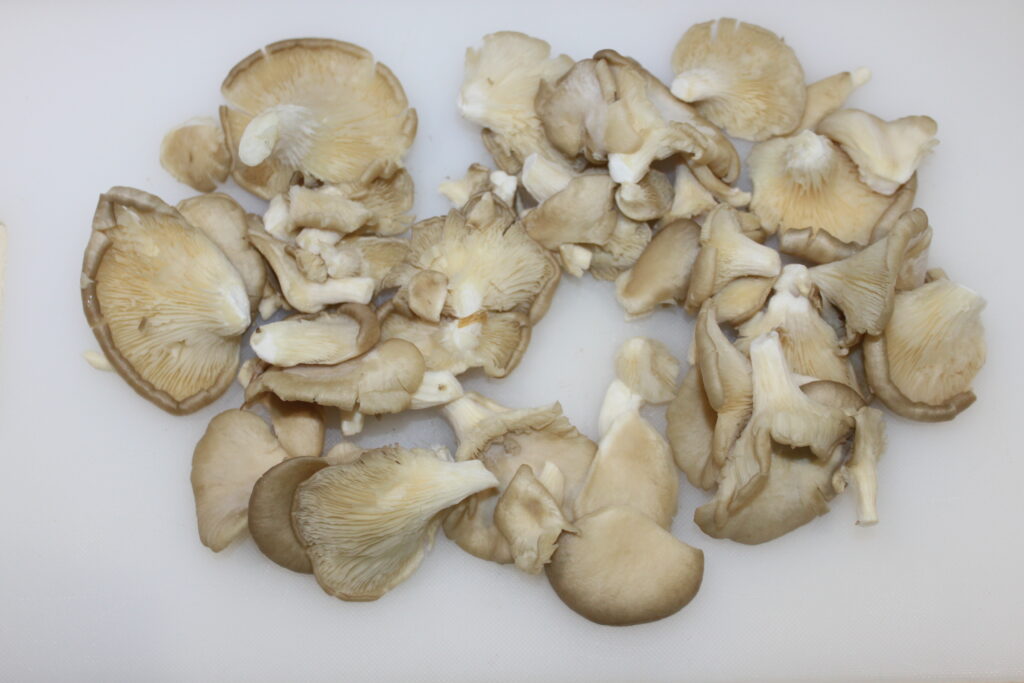
Add the mushrooms one by one to the dough. If the dough isn’t fluid enough, add a little water; if it’s too doughy, add a little flour.
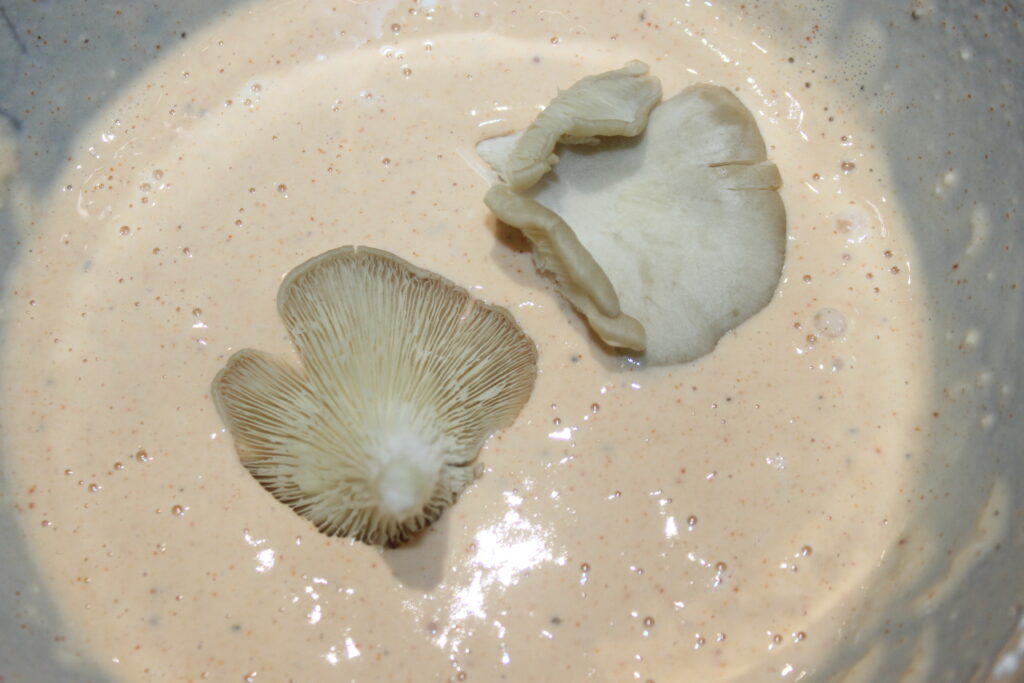
Coat with dough, remove excess and throw into a container of tapioca starch (also known as manioc starch).

Coat well with cornstarch and do the same for all the mushrooms. Leave them in the starch, placing them on one side of the container.

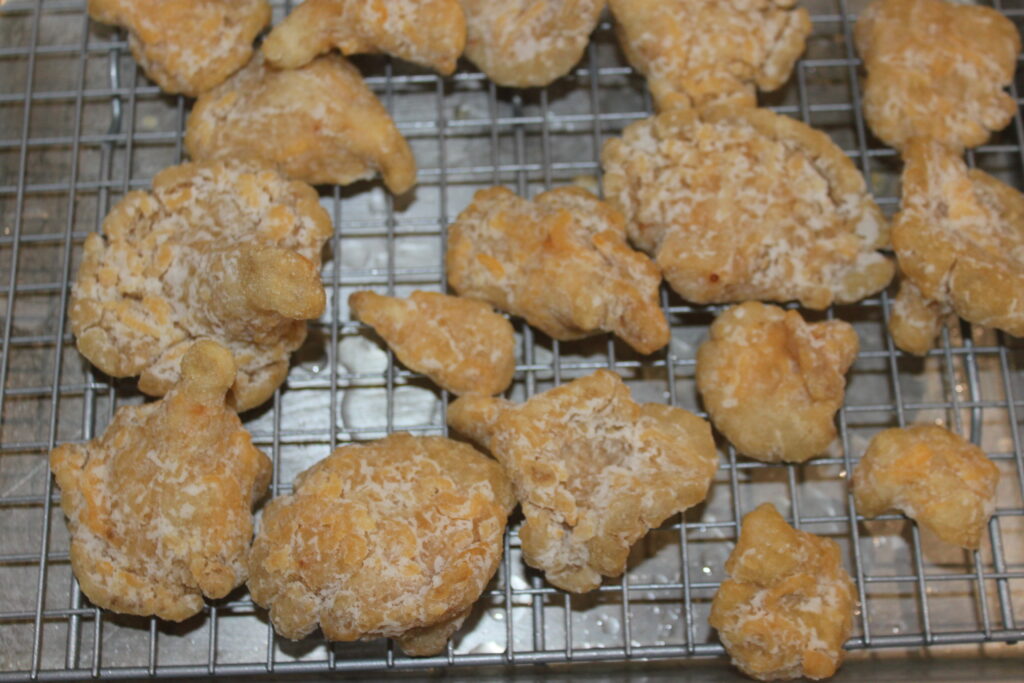
Once all the mushrooms have been placed in the starch, shake everything up, then leave them in for 10 minutes. Then shake them out to remove any loose starch.

Fry in a container of oil heated to 180-190°C.
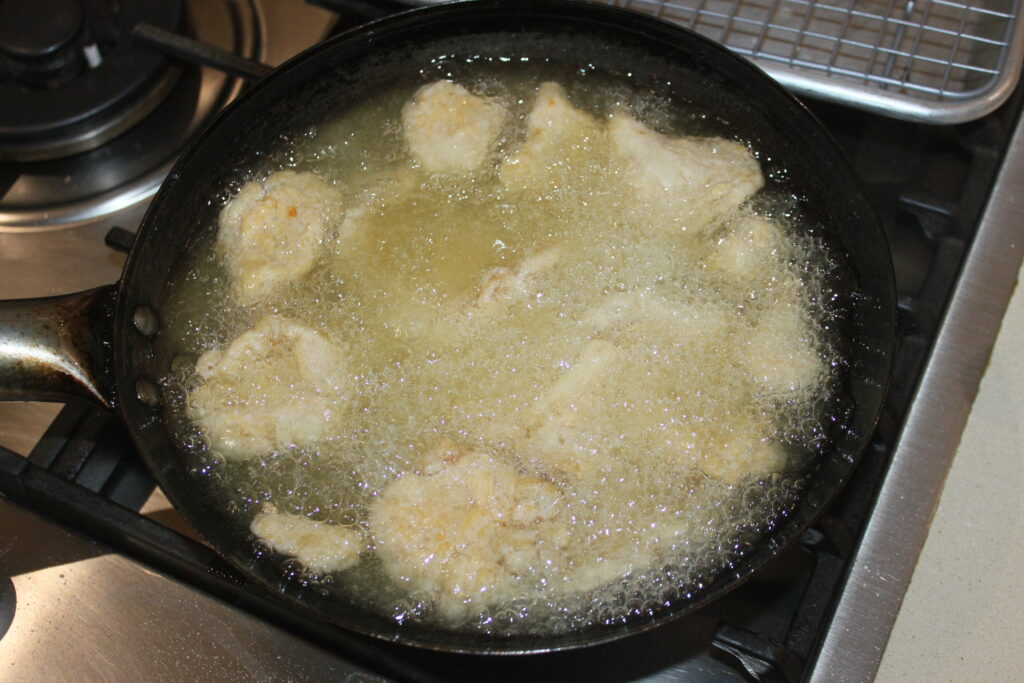
They should be a little golden.
Here are the ingredients for the sauce. I can find them all in Asian supermarkets or on the internet. The sriracha sauce is missing from the photo.
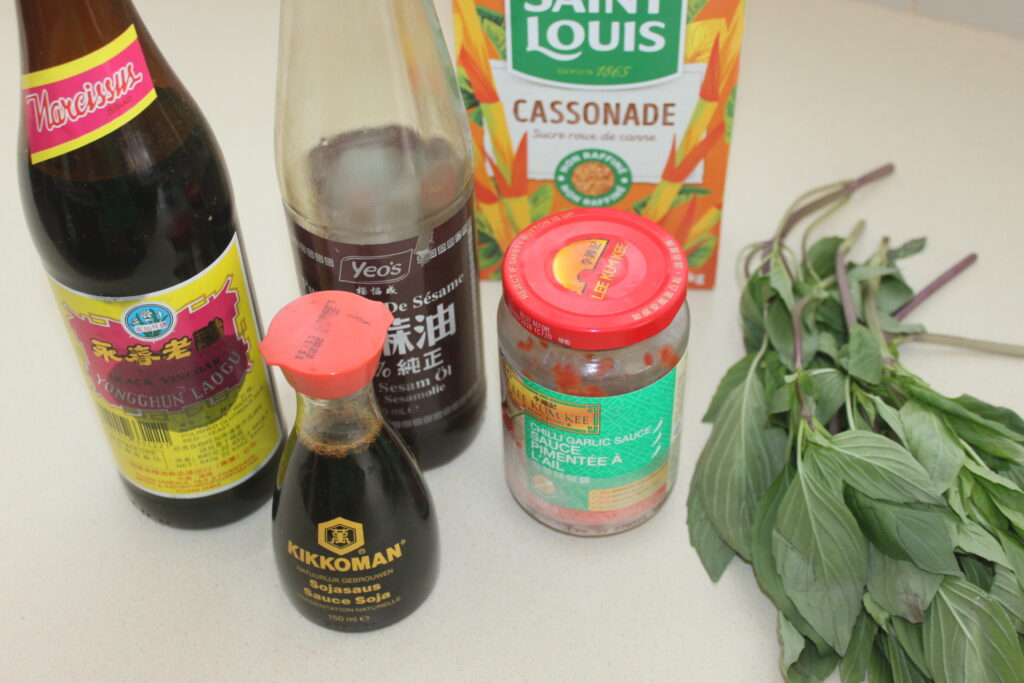
Mix all the ingredients in a bowl and pour into a wok, sauté pan or saucepan.

Add the garlic cloves and Thai basil.
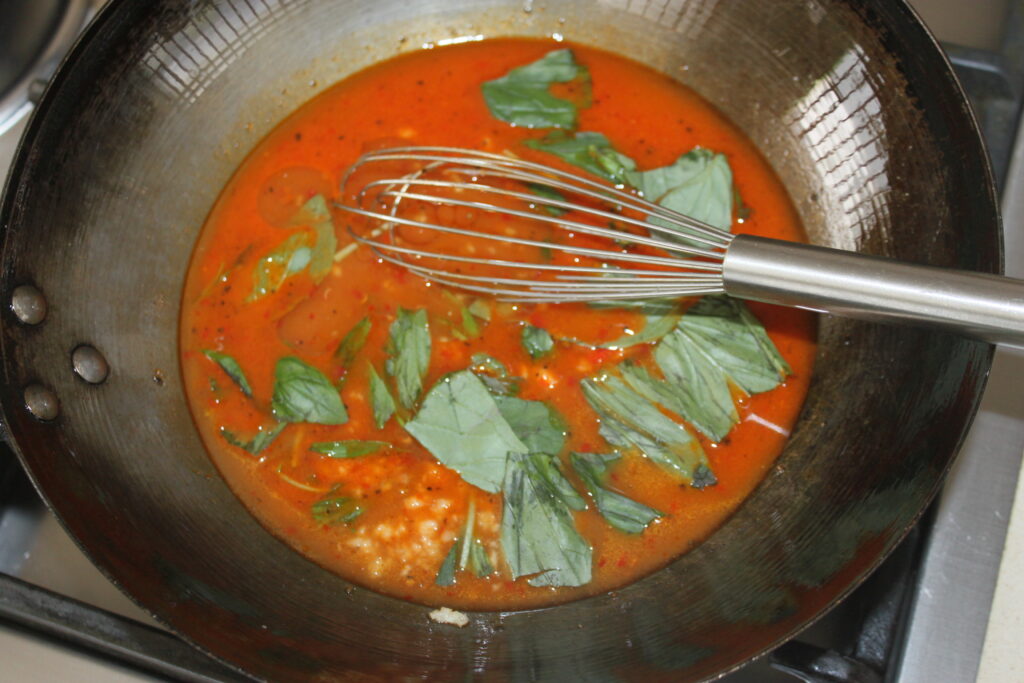
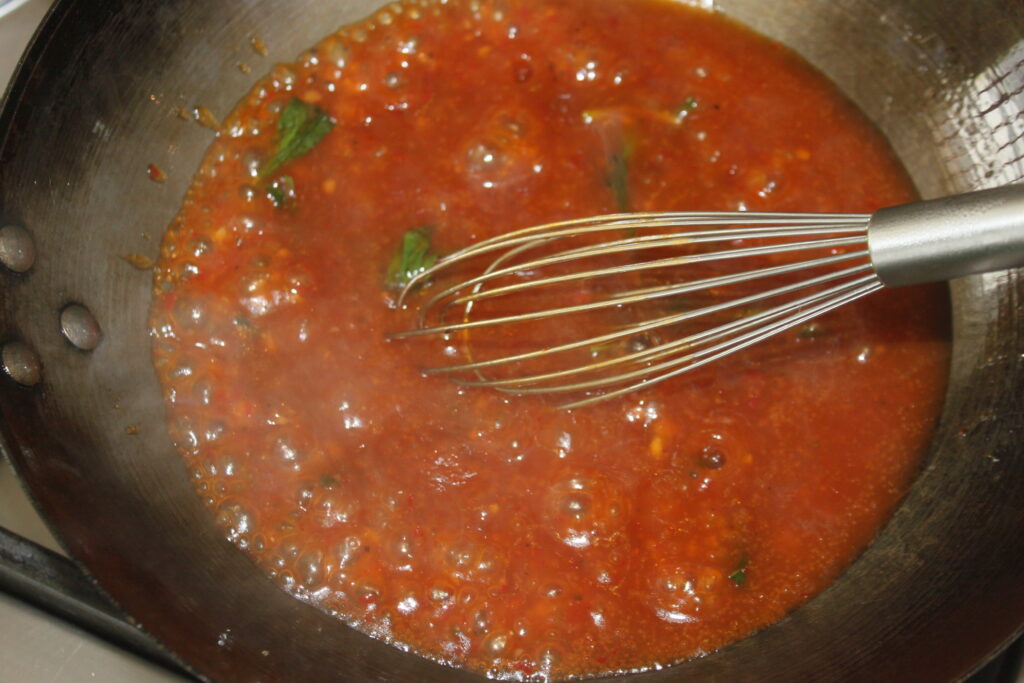
Bring to the boil over moderate heat, the sauce will thicken.
Pour in the freshly fried mushrooms and toss well to coat.
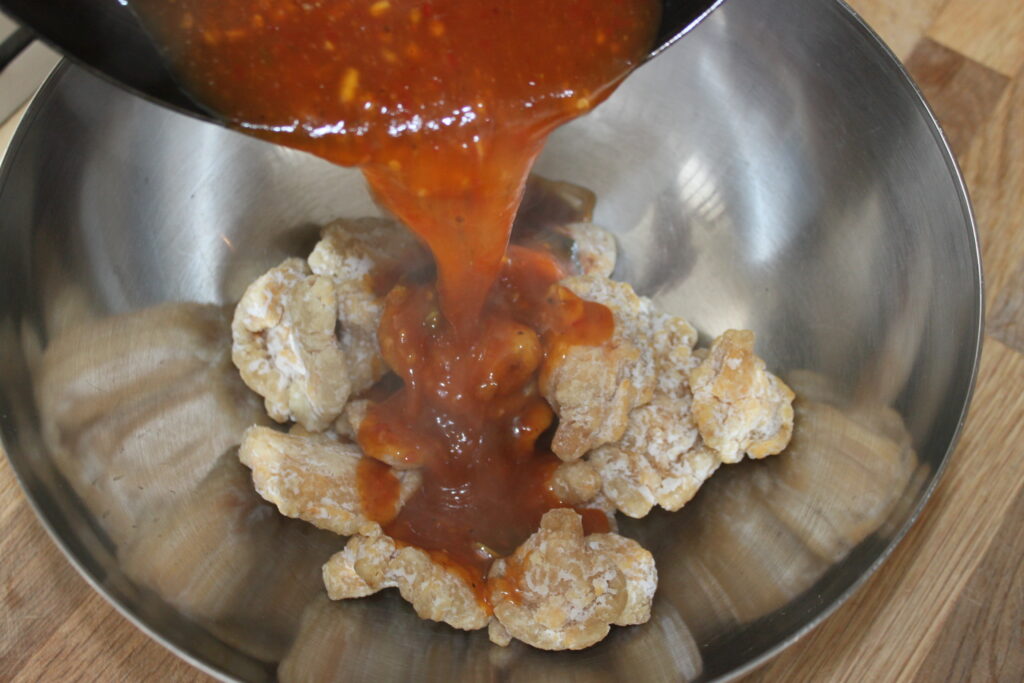
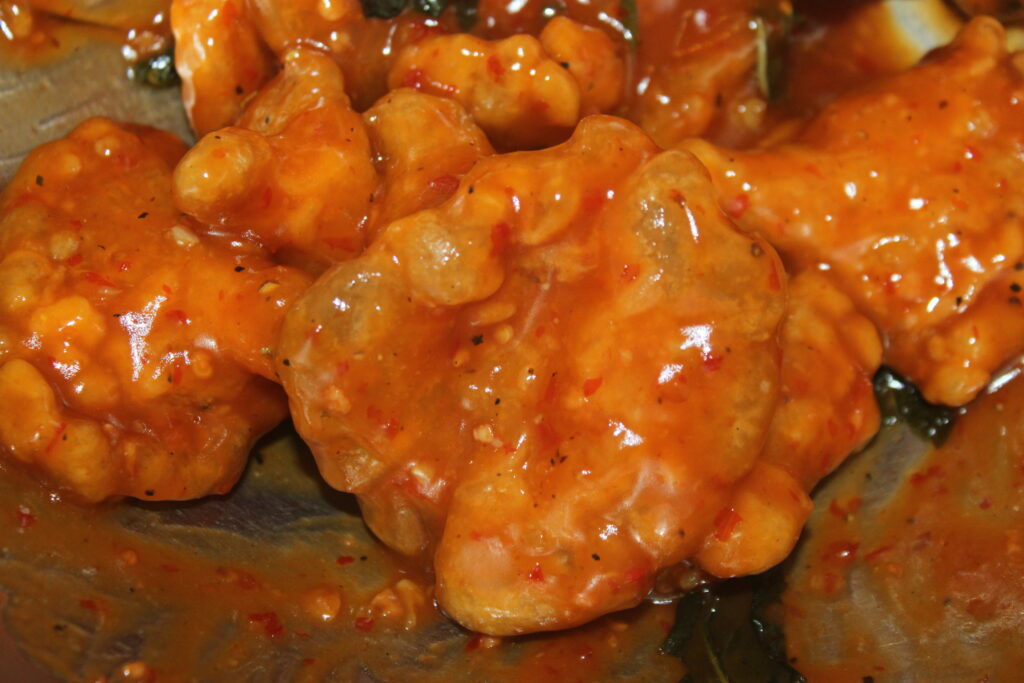
You can add a few crushed peanuts and serve with rice.

Champignons croustillants sauce pimentée
Ingredients
Pour la pâte
- 120 g farine
- 130 g eau
- 1 c. à café paprika
- 1 bonne pincée piment fort en poudre
- 1 c. à café sucre
- 1/2 c. à café levure chimique
- sel, poivre
Pour la suite :
- 500 g champignons
- 400 g fécule tapioca
Pour la sauce :
- 3 c. à soupe sucre
- 2 c. à café farine de riz
- 1 c. à soupe sauce de soja claire
- 3 c. à café sauce pimentée à l'ail
- 1/2 c. à soupe vinaigre de riz
- 8 c. à soupe eau
- 1/2 c. à café saue sriracha
- 1 c. à soupe huile
- 2 gousses d'ail épluchées et hachées
- 3-4 branches basilic thaï
- 1 poignée cacahuètes grillées
Instructions
- Préparez tout d’abord la pâte en mélangeant tous les ingrédients ensemble.
- J’ai pris des champignons, mais vous pourriez prendre n’importe quel légume, viande ou poisson.
- Mettez un à un les champignons dans la pâte. Si la pâte n’est pas assez fluide, versez un peu d’eau, si au contraire elle est trop pâteuse, versez un peu de farine.
- Enrobez de pâte, enlevez l’excédent puis jeter dans un récipient contenant la fécule de tapioca (aussi appelée fécule de manioc).
- Enrobez bien de fécule et faites de même pour tous les champignons. Laissez-les dans la fécule, en les plaçant sur un côté du récipient.
- Une fois tous les champignons mis dans la fécule, secouez le tout, puis laissez-les dedans 10 minutes. Sortez-les ensuite en les secouant pour enlever la fécule qui n’adhère pas.
- Faites-les frire dans un contenant d’huile chauffée à 180-190°C. Ils doivent être un peu dorés.
- Mélangez tous les éléments de la sauce dans un récipient puis versez dans un wok ou une sauteuse ou une casserole. Ajoutez les gousses d’ail et le basilic thaï.
- Faites bouillir sur feu modéré, la sauce va épaissir.
- Versez les champignons sortants de la friture et mélangez bien pour tous les enrober.
- Vous pouvez ajouter quelques cacahuètes concassées et servir le tout avec du riz.
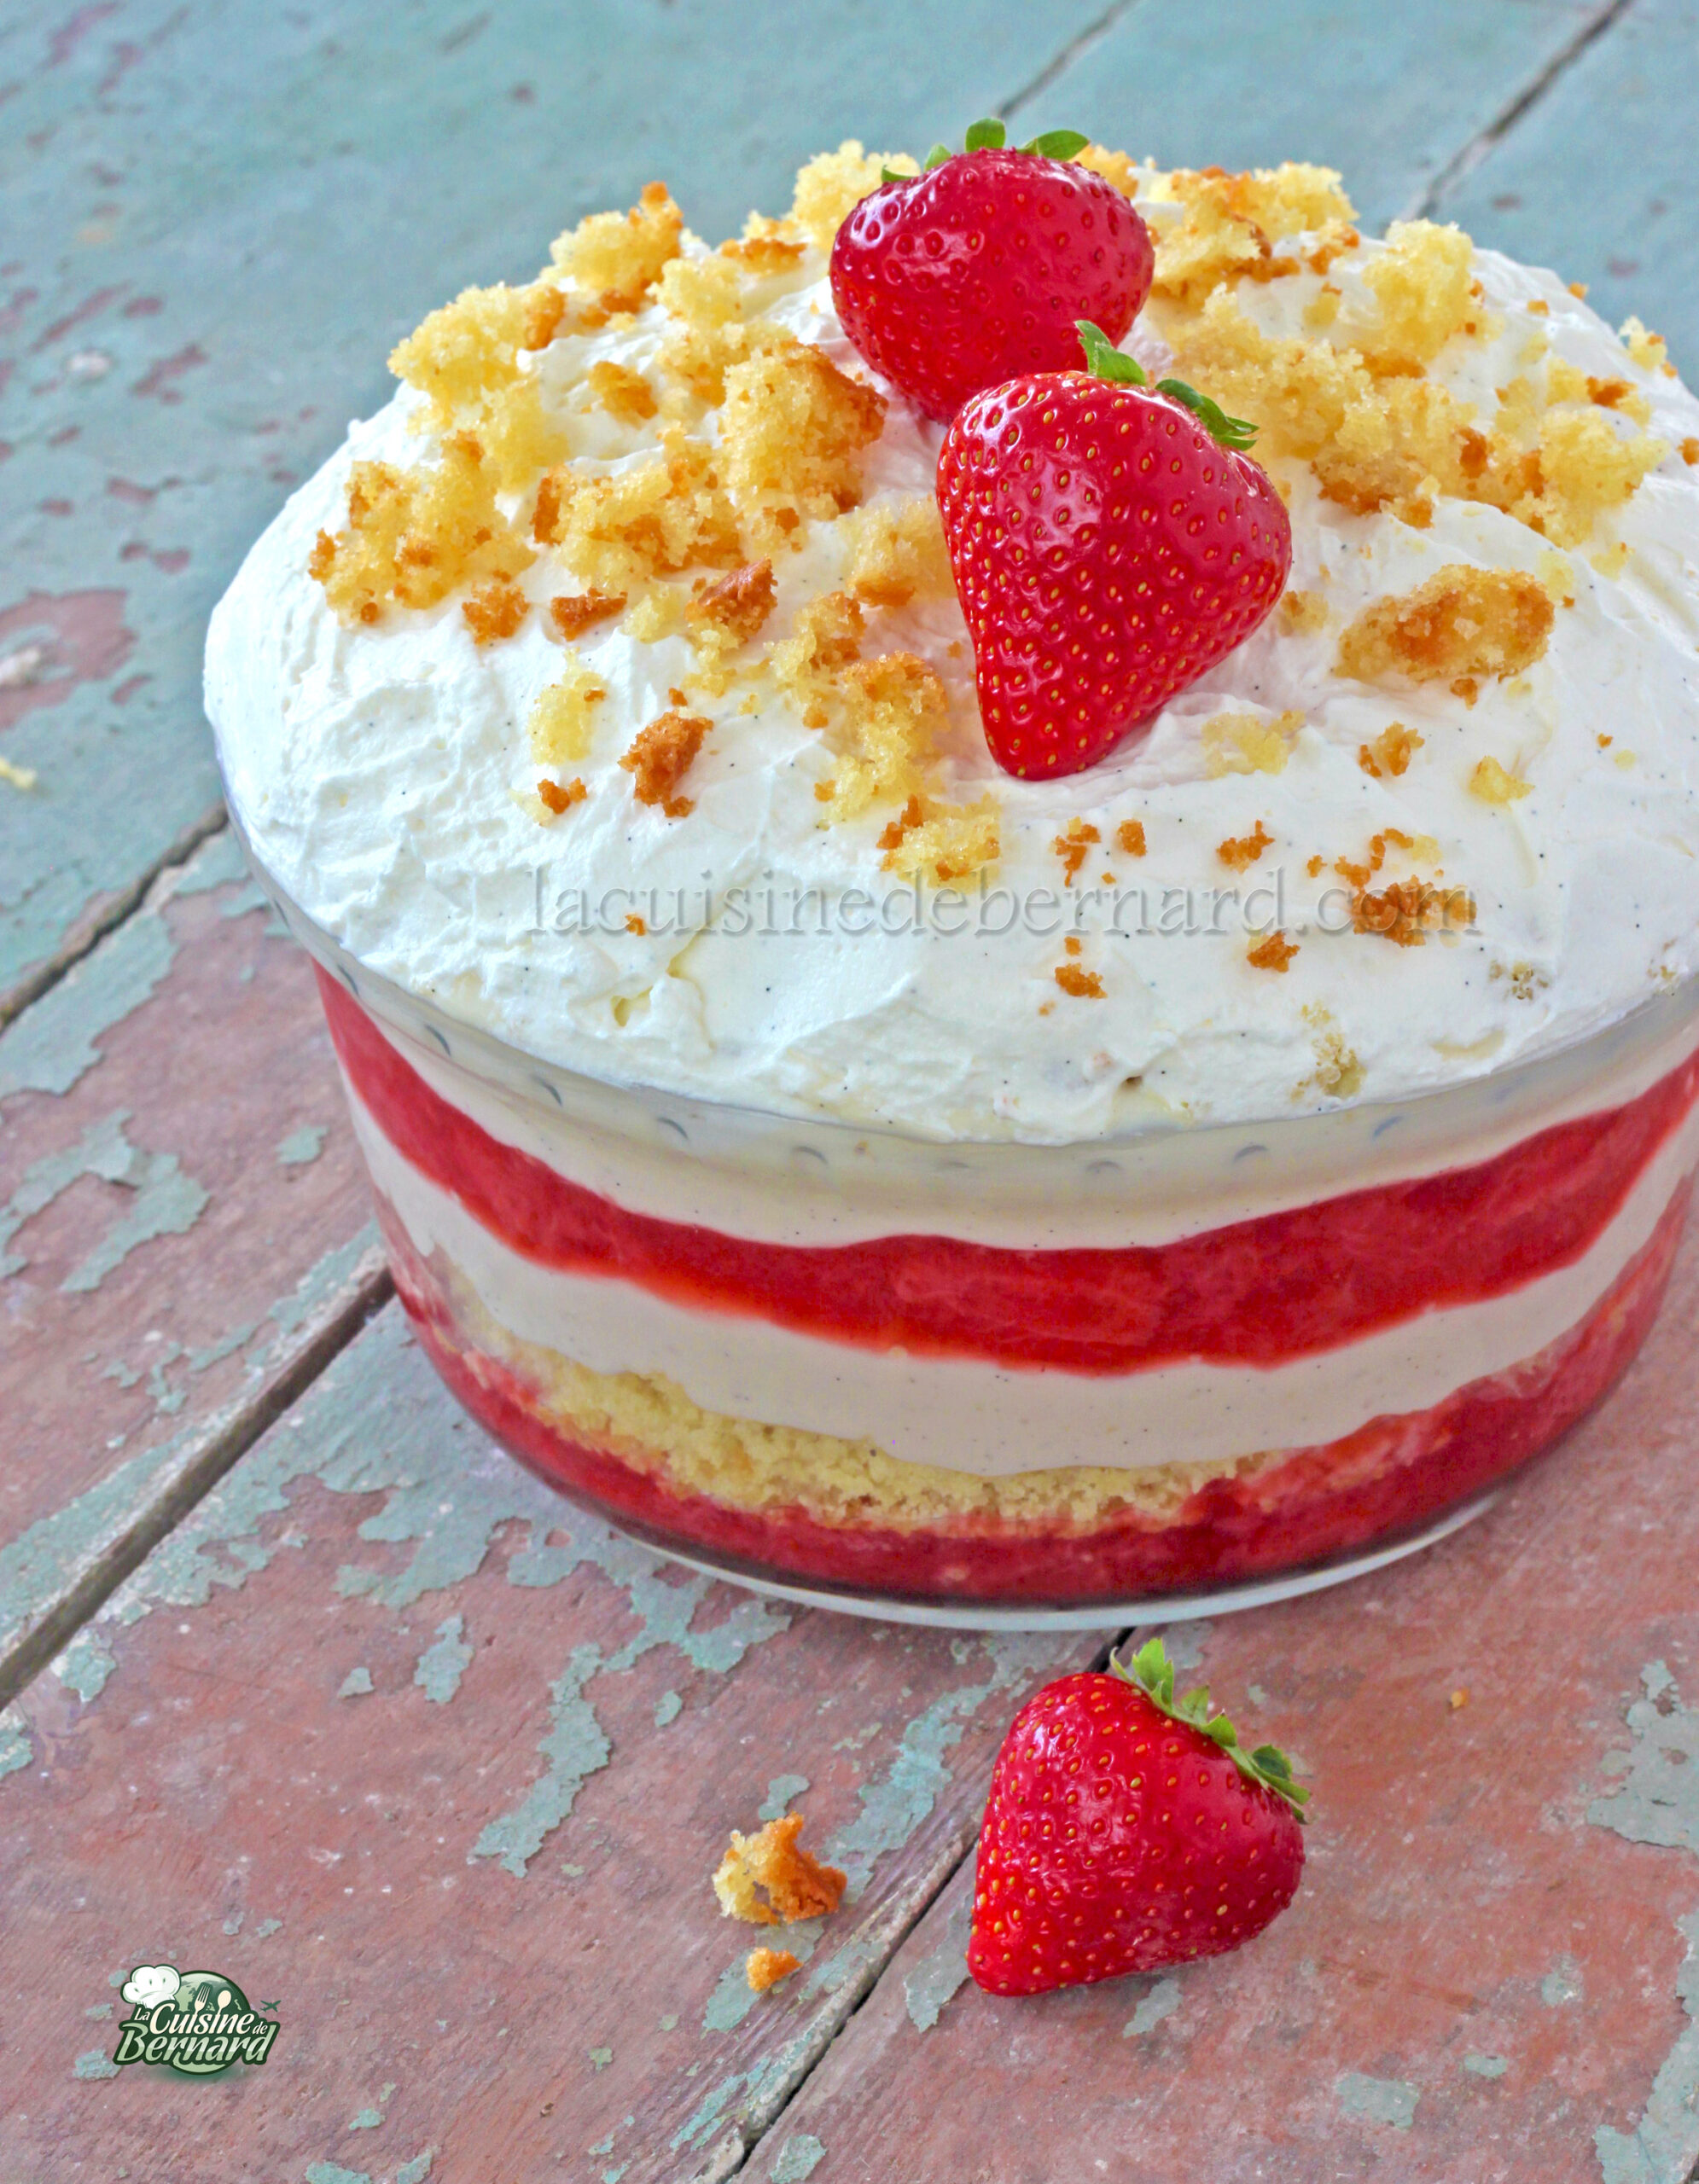
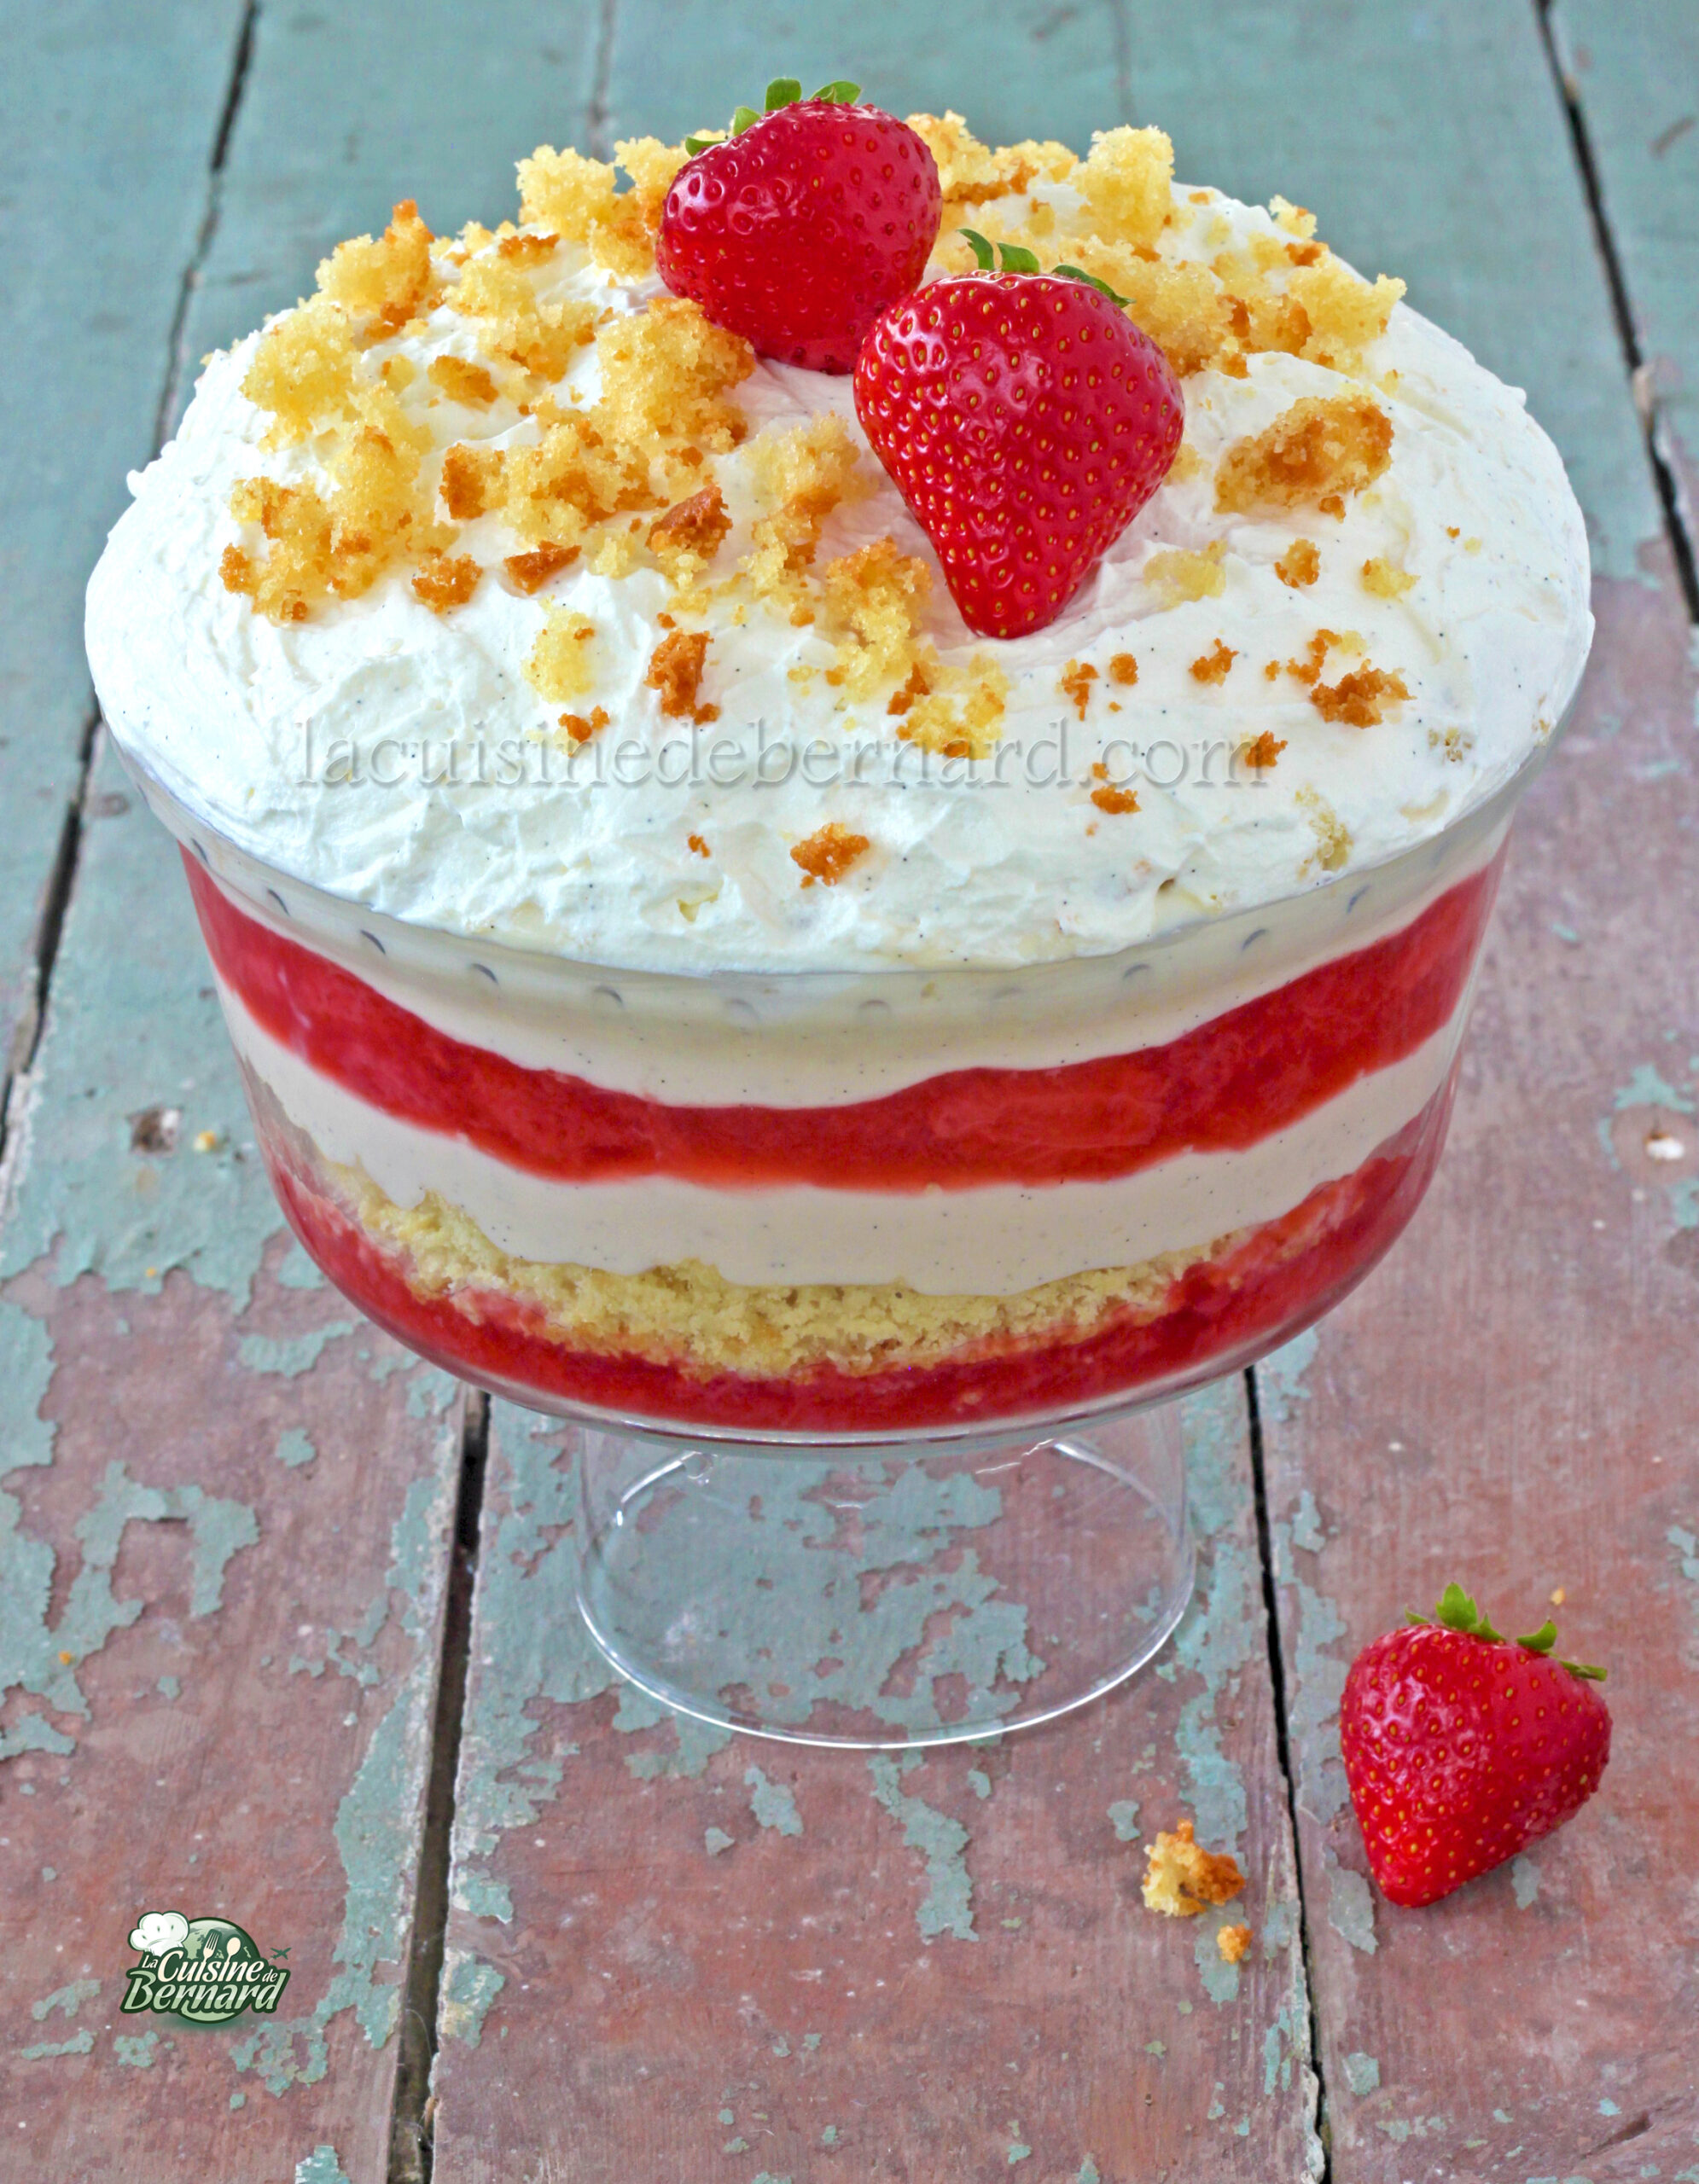
An absolutely irresistible, ultra-fresh, not-too-sweet dessert that celebrates strawberries from a very different angle! Trifle is an English dessert, served in layers in a transparent container. I was inspired by what I tasted in London recently to create this decadent version. You’ll find layers of sponge cake, custard, strawberry coulis and chantilly. Prepare the day before to make the most of the cake’s ability to absorb flavours!
Recipe for a 15cm diameter serving tin (serves 8):
Sponge cake for an 18cm mould:
- 115g of soft butter
- 110g of sugar
- 2 large eggs
- 15g milk
- 120g flour
- 5g of baking powder
- 1/4 teaspoon baking soda
- sherry to soak the cake
For the custard :
- 600g milk
- 300g of full cream
- 40g egg yolk (2 large)
- 15g cornstarch (maïzena)
- 45g of sugar
- 1 teaspoon of liquid vanilla
- 1 vanilla pod or a little vanilla powder
For the strawberry coulis:
- 400g strawberries, hulled and cut into pieces
- 100g water
- 50g of sugar
- 15g cornstarch
For the whipped cream :
- 220g full-cream, very cold
- 100g cold mascarpone
- 30g of powdered sugar
- a little vanilla powder
Start by preparing the sponge cake. Place the butter and sugar in the mixer of your food processor or in a bowl.
Mix with the leaf or with a spoon.
Add the eggs and milk and mix again.

Finish with the flour, baking powder and baking soda.

Mix again. Grease an 18 cm-diameter baking tin and line the base with baking parchment.

Pour in all the dough.
Bake for 35 minutes in an oven preheated to 160°C over static heat (not fan assisted, otherwise the cake will swell into a lump).
As soon as removed from the oven, turn out onto a wire rack.
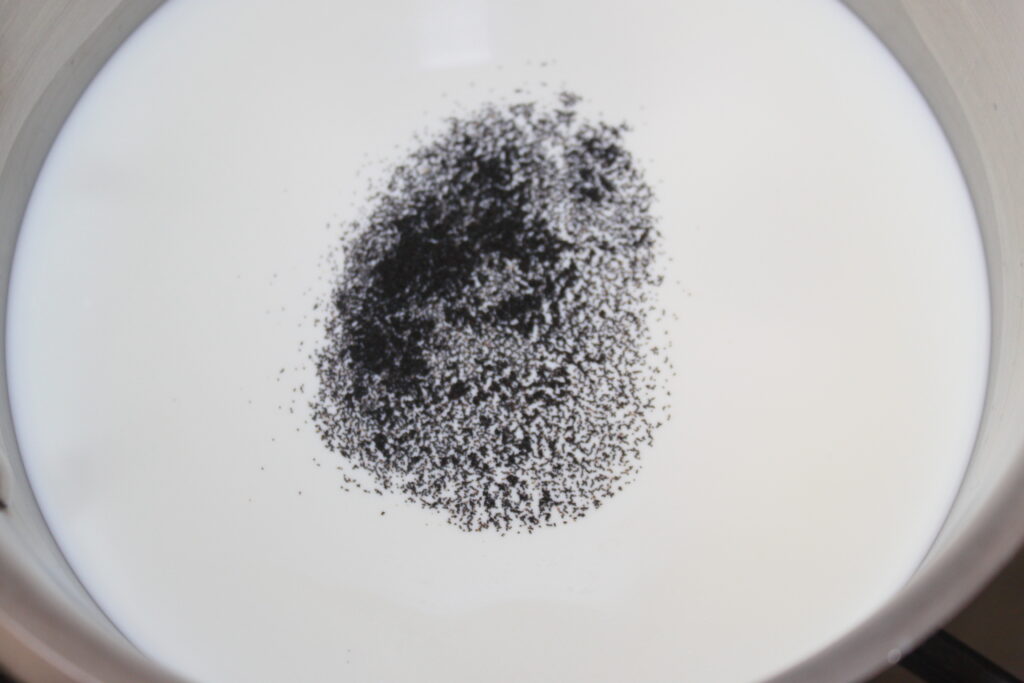
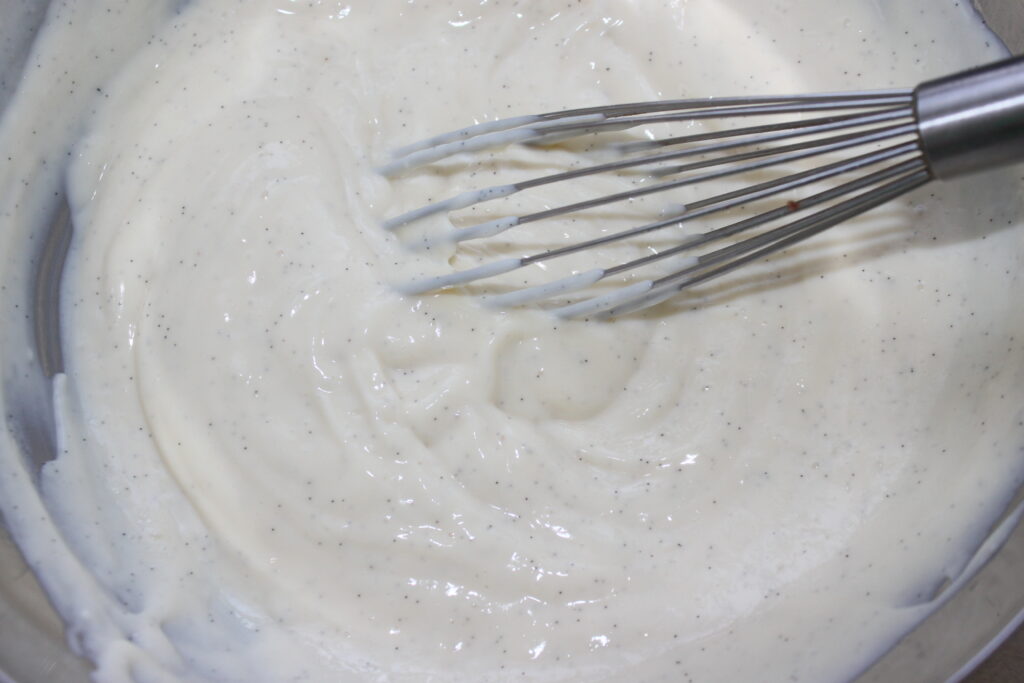
Prepare the custard. Heat the milk, cream and half the sugar over low heat.

Add the split vanilla pod or vanilla powder.
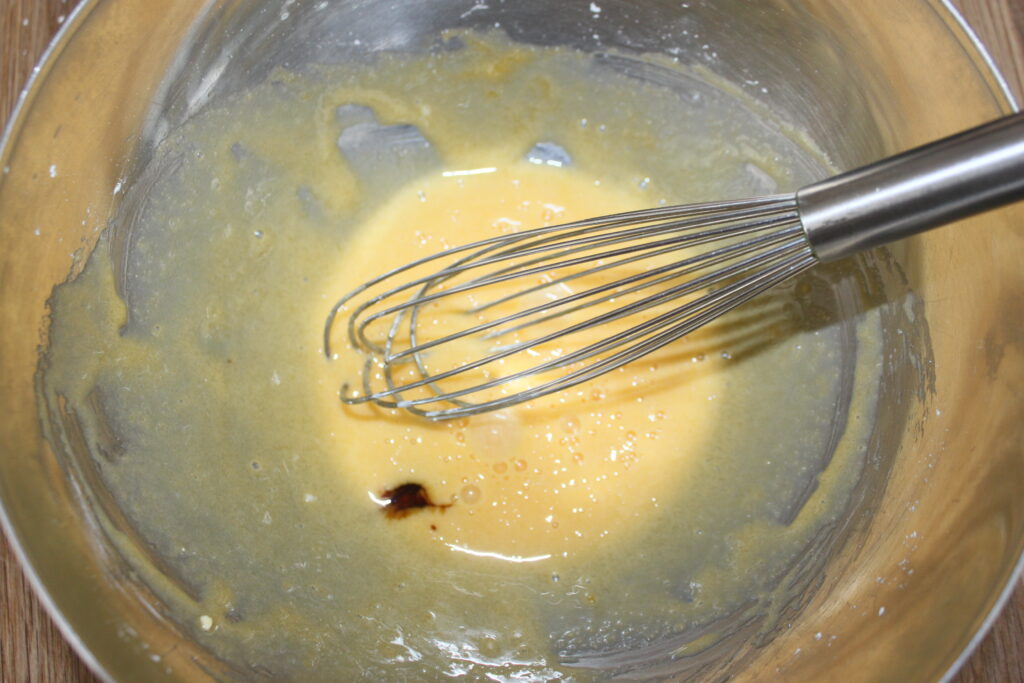
Place the yolks, remaining sugar and cornflour in a bowl and mix well.

Add the liquid vanilla and mix again.
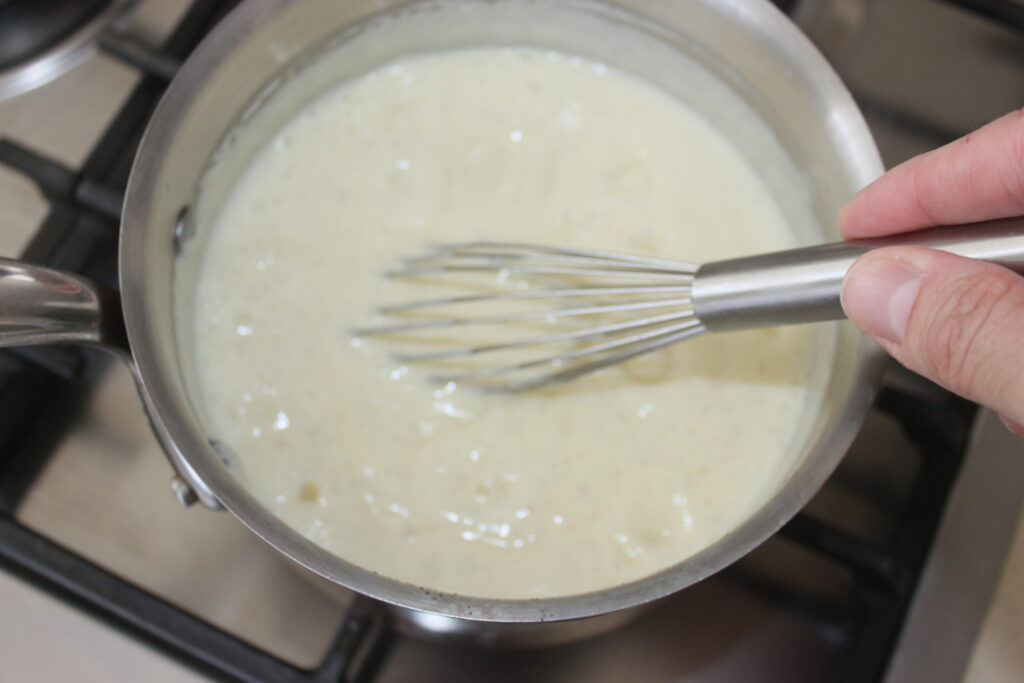
When the milk boils, pour in the contents of the saucepan while stirring.

Return to the pan and bring to the boil while whisking.
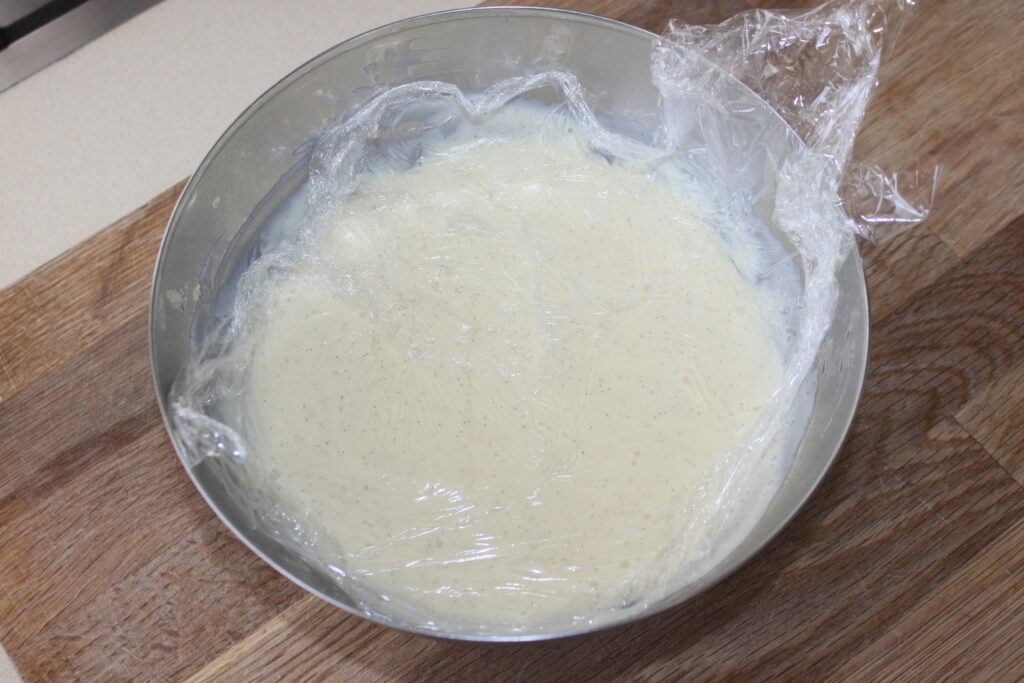
Pour into a clean container and wrap with heat-resistant cling film to prevent a skin forming.
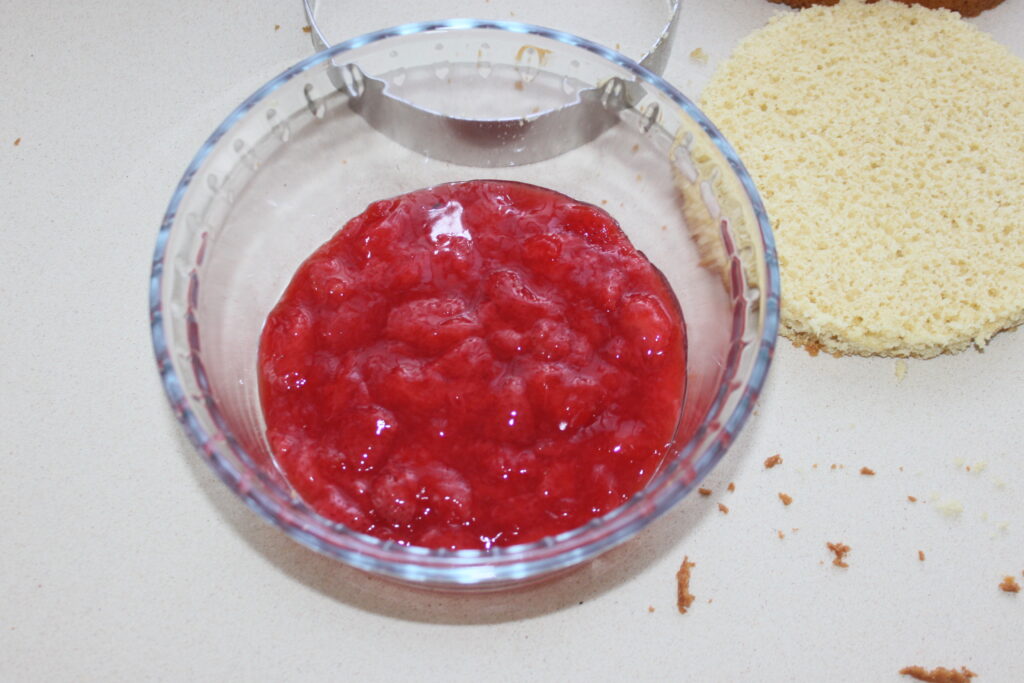
For the topping. Place the 400g of hulled and chopped strawberries in a saucepan. Keep 2-3 strawberries for decoration.
Heat over low heat with the sugar (50g) and water (100g).
When everything is boiling, place the cornflour in a bowl with a little extra water.
Leave to cook for one minute and that’s it.

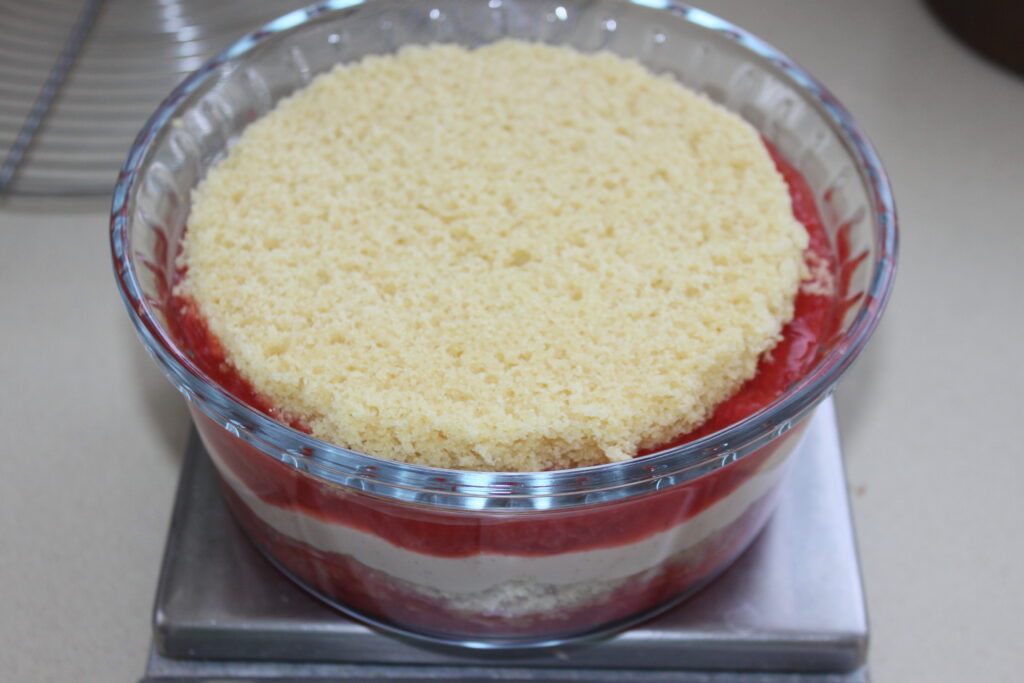
When everything has cooled, prepare the trifle. Cut the inside of the cake. to the size of the service mould. I used a 15cm diameter soufflé dish.
Cut the cake in half.

Pour half of the coulis into the base.
Place the first half of the cake on the coulis, then add half the custard, which you will whisk a little to remove any lumps. Now you can soak the cake in sherry!
After the cream, add the other half of the coulis, followed by a sherry-soaked cake. Finish with the custard.
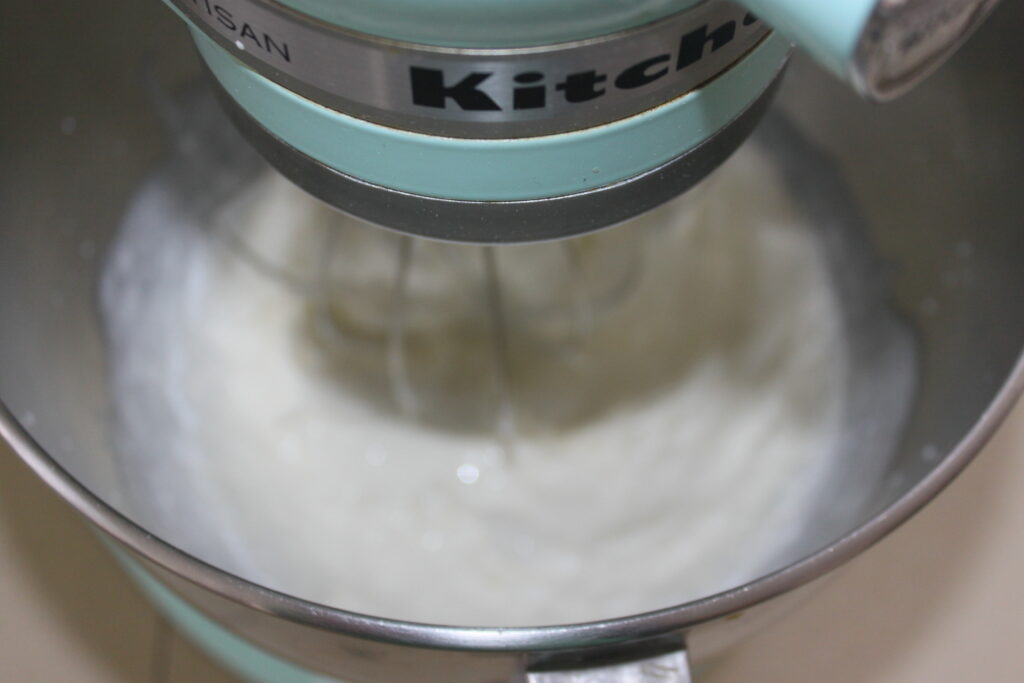
To make the chantilly, place all the ingredients in the bowl of a mixer or in a bowl.
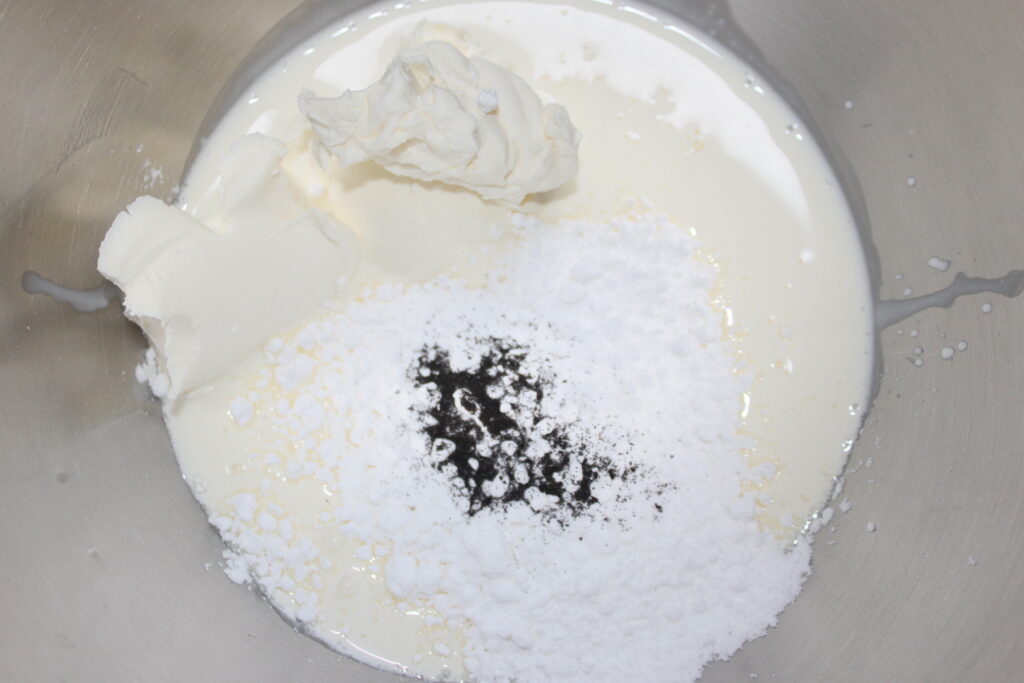
Whip together at high speed to form a chantilly.
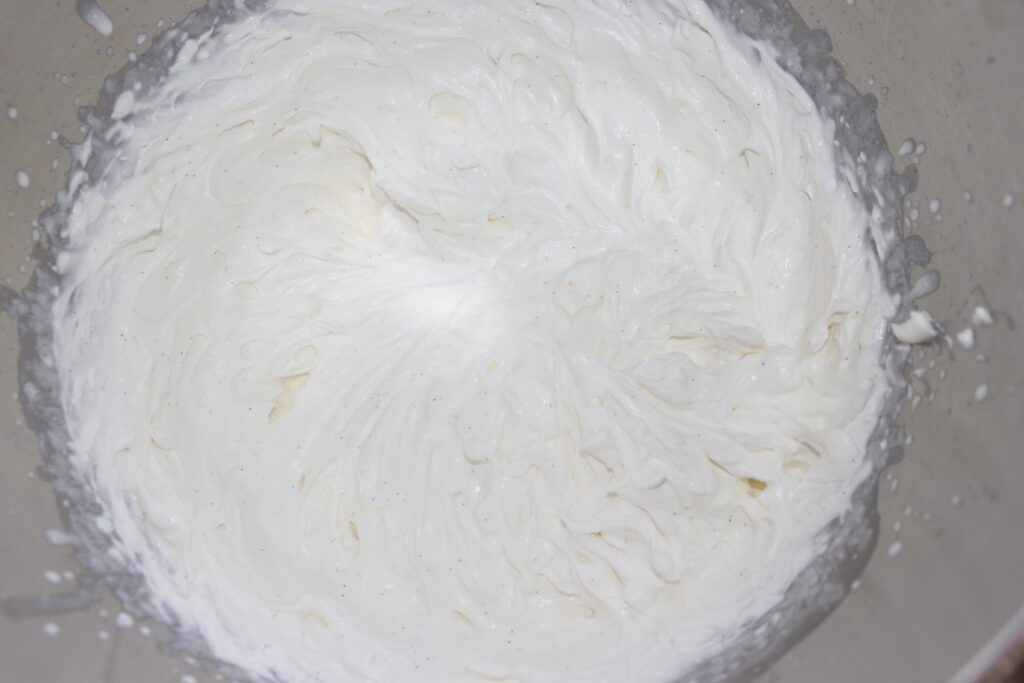
Cut off the unused edge of the cake and place a good portion on top of the last layer of custard.
Carefully spoon the whipped cream over the top.

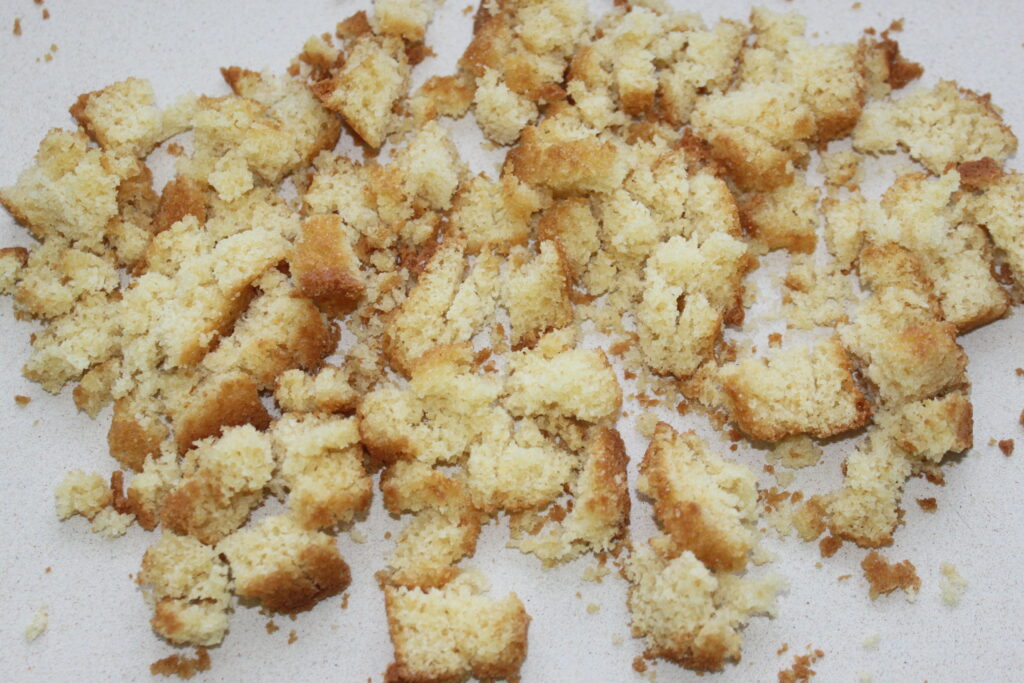
Finish by decorating as you wish. I put some broken cake and strawberries and that’s it! Chill for at least 4 hours, or even overnight. The cake will soak between the coulis and the custard… An ultra-fresh delight!

Trifle ultra-frais aux fraises
Ingredients
Sponge cake :
- 115 g beurre doux
- 110 g sucre
- 2 gros œufs
- 15 g lait
- 120 g farine
- 5 g levure chimique
- 1/4 c. à café bicarbonate de sodium
Custard :
- 300 g lait demi-écrémé
- 150 g crème liquide entière
- 40 g jaune d'œuf
- 15 g fécule de maïs
- 45 g sucre
- 1 c. à café vanille liquide
- 1/4 c. à café poudre de vanille
Coulis nappant aux fraises :
- 400 g fraises équeutées
- 100 g eau
- 50 g sucre
- 15 g fécule de maïs
Chantilly :
- 220 g crème liquide entière bien froide
- 100 g mascarpone
- 30 g sucre glace
- 1/4 c. à café vanille en poudre
Instructions
- Commencez par préparer le sponge cake. Mettez le beurre et le sucre dans le batteur de votre robot ou dans un récipient.
- Mélangez avec la feuille ou à la cuillère.
- Ajoutez les œufs et le lait et mélangez de nouveau.
- Terminez avec la farine, la levure chimique et le bicarbonate de sodium.
- Mélangez de nouveau. Graissez un moule de 18 cm de diamètre et mettez un papier sulfurisé dans le fond. Versez la totalité de la pâte.
- Mettez à cuire 35 minutes dans un four préchauffé à 160°C sur chaleur statique (pas chaleur tournante sinon le gâteau va gonfler en bosse).
- Démoulez dès la sortie du four sur une grille à pâtisserie.
- Préparez la custard. Mettez le lait, la crème et la moitié du sucre à chauffer sur feu doux.
- Ajoutez la gousse de vanille fendue en deux ou la poudre de vanille.
- Dans un récipient, mettez les jaunes, le reste du sucre et la fécule et mélangez bien.
- Ajoutez la vanille liquide et mélangez de nouveau.
- Quand le lait bout, versez le contenu de la casserole tout en mélangeant.
- Remettez dans la casserole puis portez à ébullition tout en fouettant.
- Versez dans un récipient propre et filmez au contact avec du film étirable résistant à la chaleur, pour éviter la formation d’une peau.
- Pour le coulis nappant. Mettez les 400g de fraises équeutées et coupées en morceaux dans une casserole. Gardez 2-3 fraises pour la déco.
- Mettez à chauffer sur feu doux avec le sucre (50g) et l’eau (100g).
- Quand le tout bout, mettez la maïzena dans un récipient avec un peu d’eau supplémentaire. Laissez cuire une minute et c’est tout.
- Quand tout a refroidi, préparez le trifle. Coupez l’intérieur du gâteau à la dimension du moule de service. J’ai pris un moule à soufflé de 15cm de diamètre.
- Coupez le gâteau en deux dans l’épaisseur.
- Versez la moitié du coulis nappant dans le fond.
- Posez une première moitié de gâteau sur le coulis puis mettez la moitié de la custard que vous fouetterez un peu pour enlever les éventuels grumeaux.
- Après la crème, remettez l’autre moitié de coulis, puis un gâteau. Terminez avec la custard.
- Pour la chantilly, mettez tous les ingrédients dans la cuve du batteur ou dans un récipient.
- Fouettez le tout à grande vitesse pour former la chantilly.
- Coupez la bordure non utilisée du gâteau et mettez une bonne portion sur la dernière couche de custard.
- Mettez délicatement la totalité de la chantilly sur le tout.
- Terminez en décorant comme vous le souhaitez. J’ai mis des brisures de gâteau et des fraises et c’est tout ! Mettez au frais au moins 4 heures, voire une nuit. Le gâteau va s’imbiber entre le coulis et la custard… Un délice ultra frais !
Nutrition

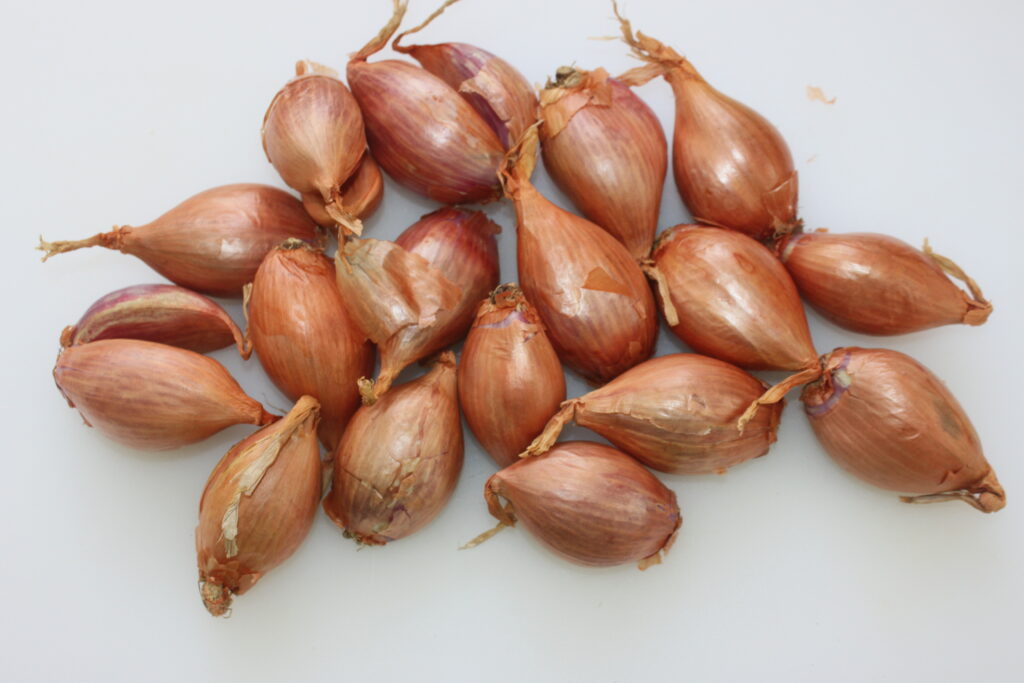
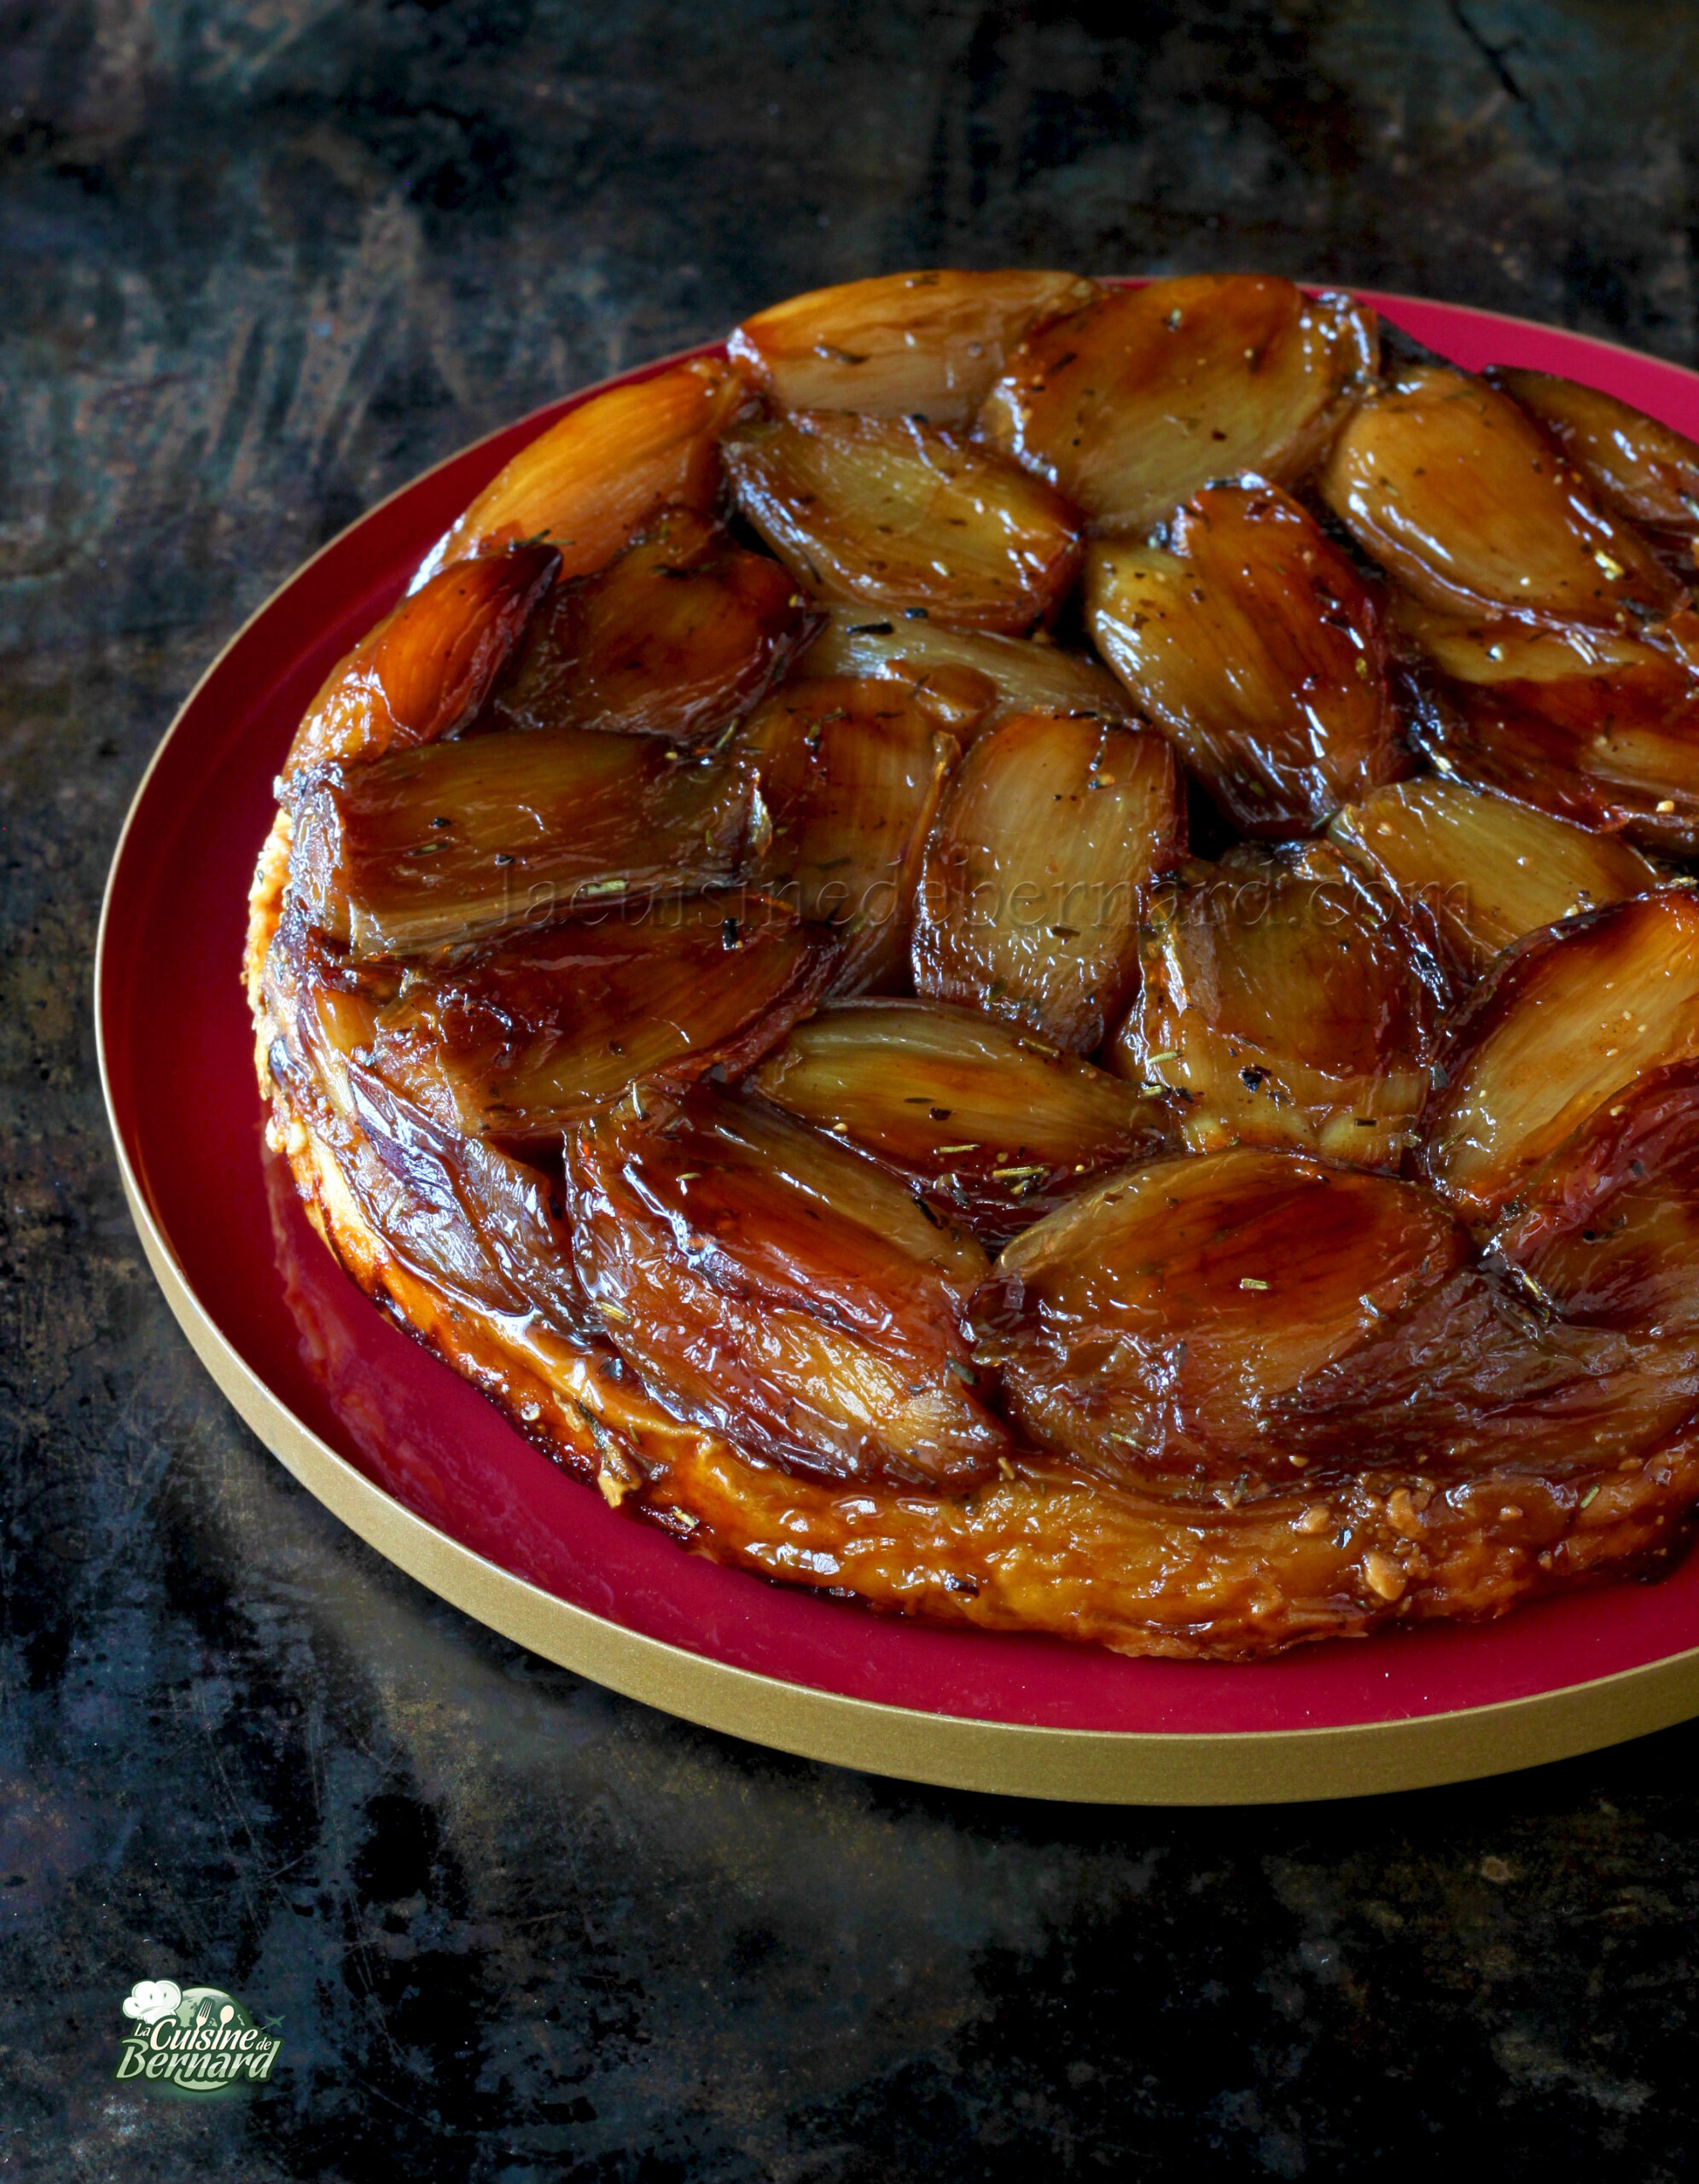
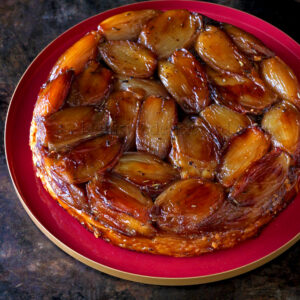
Here’s a delicious recipe for tarte tatin with shallots given by my friend Gaëlle, pianist and excellent cook. Two passions that brought us together for a beautiful friendship. She had made me this dish for a dinner party and she immediately agreed to share her little secrets. The great pleasure of this recipe comes from cooking the shallots. The scent is wonderfully fragrant and promises a dish rich in flavors and textures! This savoury tatin is perfect with a green salad!
Recipe for a 20cm tarte tatin (serves 4):
- 1kg shallots
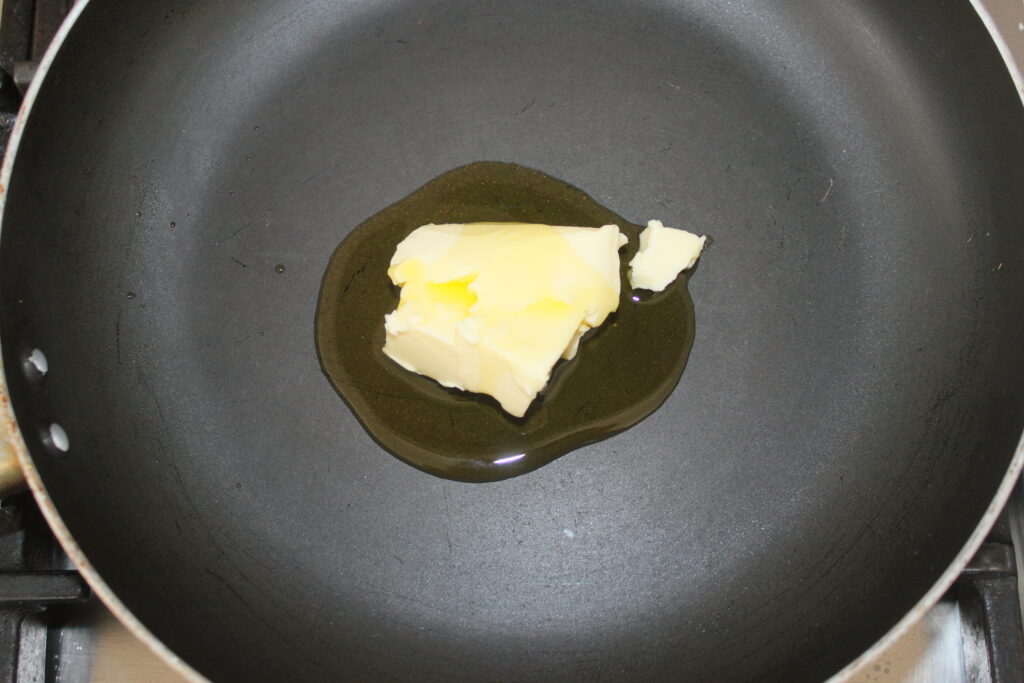
- 50g semi-salted butter
- 2 tablespoons of olive oil
- 1 tablespoon cider vinegar or shallot vinegar
- 1 tablespoon balsamic vinegar or worcestershire sauce
- 1 teaspoon of sugar
- herbs of Provence
- salt pepper
- 150g fresh goat’s cheese (Petit Billy or Chavroux type)
- 350g pure butter puff pastry (I made my own)
Start by peeling the shallots without cutting them into pieces.
Place the butter and olive oil in a frying pan over moderate heat.
Add the shallots and cook gently.
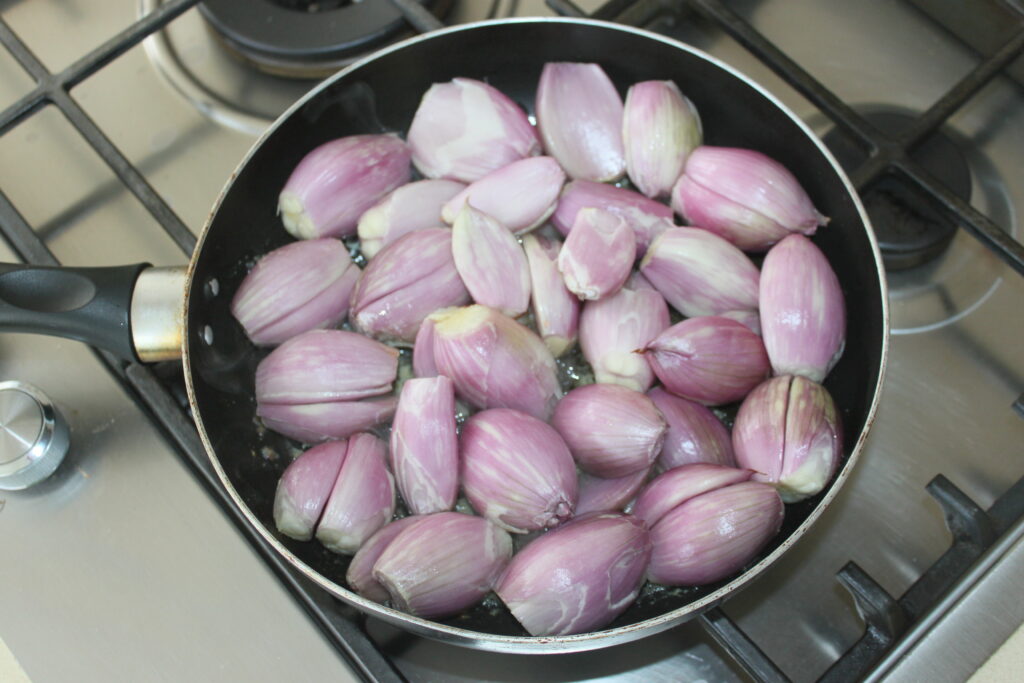
Stir gently from time to time. When the shallots begin to brown, turn down the heat and cover with a lid.
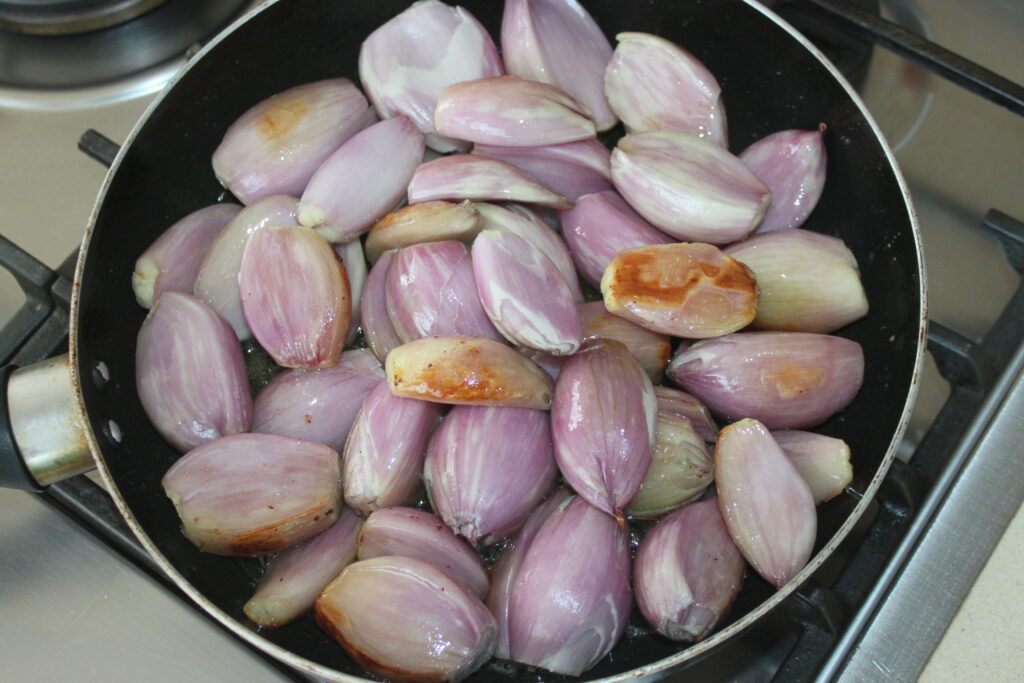
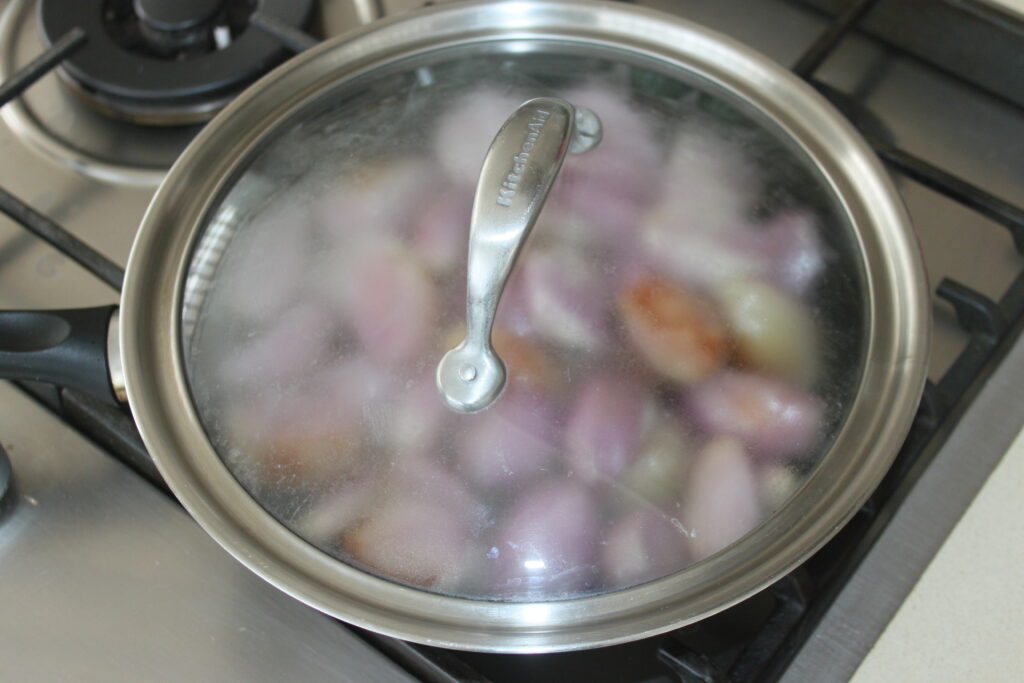
Leave to cook for 20-25 minutes, watching and stirring from time to time. Add the cider or shallot vinegar, balsamic vinegar or worcestershire sauce, sugar, salt and pepper.
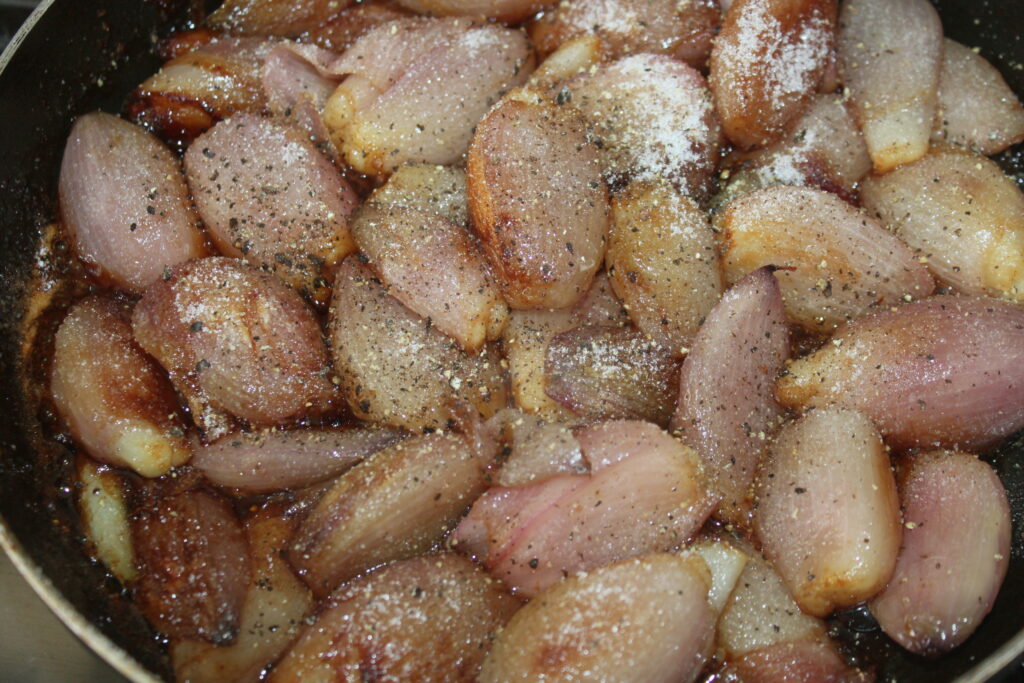
Leave to cook, stirring gently, and enjoy the delicious aroma! Don’t hesitate to add a few herbes de Provence.
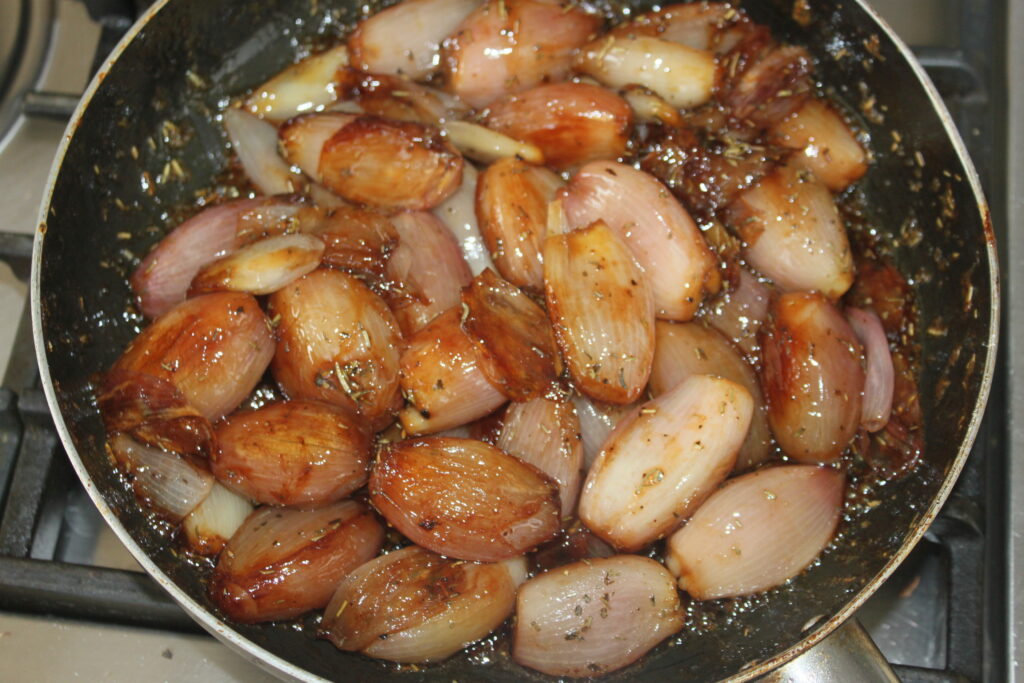
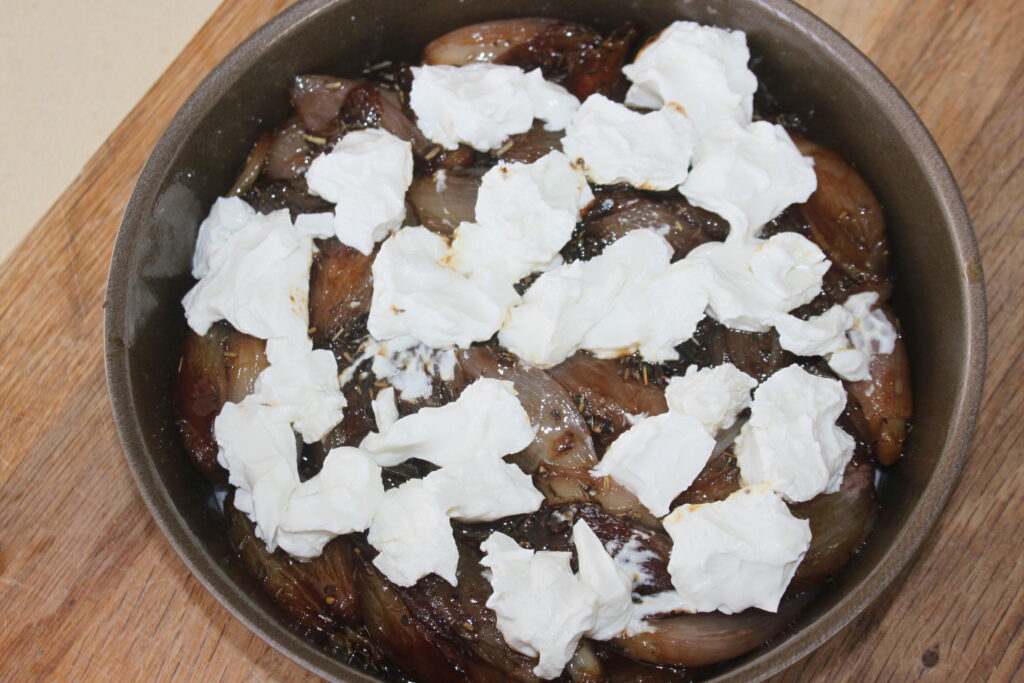
When the shallots are cooked through, place the best ones in a 20cm baking tin lined with greaseproof paper.
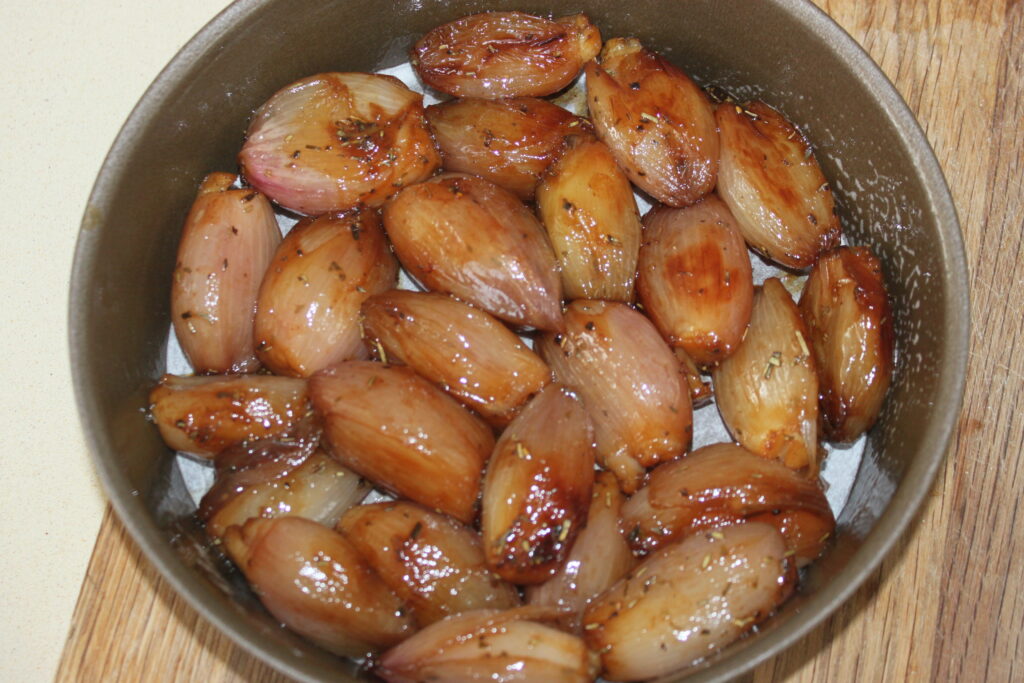
Then add the remaining, less attractive shallots and everything else in the pan.

Place the chunks of fresh goat’s cheese on top of the shallots.
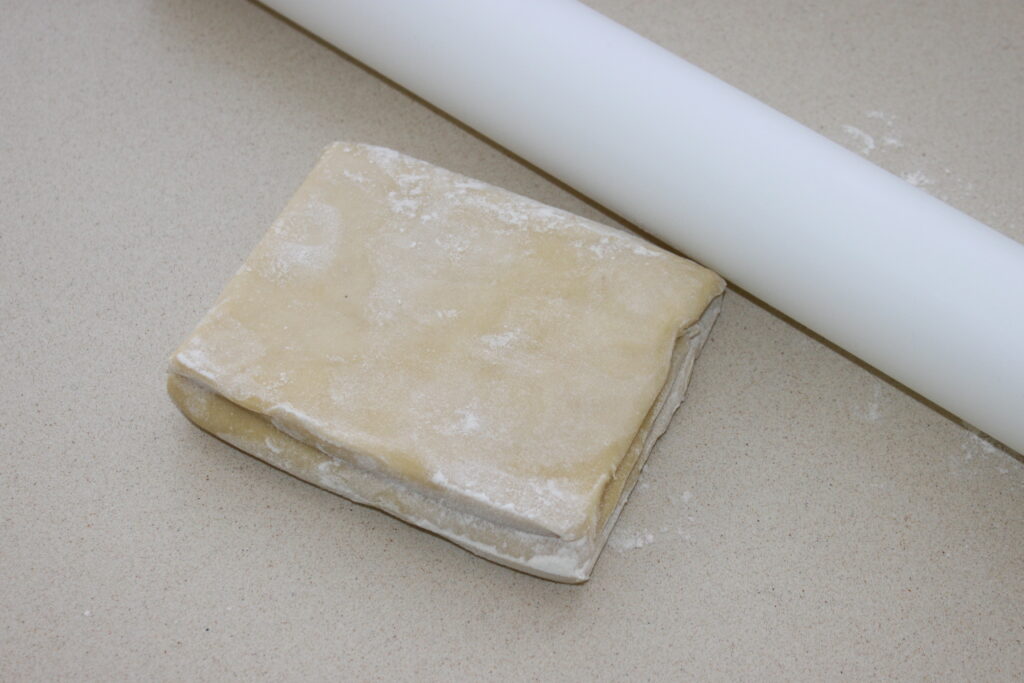
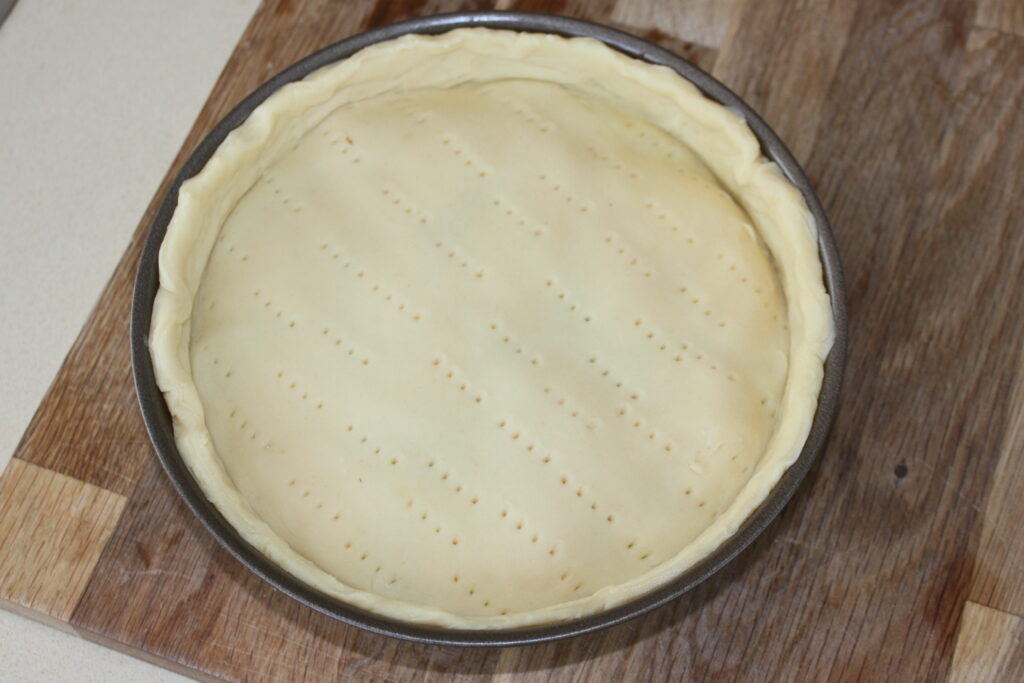
Roll out the puff pastry on a floured work surface.
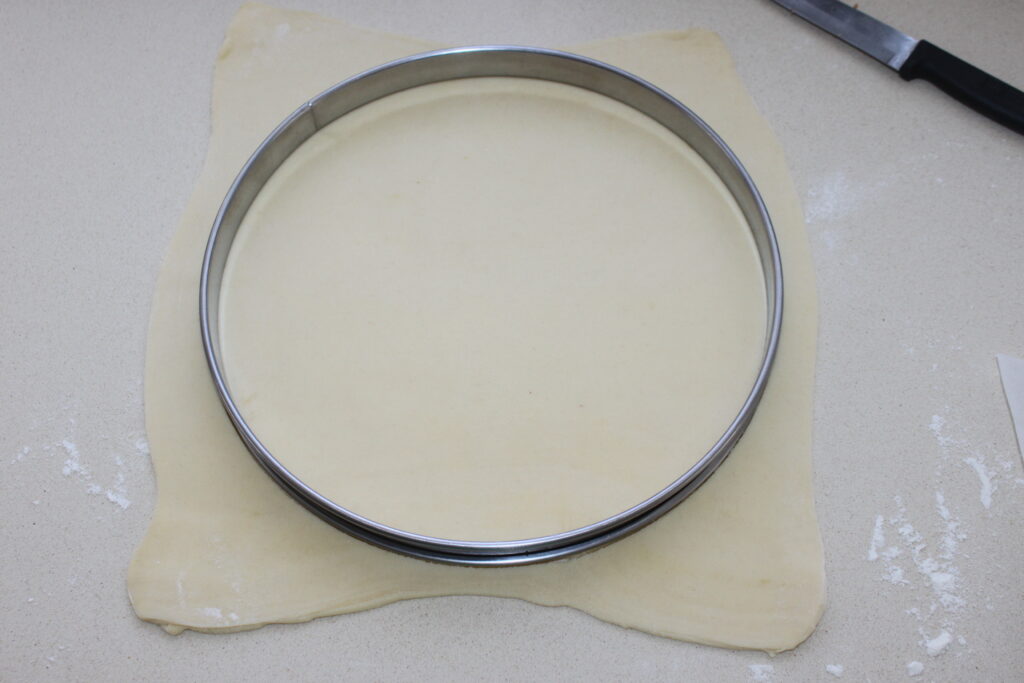
Cut the pastry with a knife, using a circle or plate larger than the mould, around 22cm or more (don’t cut by pushing the circle or plate in, but with the knife).
Prick the dough with a fork.
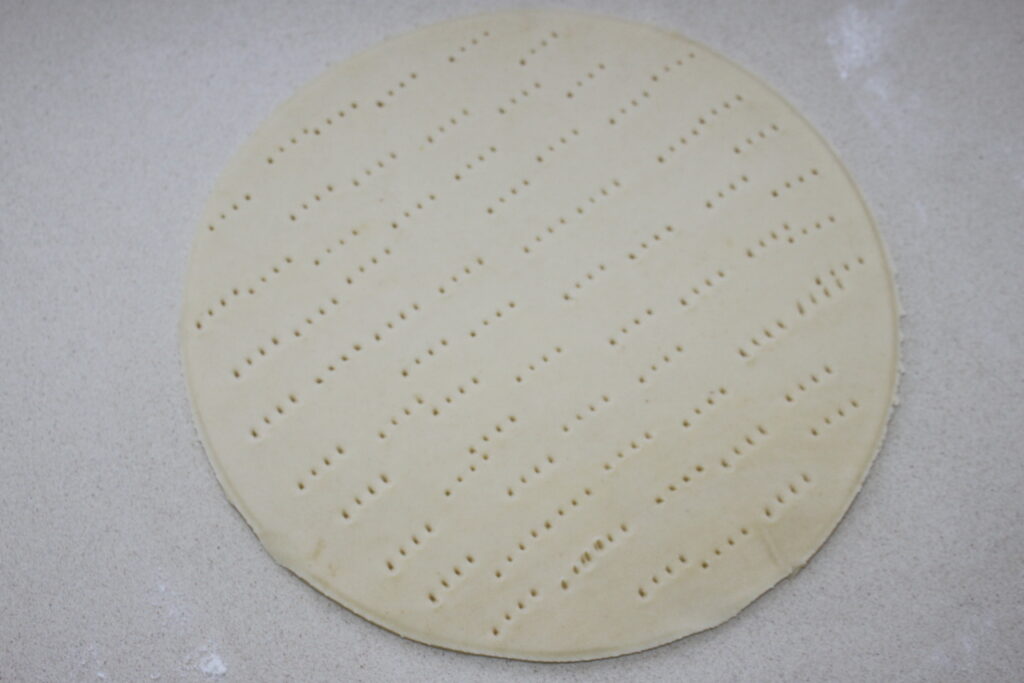
Place the pastry on top of the shallots.
Bake for 40 minutes in an oven preheated to 190°C over fan assisted heat.

Let cool before unmolding and devouring!
Tarte tatin aux échalotes
Ingredients
- 1 kg échalotes
- 50 g beurre demi-sel
- 2 c. à soupe huile d'olive
- 1 c. à soupe vinaigre de cidre ou d'échalote
- 1 c. à soupe vinaigre balsamique ou de sauce worcestershire
- 1 C. à café sucre
- herbes de provence
- sel, poivre
- 150 g fromage frais de chèvre
- 350 g pâte feuilletée
Instructions
- Commencez par éplucher les échalotes sans les couper en morceaux.
- Mettez le beurre et l’huile d’olive dans une poêle sur feu modéré.
- Ajoutez les échalotes et faites cuire doucement.
- Mélangez délicatement de temps en temps. Quand les échalotes commencent à dorer, baissez le feu et mettez un couvercle.
- Laissez cuire 20-25 minutes, tout en surveillant et en mélangeant de temps en temps. Mettez alors le vinaigre de cidre ou d’échalote, le vinaigre balsamique ou la sauce worcestershire, le sucre, le sel et le poivre.
- Laissez cuire toujours en mélangeant délicatement, tout en profitant de la bonne odeur ! N’hésitez pas à ajouter un peu d’herbes de Provence.
- Quand les échalotes sont bien cuites, posez les plus belles dans un moule de 20cm garni de papier sulfurisé.
- Ajoutez ensuite le reste des échalotes moins jolies et tout ce qu’il y a dans la poêle.
- Mettez le chèvre frais en morceaux sur le dessus des échalotes.
- Étalez la pâte feuilletée sur un plan de travail fariné.
- Coupez la pâte au couteau en prenant un cercle ou une assiette plus grande que le moule, environ 22cm ou plus (ne coupez pas en enfonçant le cercle ou l’assiette, mais bien avec le couteau).
- Piquez la pâte à la fourchette.
- Placez la pâte sur le moule au dessus des échalotes.
- Faites cuire 40 minutes dans un four préchauffé à 190°C sur chaleur tournante.
- Laissez tiédir avant de démouler et de dévorer !
Nutrition
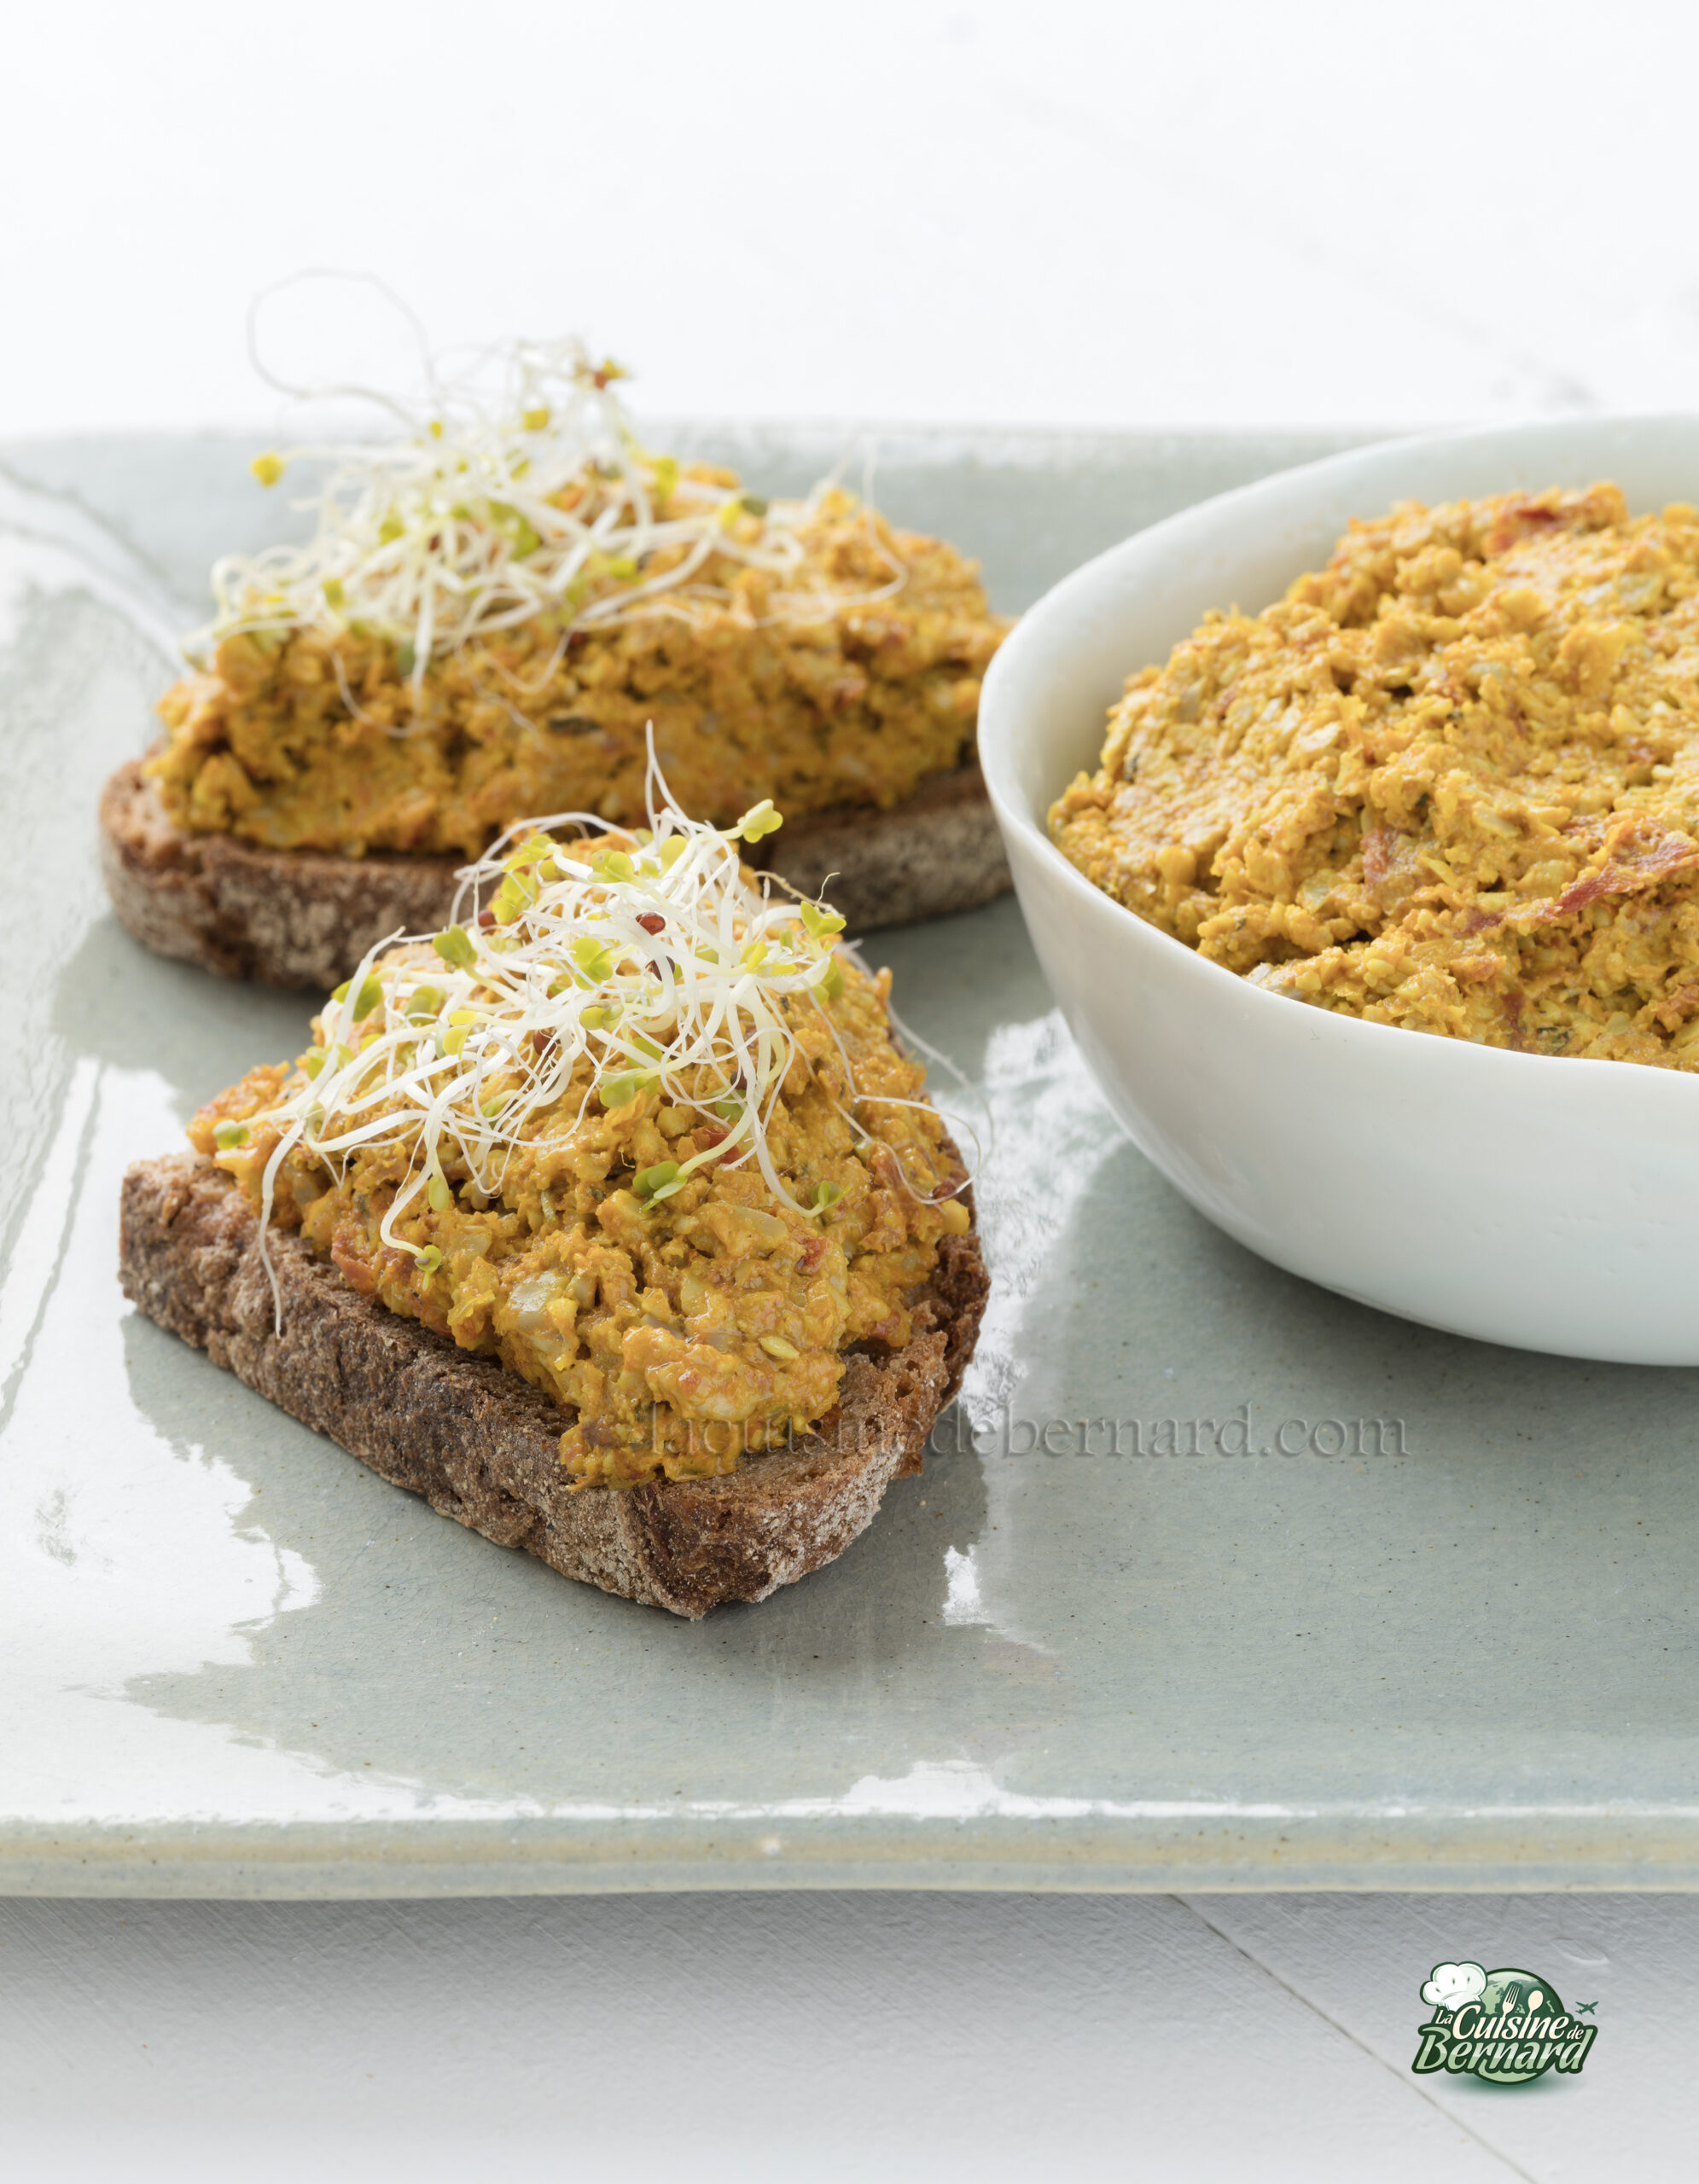
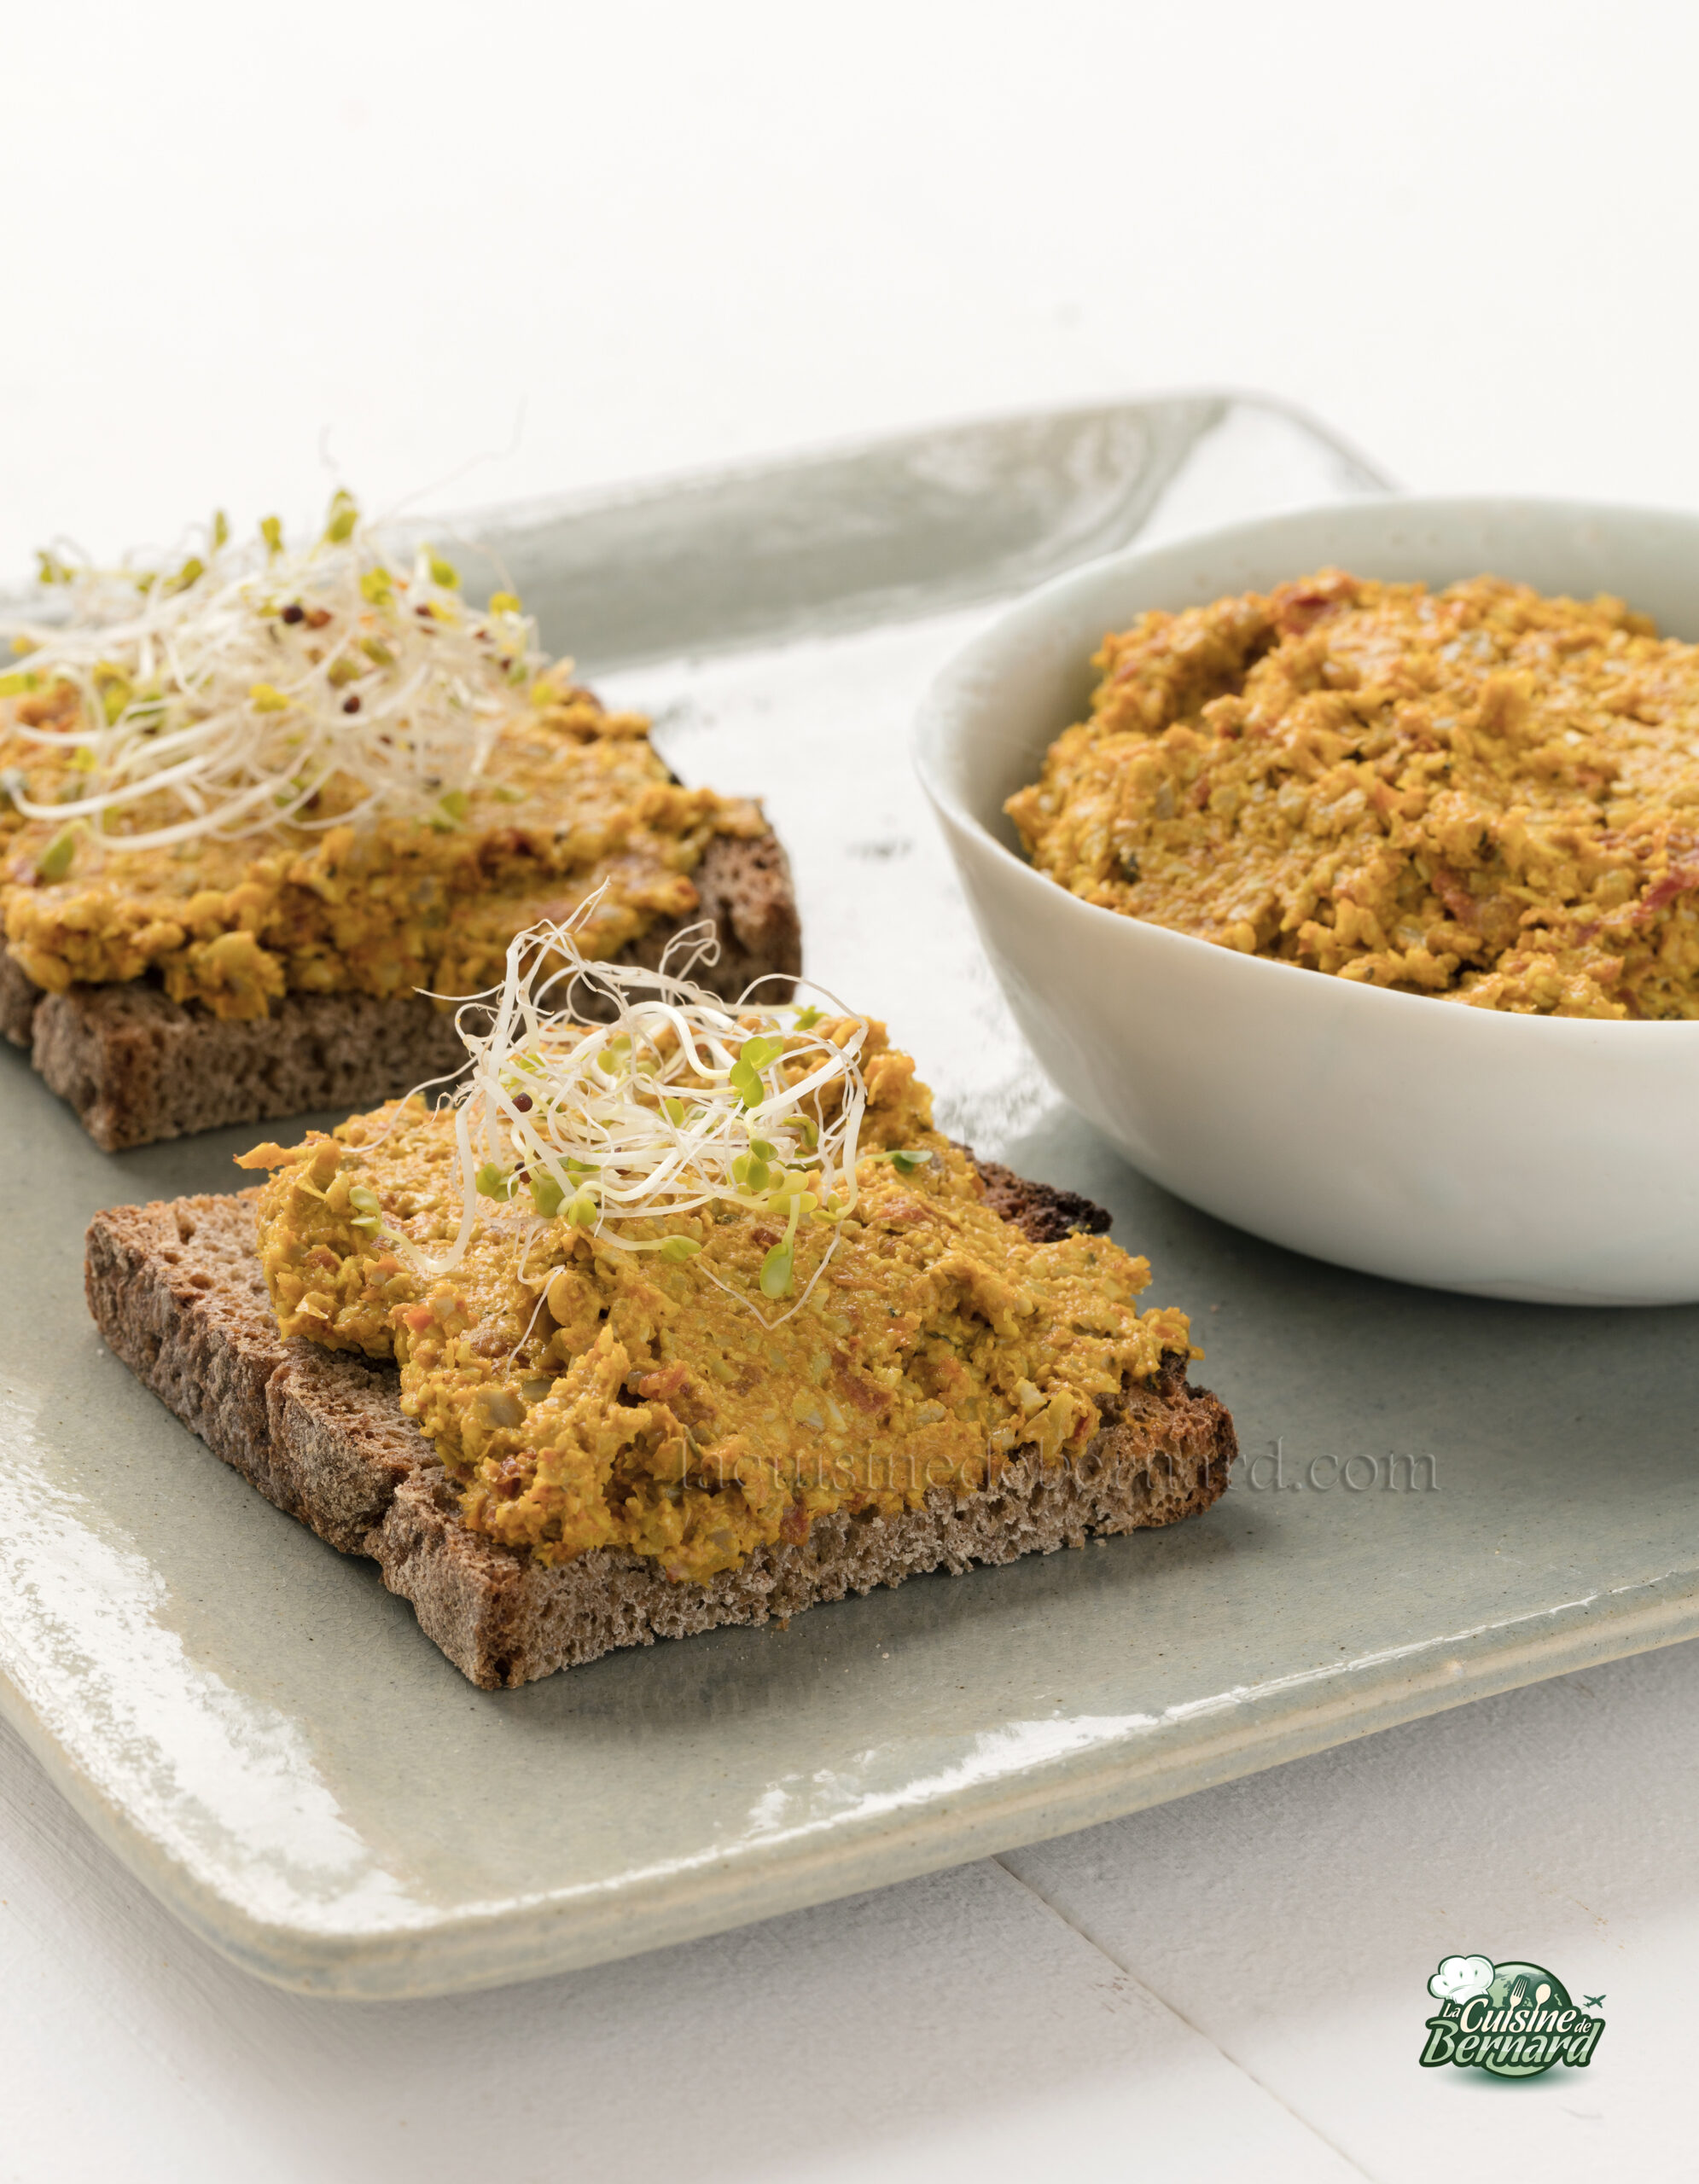
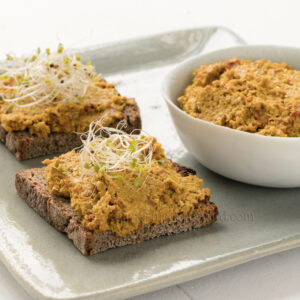
Right now, it’s a bit of a workshop race. So I’m taking this opportunity to publish a recipe from my book Végéterrien, which I published with Flammarion in 2017. This recipe is illustrated in the book by Claire Curt, with culinary styling by Manuella Chantepie. I stumbled across this recipe in a small Swedish restaurant and was immediately intrigued by the texture. I couldn’t determine its composition. I chatted with the chef, explaining what I was doing (the blog, the books etc.) and asked him if he would let me in on his secret. I was very surprised by the ingredients I hadn’t thought of. Soaked sunflower seeds, marinated sun-dried tomatoes and spices. And the result is totally incredible. Everyone I’ve made this “tapenade” for has fallen in love with it from the very first bite.
Duration of tasting pleasure: always too short!
- 250g sunflower seeds
- 150g sun-dried tomatoes, marinated in olive oil
- 60g olive oil
- 3 small garlic cloves
- herb salt
- ½ teaspoon dried thyme
- ½ teaspoon dried rosemary
- 1 teaspoon turmeric powder
- 1 teaspoon madras curry powder
First, soak the sunflower seeds in plenty of hot water (from the tap).
After an hour, they’re plump and tender. Drain well in a small sieve. Pour directly into your blender with the drained sun-dried tomatoes marinated in olive oil.
Add the remaining ingredients: olive oil, peeled garlic, salt, thyme, rosemary, turmeric and curry powder. Turn on your food processor to reduce the mixture to a fine purée. You need to keep a certain texture.
Taste to check salt seasoning. For this recipe, I use the herbal salt I find in organic stores. But normal salt will also do. The “tapenade” is ready! You can store it in a cool place with cling film on contact.
Serve on fresh bread or crackers (with or without gluten if you’re sensitive). Don’t hesitate to add broccoli, alfafa or radish shoots!

Tapenade de graines de tournesol aux tomates séchées
Ingredients
- 250 g graines de tournesol
- 150 g tomates séchées, marinées à l'huile d'olive
- 60 g huile d'olive
- 3 petites gousses d'ail
- sel aux herbes
- 1/2 c. à café thym séché
- 1/2 c. à café romarin séché
- 1 c. à café curcuma en poudre
- 1 c. à café curry de madras en poudre
Instructions
- Faites tout d’abord tremper les graines de tournesol dans un grand volume d’eau chaude (du robinet).
- Au bout d’une heure, elles ont bien gonflé et deviennent tendres. Égouttez-les bien dans un petit tamis. Versez directement dans votre mixeur avec les tomates séchées marinées à l’huile d’olive, égouttées.
- Mettez le reste des ingrédients : huile d’olive, ail épluché, sel, thym, romarin, curcuma et curry. Mettez en marche votre robot pour réduire le tout en une purée pas trop fine. Il faut garder une certaine texture.
- Goûtez pour vérifier l’assaisonnement en sel. Pour cette recette, je prends du sel aux herbes que je trouve en boutique bio. Mais du sel normal fera aussi l’affaire. La « tapenade » est prête ! Vous pouvez la conserver au frais avec un film étirable au contact.
- Servez-la sur du pain frais ou des crackers (avec ou sans gluten si vous y êtes sensibles). N’hésitez pas à y mettre des pousses de brocolis, d’alfafa ou de radis !
Nutrition
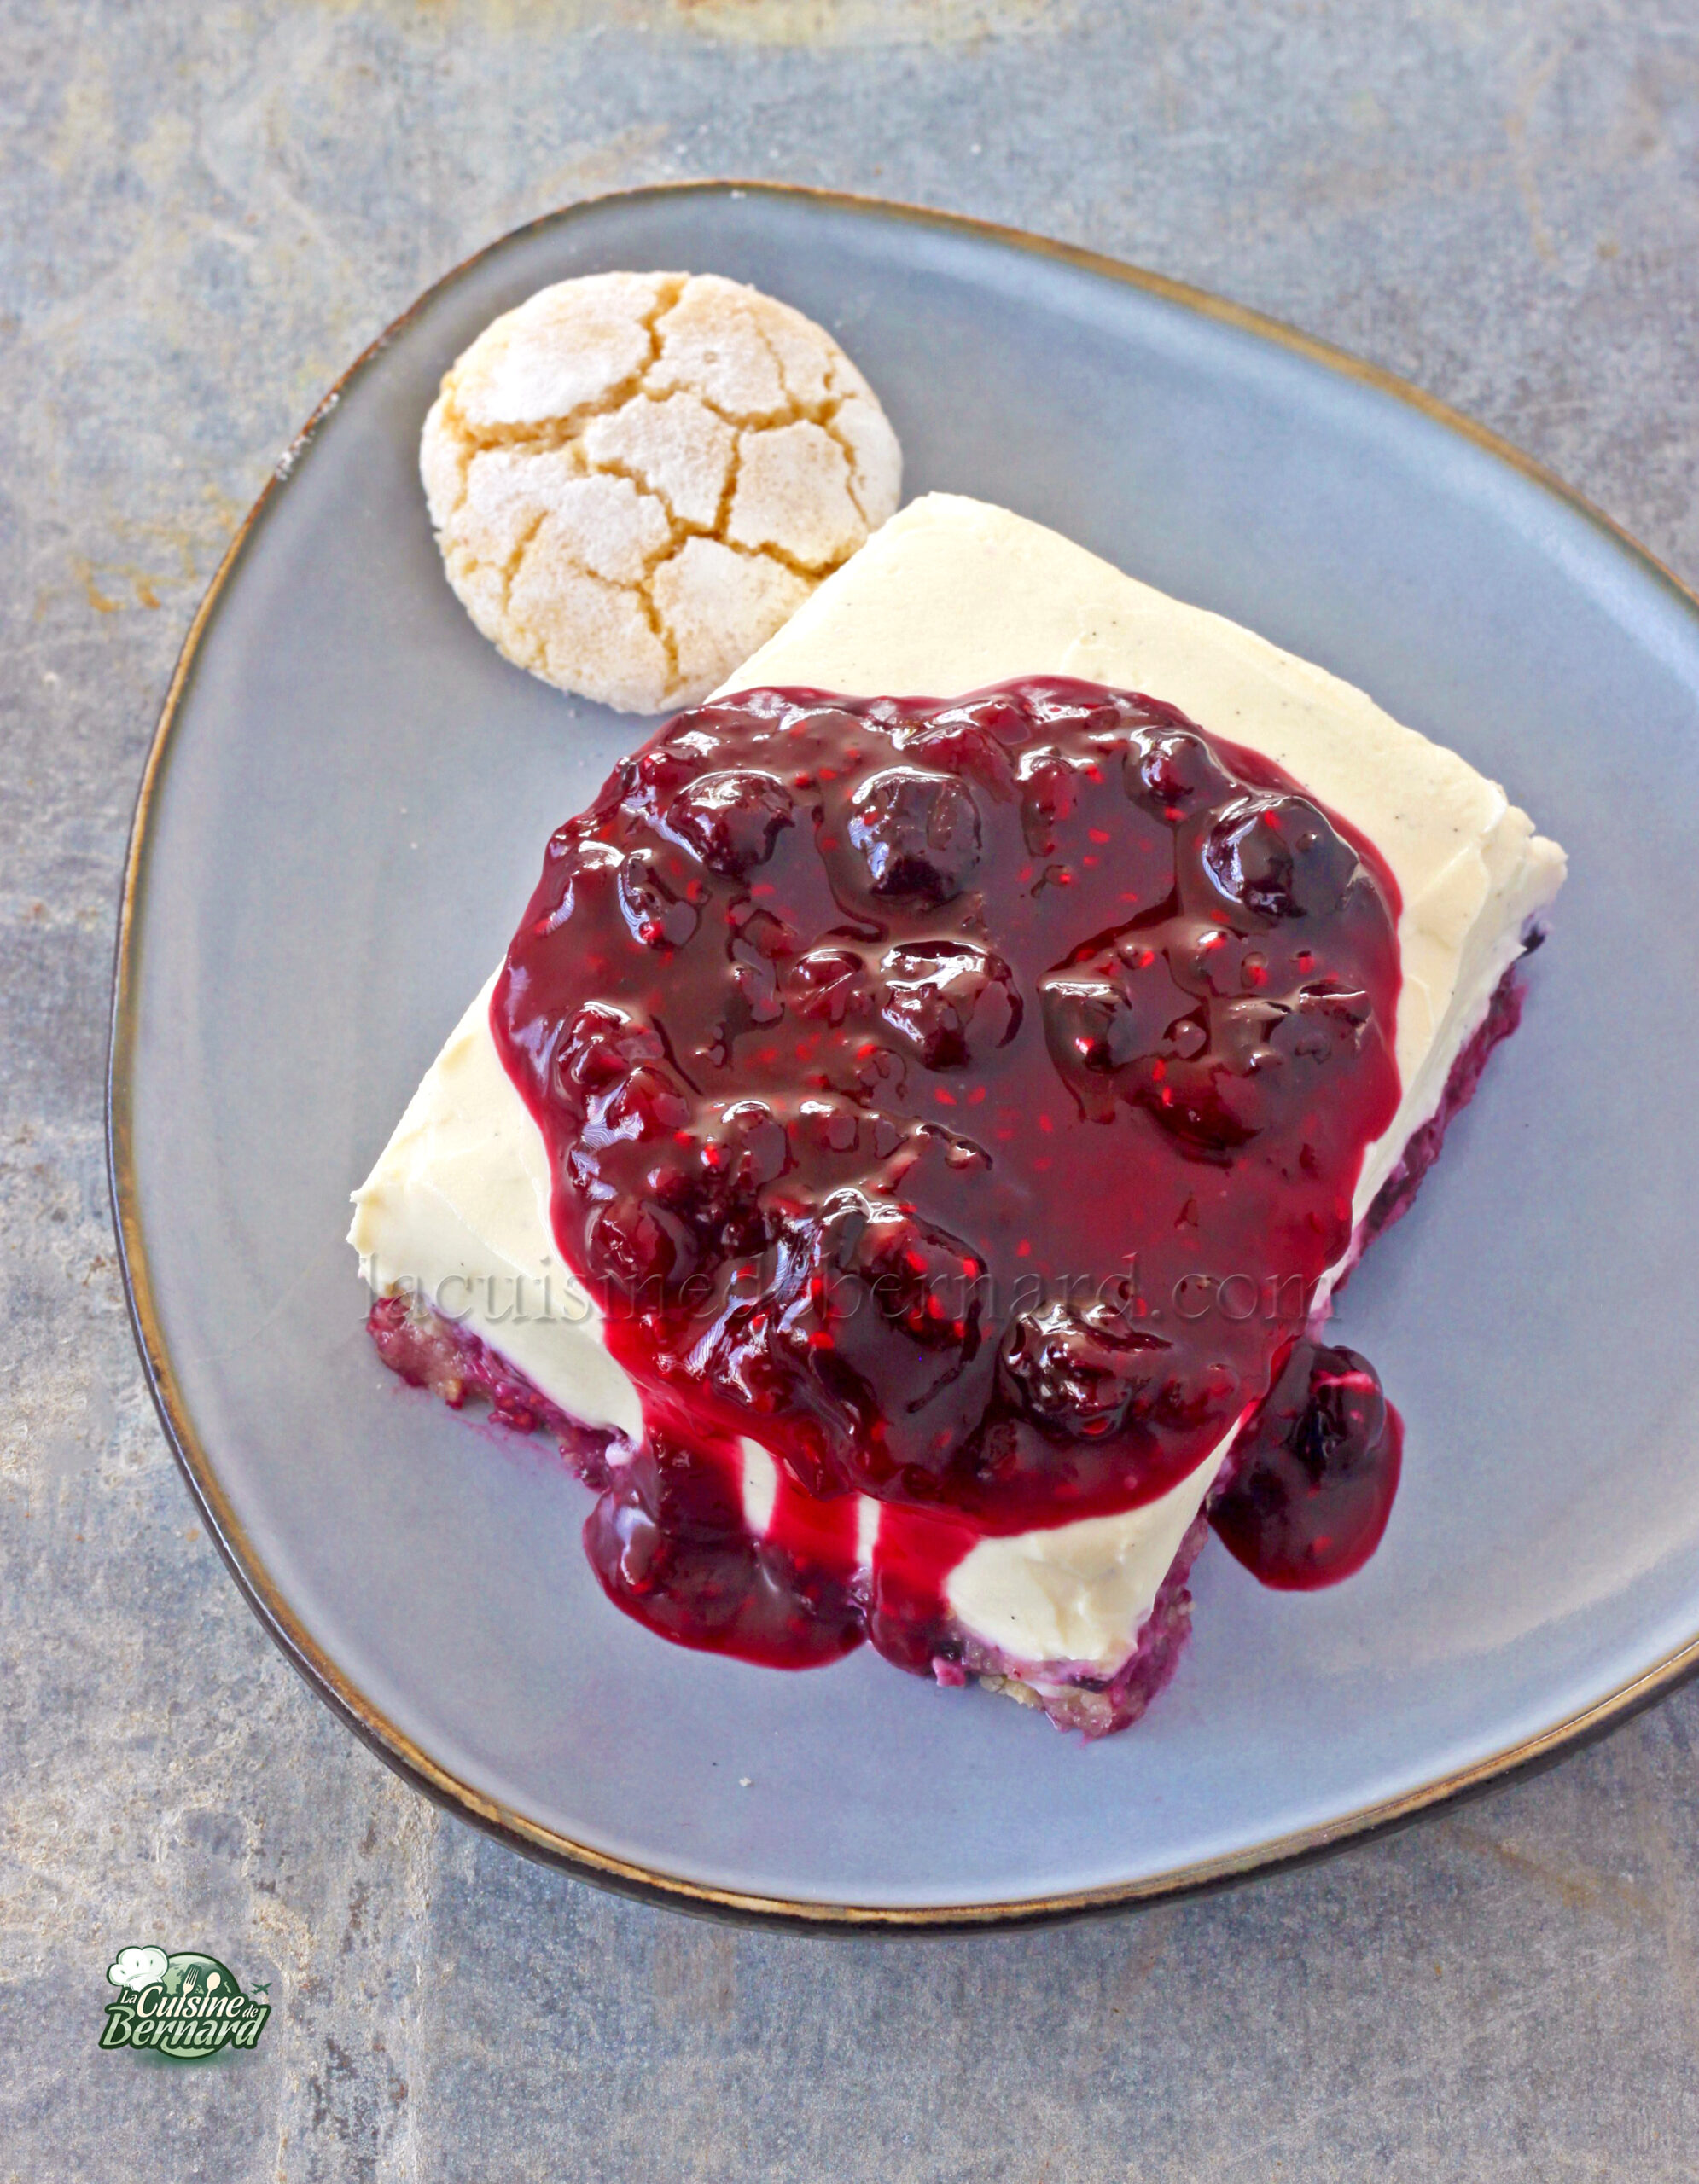
I was recently on vacation in Florence and was told that the food was good in all the restaurants, even the more touristy ones, which turned out to be true, much more so than in Venice, for example, where it’s sometimes more of a lottery. I’ve discovered a dessert equivalent to the one I’m proposing here. Of course, I didn’t have the recipe, so I went on instinct. I didn’t want to add gelatine or agar-agar, and I wanted a dessert that wasn’t too sweet, with a topping that would excite the taste buds. I found a creamy ricotta for this chilled dessert, but it will also work with a firmer, grainy ricotta. The cream itself only really comes into its own with the bitter almond macaroon base and tangy coulis!
For 8 people:
- Red fruit coulis :
- 650g red fruit
- 190g sugar
- 10g of cornstarch
For the entremet :
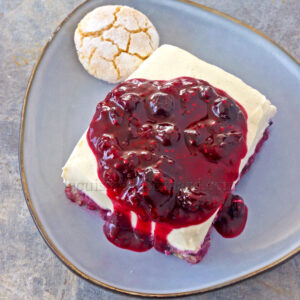
- 8-9 bitter almond macaroons(recipe HERE) or amaretti macaroons(recipe THERE)
- 375g cold mascarpone
- 100g of powdered sugar
- 1 vanilla pod or 1 teaspoon liquid vanilla and a little vanilla powder
- 600g creamy ricotta (or regular)
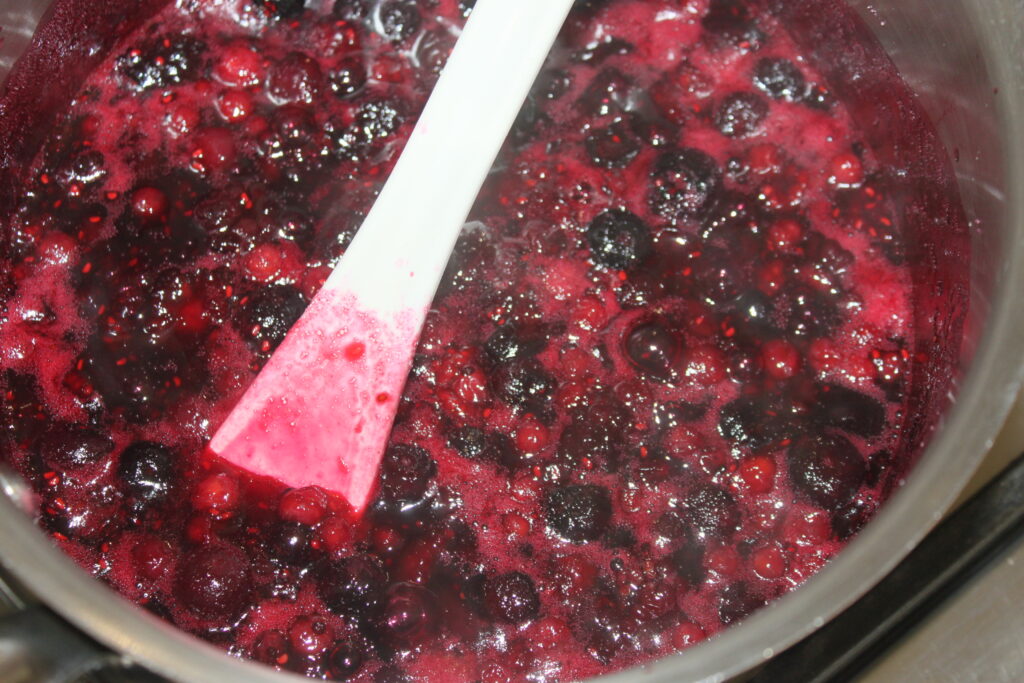
Start by preparing the red fruit coulis. Place the red berries (I used a frozen mixture) and sugar in a saucepan.
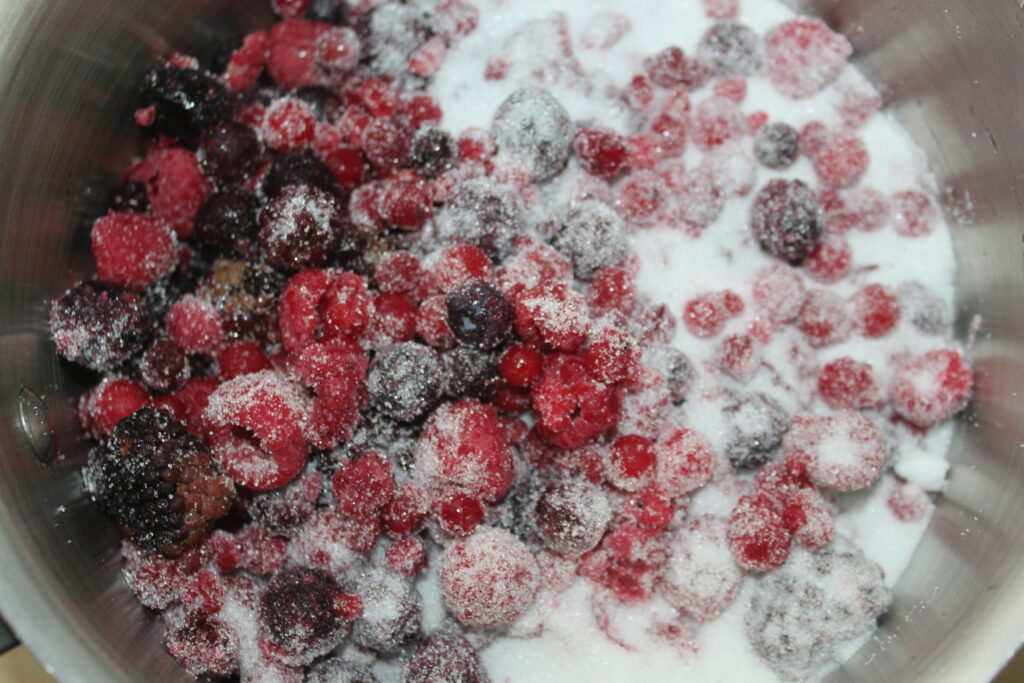
Bring to the boil over moderate heat, stirring constantly.
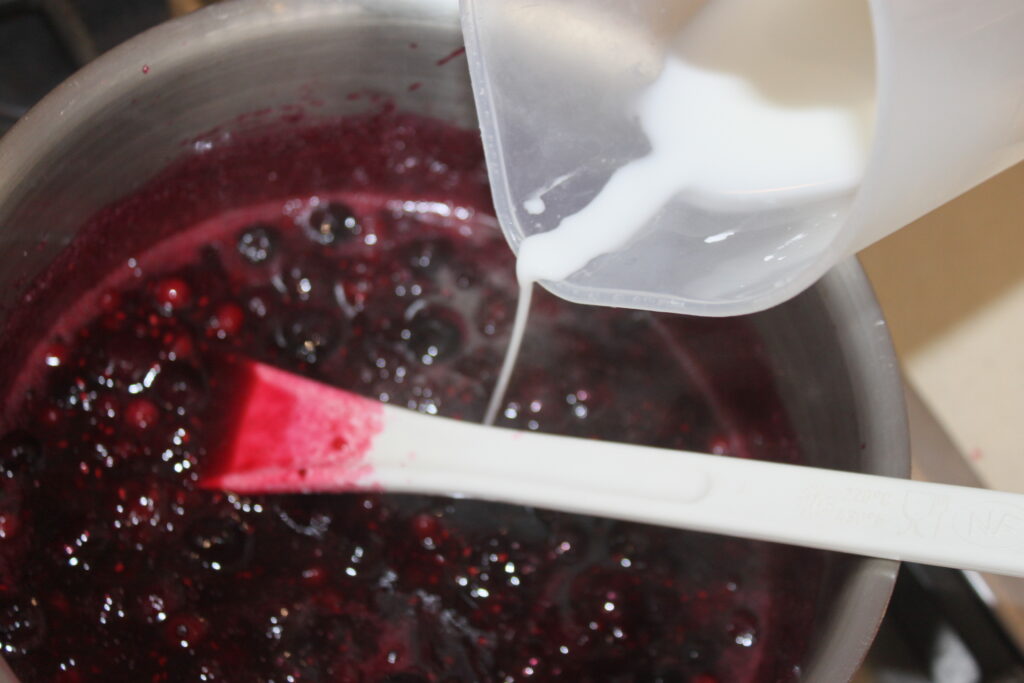
Pour the 10g of cornflour into a bowl with a little water (roughly 4 tablespoons) and stir, still over moderate heat.
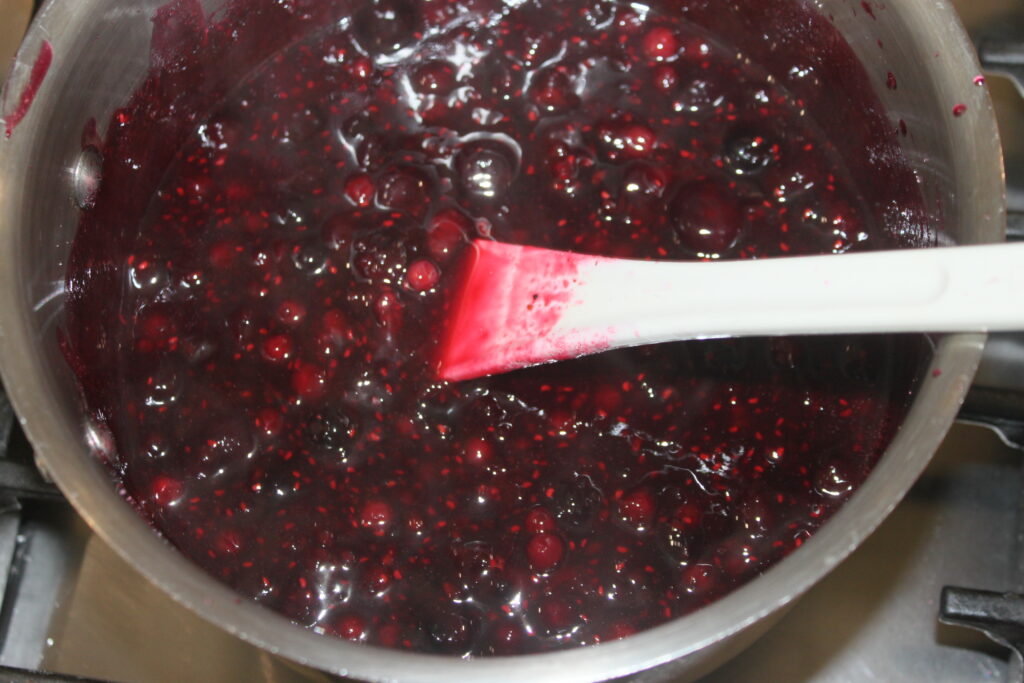
Cook for 3 minutes and you’re done. Adding cornflour will thicken the coulis and make it nice and runny when cold.
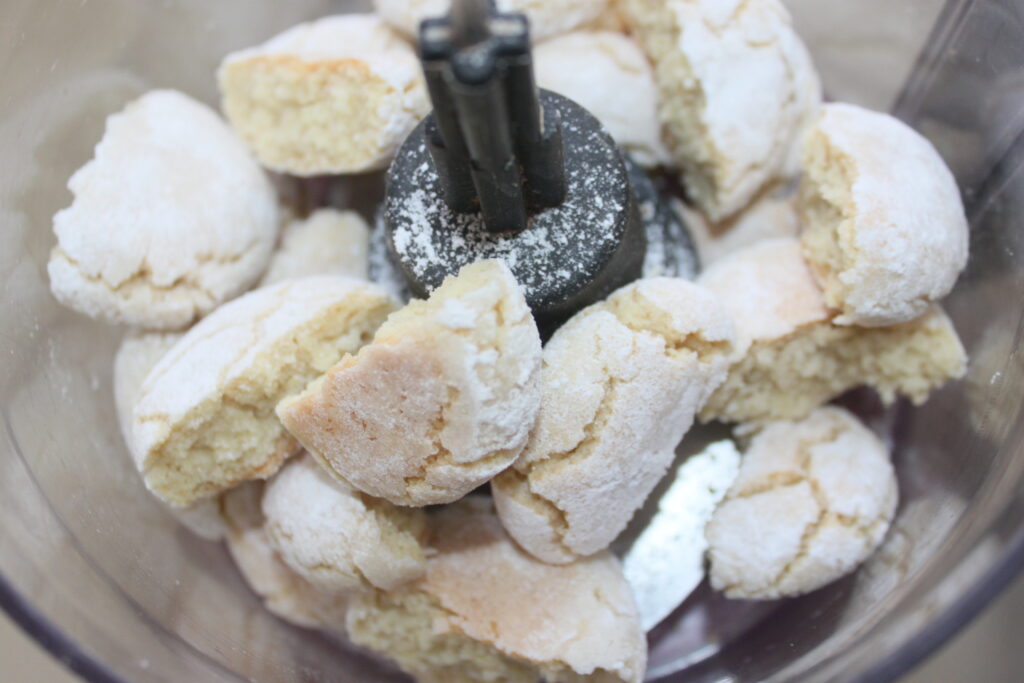
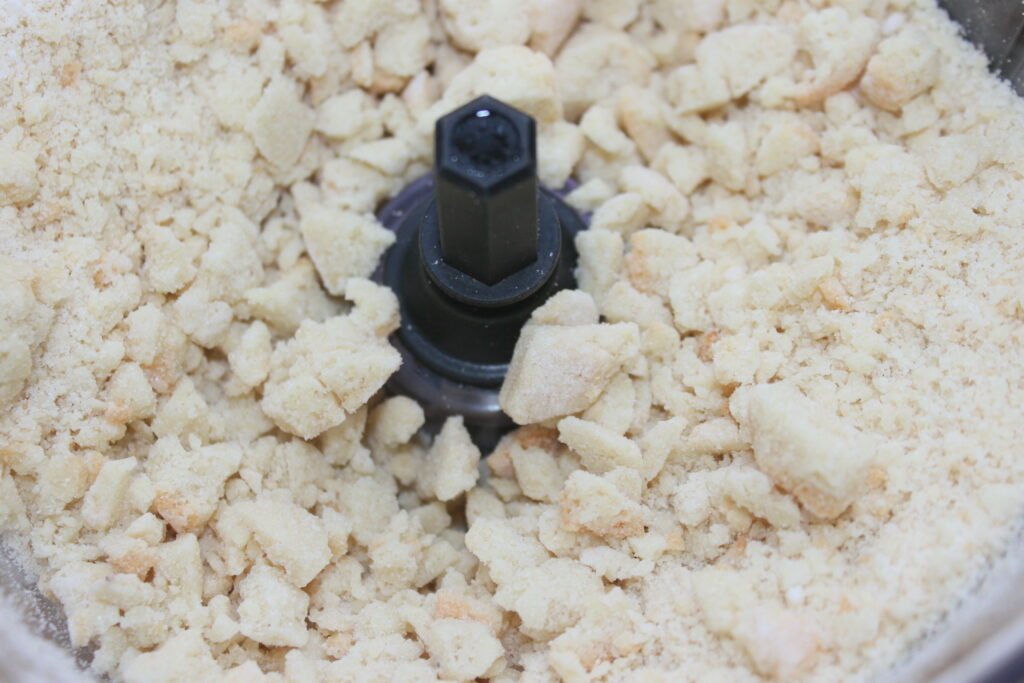
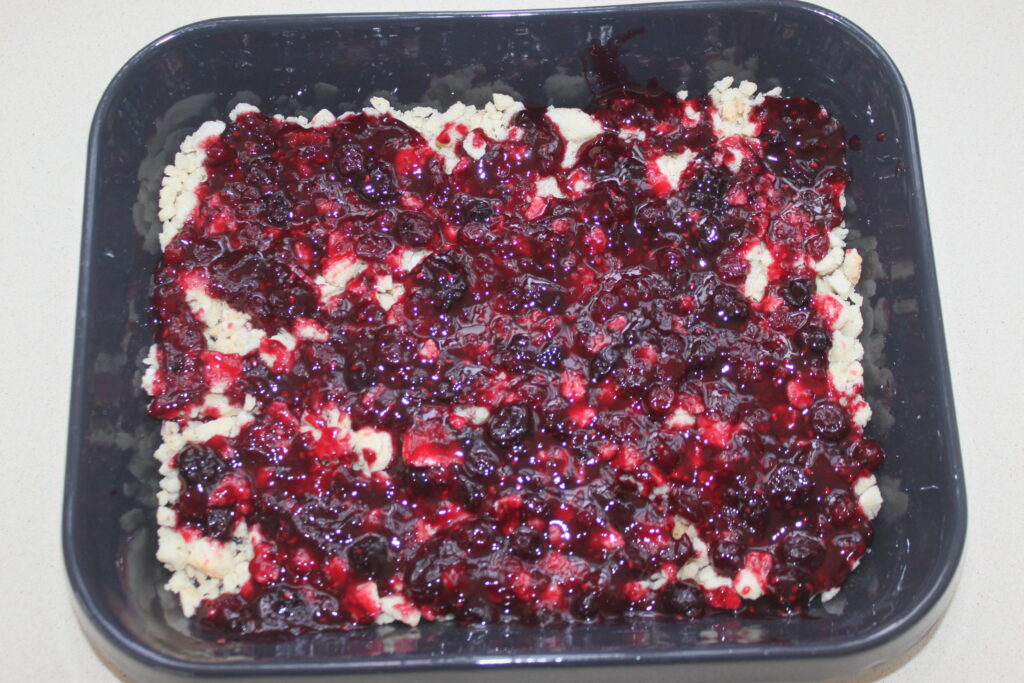
Set aside. Place the macaroons in a small blender and grind to a very coarse powder.
Pour the mixture into a 25cm x 20cm mould or dish, then add a little coulis (the equivalent of about ten tablespoons).
Here’s the ricotta I used, which was perfect for this recipe, not grainy at all. I’d like to make it clear that I’m not at all sponsored by the brand, which I didn’t know.

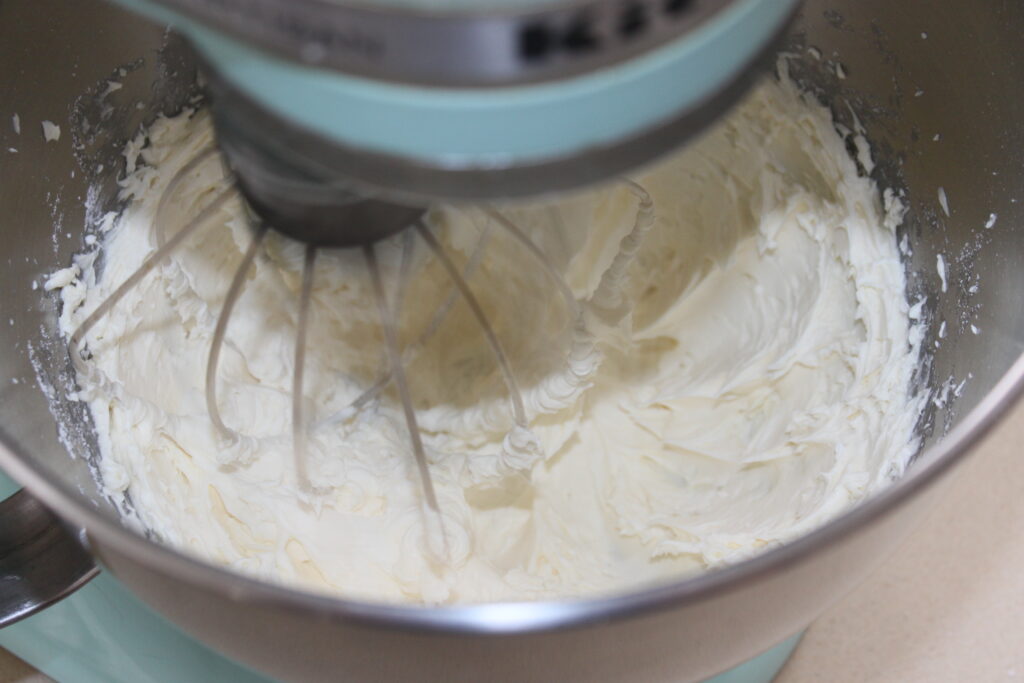
Pour the chilled mascarpone and powdered sugar into a bowl or food processor.

Whip like a chantilly for 3-4 minutes at high speed. This will make a very thick mascarpone chantilly.
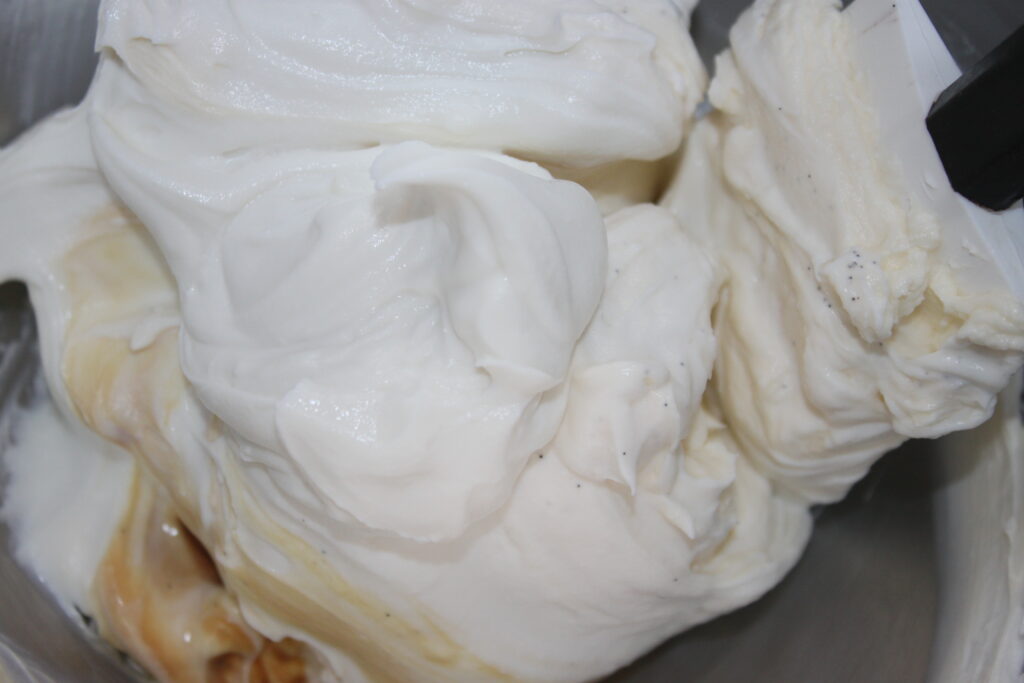
Pour in the vanilla (or the inside of a pod, or liquid vanilla and a little vanilla powder).

Pour in half the ricotta and blend as you would for a chocolate mousse, using a maryse and delicately.
Pour in the other half of the ricotta in the same way.

Pour into the dish and smooth with a spatula.
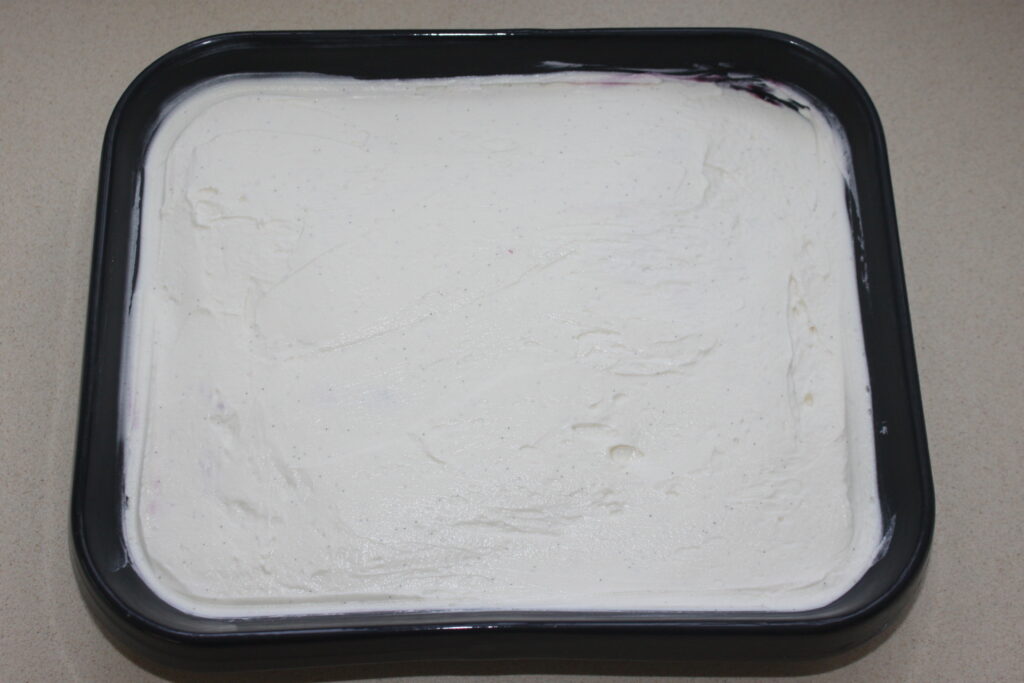
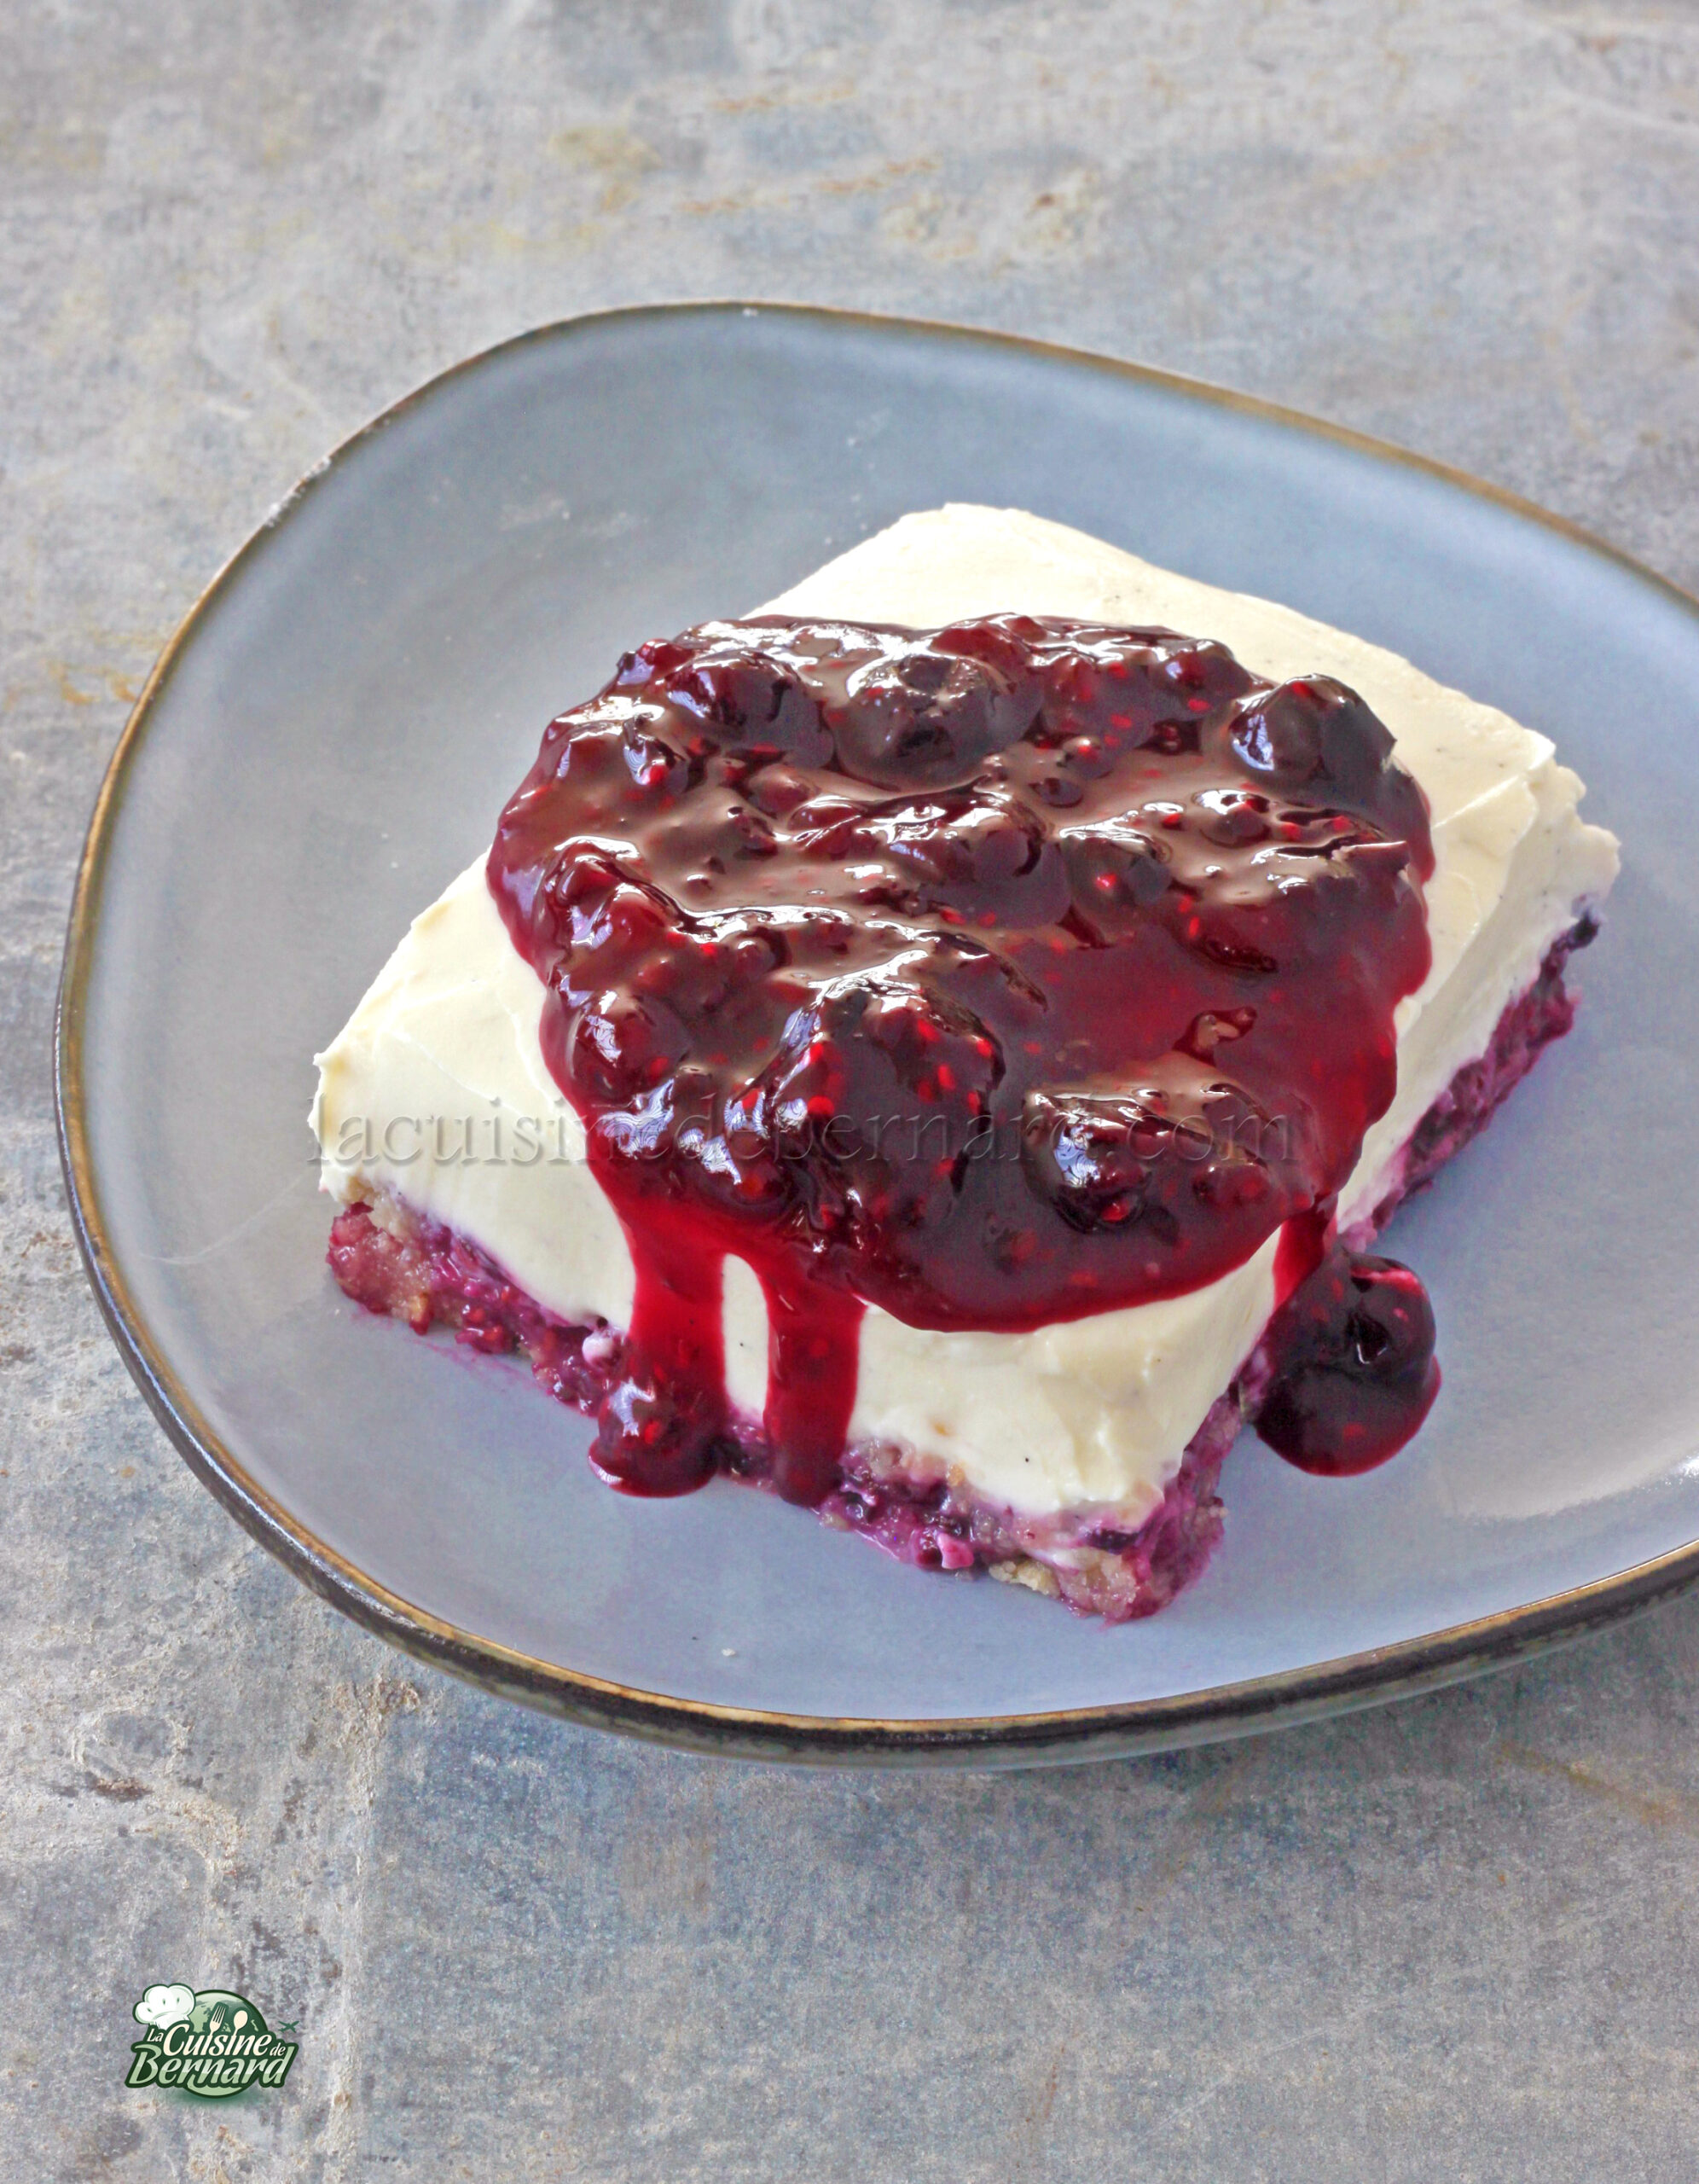
Chill overnight. Serve chilled on the side (the macaroons are no longer powdered, but have amalgamated with the coulis) and pour the red fruit coulis over the top.
Entremet ricotta mascarpone et fruits rouges
Ingredients
Pour le coulis de fruits rouges :
- 650 g fruits rouges variés
- 190 g sucre
- 10 g fécule de maïs
Pour l'entremet :
- 8-9 macarons amande amère
- 375 g mascarpone
- 100 g sucre glace
- 1 gousse vanille
- 600 g ricotta crémeuse
Instructions
- Commencez par préparer le coulis de fruits rouge. Mettez les fruits rouges (j’ai pris un mélange congelé) avec le sucre dans une casserole.
- Portez à ébullition sur feu modéré tout en mélangeant.
- Versez les 10g de maïzena dans un récipient avec un peu d’eau (4 cuillerées à soupe en gros) et versez le tout tout en mélangeant, toujours sur feu modéré.
- Faites cuire 3 minutes et c’est fini. L’ajout de maïzena va épaissir la coulis et le rendra bien nappant quand il sera froid.
- Mettez de côté. Placez les macarons dans un petit mixeur et broyez en poudre très grossière.
- Versez le tout dans un moule ou plat de 25cm sur 20 puis mettez un peu de coulis (l’équivalent d’une dizaine de cuillerées à soupe).
- Dans un récipient ou dans le bol de votre robot, versez le mascarpone bien froid avec le sucre glace.
- Fouettez le tout comme une chantilly pendant 3-4 minutes à grande vitesse. Cela va justement donner une chantilly très épaisse de mascarpone.
- Versez la vanille (ou l’intérieur d’une gousse ou bien la vanille liquide et un peu de vanille en poudre).
- Versez la moitié de la ricotta et assemblez le tout comme pour une mousse au chocolat, avec une maryse et avec délicatesse. Versez l’autre moitié de la ricotta de la même façon.
- Versez le tout dans le plat et lissez bien avec une spatule.
- Mettez une nuit au frais. Servez bien frais en part (les macarons ne sont plus en poudre, mais se sont amalgamés avec le coulis) et versez du coulis de fruits rouges sur le dessus.