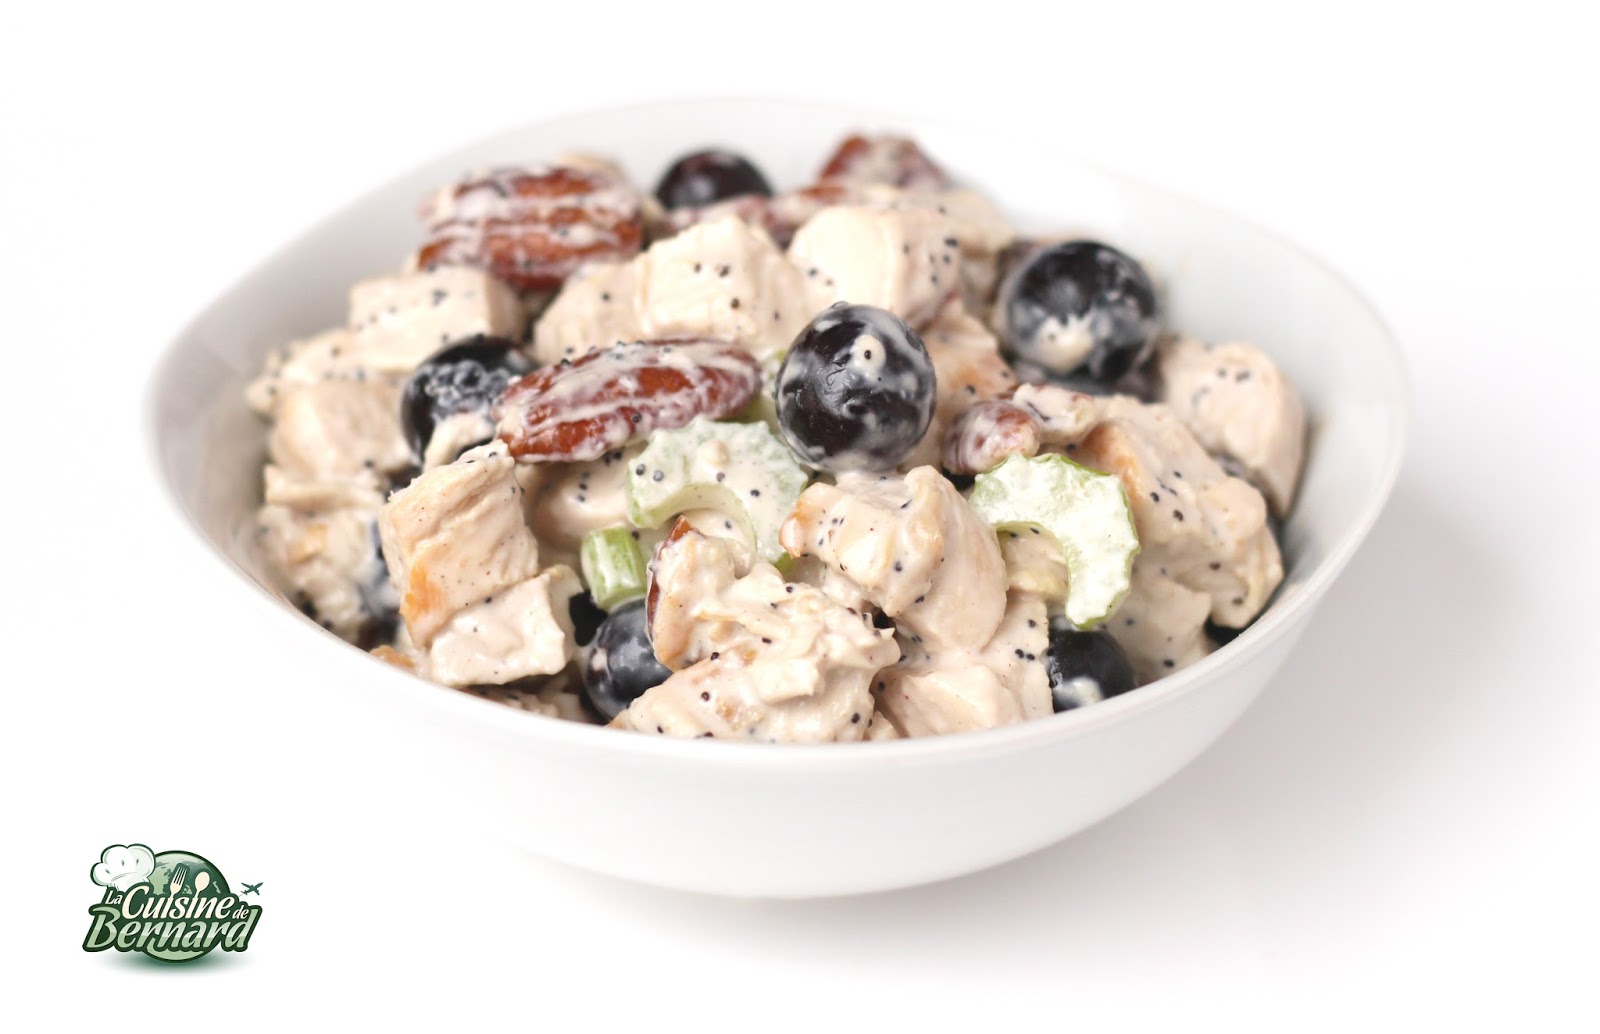
Freely inspired by the salad recipes found at “Whole Foods Market” in New York, I propose the “Sonoma Chicken Salad”. Crunchy, soft, dried and fresh fruits, small pieces of celery…]]>
-6 chicken breasts
-1 teaspoon of poppy seeds
-3 stalks of celery
-2 small bunches of grapes
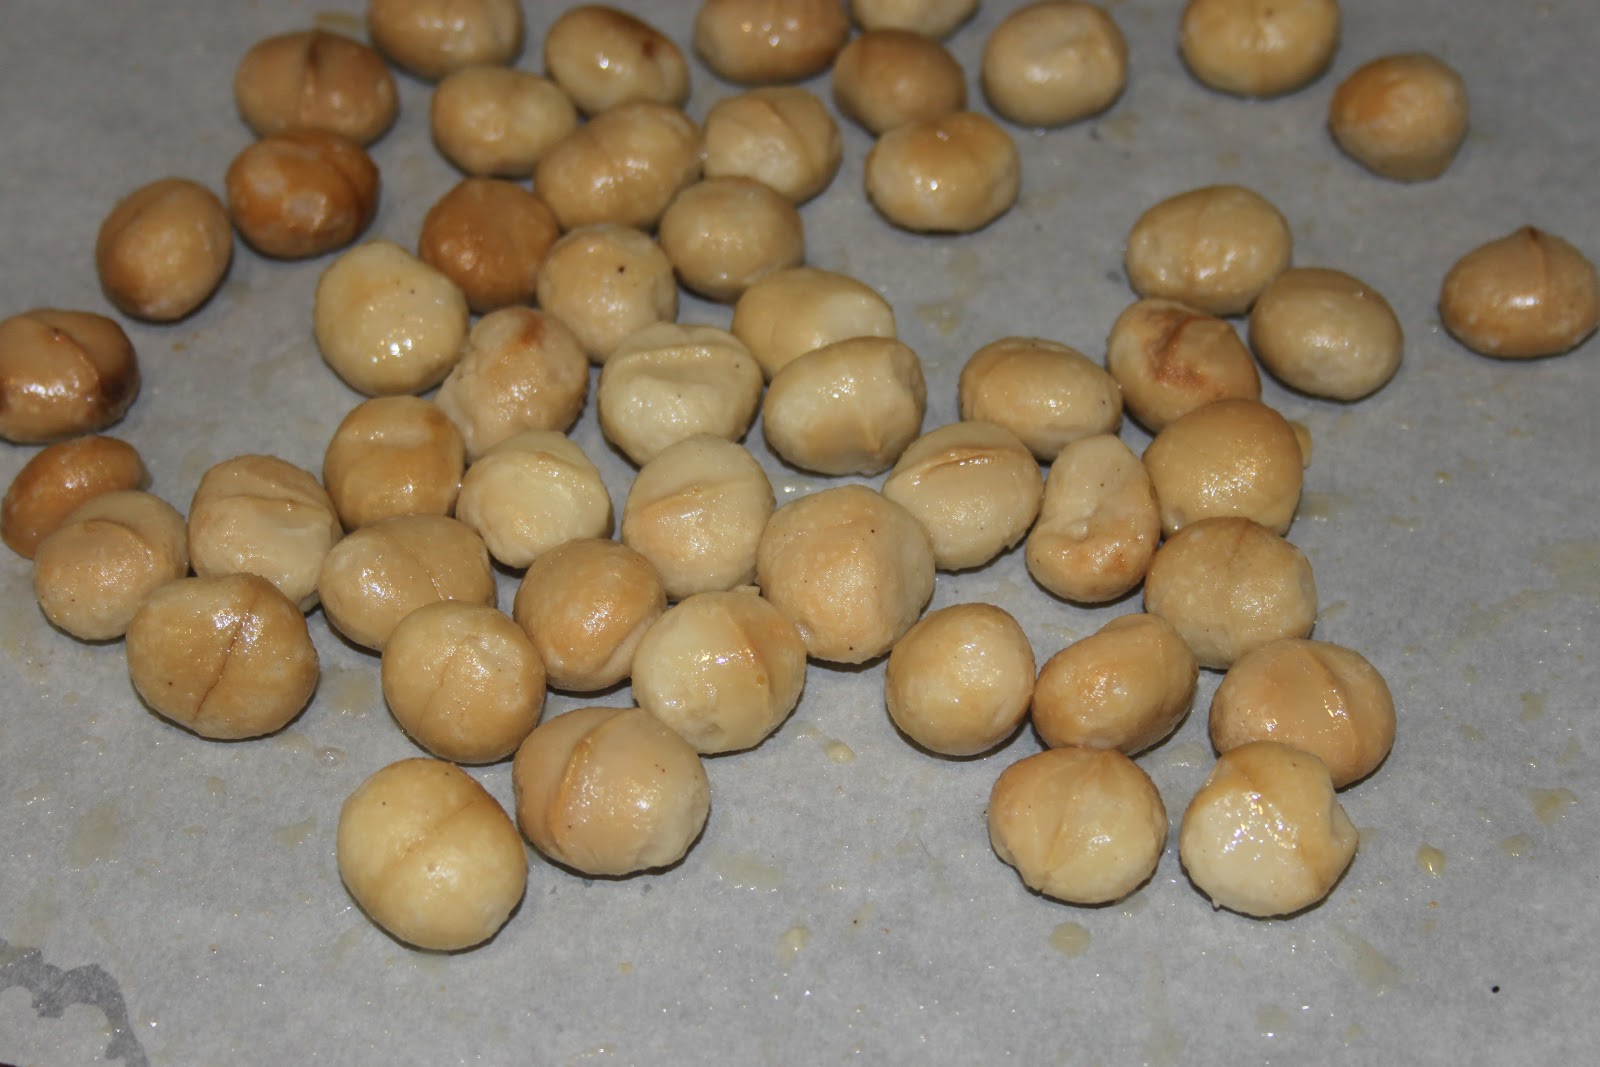
-125g of pecans
Salad dressing:
-1 egg
-150ml rapeseed oil
-25g of honey
-1 teaspoon of mustard
-1 tablespoon sherry vinegar
-salt, black pepper
-1/2 whole natural stirred yogurt
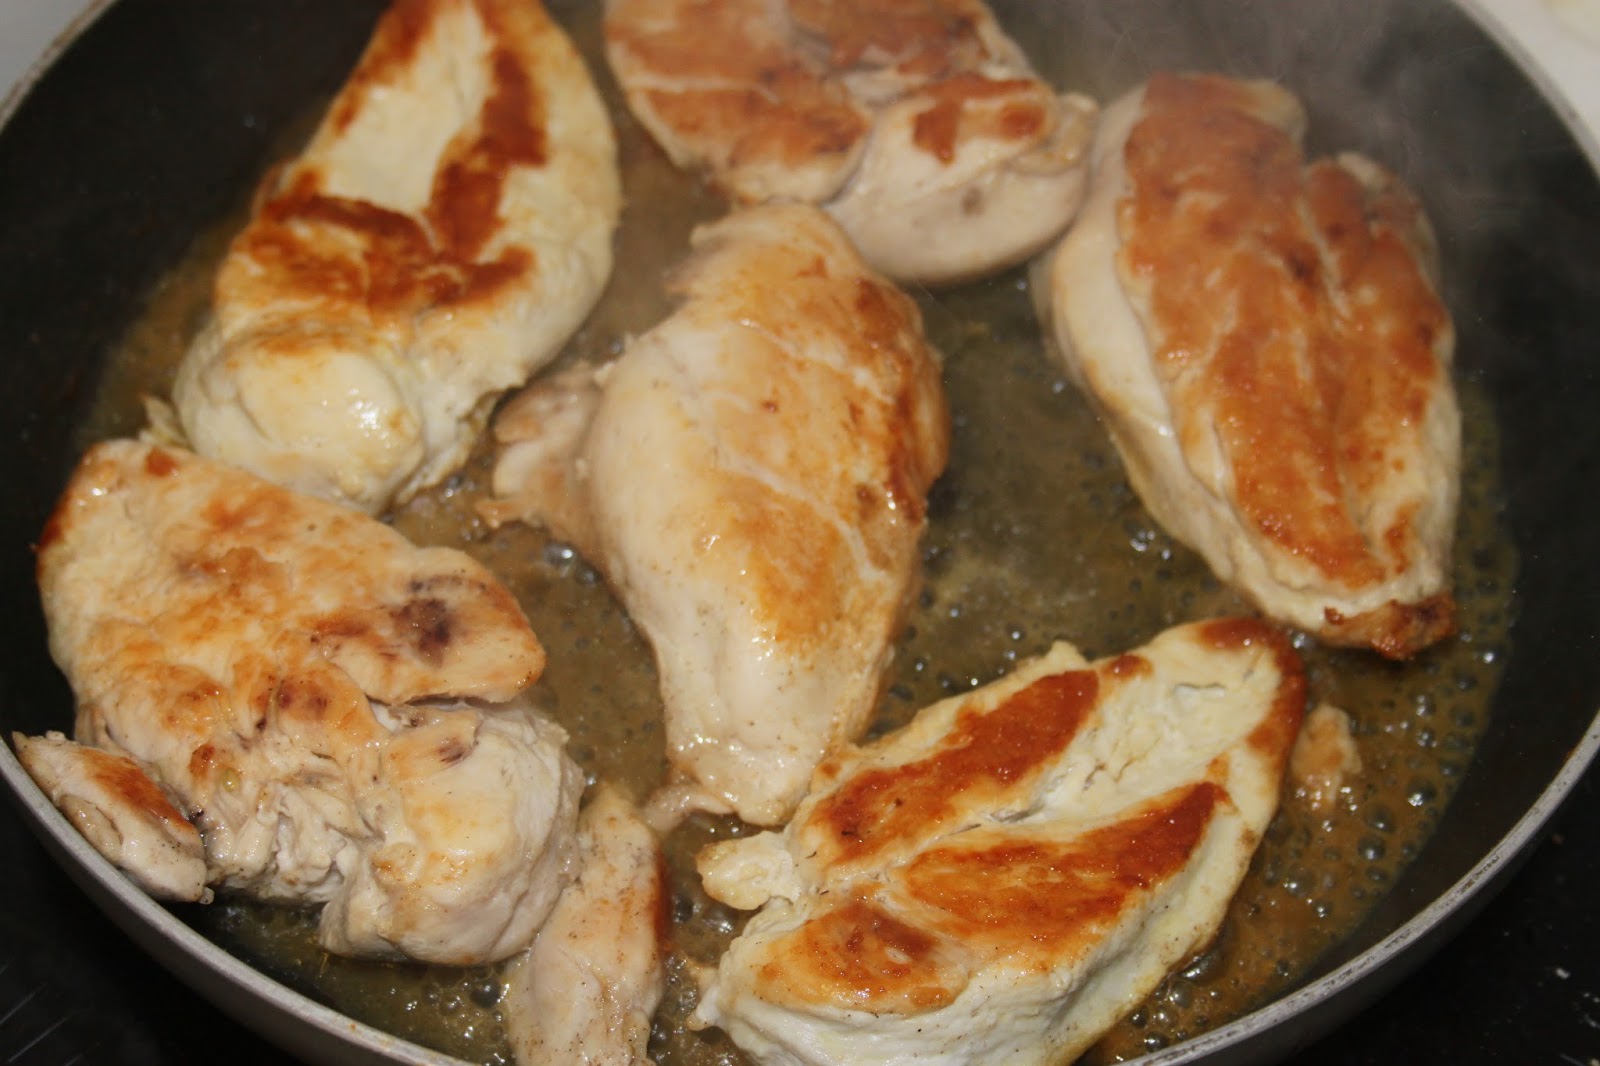
Put a little olive oil in a large frying pan over fairly high heat. Add your chicken breasts.

Grill them well on both sides. Don’t forget to add salt and pepper. I also add a little garlic powder. At the end of the cooking time, add a little water to create a steam that will finish cooking the heart of the whites.
Let cool and then cut the chicken into pieces.
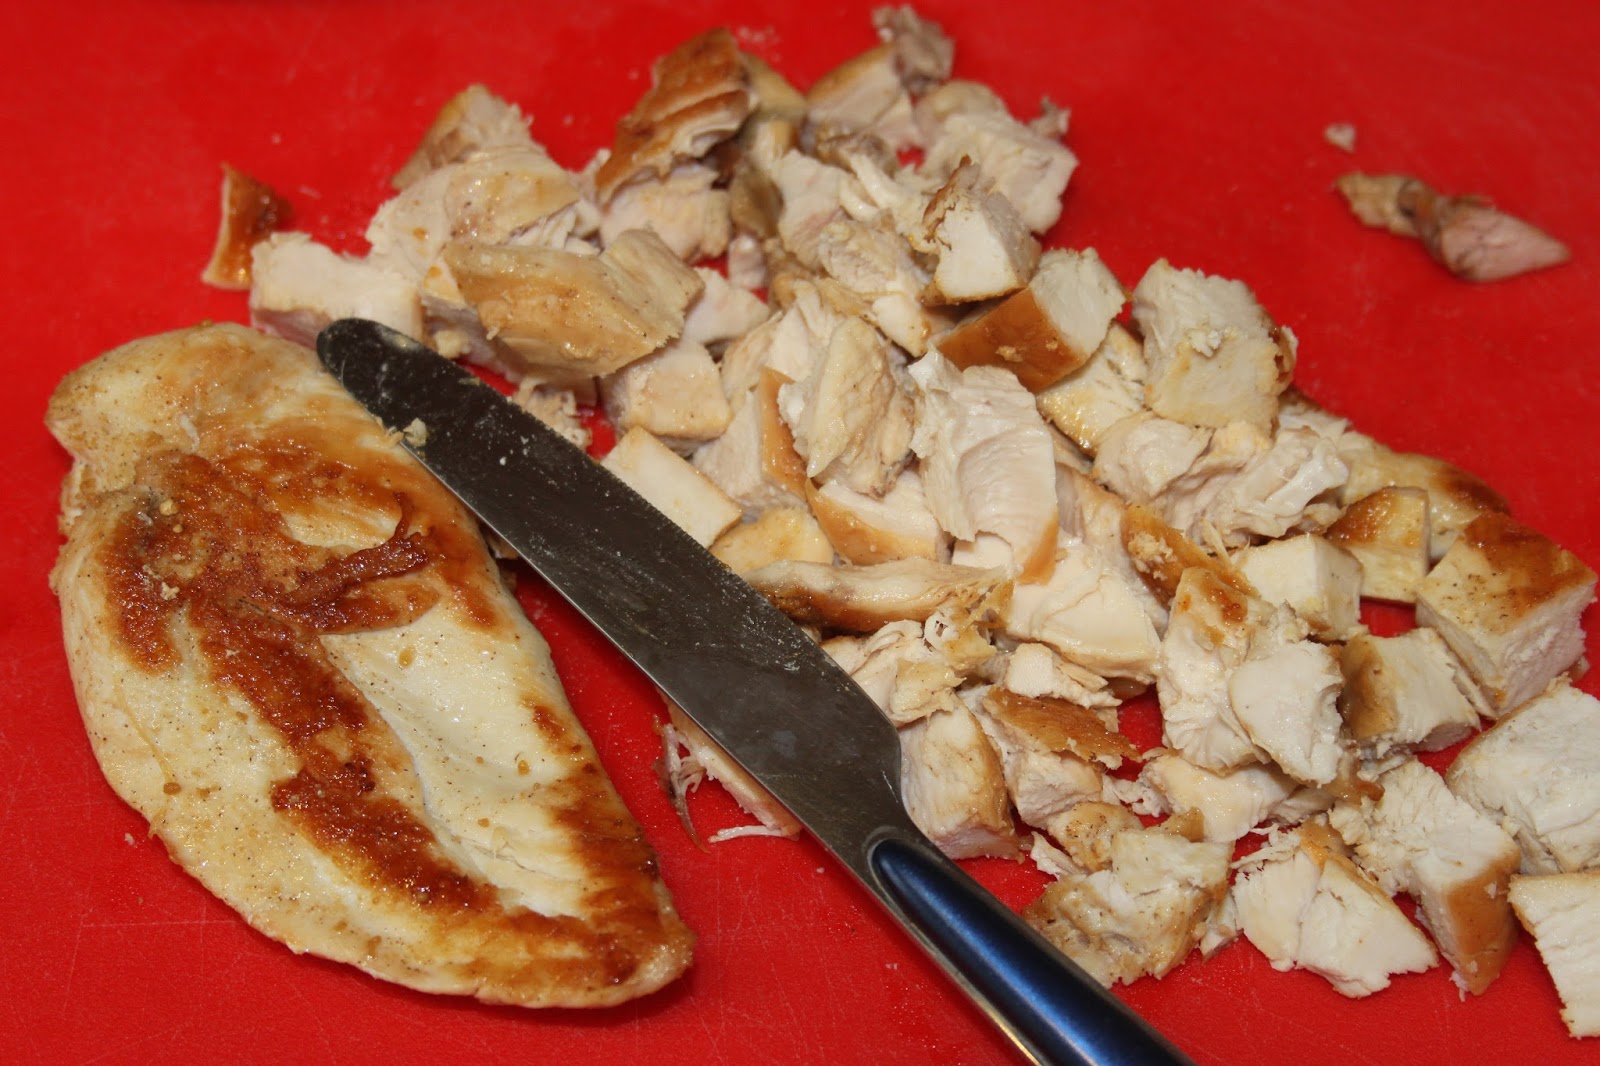


This is the result!
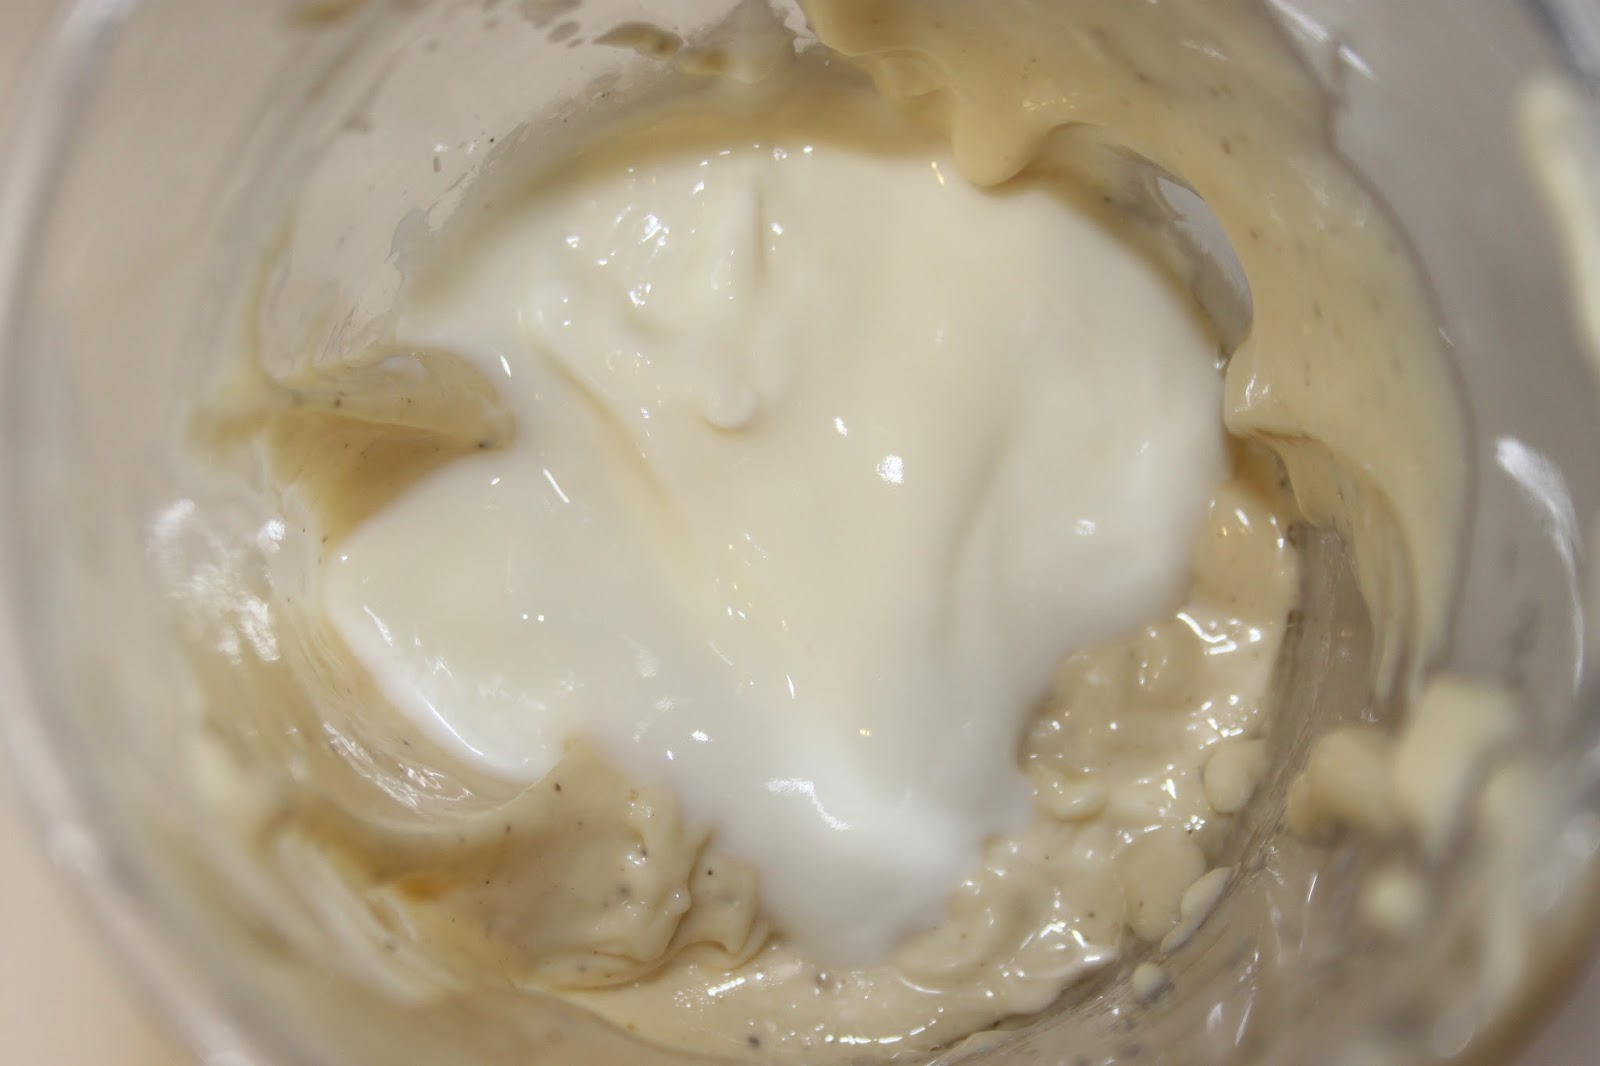
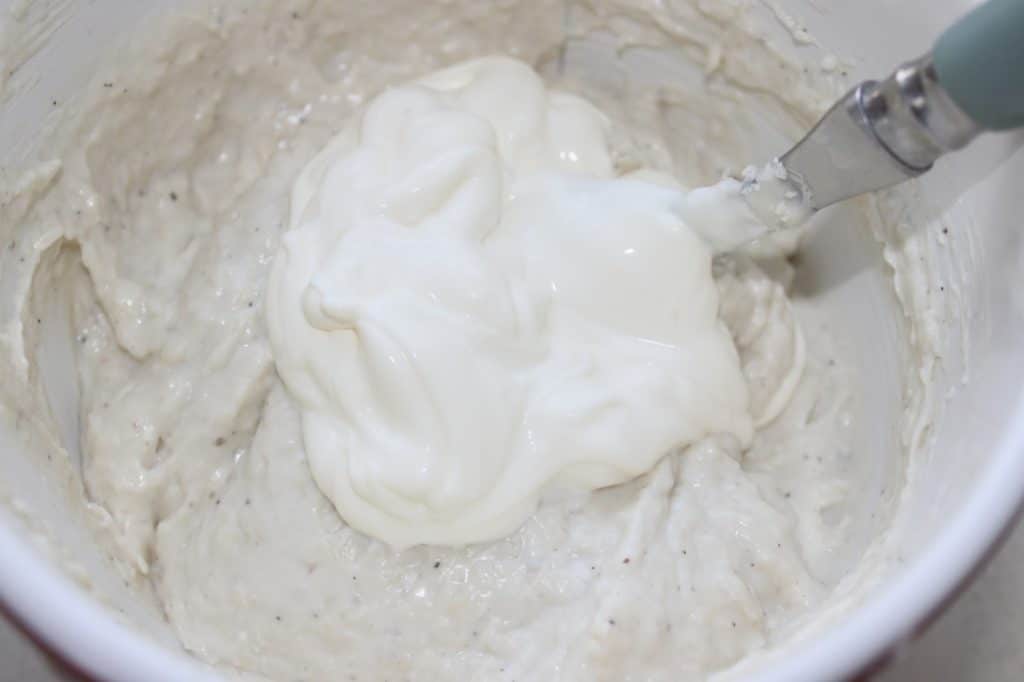
Add the half full-fat plain yogurt and mix well.
Put all or part of the sauce (according to your taste) in the bowl.

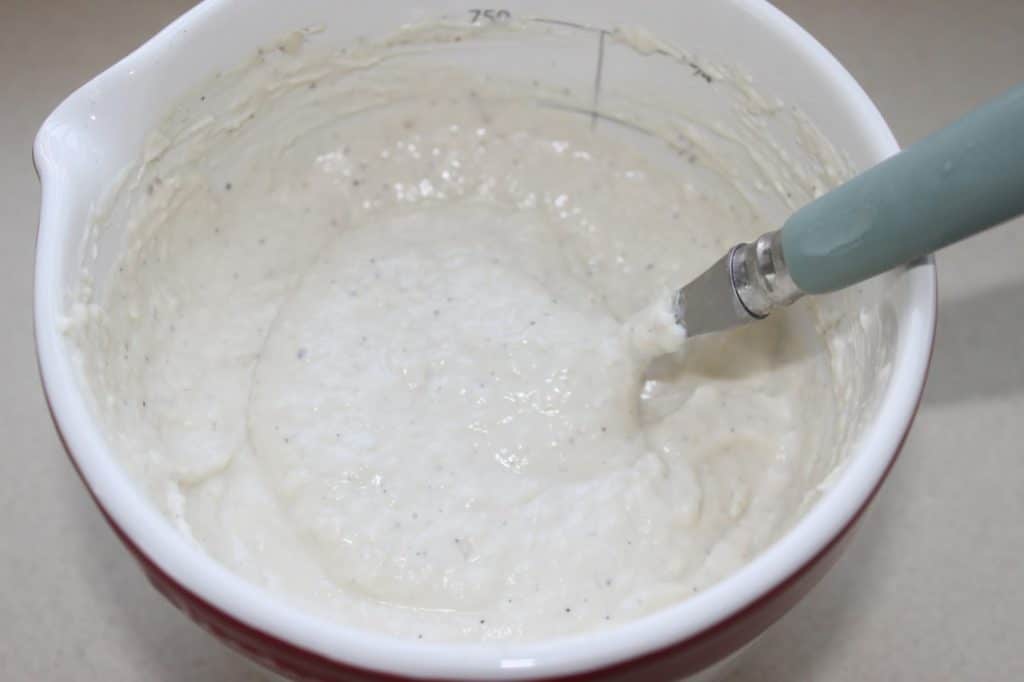
Mix well.

Add the grapes and mix carefully so as not to break them up.


- 1 egg
- 250g of oil
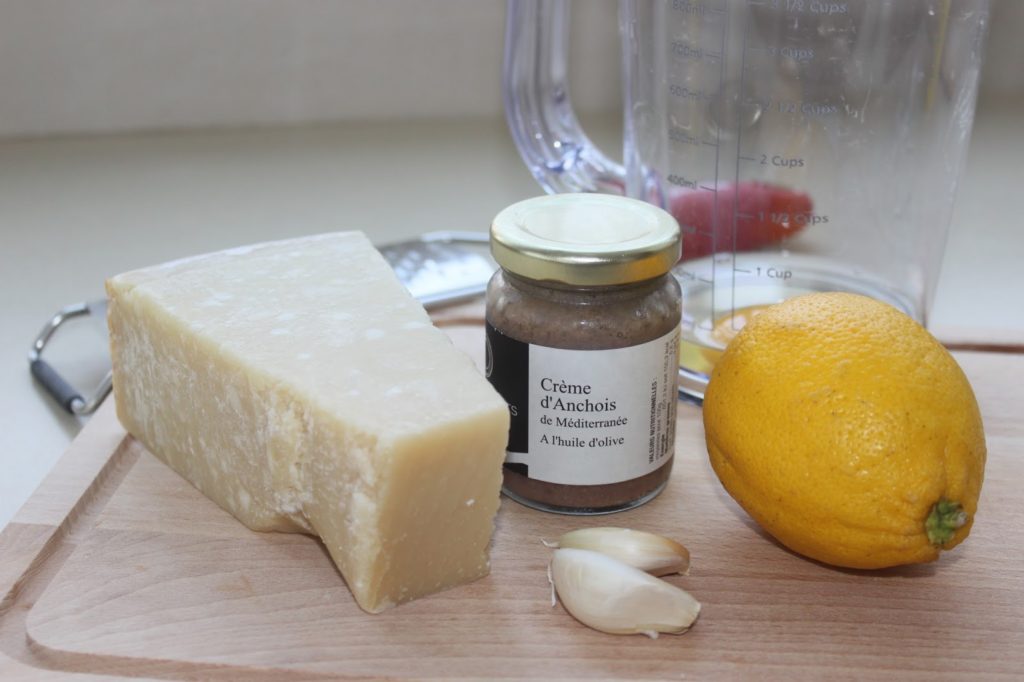
- 2 cloves of garlic
- 3 teaspoons of anchovy cream (30g)
- 3 tablespoons of lemon juice
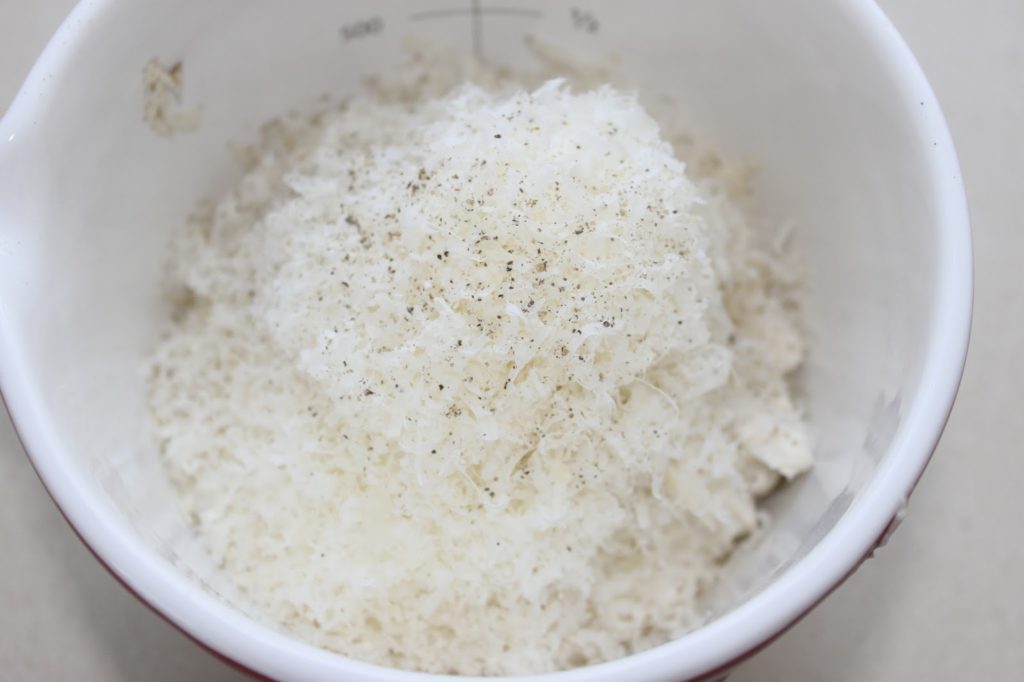
- 50g of freshly grated parmesan cheese
- 60g of full cream
- ground pepper
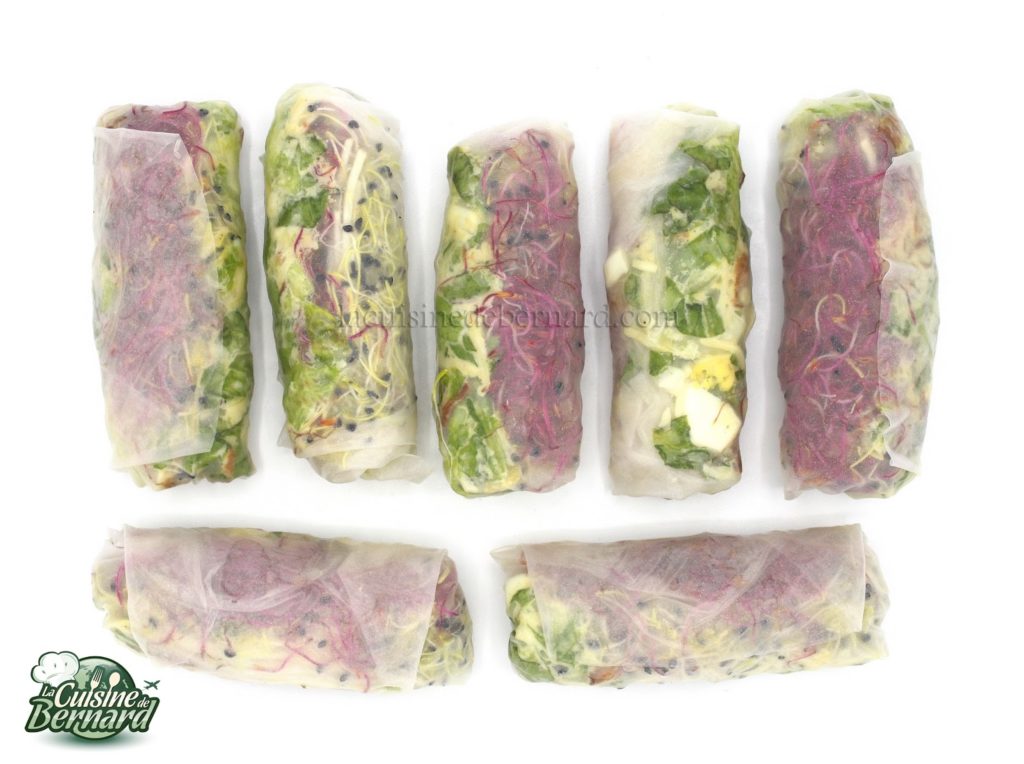
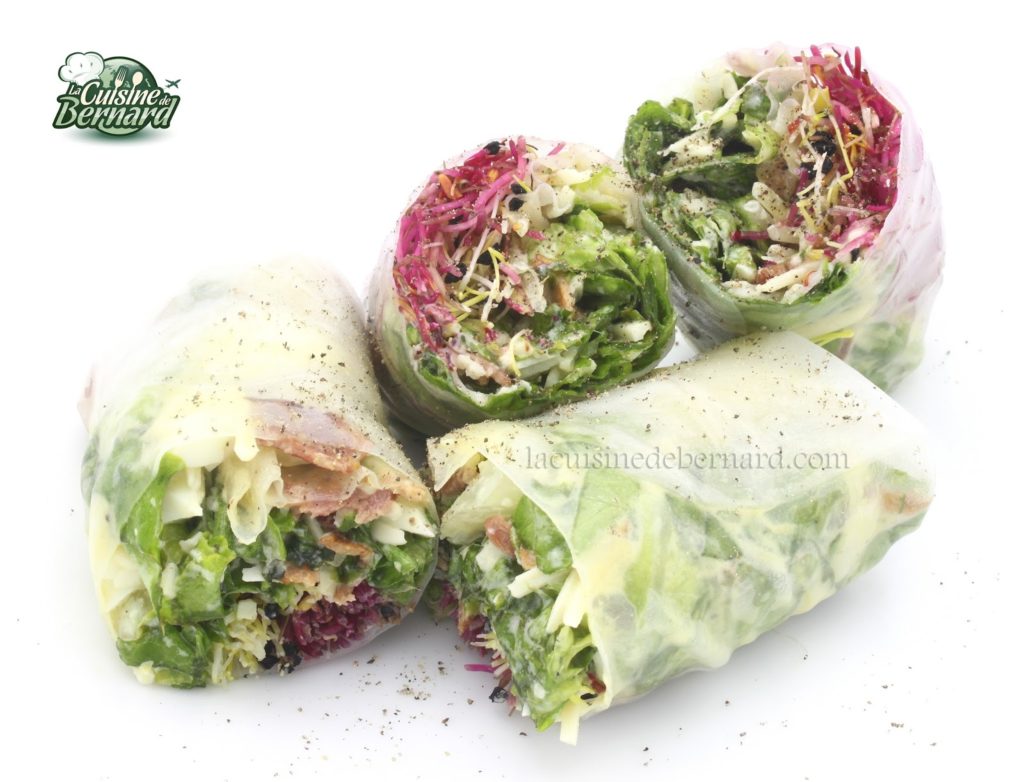
- 8 to 10 rice sheets of 22 cm in diameter
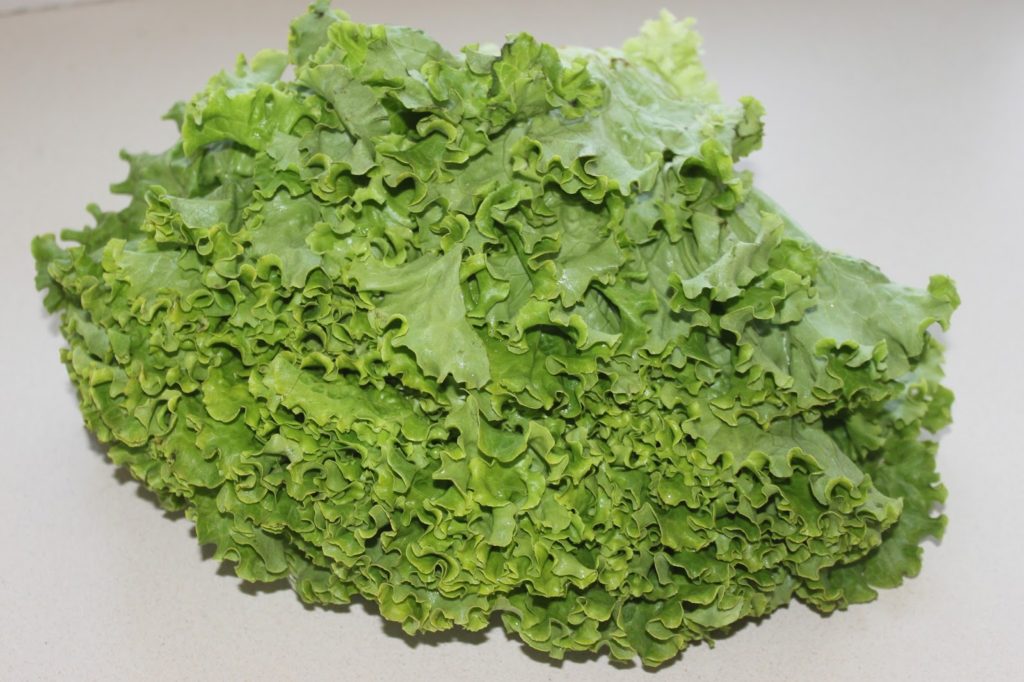
- 1 batavia lettuce (you will only use 300 to 350g)
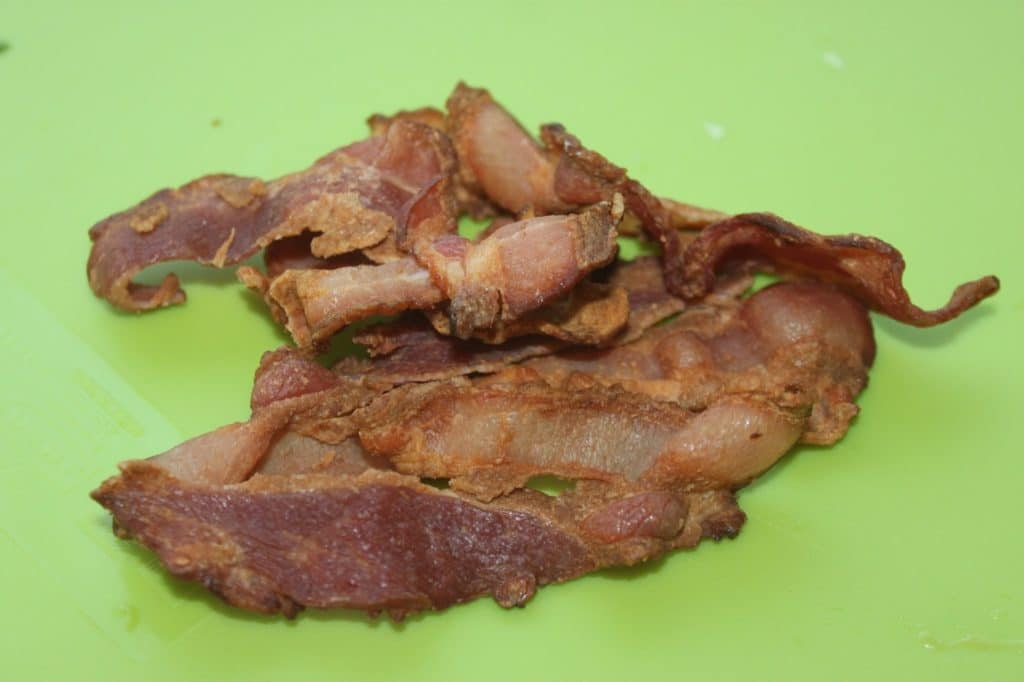
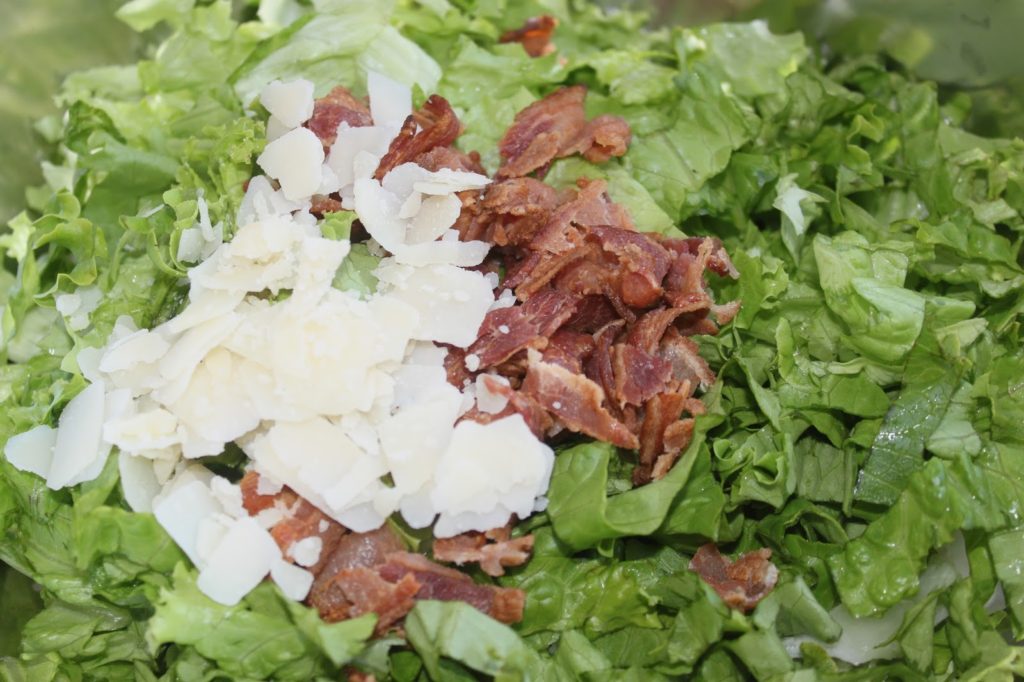
- 50g of bacon
- 2 hard-boiled eggs
- 30g of shaved parmesan cheese
- 60g of grated cheese
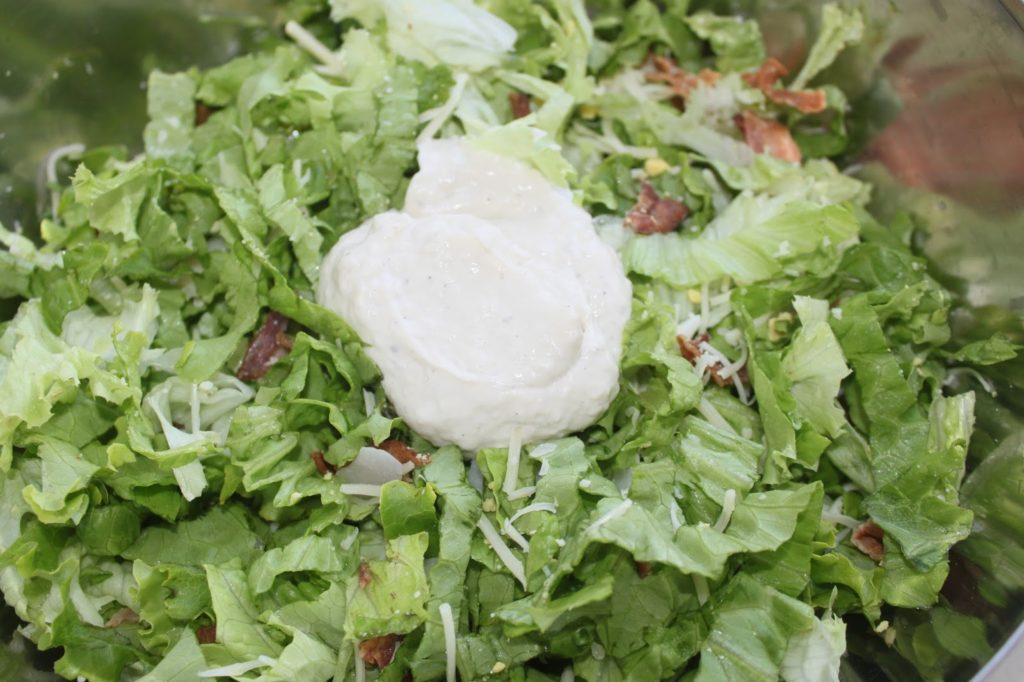
- 80 to 90g of Caesar sauce
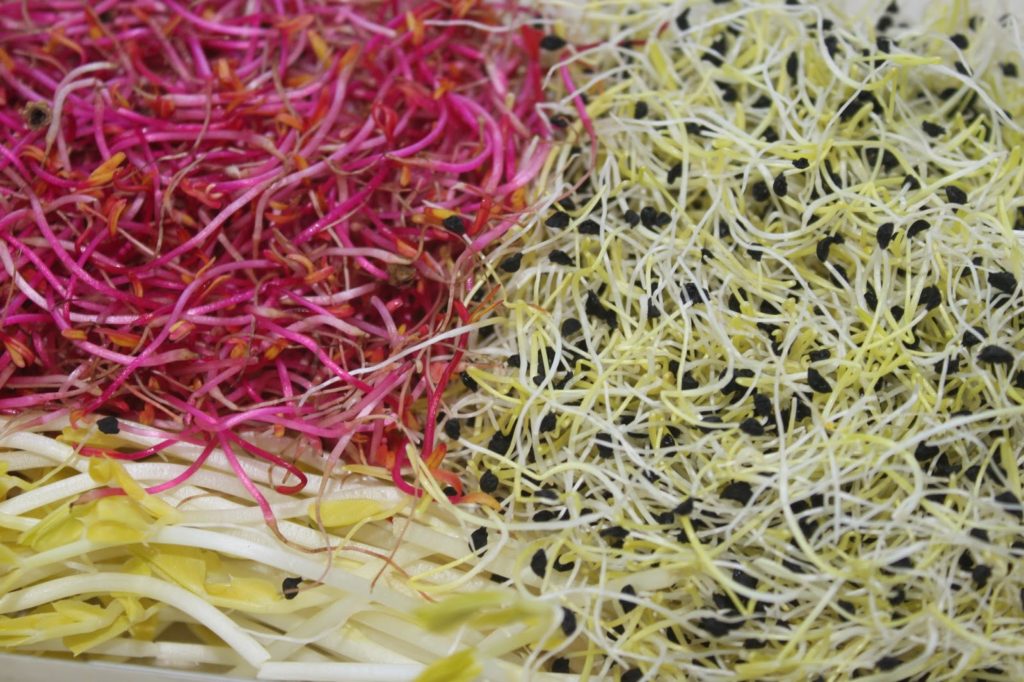
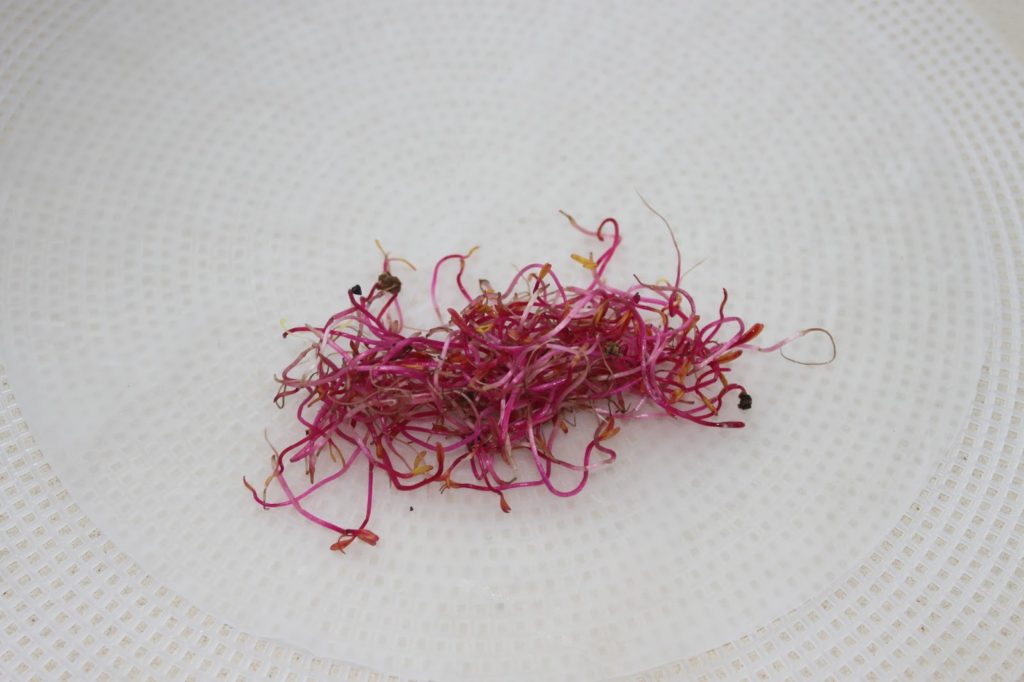
- beet sprouts, peas, etc.
For this recipe, you will need anchovy cream. You can of course use anchovies and put them directly into the sauce.

Pour in the oil. I weigh the container directly on the scale to add 250g of oil.

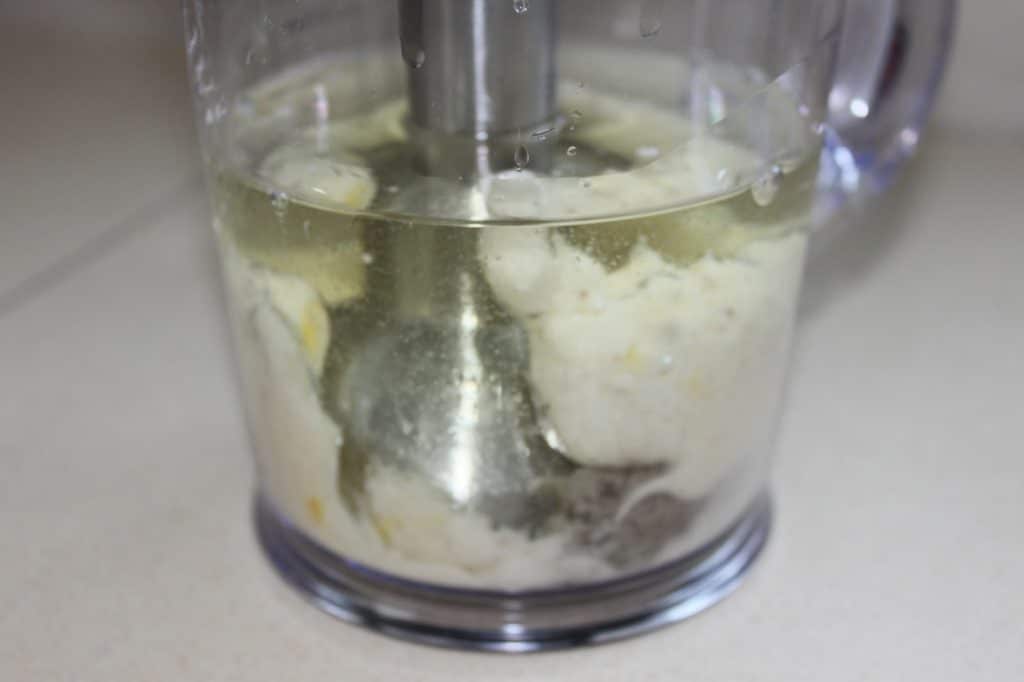
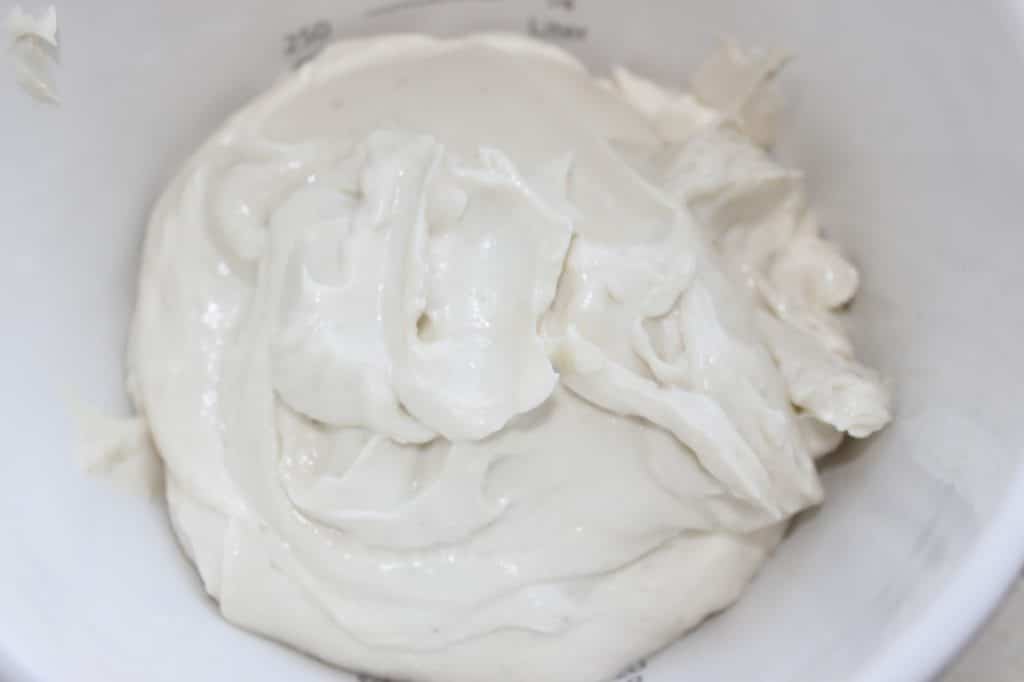
In a few seconds the sauce is ready! Pour it into a bowl.
Add freshly grated Parmesan cheese and black pepper.
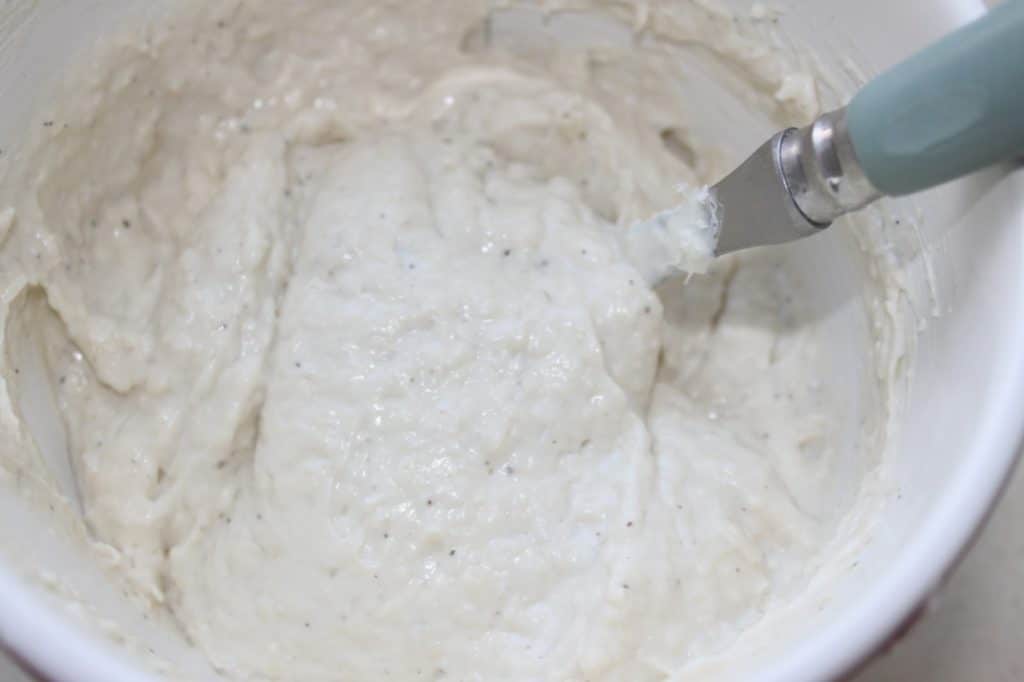
Mix well. It’s almost ready.
Pour in the full cream and mix one last time.
The sauce is ready! Try it, it’s really delicious!
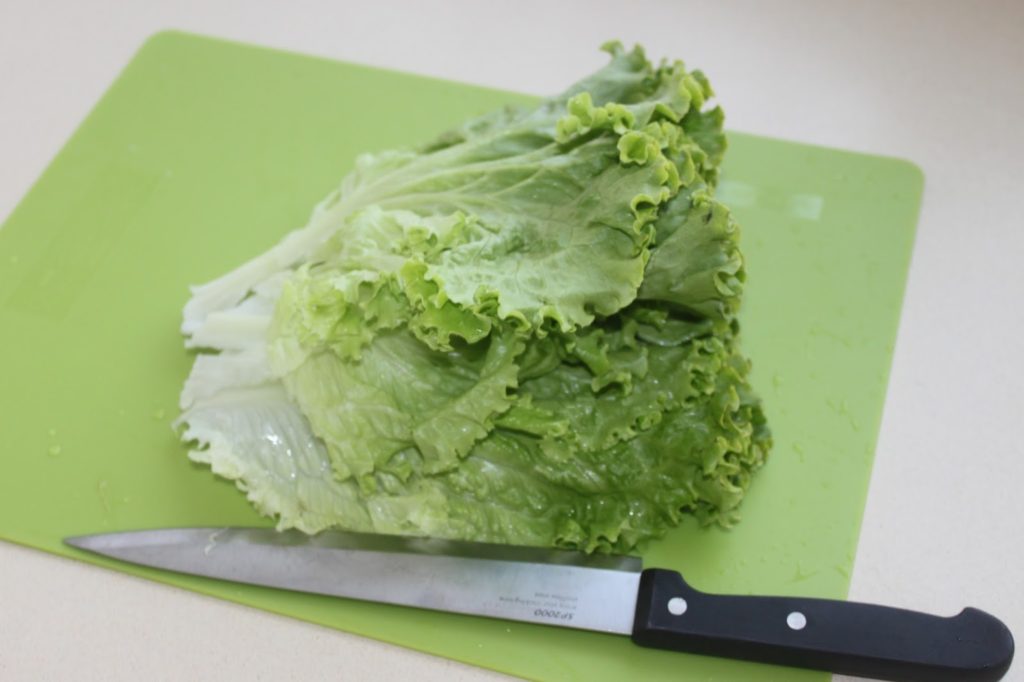
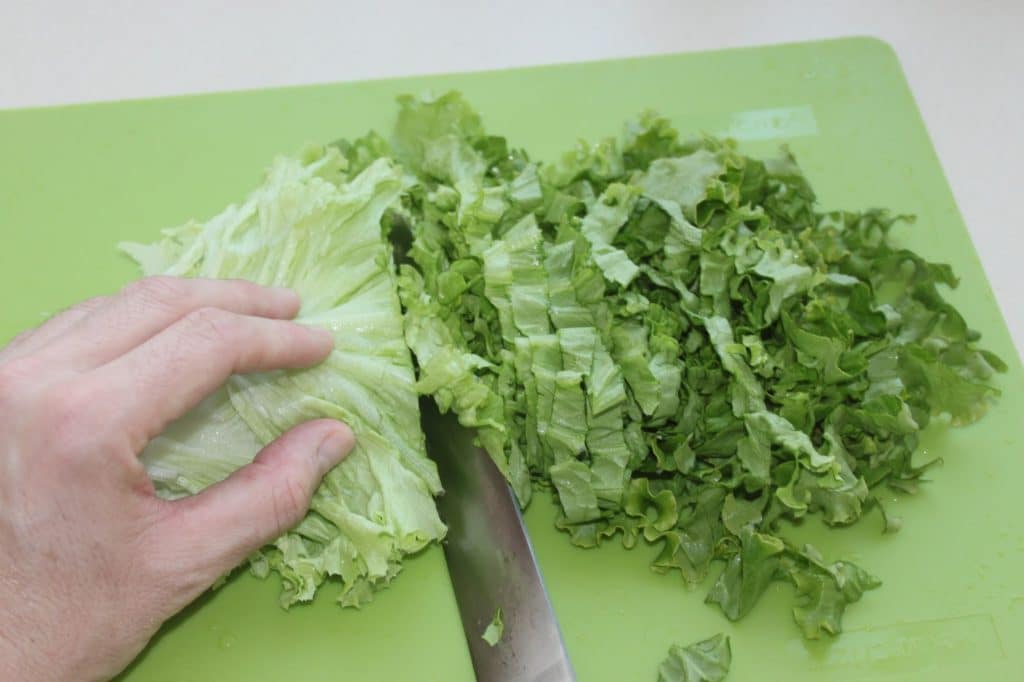
Wash and dry the leaves and cut them into thin slices.
I bought bacon that was already cooked and crispy. It’s delicious, but you can leave it out, or replace it with croutons or even a little cooked and cooled chicken breast.
Put the 2 hard-boiled eggs cut into pieces.
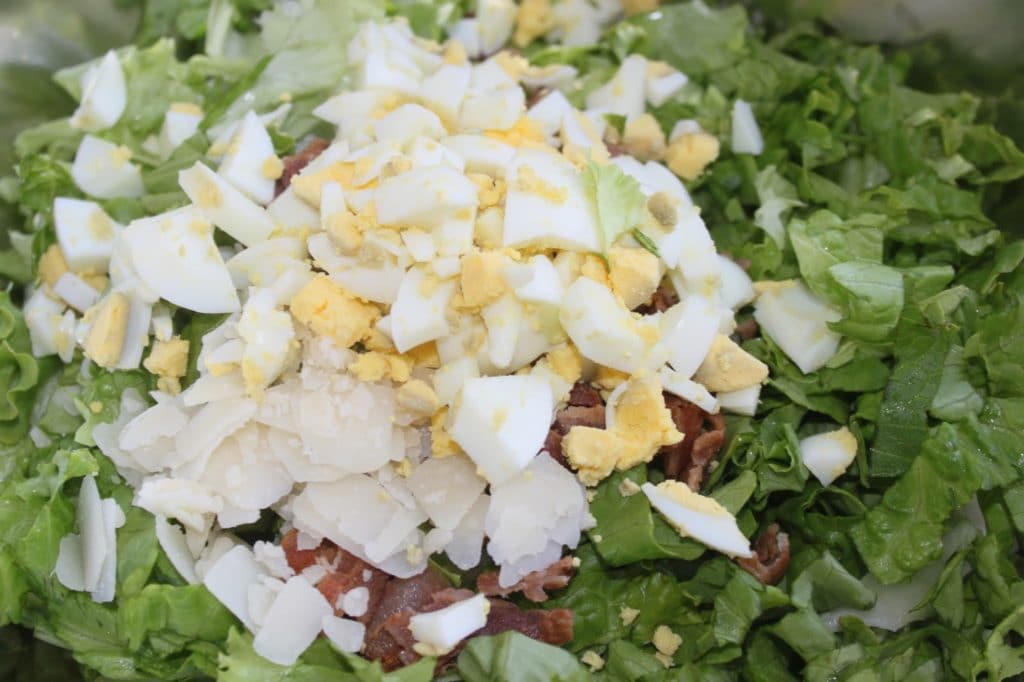
And the grated cheese. Totally decadent but really irresistible.

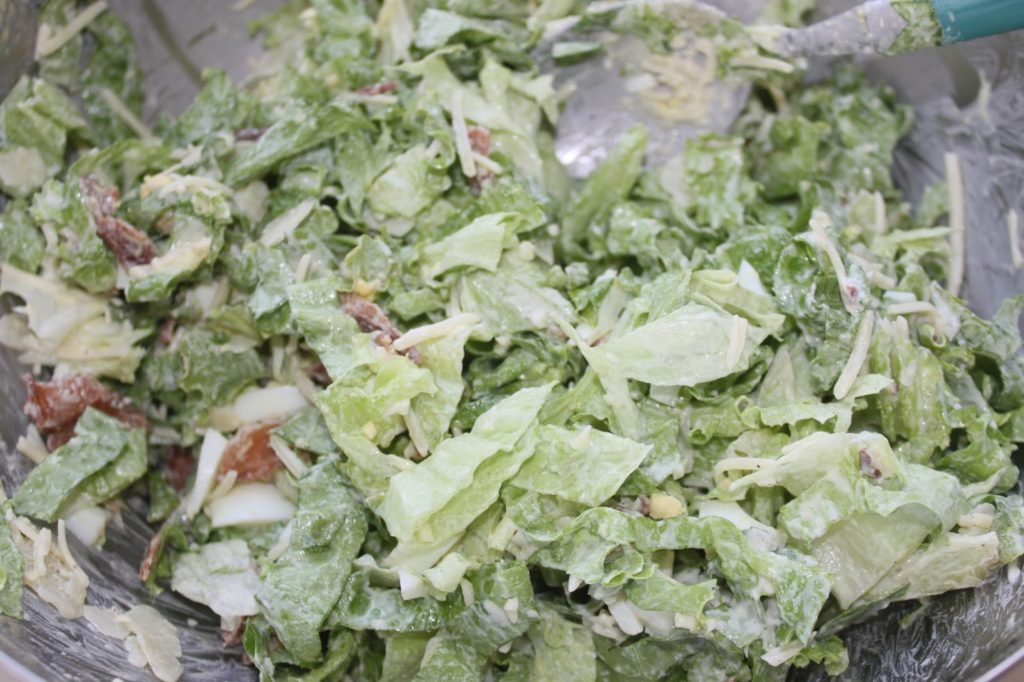
Mix well and pour the 80 to 90g of sauce. You can use more if you use more salad. It’s up to you to adjust.
The salad is ready. Taste it and adjust it as you wish.
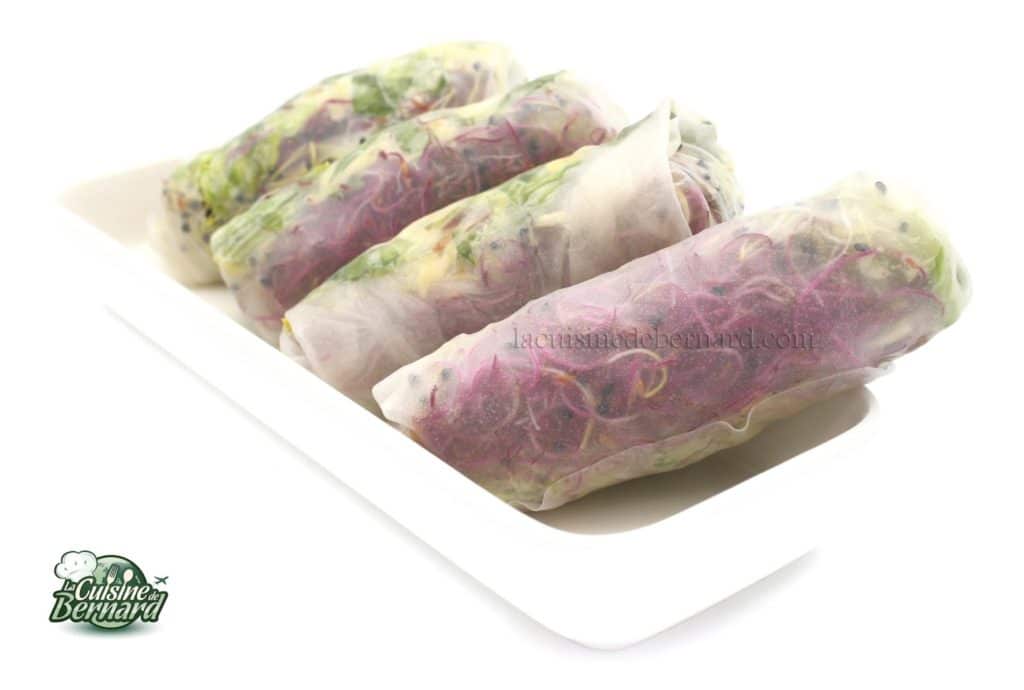
For the next step, I bought ready-made shoots. It gives taste and color.
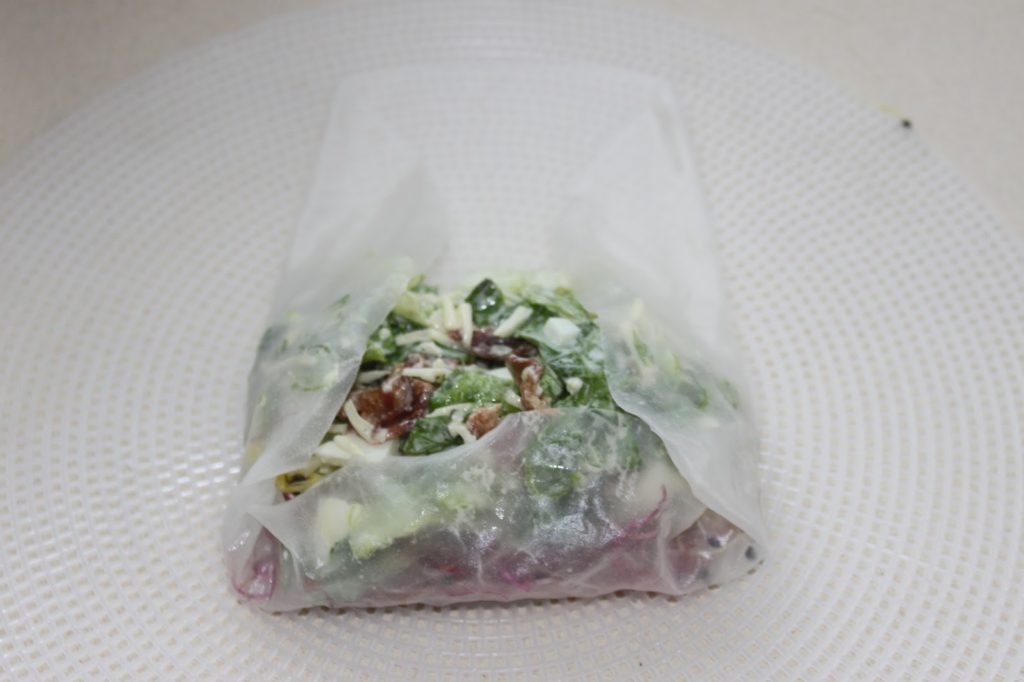
Add salad. I take a pair of pliers for that, it’s much easier!


Roll up a little, fold in the sides.
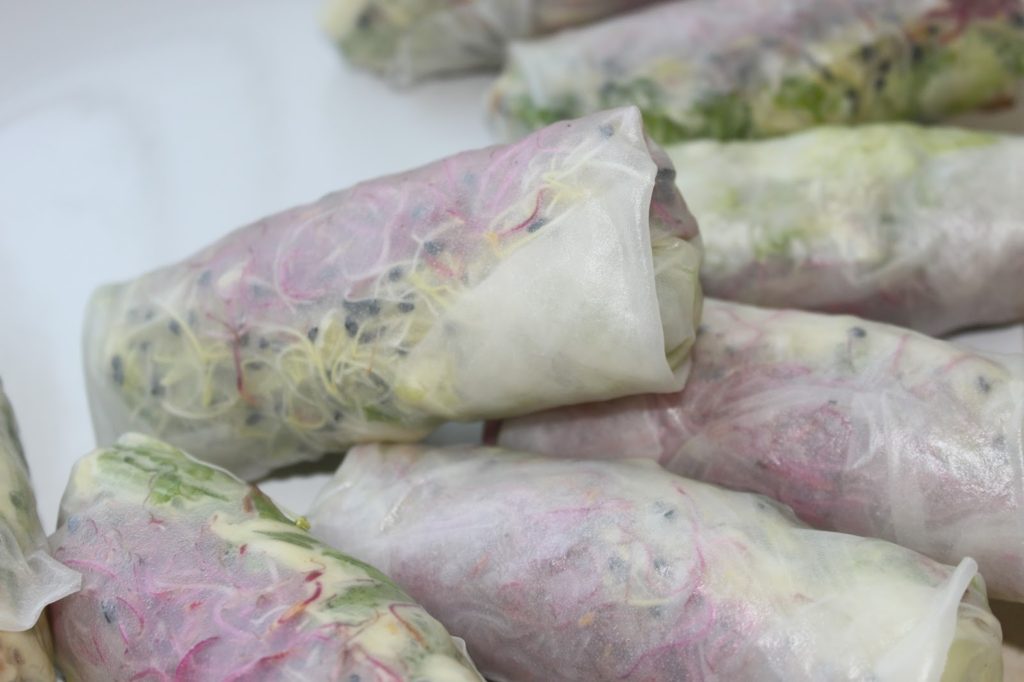
Then finish rolling up, this time very tightly. Do the same for all the rolls.

-2 large bintje potatoes (in Peru they use yellow potatoes)
-4 teaspoons of aji amarillo cream
-3-4 tablespoons of olive oil
-1 “aji amarillo” (see below for how to replace it)
2 large chicken breasts (or canned tuna) pan-fried and cooled
-2 large tablespoons of mayonnaise
-1 stalk of celery
-1/2 shallot, finely chopped
-the juice of half a lime
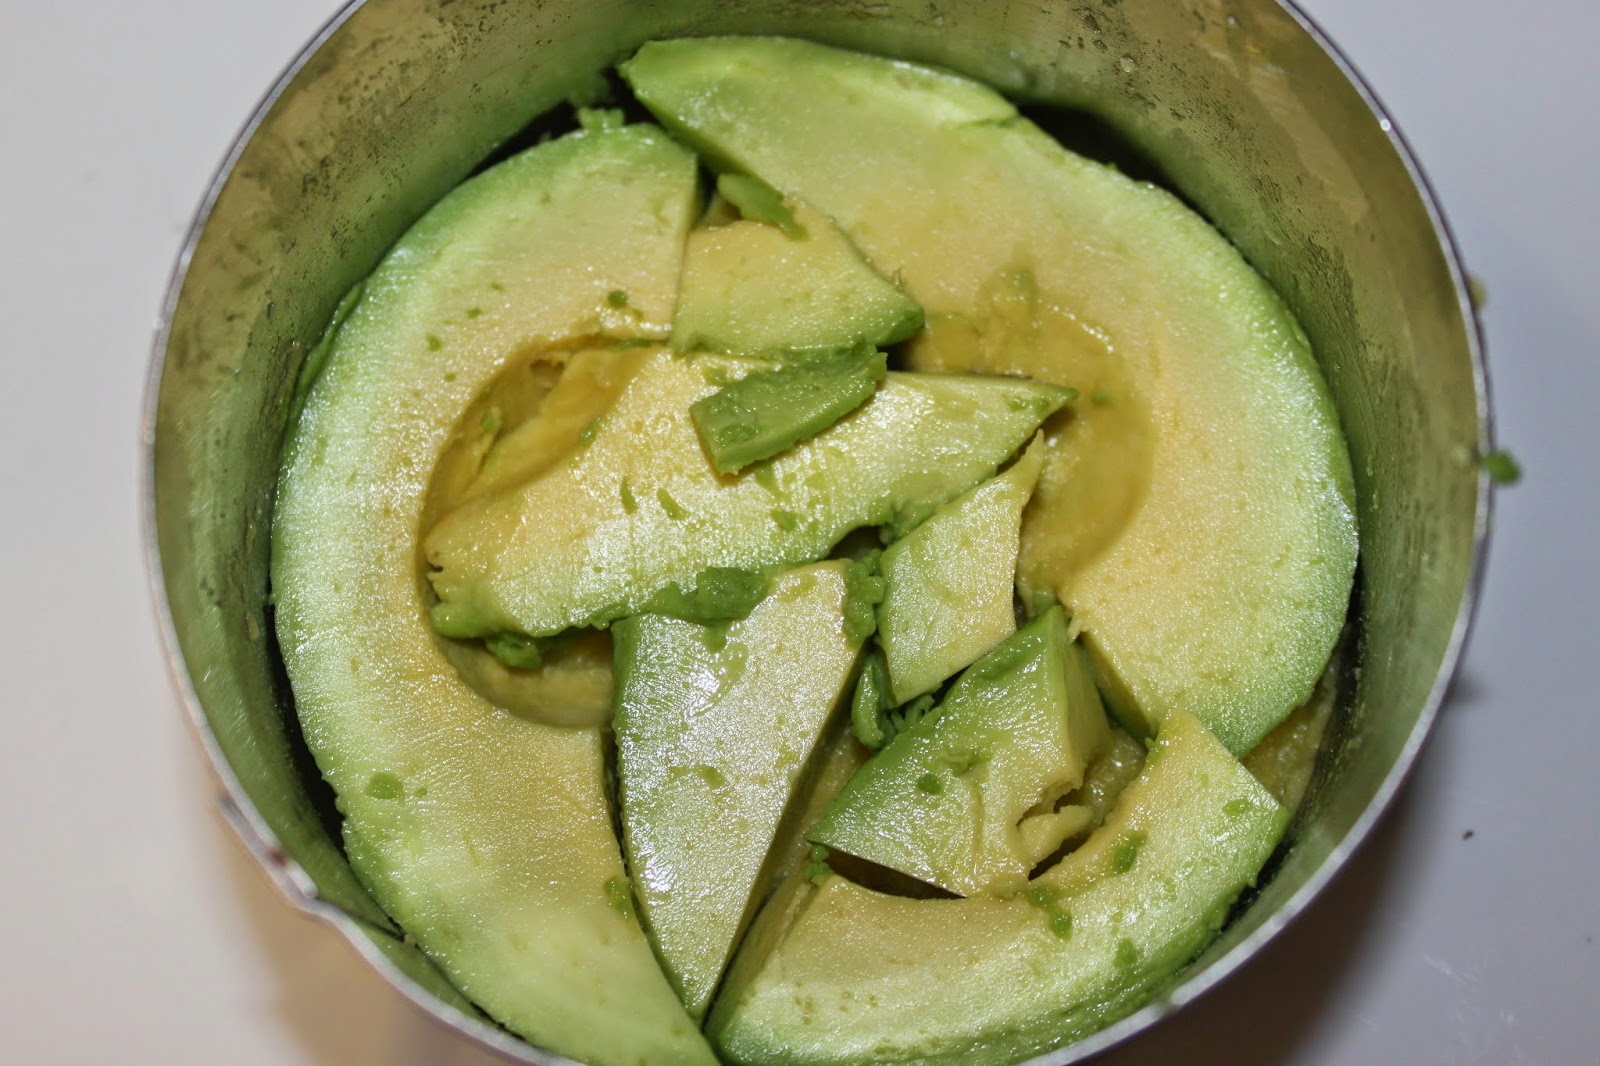
-1 or 2 ripe avocados
-salt pepper


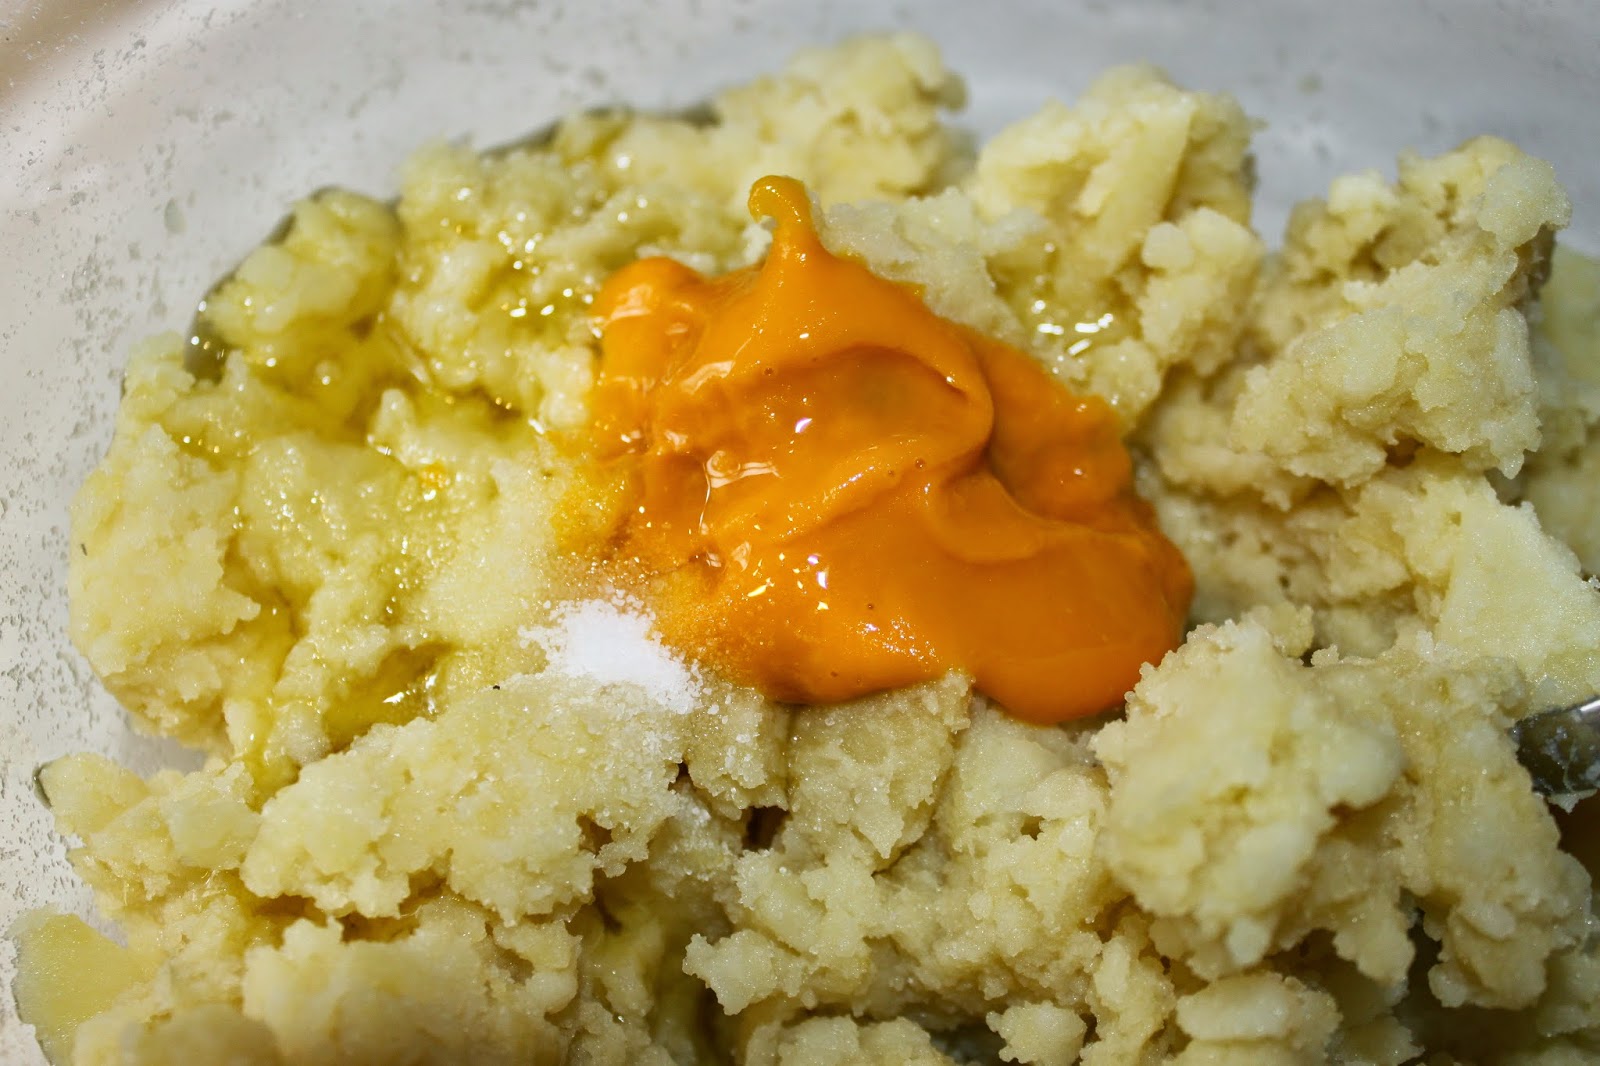


In any case, cut the aji in half and remove the seeds. To give you an idea of the size of this pepper, this one was roughly 8-9cm. So a small quarter of an orange bell pepper.

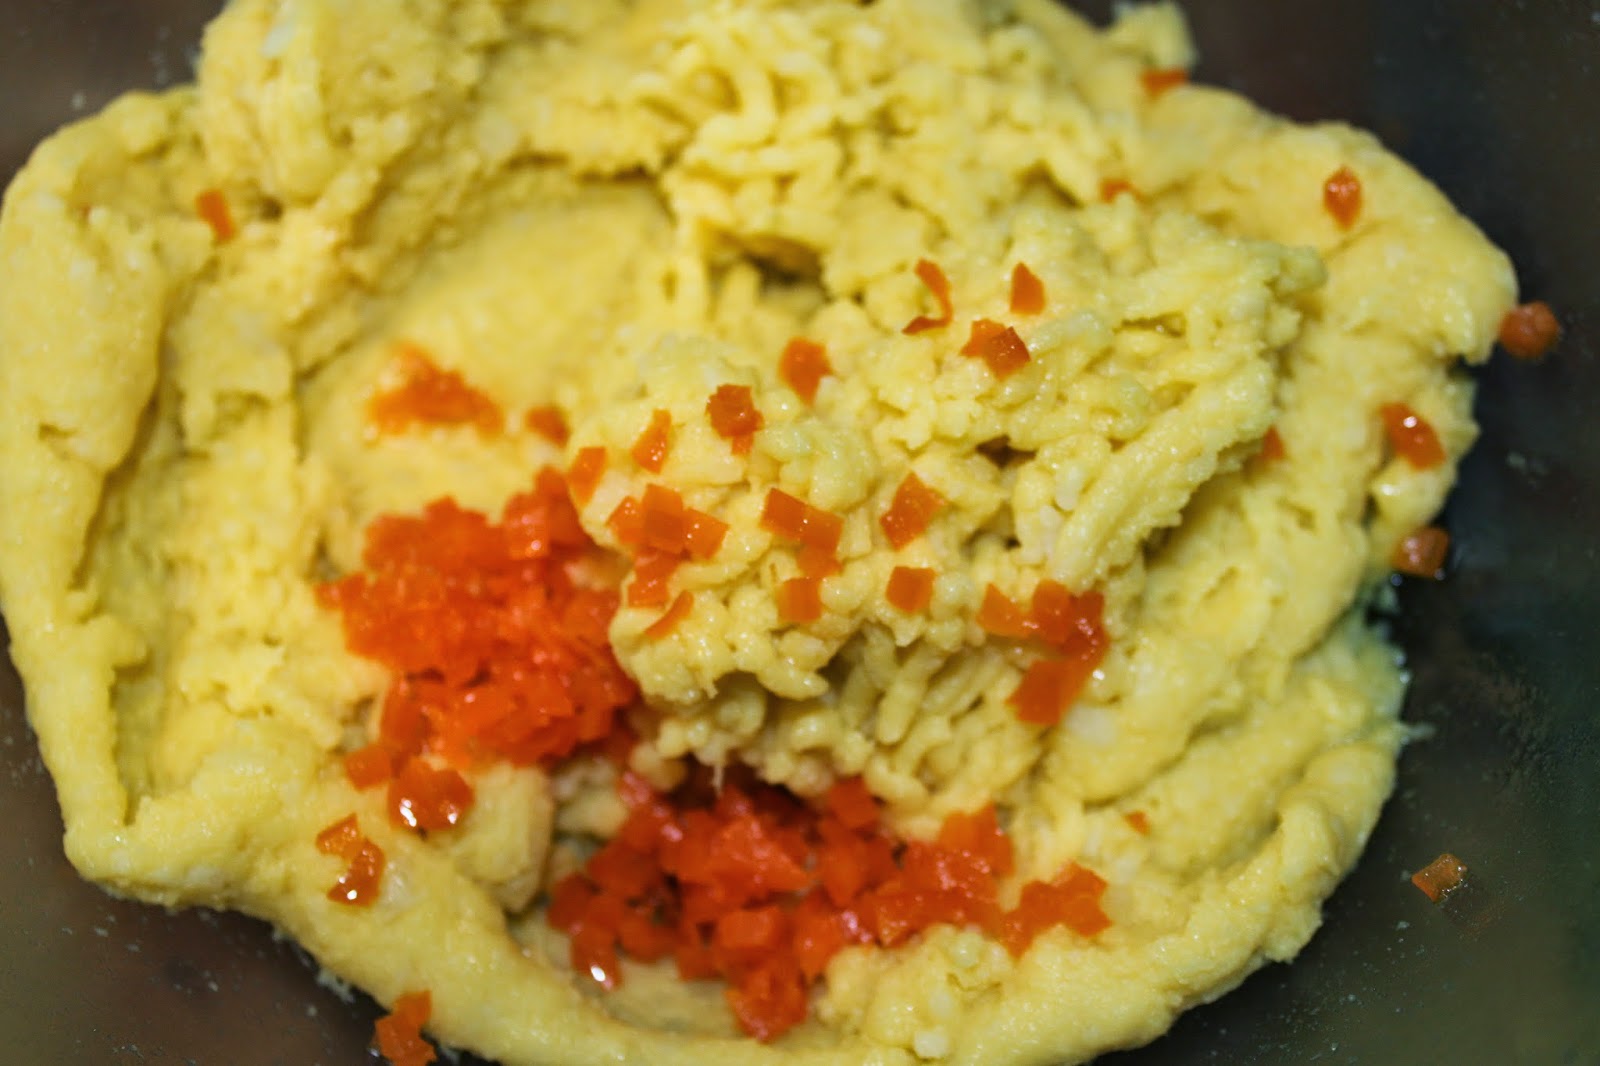
Cut into thin slices.

Then in small cubes.

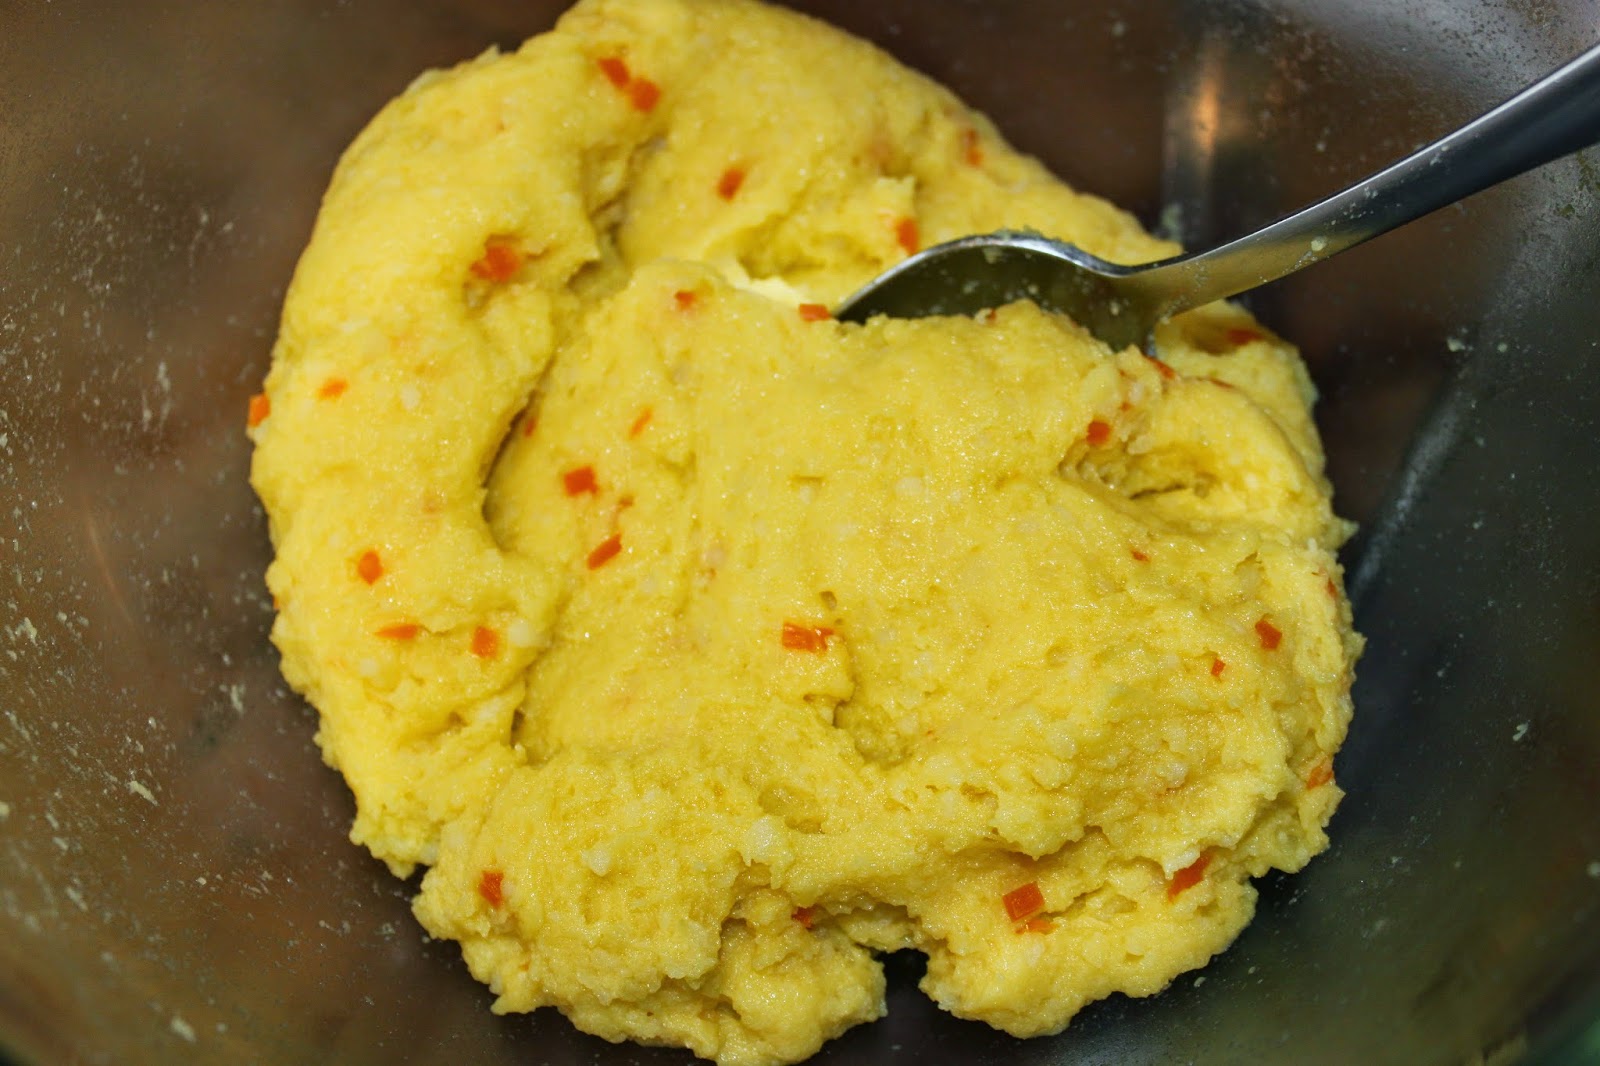
Taste to adjust seasoning.


Finely chop a few pieces of celery (to taste).

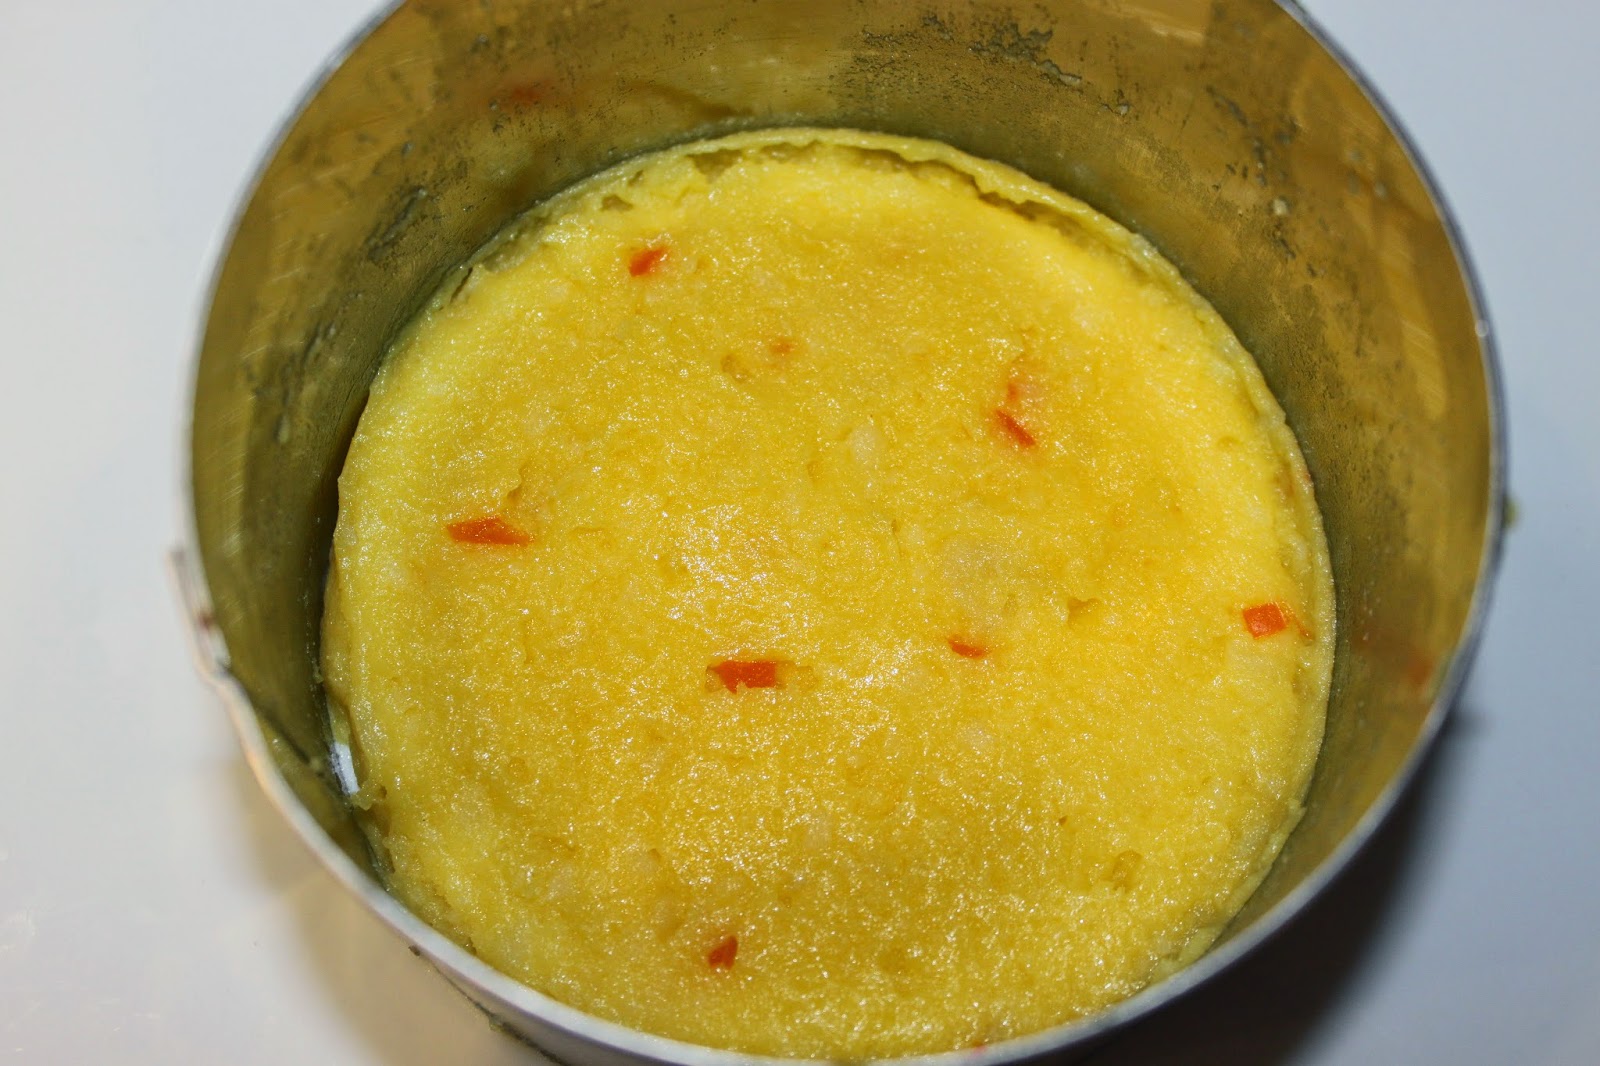
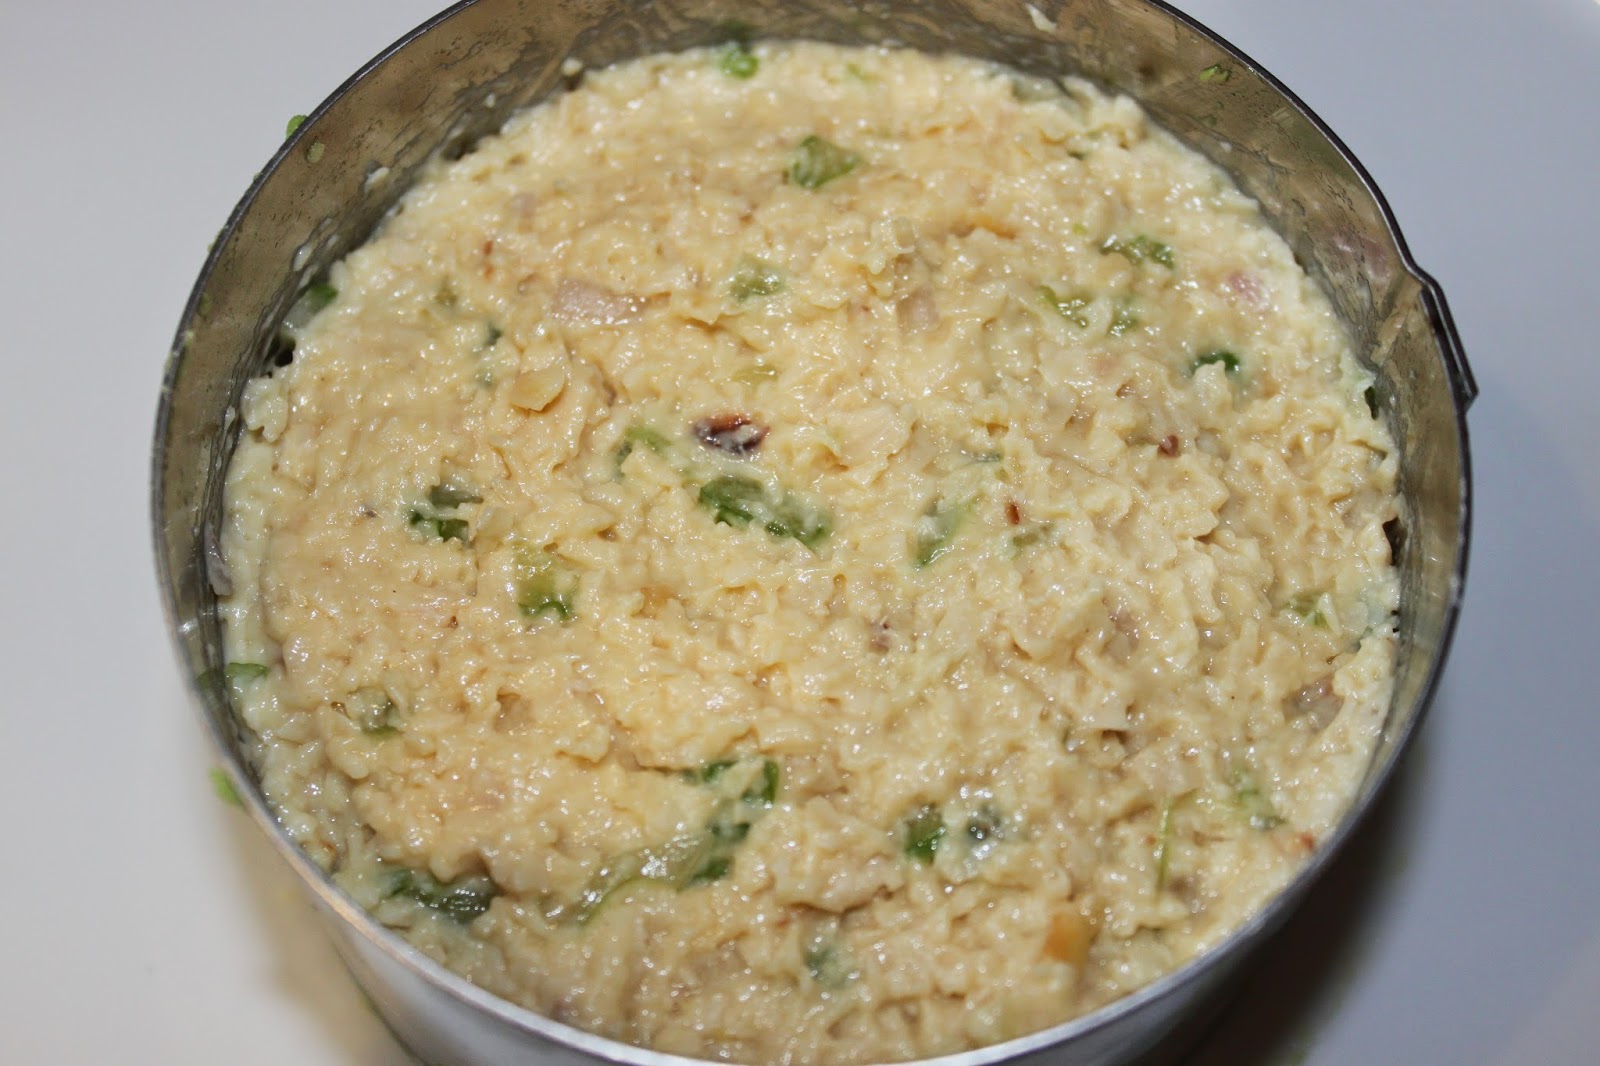
Put a layer of mashed potatoes in 8cm (or more) high foam circles.
Cut the avocado into slices and put a layer on top.
Add mashed potatoes again, then chicken (or tuna).

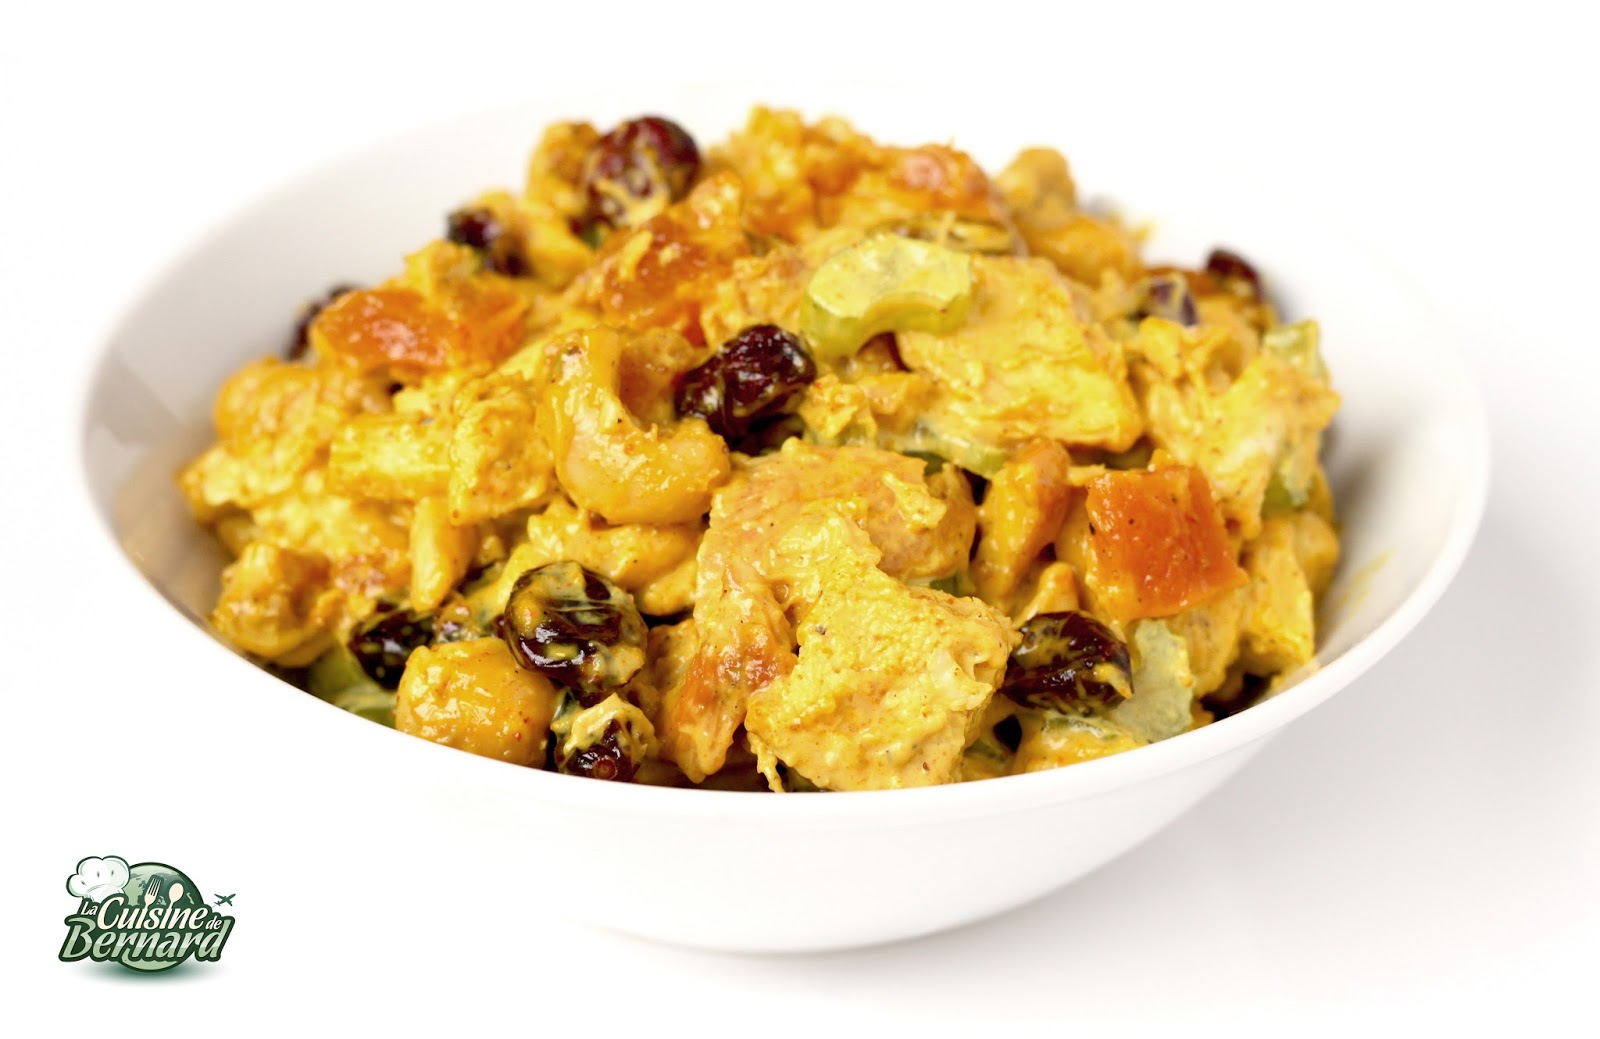
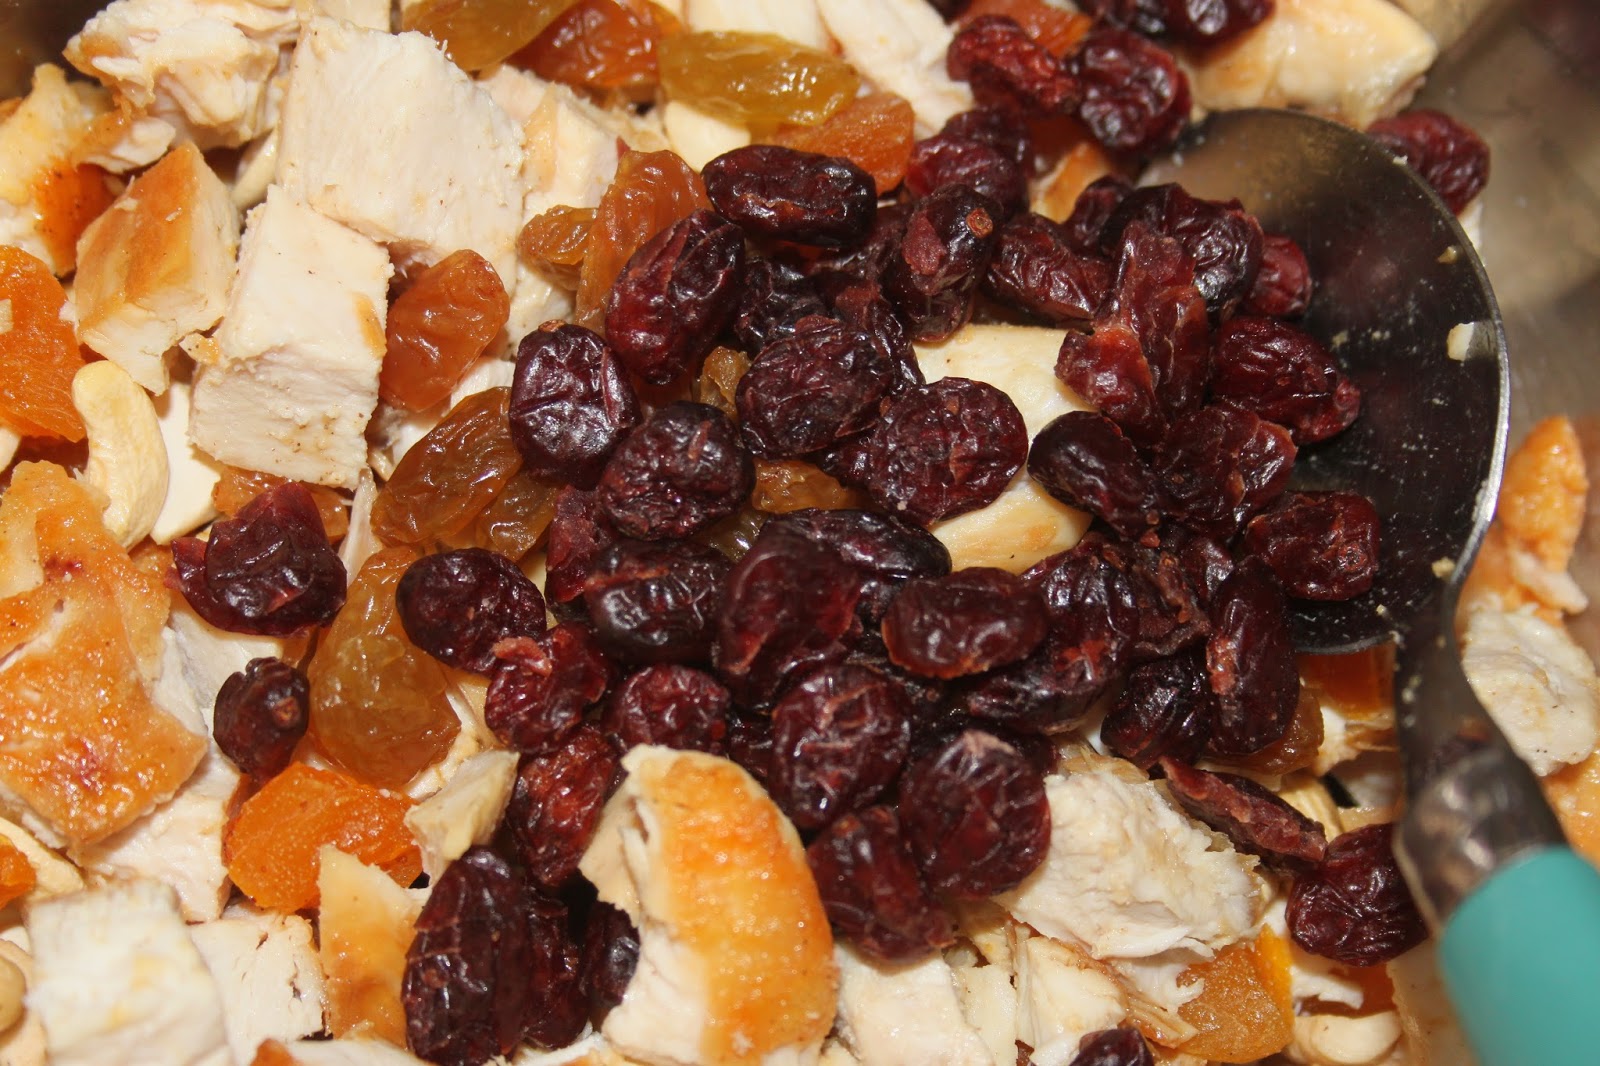
Chicken salad recipe for 6 people:
-6 chicken breasts
-180g dried apricots
-180g of raw cashew nuts
-120g of dried cranberries
-3 stalks of celery
-1 teaspoon of turmeric
-3 teaspoons curry powder
Salad dressing:
-1 egg
-150ml rapeseed oil
-25g of honey
-1 teaspoon of mustard
-1 tablespoon of sherry vinegar
-1/2 whole natural stirred yogurt
Put a little olive oil in a large frying pan over fairly high heat. Add your chicken breasts.
Grill them well on both sides. Don’t forget to add salt and
pepper. I also add a little garlic powder. At the end of cooking,
add a little water to create steam that will finish cooking the core
of the whites.
Let cool and then cut the chicken into pieces.
Also cut the dried apricots into pieces.

Put the chicken in a container with the raw cashews and apricots.
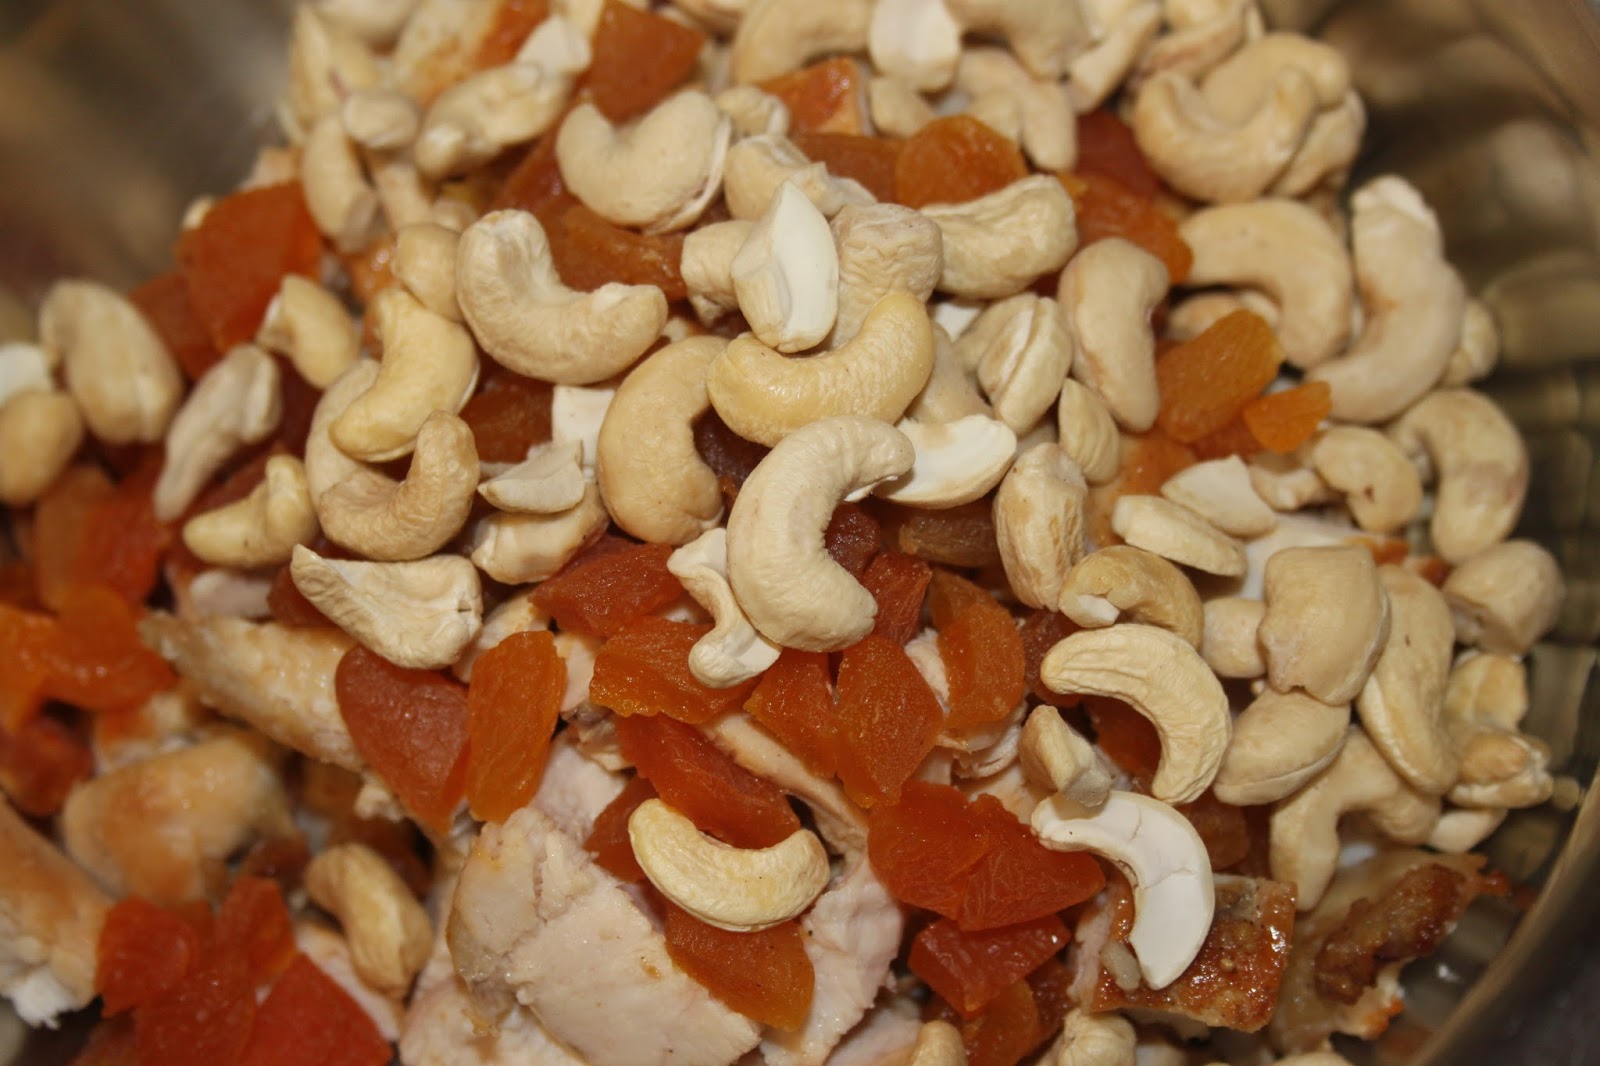
Also add the dried cranberries and raisins.
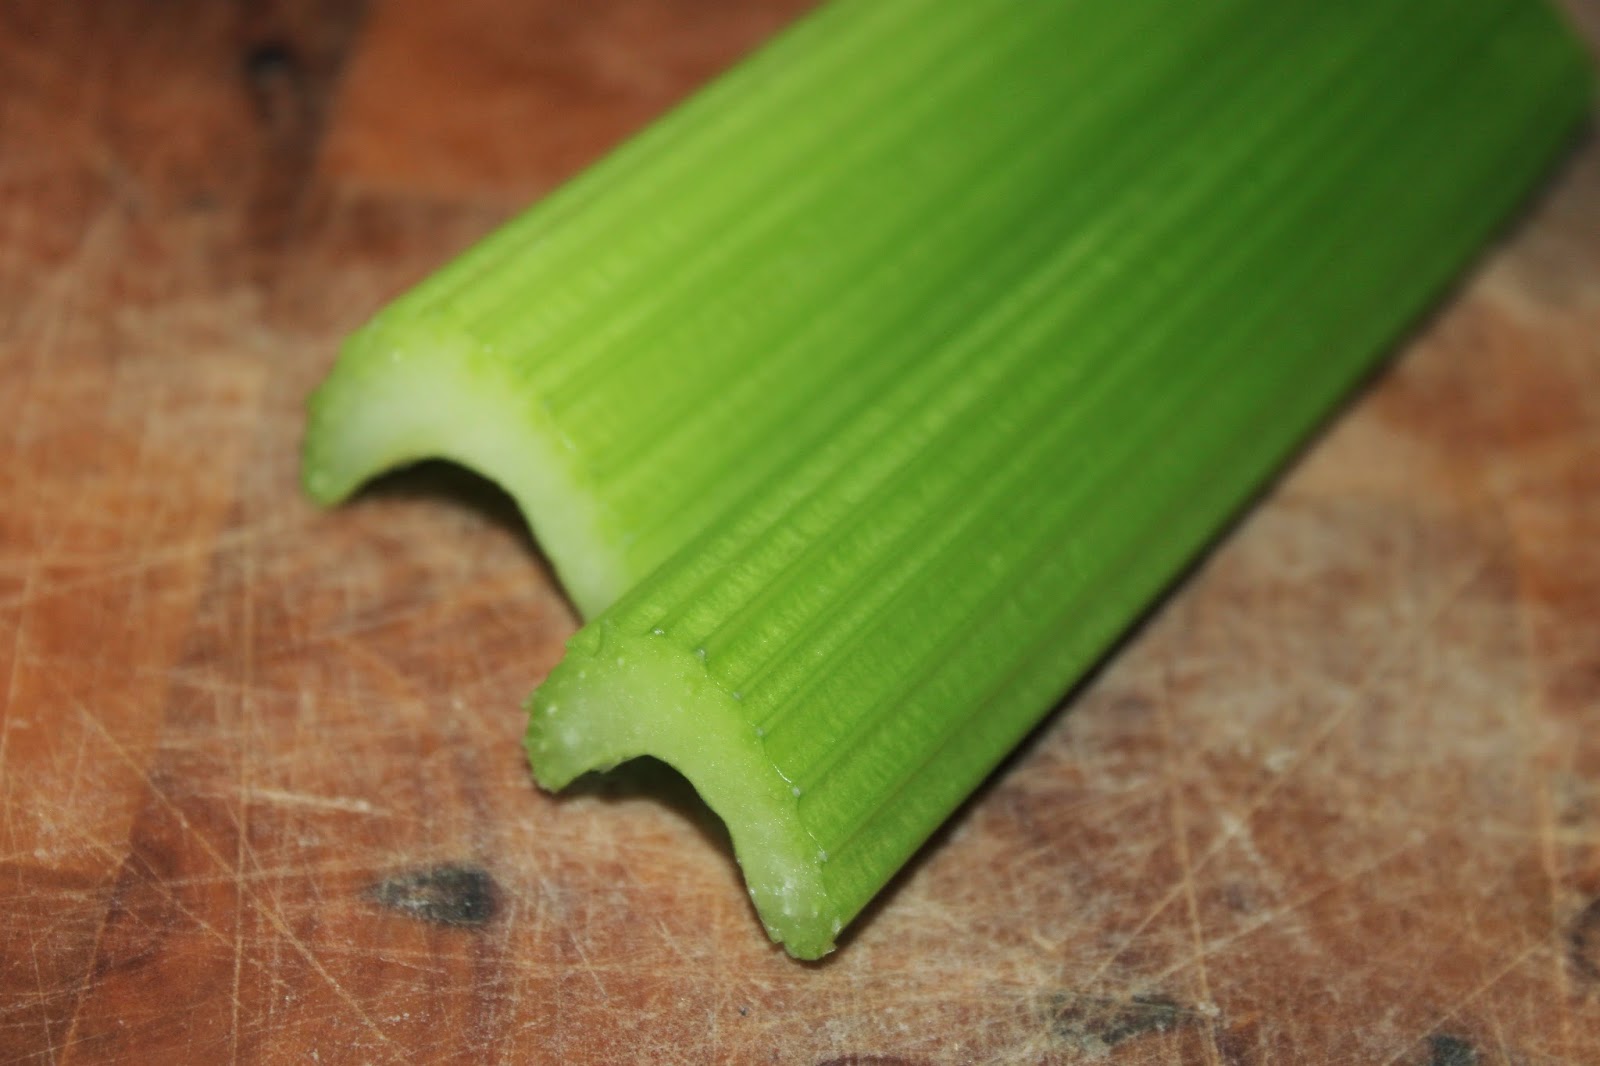
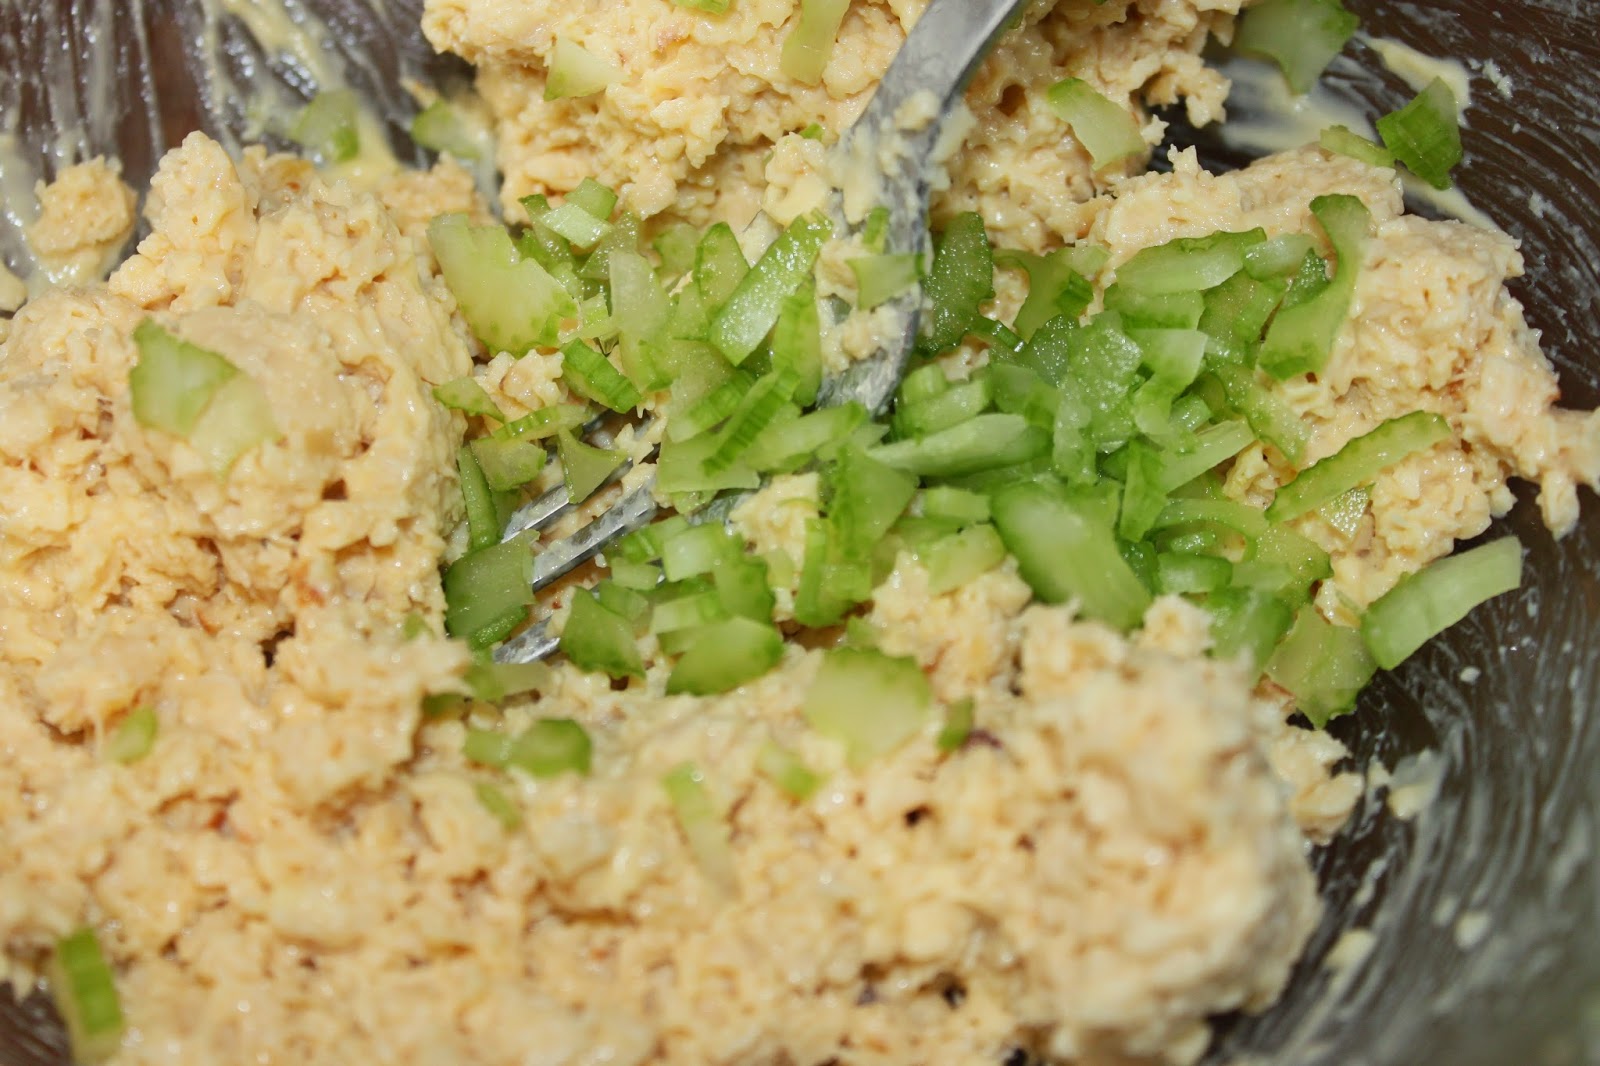
Cut the three washed and cleaned celery stalks into thin slices.

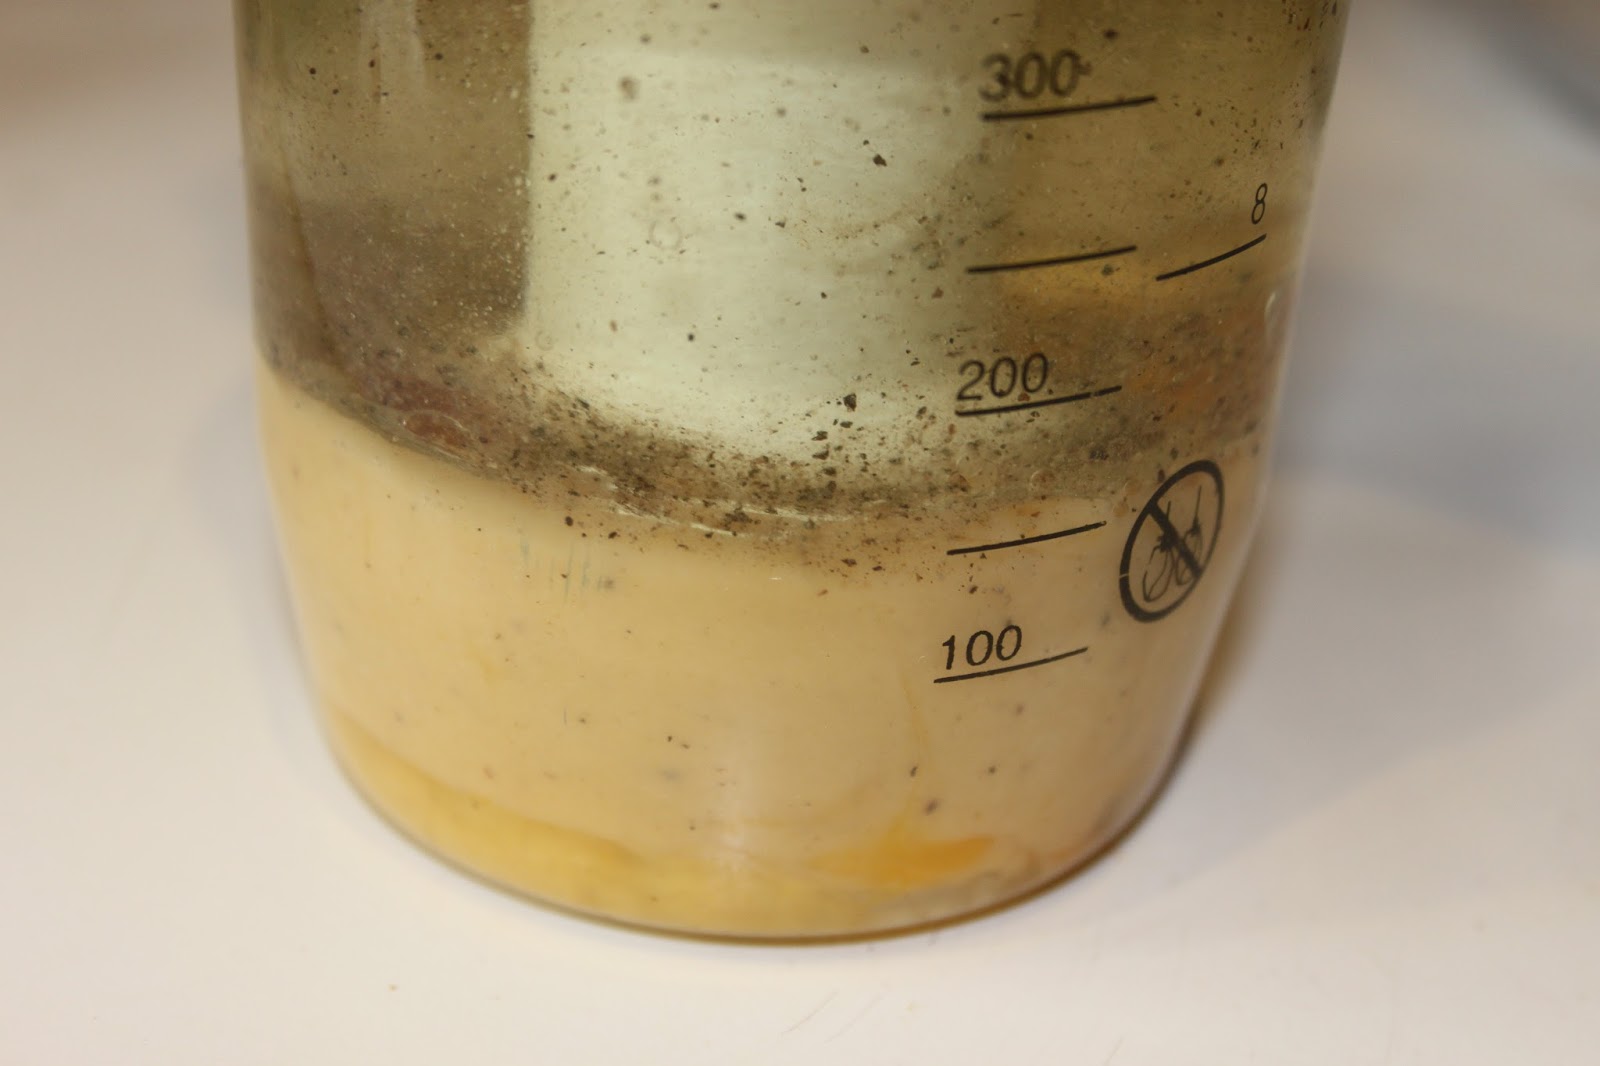
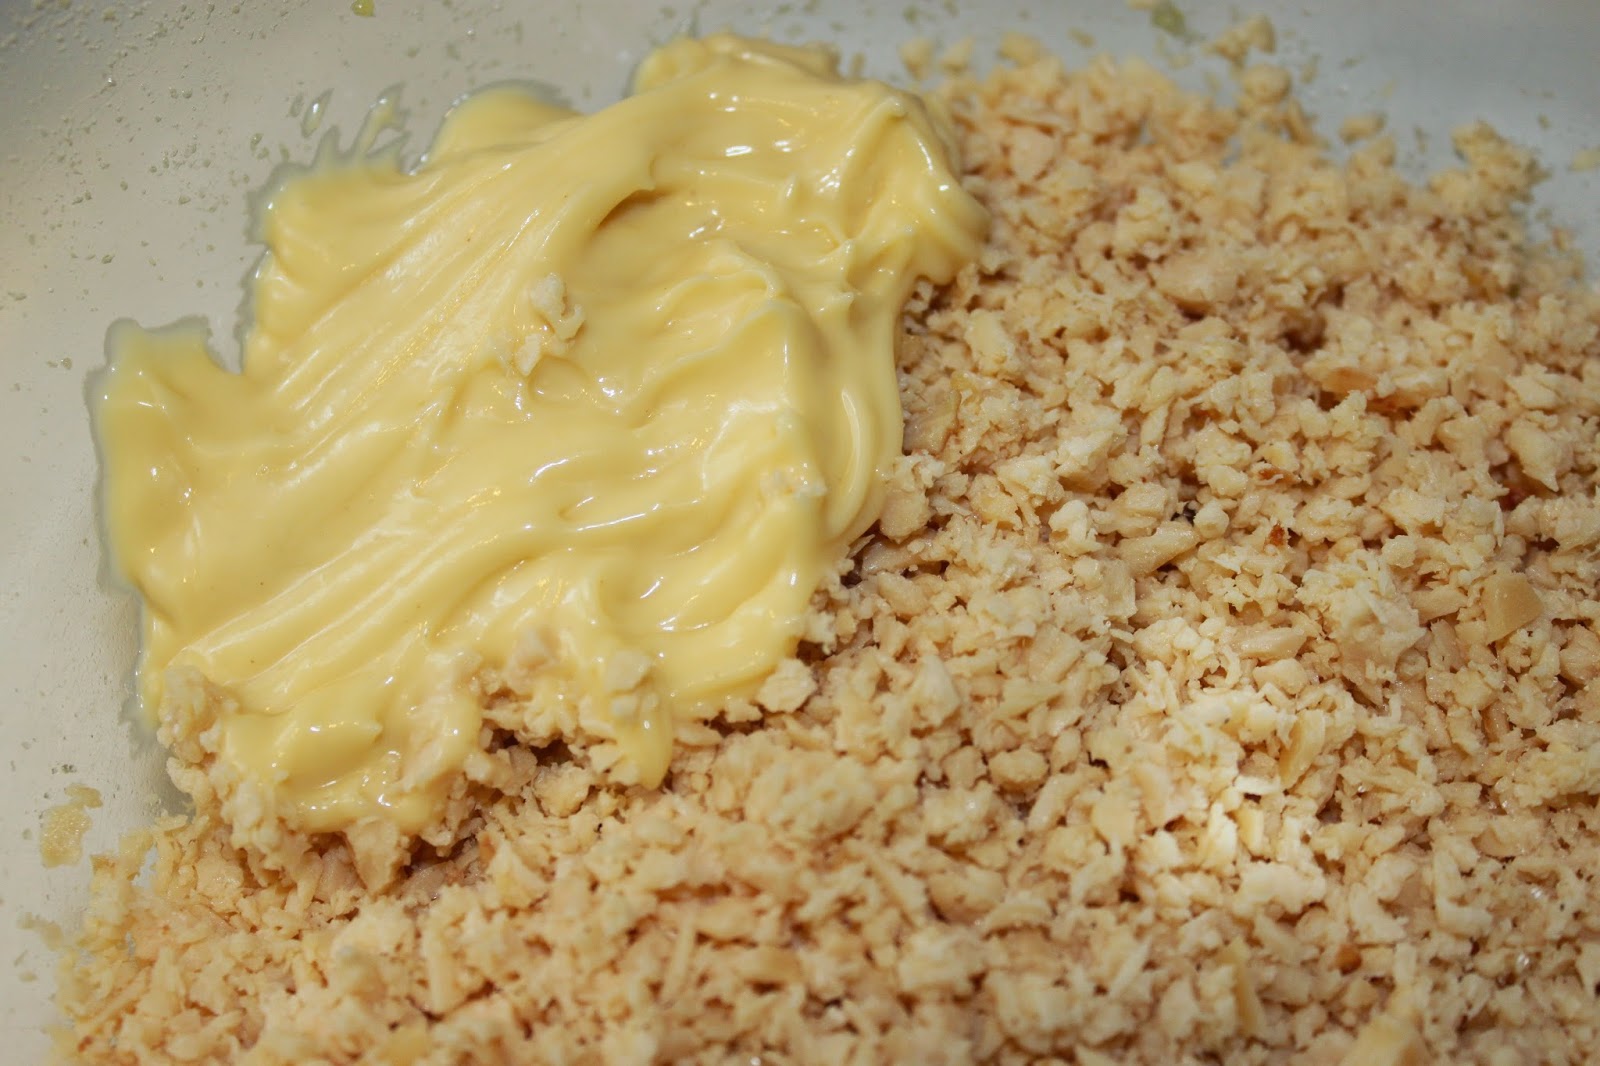
a classic mayonnaise (which I usually make with a whisk) but a
sauce in the bowl of my hand blender. Put the ingredients in
the bowl except for the yogurt (egg, mustard, oil, vinegar, honey, salt and pepper).
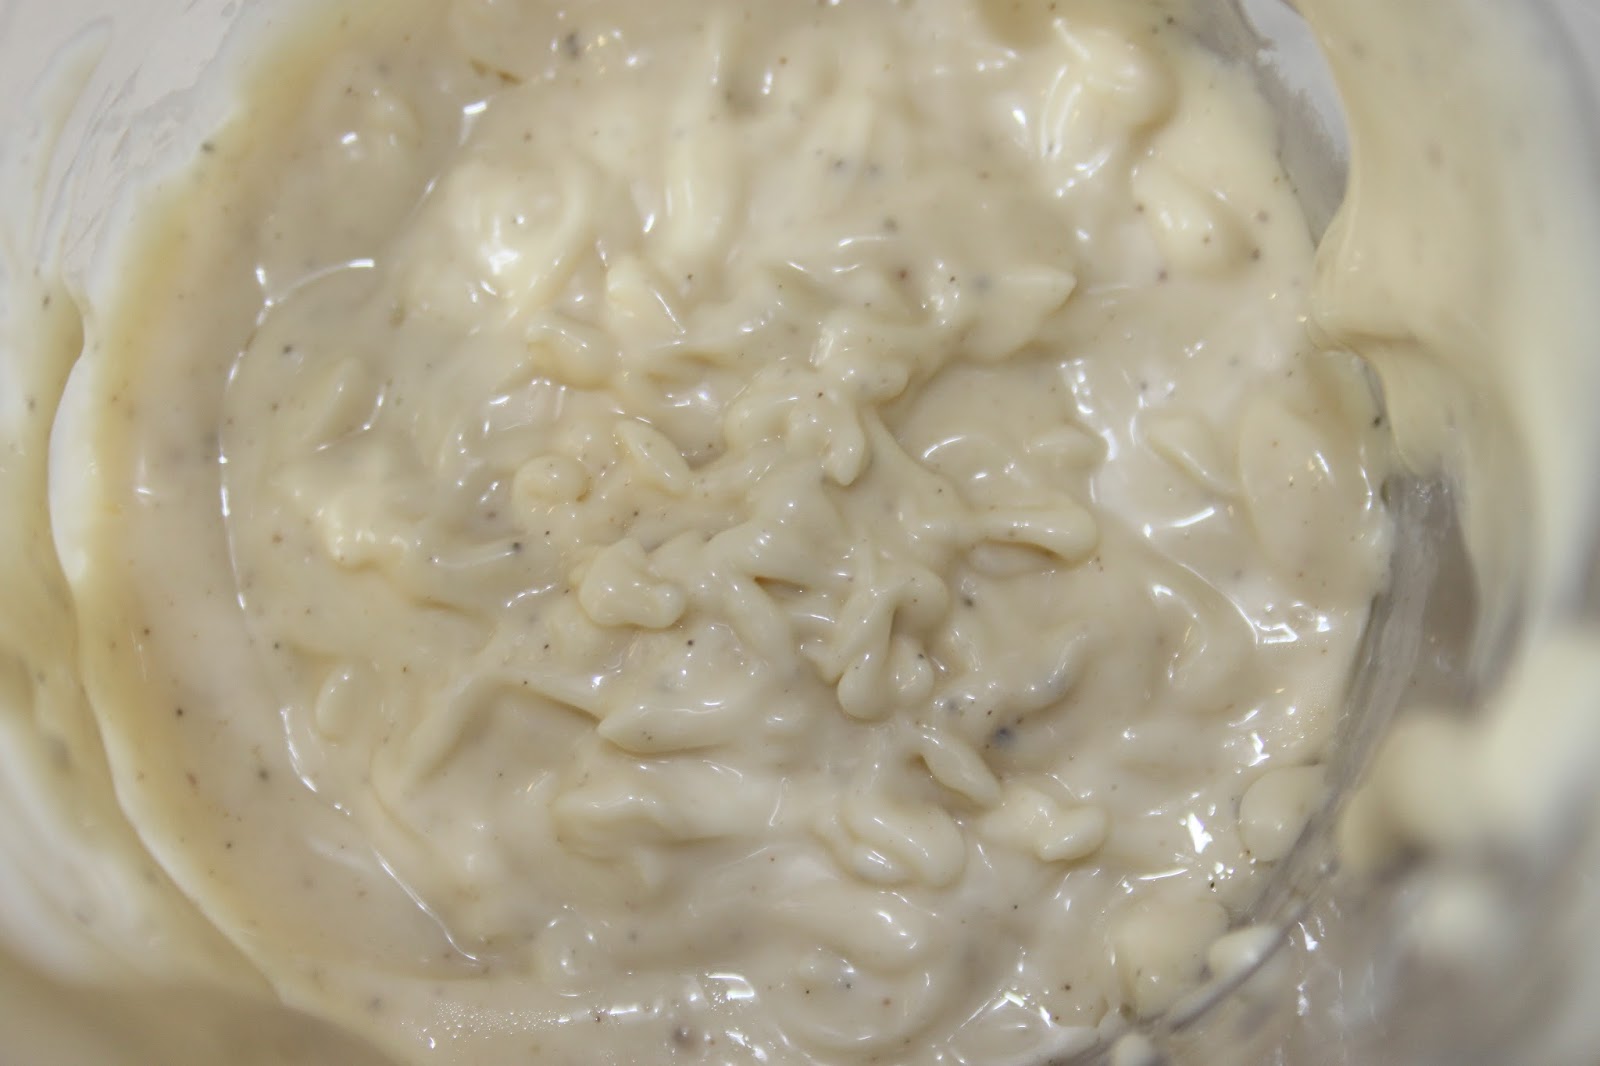
This is the result!
Add the half full-fat plain yogurt and mix well.
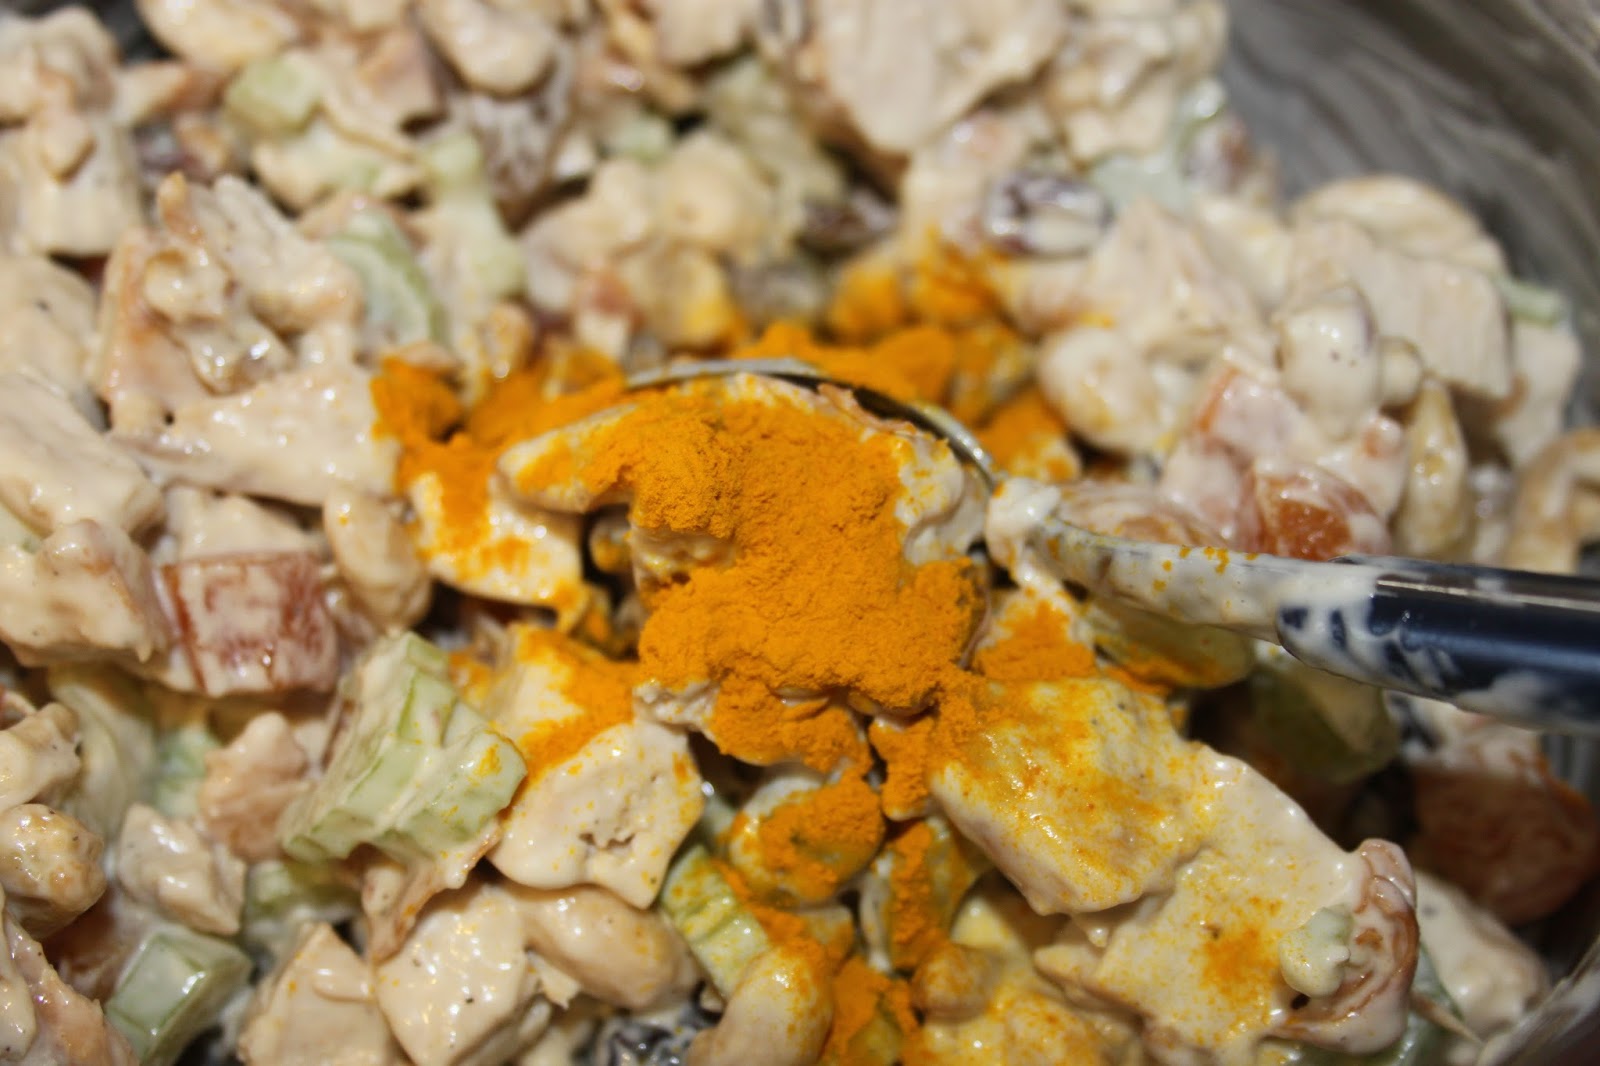
Pour over ingredients.

Add the spices: turmeric and curry powder.

Place in the refrigerator for a good hour before enjoying in the sun with friends!

]]>
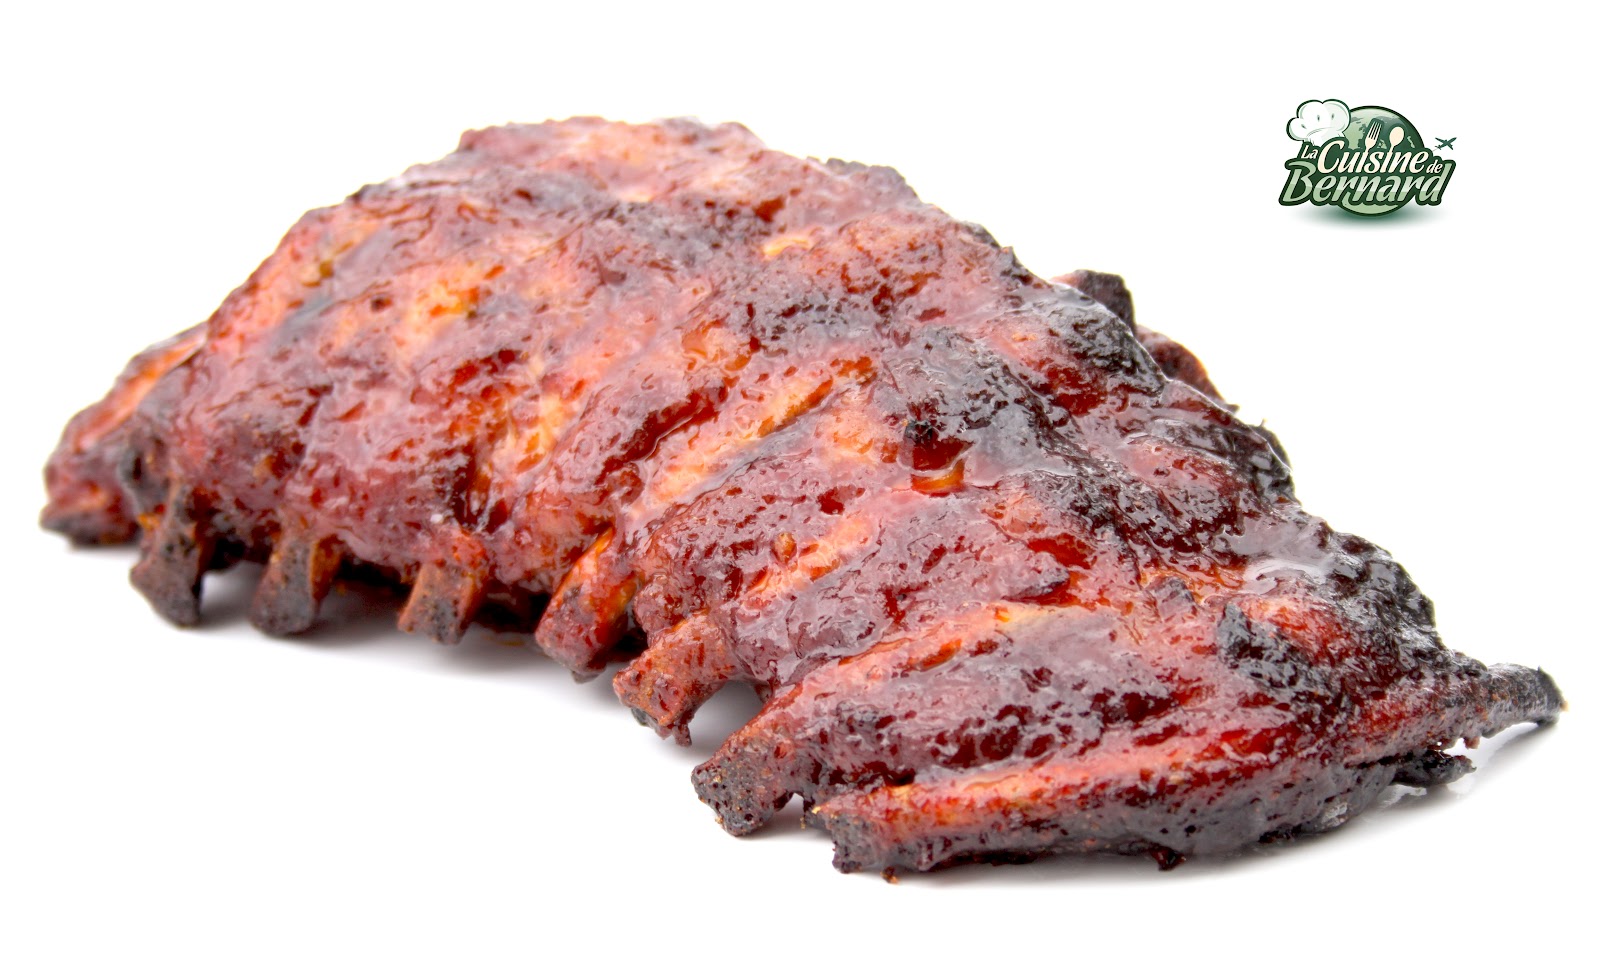

-260g of ketchup
-210g of honey
-30g of worcestershire sauce
-60g of whisky
-3/4 teaspoon of sweet pepper powder
-1/2 teaspoon paprika powder
-25g of wine vinegar
75g of brown sugar (vergeoise brown)
-brown sugar for caramelization


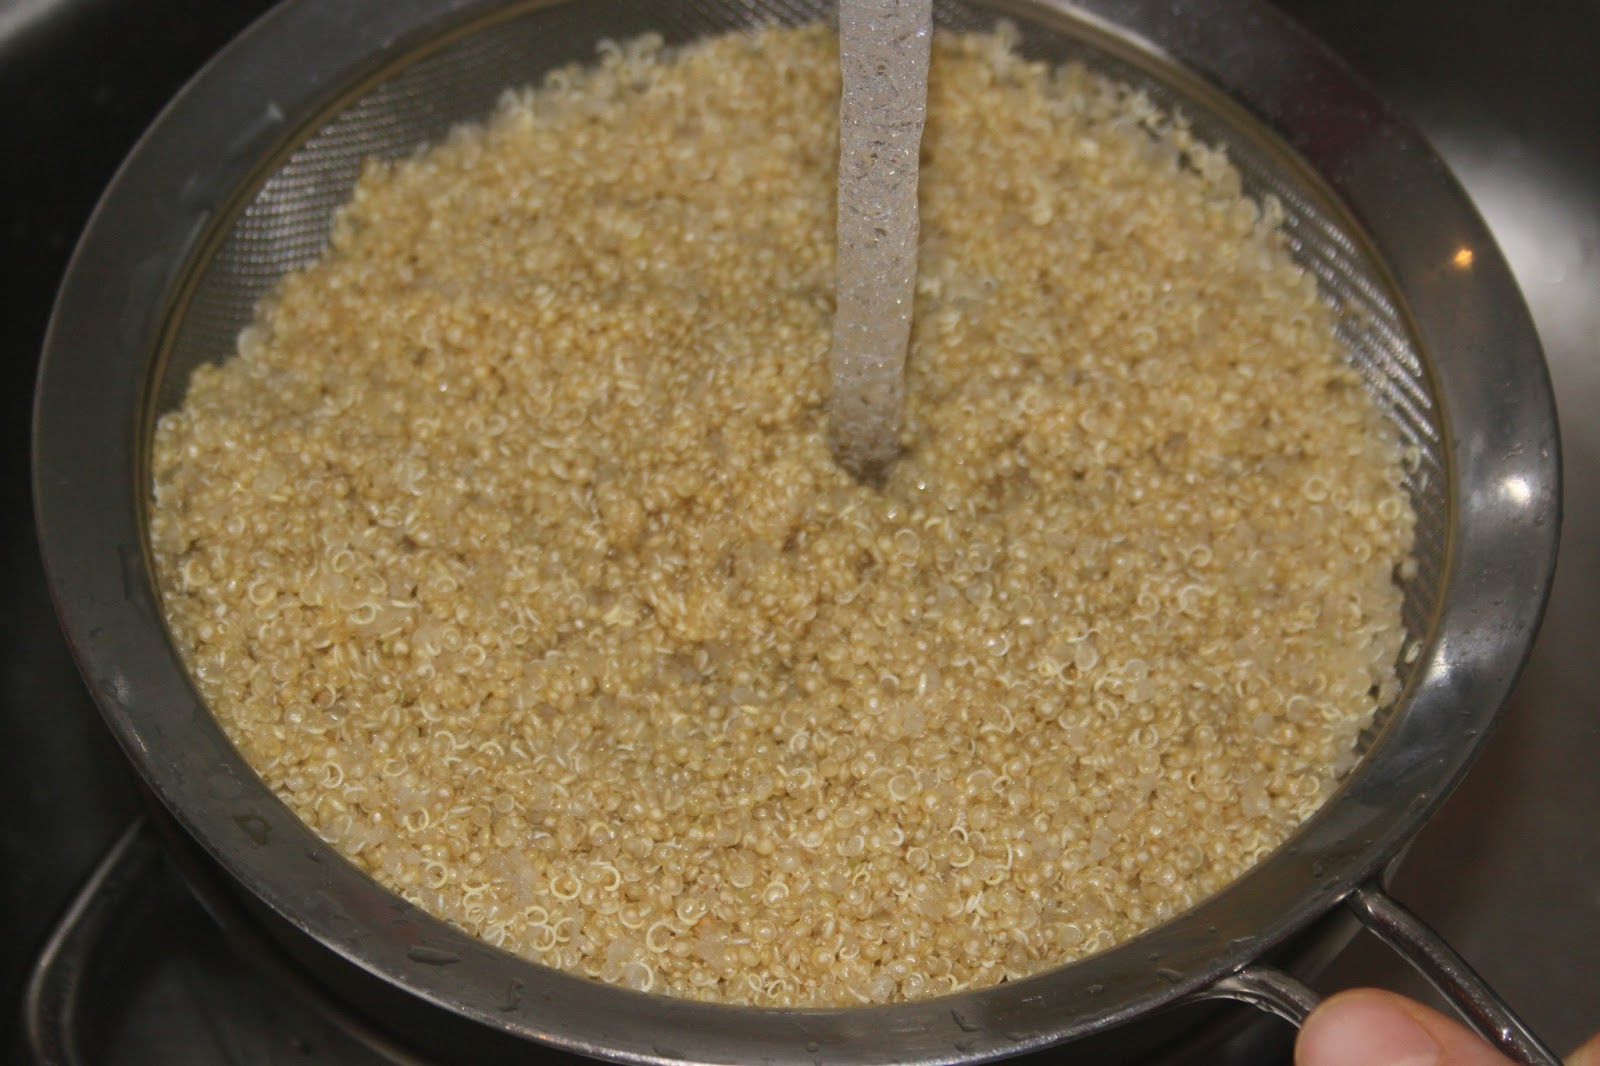
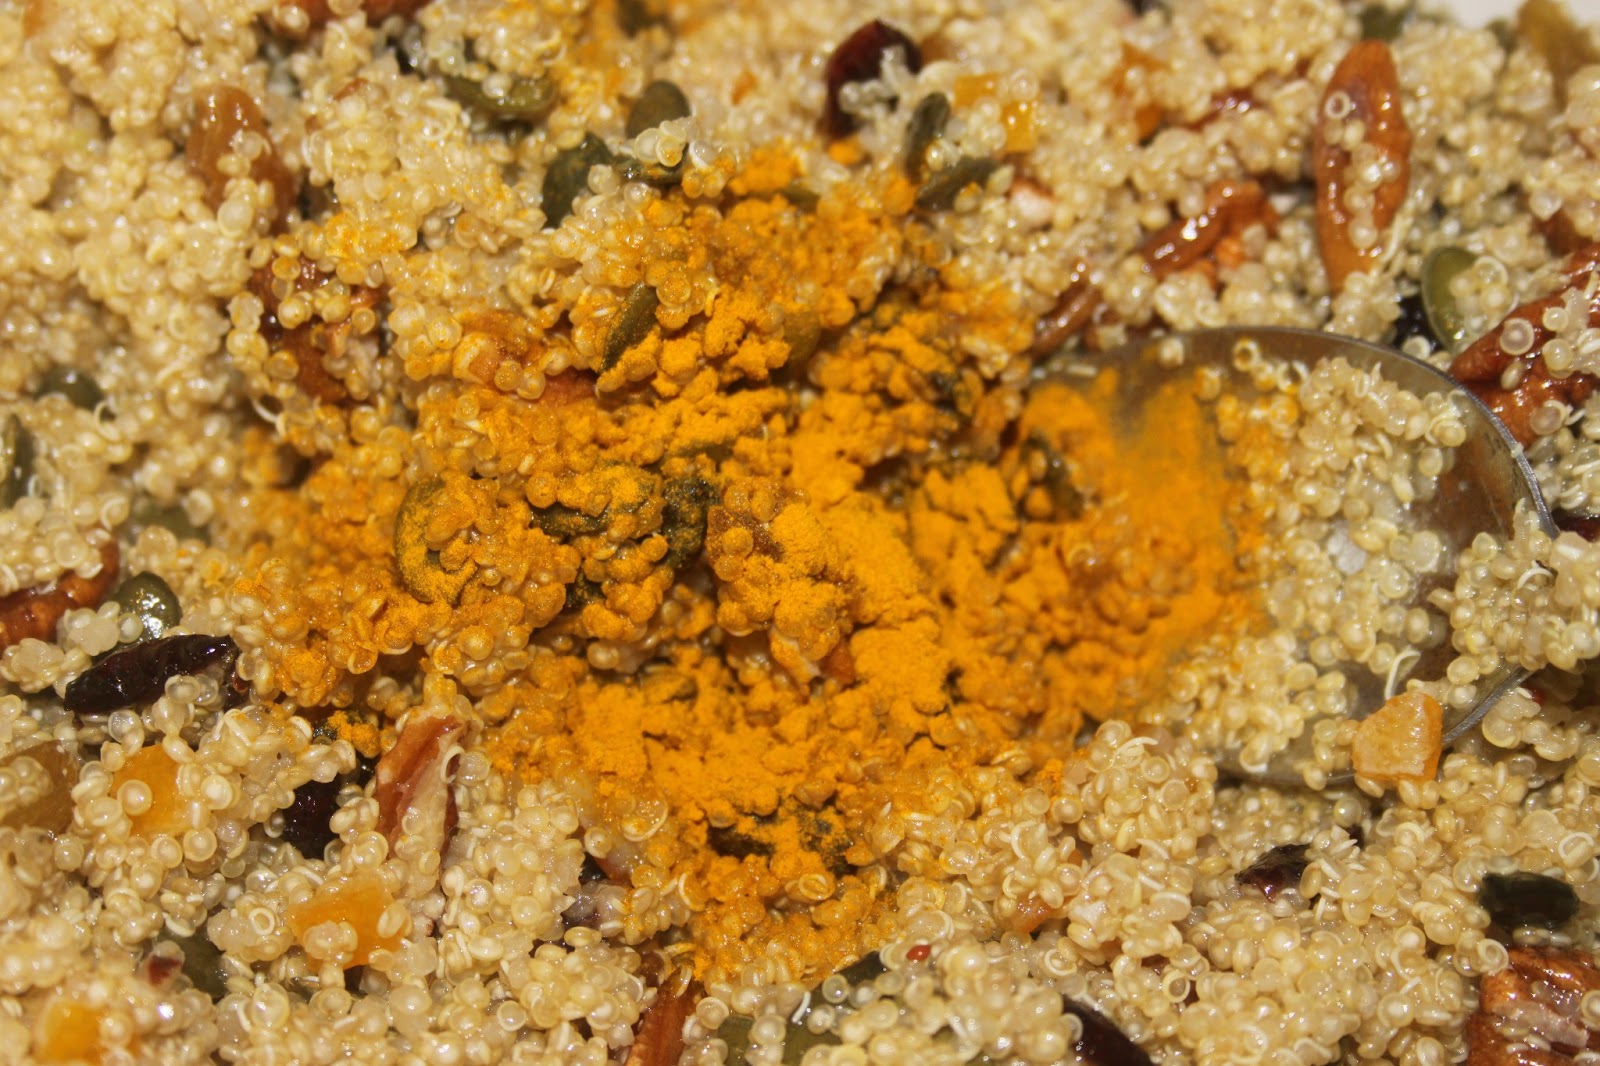
Recipe for fruit quinoa salad (serves 4):
-300g of quinoa
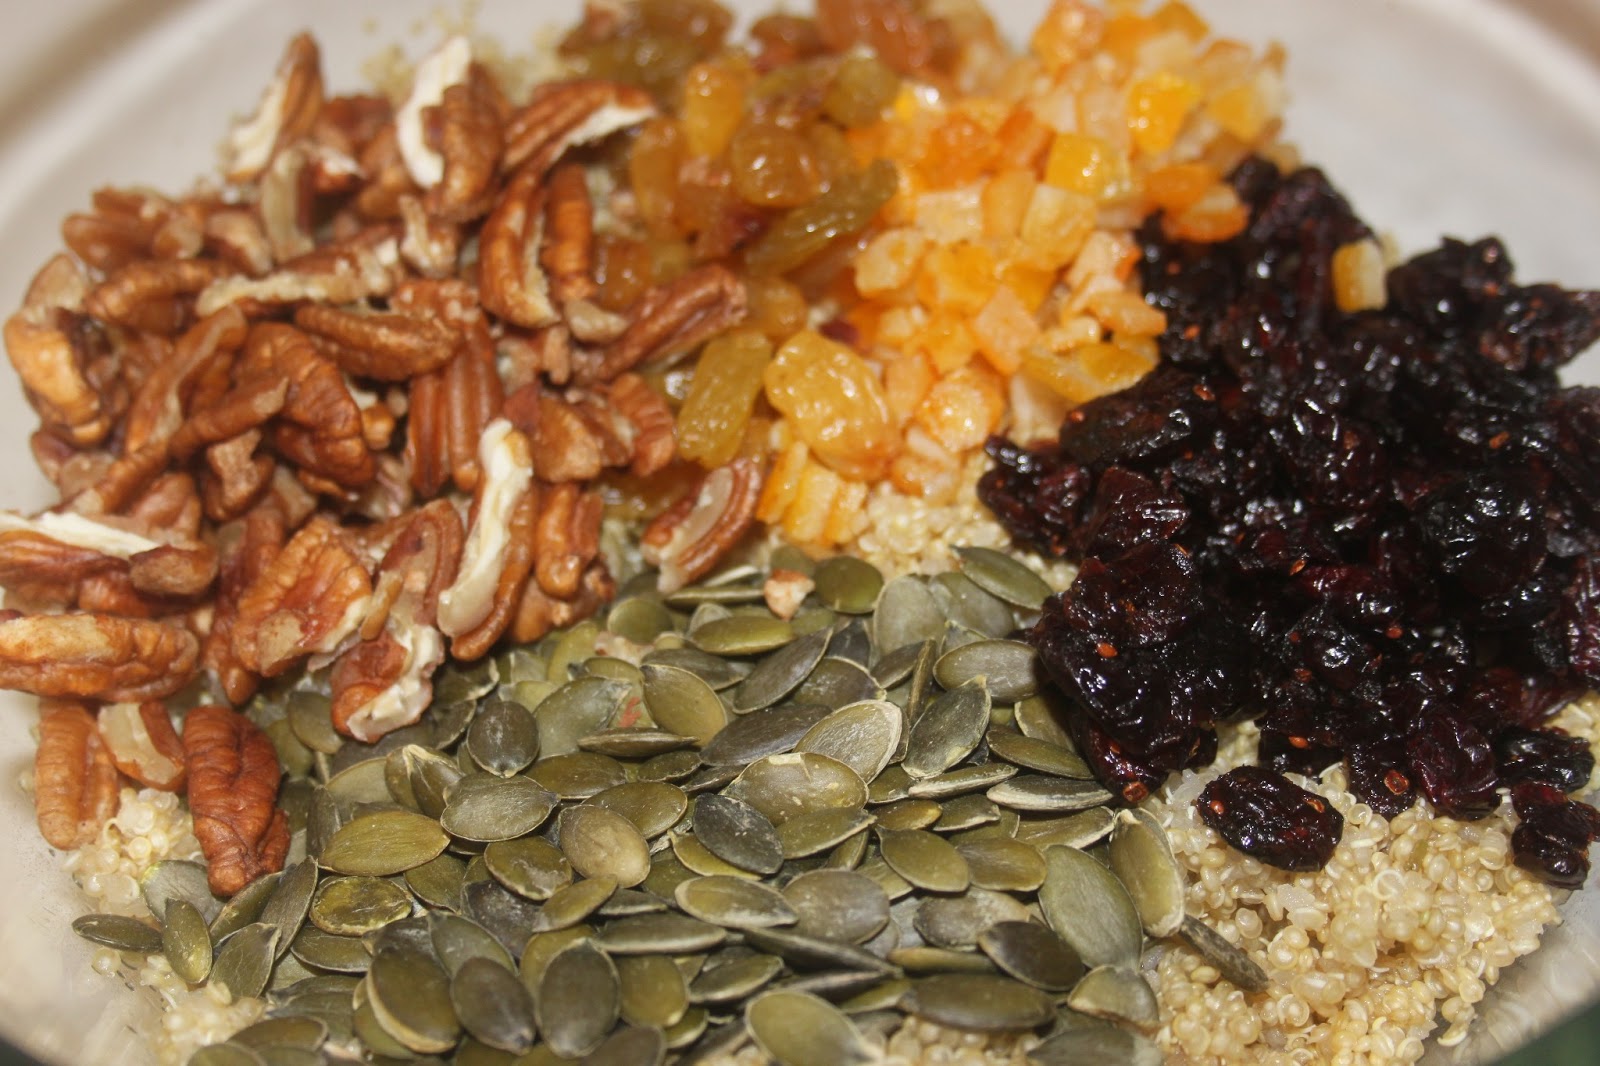
-80g of pecans
-70g of pumpkin seeds
-60g of diced candied oranges
-70g of dried cranberries
-30g of raisins
-30g of slivered almonds
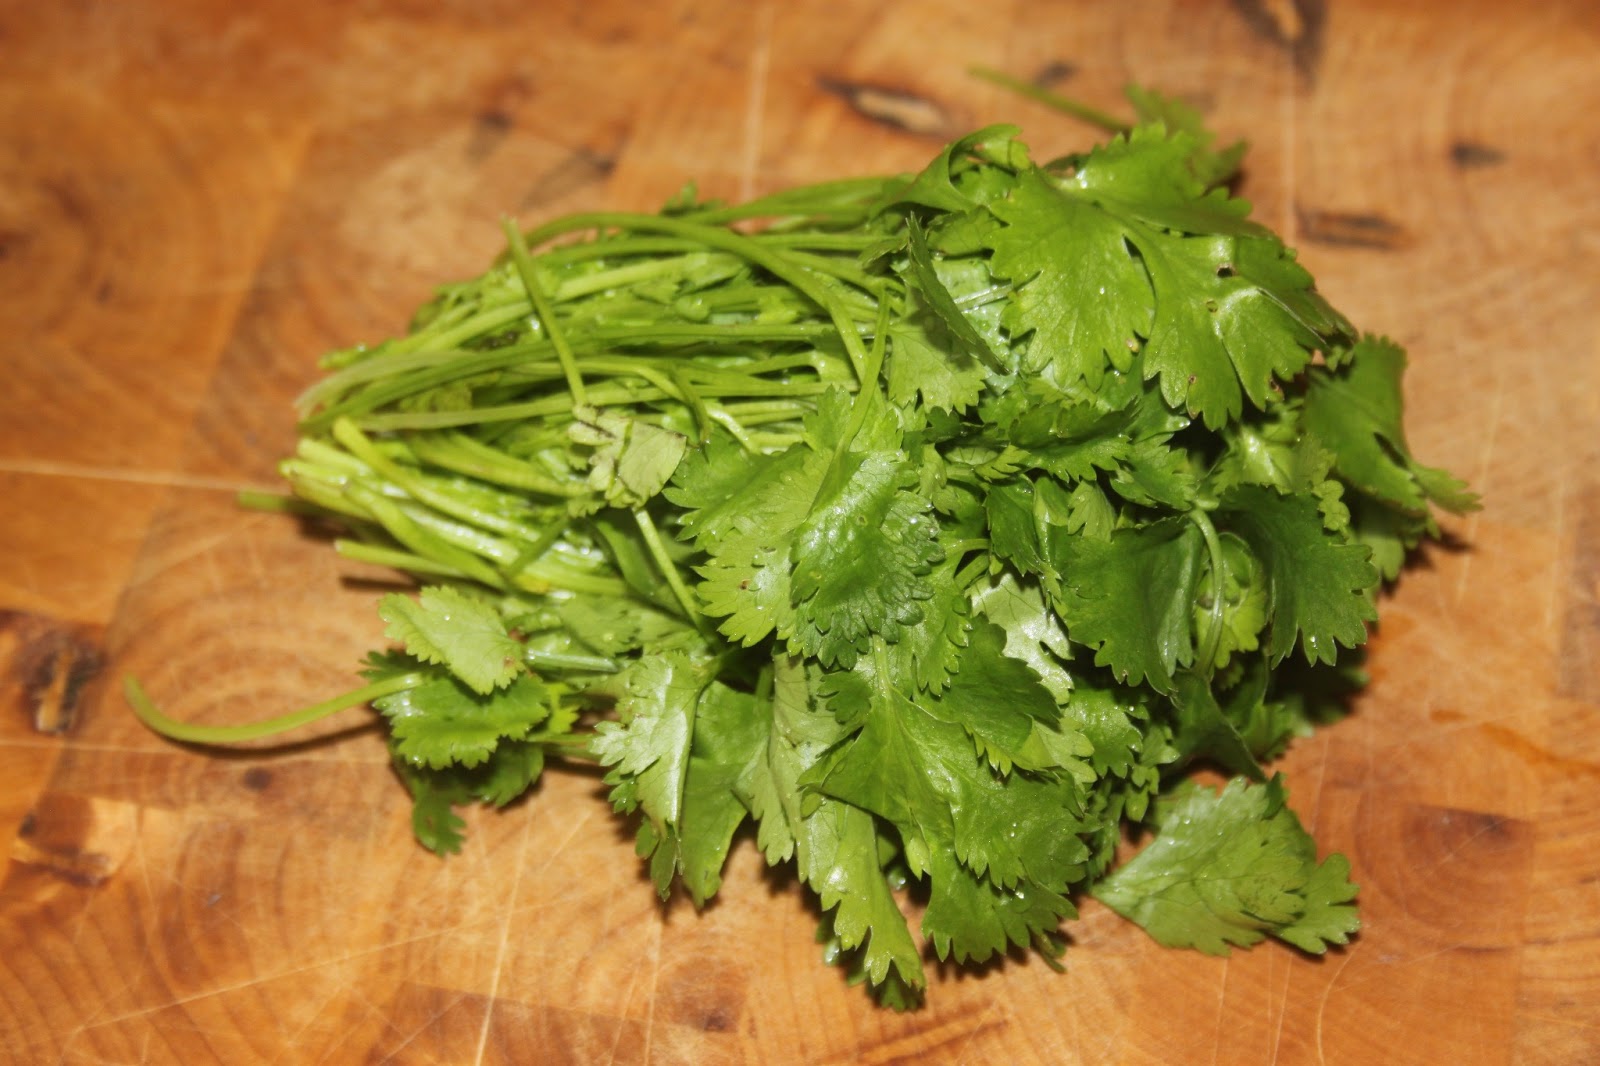
-1 small bunch of coriander
-1/2 teaspoon turmeric
-1/4 teaspoon garlic powder (not semolina)
-salt pepper
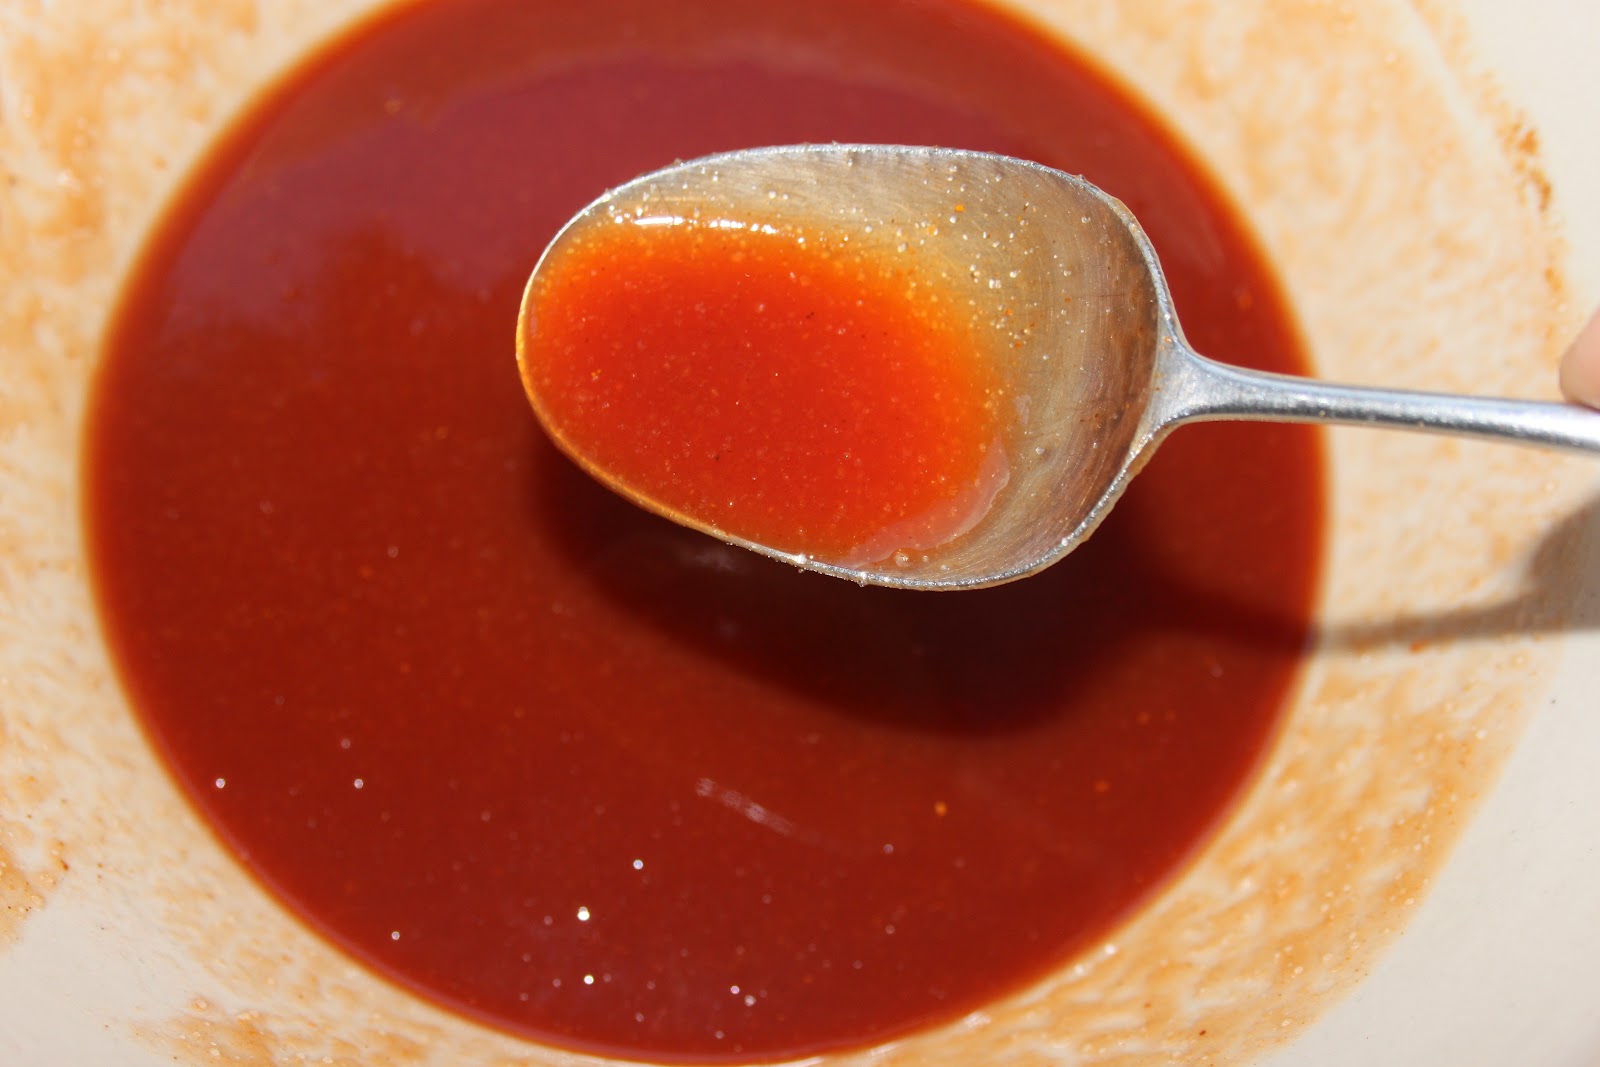
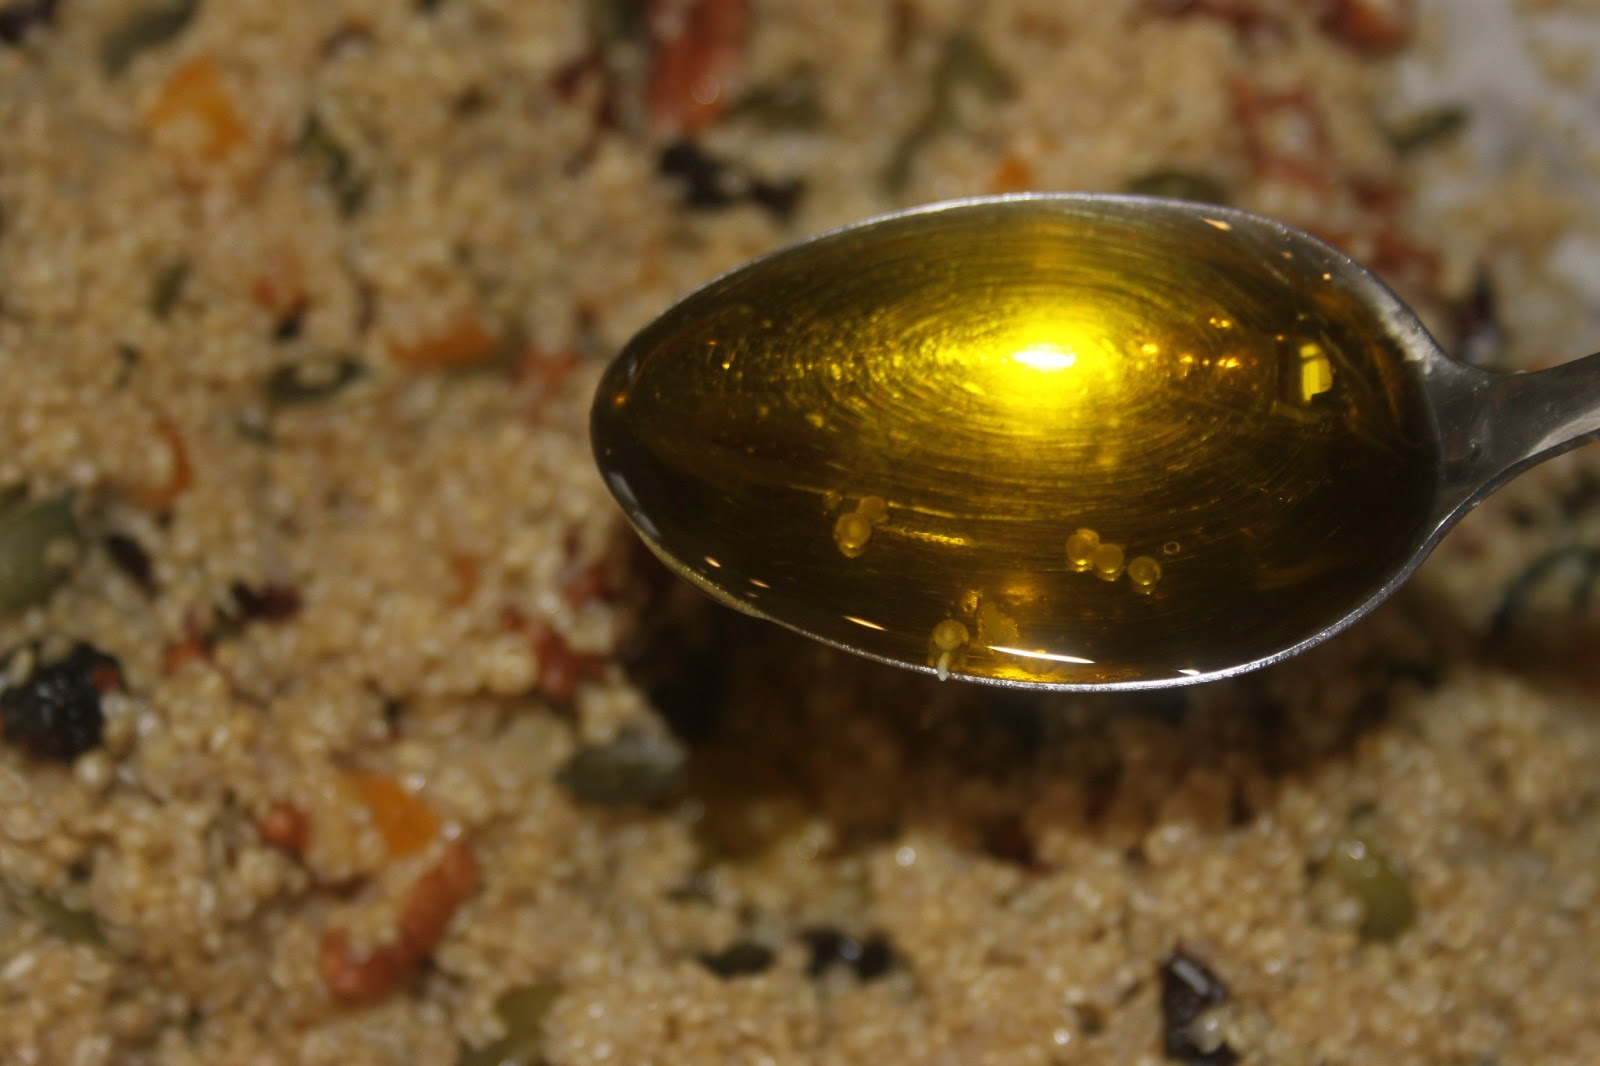
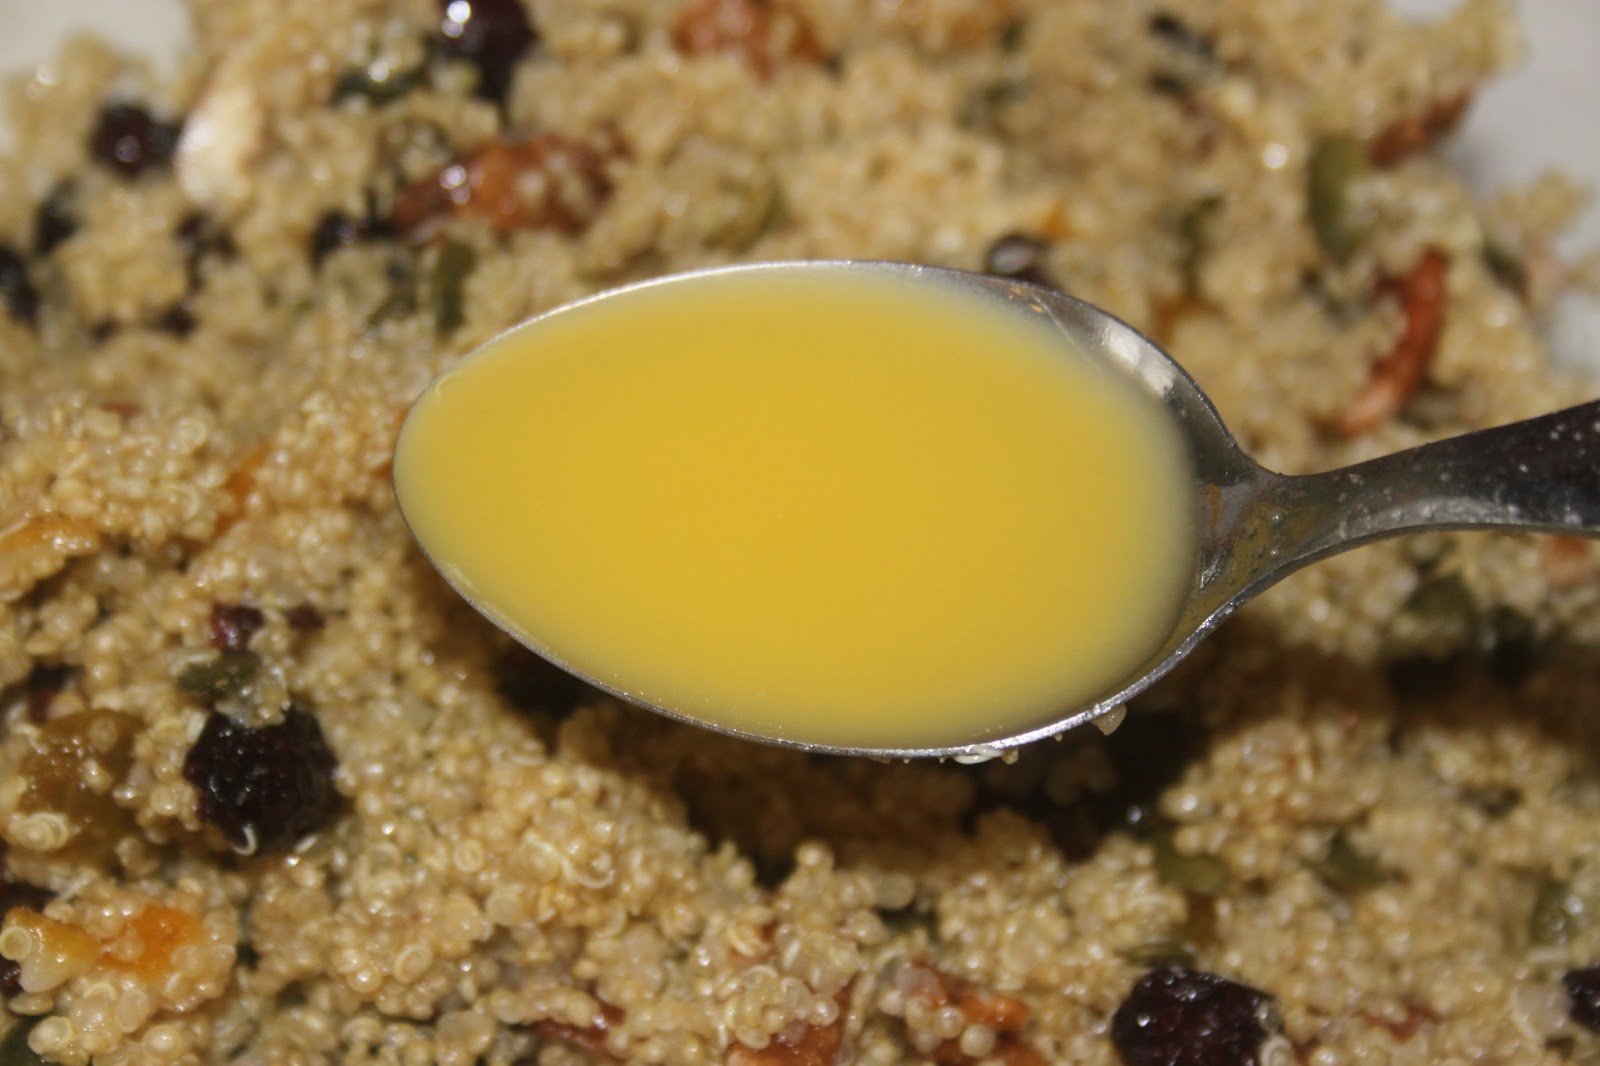
-2 tablespoons of honey
-3 tablespoons of olive oil
-5 tablespoons of orange juice


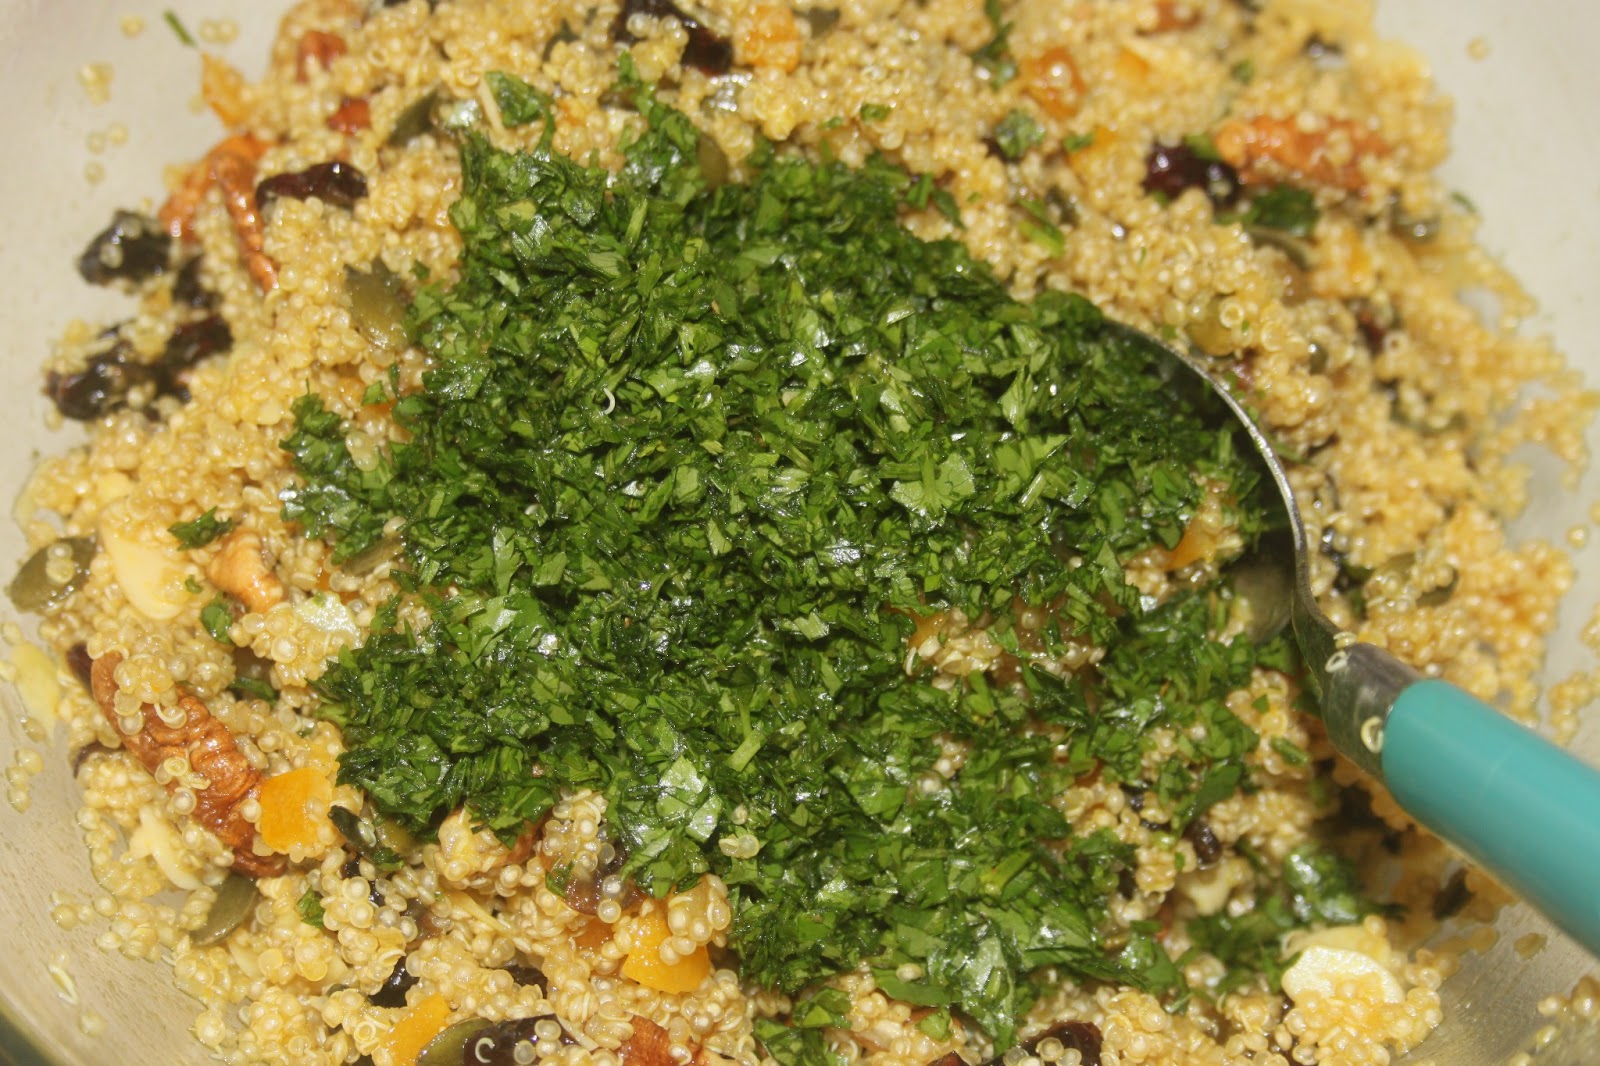
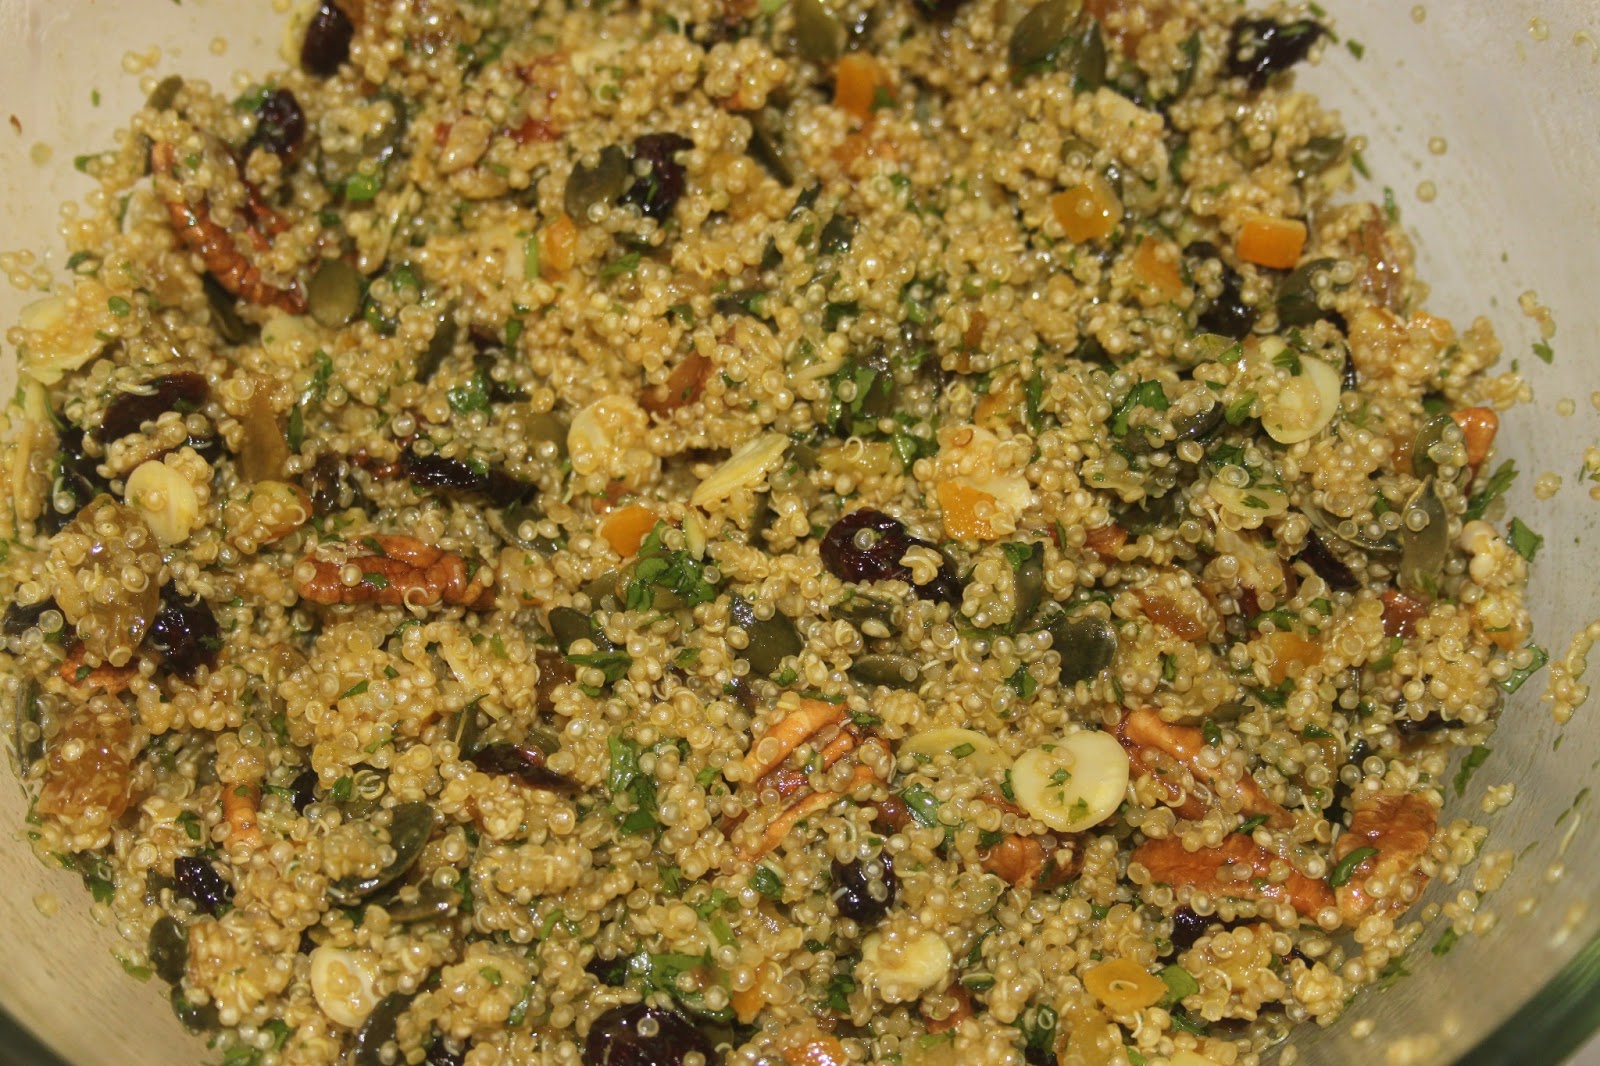


We already want to bite into it!


Recipe for 12 “empadas de frango com catupiry”:
-2 tablespoons of oil
-24 green olives
-1 egg yolk for gilding
Instructions:


Let the filling cool and prepare the dough in the meantime.
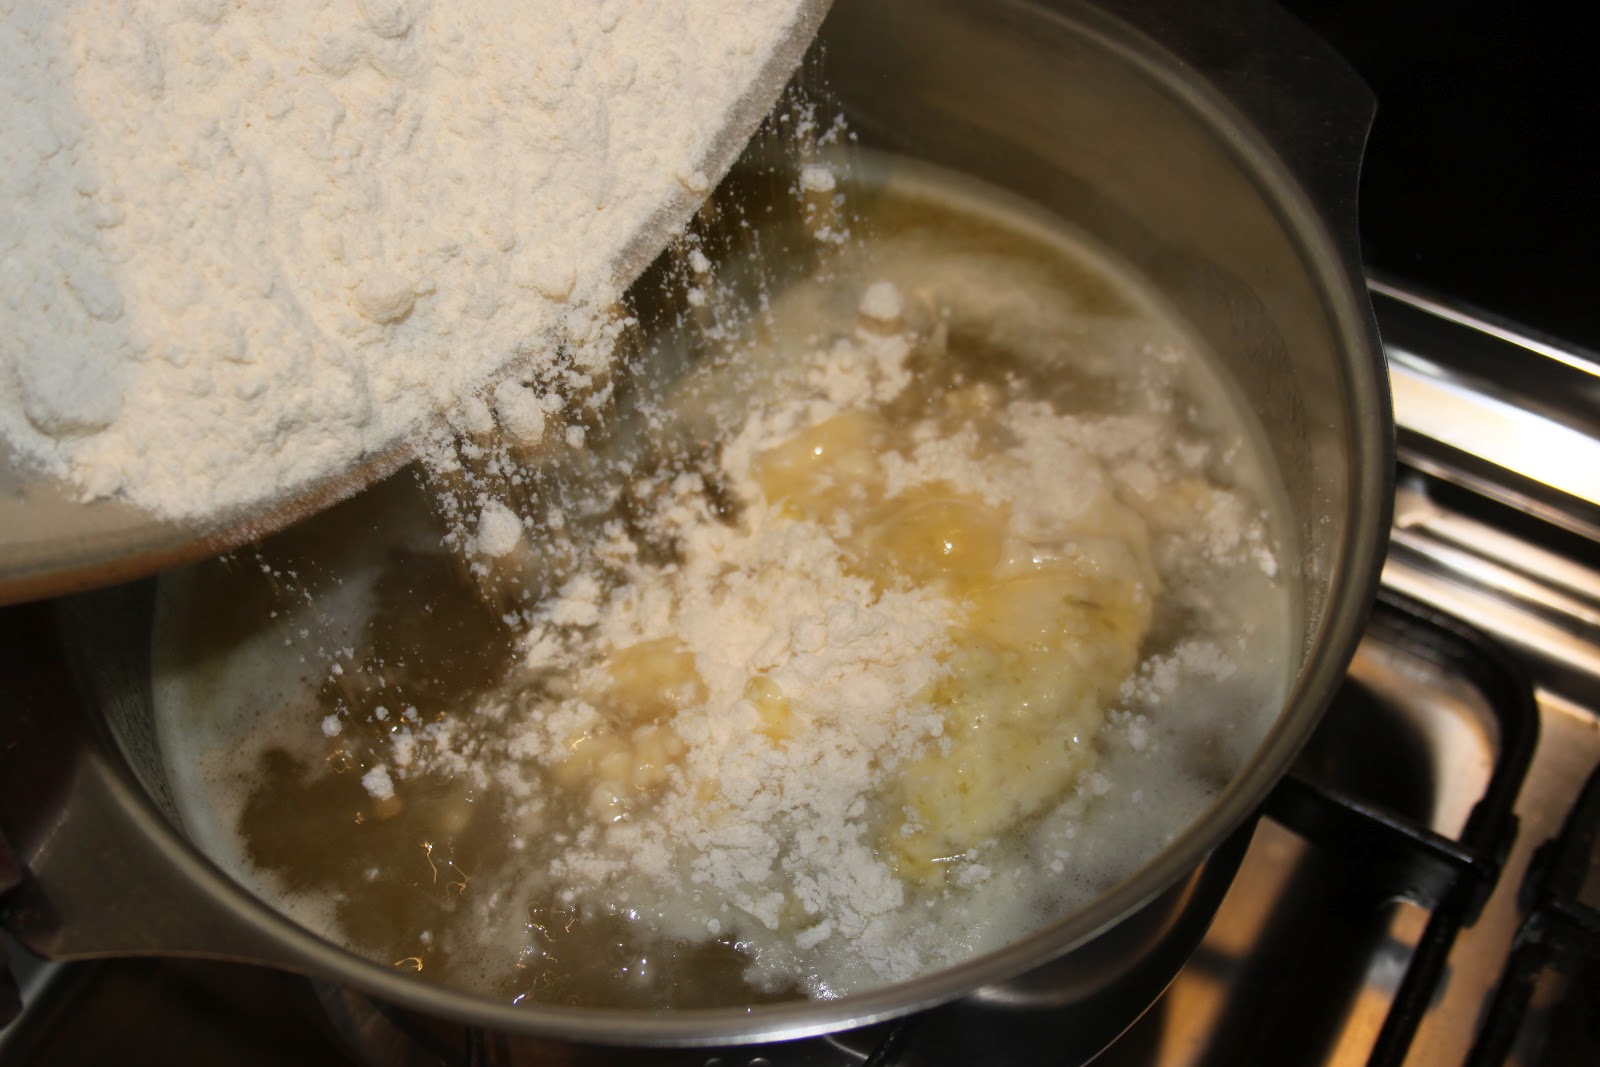
Put the flour and butter in a bowl.


Enjoy it warm!


Empadas de Frango com Catupiry
Ingredients
Dough:
- 400 g flour
- 280 g semi-salted butter at room temperature
- 1 egg
Creamy chicken stuffing:
- 700 g chicken breast
- 2 tablespoon oil
- 1 onion
- 4 cloves garlic
- 2 tablespoons chopped parsley
- 1 tablespoon double tomato paste
- 2 tablespoons flour
- 250 ml chicken cooking water
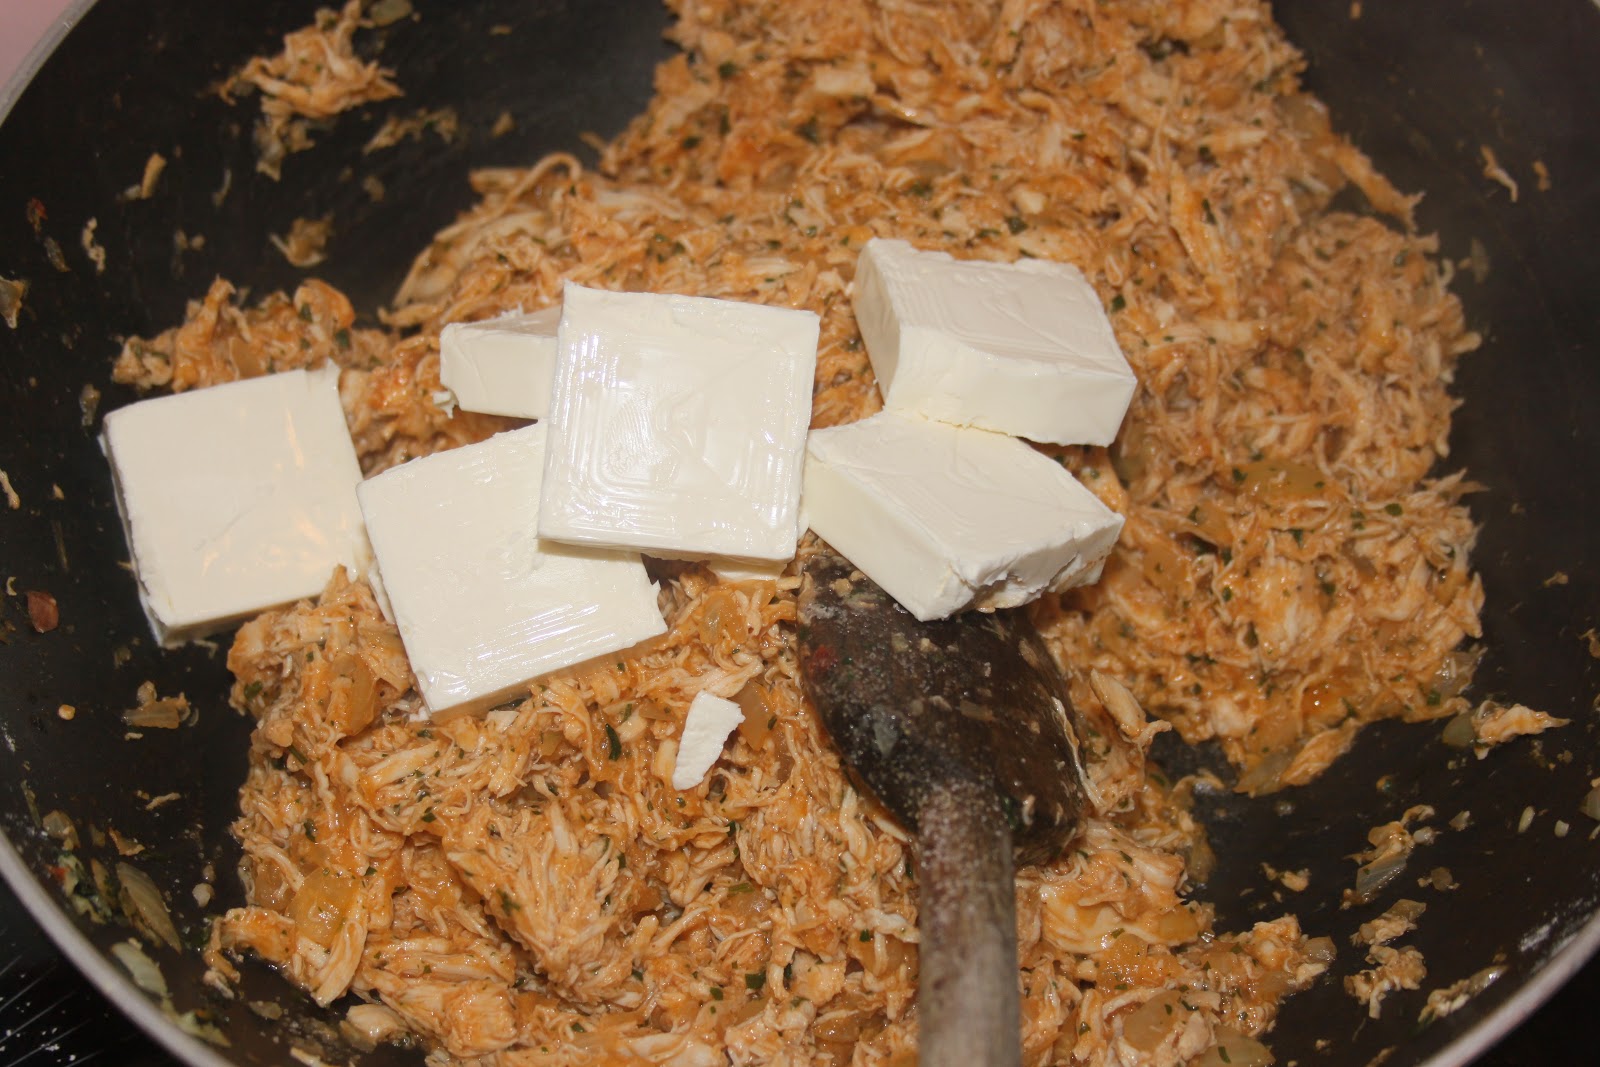
- 200 g Catupiry or Kiri (but not Vache Qui Rit)
- 24 green olives
- salt and pepper
- 1 egg yolk for gilding
Instructions
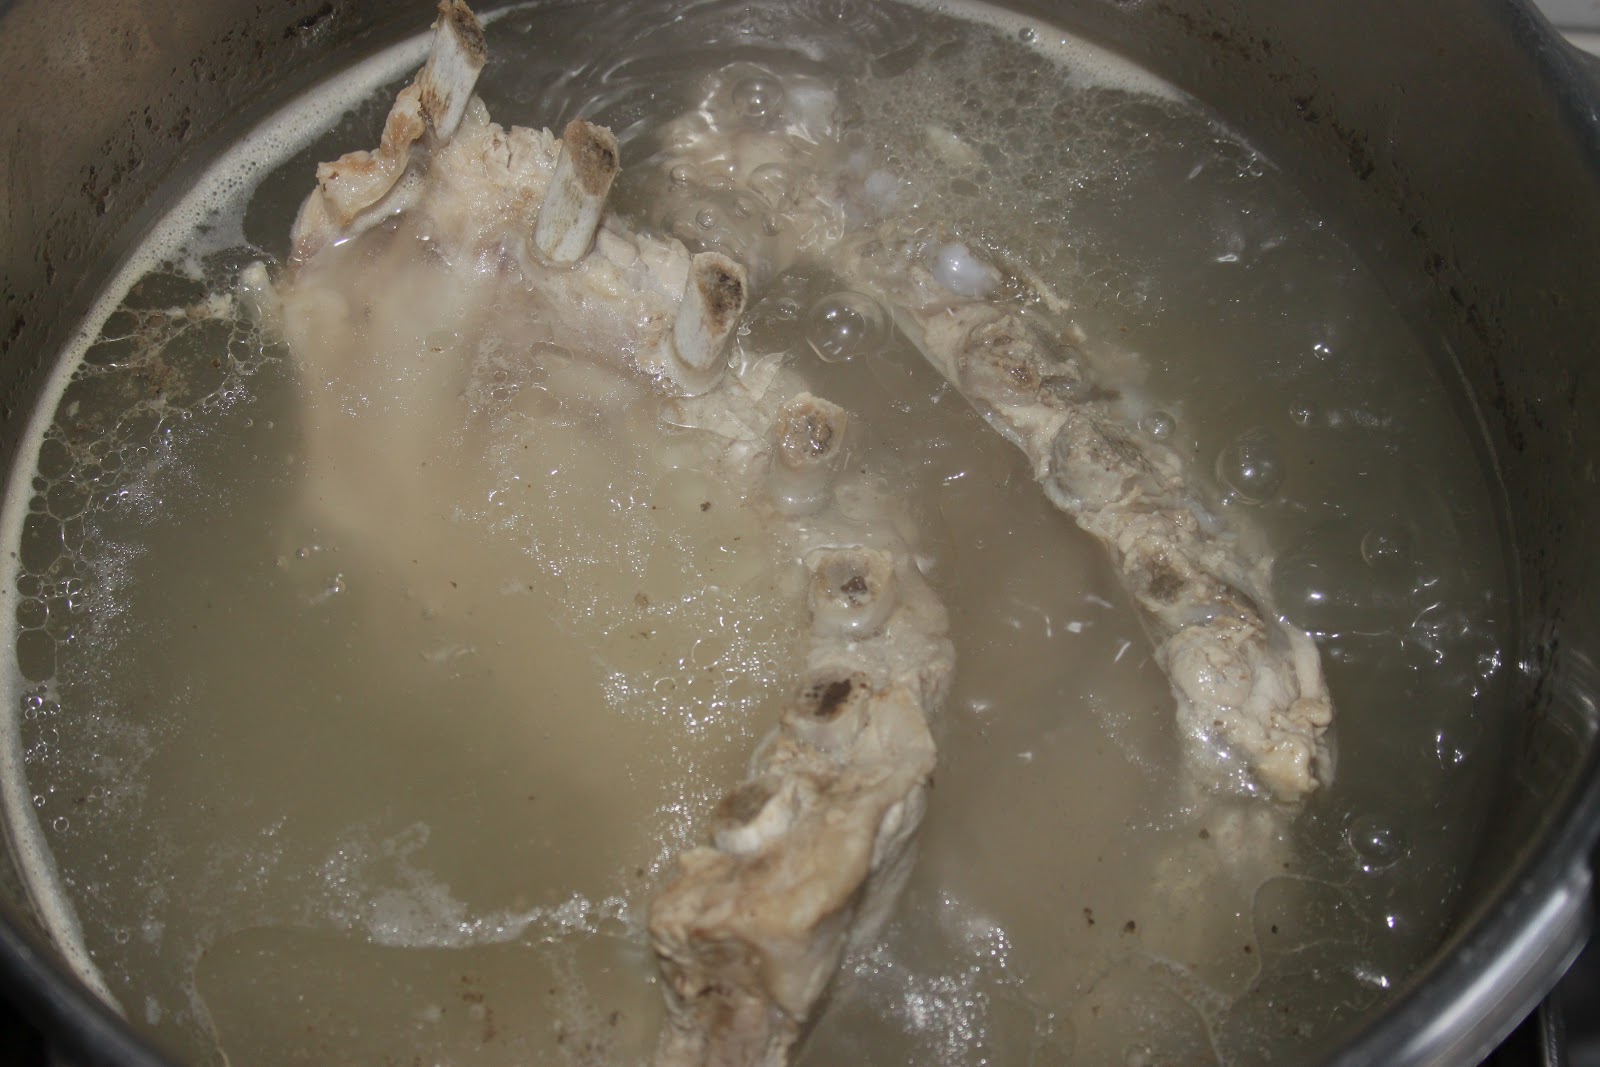
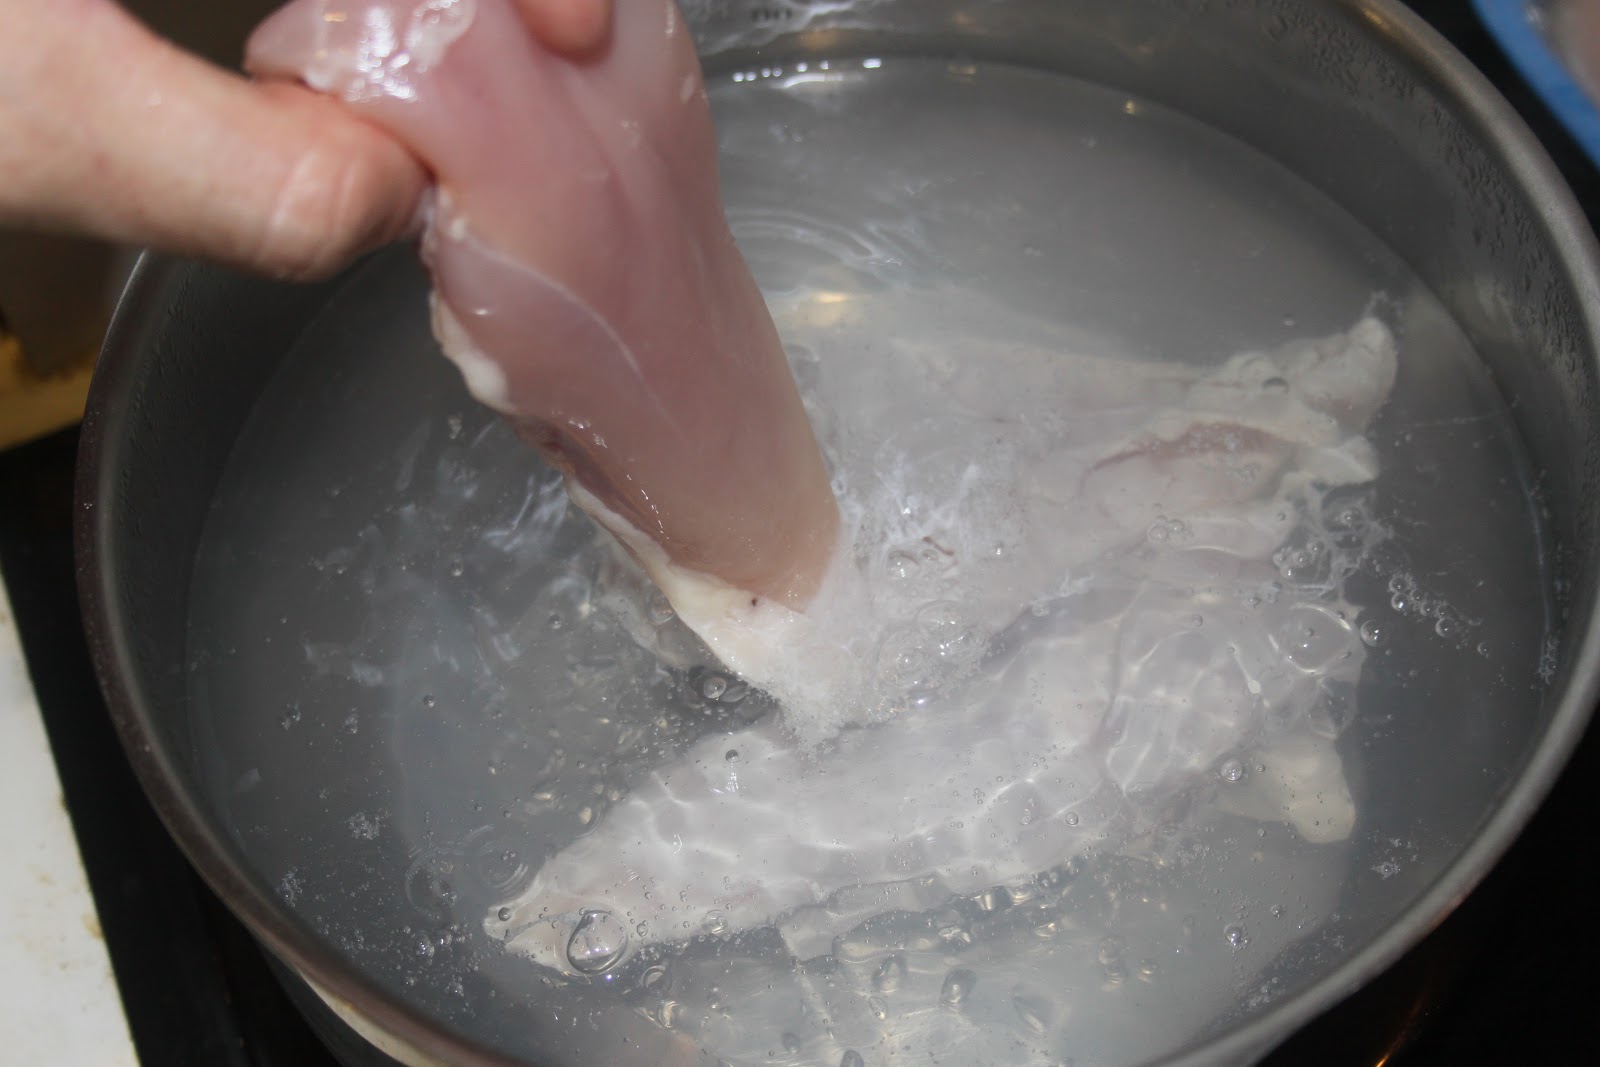
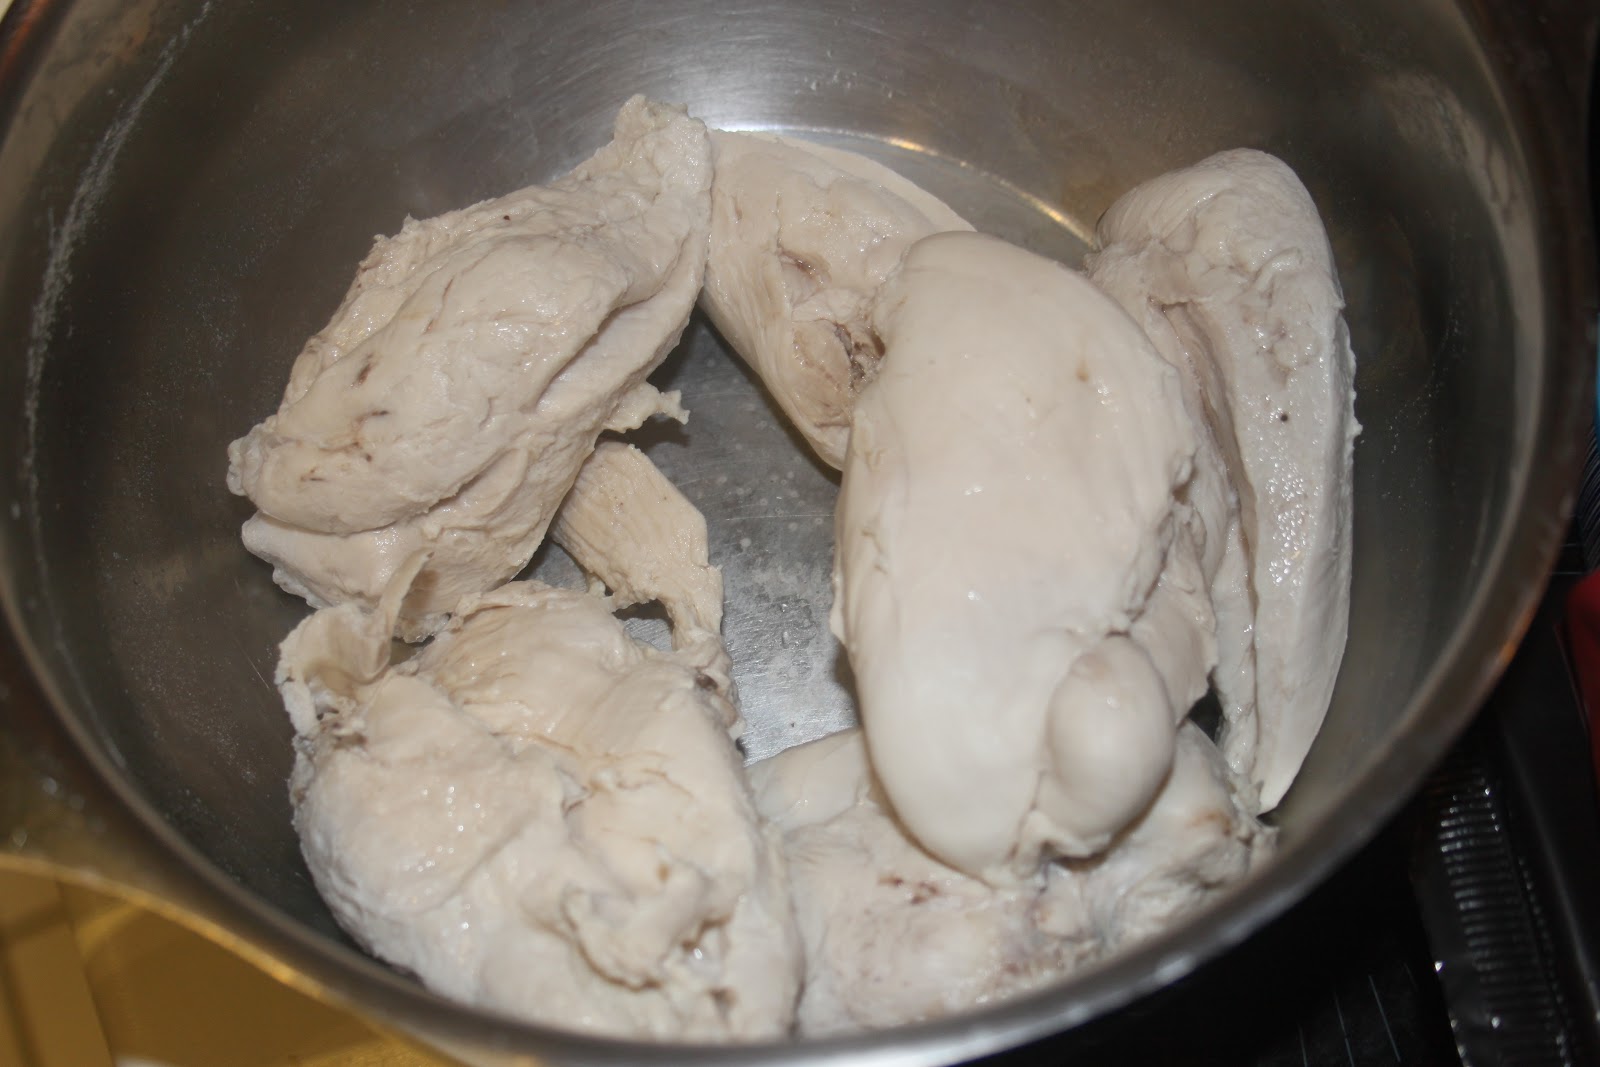
- Cook the chicken breasts in boiling salted water for 10-12 minutes. It all depends on the size of the blanks. They still need to be soft.
- Save the cooking water for later. Let cool whites.
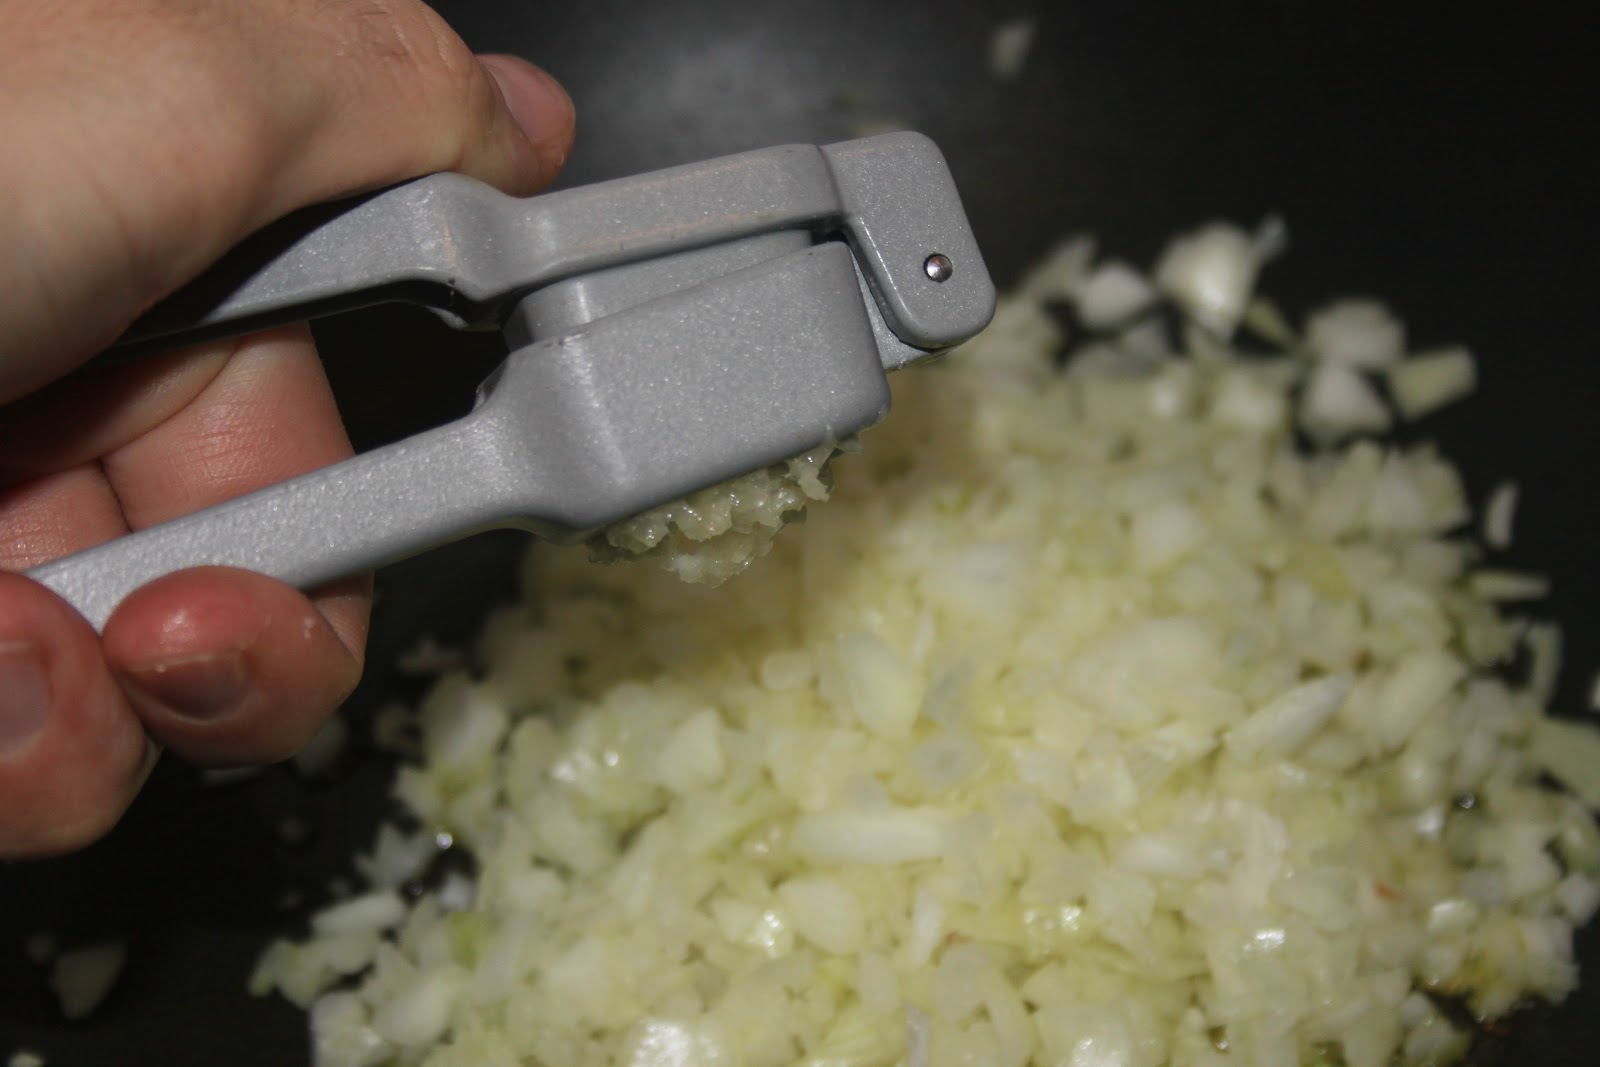
- Finely chop the onion.
- Peel the garlic.
- Cook the onion in a large skillet with the two tablespoons of oil. Add crushed garlic.
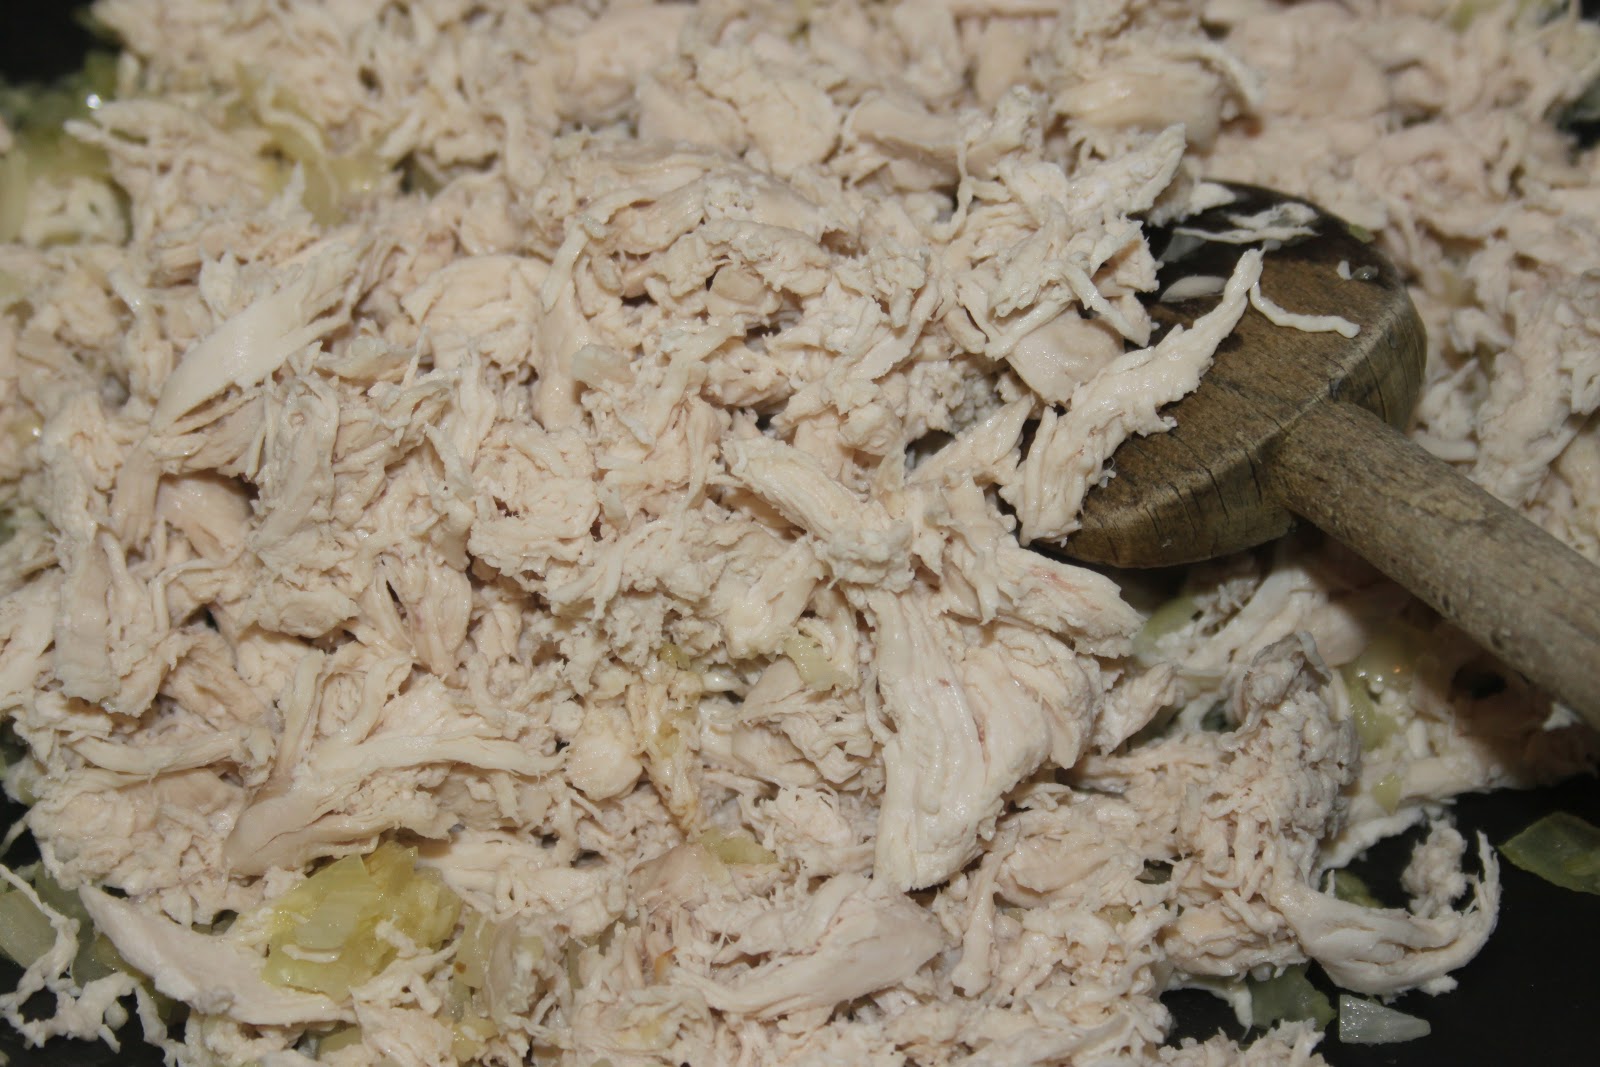
- Flake the chicken with a fork.
- Add the chicken to the pan.
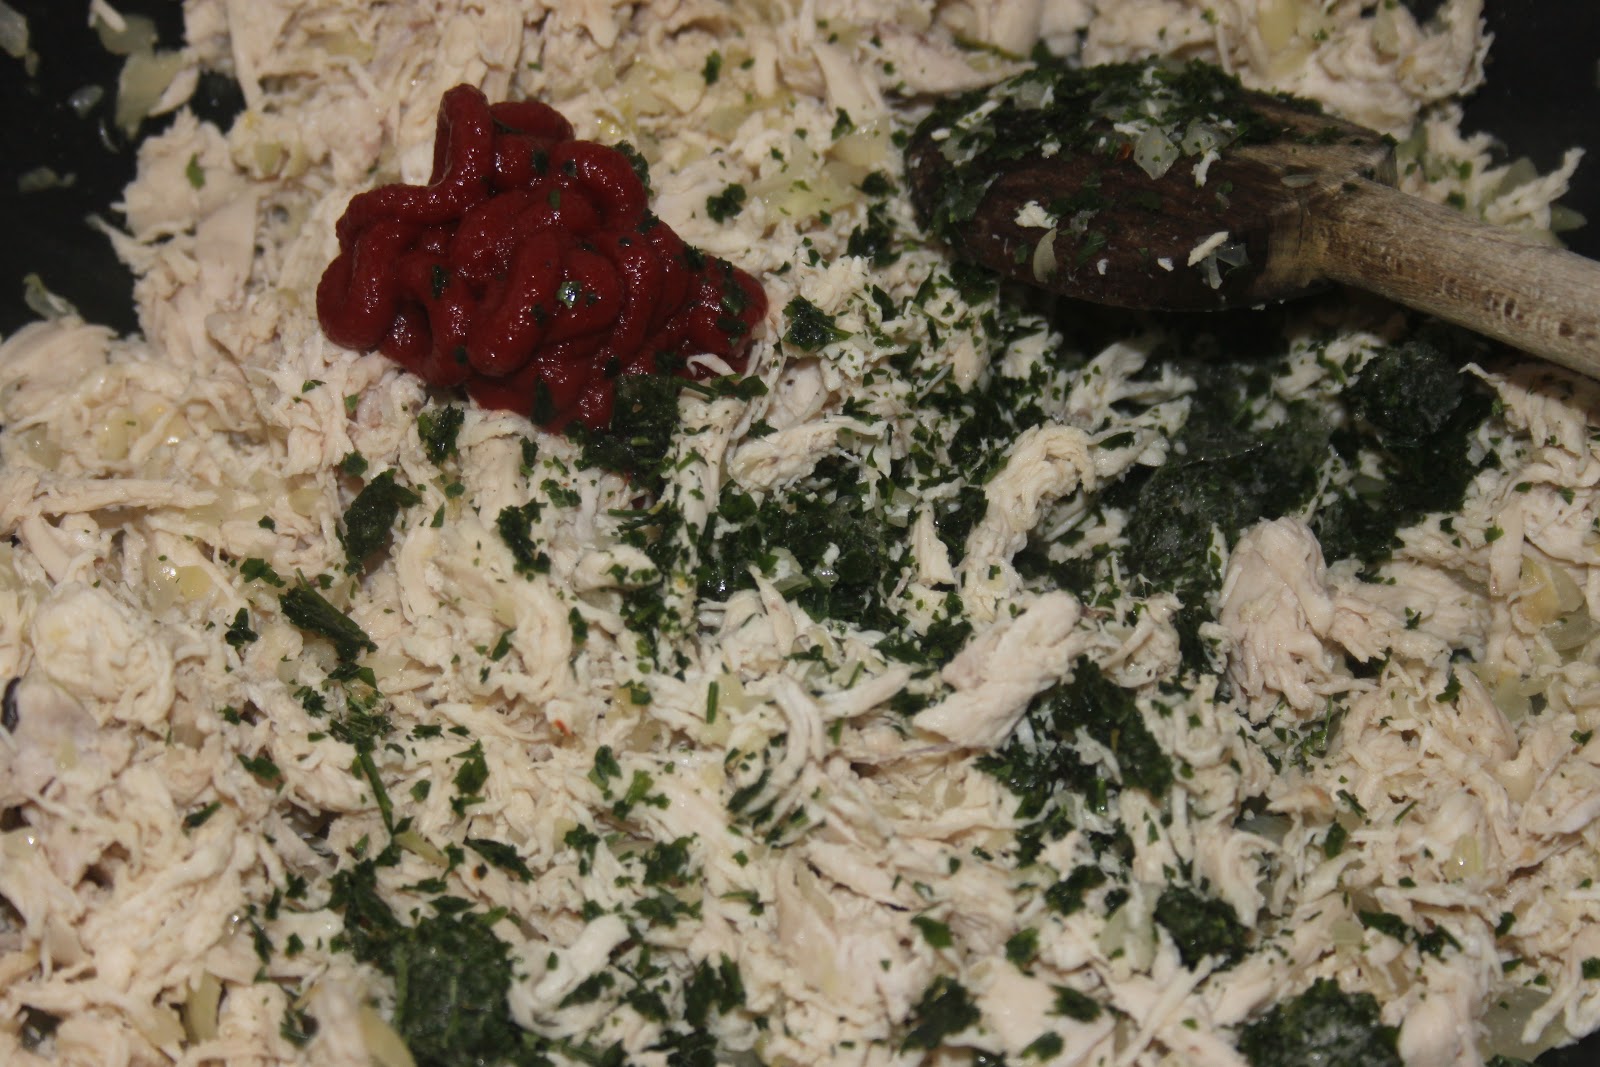
- Mix well and add the parsley and double tomato paste.
- Simmer for two minutes, then add the flour.
- Mix well then add the chicken cooking water (250ml).
- Simmer until the liquid thickens a bit. Add catupiry or Kiri!
- Mix well, taste to season with salt and pepper.
- Let the filling cool and prepare the dough in the meantime.
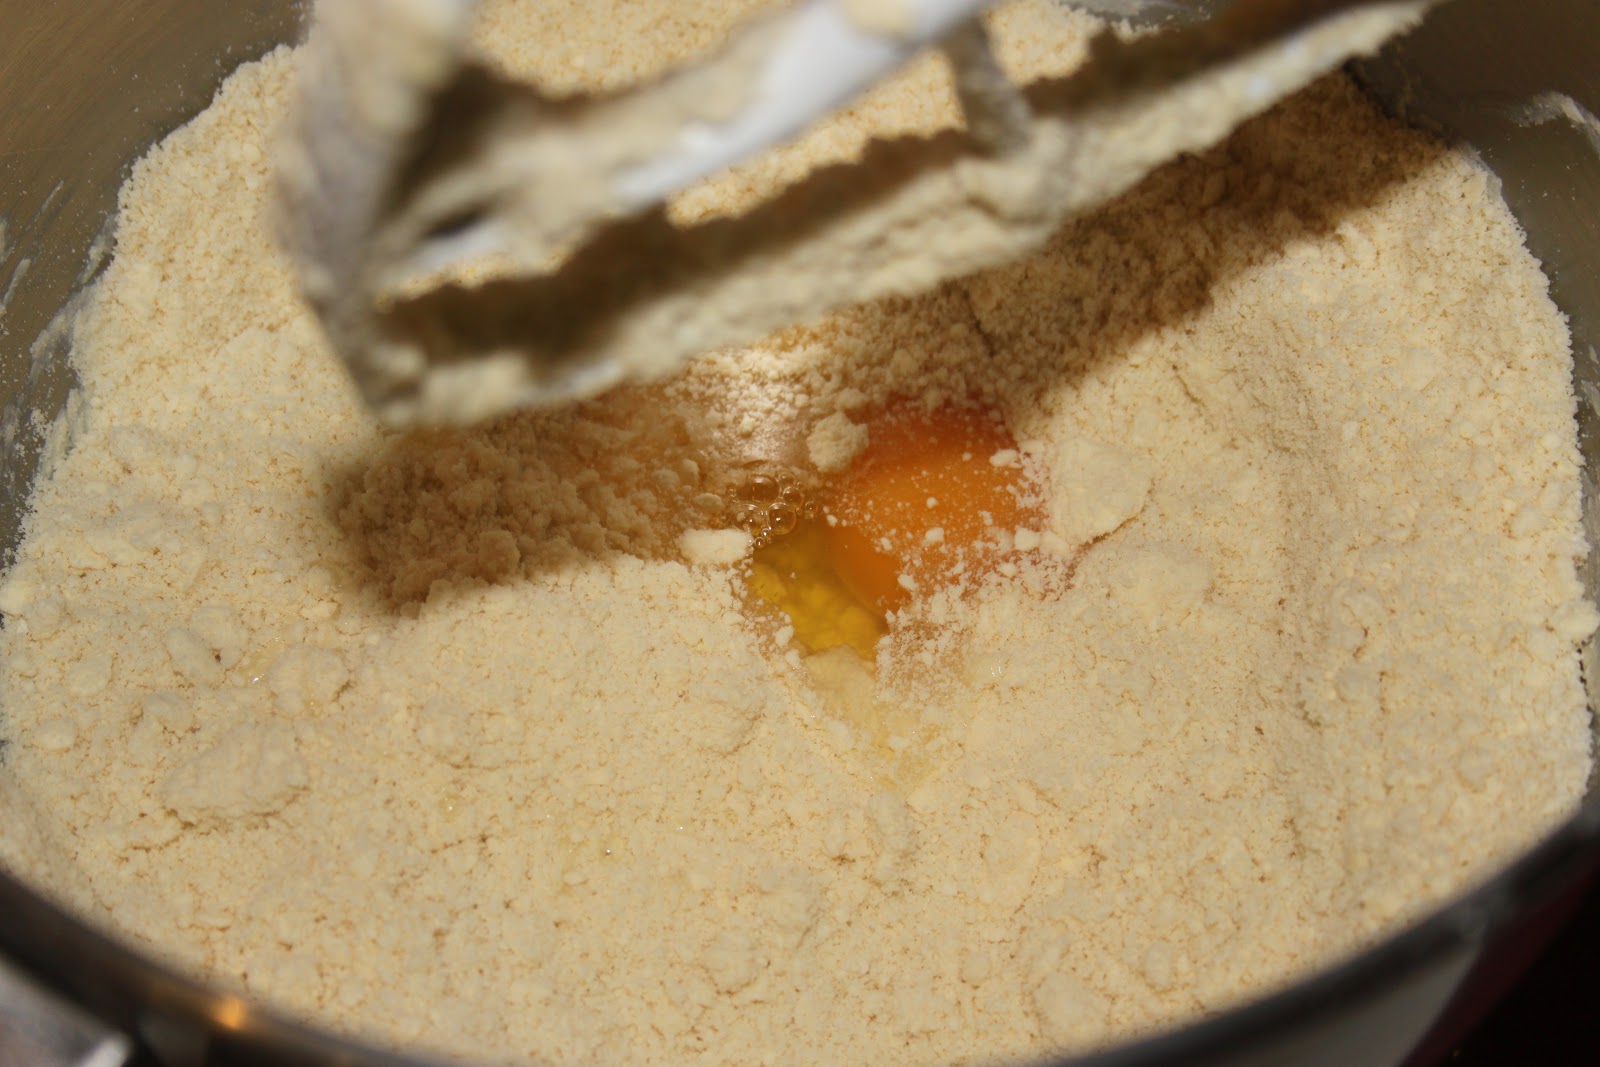
- Put the flour and butter in a bowl.
- Mix well to sand. If the butter clumps too quickly, don't worry! Add the egg.
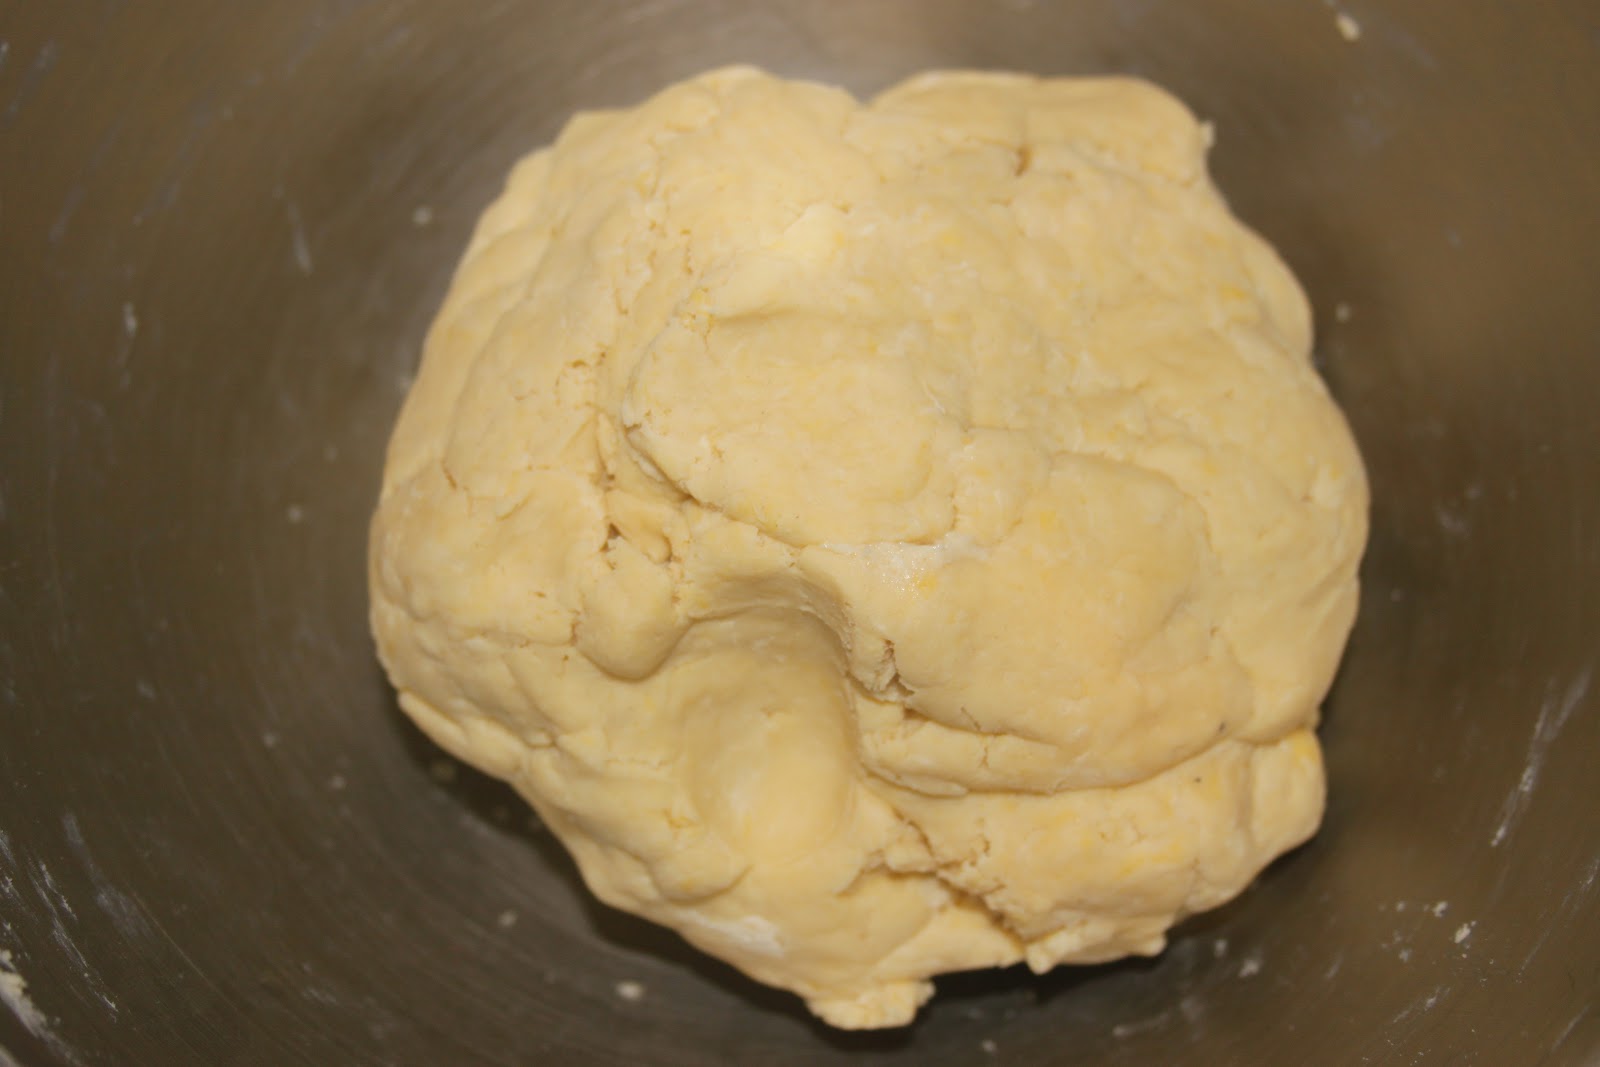
- Let the food processor run for agglomerate the dough (or do it by hand!).
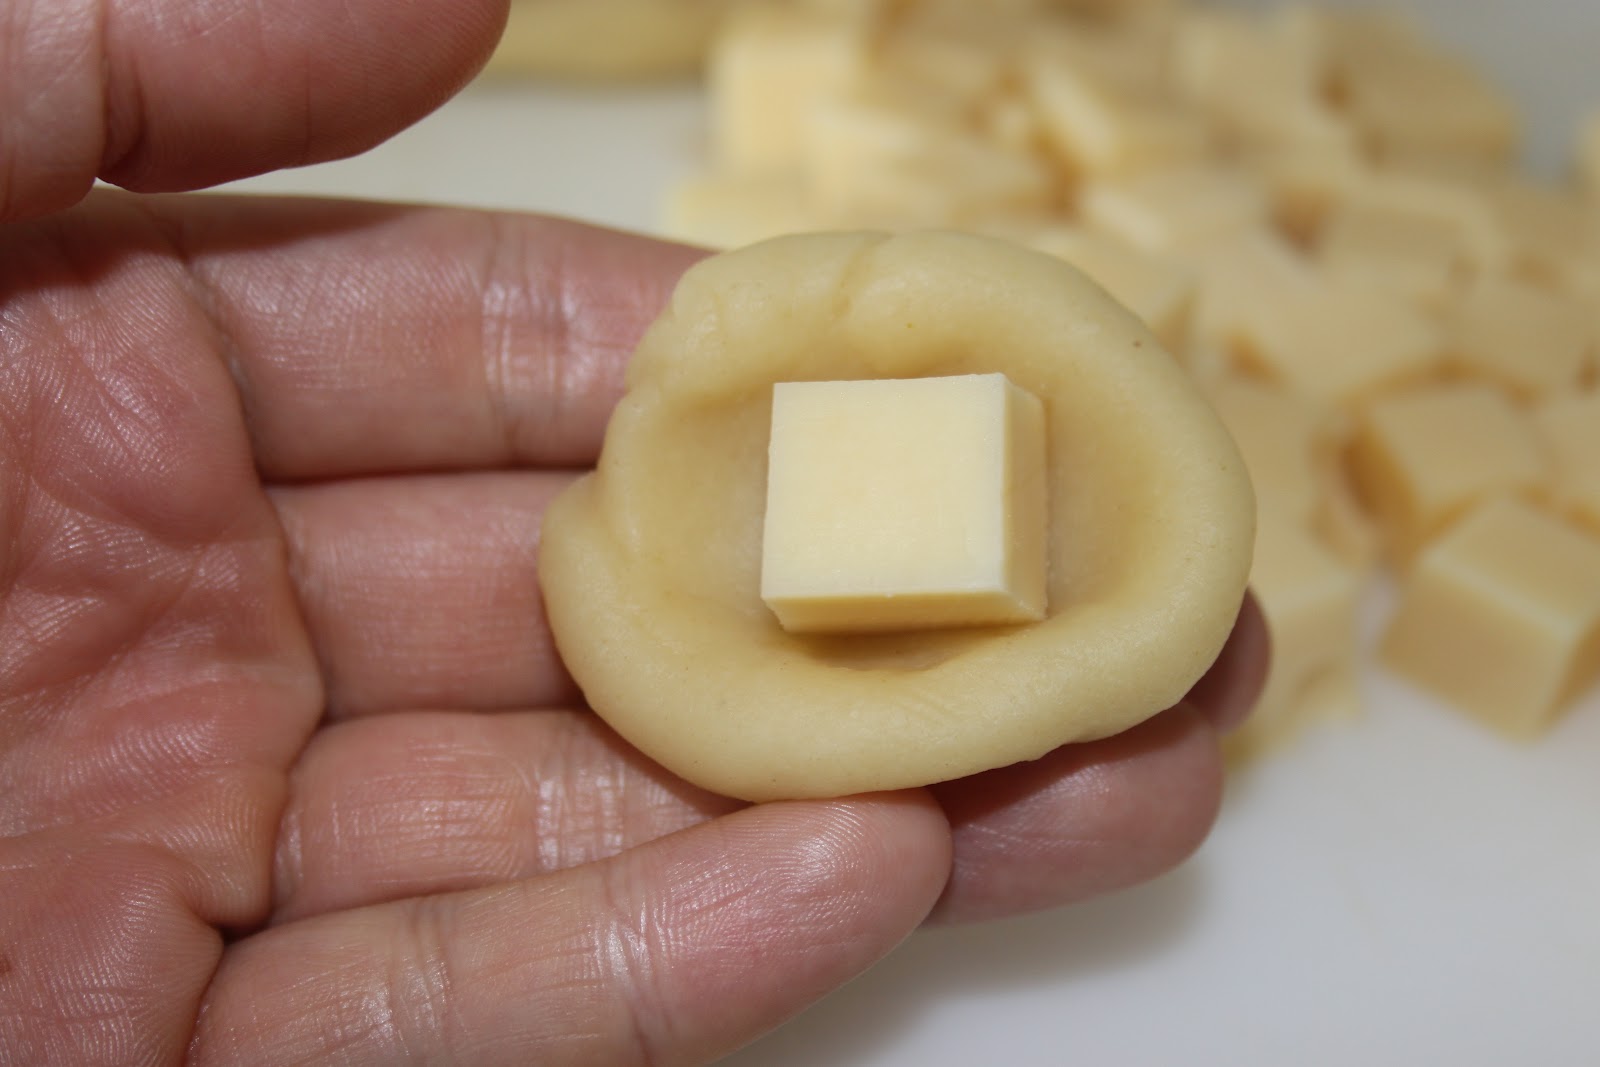
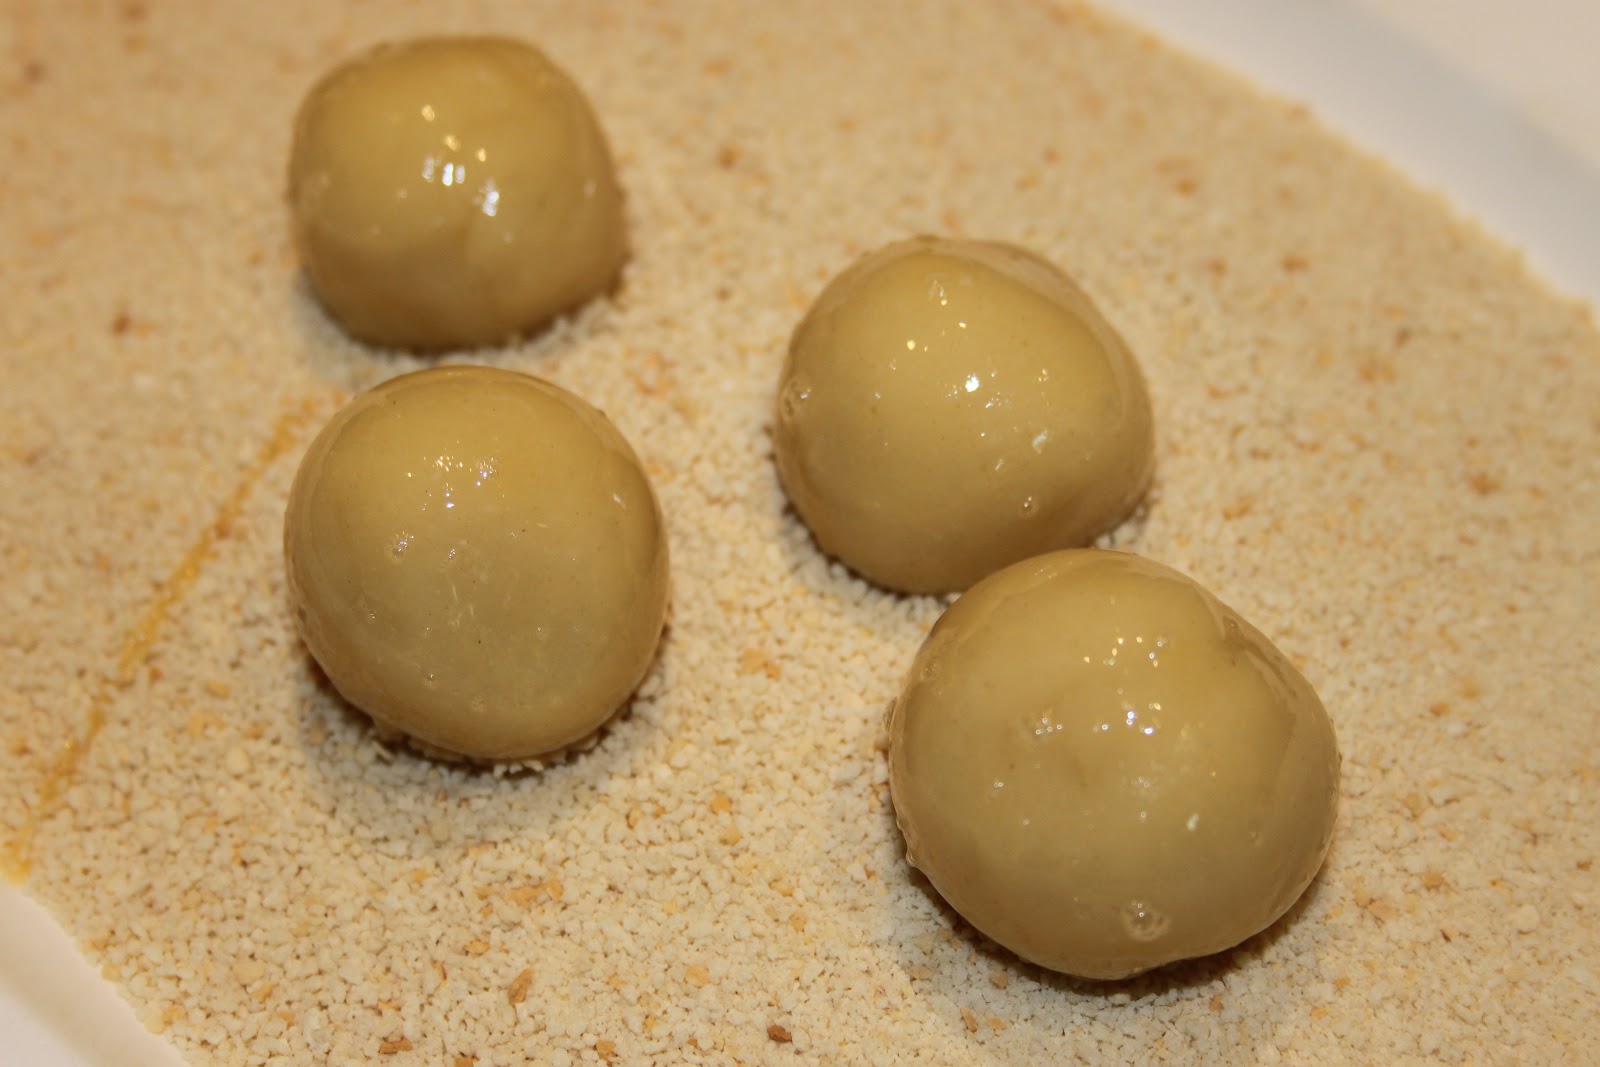
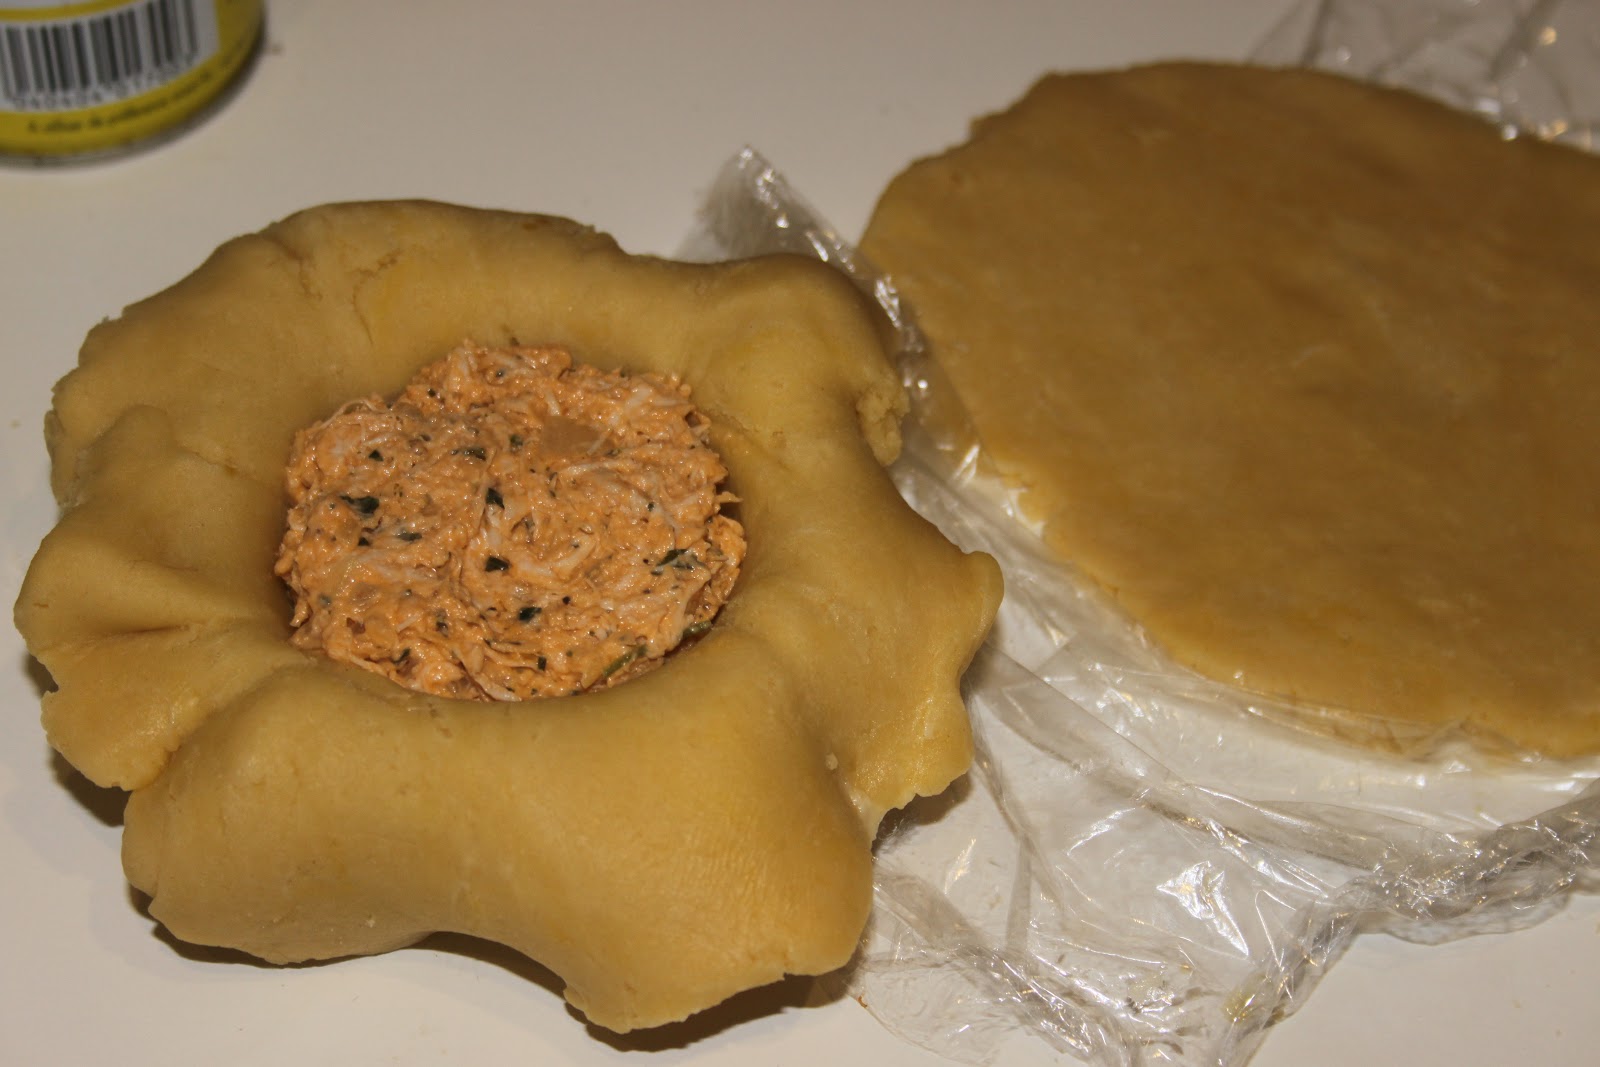
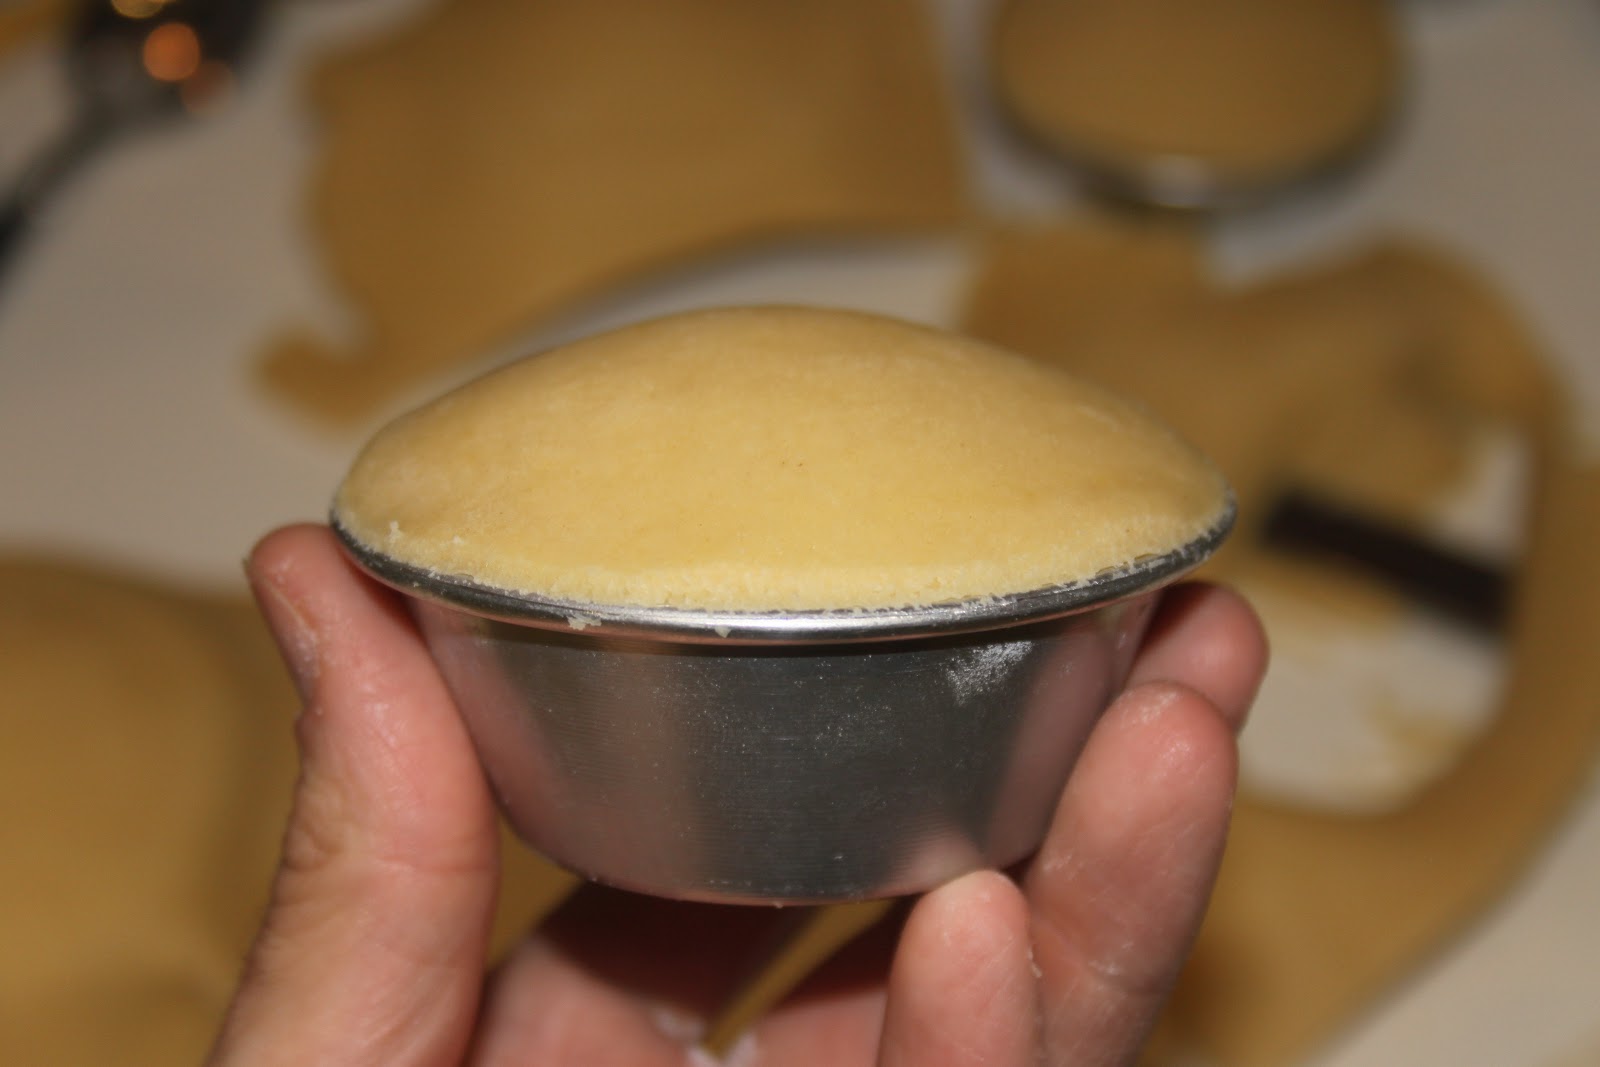
- Quickly roll out the dough on a work surface. The easiest way to do it is to roll out the dough on a parchment paper (on the picture, it's a stretch film, very impractical! But I didn't have any more paper for the picture!). Fill a small greased baking pan with a first layer of dough, making sure it sticks out. Fill with the stuffing.
- Add two halved olives.
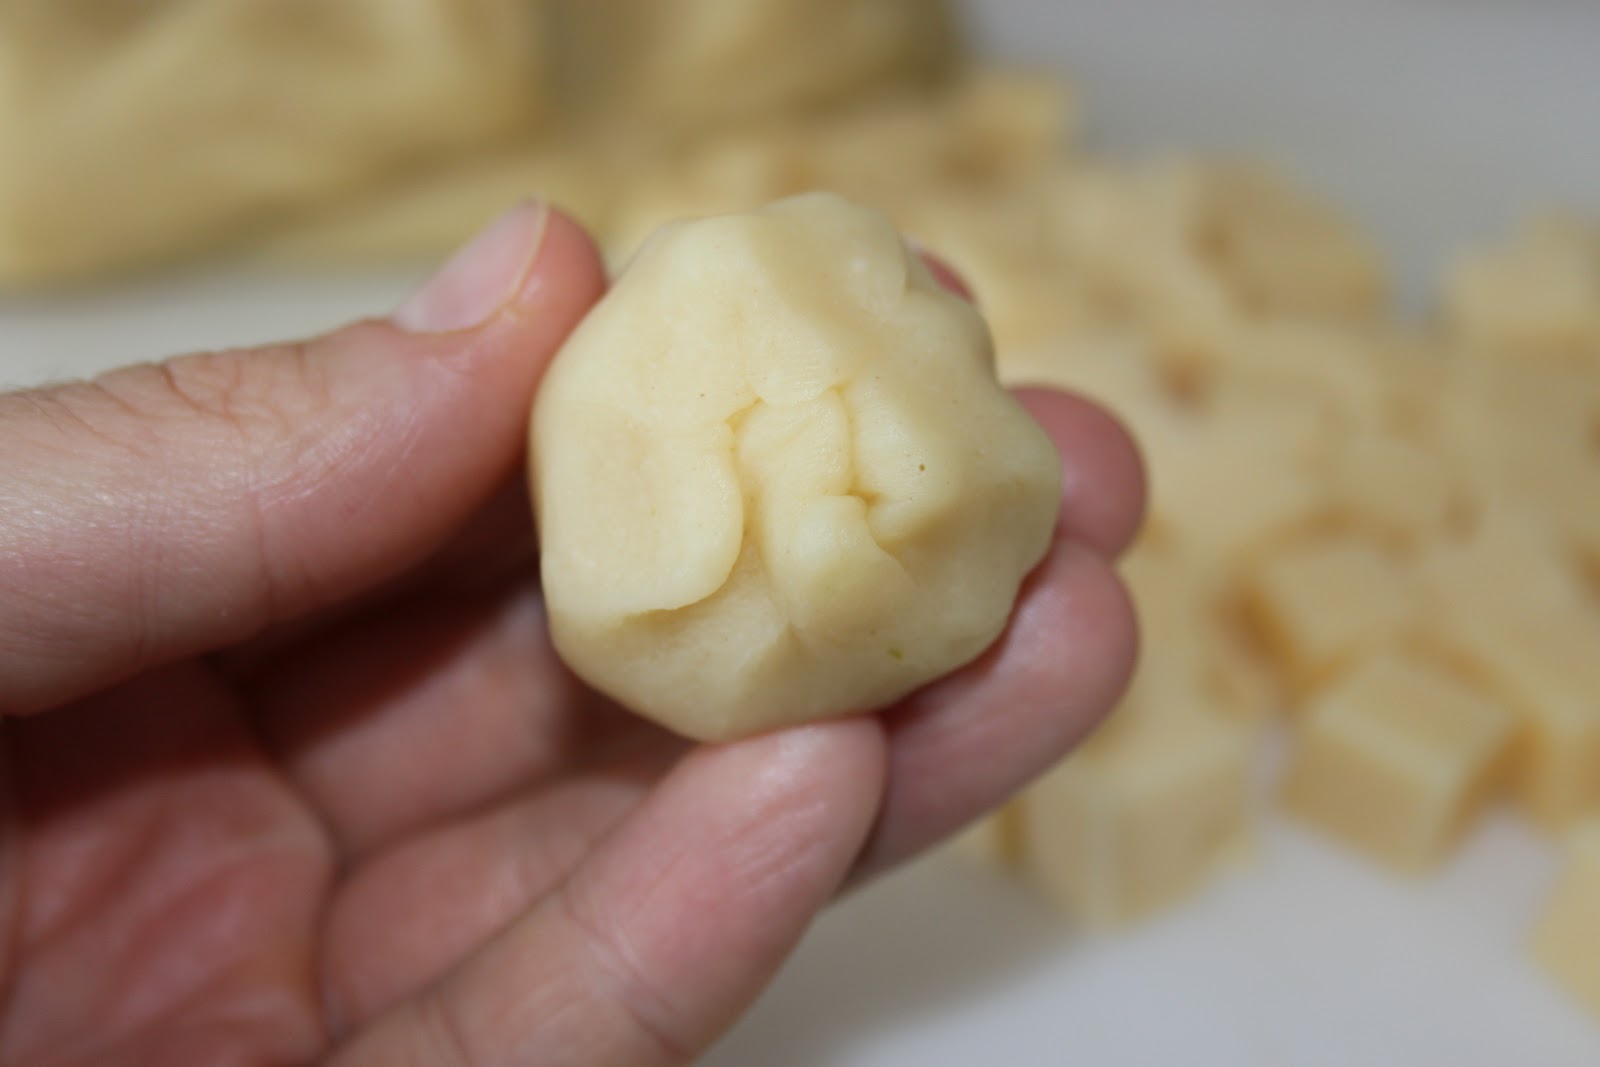
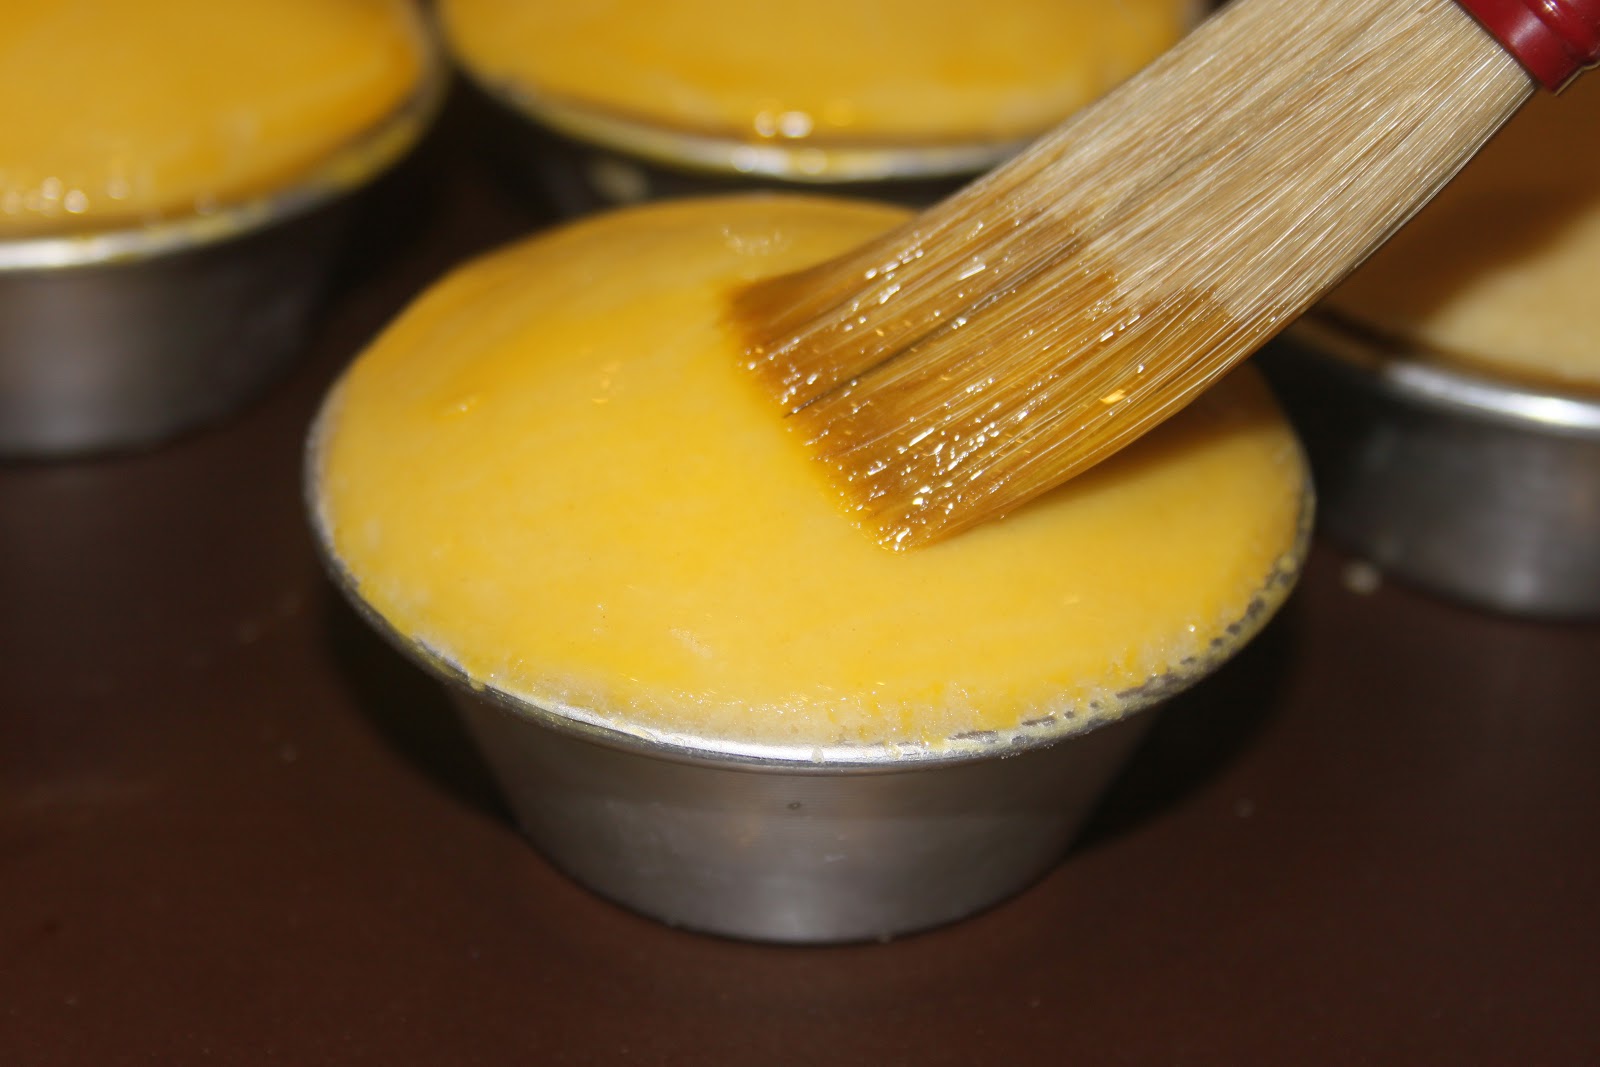
- Put a second layer of dough on the pan.
- Seal the edge with the hand to make well hermetic the empadas.
- When sealing, the paste will eventually fall out naturally.
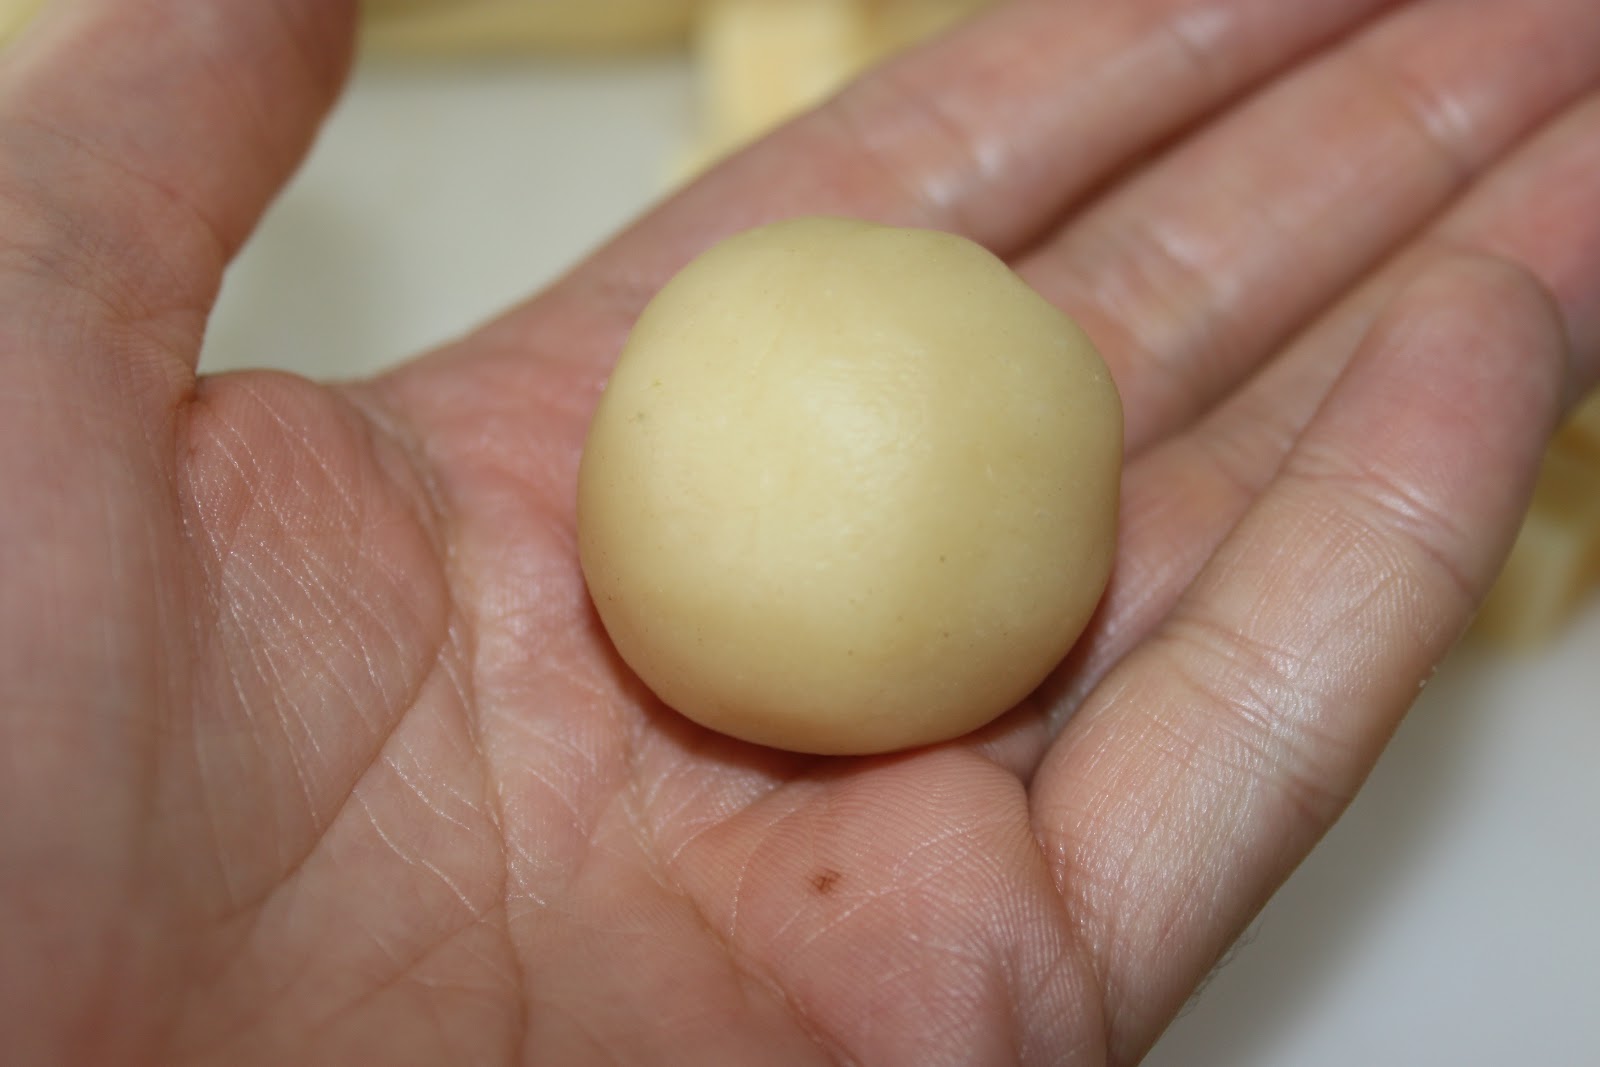
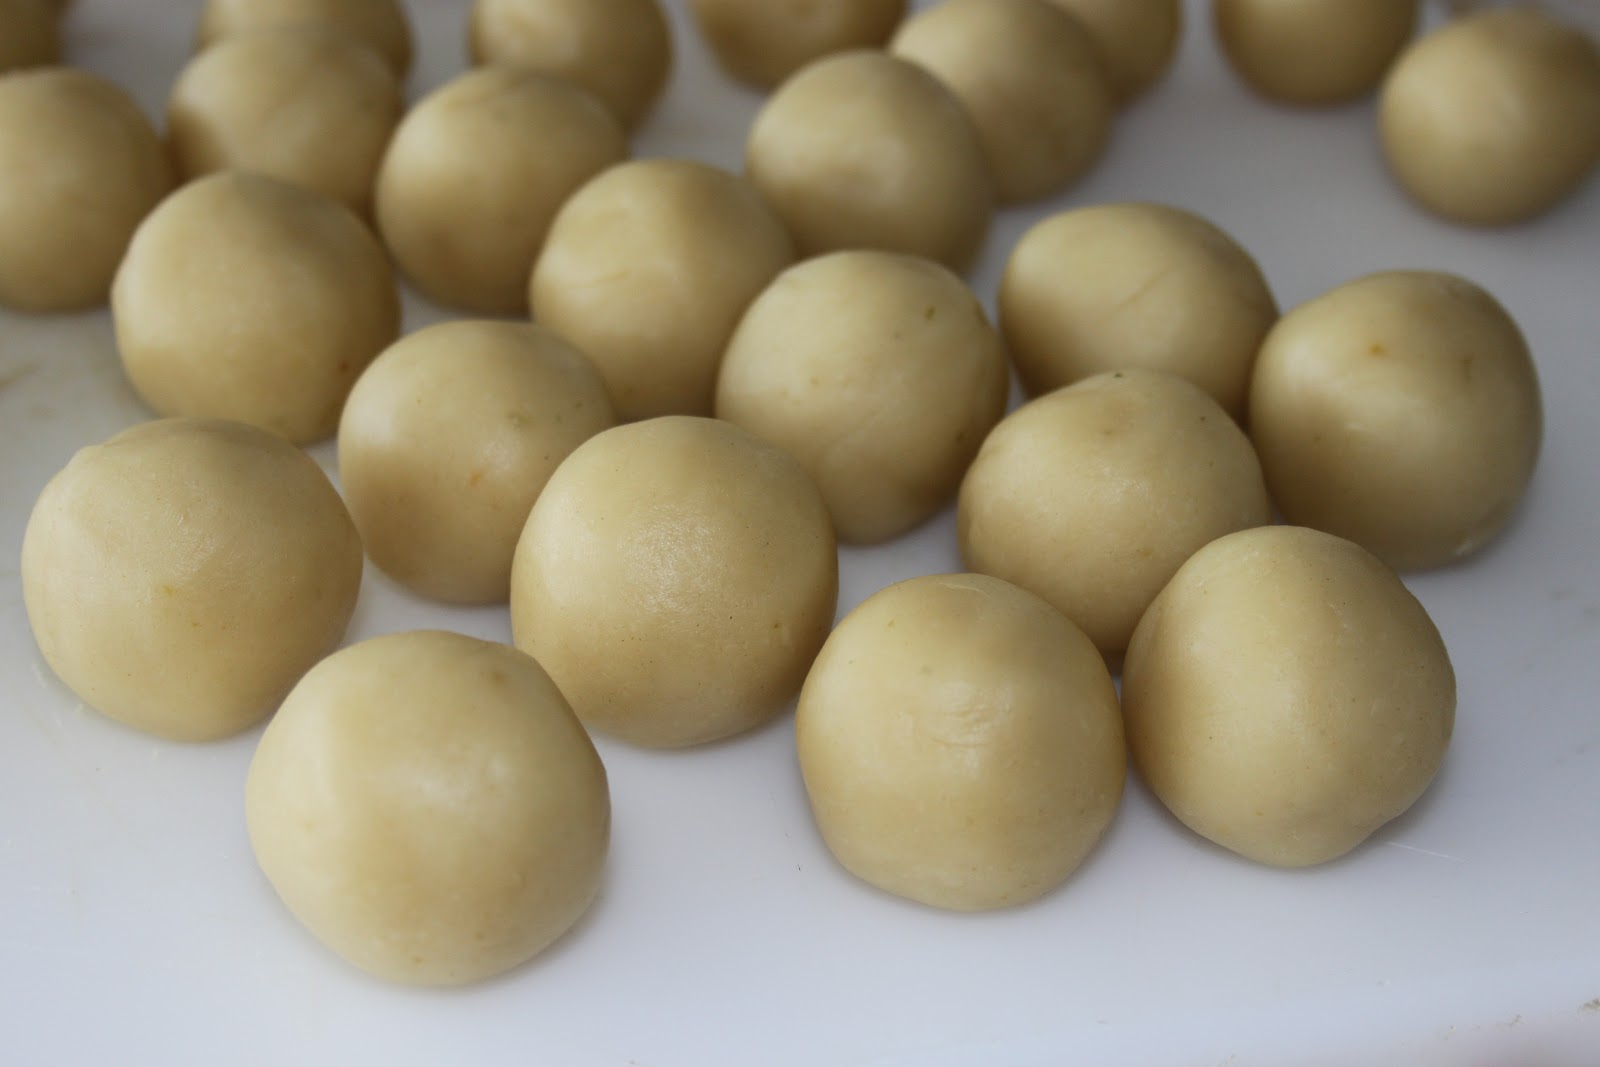
- Do the same with all the empadas.
- Brush with egg yolk.
- Bake at 190°C for 20-25 minutes until the empadas are well colored.
- Enjoy it warm!
Nutrition
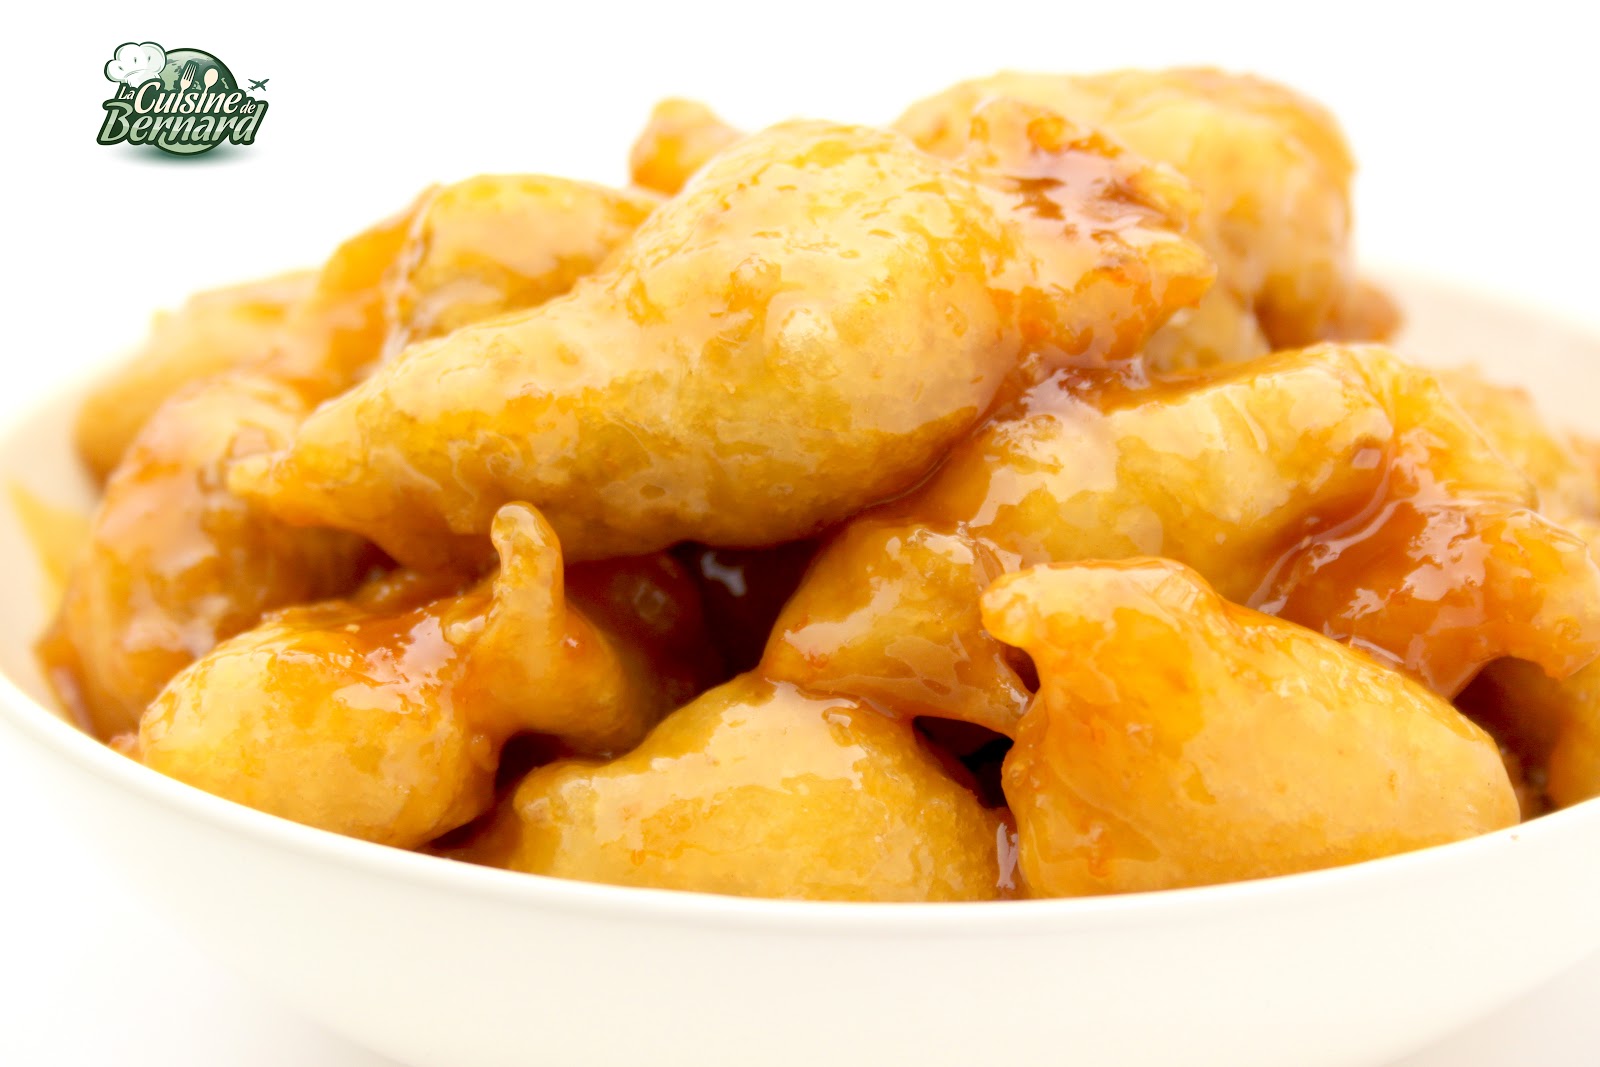
Recipe for orange crispy chicken:
-6 chicken thighs
Frying batter:
-100g of flour
-225g rice flour (or cornstarch)
-320g of water
-5g of salt
-1 packet of baking powder
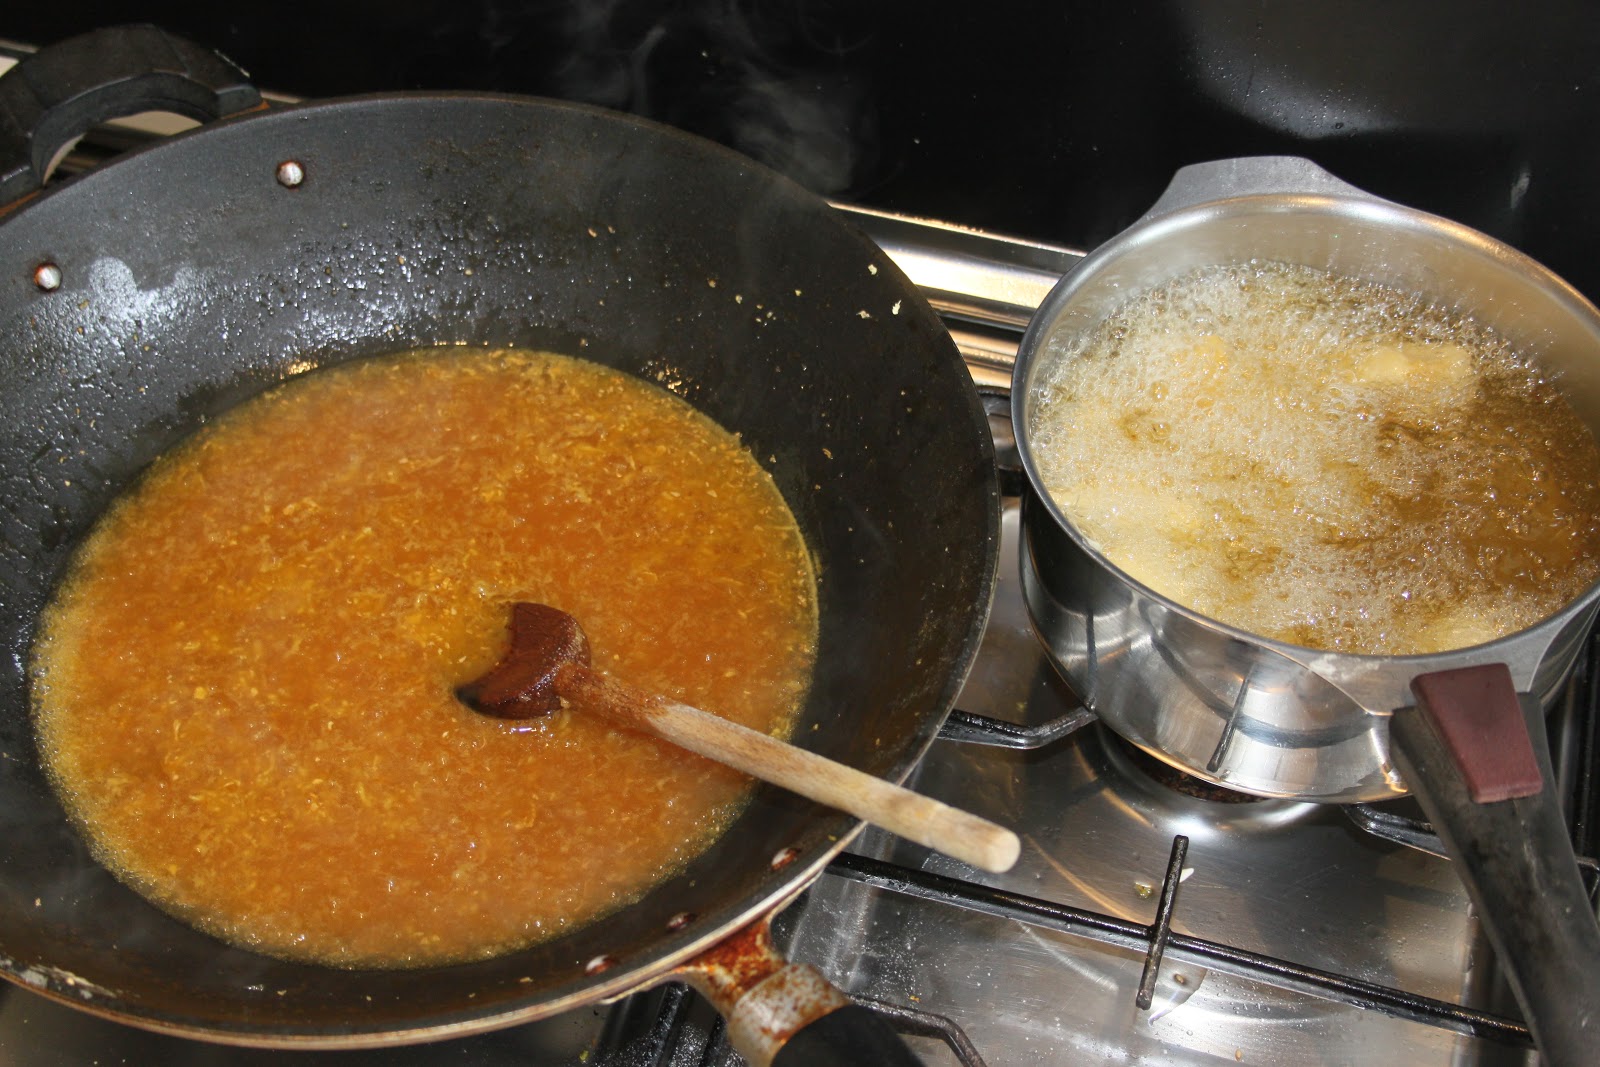
Sweet and sour orange sauce:
-4 tablespoons of oil
-4 cloves of garlic
-6cm of fresh ginger
-120g of white vinegar
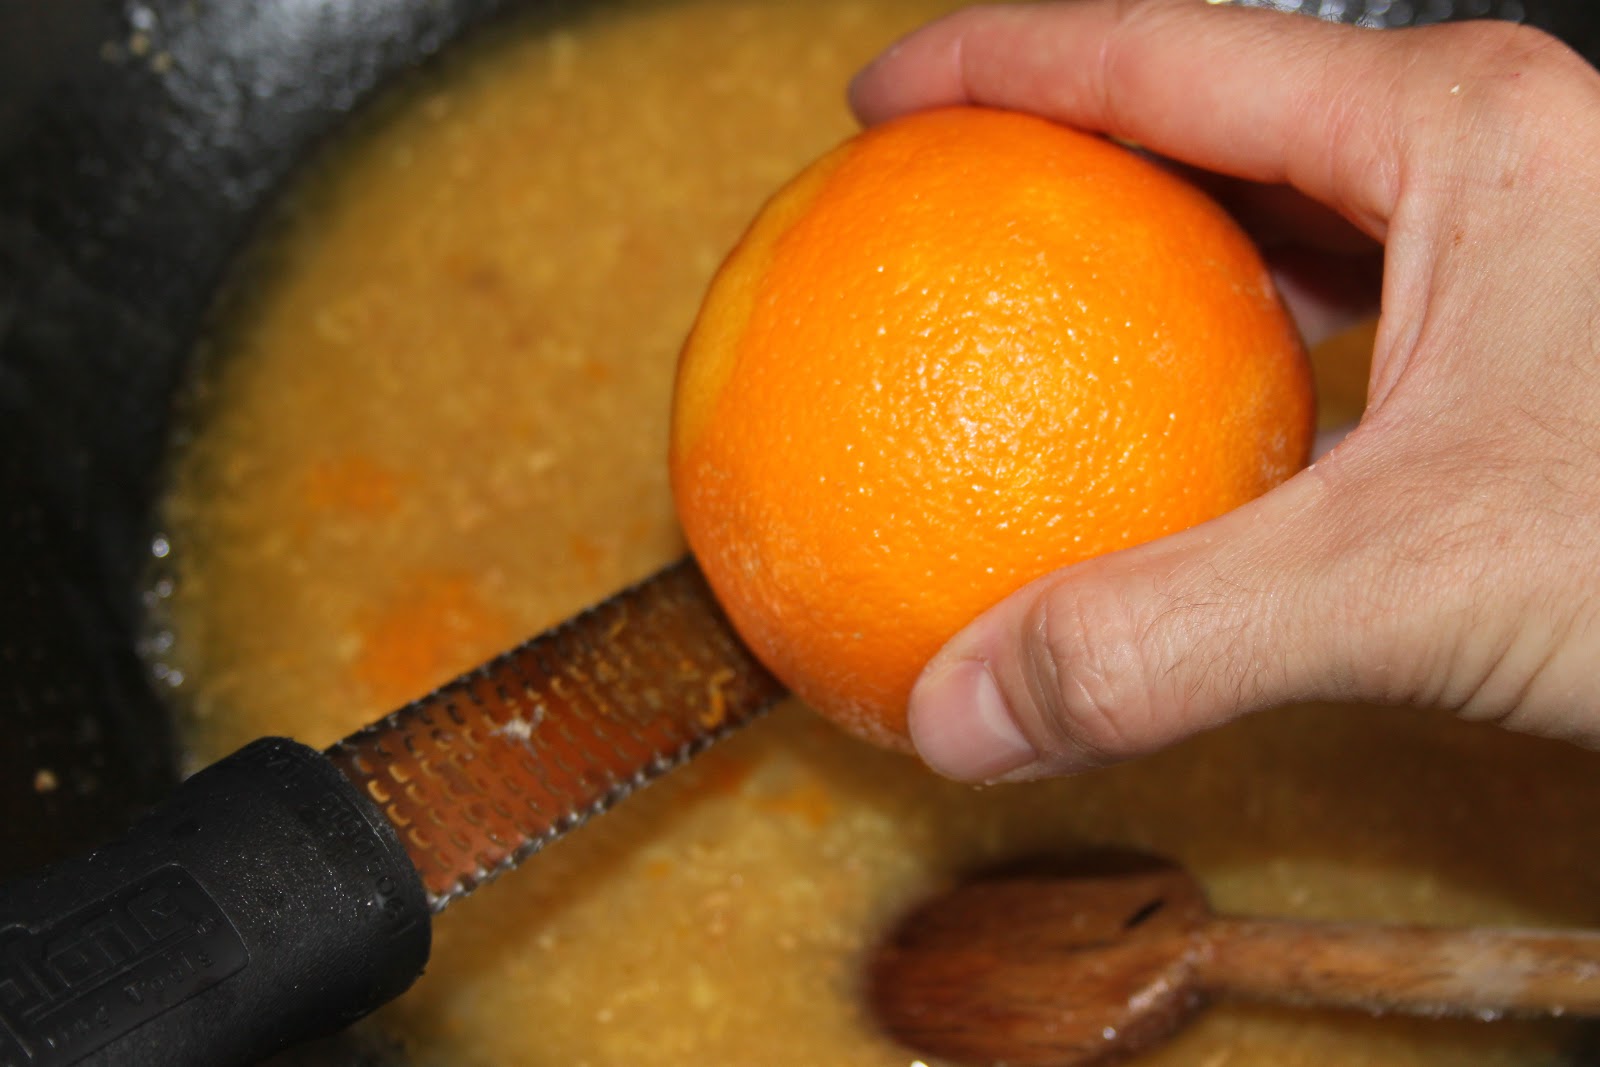
-500g of orange juice
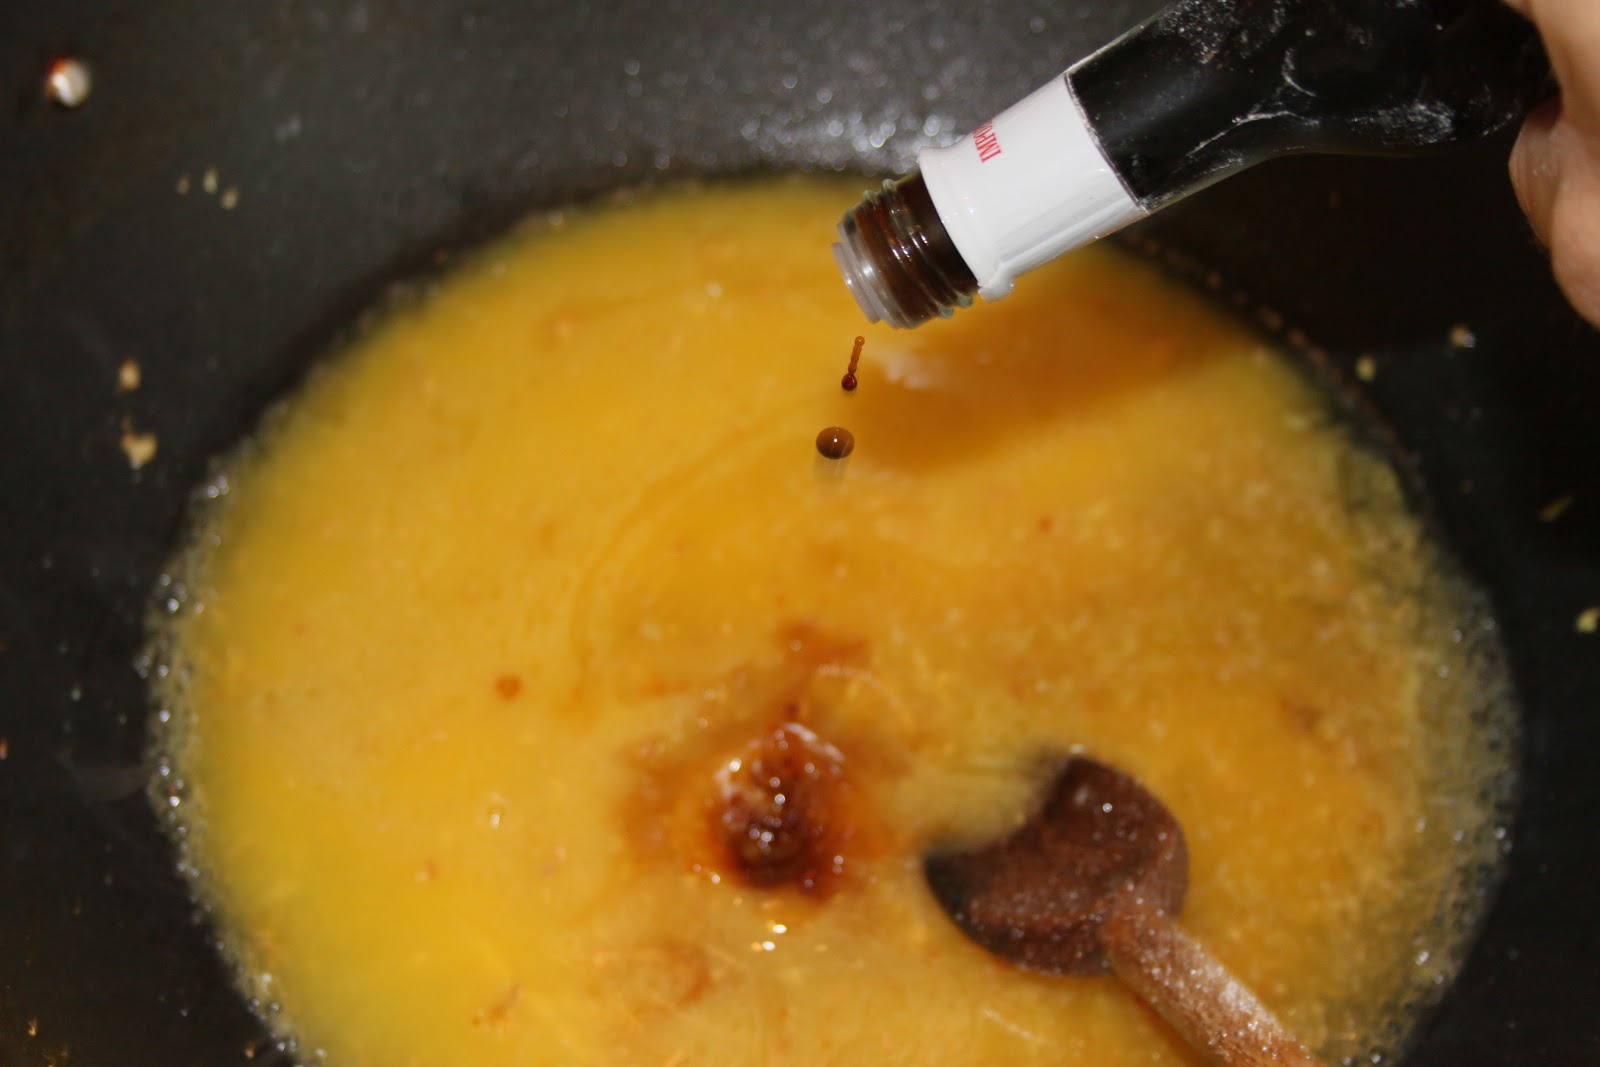
-25g of clear soy sauce
-200g of sugar
-sel
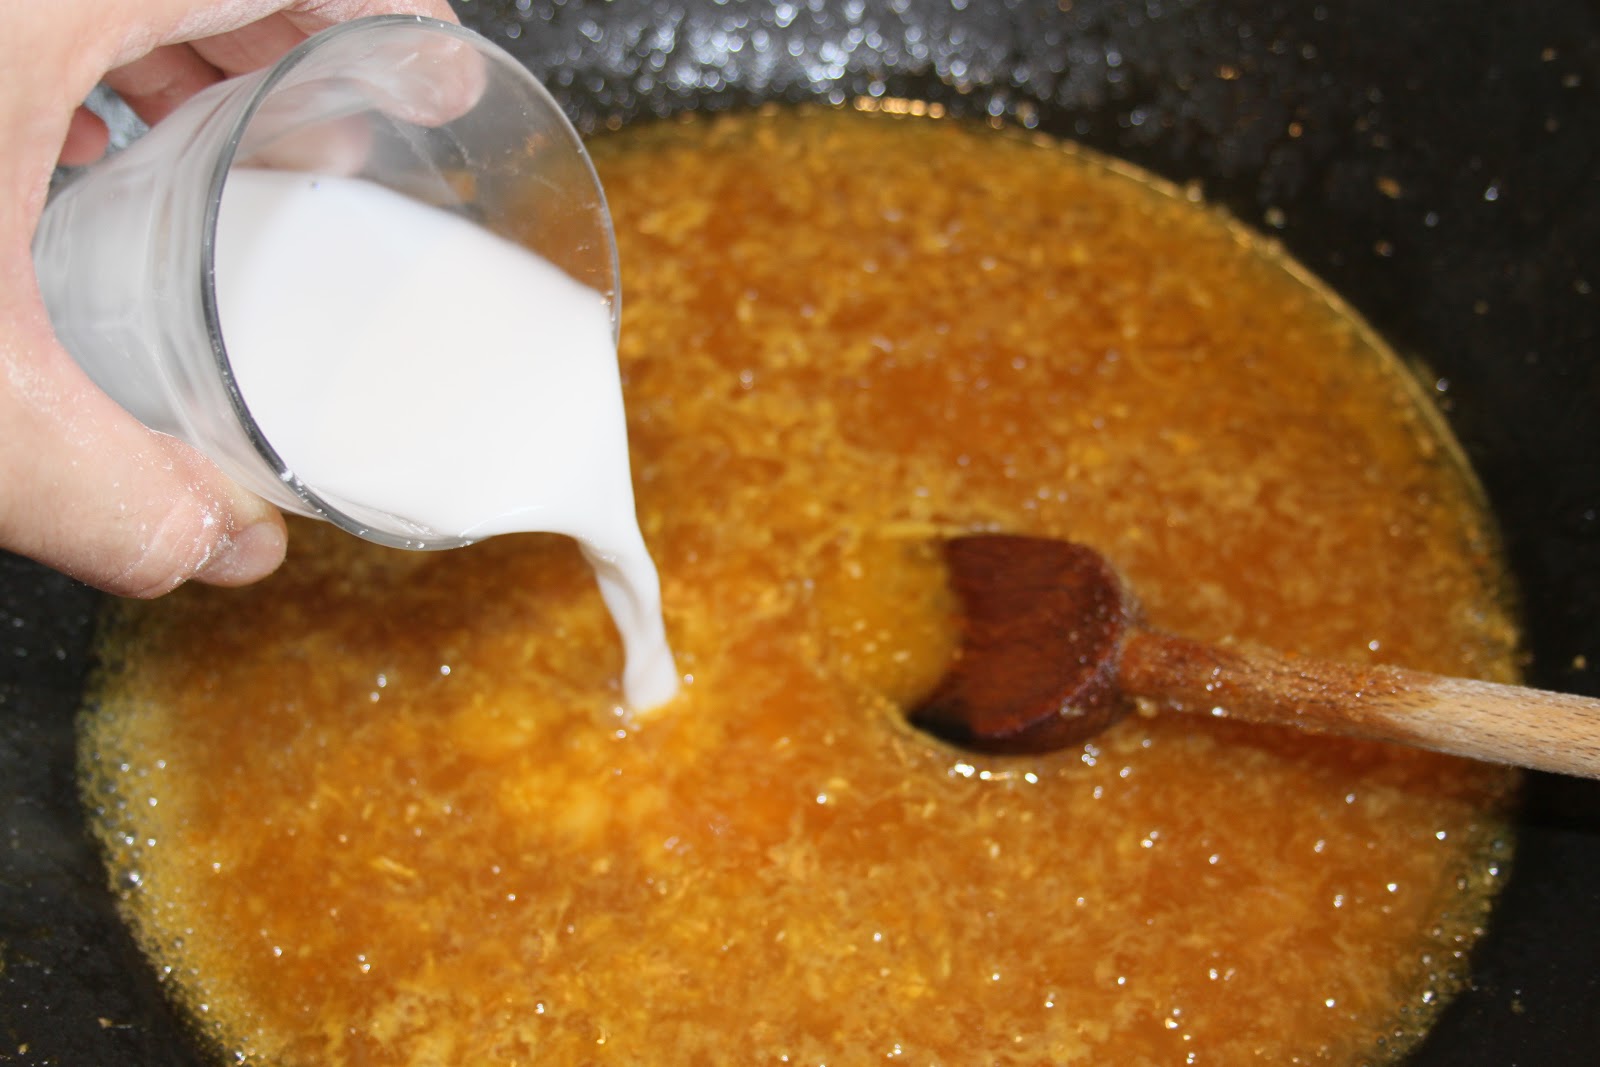
-20g cornstarch diluted in a small glass of cold water
-golden sesame seeds for sprinkling on fritters
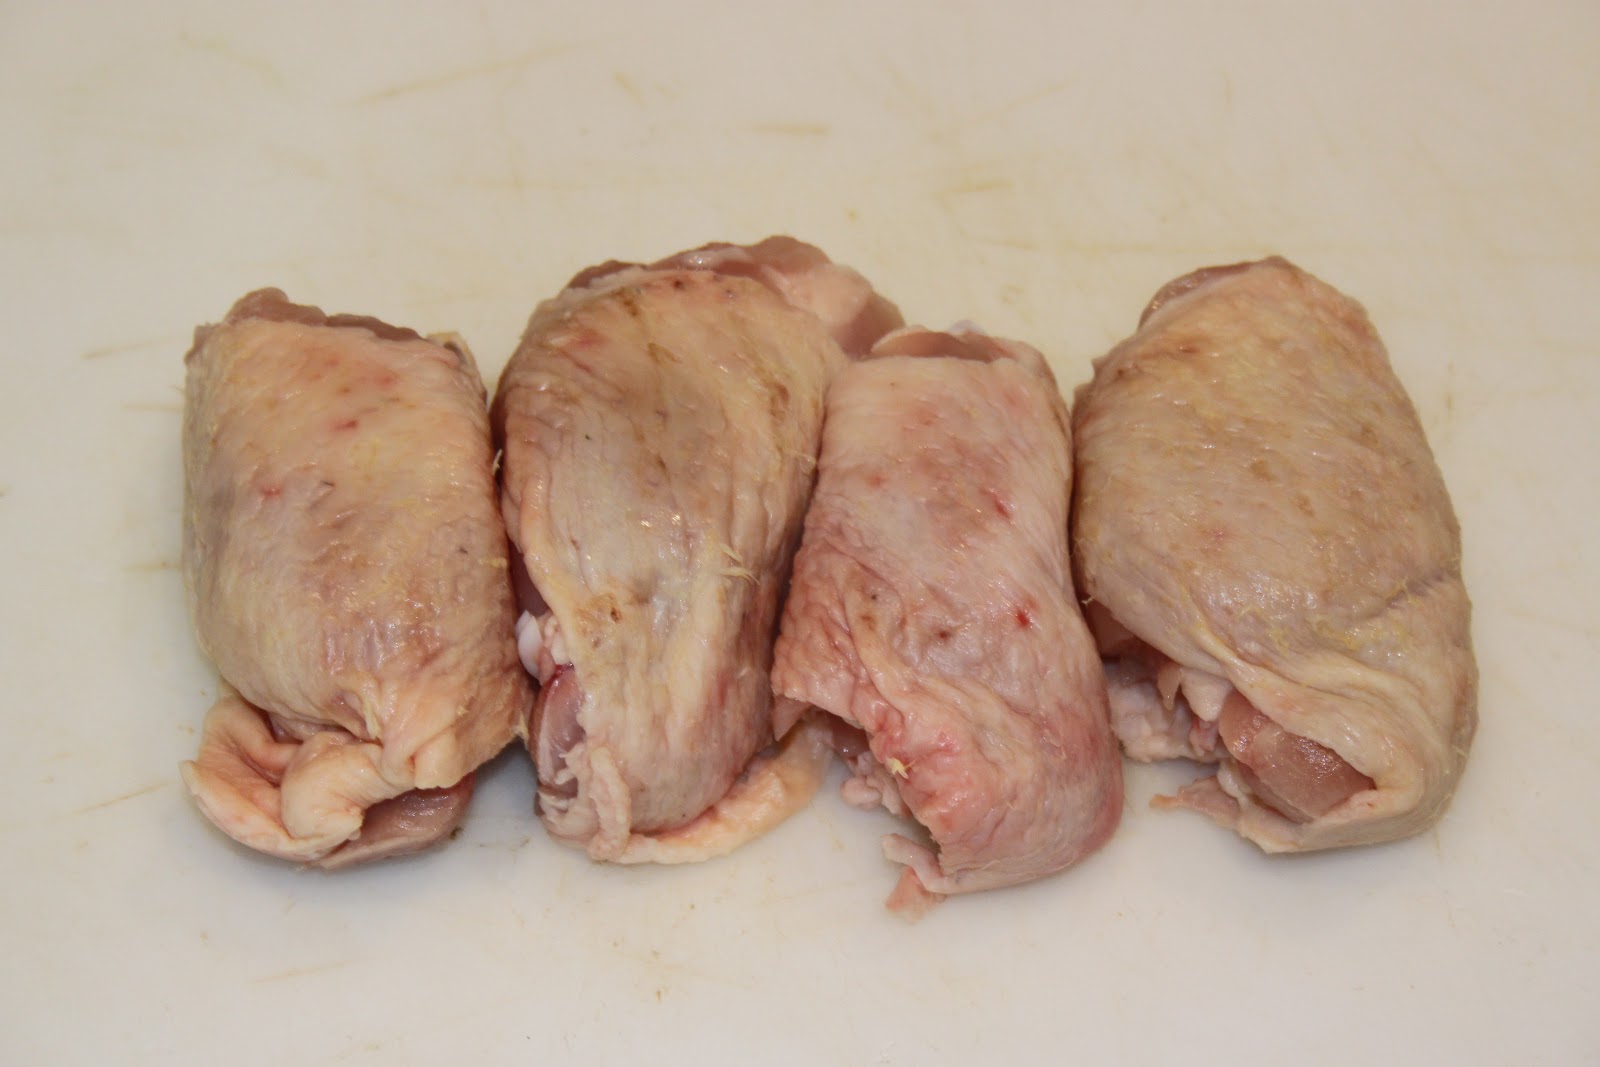
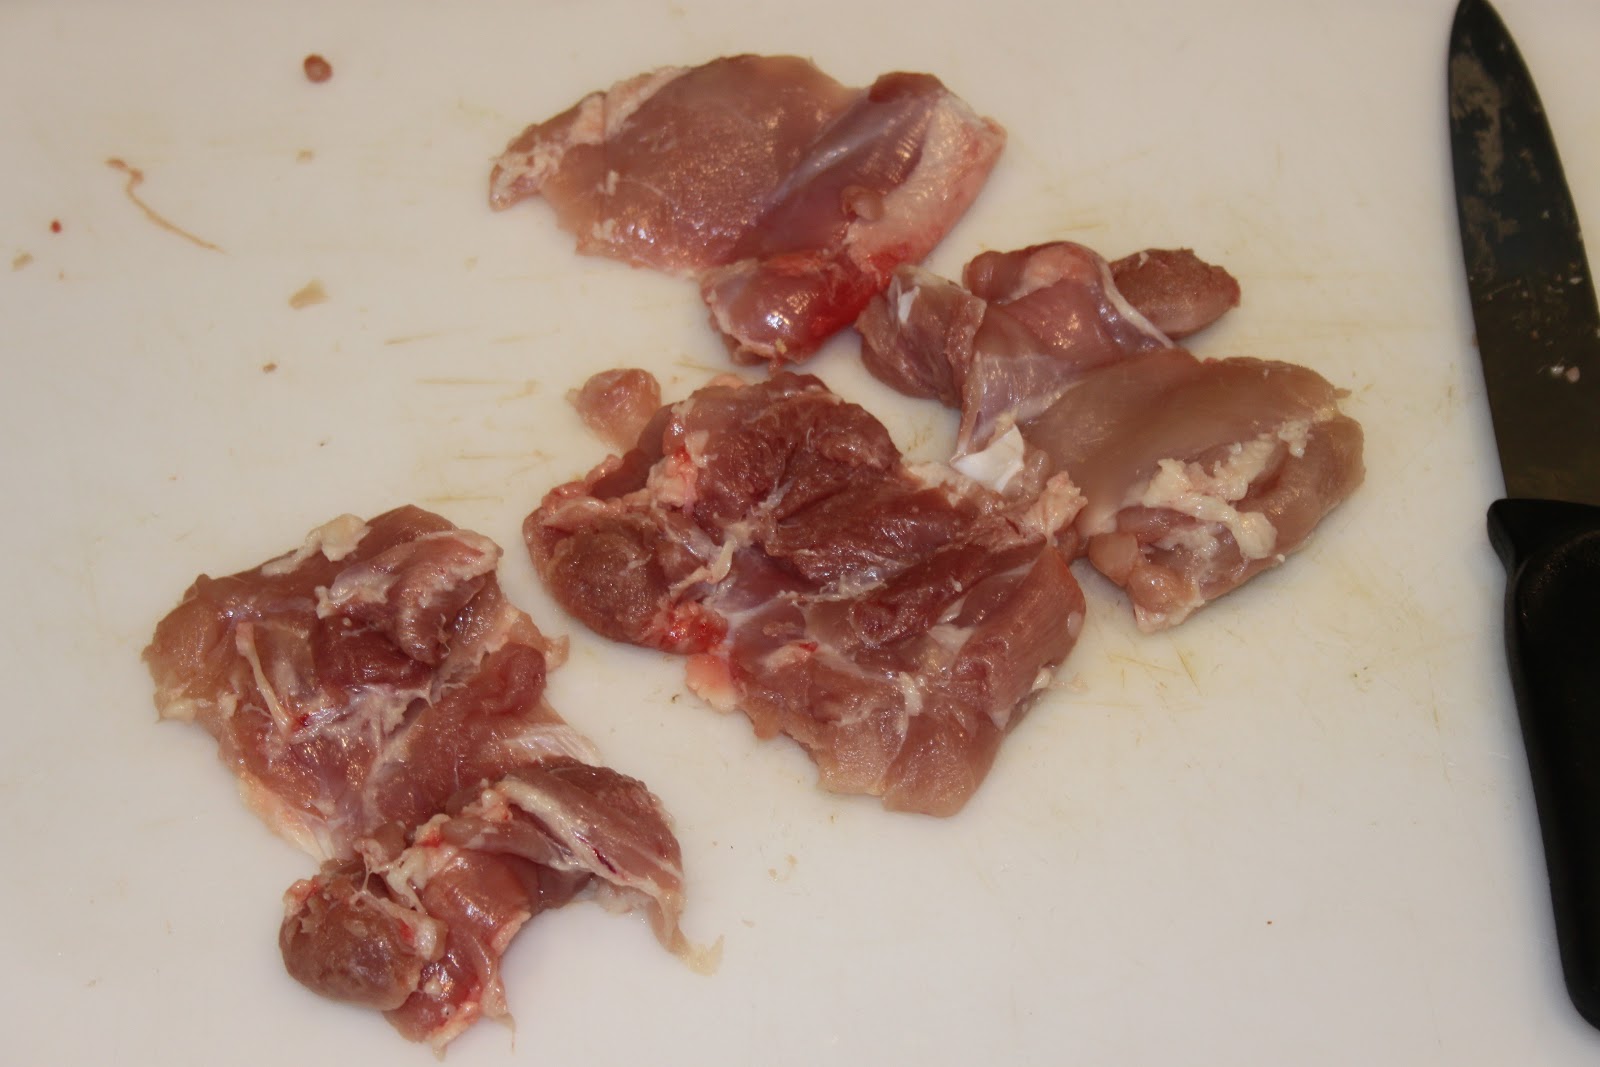
Start by preparing the thighs. Remove the skin and debone them.


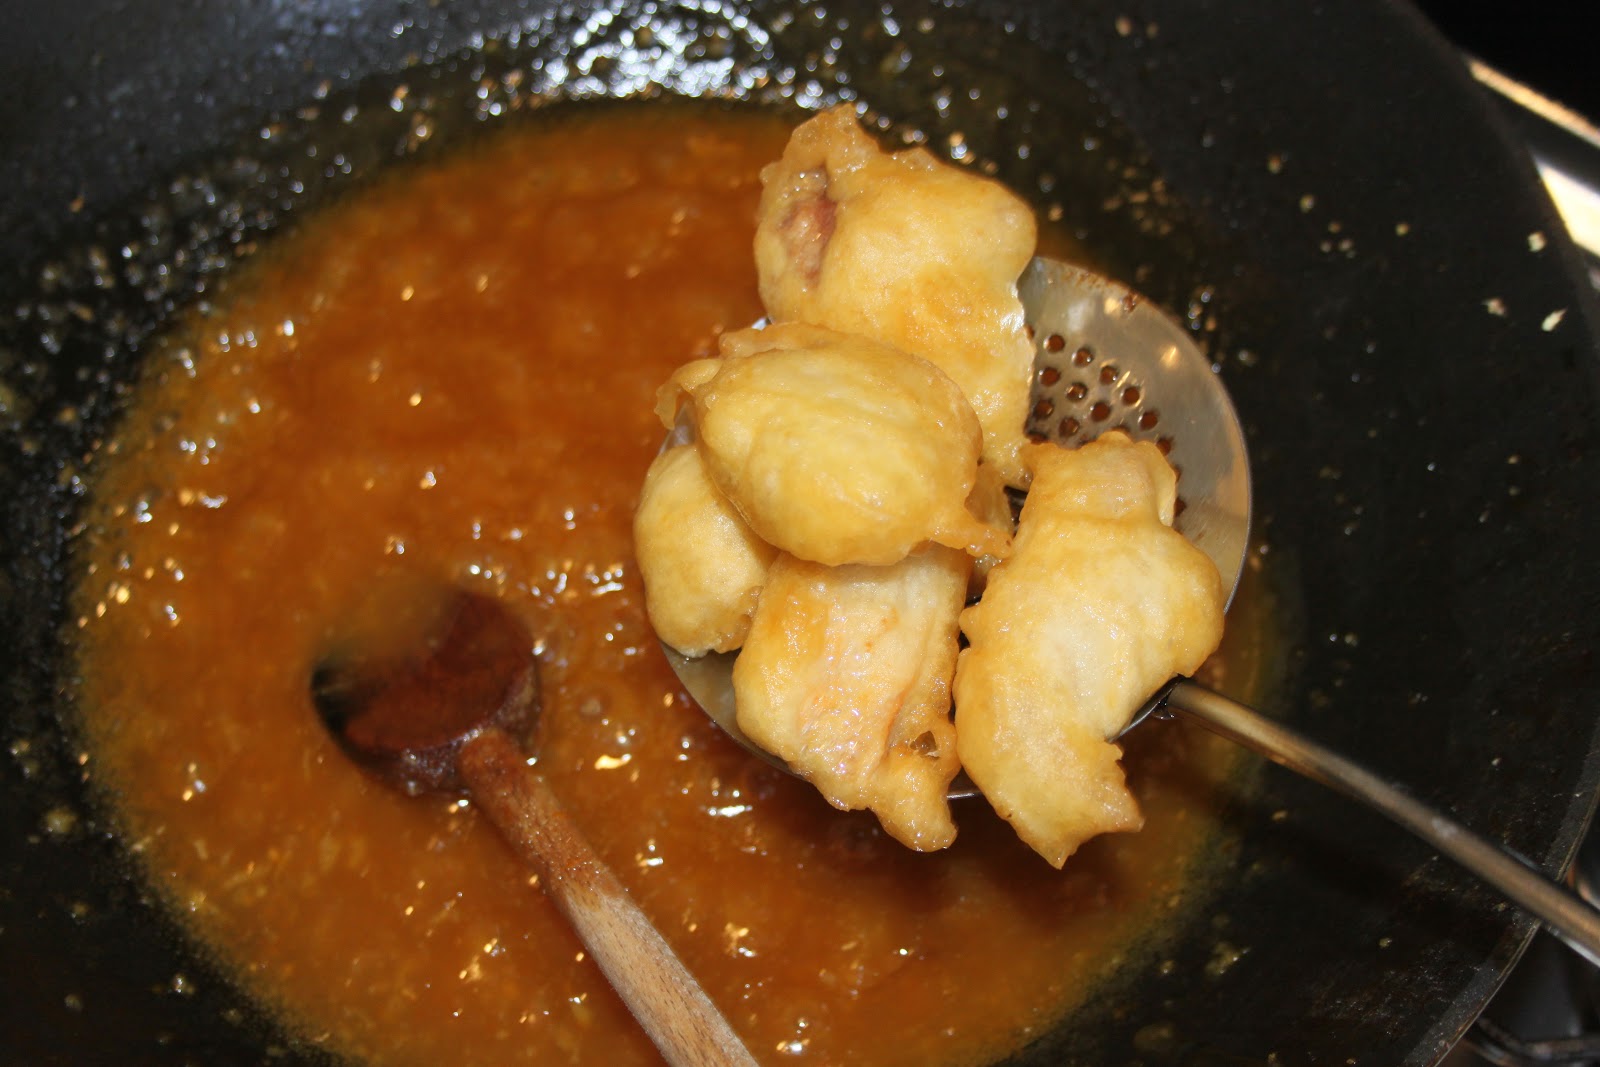
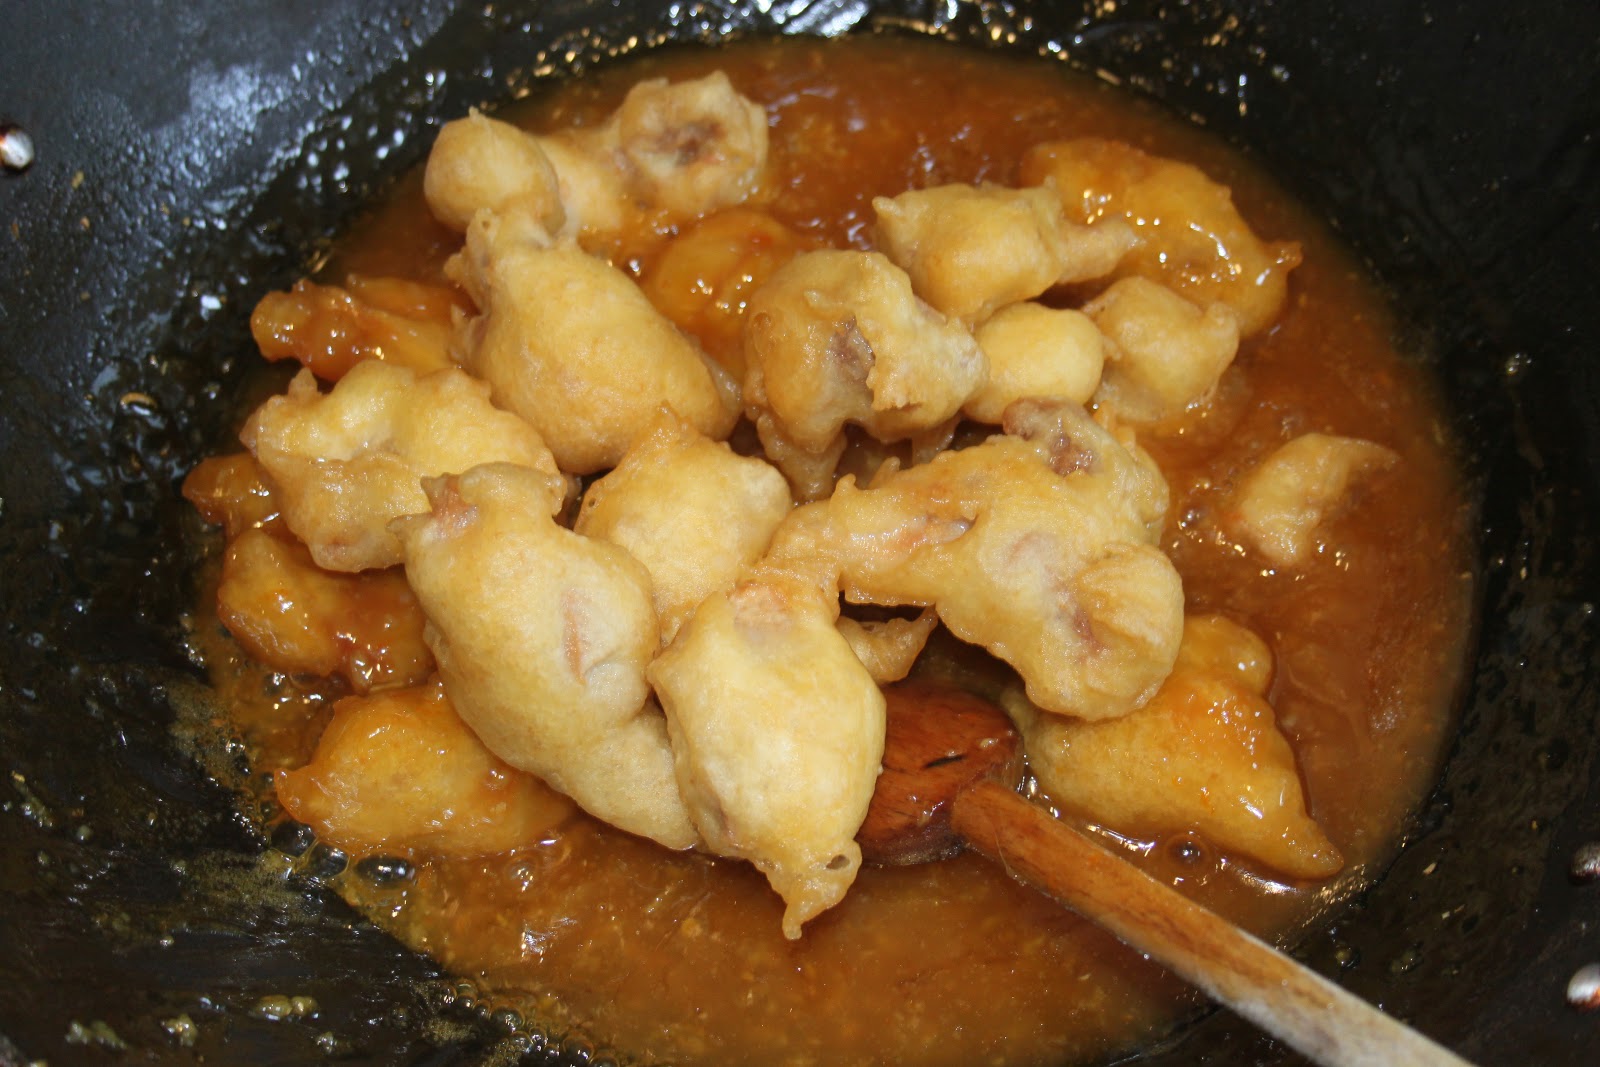
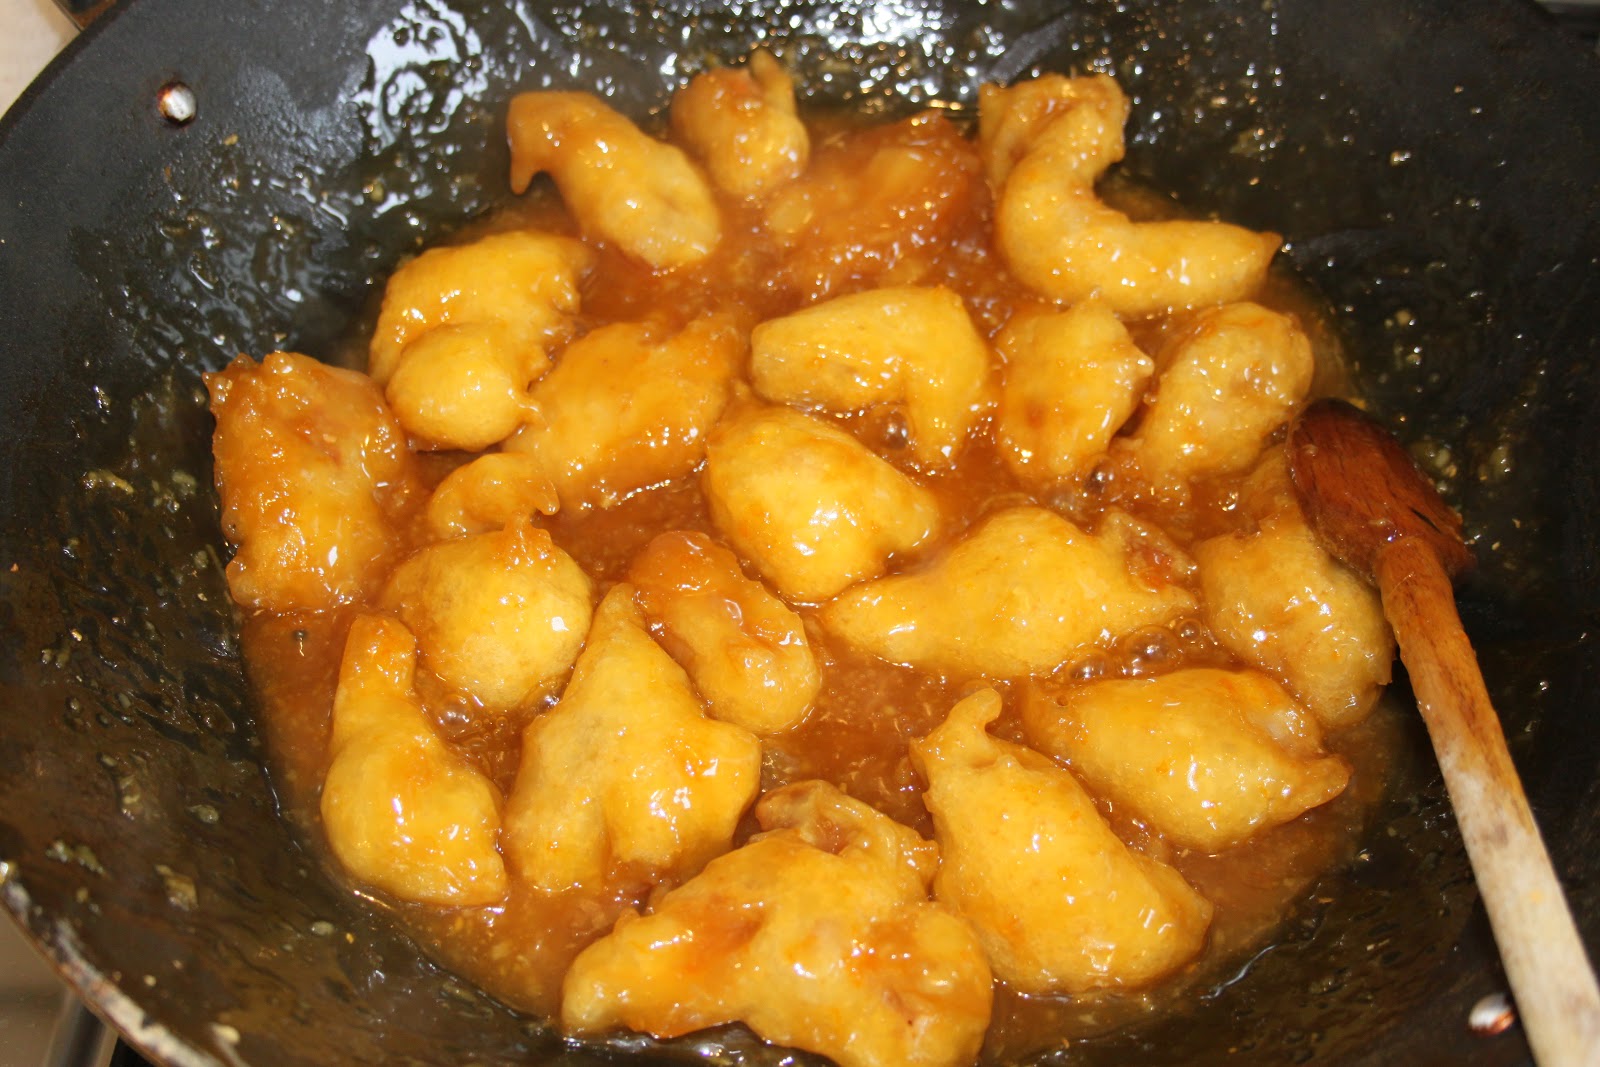

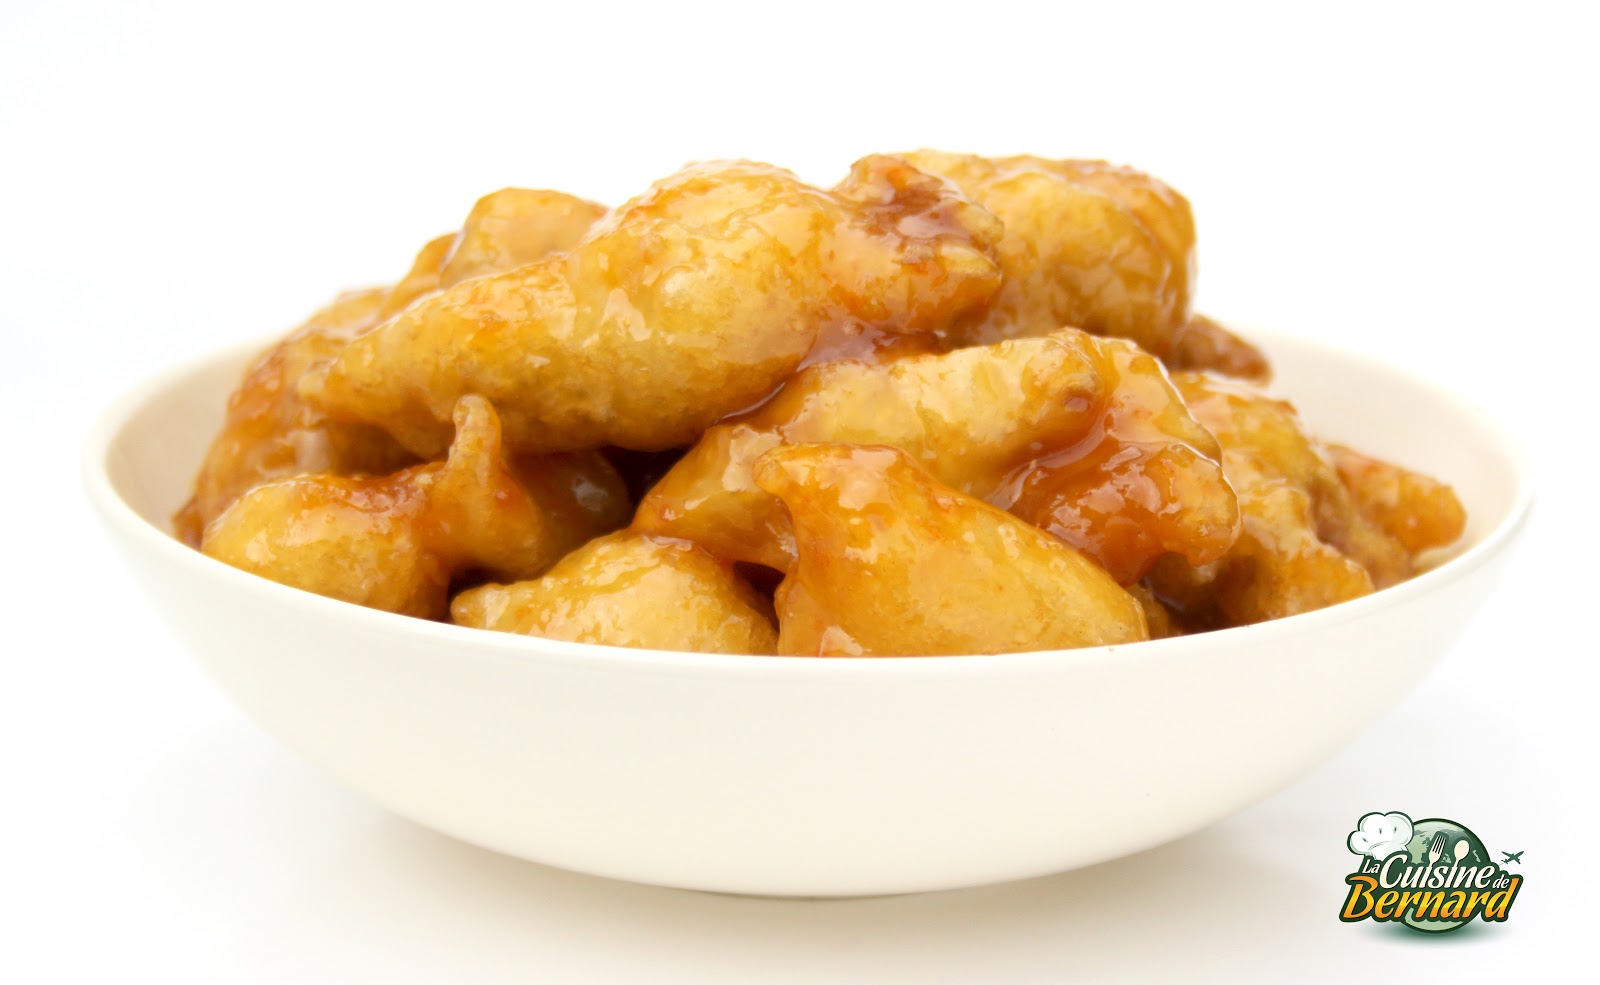
Serve immediately with white rice. These fritters remain crisp even after 20 minutes in their sauce. But not afterwards… So you have to eat everything!
Bernard’s advice:
You can sprinkle golden sesame seeds on top. I didn’t do it because I didn’t have any more on hand. But it will be even more appetizing!