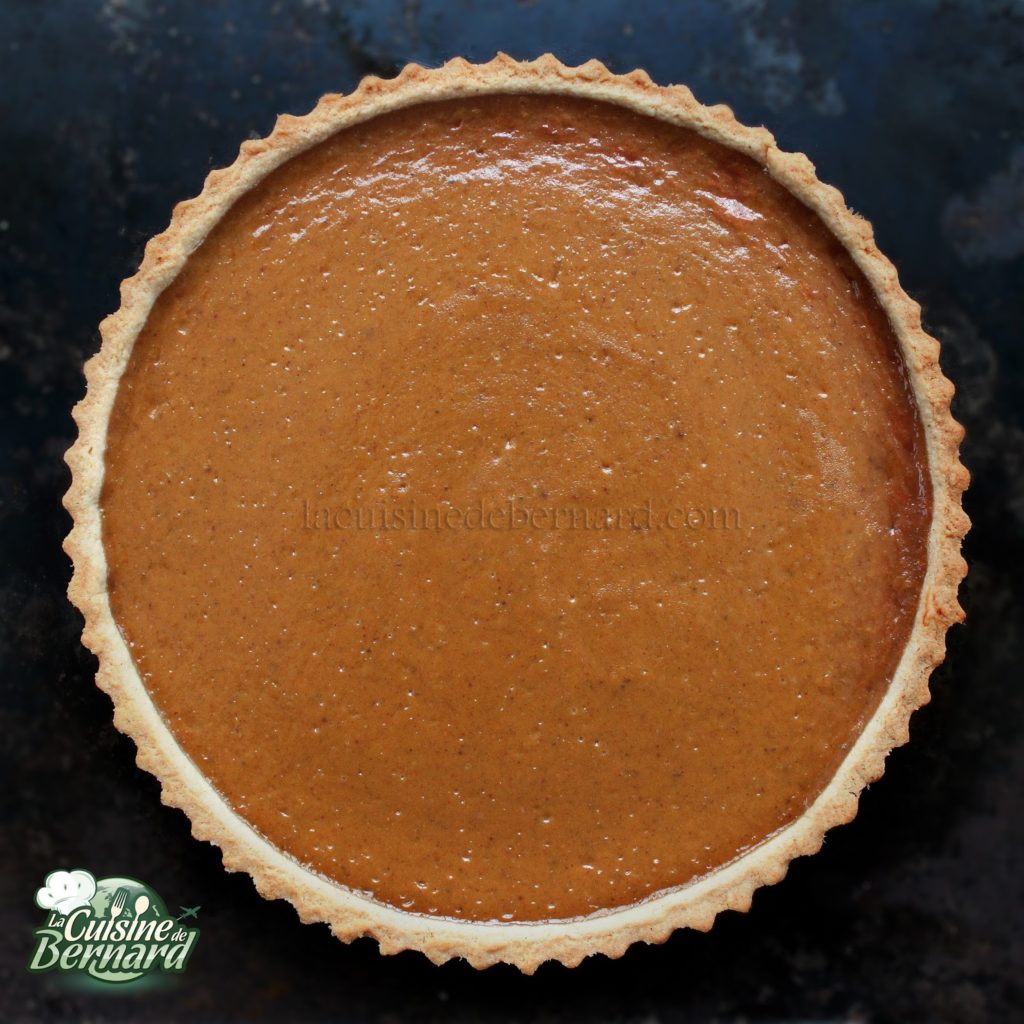
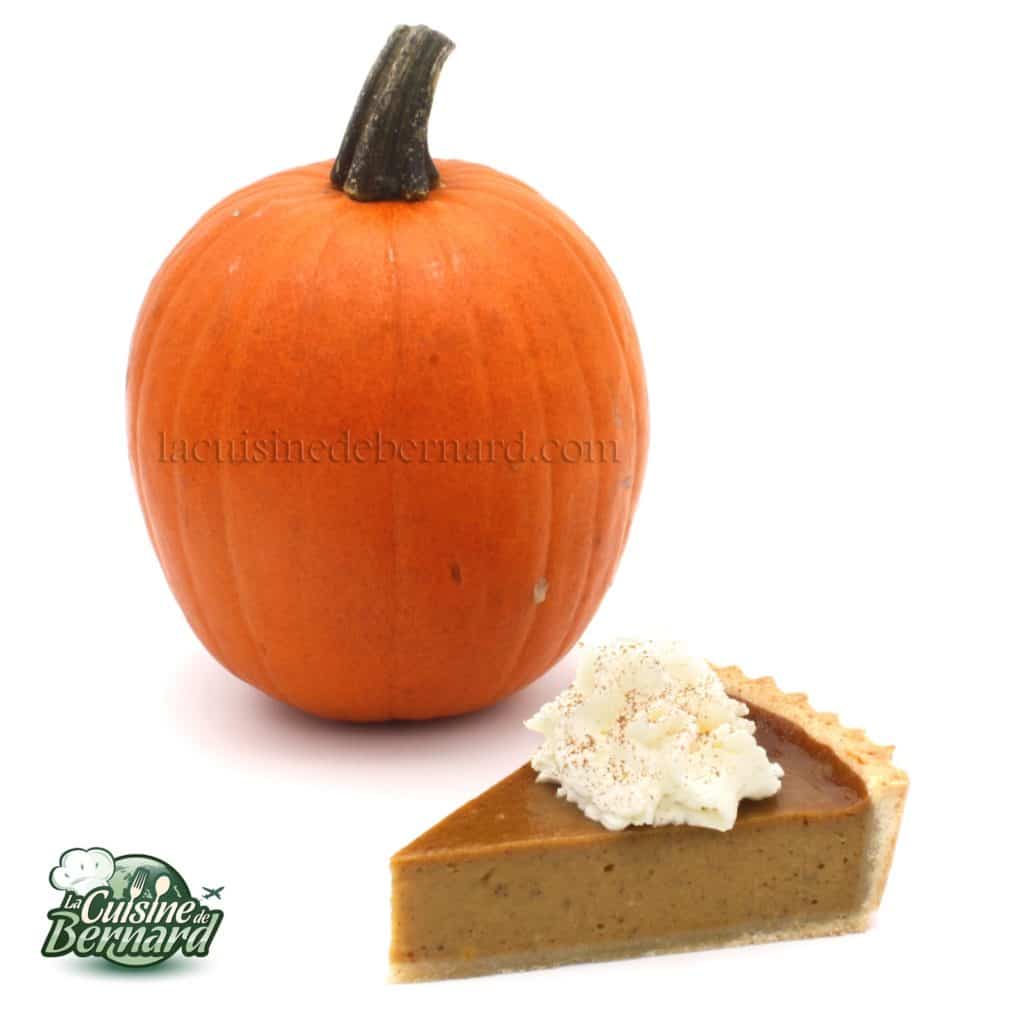
For me, this is one of the most representative pies of the fall season! Of North American origin, it is traditionally made for Thanksgiving and Christmas. Its spicy scents…]]>
- 210g of flour
- 35g of powdered sugar
- 25g of almond powder
- 125g of soft butter
- 50g of egg
- 450g cooked pumpkin flesh
- 1 can of sweetened condensed milk (397g)
- 2 eggs of 60g each
- 1 teaspoon cinnamon powder
- 1 half teaspoon of ginger powder
- 1 half teaspoon gingerbread mix
- 1 good pinch of salt


Note from Bernard:
Small precision on the pumpkin. If you can’t find a classic pumpkin, you can use pumpkin. Its rather floury flesh is perfect but the pie will be a little bit sweeter. I also tried it with butternut squash from Provence. Its flesh is juicier and you’ll have to put an extra egg in the recipe, but it works just as well! So don’t panic if you can’t find a little pumpkin.

Cut it in half.

Remove the seeds with a spoon.
And put the two pieces face down.
Put in a preheated oven at 180°C.
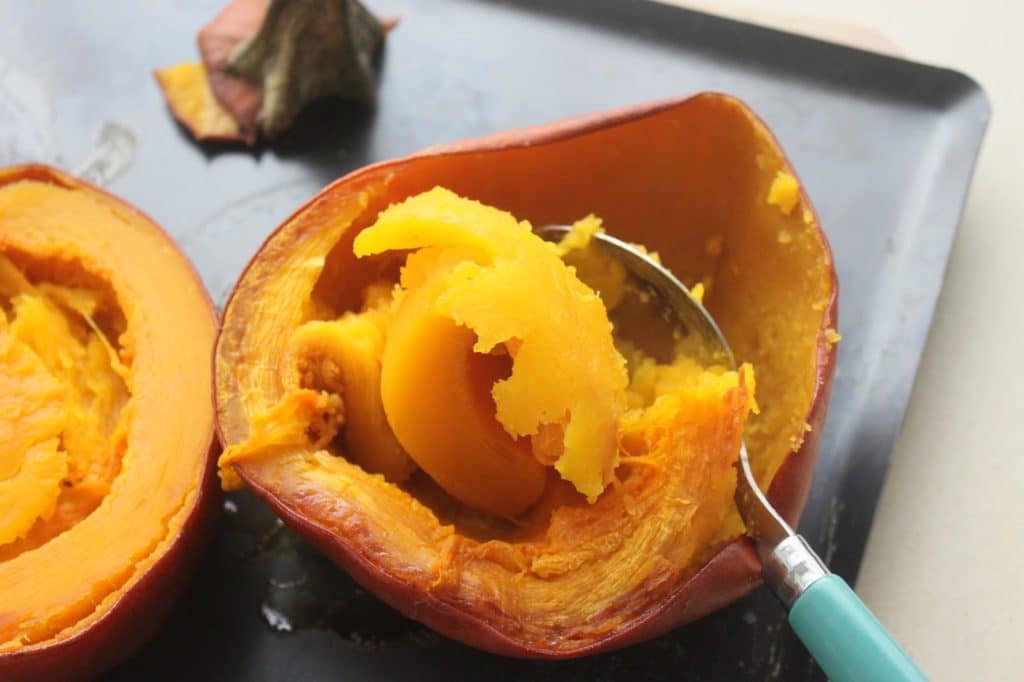
Bake for 45 minutes. The pumpkin is all softened and well cooked!
Let it cool, faces up this time.
Remove the flesh with a spoon.
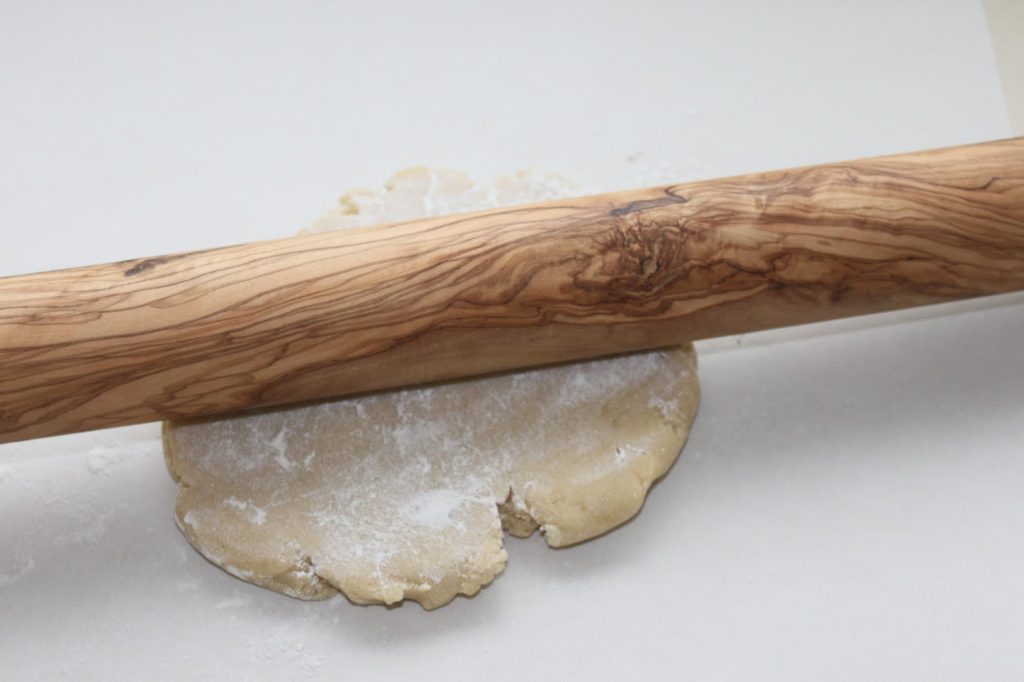
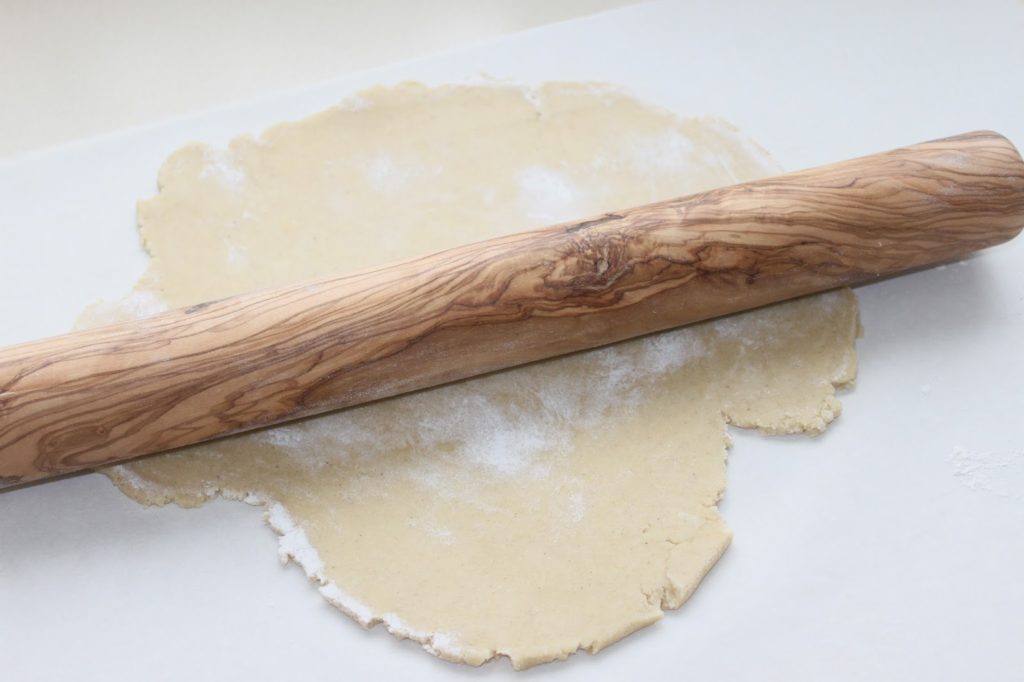
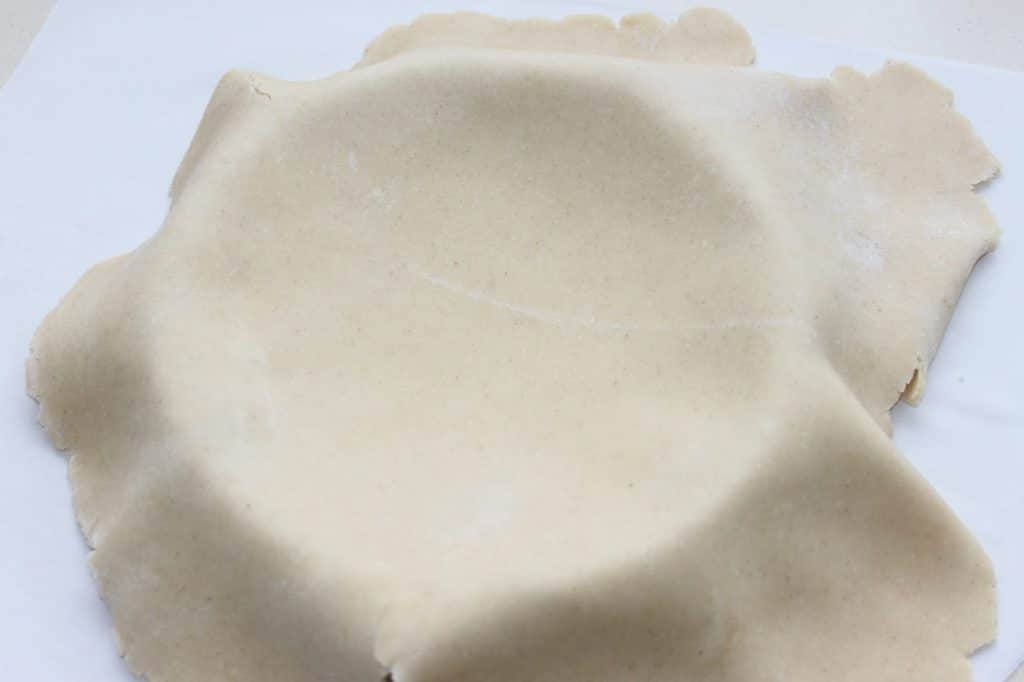
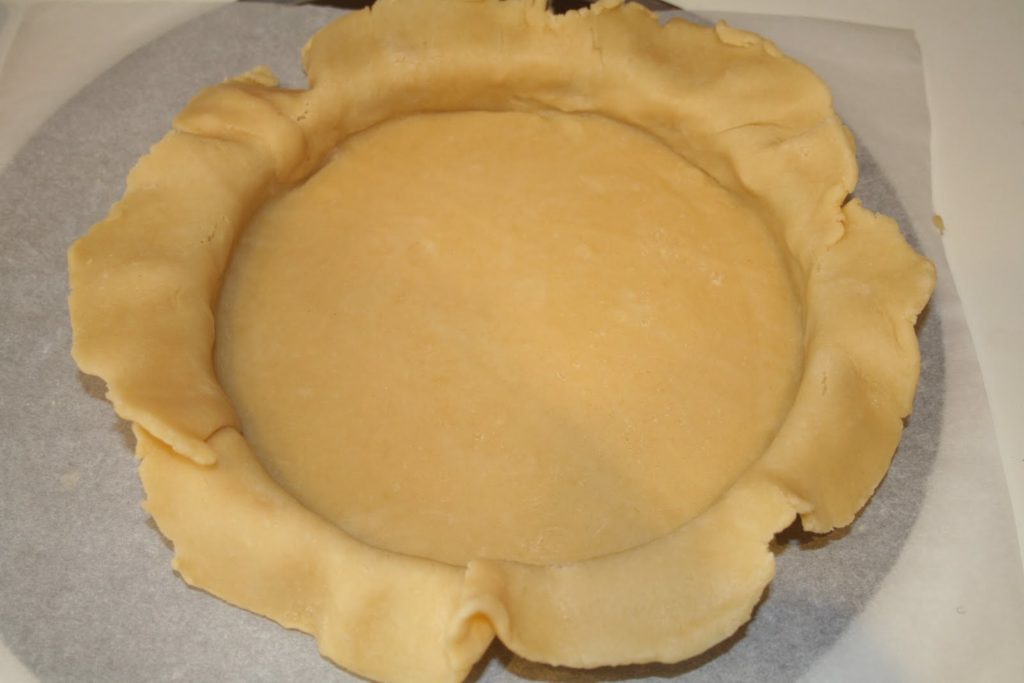
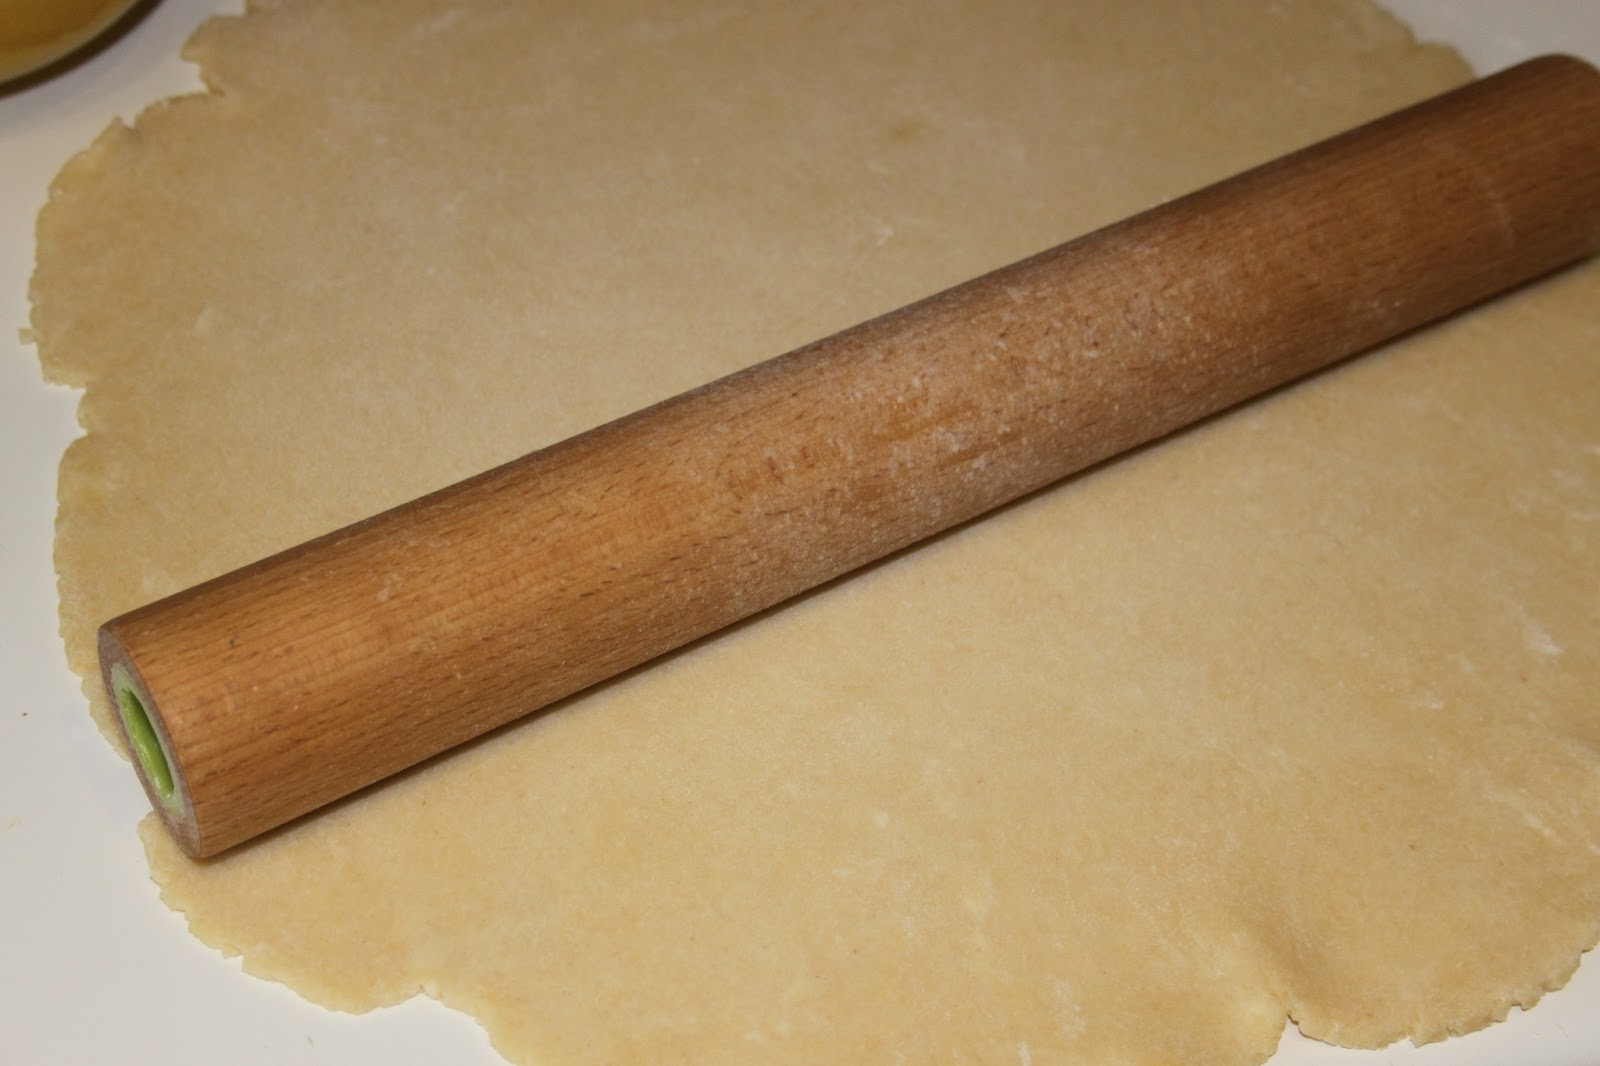
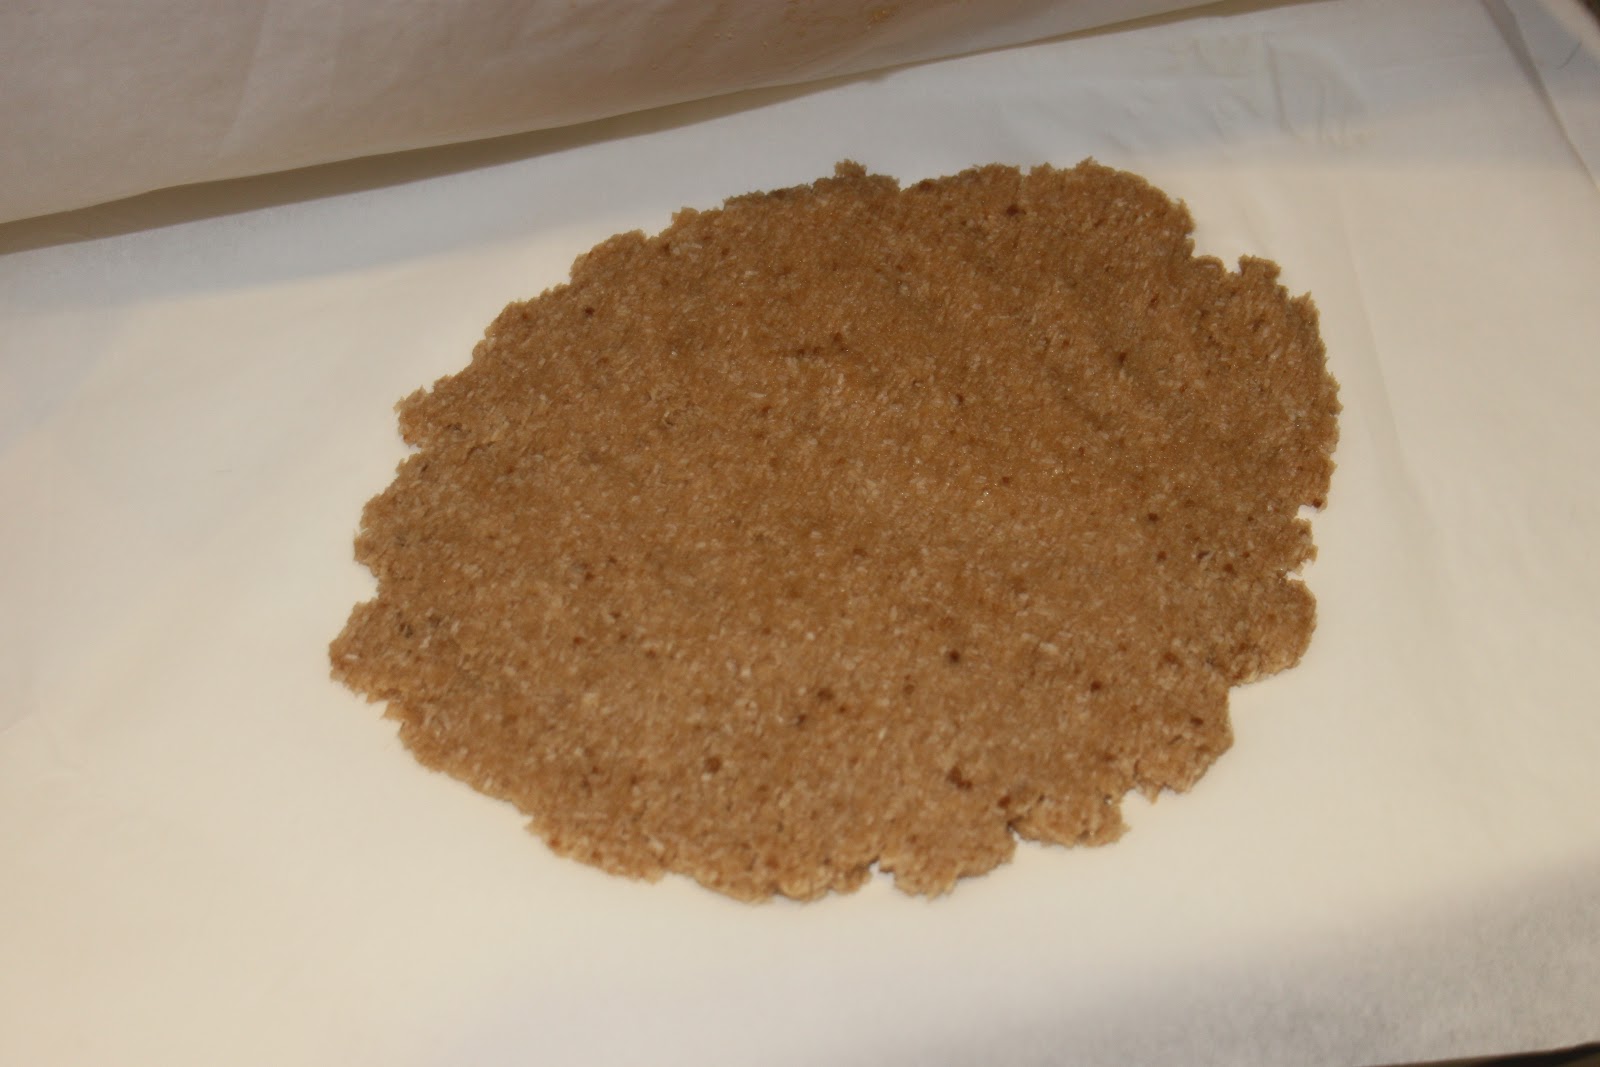
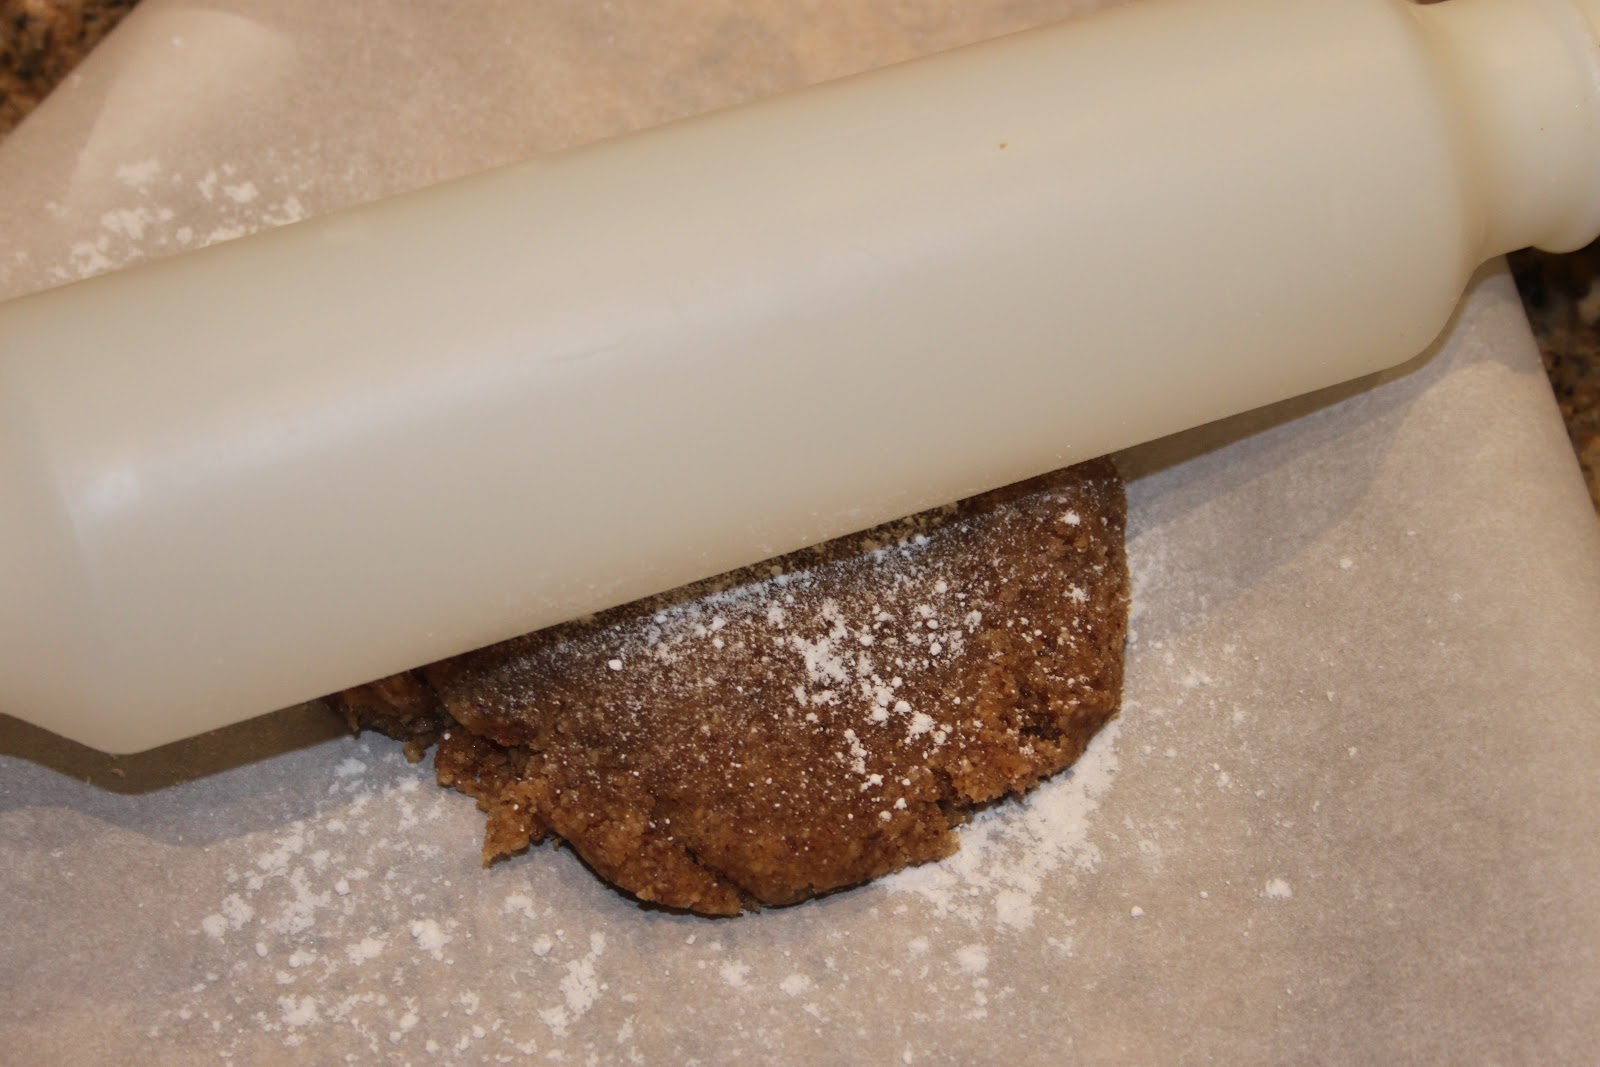
Take the dough out of the refrigerator. Lightly flour it and place it on a piece of baking paper (it’s easier!). Start rolling it out.
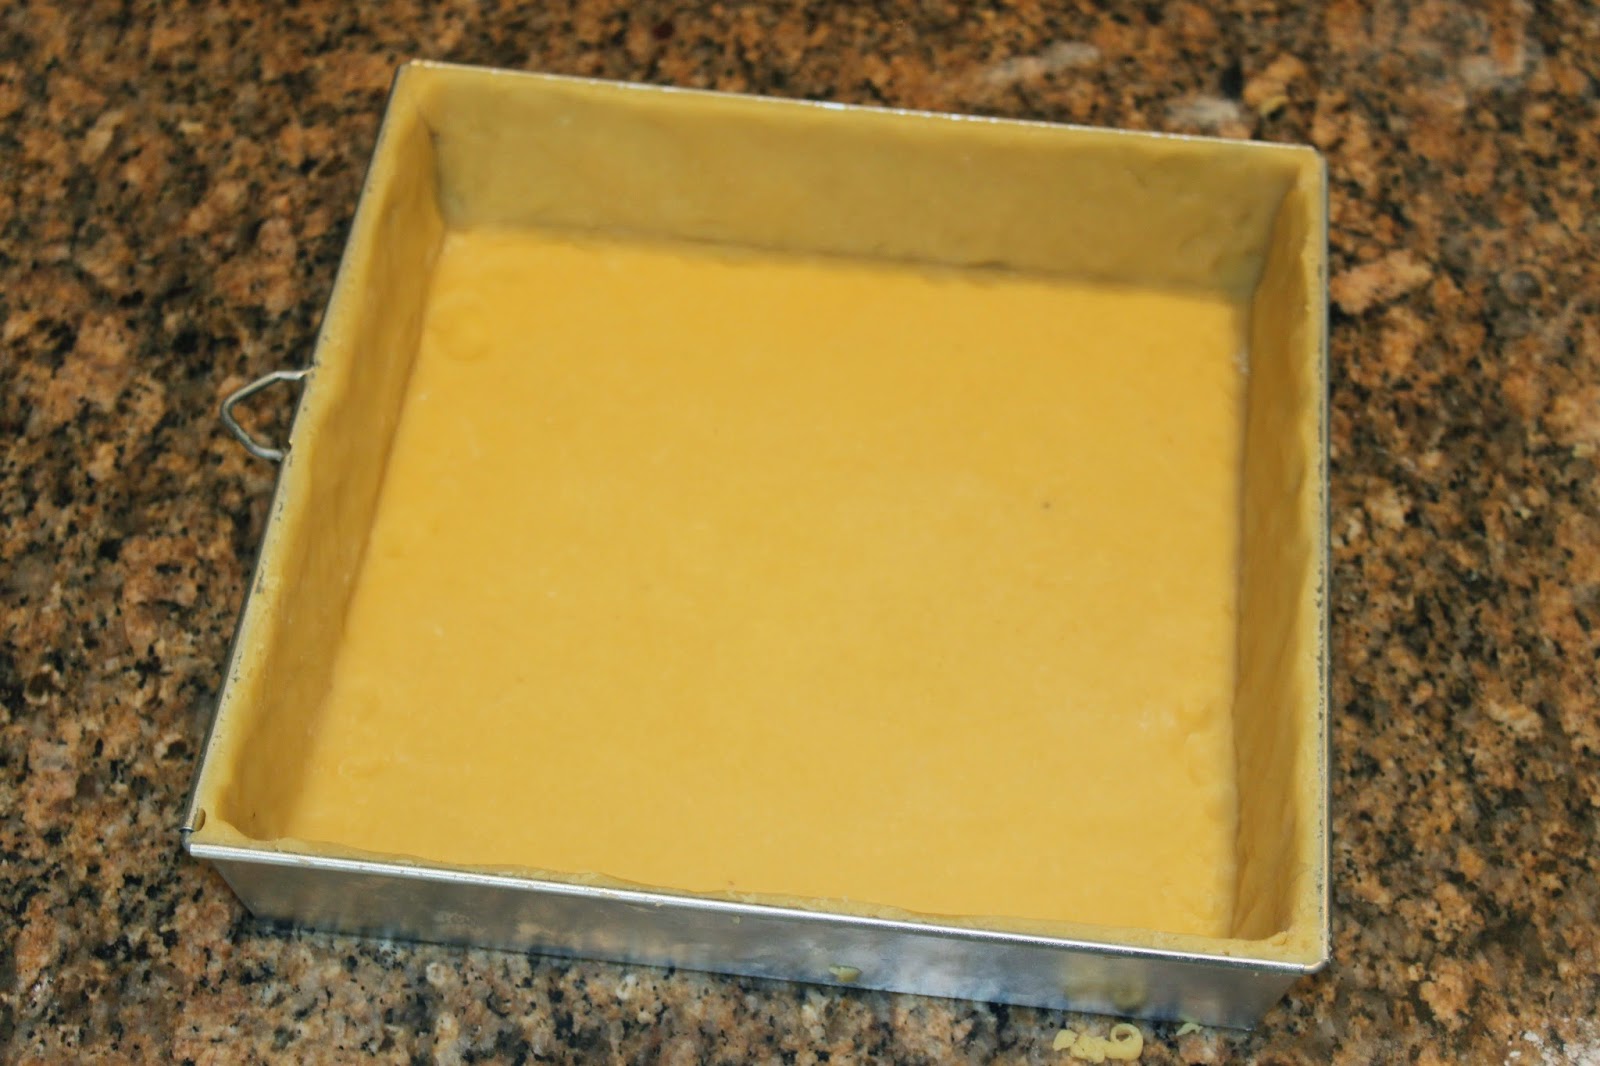
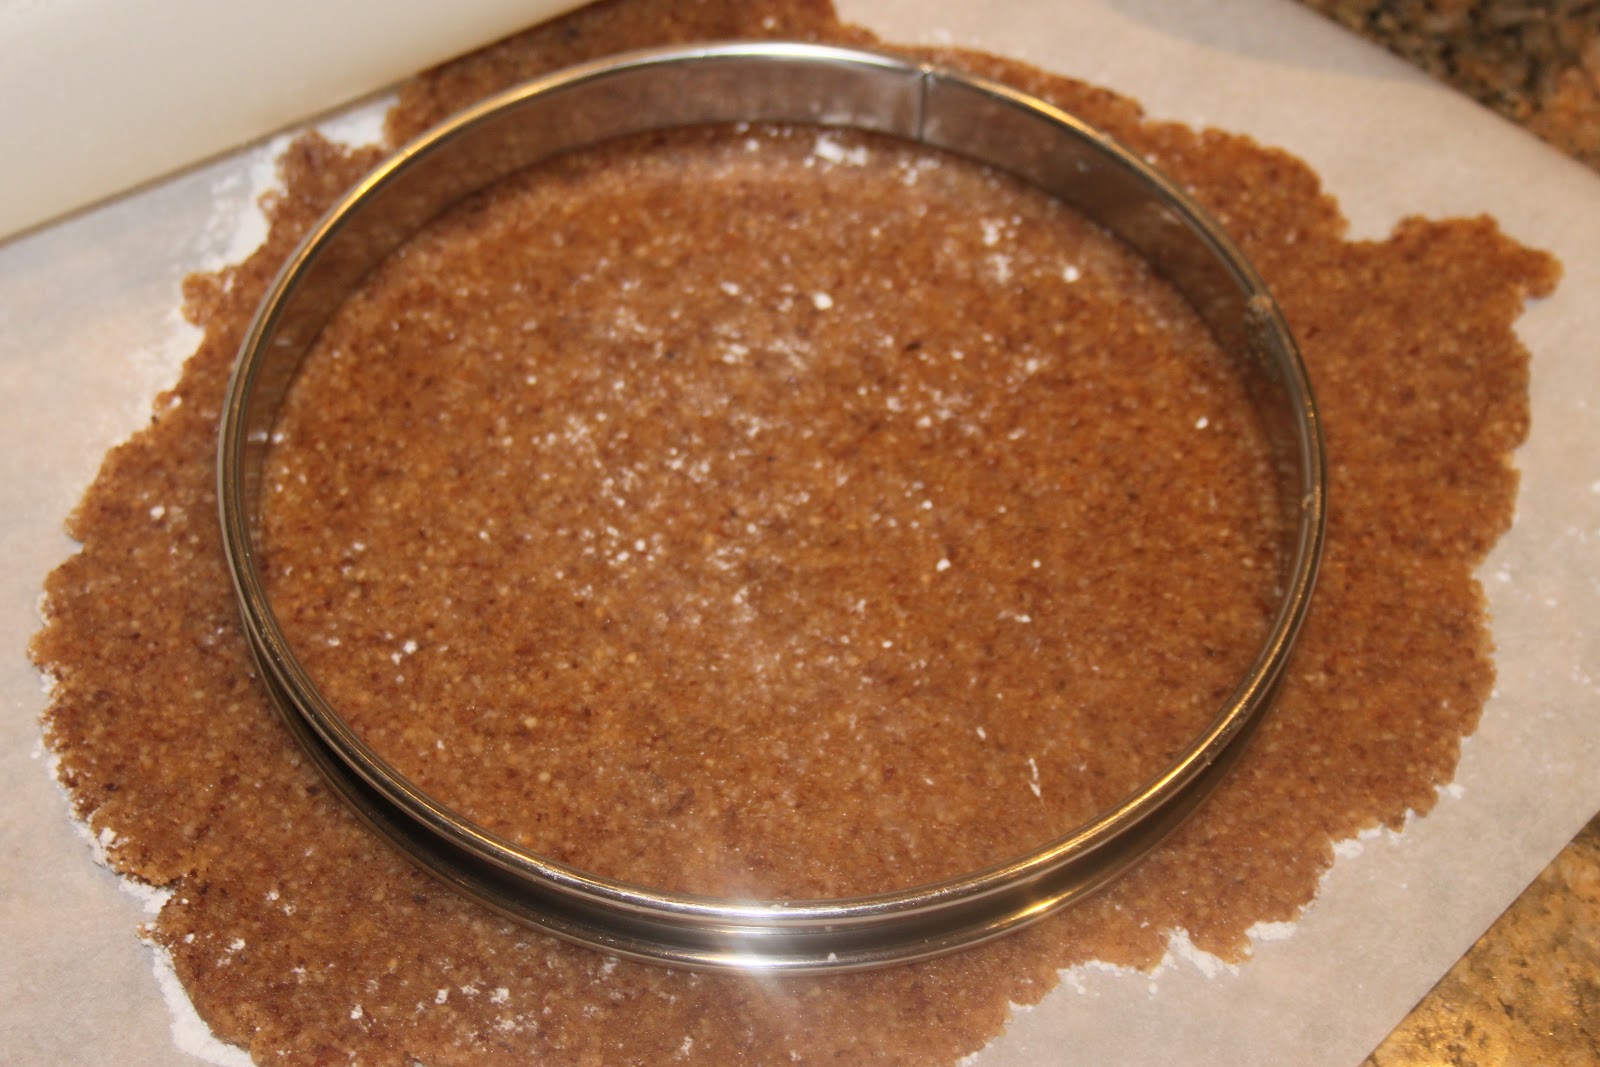
Put a piece of baking paper in the bottom of the pan. I used a pan with a removable bottom for ease. Take a mold of 18 or 20cm. This will just change the thickness of the cream.

Place the dough on the pan.
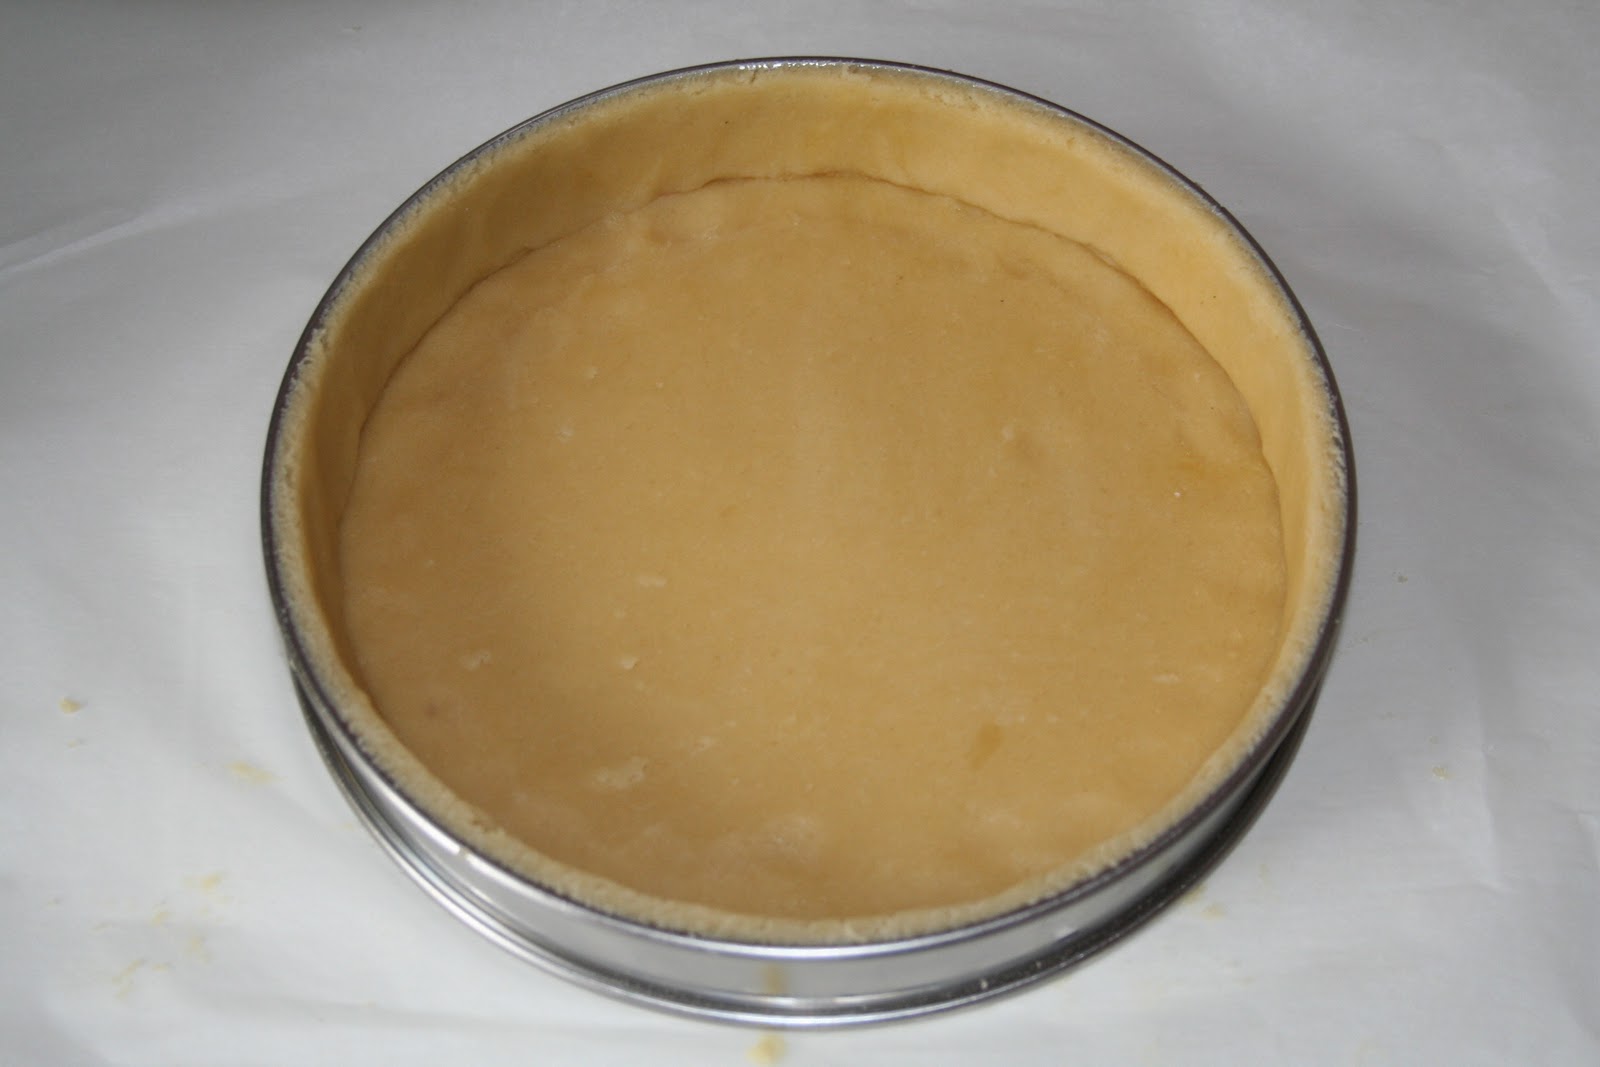
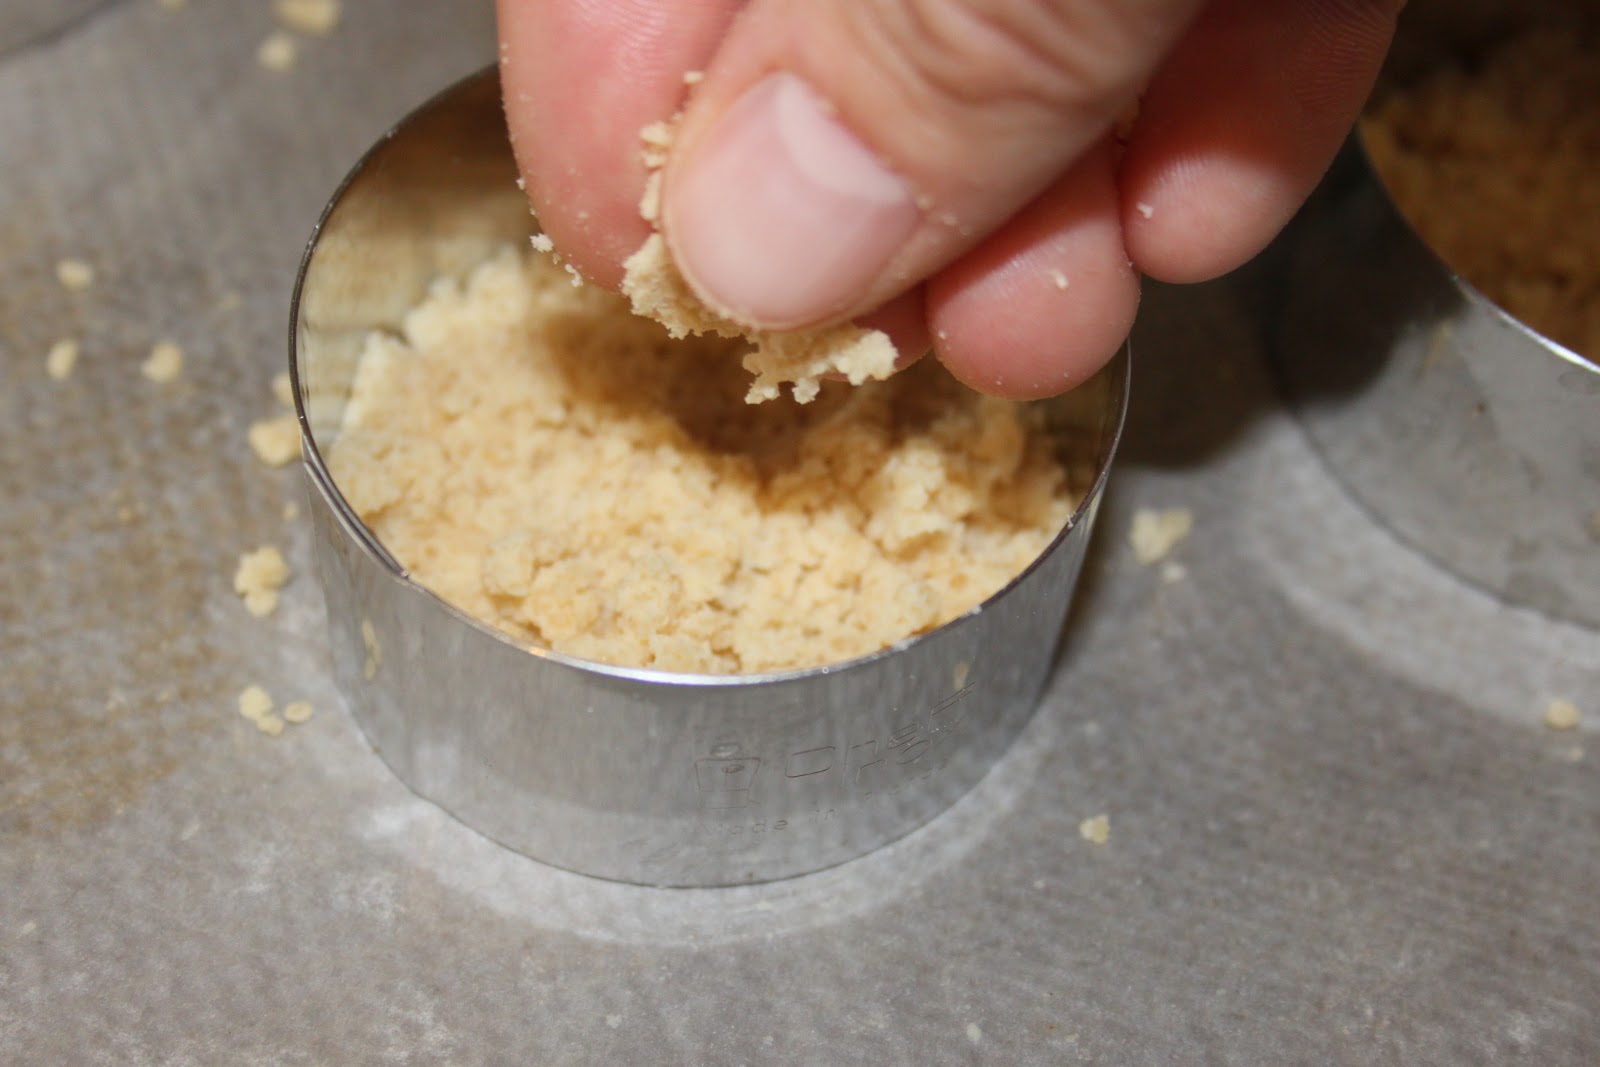
Fill it well (darken it) with dough.

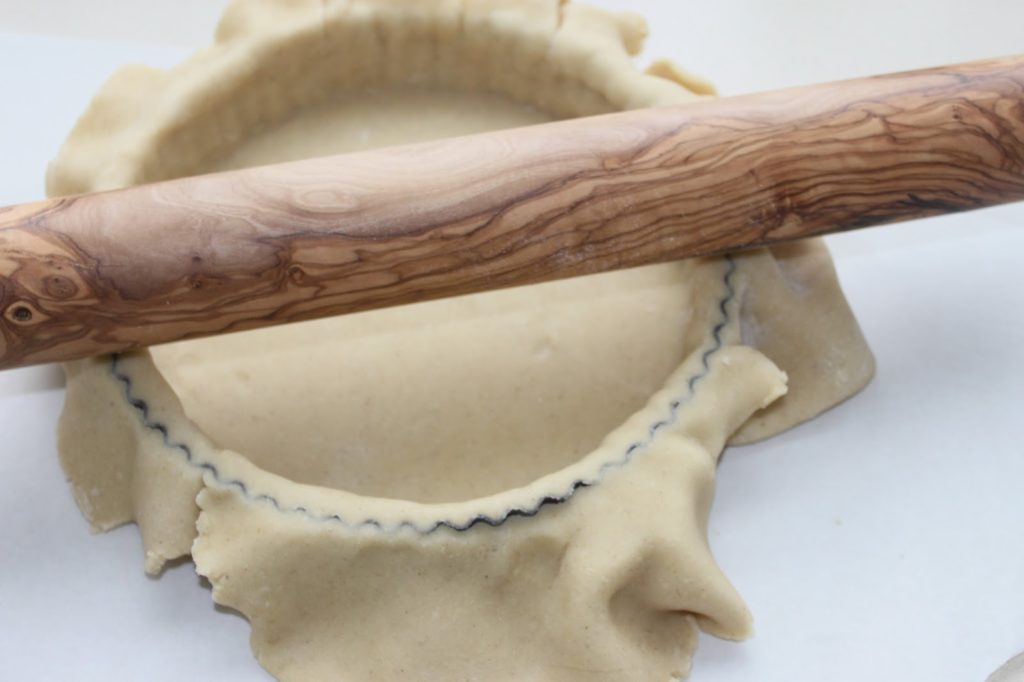
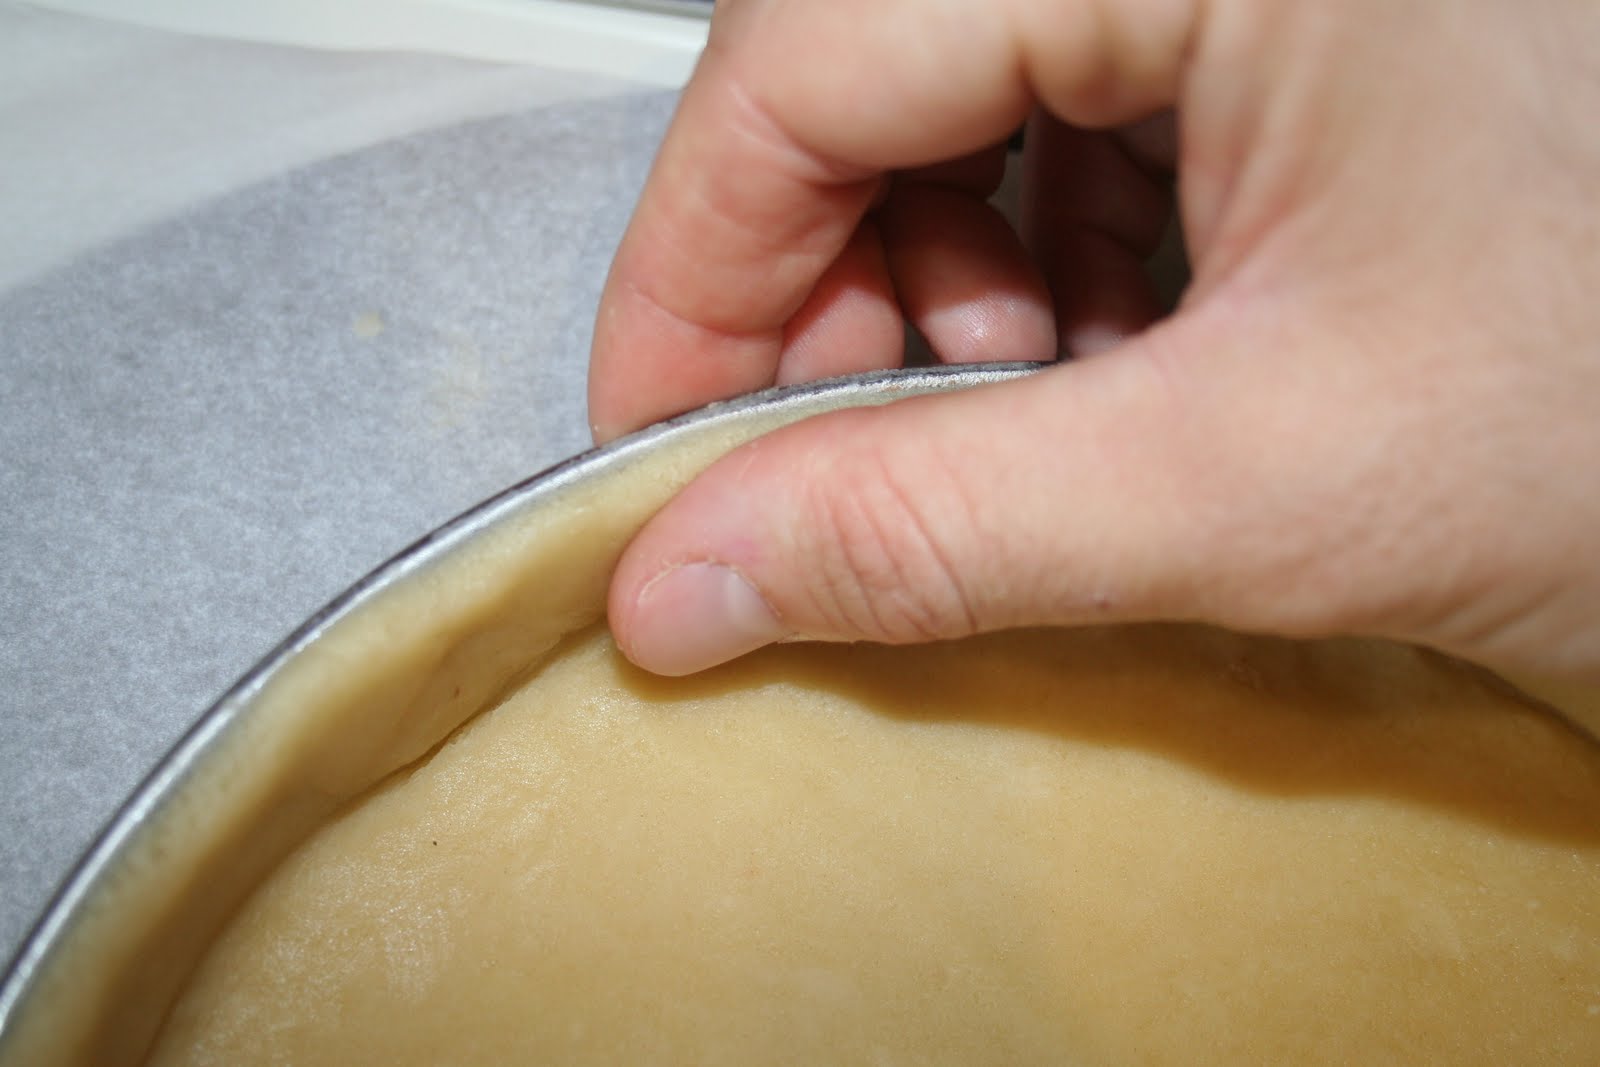
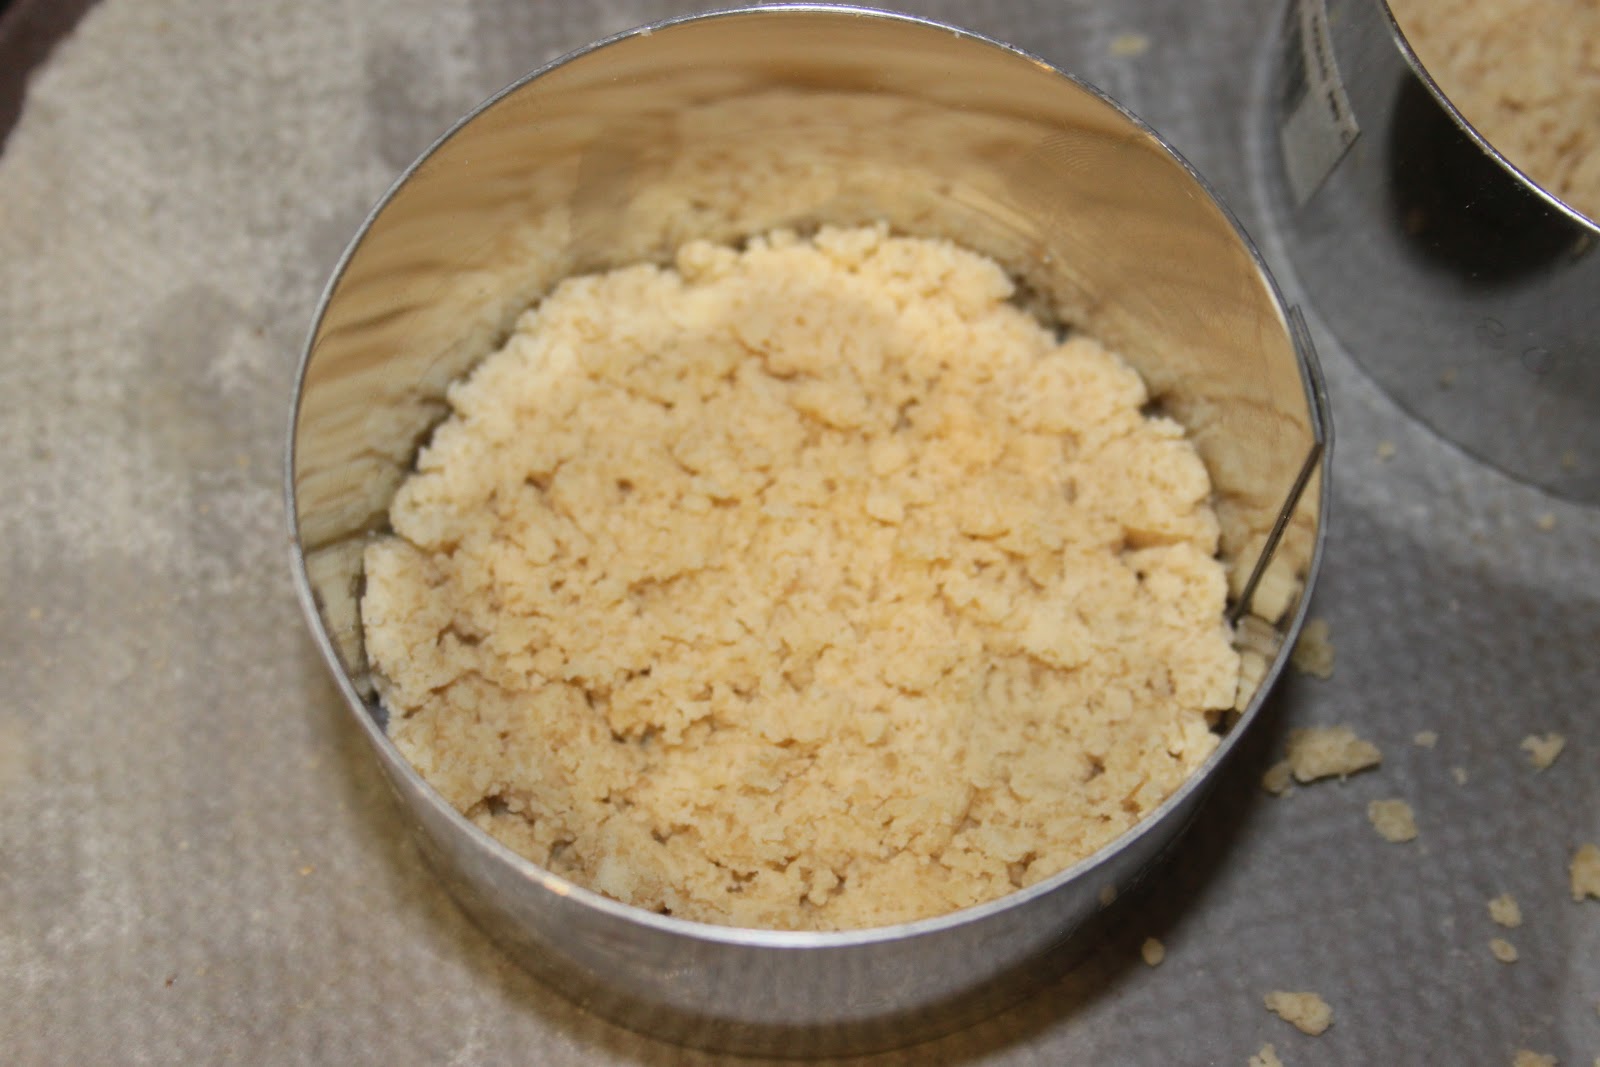
Remove excess dough with a roller or knife.
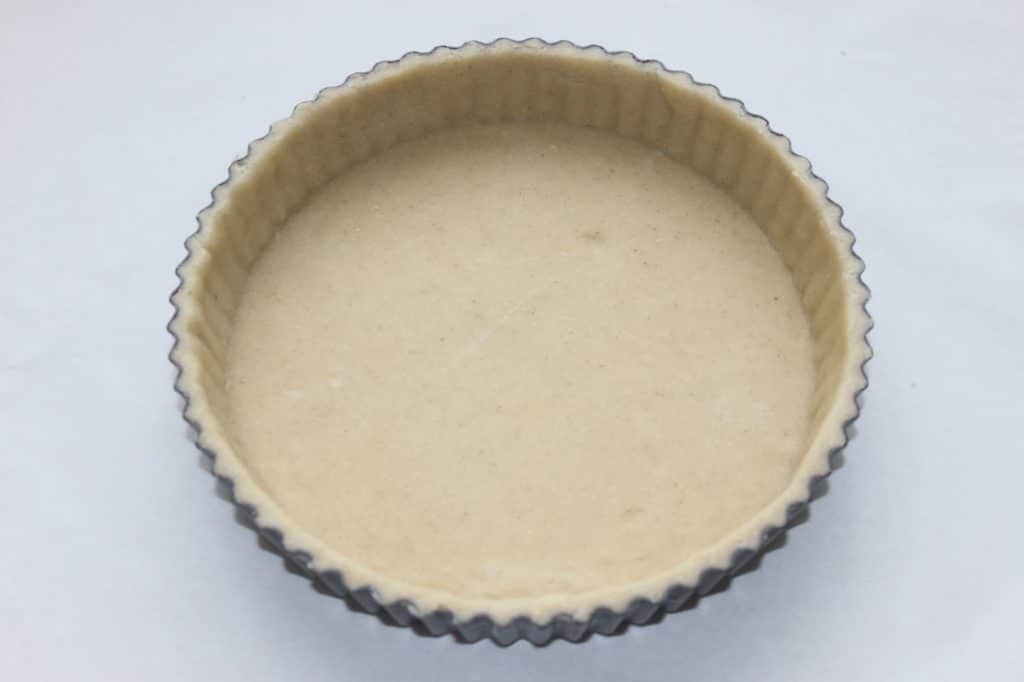
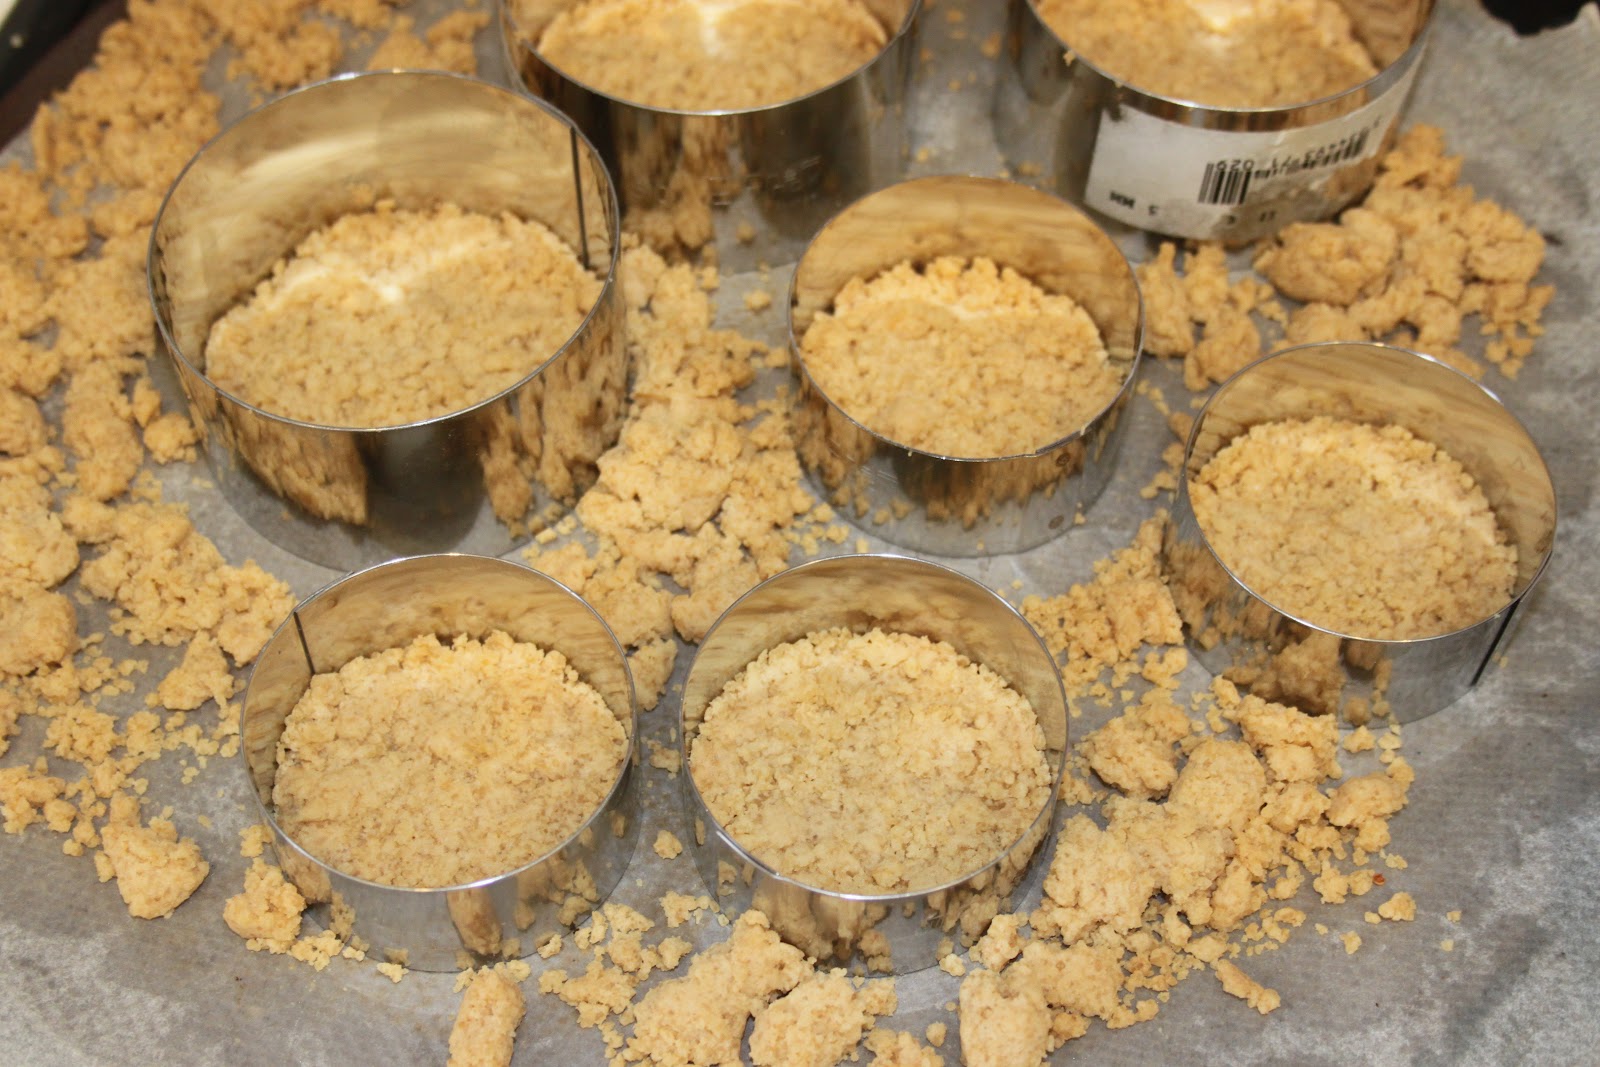
It’s ready! Chill while you prepare the rest.
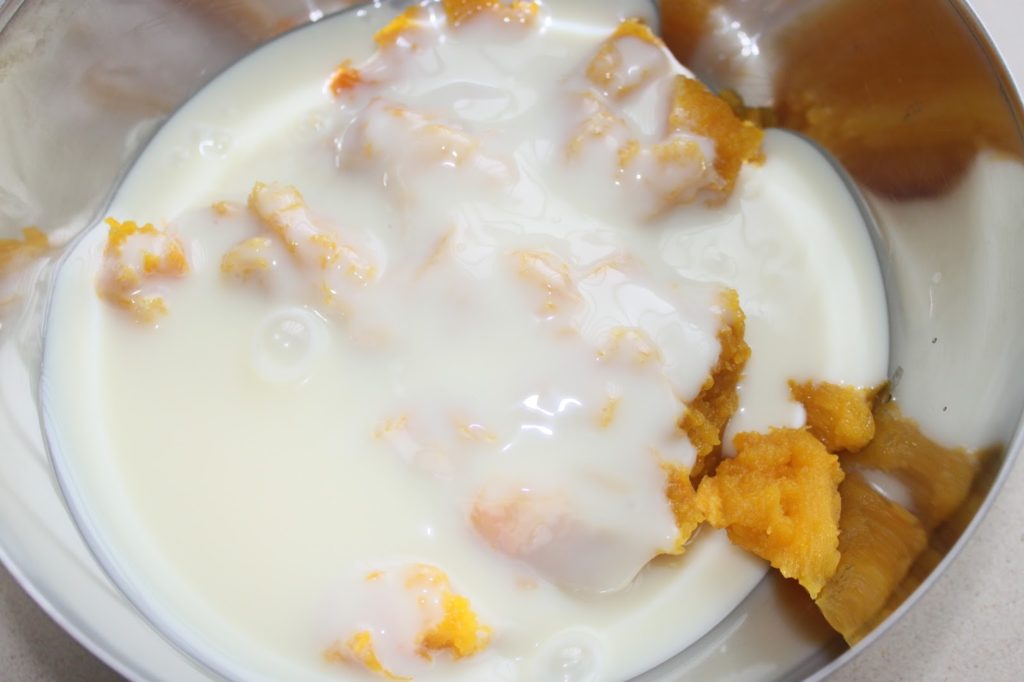
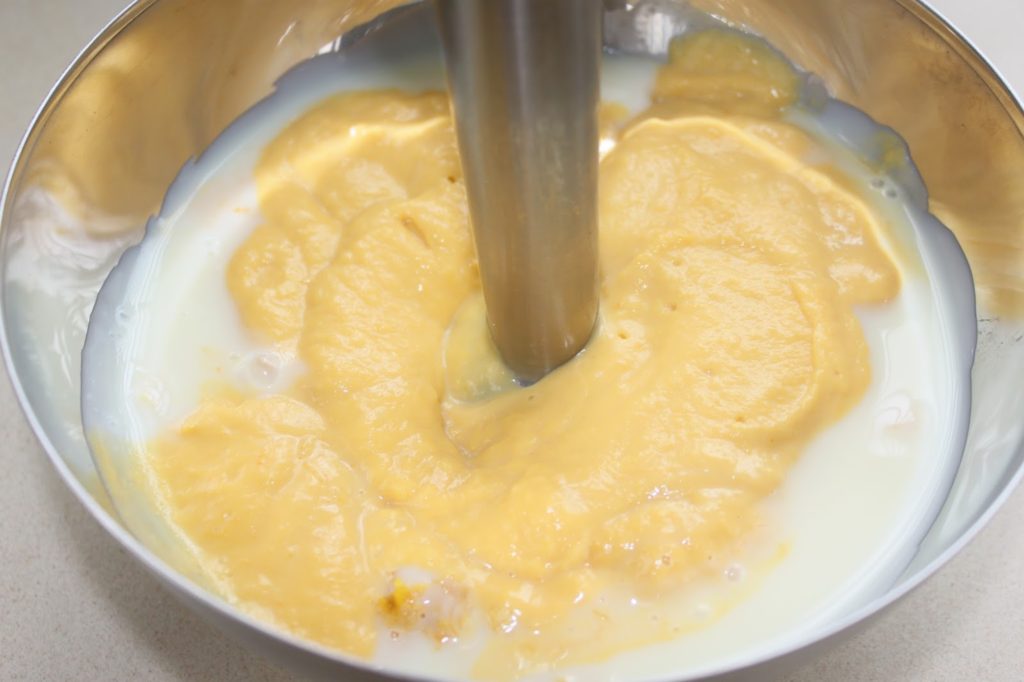
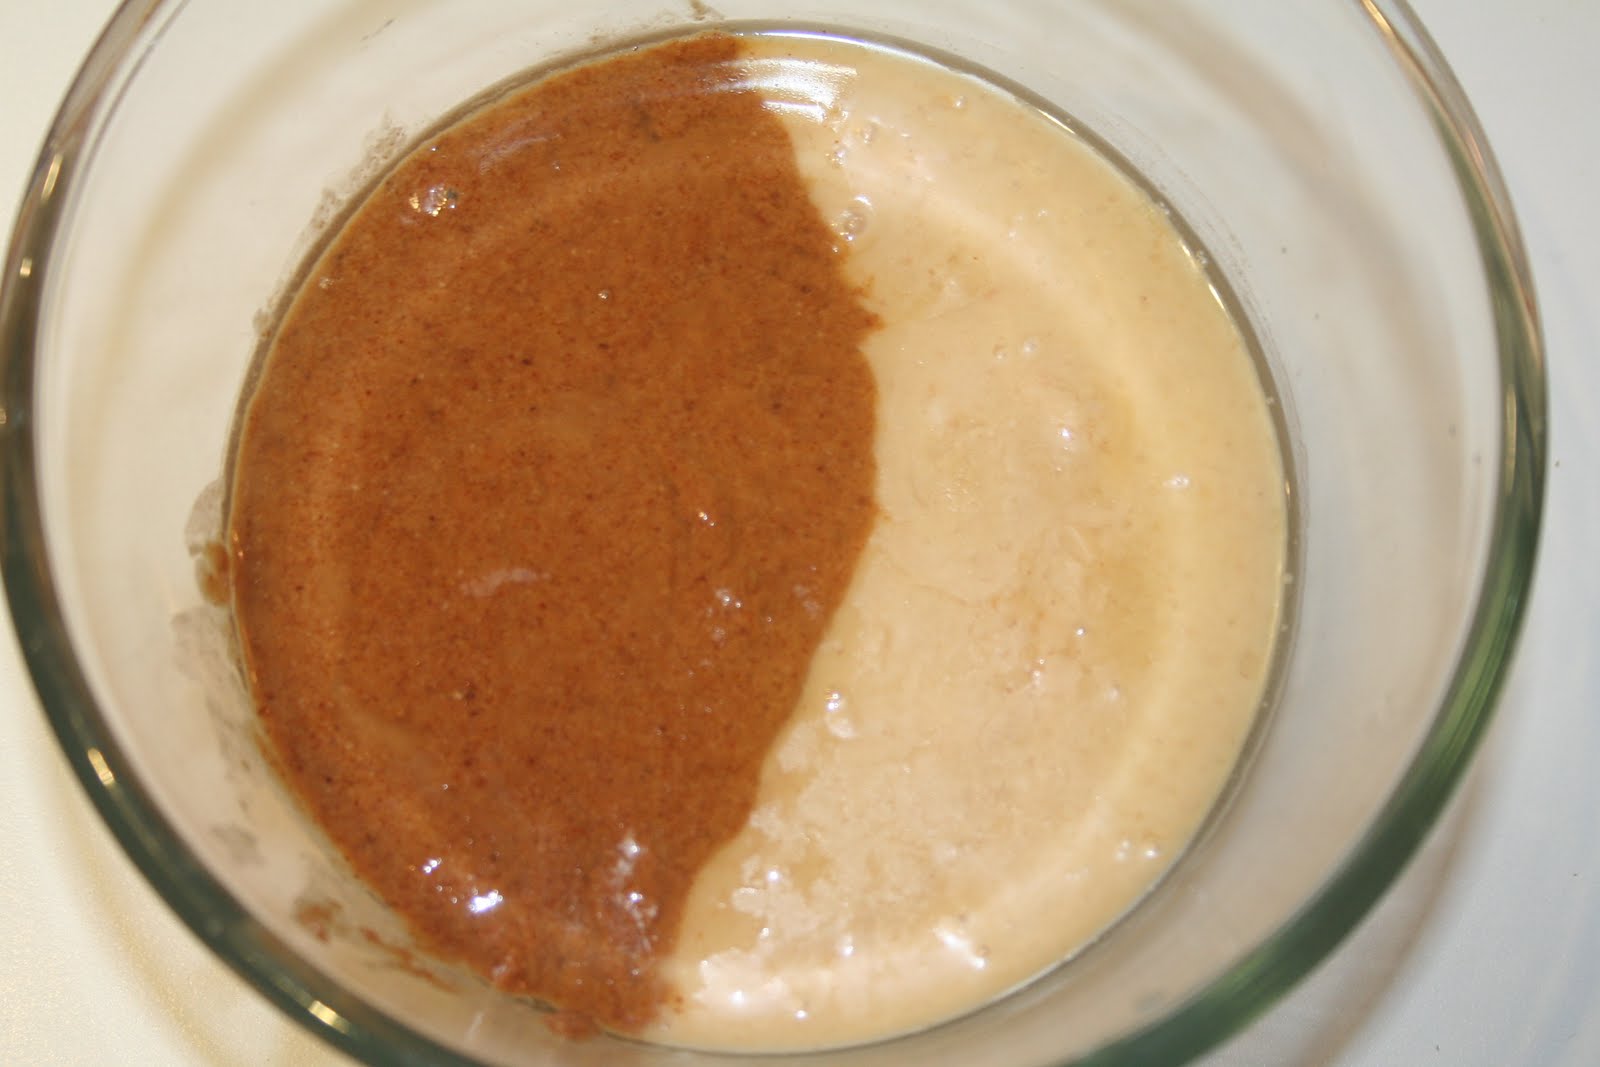
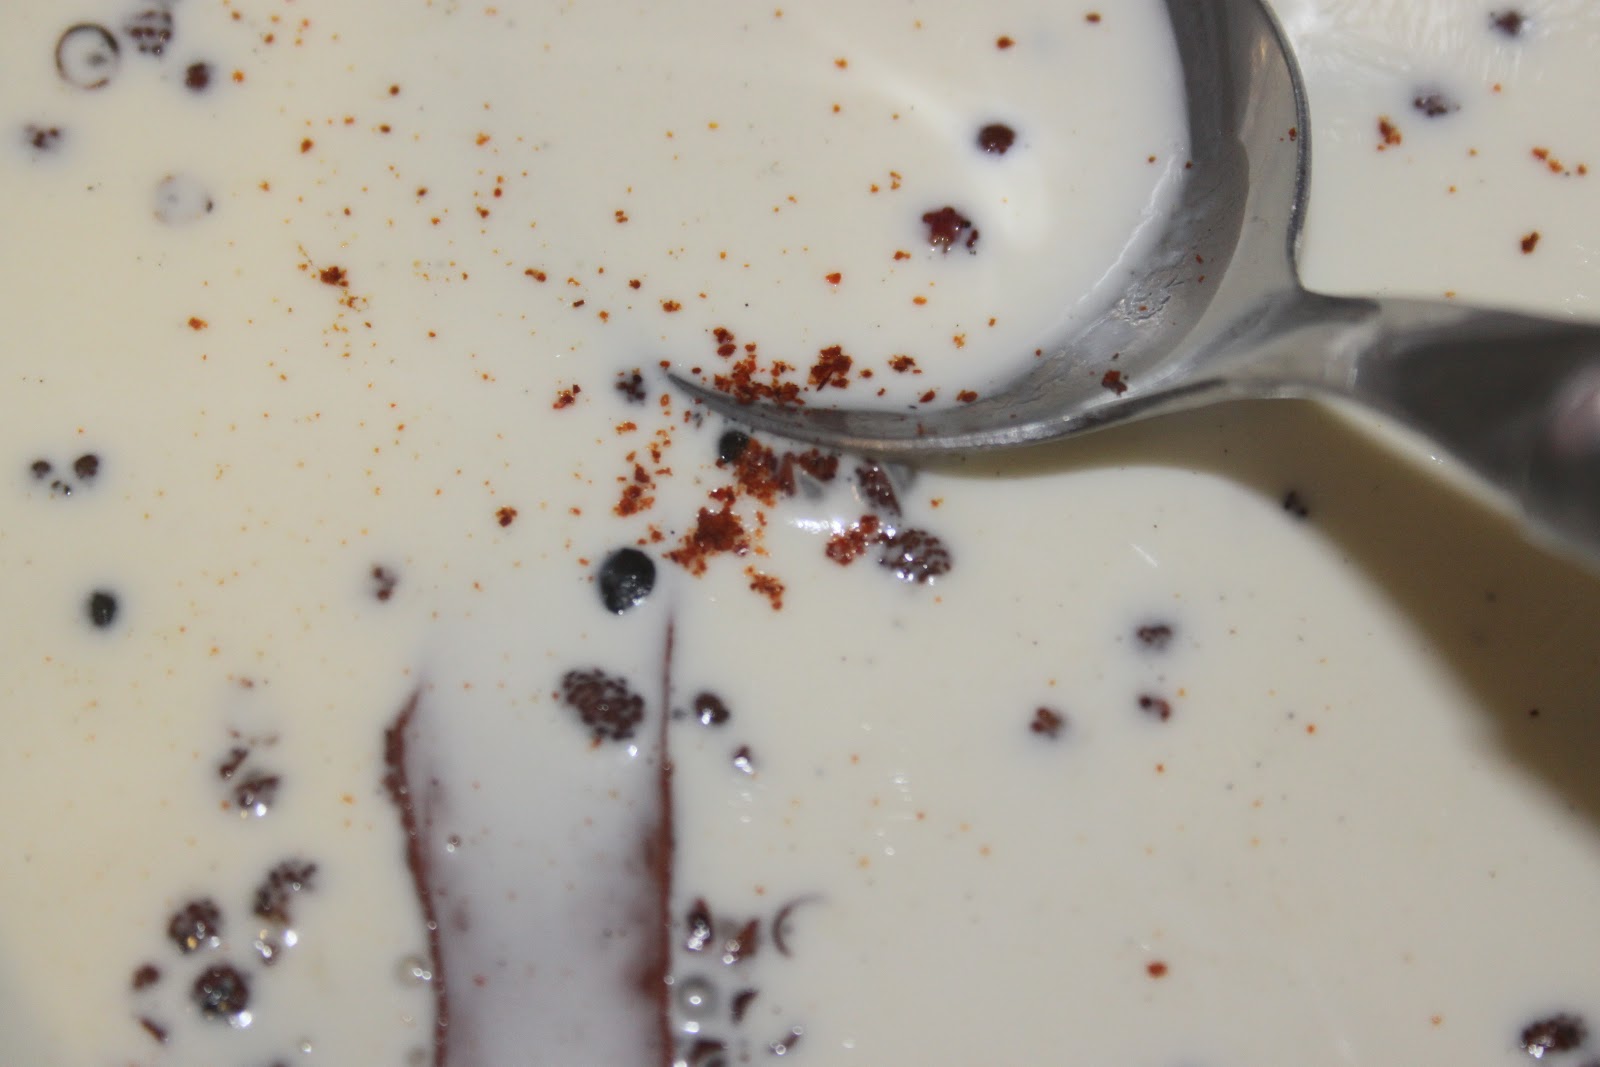
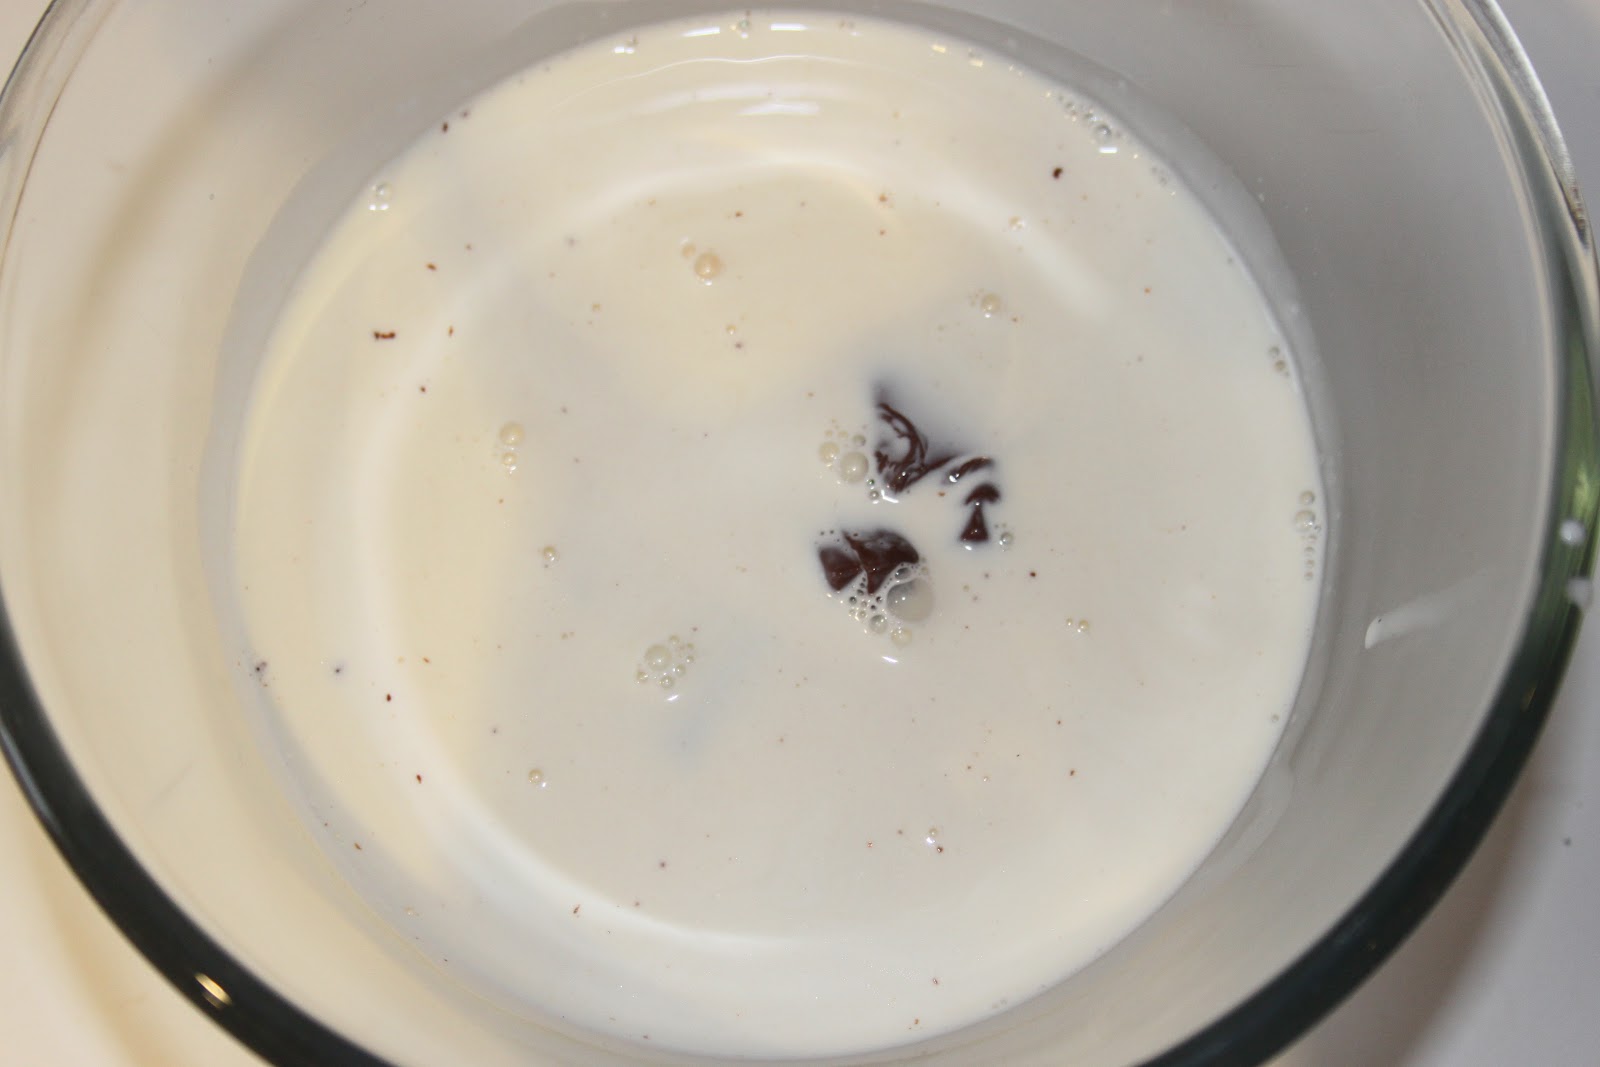
Pour the can of sweetened condensed milk over the cooled pumpkin flesh.

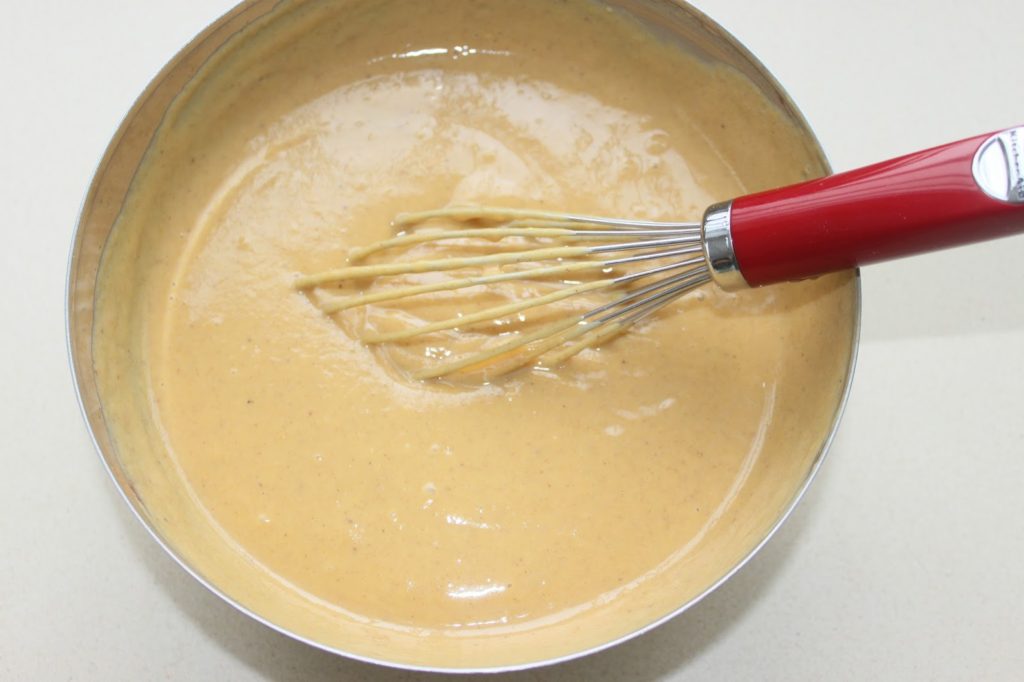
Pour in the salt, spices and add the eggs.

Mix well with a whisk.
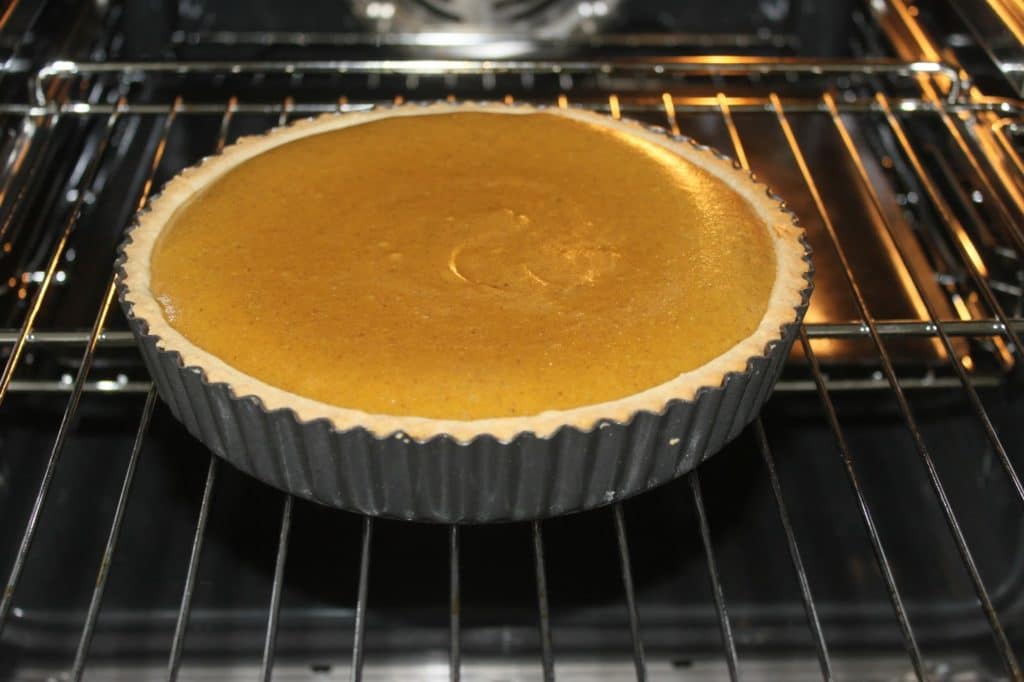
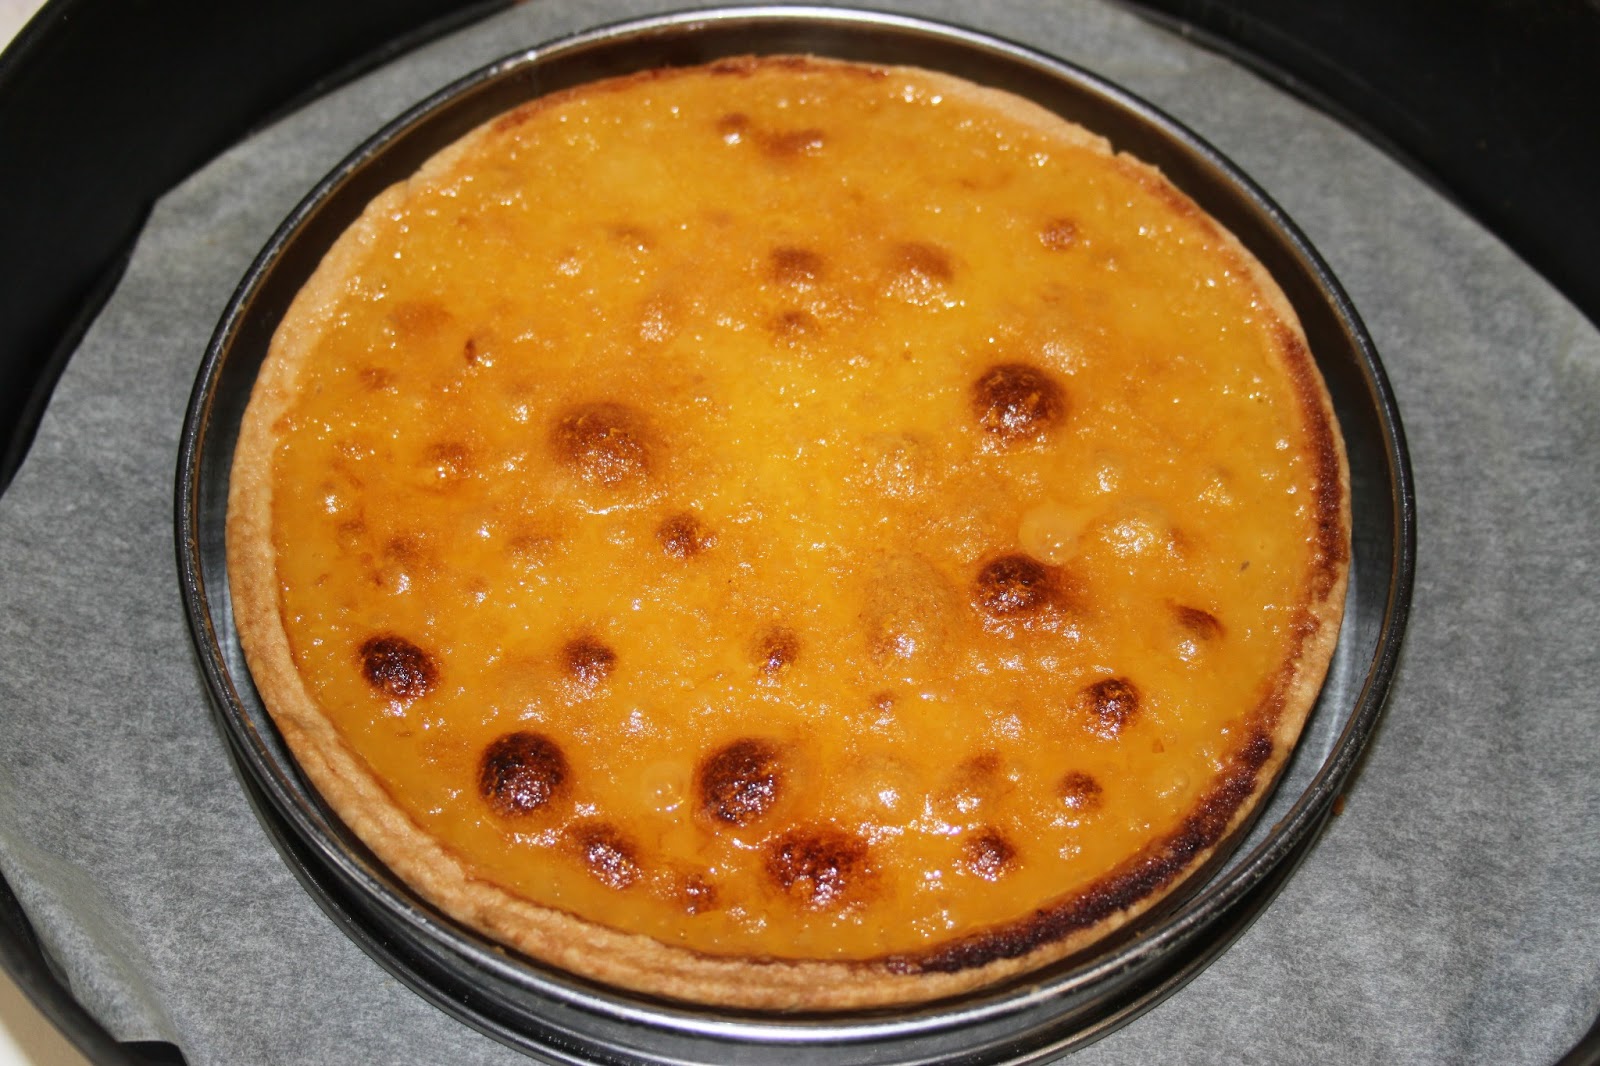
Bake at 185°C for 35-40 minutes.

Pumpkin Pie
Ingredients
Sweet dough
- 210 g flour
- 35 g powdered sugar
- 25 g almond powder
- 125 g soft butter
- 50 g eggs
Pumpkin Cream
- 450 g cooked pumpkin flesh
- 1 can sweetened condensed milk (397 g)
- 2 eggs of 60g each
- 1 teaspoon cinnamon powder
- 1/2 teaspoon ginger powder
- 1/2 teaspoon gingerbread mix
- 1 good pinch salt
Instructions
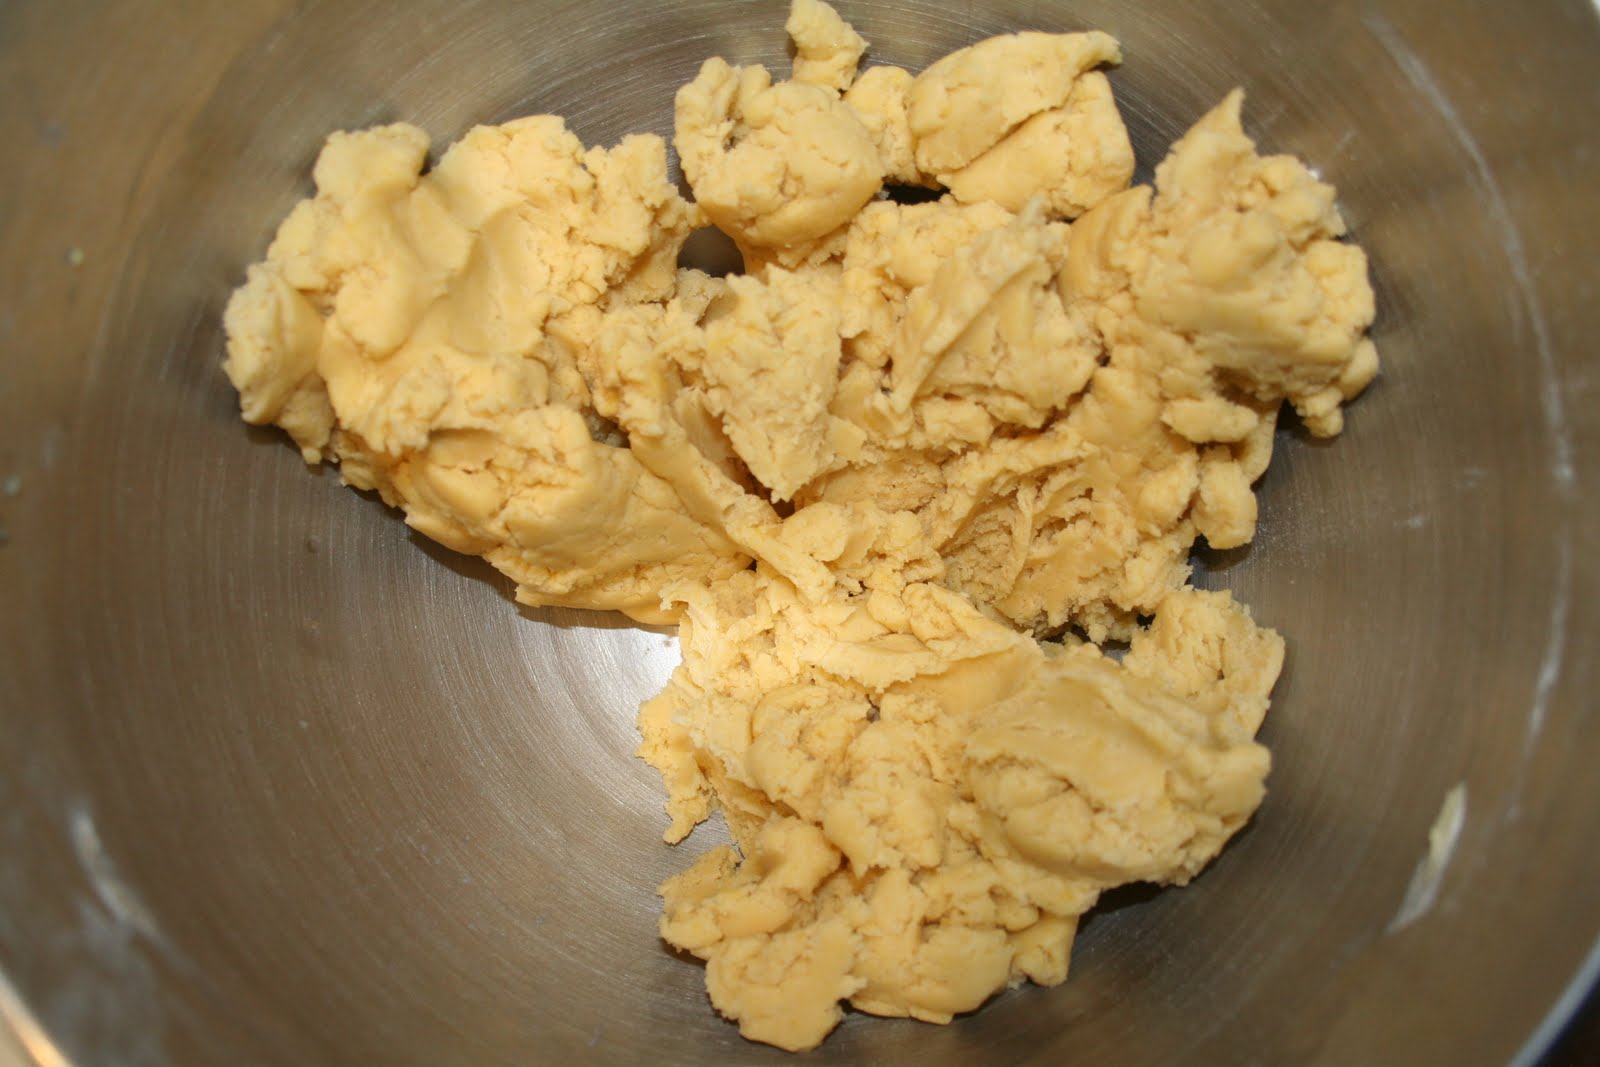
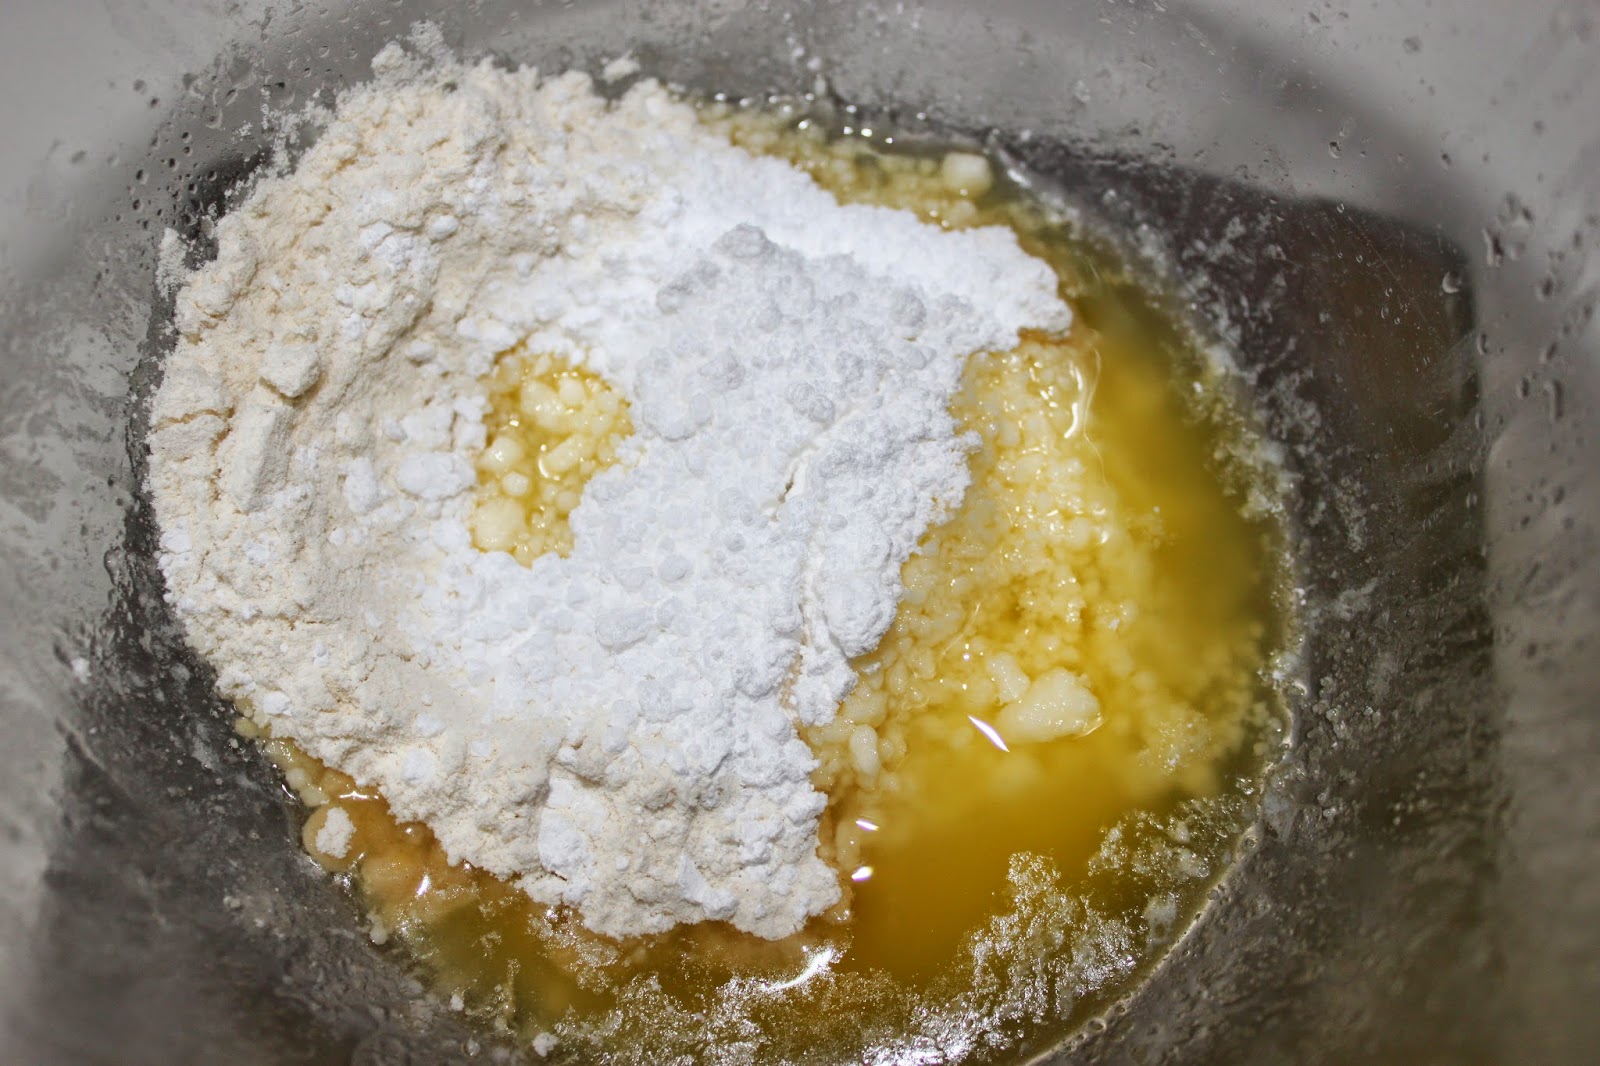
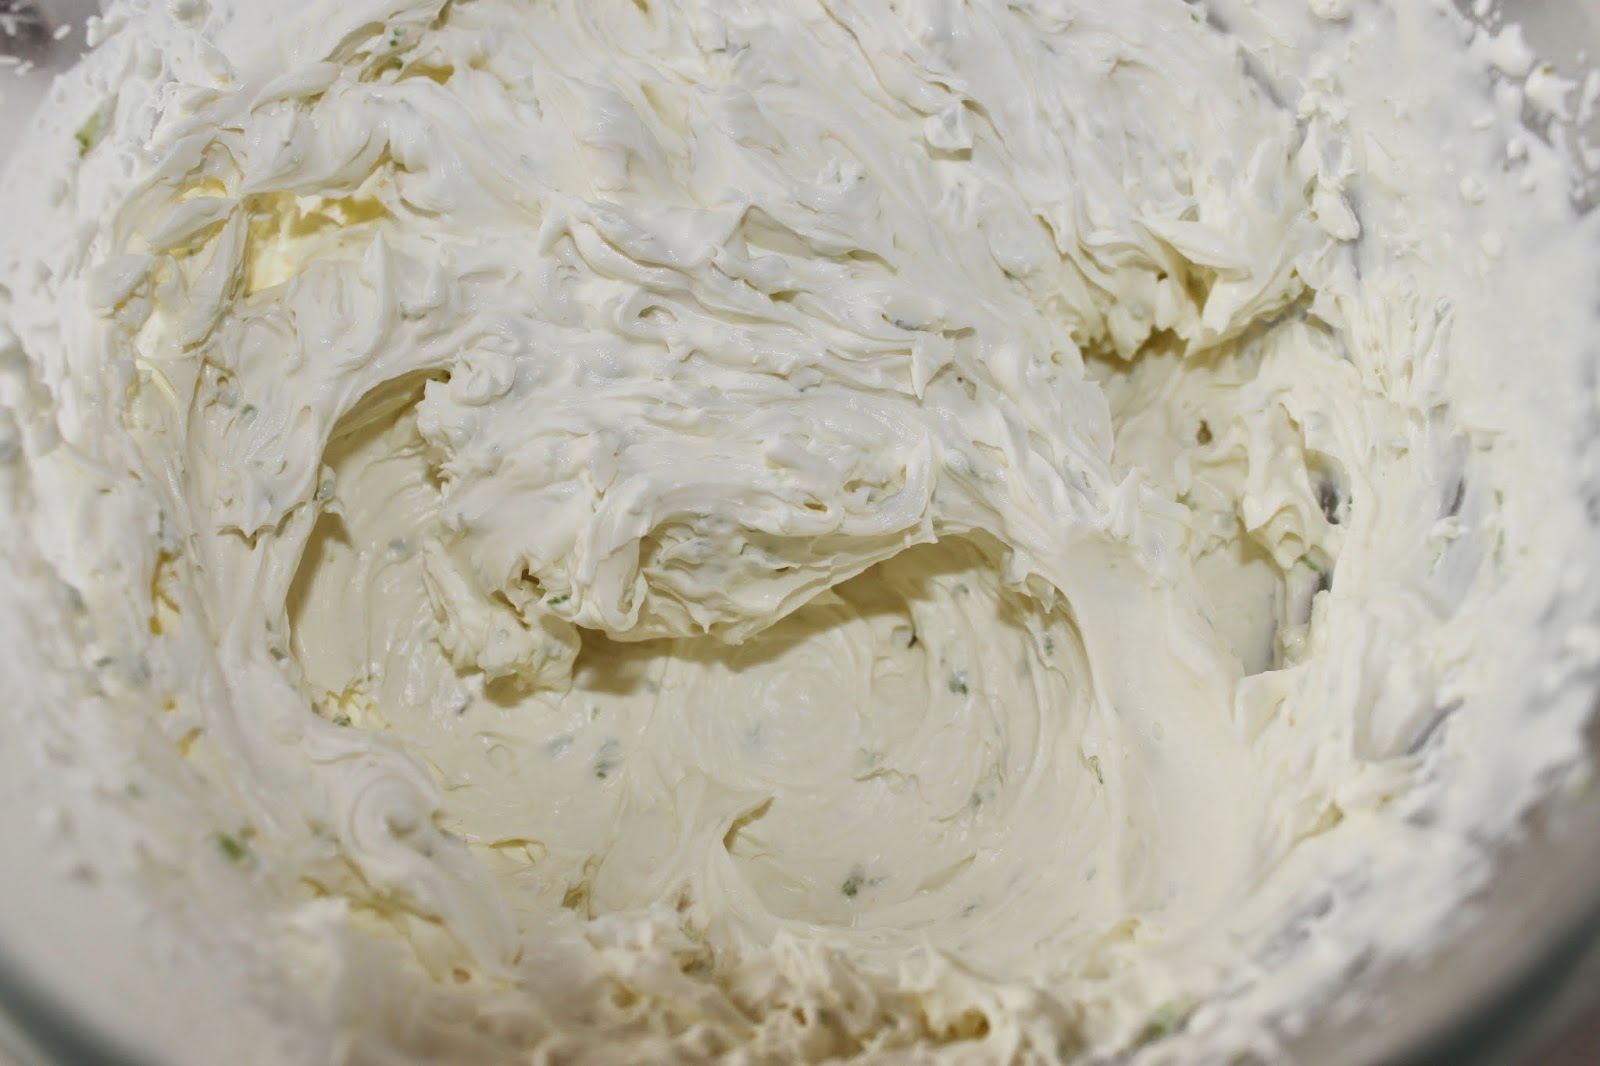
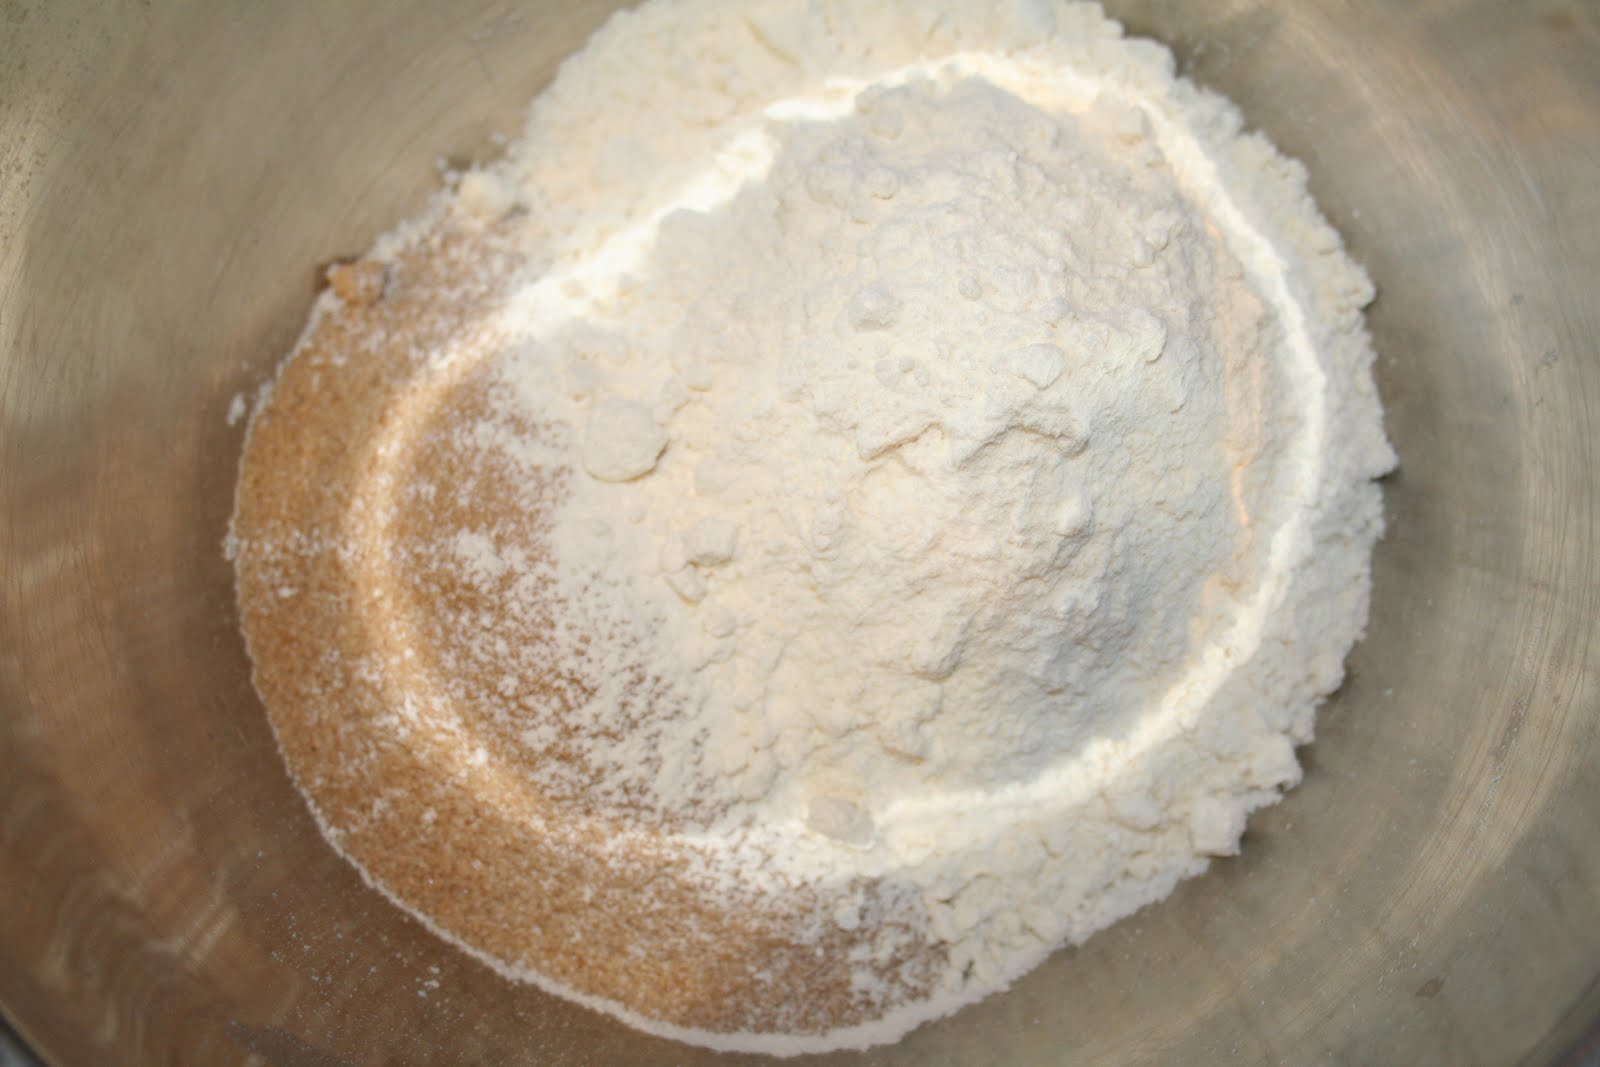
- Start by preparing the sweet dough. You'll only need half the dough, but it's easier to make the whole thing. You can freeze the other half! Place all ingredients except the egg in a bowl or in the bowl of a food processor.
- Beat with the leaf of the robot (this is the K) until the butter is incorporated.
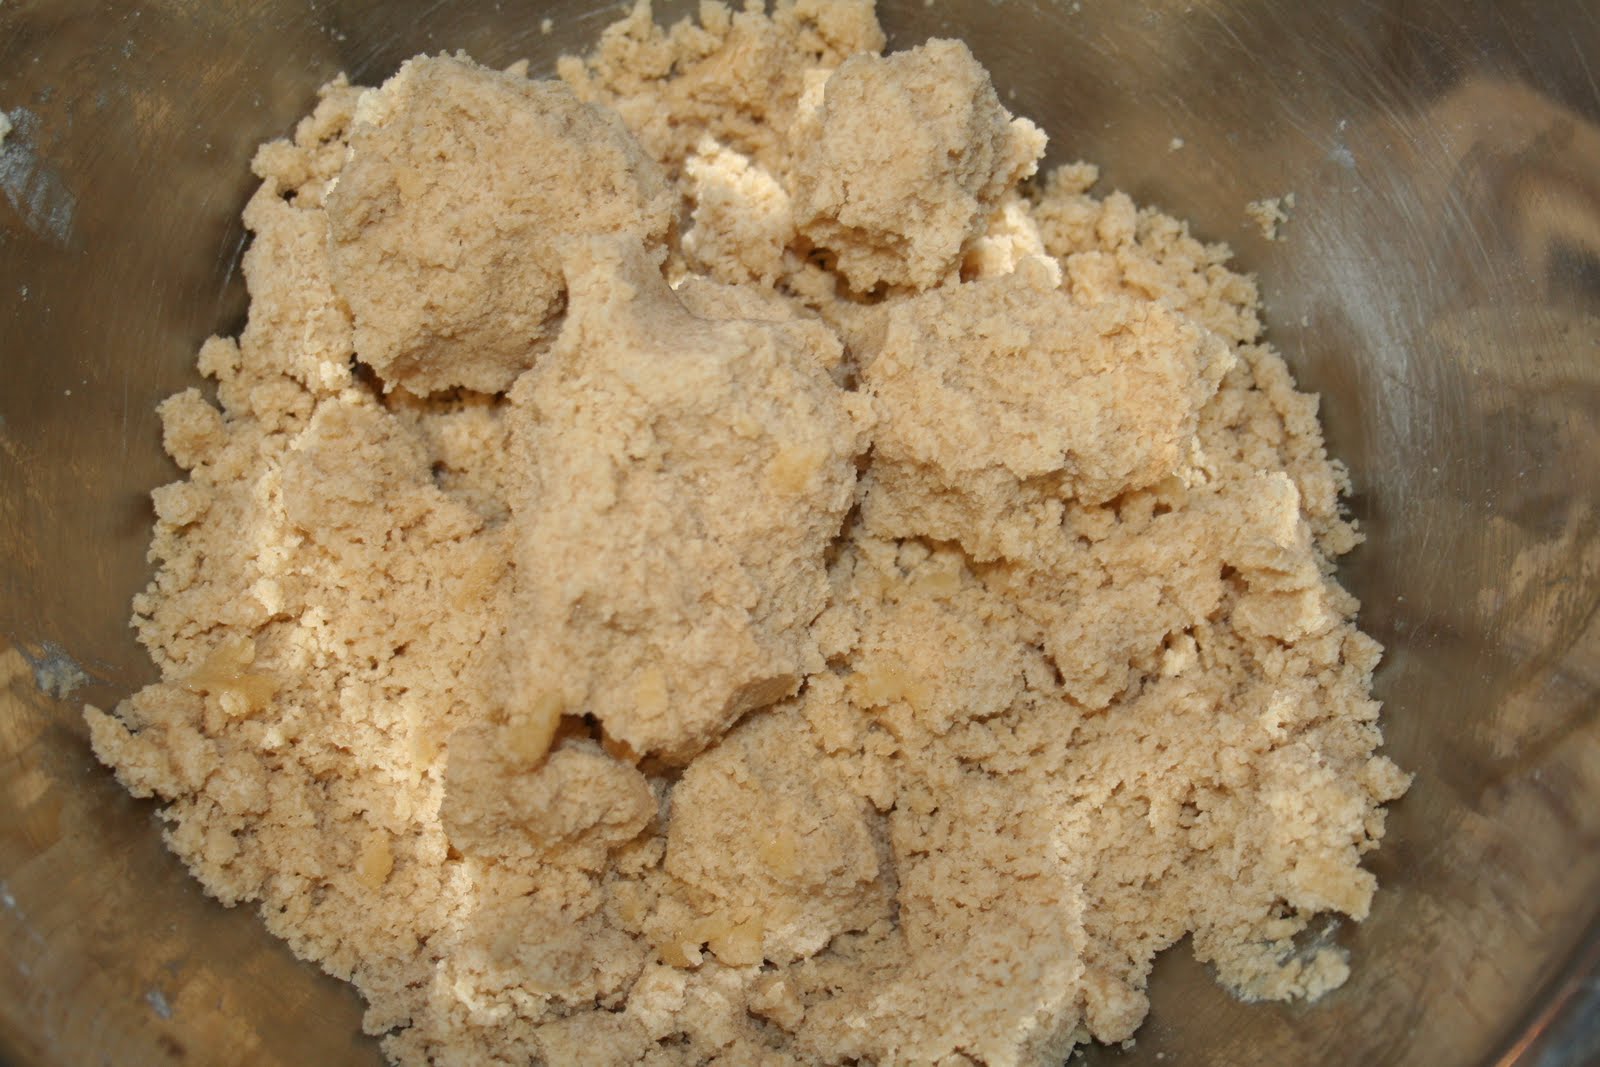
- The whole thing looks like sand. At this point, add the beaten egg.
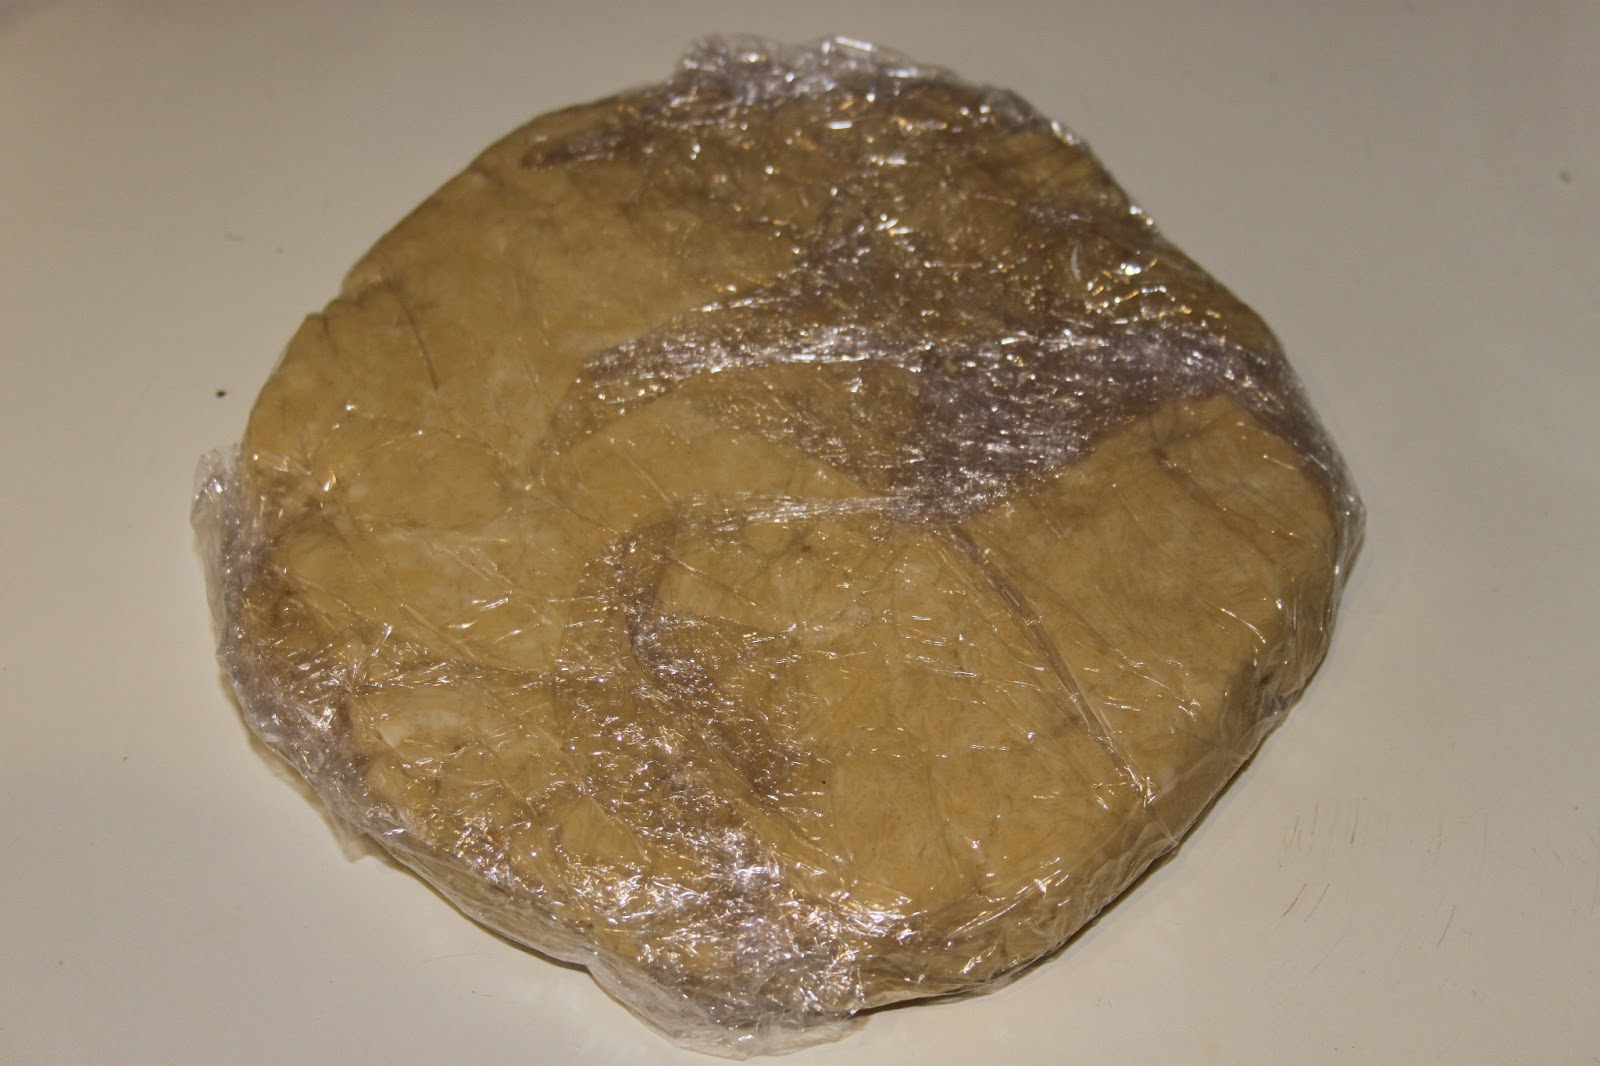
- Turn on again just to incorporate the beaten egg but no more! Place the dough in cling film and chill.
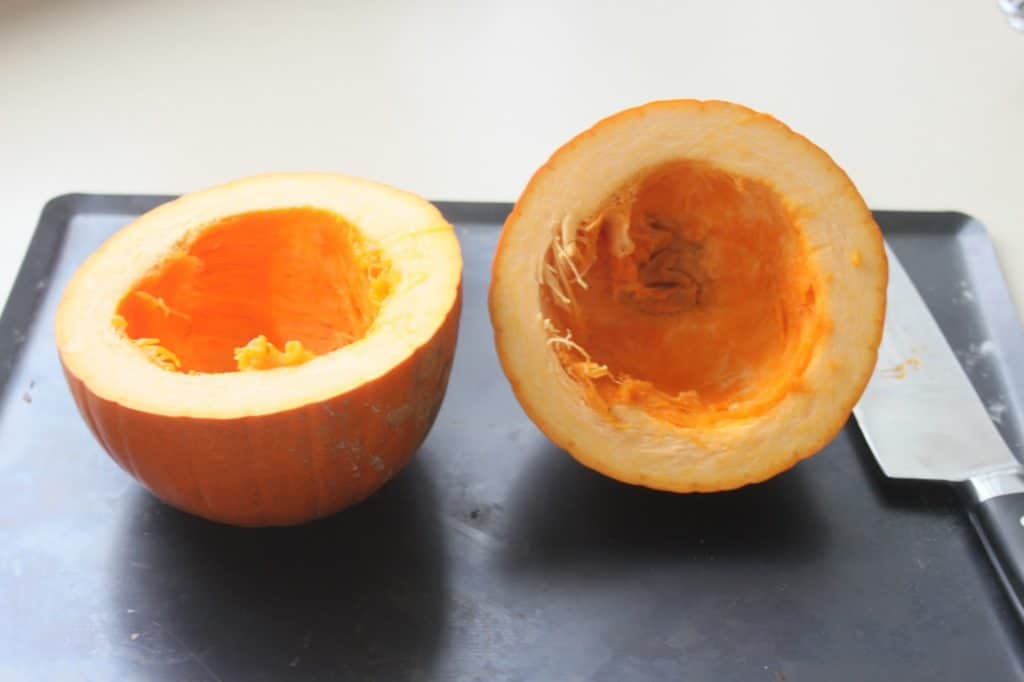
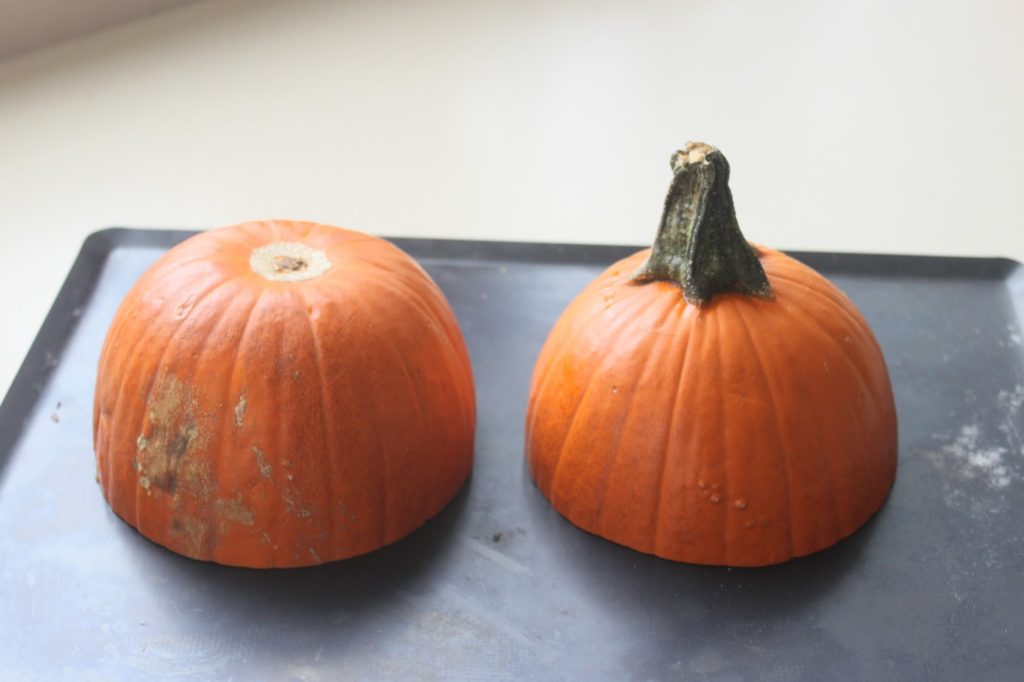
- This is the pumpkin used in this recipe. I found a small one. You can take a larger one and use only the amount indicated in the recipe, to put the rest in a soup for example.Note from Bernard:Small precision on the pumpkin. If you can't find a classic pumpkin, you can use pumpkin. Its rather floury flesh is perfect but the pie will be a little bit sweeter. I also tried it with butternut squash from Provence. Its flesh is juicier and you'll have to put an extra egg in the recipe, but it works just as well! So don't panic if you can't find a little pumpkin.
- Cut it in half.
- Remove the seeds with a spoon.
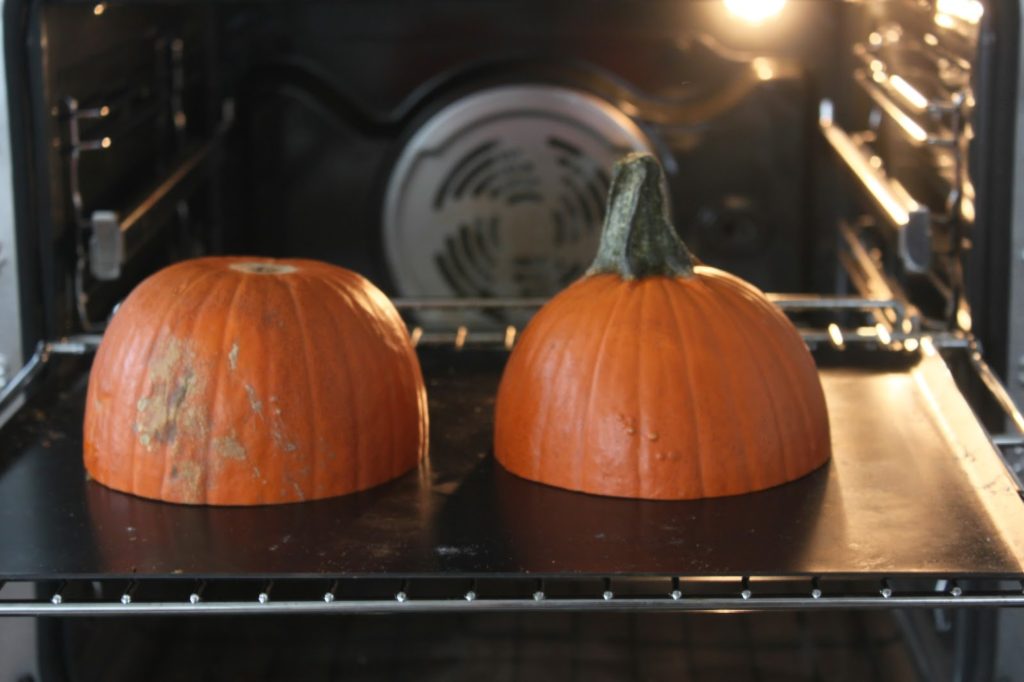
- And put the two pieces face down.
- Put in a preheated oven at 180°C.
- Bake for 45 minutes. The pumpkin is all softened and well cooked!
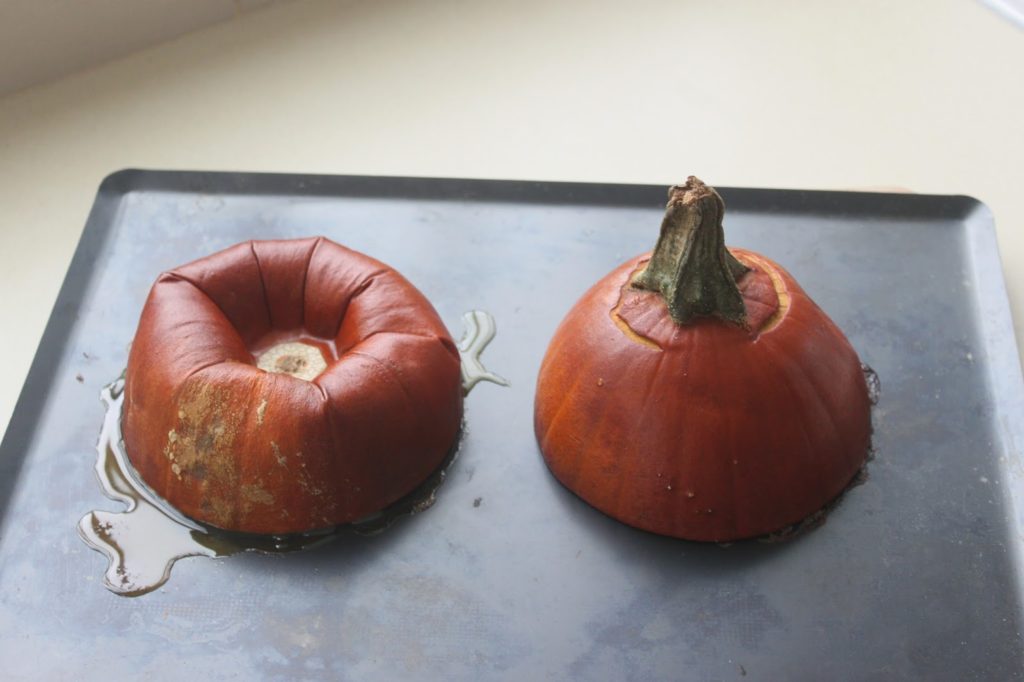
- Let it cool, faces up this time.
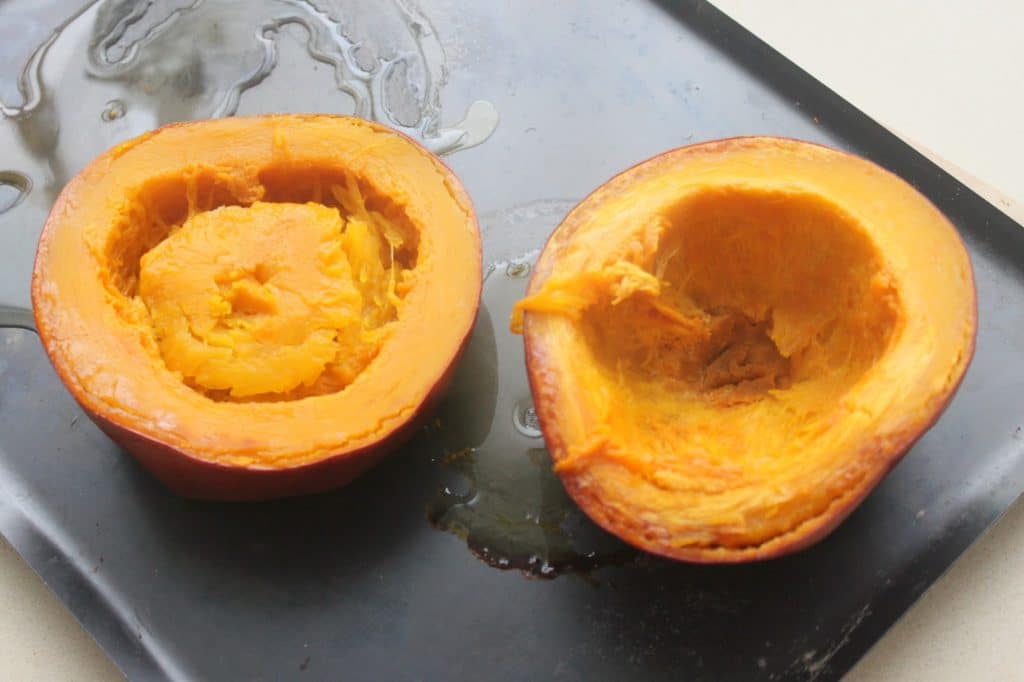
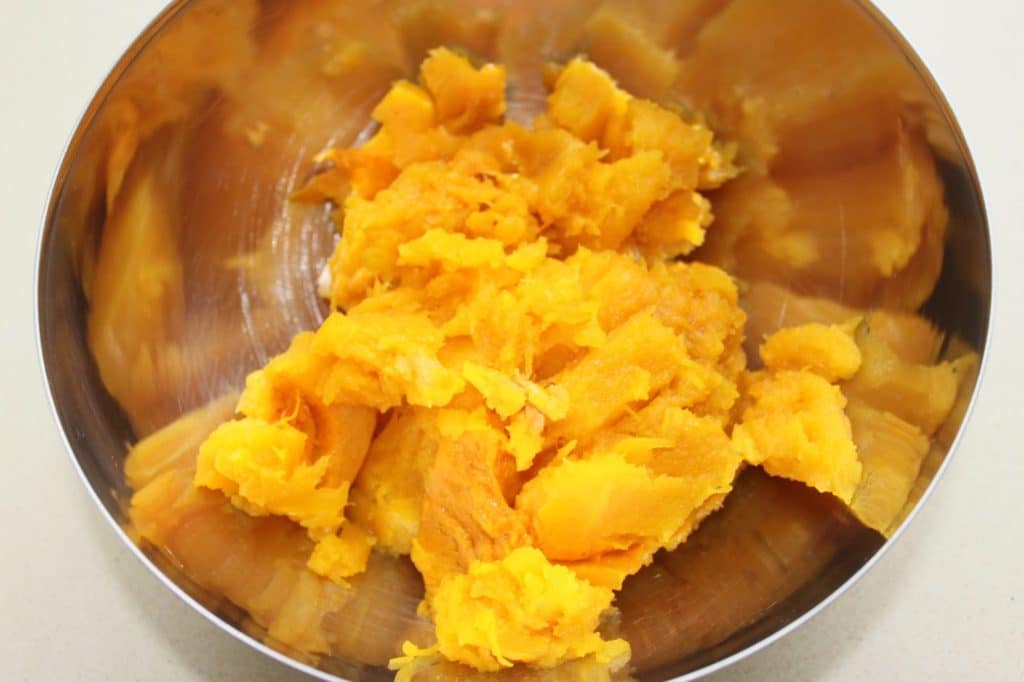
- Remove the flesh with a spoon.
- Keep 450g (do what you want with the rest).
- Take the dough out of the refrigerator. Lightly flour it and place it on a piece of baking paper (it's easier!). Start rolling it out.
- Put a piece of baking paper in the bottom of the pan. I used a pan with a removable bottom for ease. Take a mold of 18 or 20cm. This will just change the thickness of the cream.
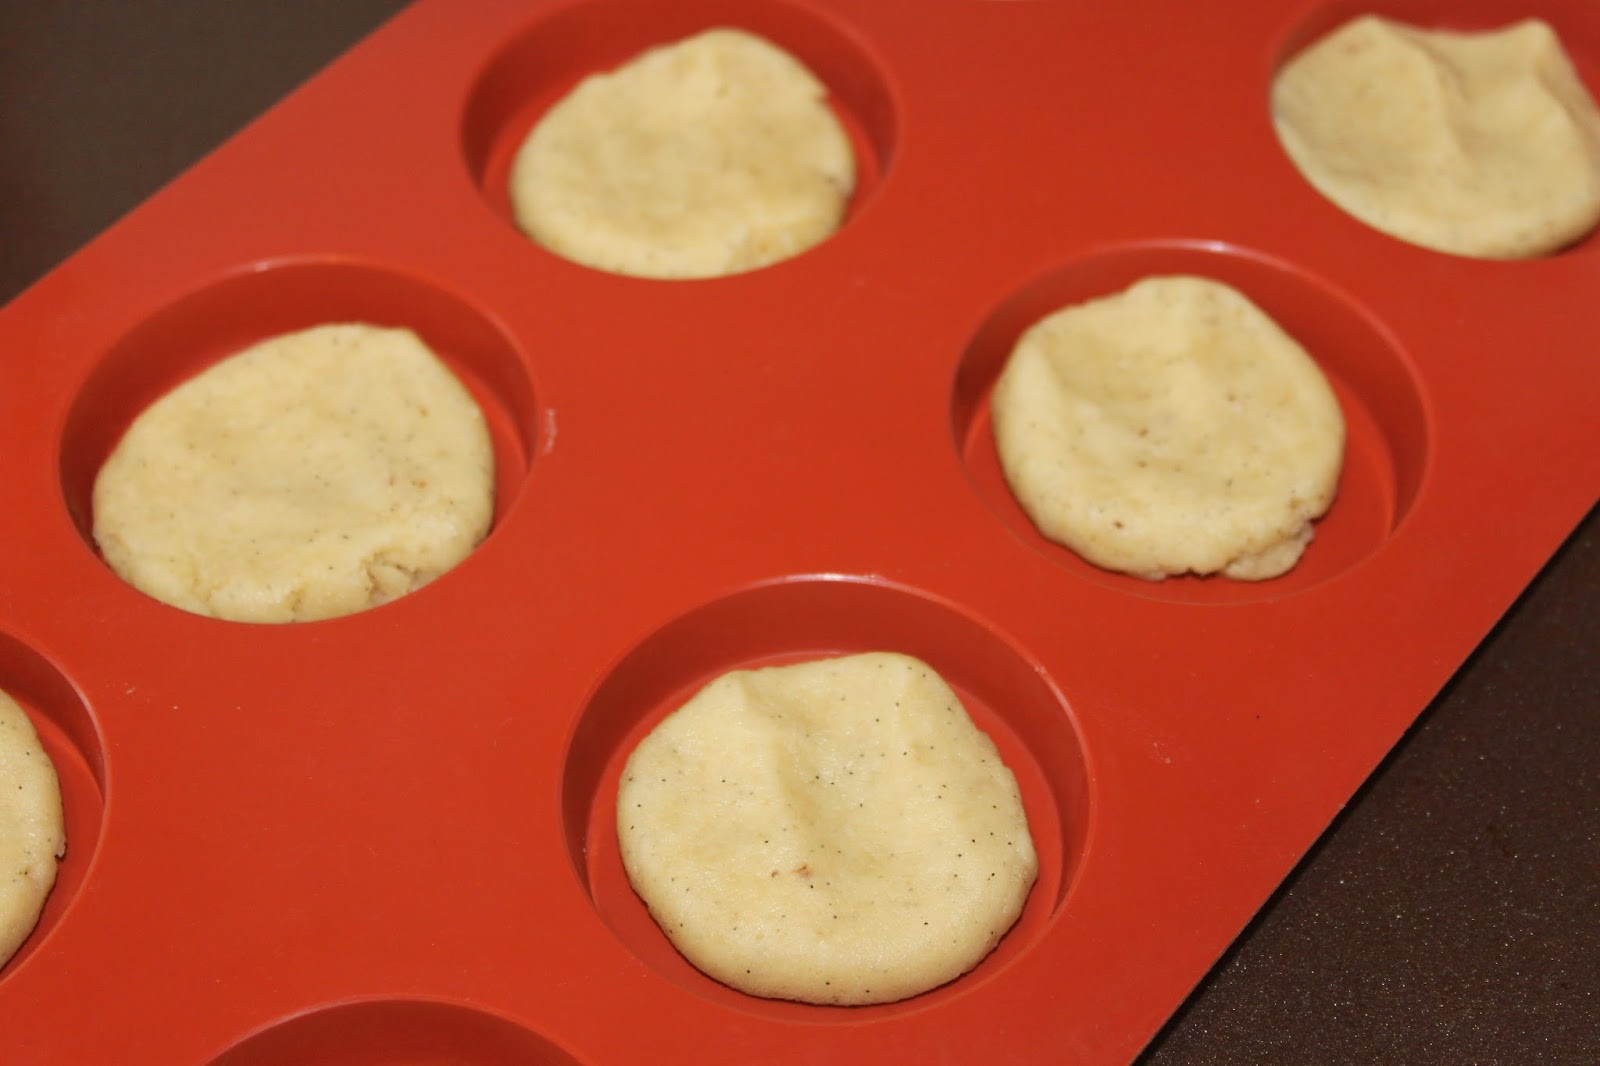
- Place the dough on the pan.
- Fill it well (darken it) with dough.
- Remove excess dough with a roller or knife.
- It's ready! Chill while you prepare the rest.
- Pour the can of sweetened condensed milk over the cooled pumpkin flesh.
- Puree with an immersion blender. You can also blend the pumpkin flesh alone (cooked) in a conventional blender and place the 450g in the bowl with the sweetened condensed milk.
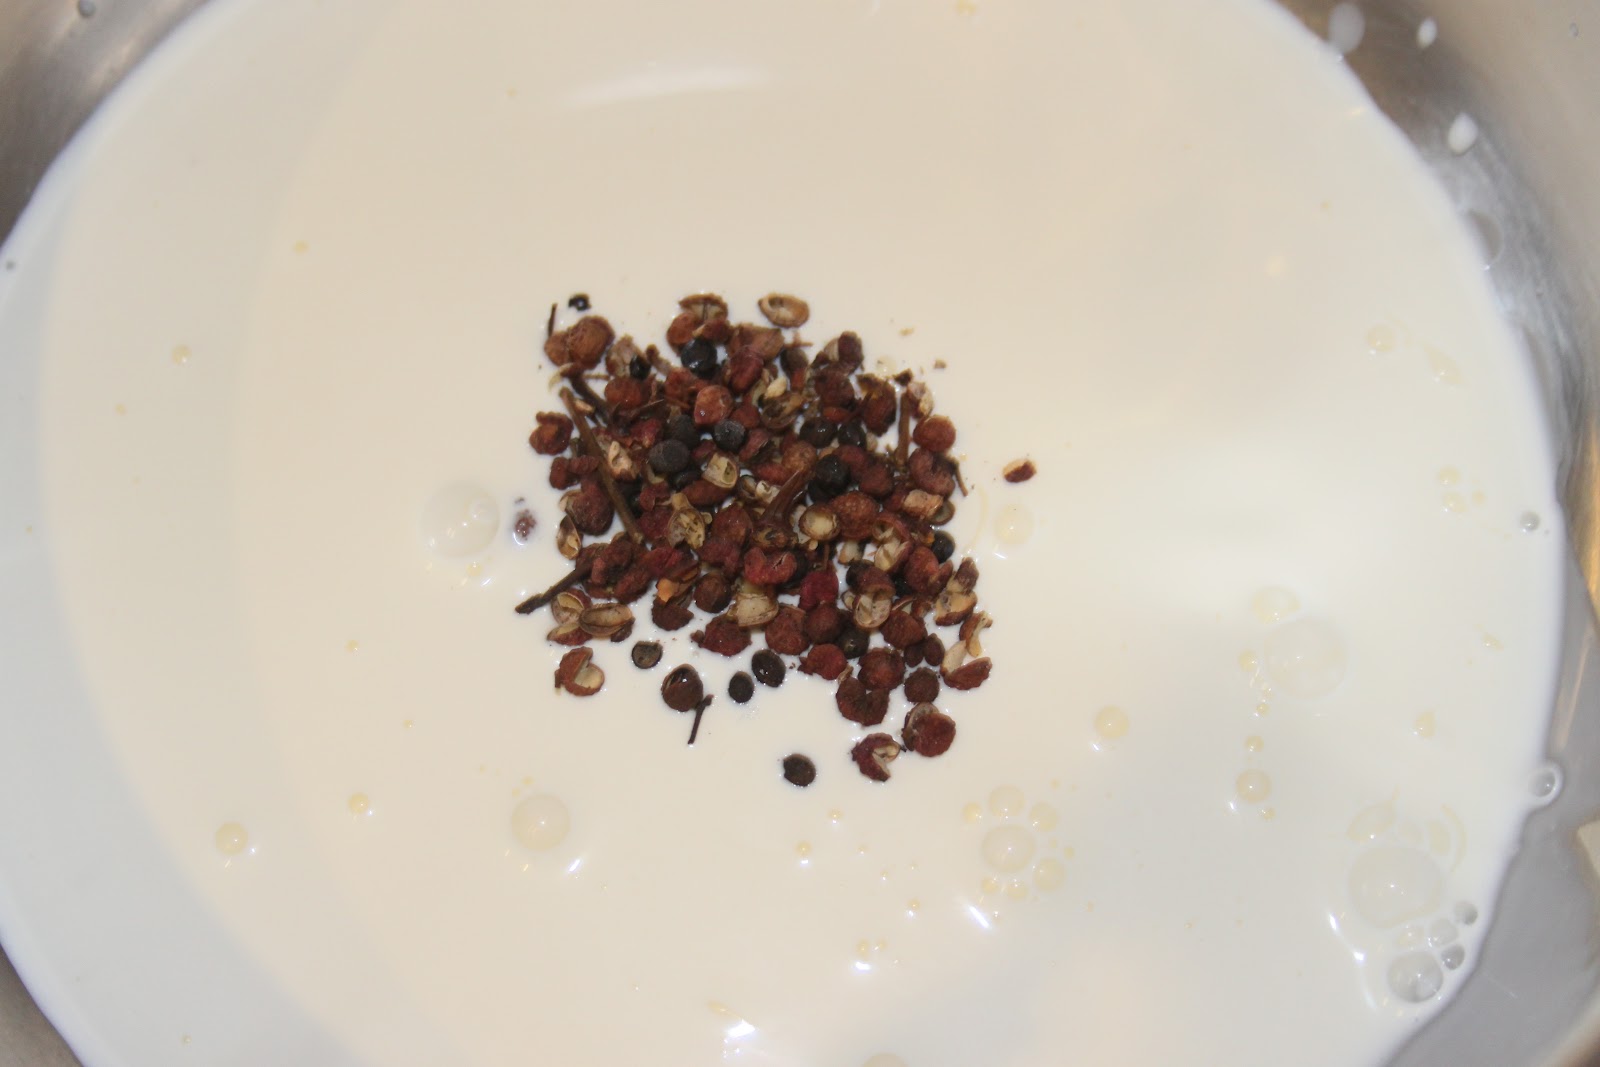
- Here are the spices.
- Pour in the salt, spices and add the eggs.
- Mix well with a whisk.
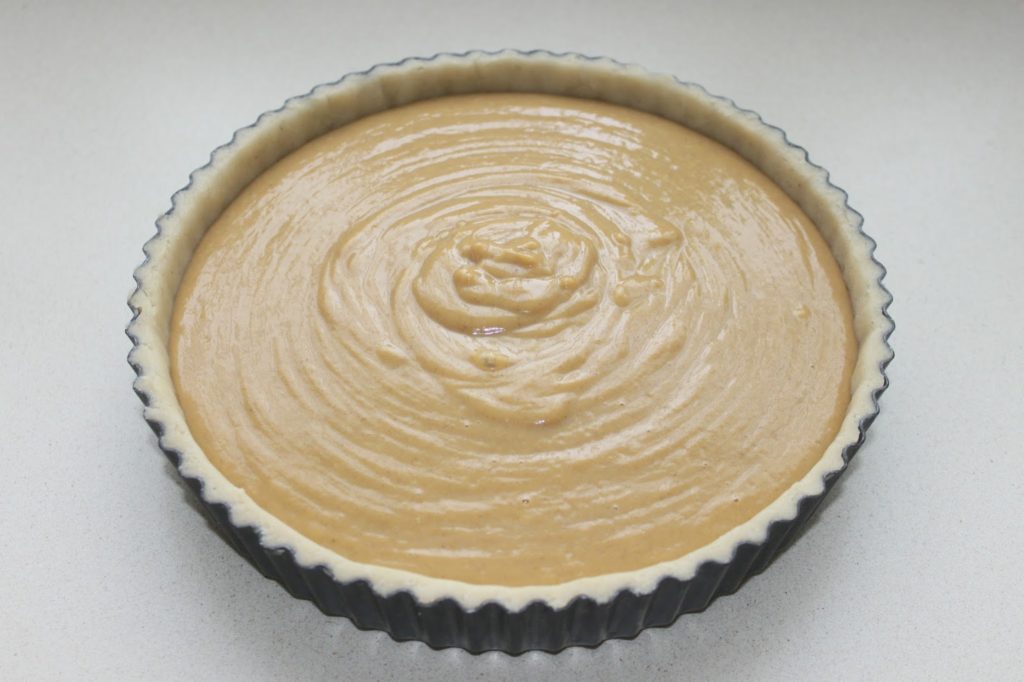
- Pour the mixture into the pan. You can also pre-bake the dough in the pan. It's up to you!
- Bake at 185°C for 35-40 minutes.
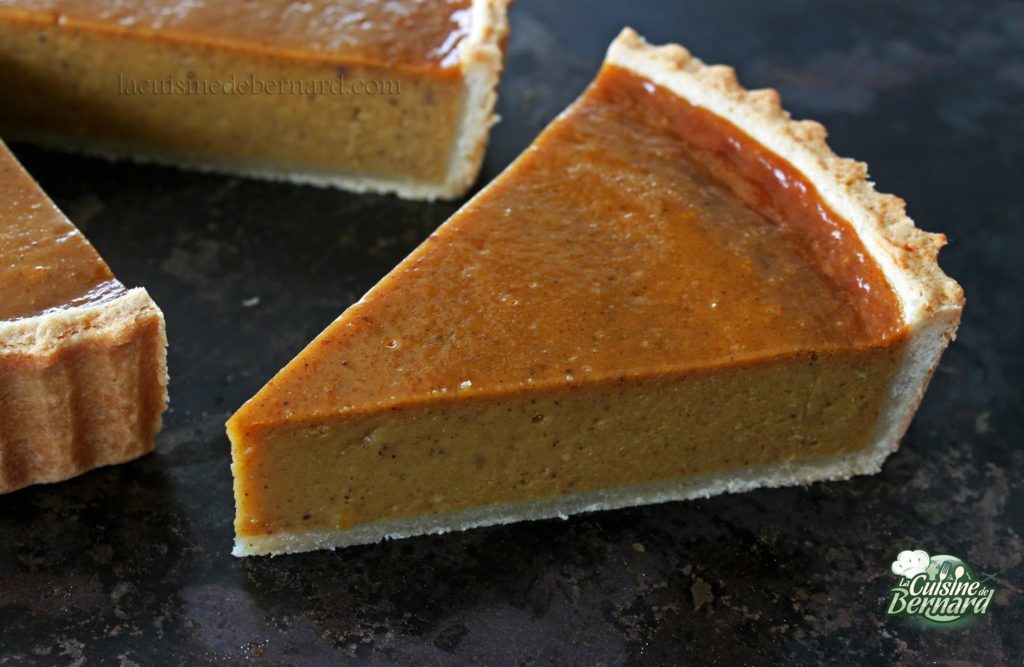
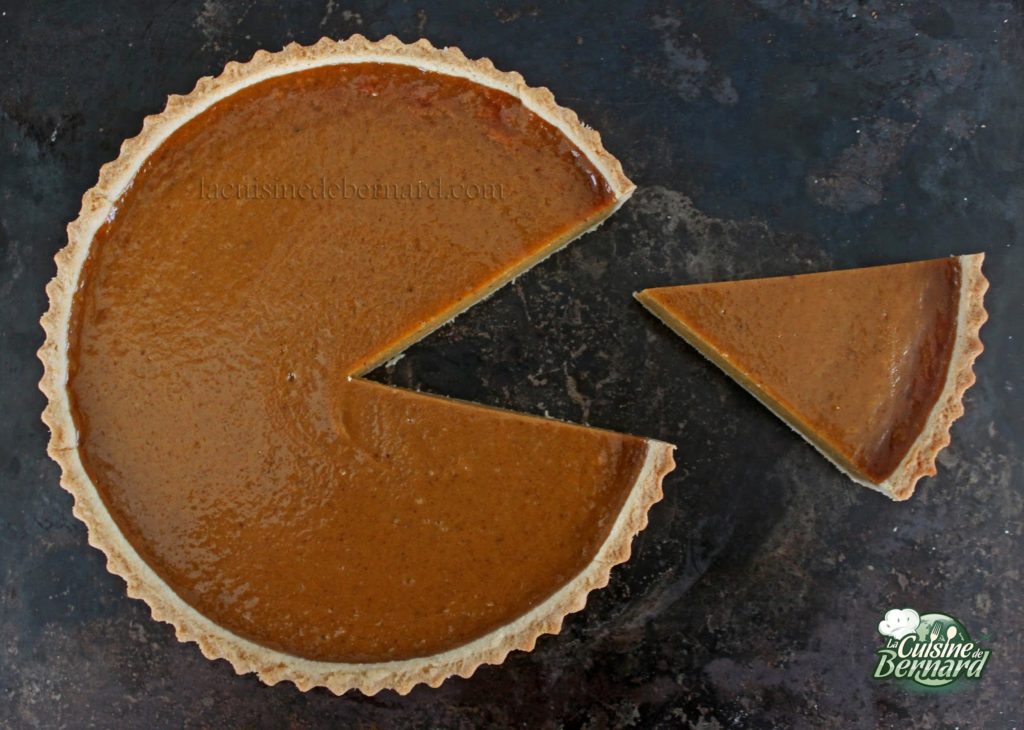
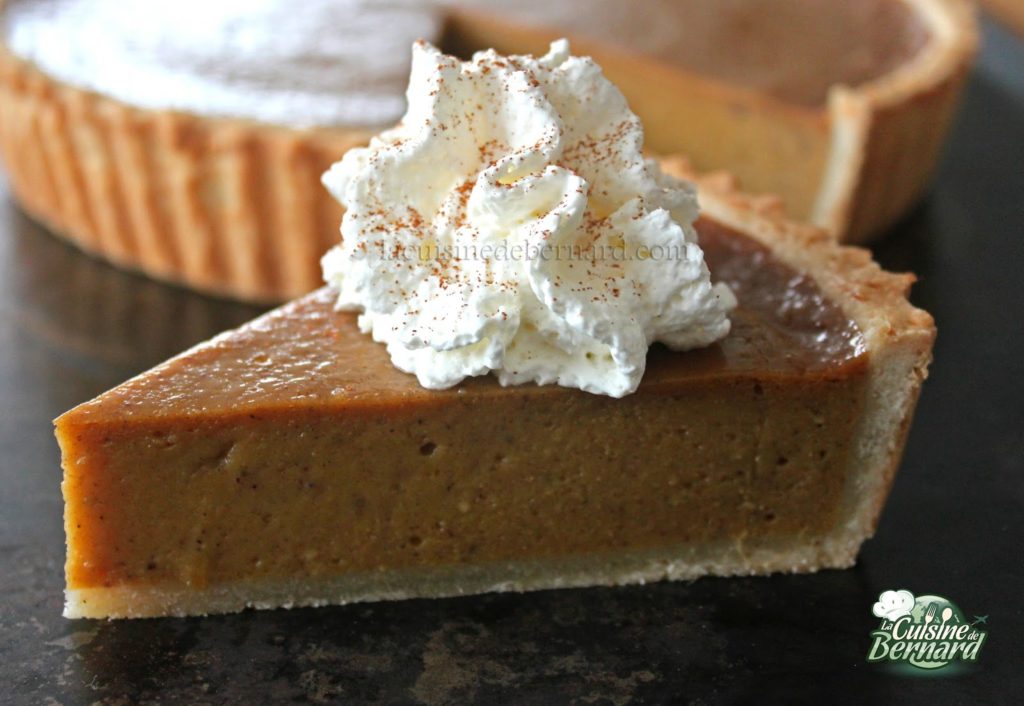
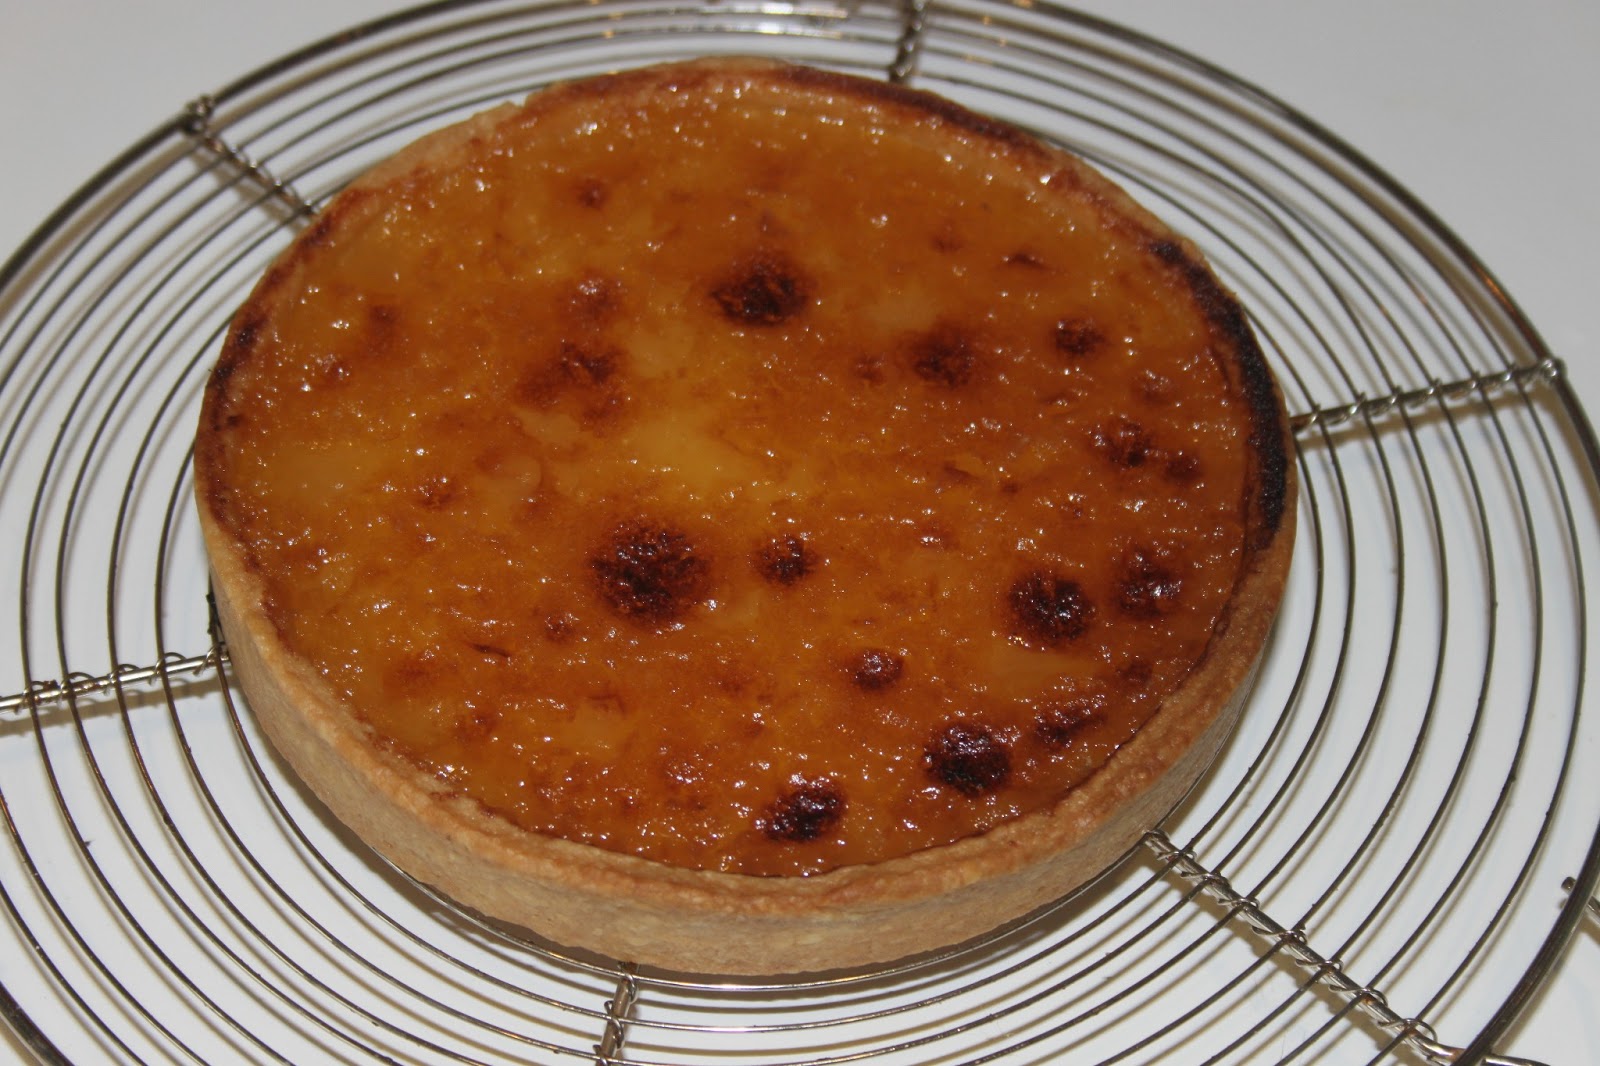
- Let cool and serve with a little whipped cream (not a must)! As the pie cools completely, it will turn into a sort of light syrup on the surface that will make it very shiny.
Nutrition

- 210g of flour
- 125g of cold soft butter
- 35g of powdered sugar
- 25g of almond powder
- 50g of beaten egg
- vanilla powder
- 450g almond powder
- 400g of caster sugar
- 250g of egg white
- 1.5 teaspoons of liquid bitter almond extract (or vanilla, or orange blossom or matcha green tea)
- green dye (yellow+blue)
- powdered sugar for the decoration


Trim the edges to get a clean mold.
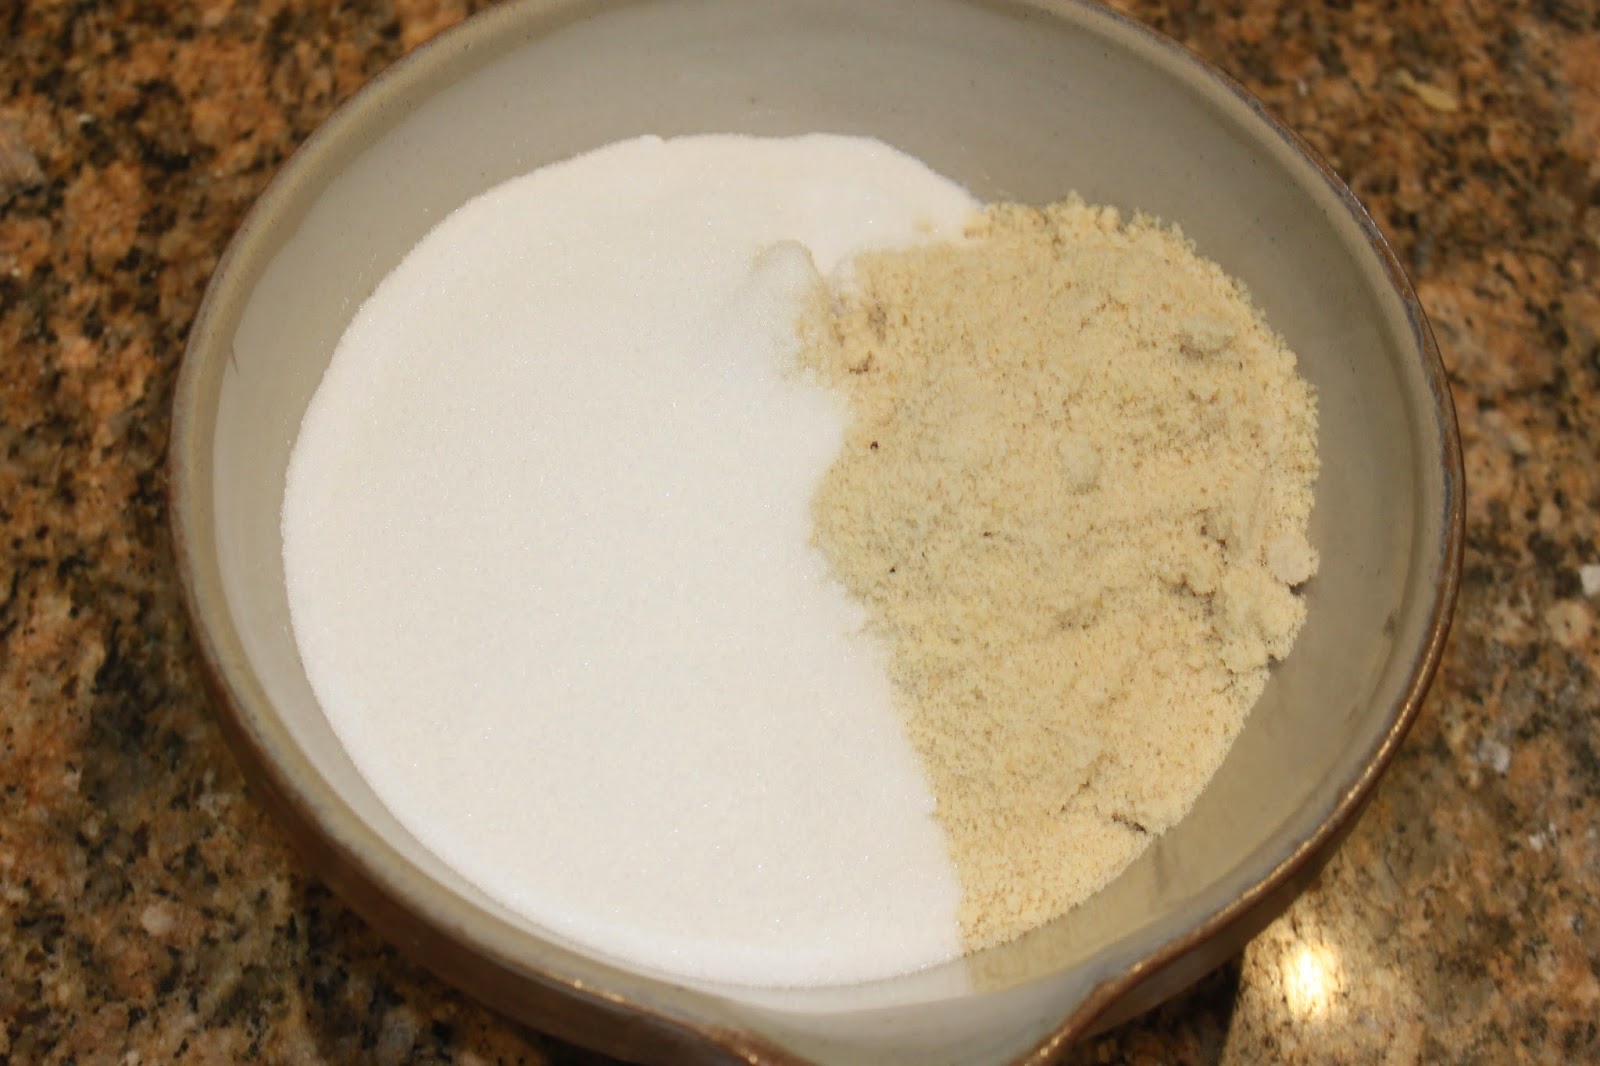
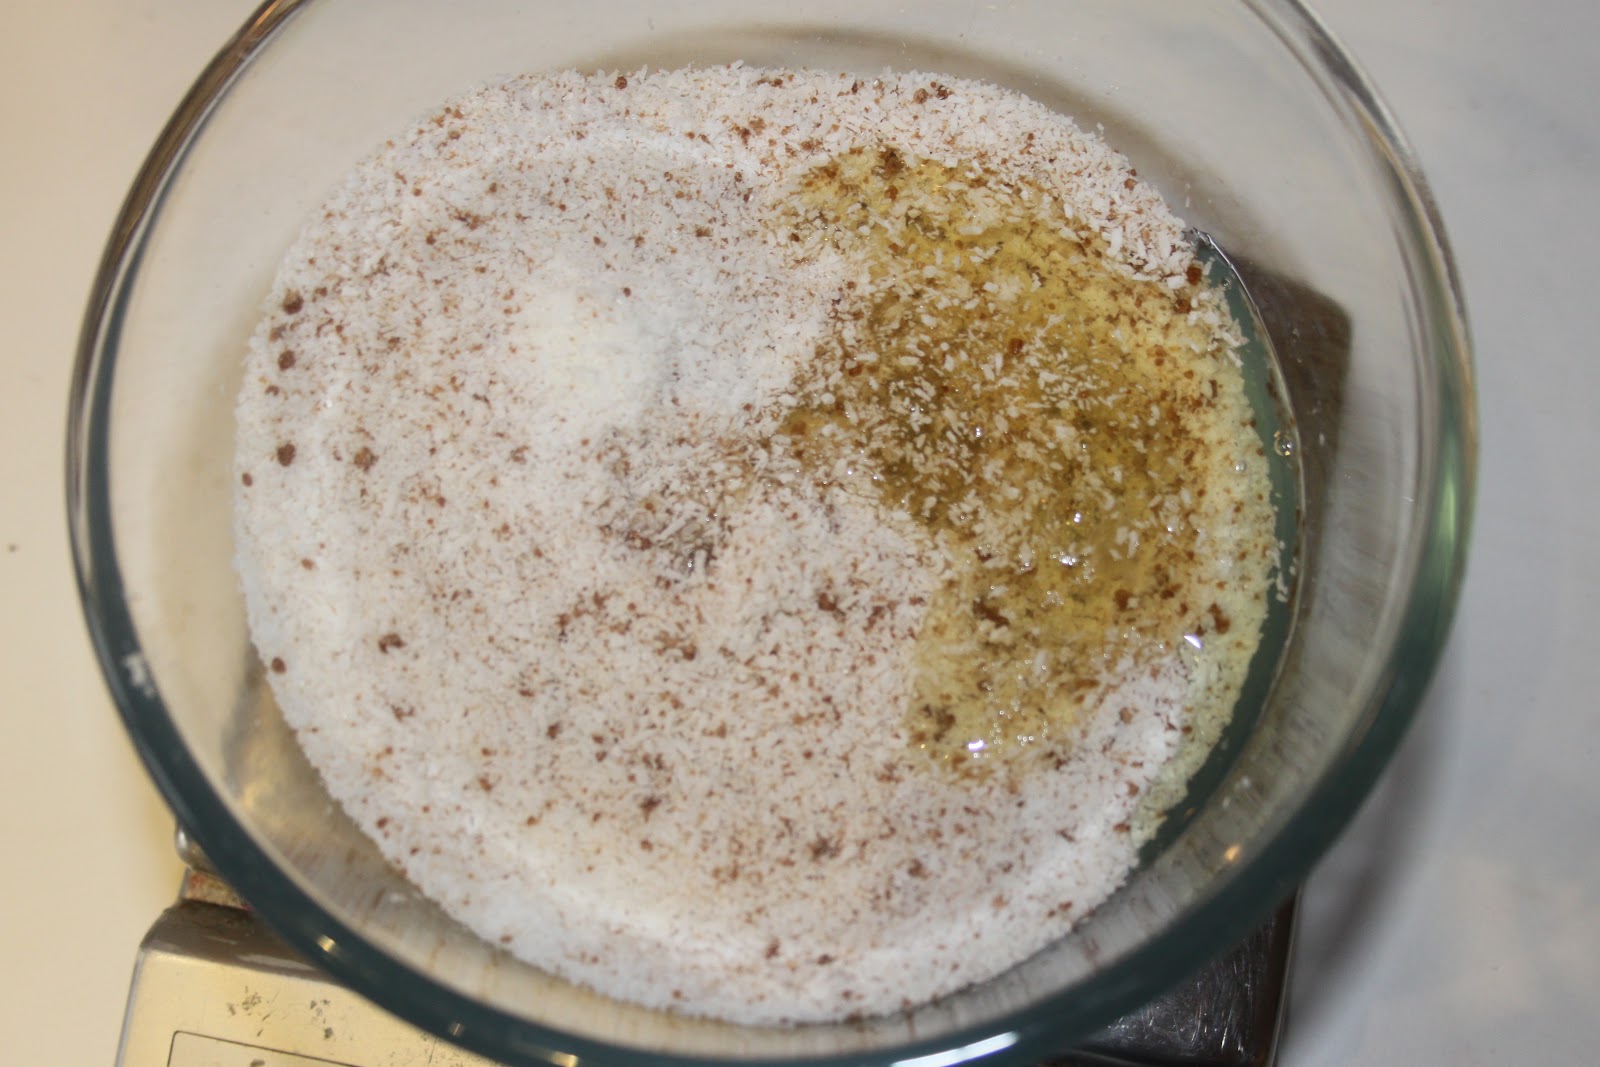
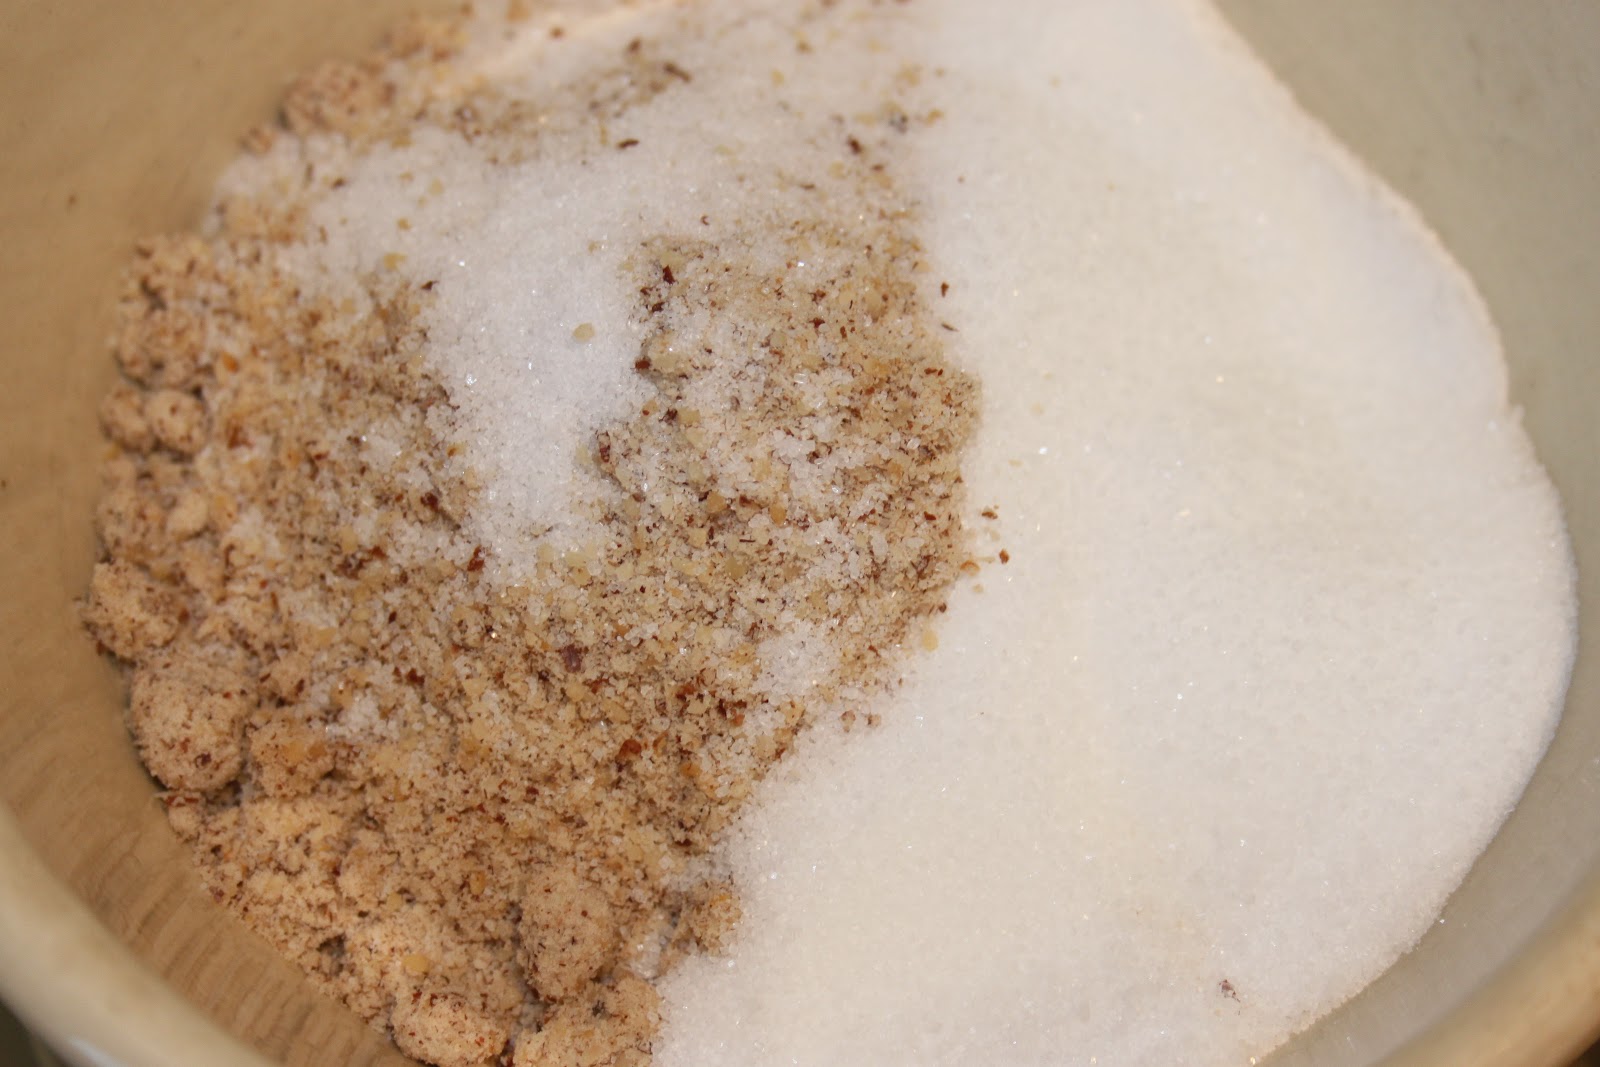
Mix the almond powder and sugar.
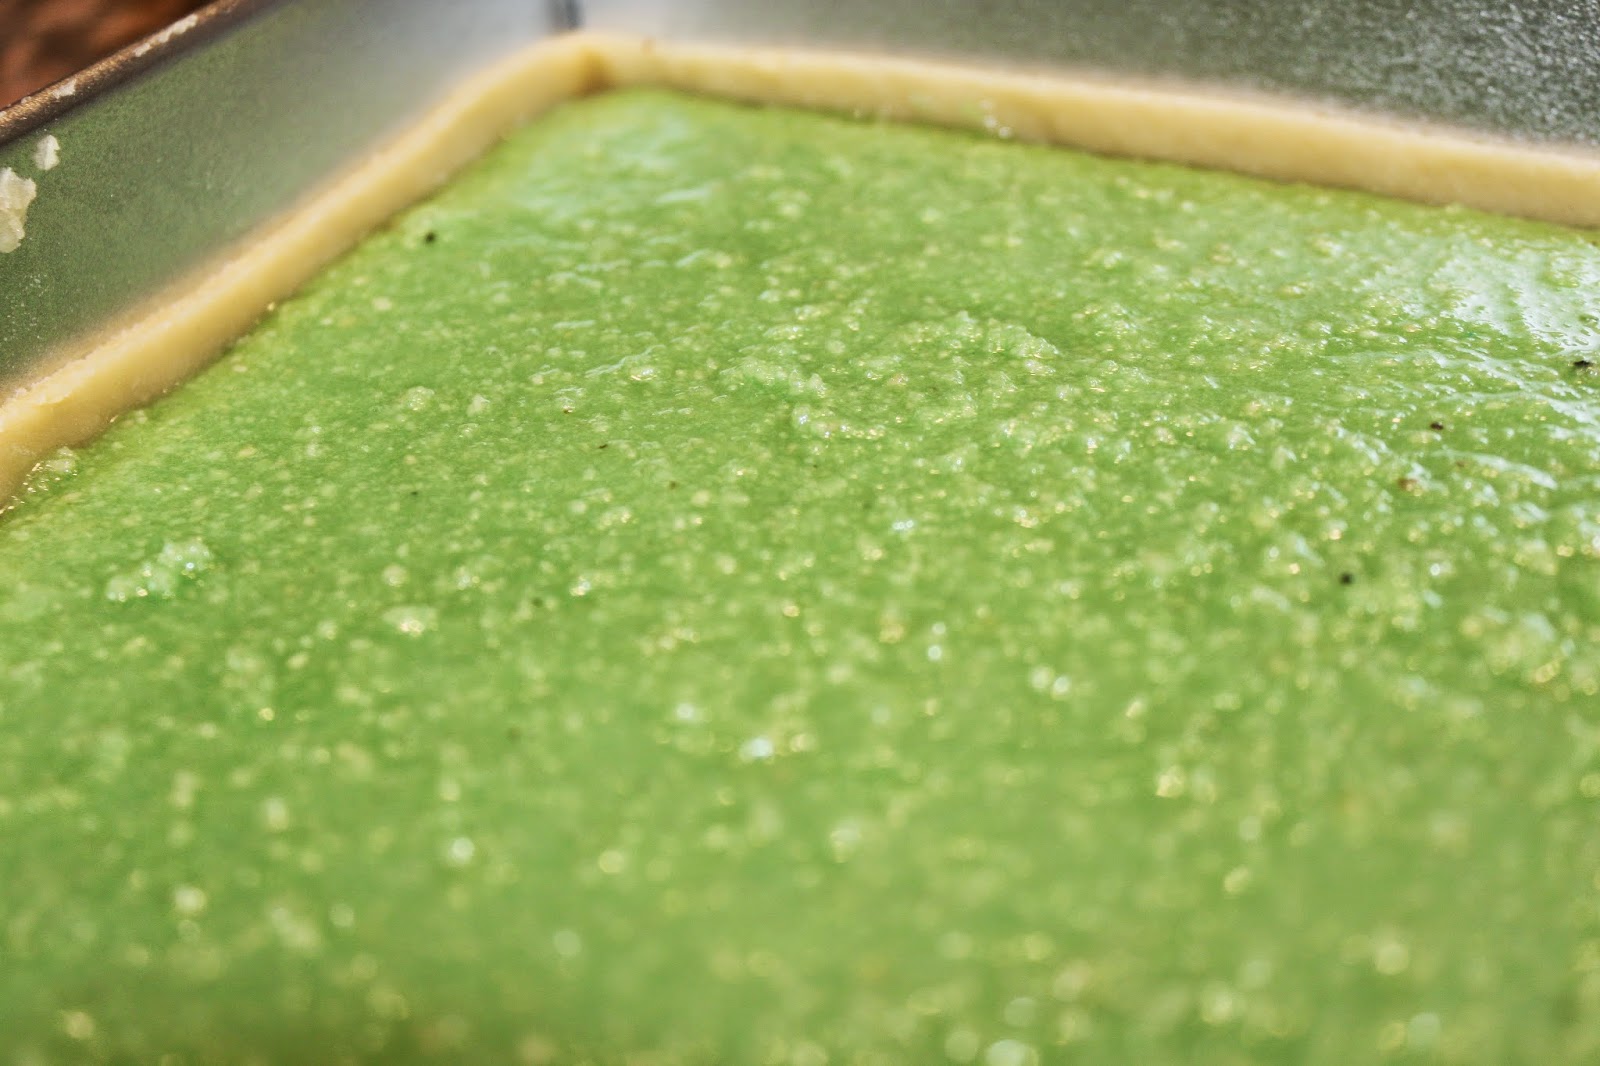
Add the 250g of egg whites and the bitter almond extract.
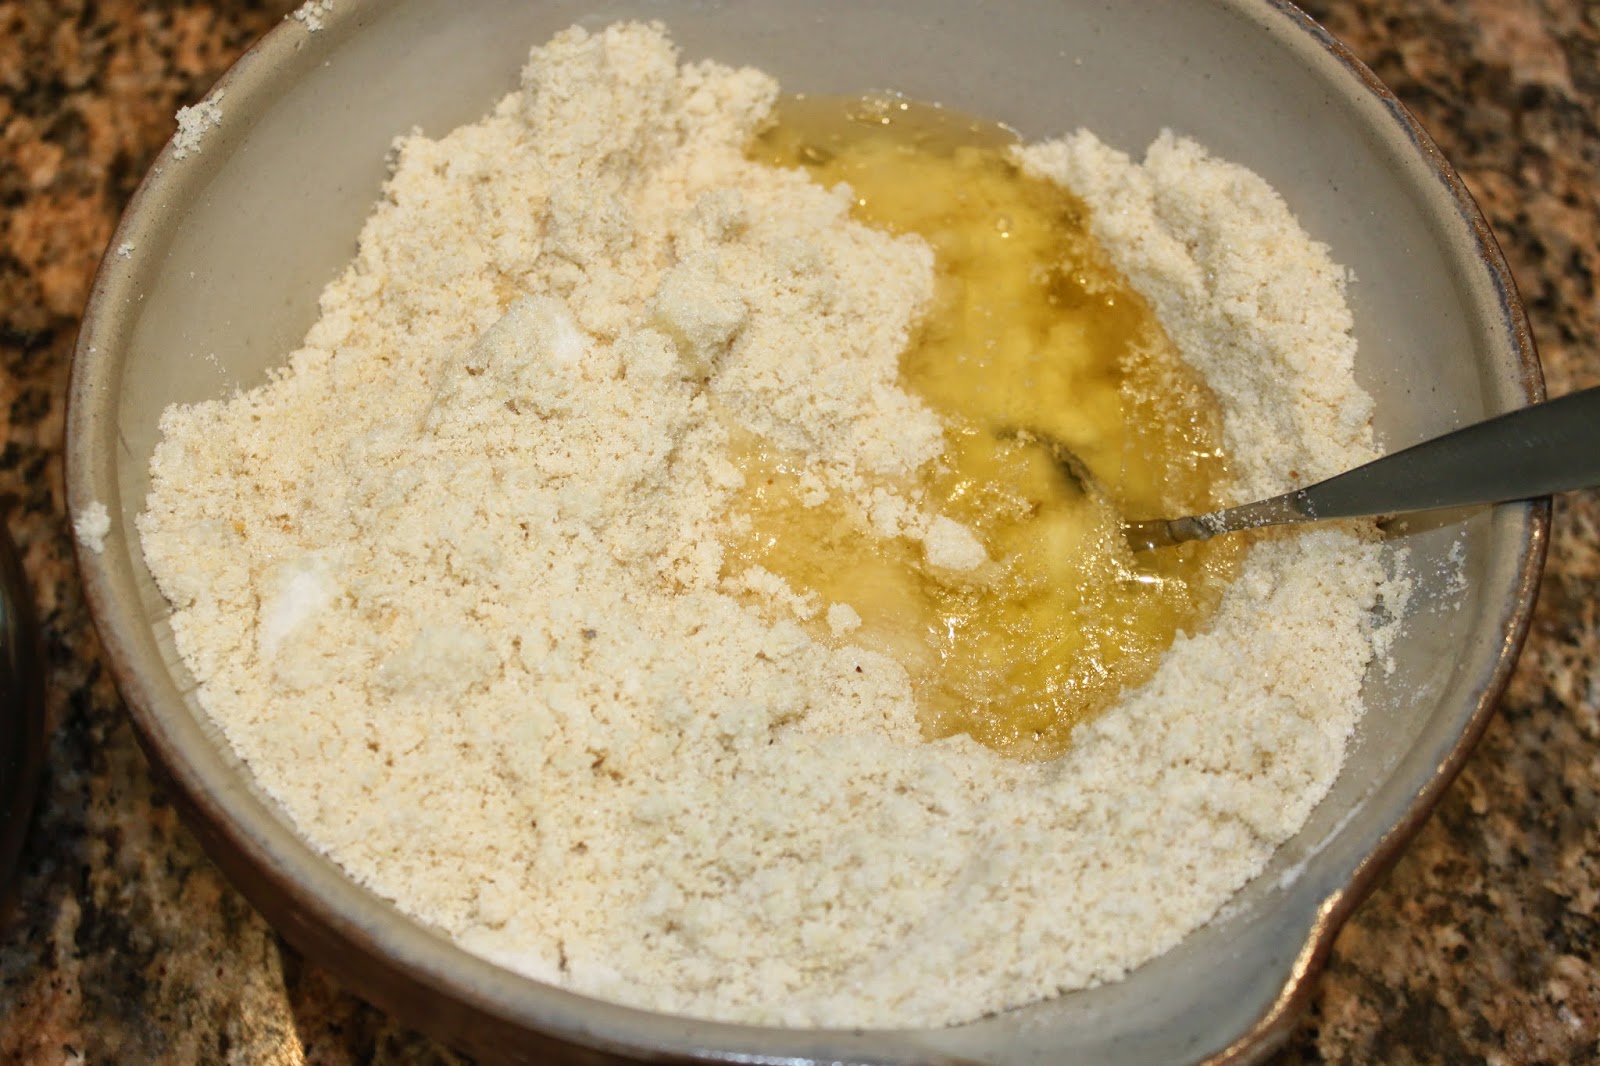

Mix well.

Pour the entire mixture into the pan and cut the dough to 5mm above.
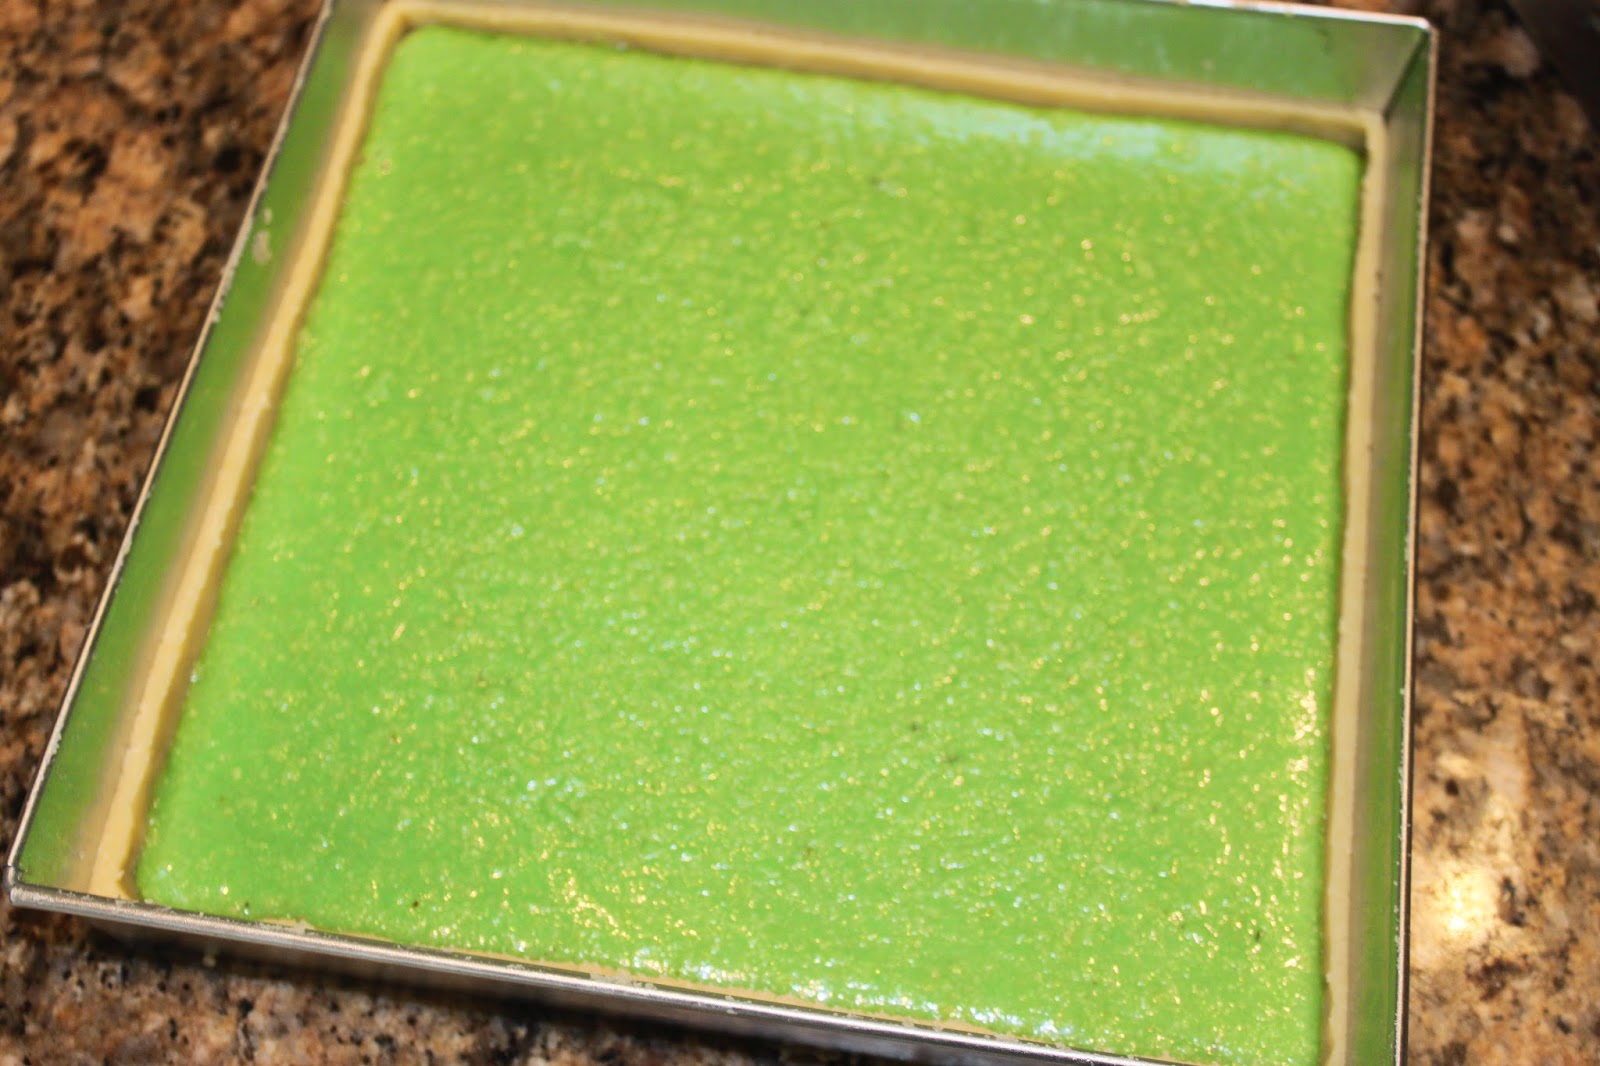
This way, you will have the right height.
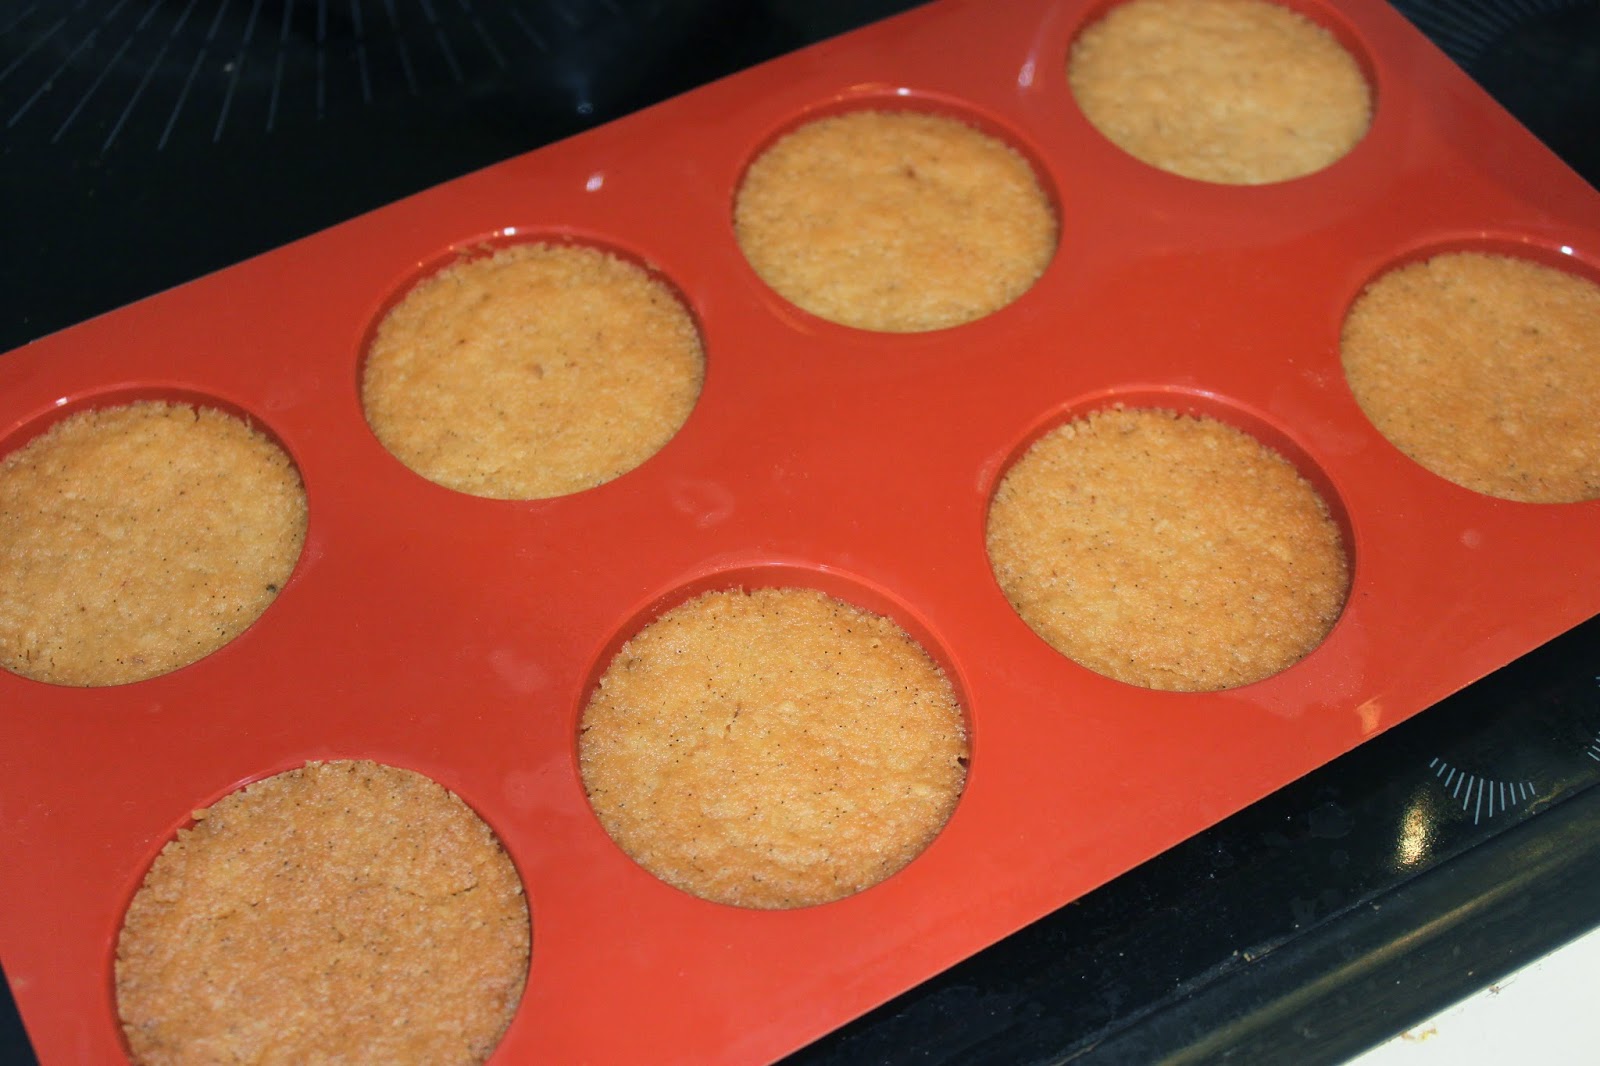
Put in the oven for 45 minutes at 180°C.

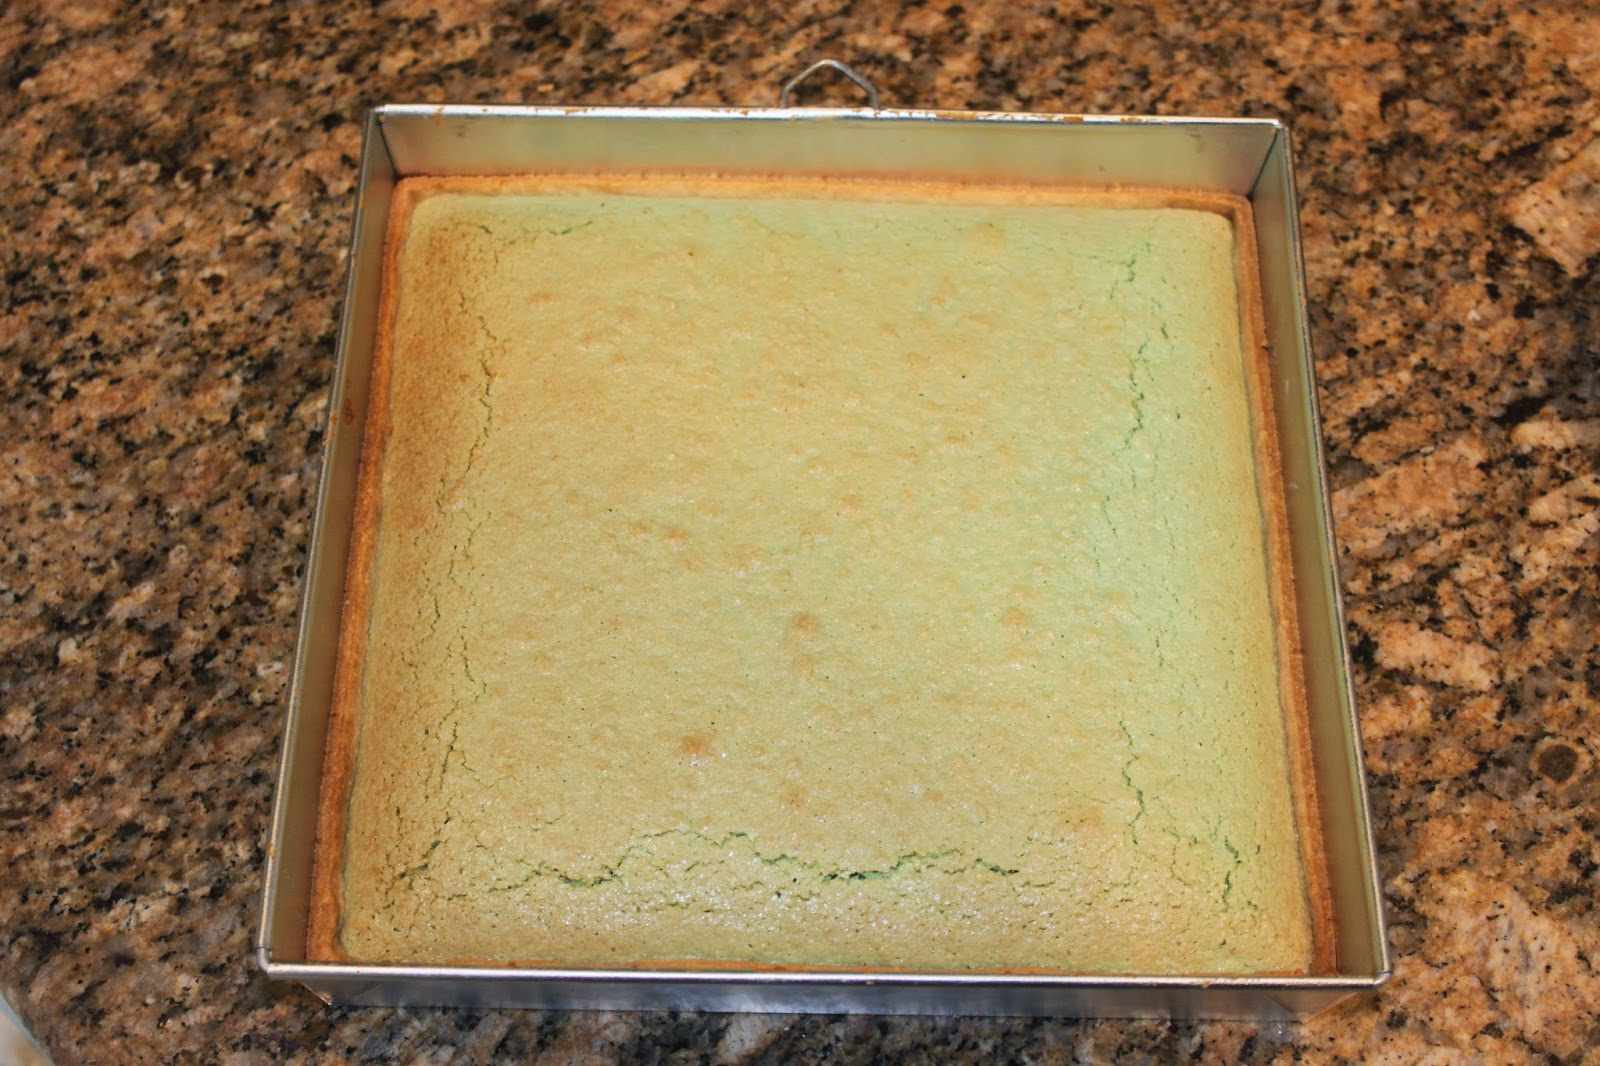
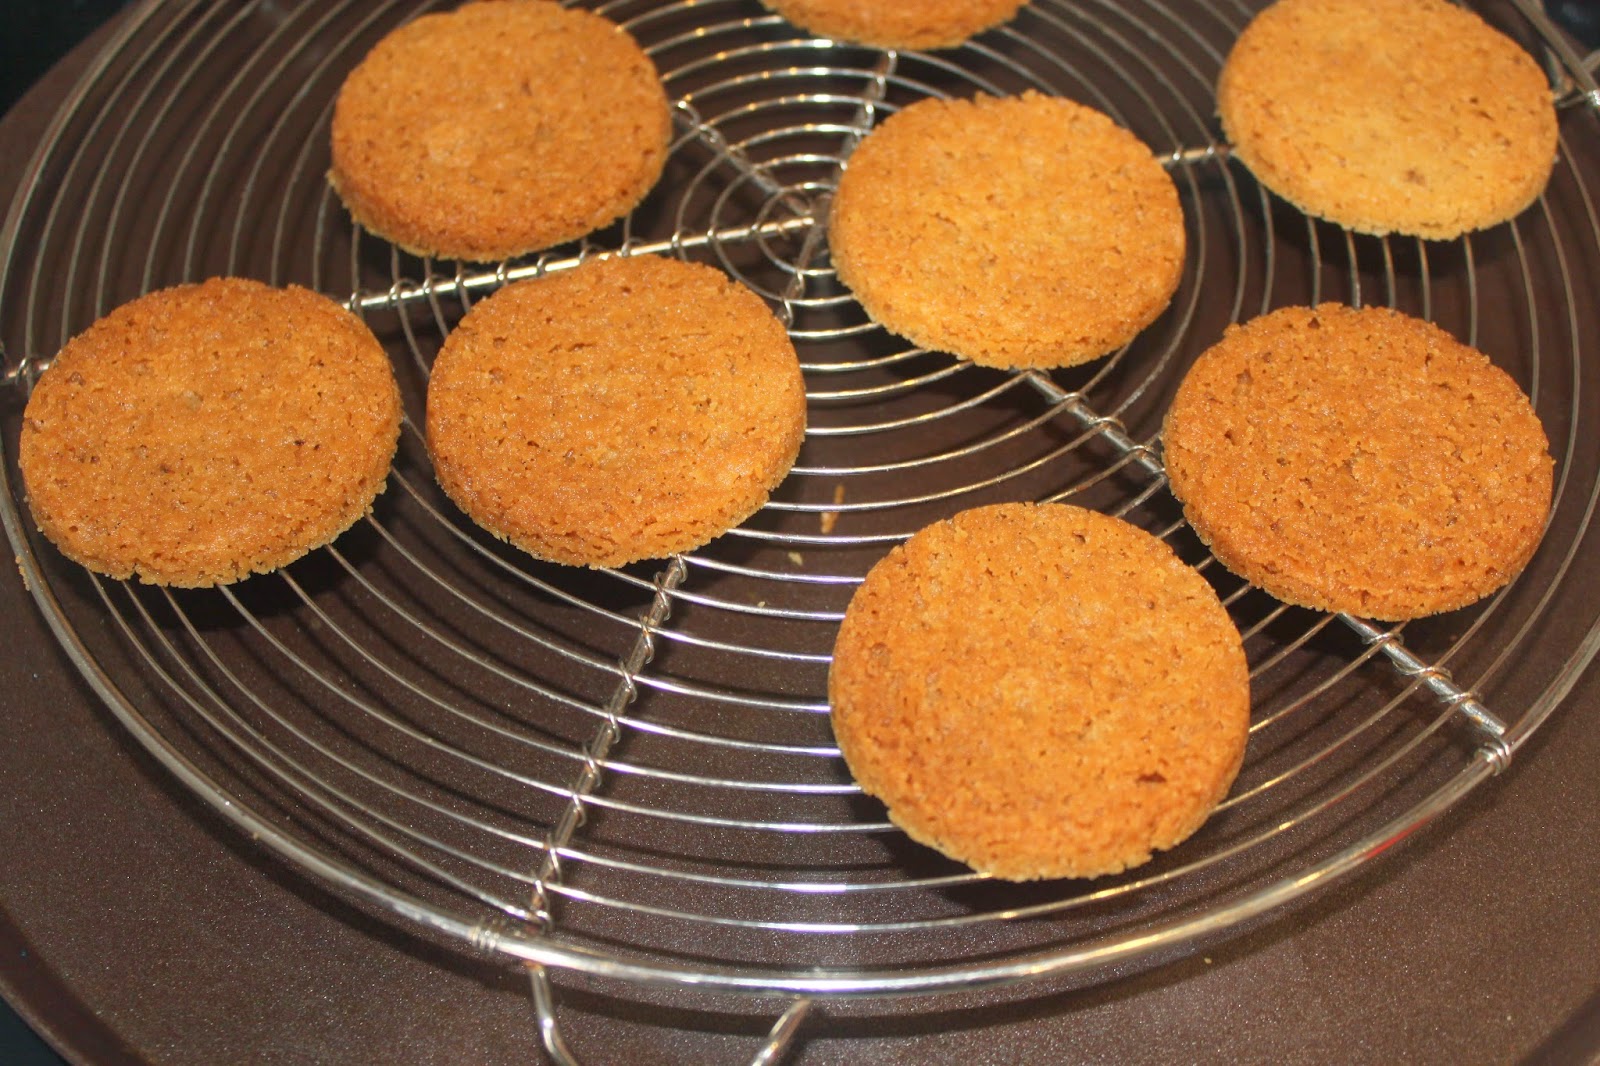
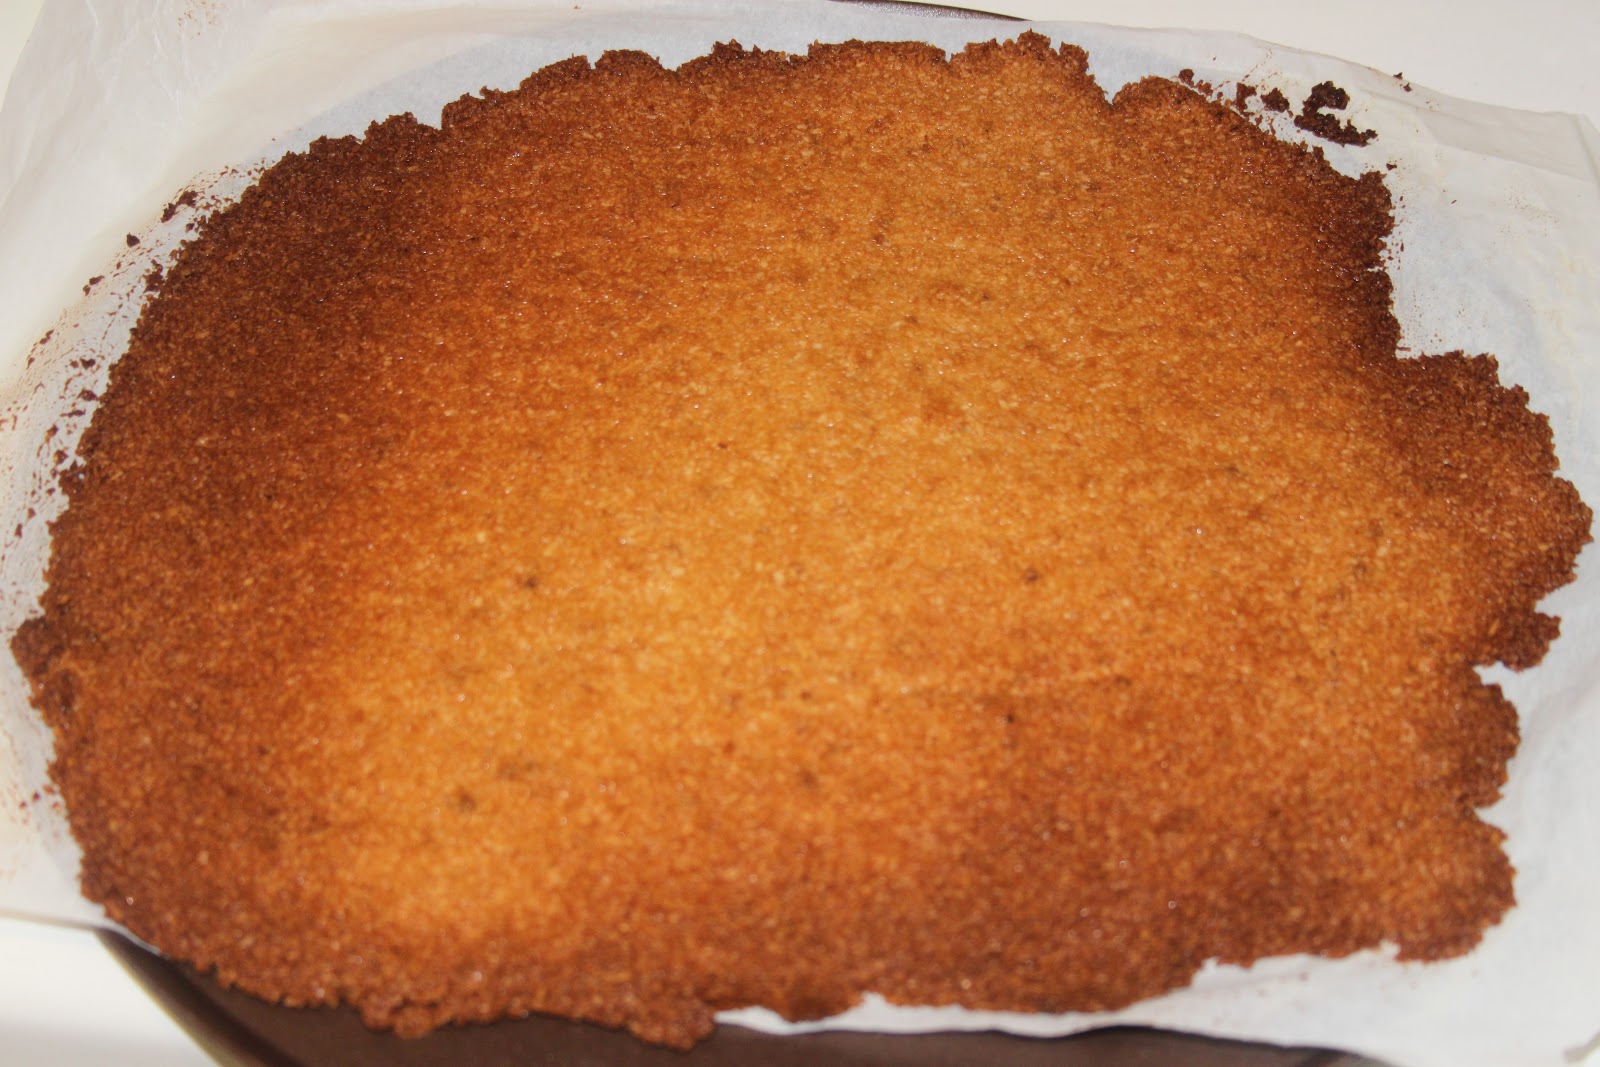
The tea crust is lightly colored but most importantly, the dough should be golden brown.

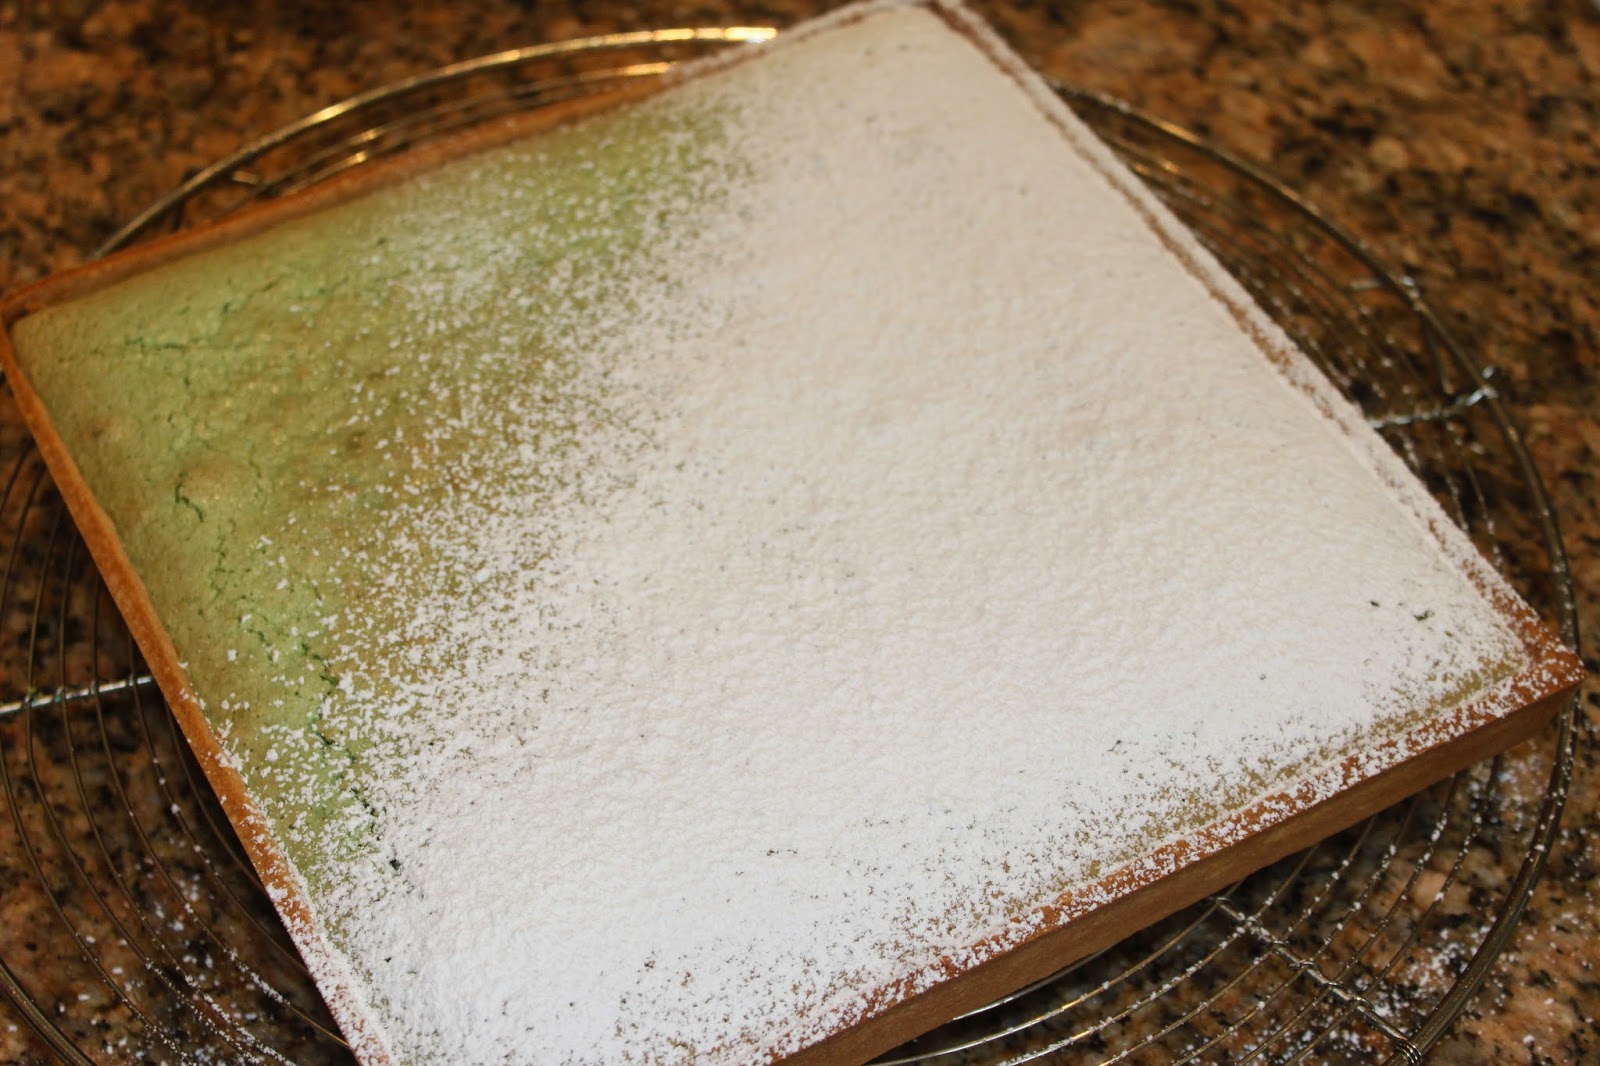
Let cool for 10 minutes, then remove from pan and cool on a wire rack.

Sprinkle generously with powdered sugar.

Recipe for a mirabelle plum tart for 6 people: (a circle of 18cm by 2.5cm high)
-600g of mirabelle plums
Cream:
-75g of almond powder
-100g of cream
-2 eggs
-60g of powdered sugar
-30g of melted butter
-1 tablespoon of Mirabelle plum brandy
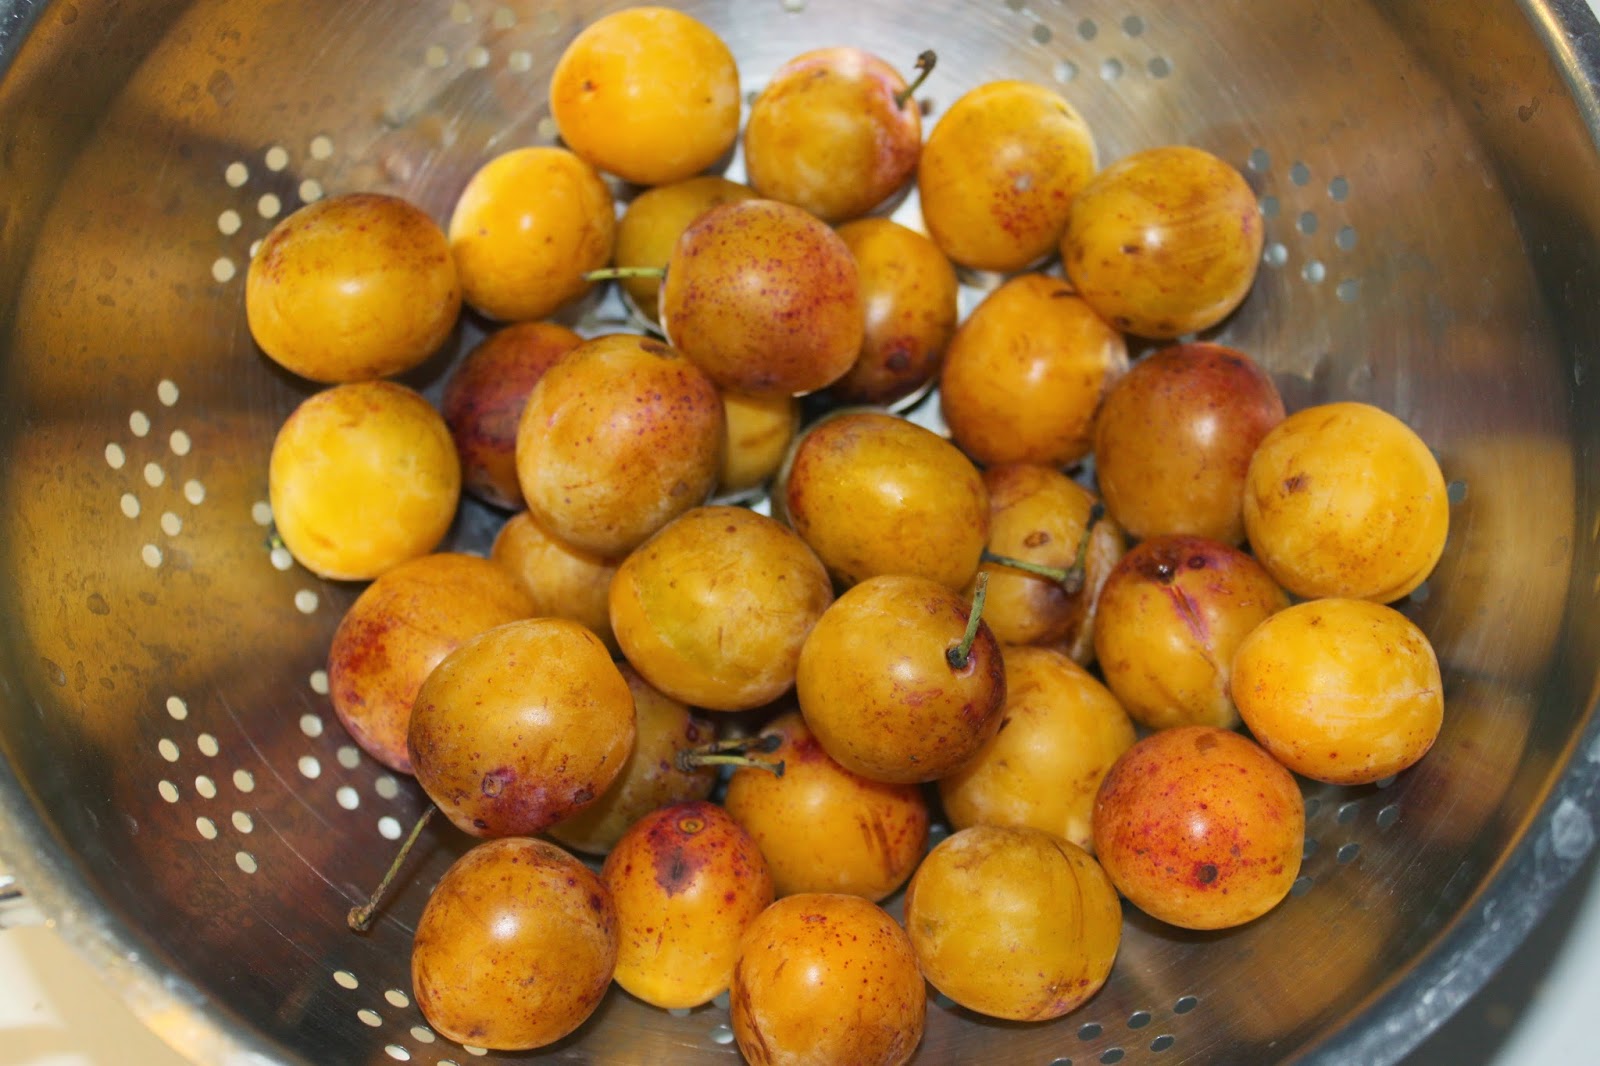
Wash the mirabelles, remove the stem and cut them in half.


Pour this cream into the pastry base where the mirabelles are.


Carefully break up the pie and place it on a wire rack to cool.


Dough:
-125g of flour
-140g of butter
-50g icing sugar
-1 vanilla bean
-a pinch of salt
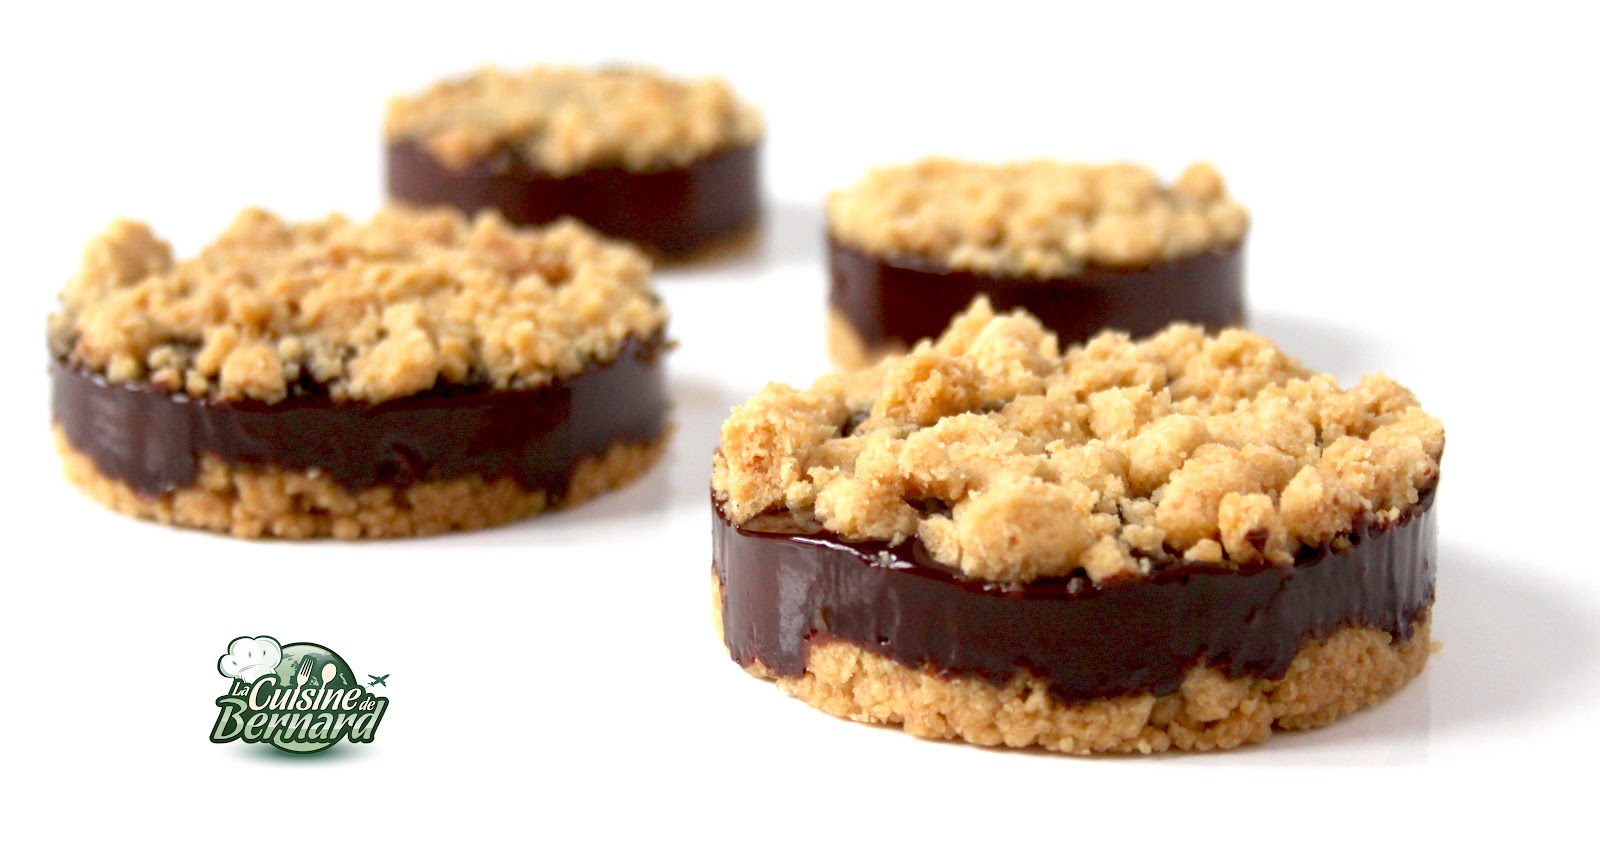
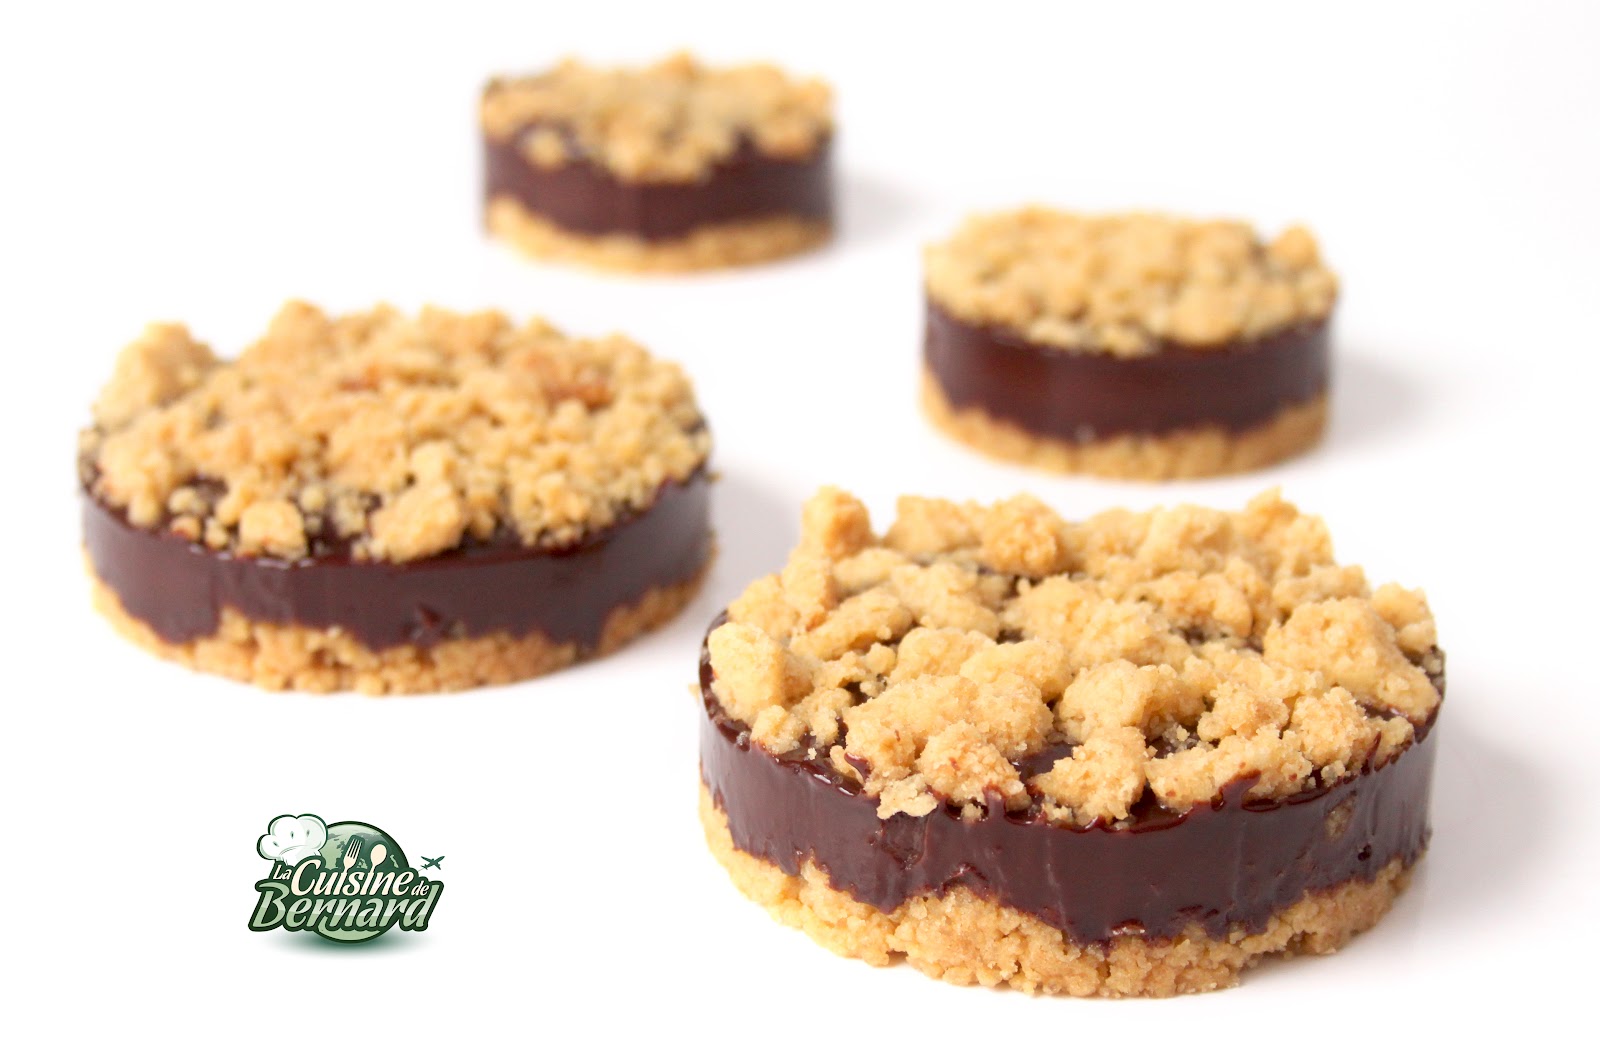
Soft and crunchy praline (optional)
-75g of praline paste (recipe HERE)
-75g of hazelnut paste (recipe HERE)
-15g of milk chocolate
-15g of dark chocolate
-25g of crushed crêpes dentelles
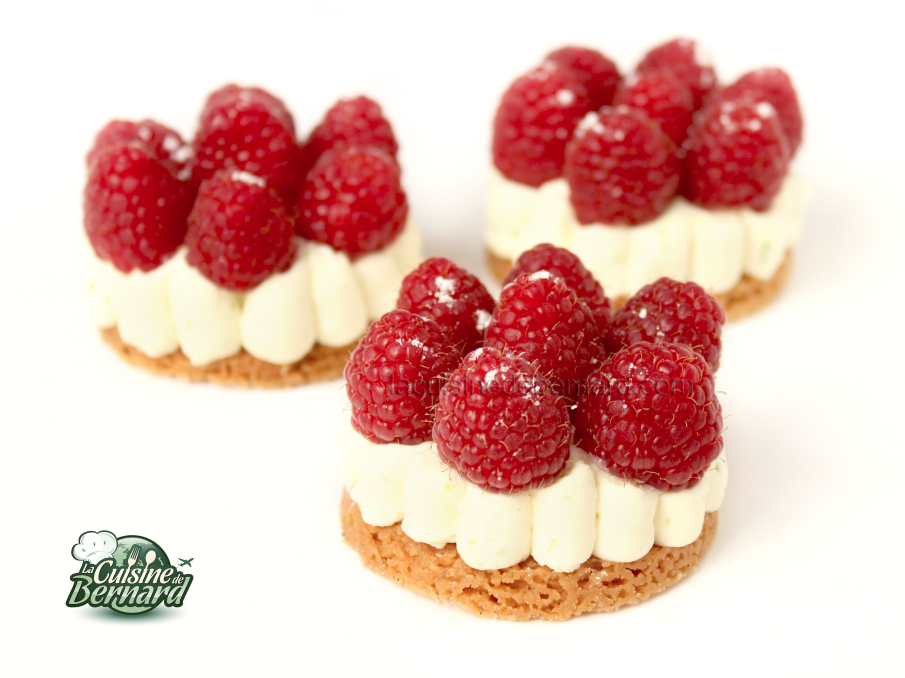
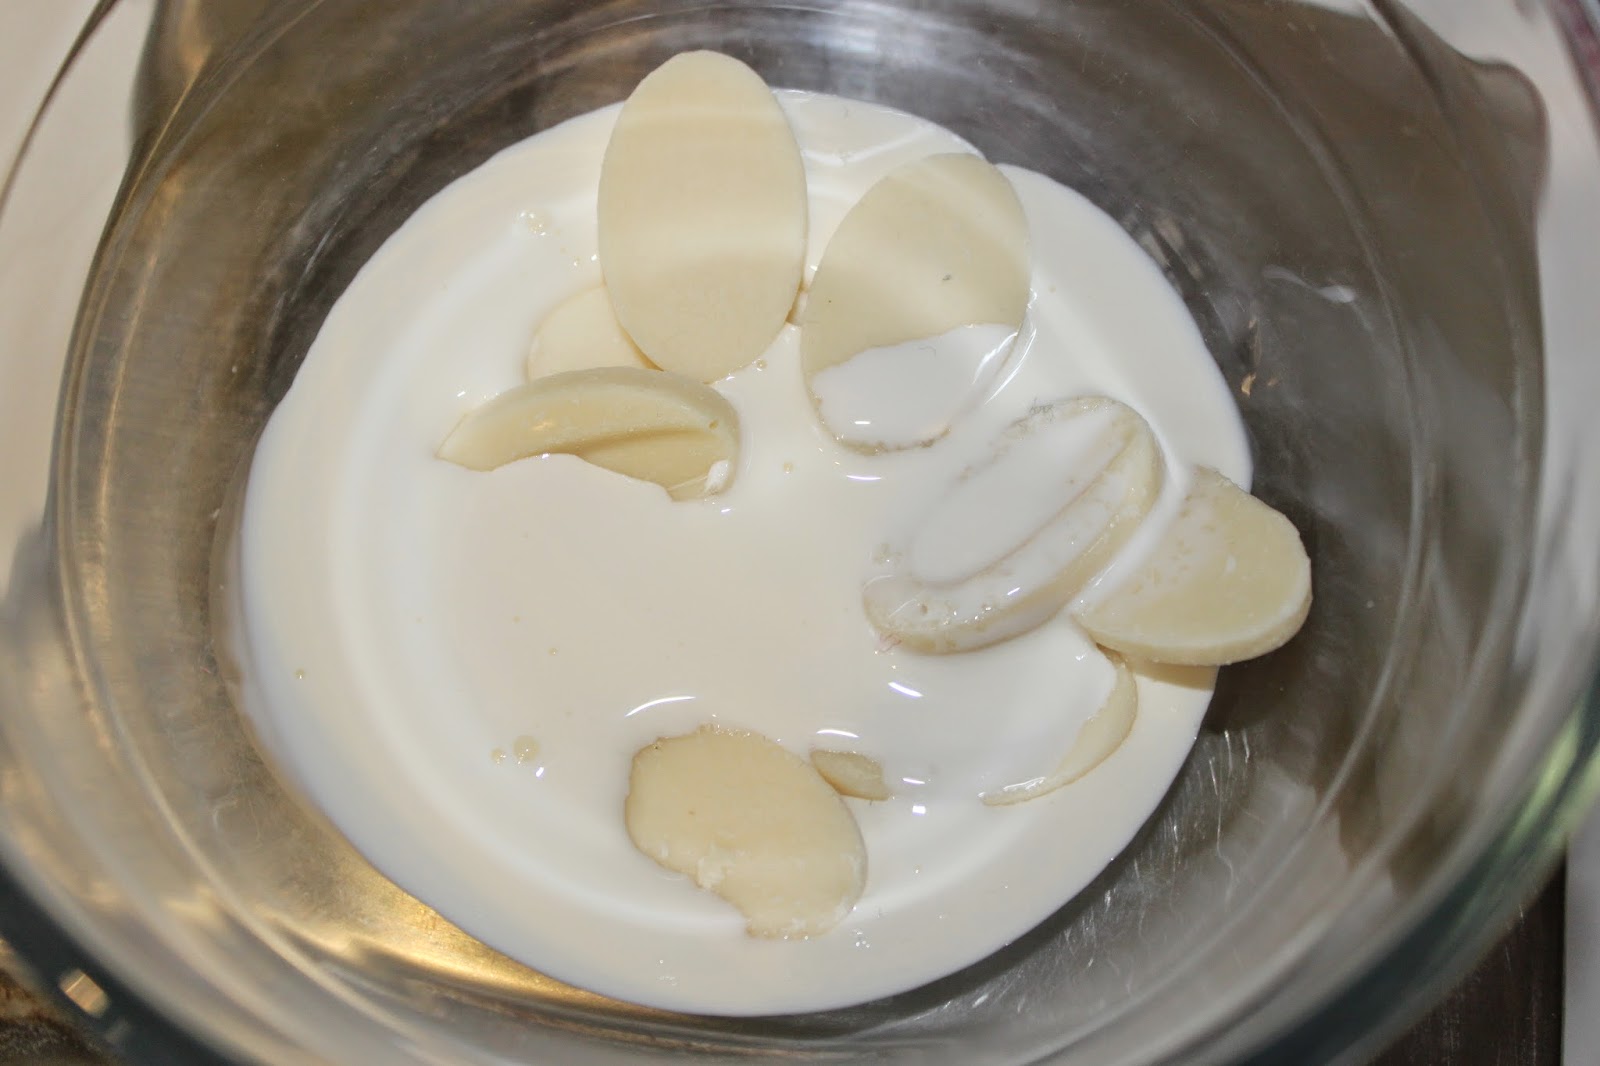
White chocolate and lime whipped cream:
-80g of ivory cover
-80g of liquid cream
irst
then:
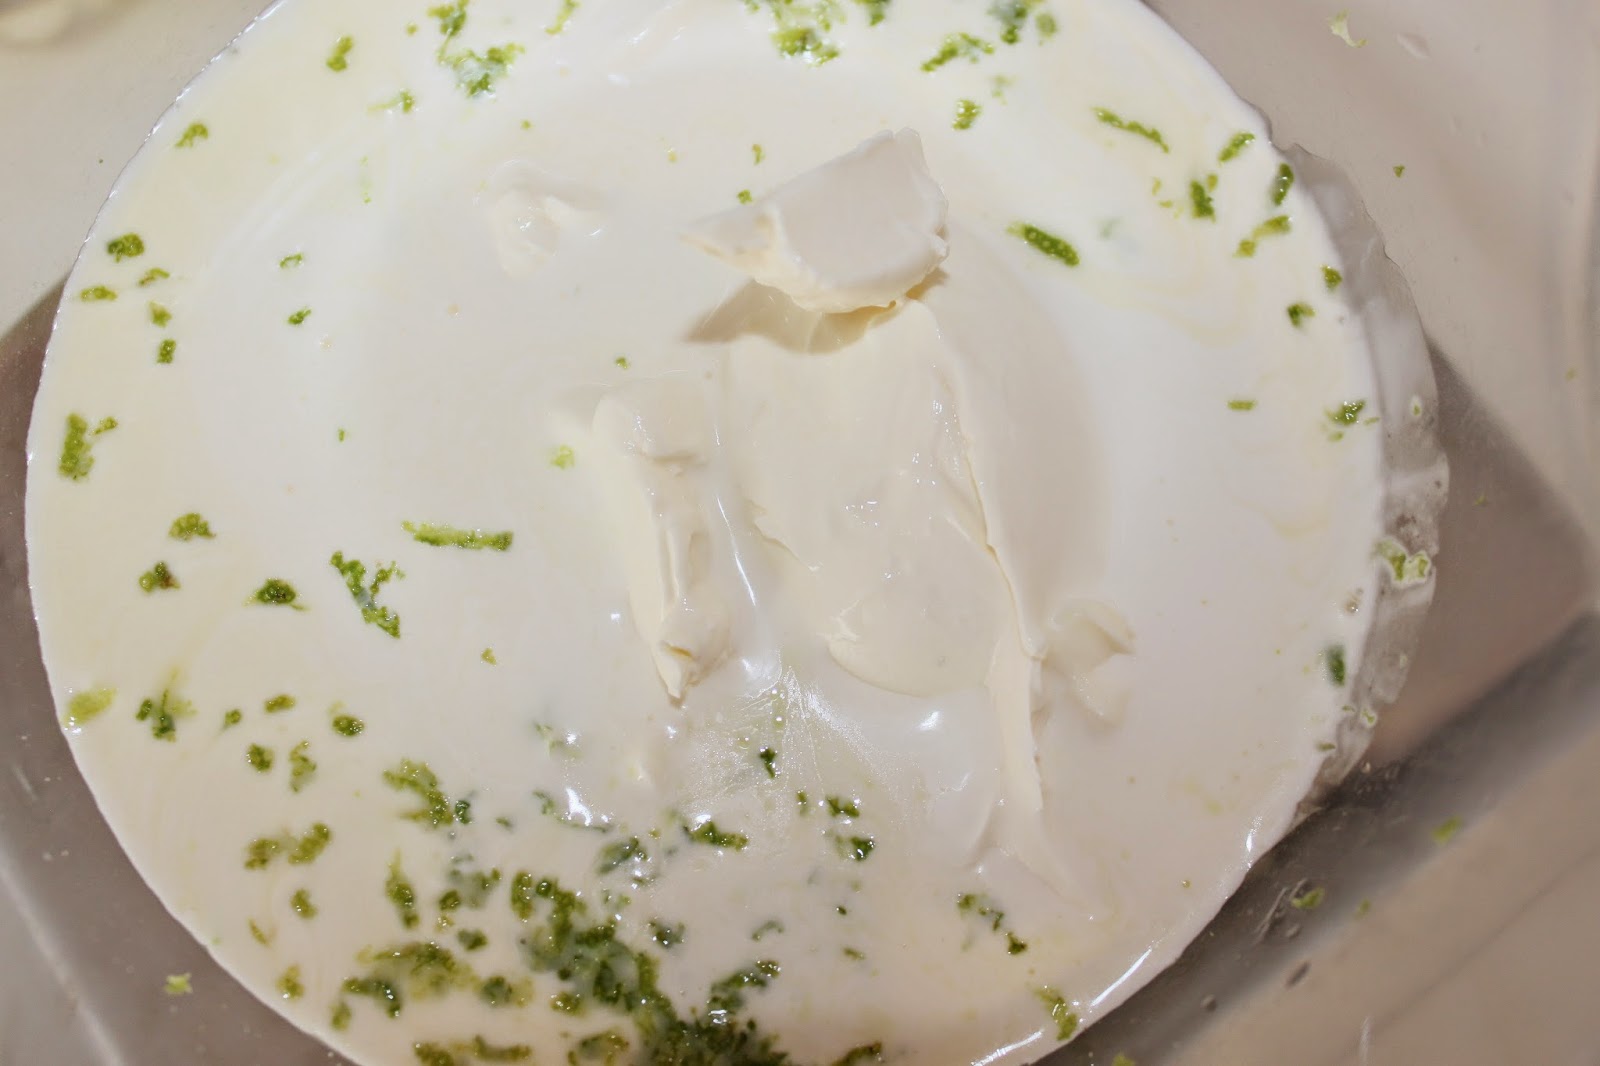
-160g of mascarpone
-160g of full cream
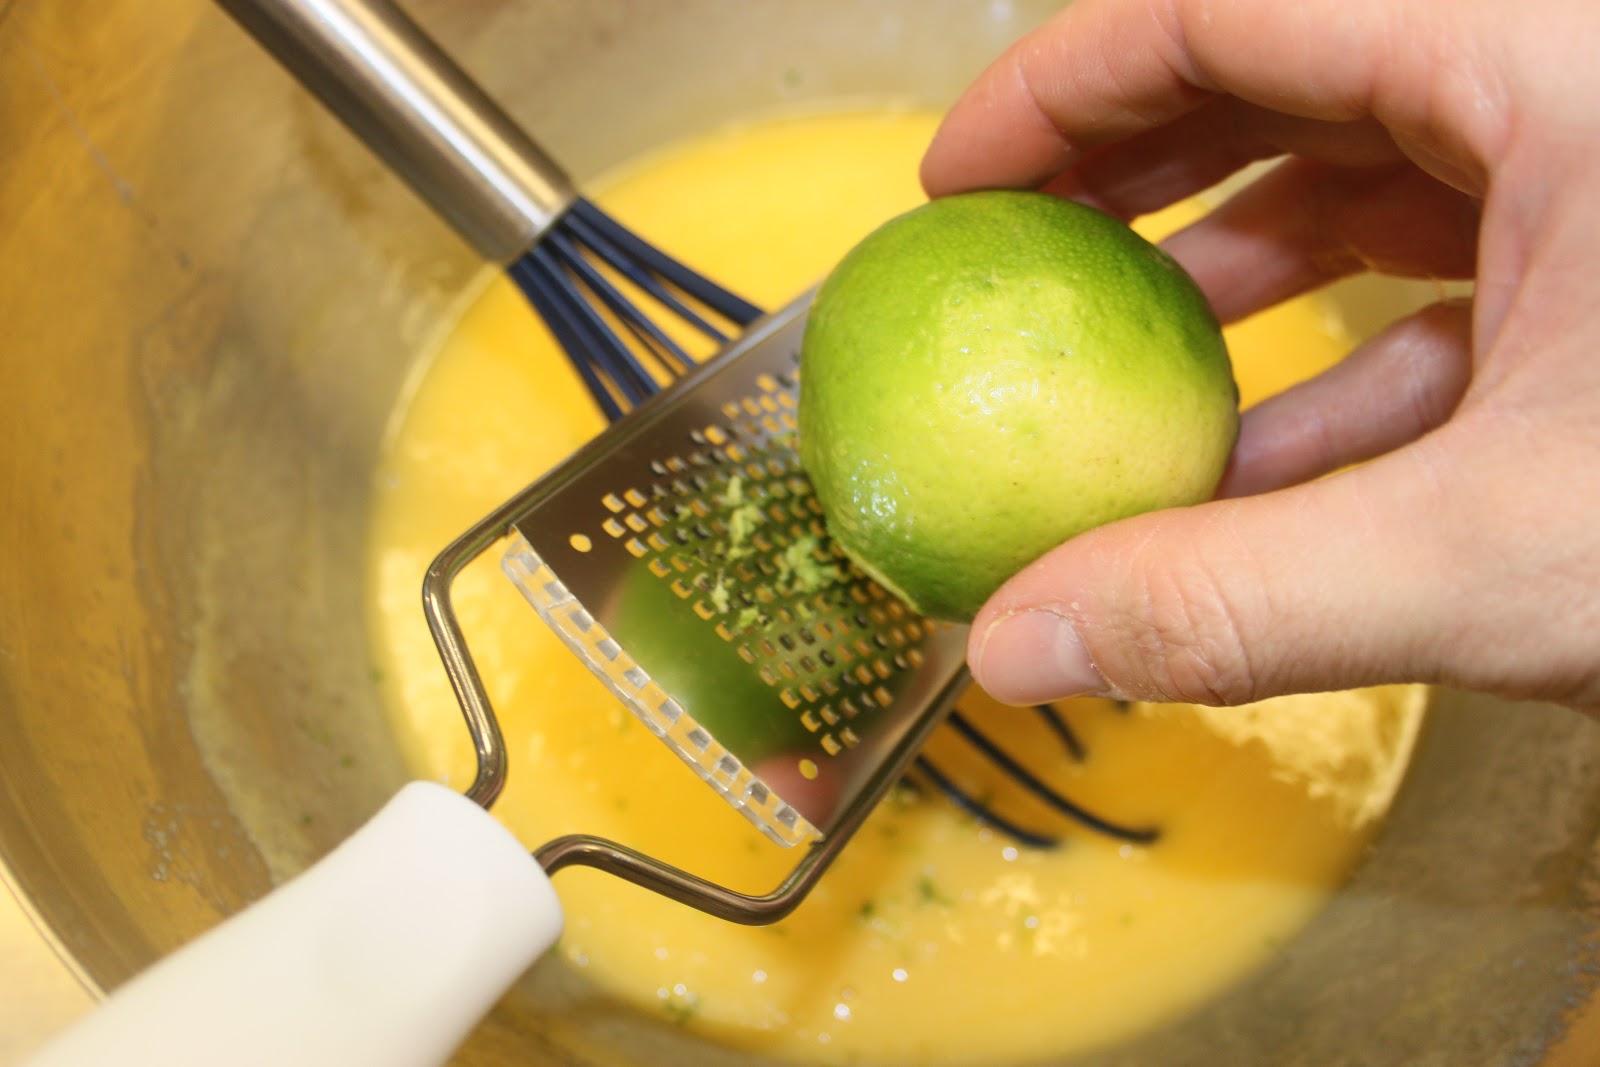
-the zest of 2 limes
-300g of fresh raspberries

If you don’t have the right diameter, it’s not a big deal. Do to the inspiration !


Place the sugar, flour and cold butter cut into pieces in the bowl of a food processor or in a bowl.


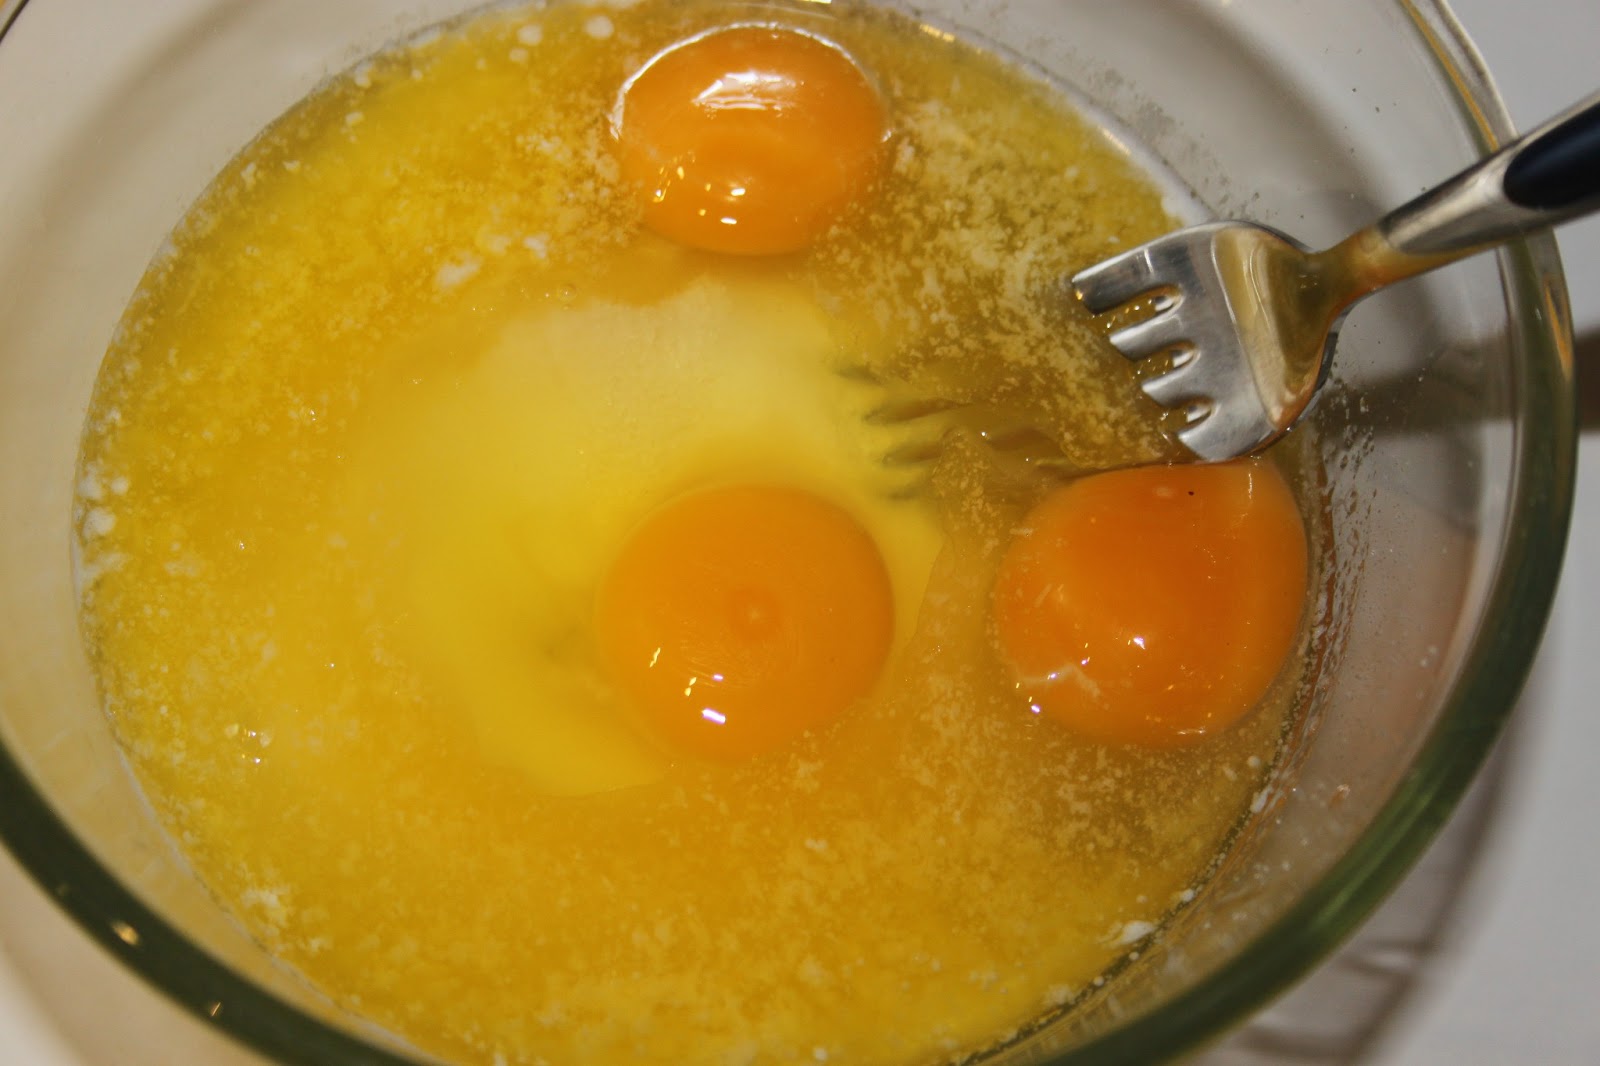
Mix eggs, melted butter and sugar.


Recipe for a dozen tarts:
A recipe for salted butter caramel sauce (recipe HERE)
Instructions:


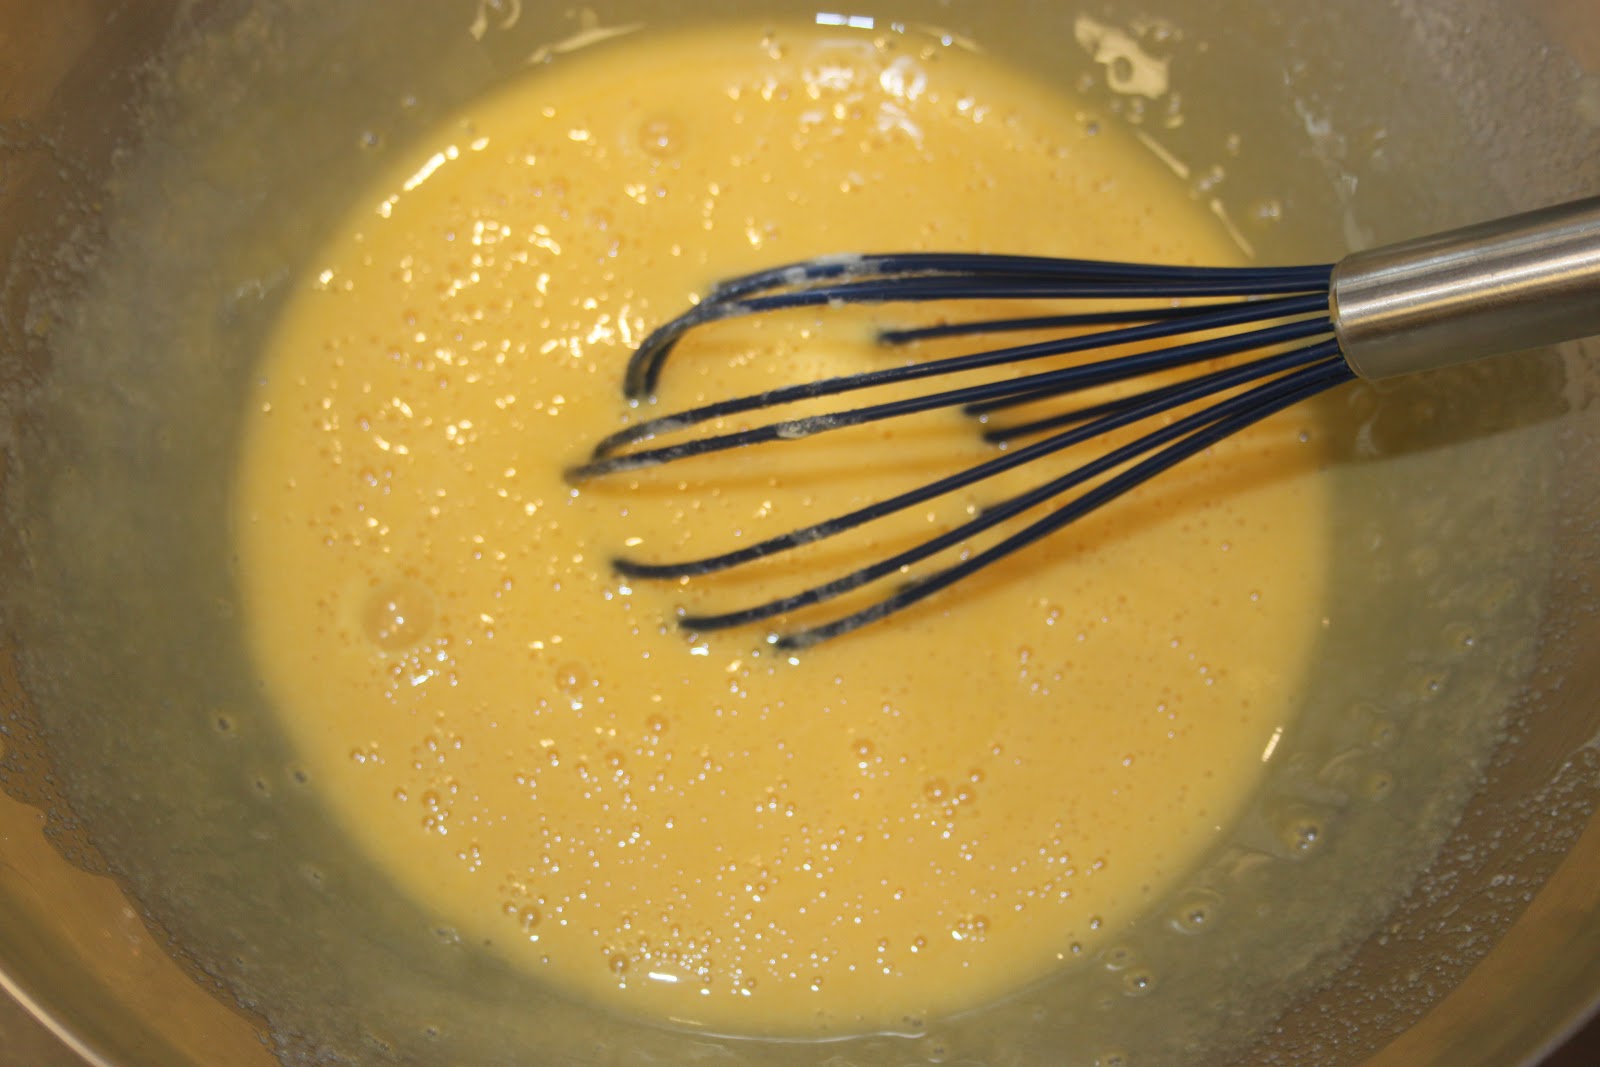
Mix half of the sugar and the yolks.


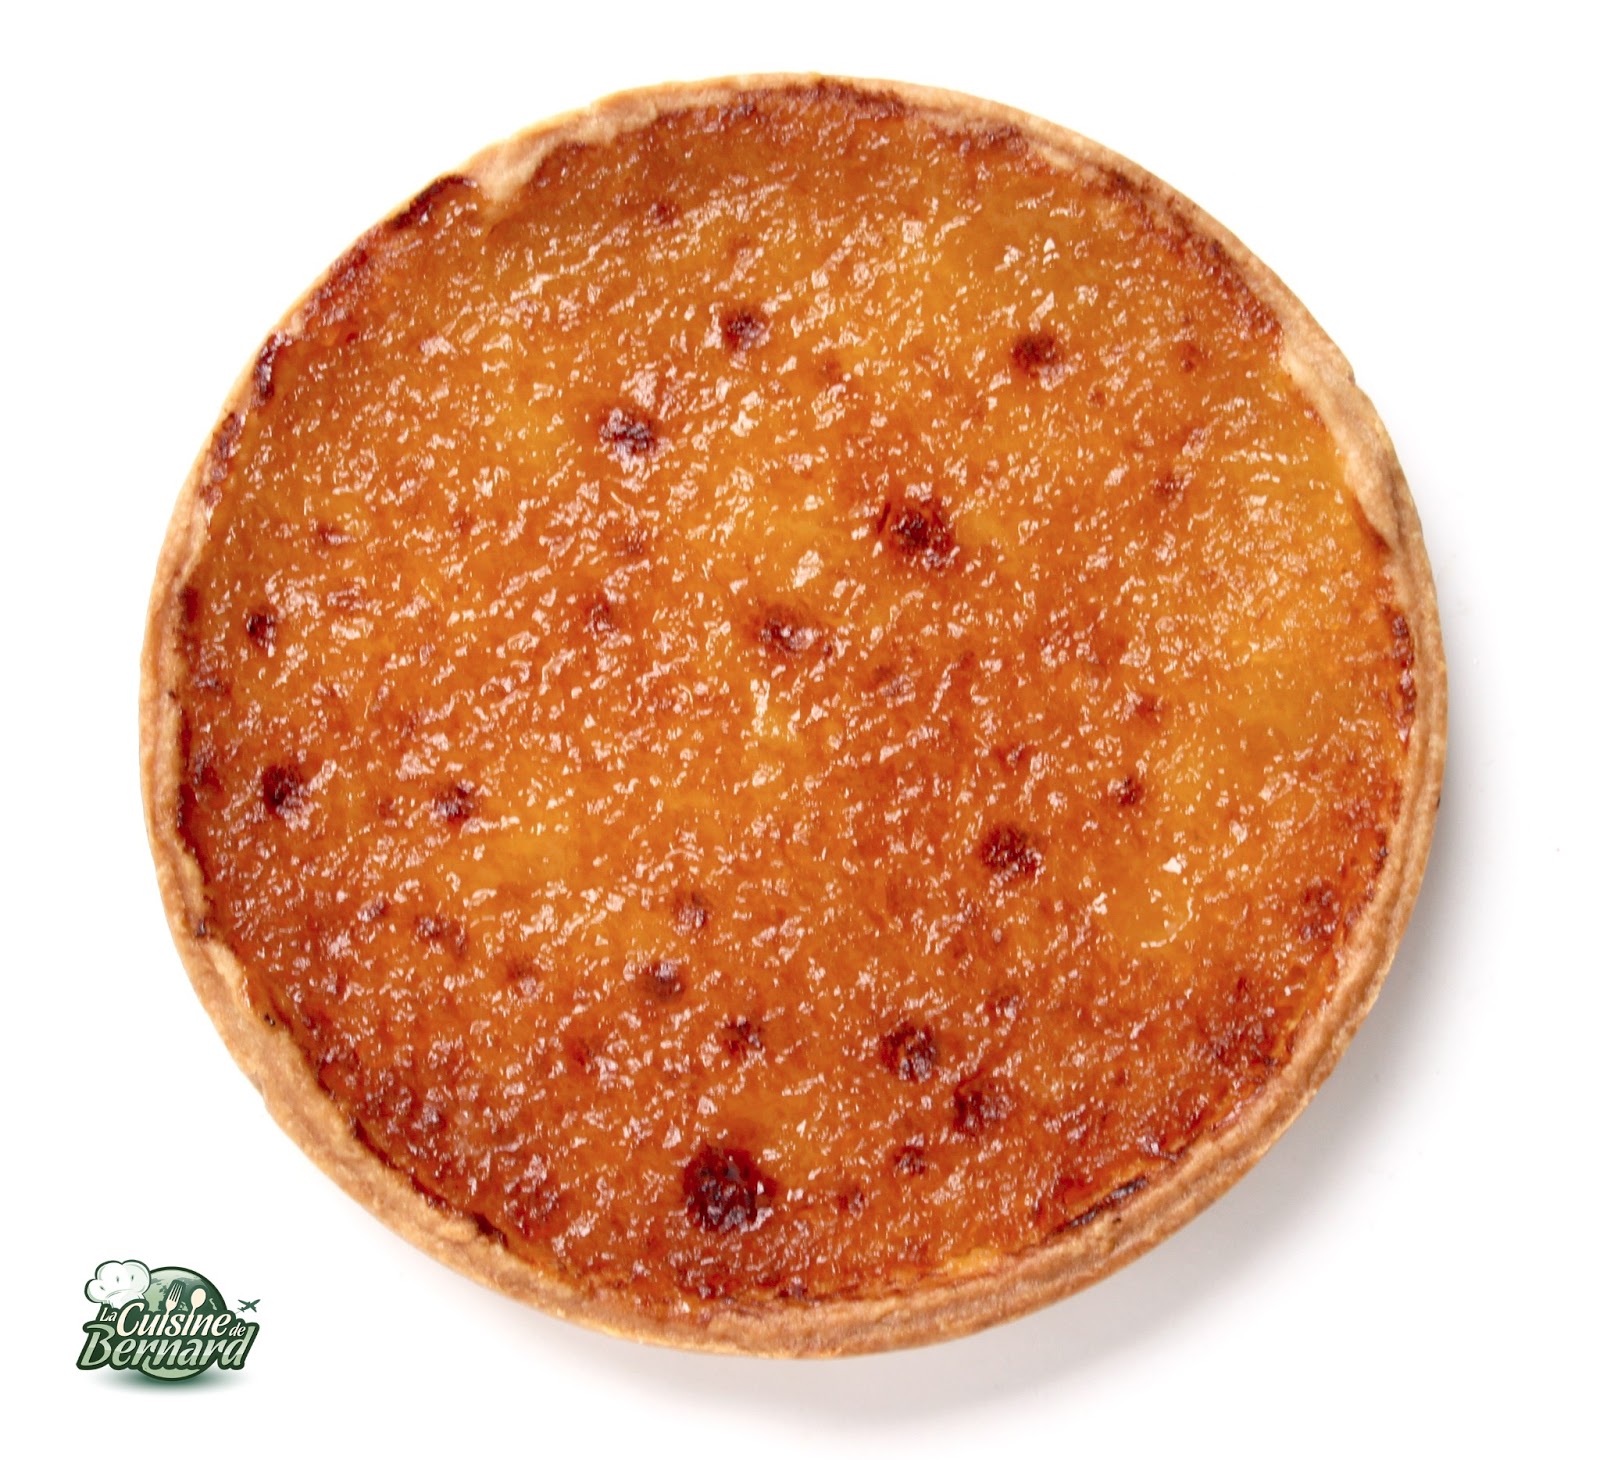
Tartelettes au Caramel et Crème Brûlée
Ingredients
- Une recette de sauce au caramel au beurre salé (recette ICI)
Pâte sucrée :
- 210 g farine
- 125 g de beurre doux en morceaux
- 25 g de poudre d’amande
- 50 g d’œuf battu
- 1 pincée de sel
- 35 g de sucre glace
- 1 gousse de vanille
Appareil à crème brulée :
- 5 jaunes d’œufs
- 90 g sucre
- 500 g de crème liquide entière
- 1 gousse de vanille
Instructions
- Commencer par préparer la sauce au caramel au beurre salé pour lui laisser le temps de refroidir et d’être à température ambiante. La recette et les explications sont ici !
Préparer ensuite la pâte sucrée :
- Mettre la poudre d’amande, le sucre glace, l’intérieur de la gousse de vanille, la farine, le sel et le beurre en morceaux dans le bol du pétrisseur.
- Sabler le mélange pour incorporer le beurre avec le « k » du robot. Ou bien à la main !
- Ajouter l’œuf battu en avance et mélanger juste pour incorporer celui-ci, mais pas plus!
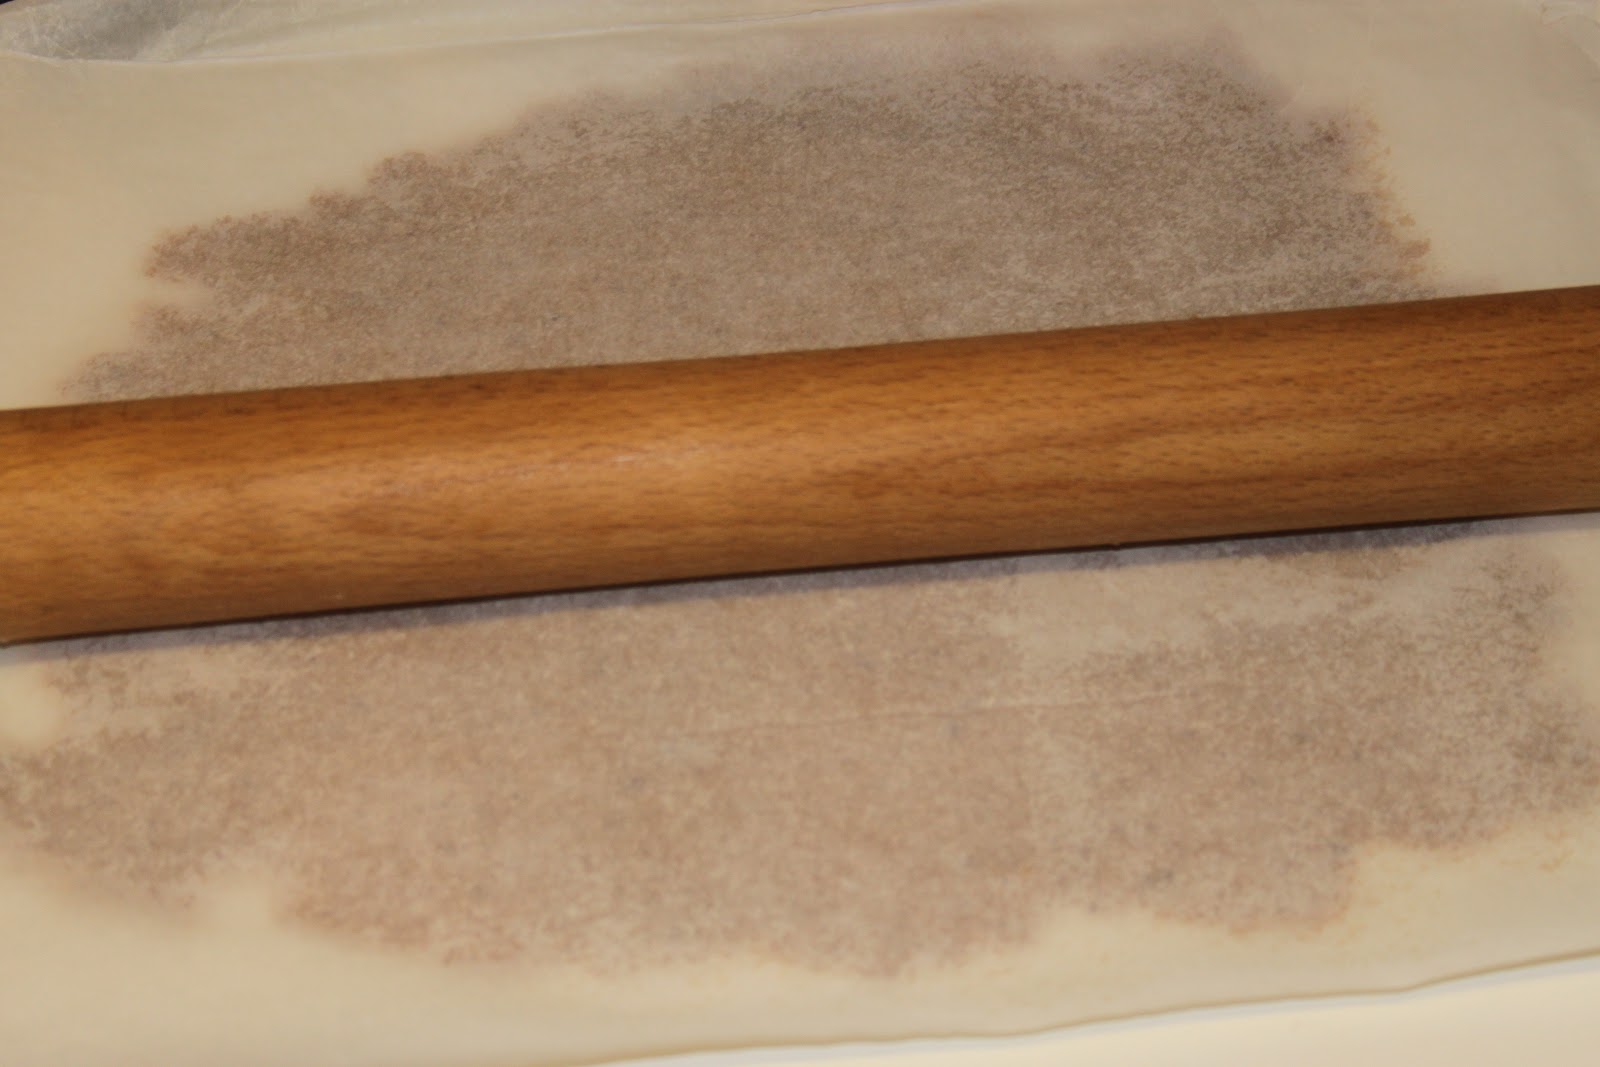
- Mettre une boule de pâte sur un papier sulfurisé et mettre une deuxième feuille de papier sur celle-ci. Étaler avec le rouleau sans ajout de farine, tout reste propre !
- Étaler la pâte assez finement et foncer de cercles à tarte de 8 cm en s’assurant de bien plaquer la pâte au fond du cercle. L’angle droit doit être parfait !
- Couper le surplus de pâte en passant un couteau sur le tour du cercle !
- Faire de même pour tous les cercles !
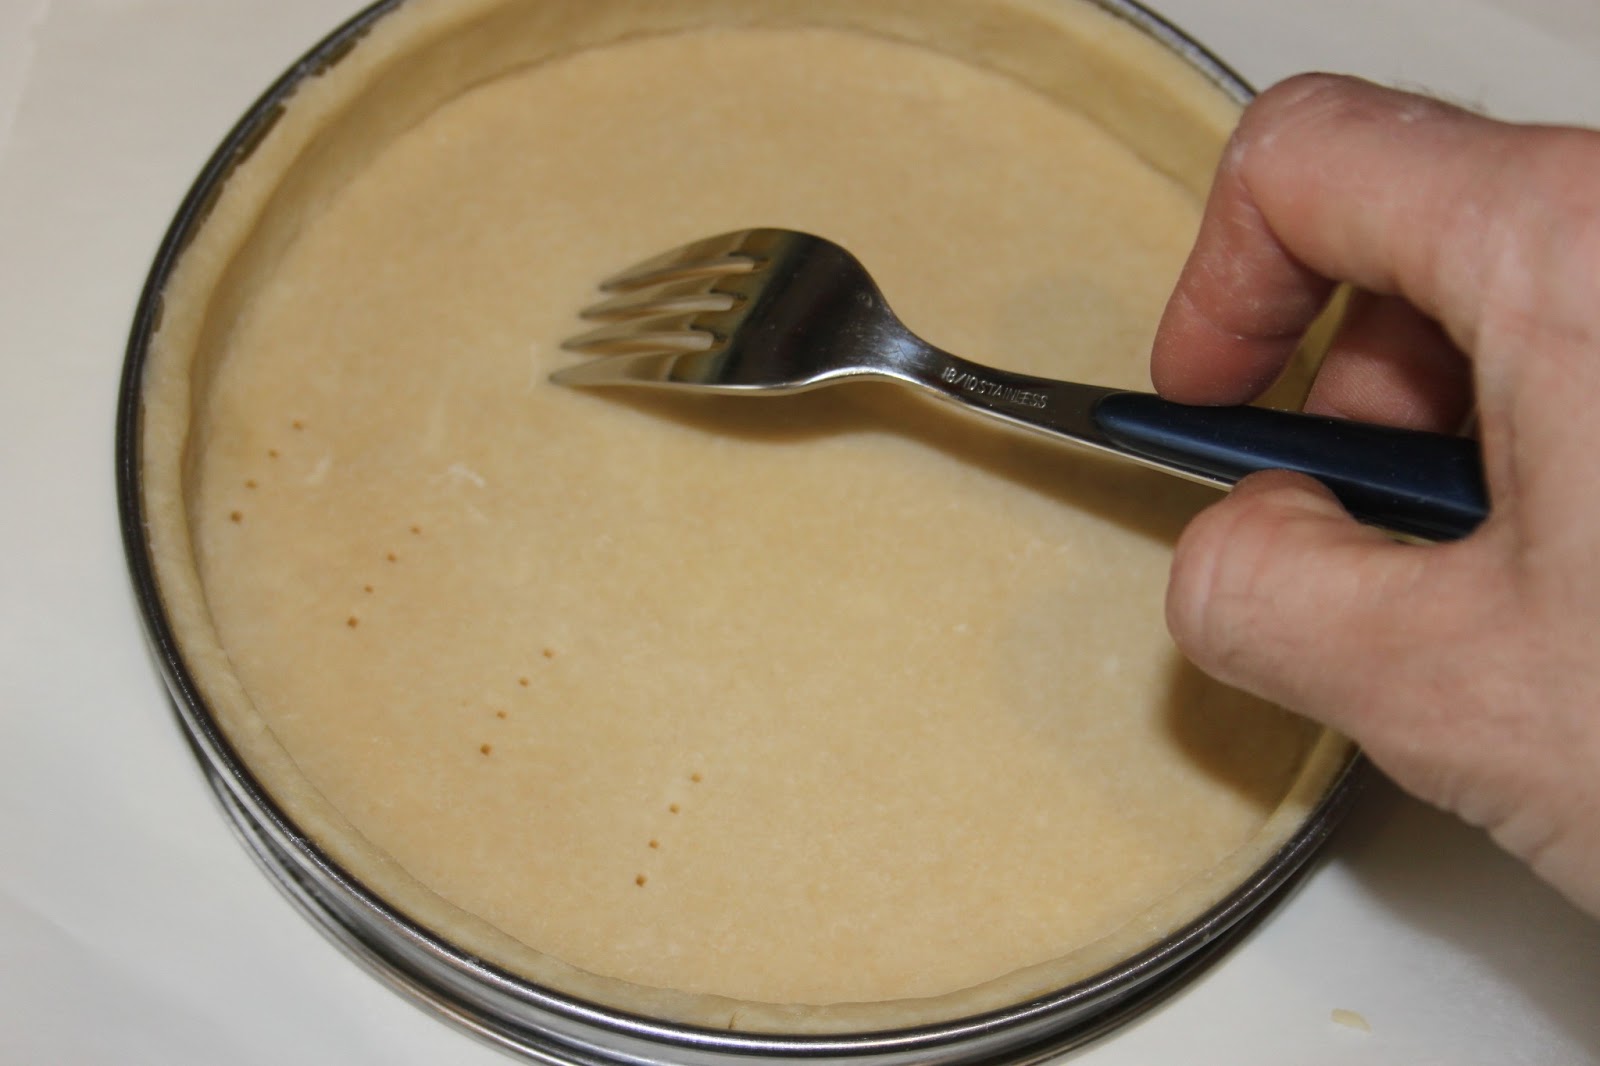
- Piquer le fond de pâte avec une fourchette sur tous les cercles.
- Mettre ensuite une feuille du film étirable (SPÉCIAL CUISSON MICRO-ONDE ! Les autres fondent !) sur un fond de pâte.
- Remplir de farine en tassant pour remplie le fond à angle droit !
- Et fermer comme un petit baluchon.
- On a à ce stade des petits cercles parfaitement foncés !
- Laisser reposer le tout sur une plaque garnie de papier sulfurisé au frais pendant une heure.
- Préchauffer le four à 180°C.
- Cuire 15 minutes à 180°C avec le sac de farine, puis au bout de laps de temps, enlever le sac en tirant simplement vers le haut. Enlever de cette façon tous les sacs.
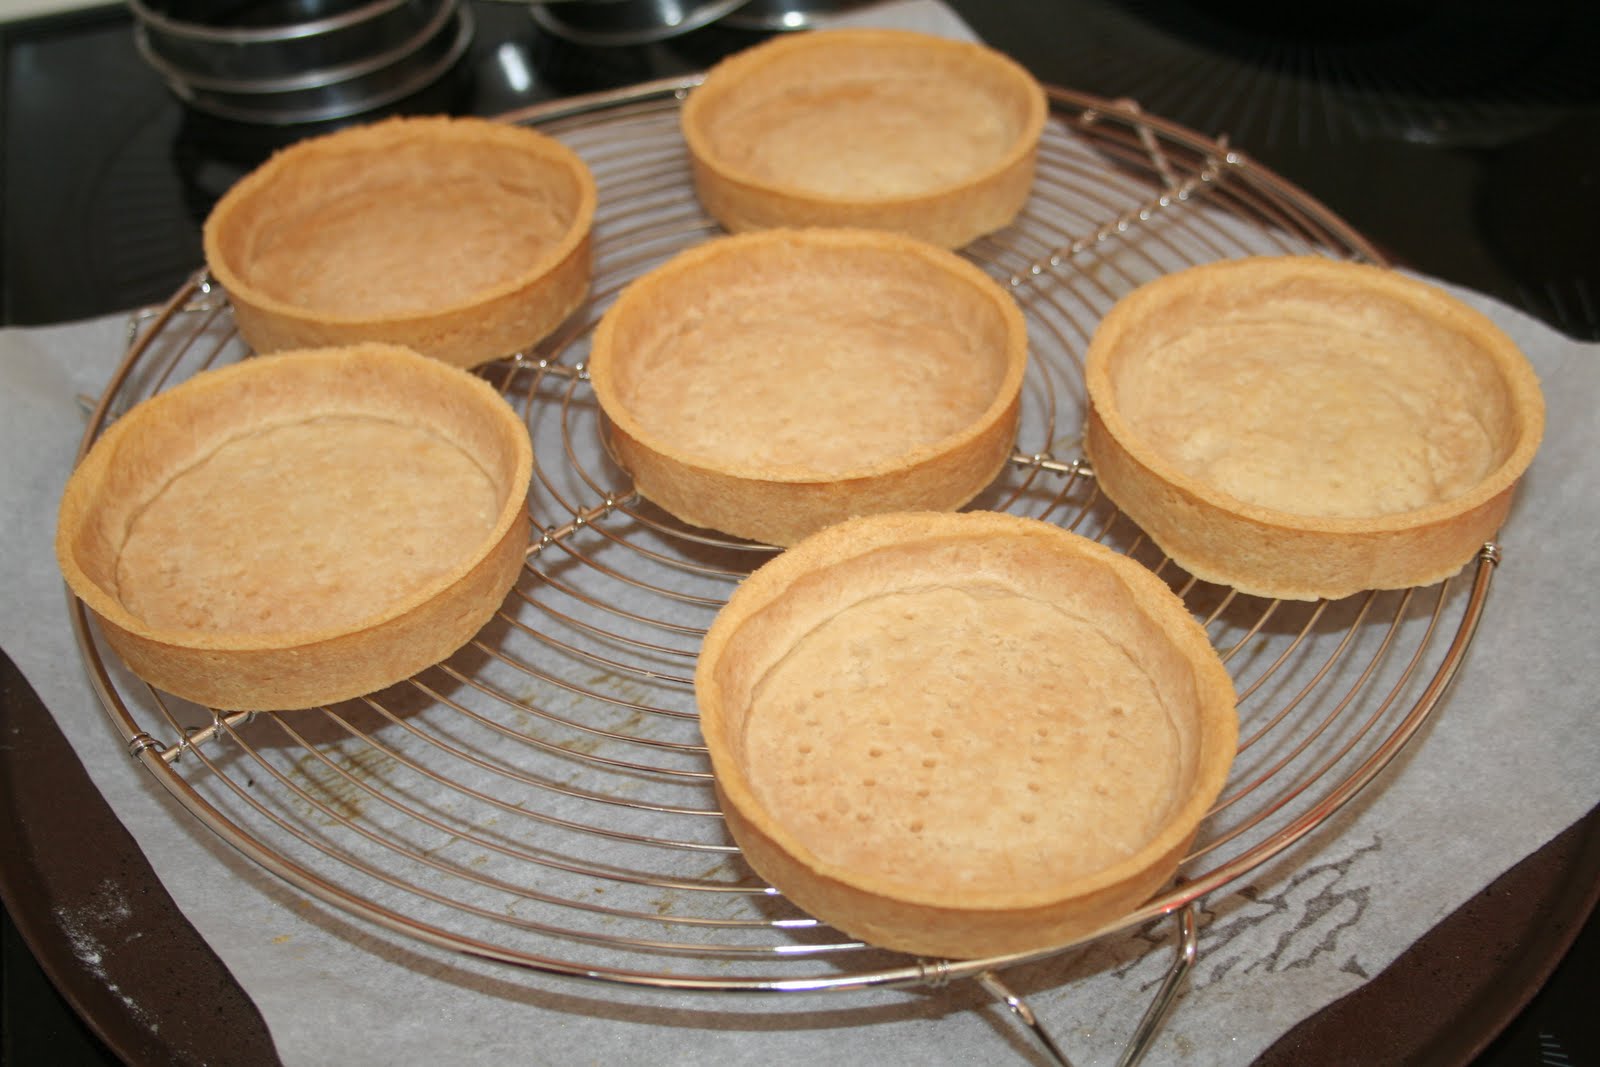
- Décercler également les fonds de pâte avec précaution. Remettre les fonds de pâte au four pour 15-20 minutes en surveillant.
- On obtient alors des fonds de pâte prêts à être garnis de délicieuses crème !
- Si l’on a bien fait le travail, on peut voir l’angle droit! On peut tout à fait cuire un petit peu plus ces fonds de pâte.
- Sortir les fonds et les laisser refroidir.
- Baisser le four à 100°C.
- Mélanger la moitié du sucre et les jaunes.
- Conseil de Bernard : surtout ! Ne pas les faire blanchir ! Cela donnerait une mousse que l’on ne désire pas ! Dans presque toutes les recettes ils conseillent de bien blanchir et bien non je ne suis pas d’accord ! Le résultat (après beaucoup d’essais) est bien meilleur sans cette étape !
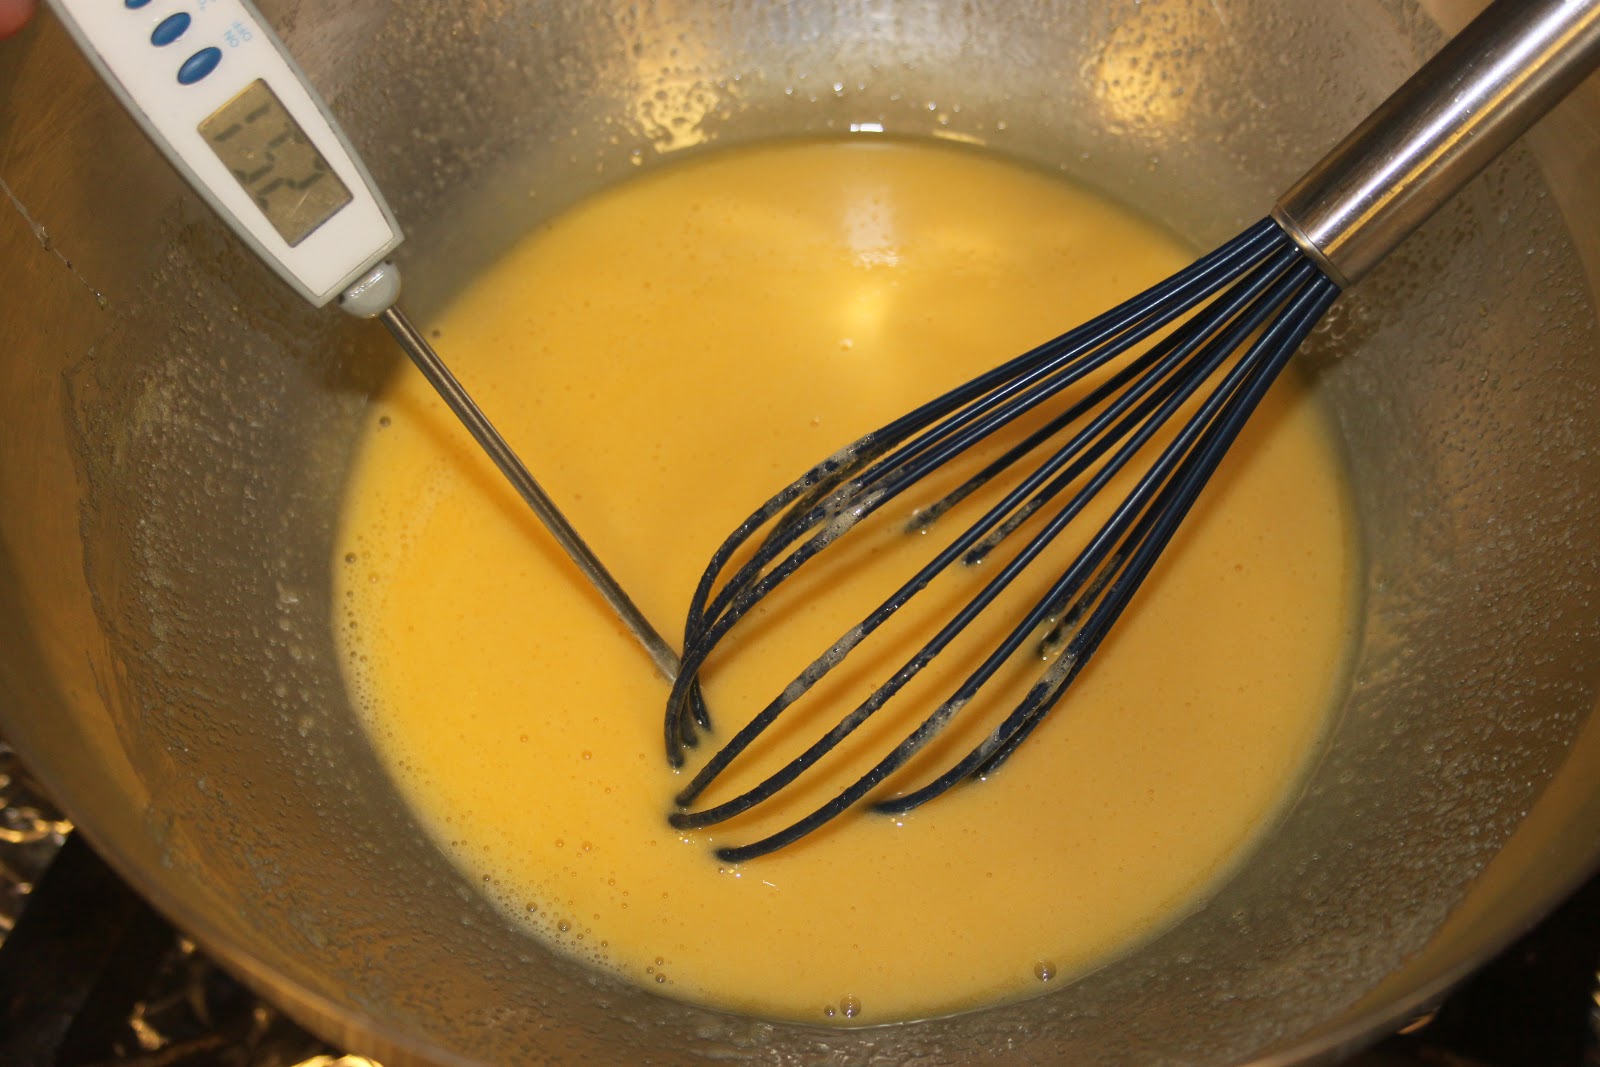
- Chauffer la crème, l’autre moitié du sucre et la gousse de vanille fendue et grattée.
- Dès la première ébullition, enlever du feu et verser sur le mélange jaunes/sucre.
- Remettre sur le feu doux et cuire comme une crème anglaise, c’est à dire ne pas la faire bouillir et arrêter quand celle-ci nappe la cuiller en bois d’une couche de crème. Enlever du feu, enlever la gousse de vanille, passer un coup de mixer plongeant dans la crème pendant trois ou quatre minutes (cela va uniformiser la crème).
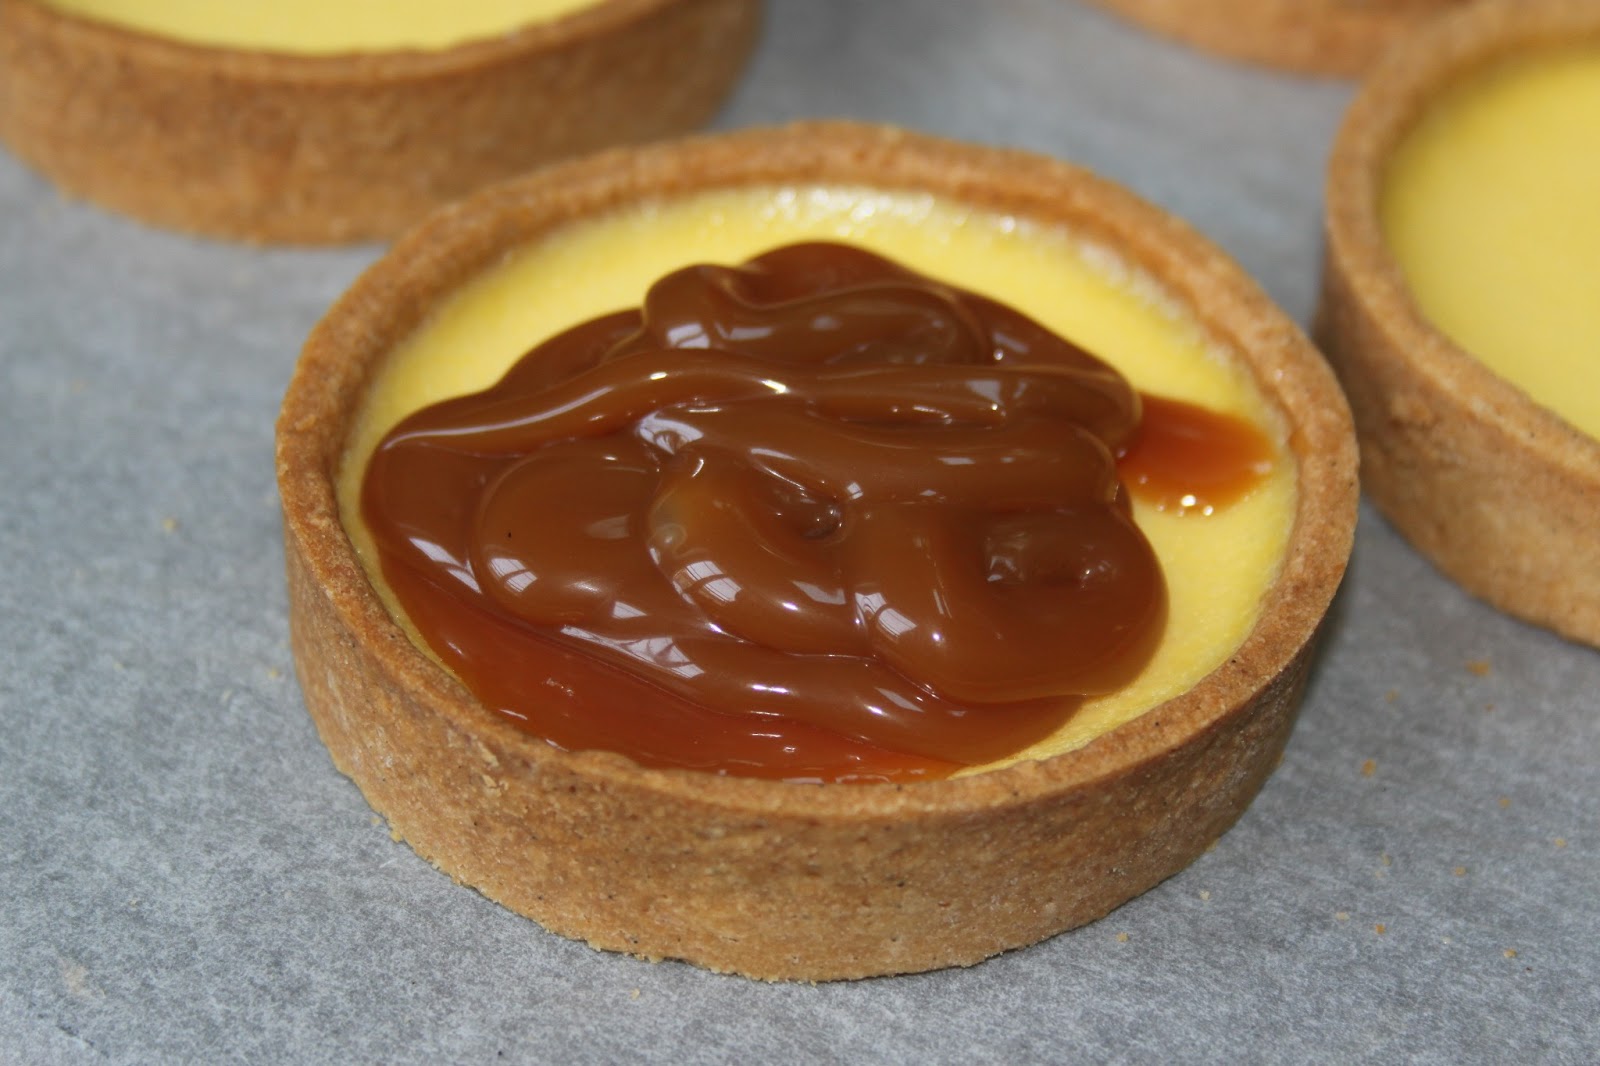
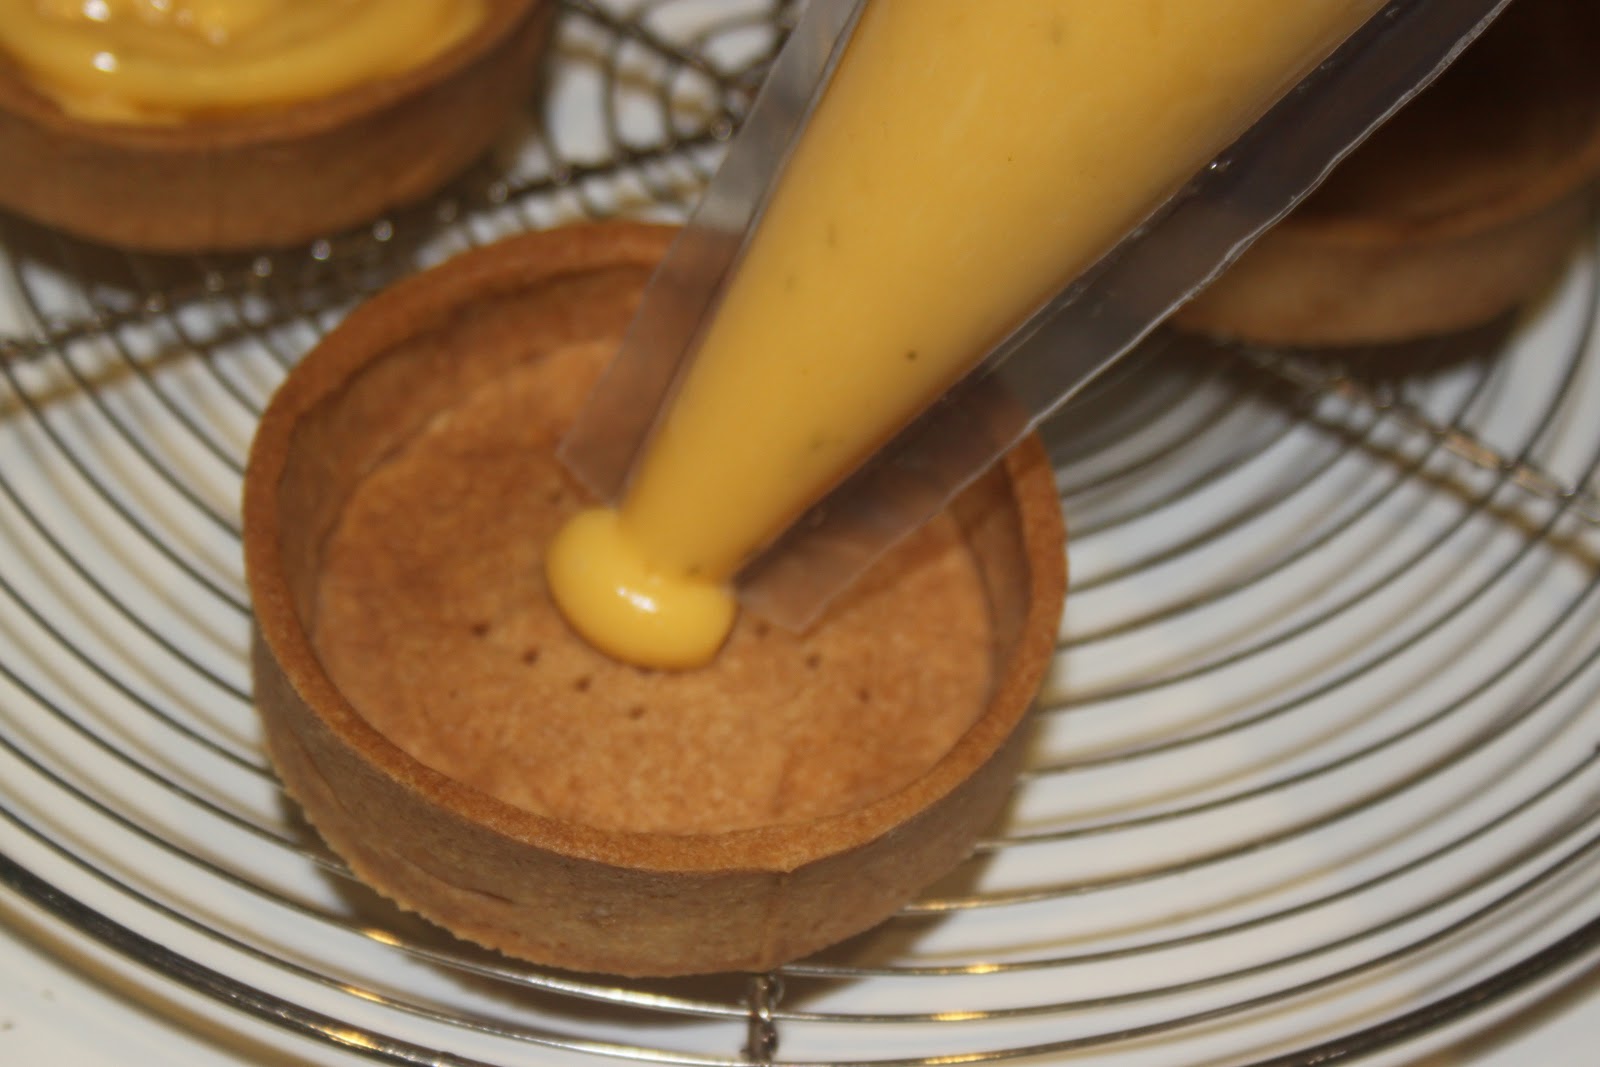
- Verser la crème dans les fonds cuits de tartelettes. Il ne faut pas avoir peur de presque remplir les fonds de pâte, car la crème va diminuer un peu de volume. On aura donc la place pour le caramel.
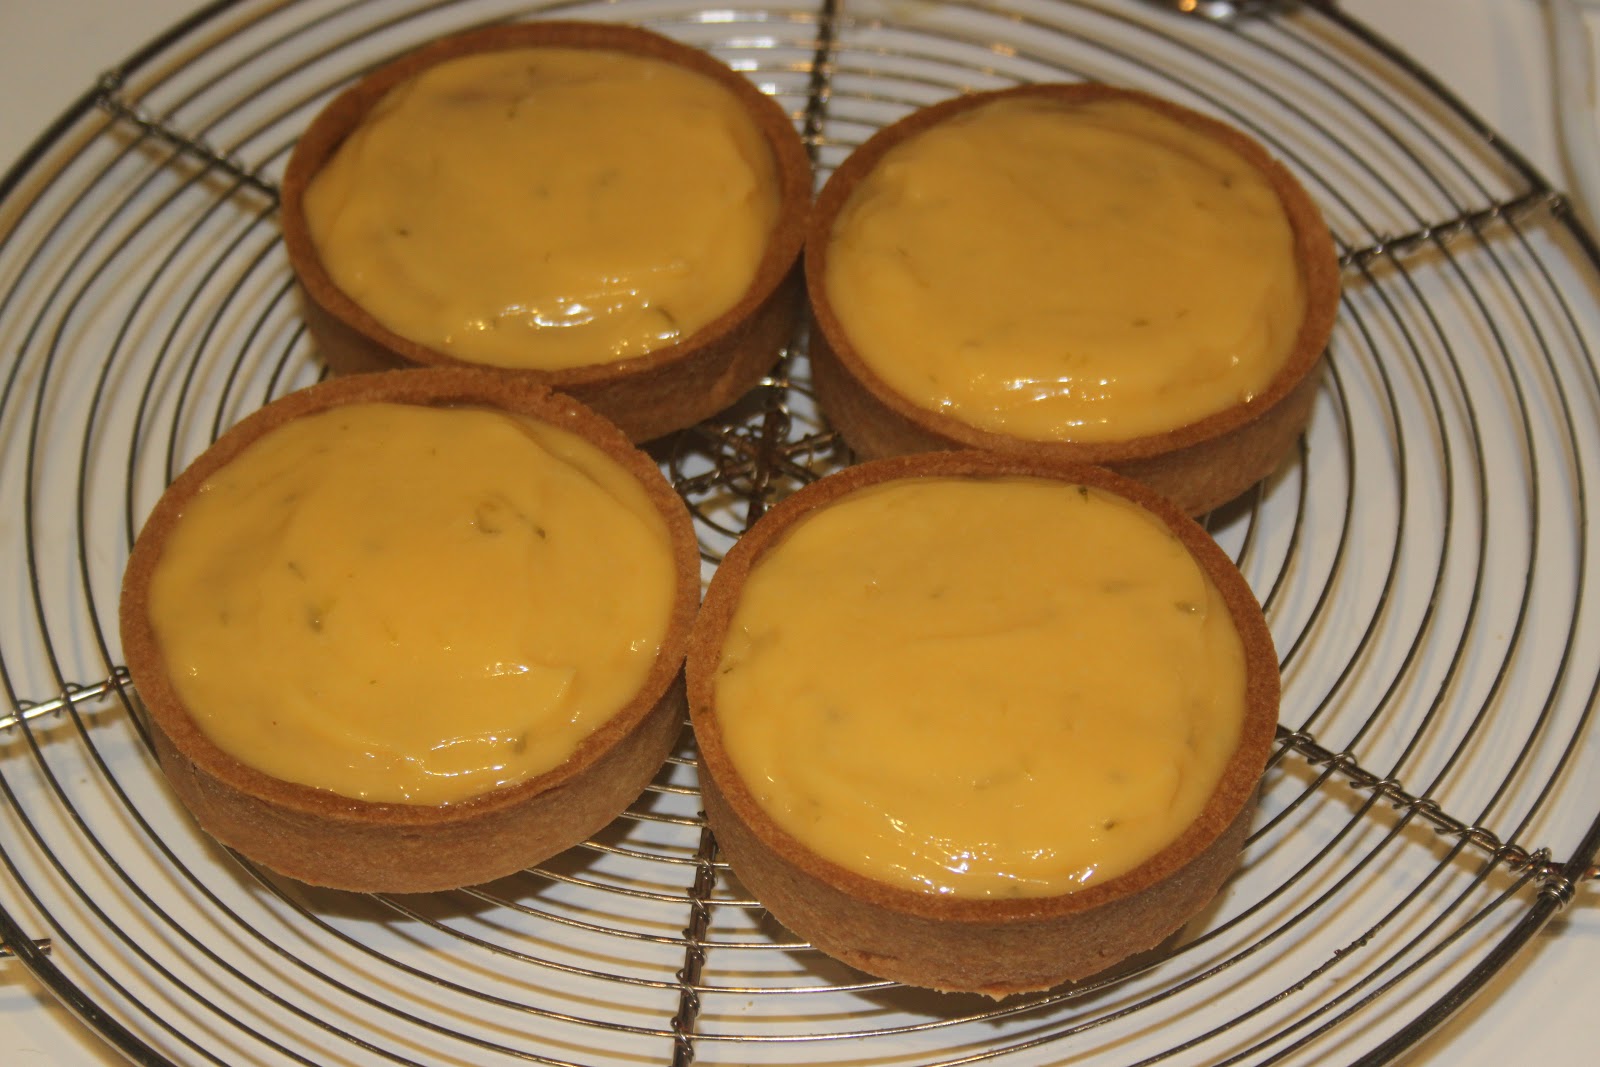
- Mettre au four à 90°C pendant 1 heure. La pâte des tartelettes ne cuira pas plus, mais la crème oui ! Miracle !
- Mettre au frais au moins deux heures avant de verser un nappage de caramel à température ambiante.
- Pour rappel, la recette du caramel est ICI !
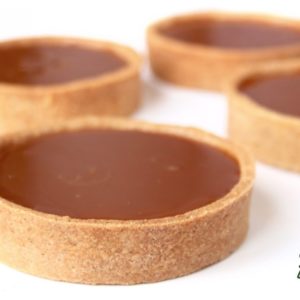
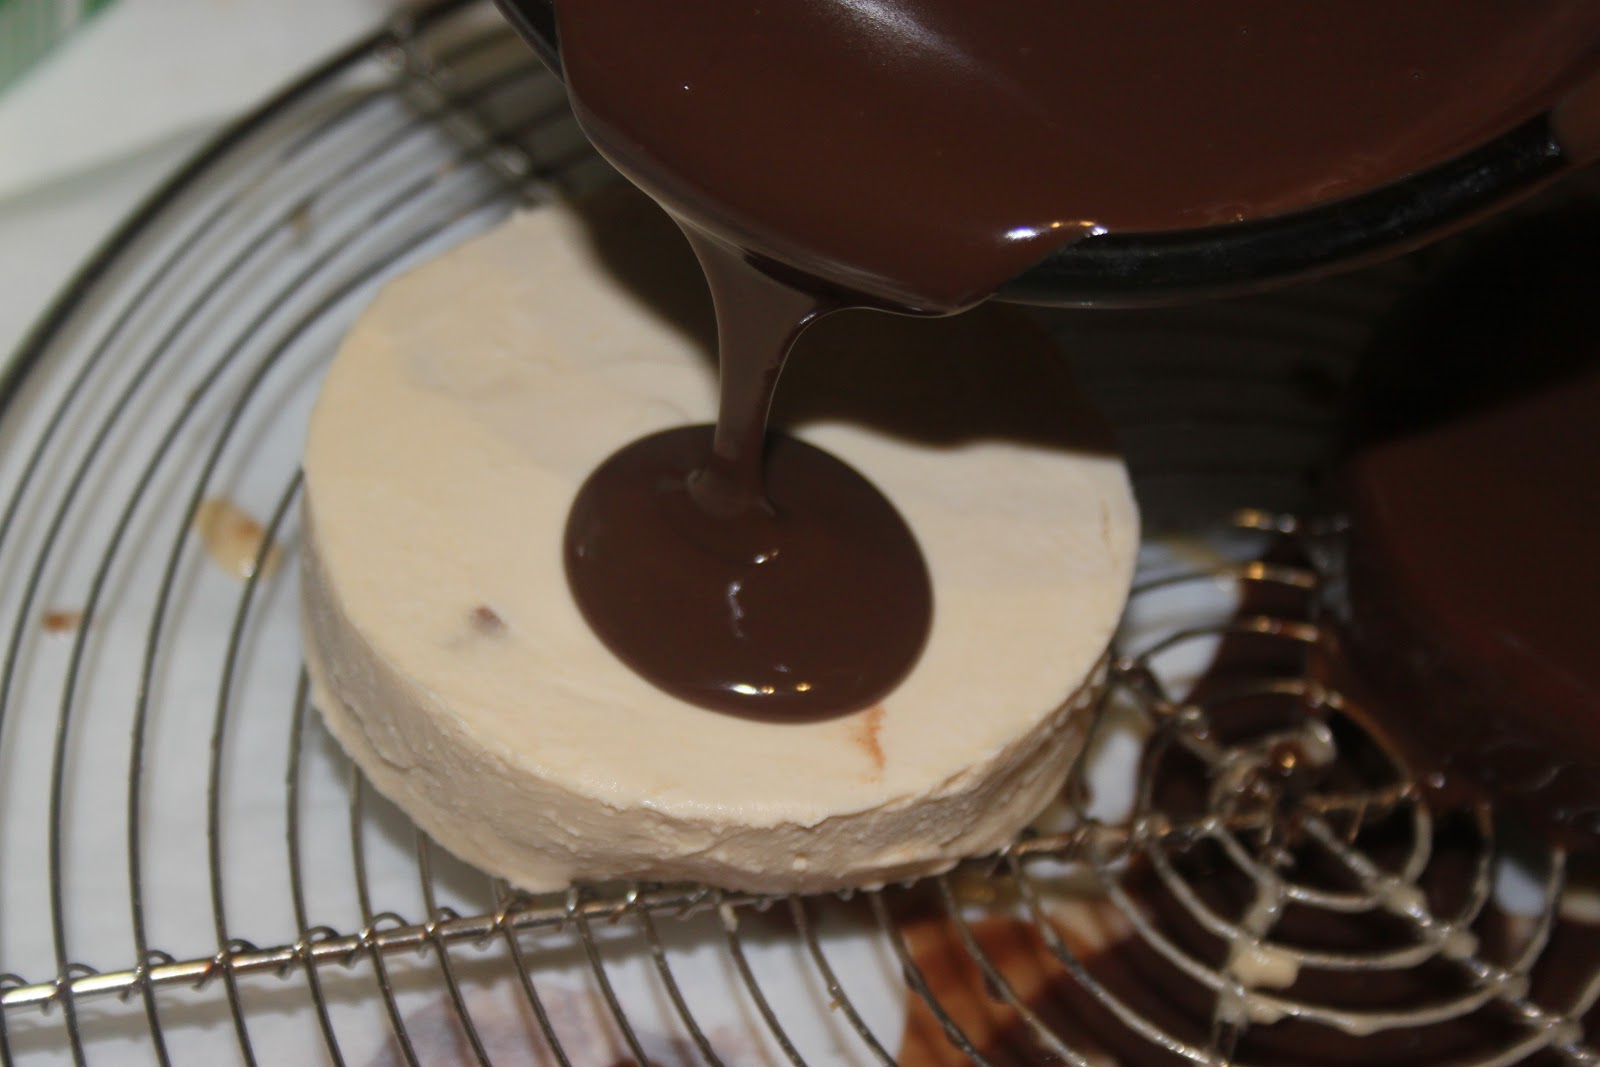
- Le laisser couler sur la surface et bouger la tartelette pour égaliser le nappage.
- Mettre au frais jusqu’au moment de servir !
- Il ne reste plus qu’à croquer dedans et sentir les différentes textures !
Nutrition


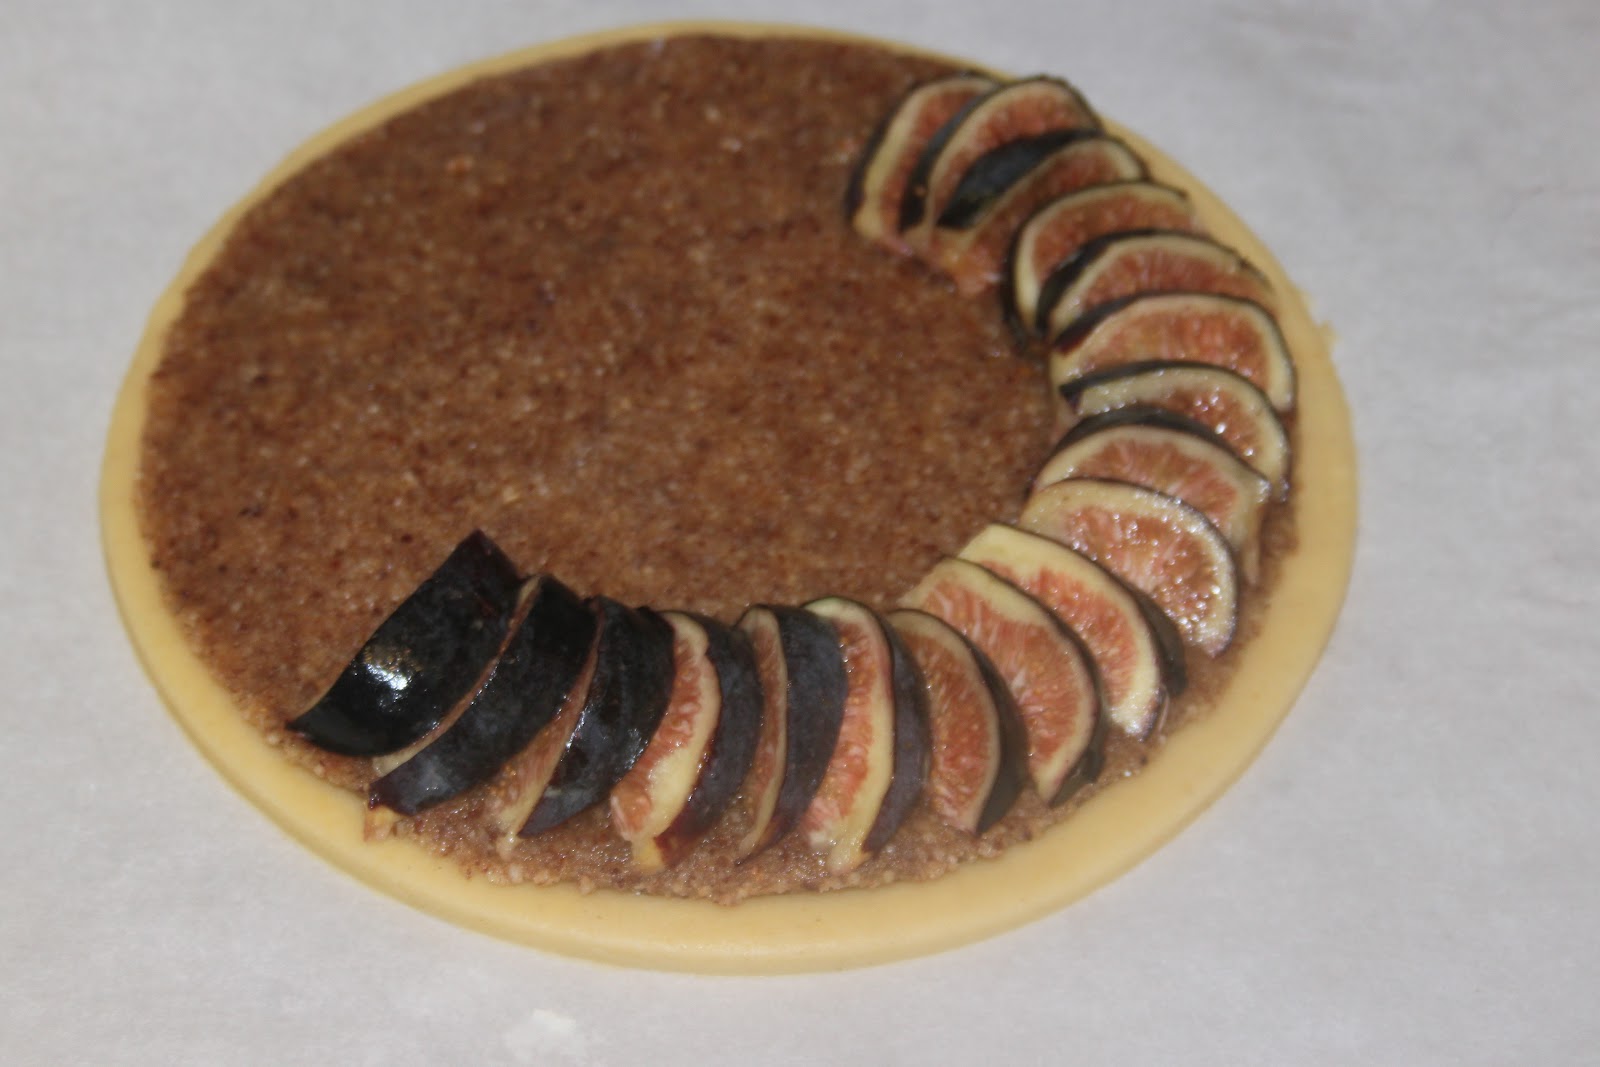
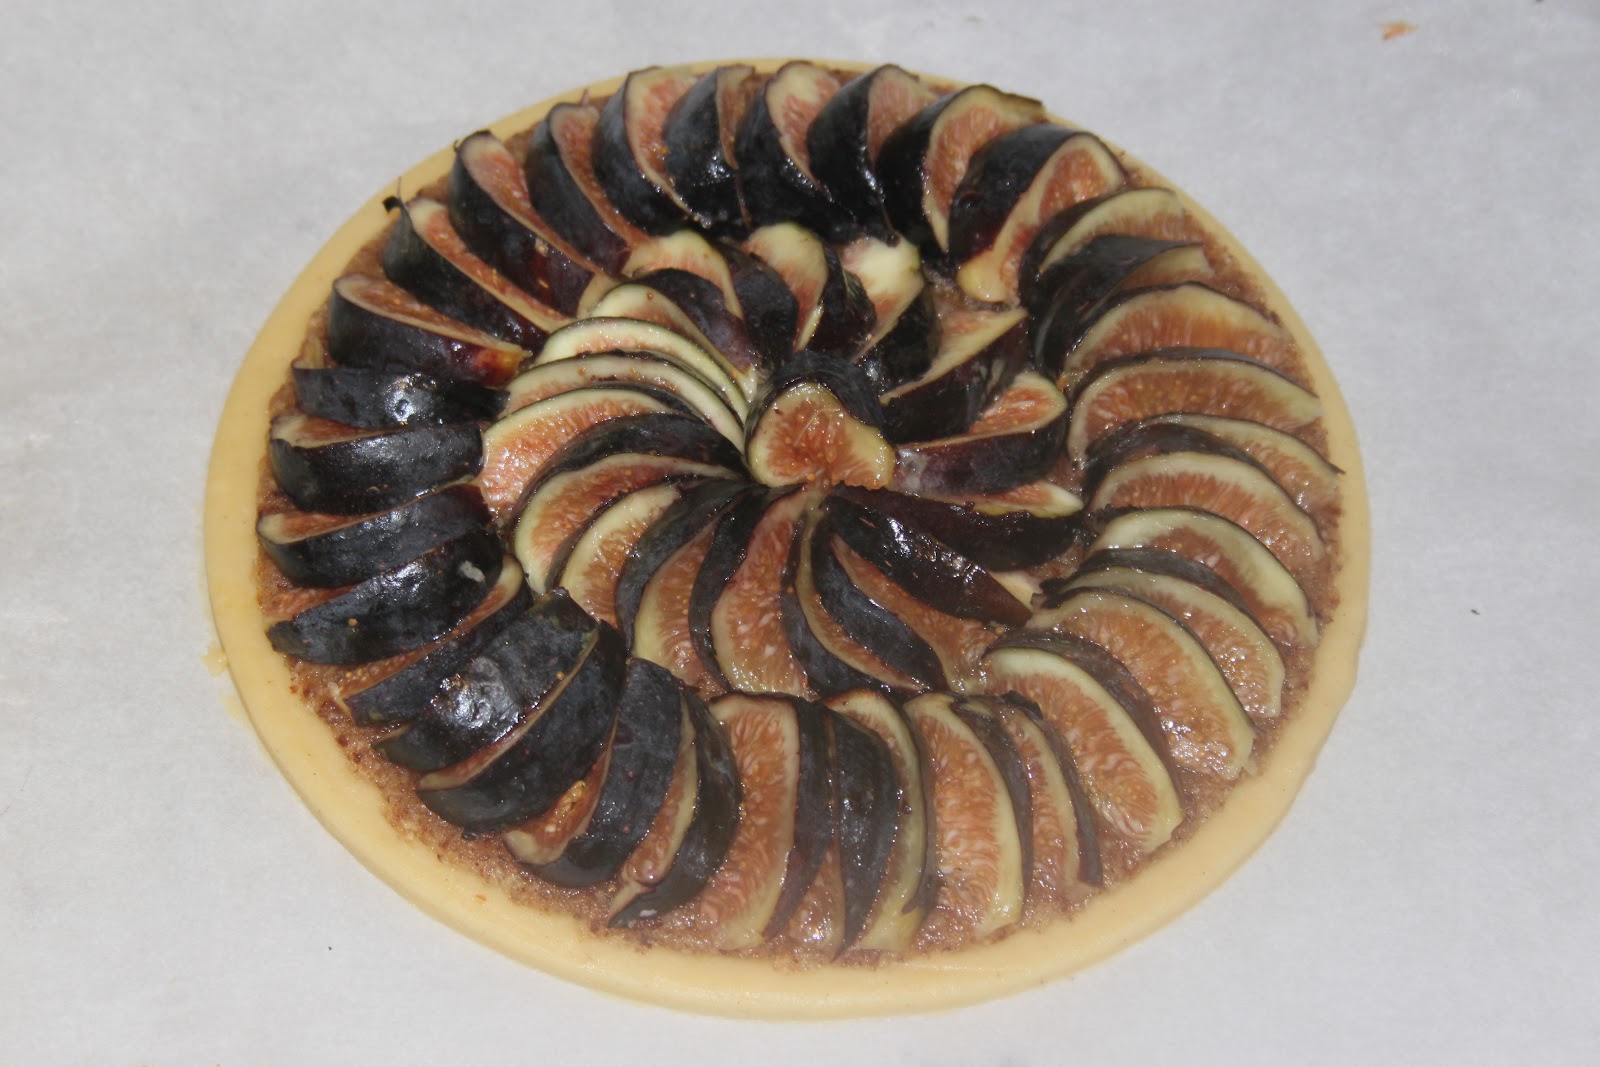
Recipe for two thin fig tarts:
Dough:
-210g of flour
-125g of soft butter
-25g of almond powder
-50g beaten egg
-35g icing sugar
-200g of hazelnut powder
-100g of sugar
-1 egg
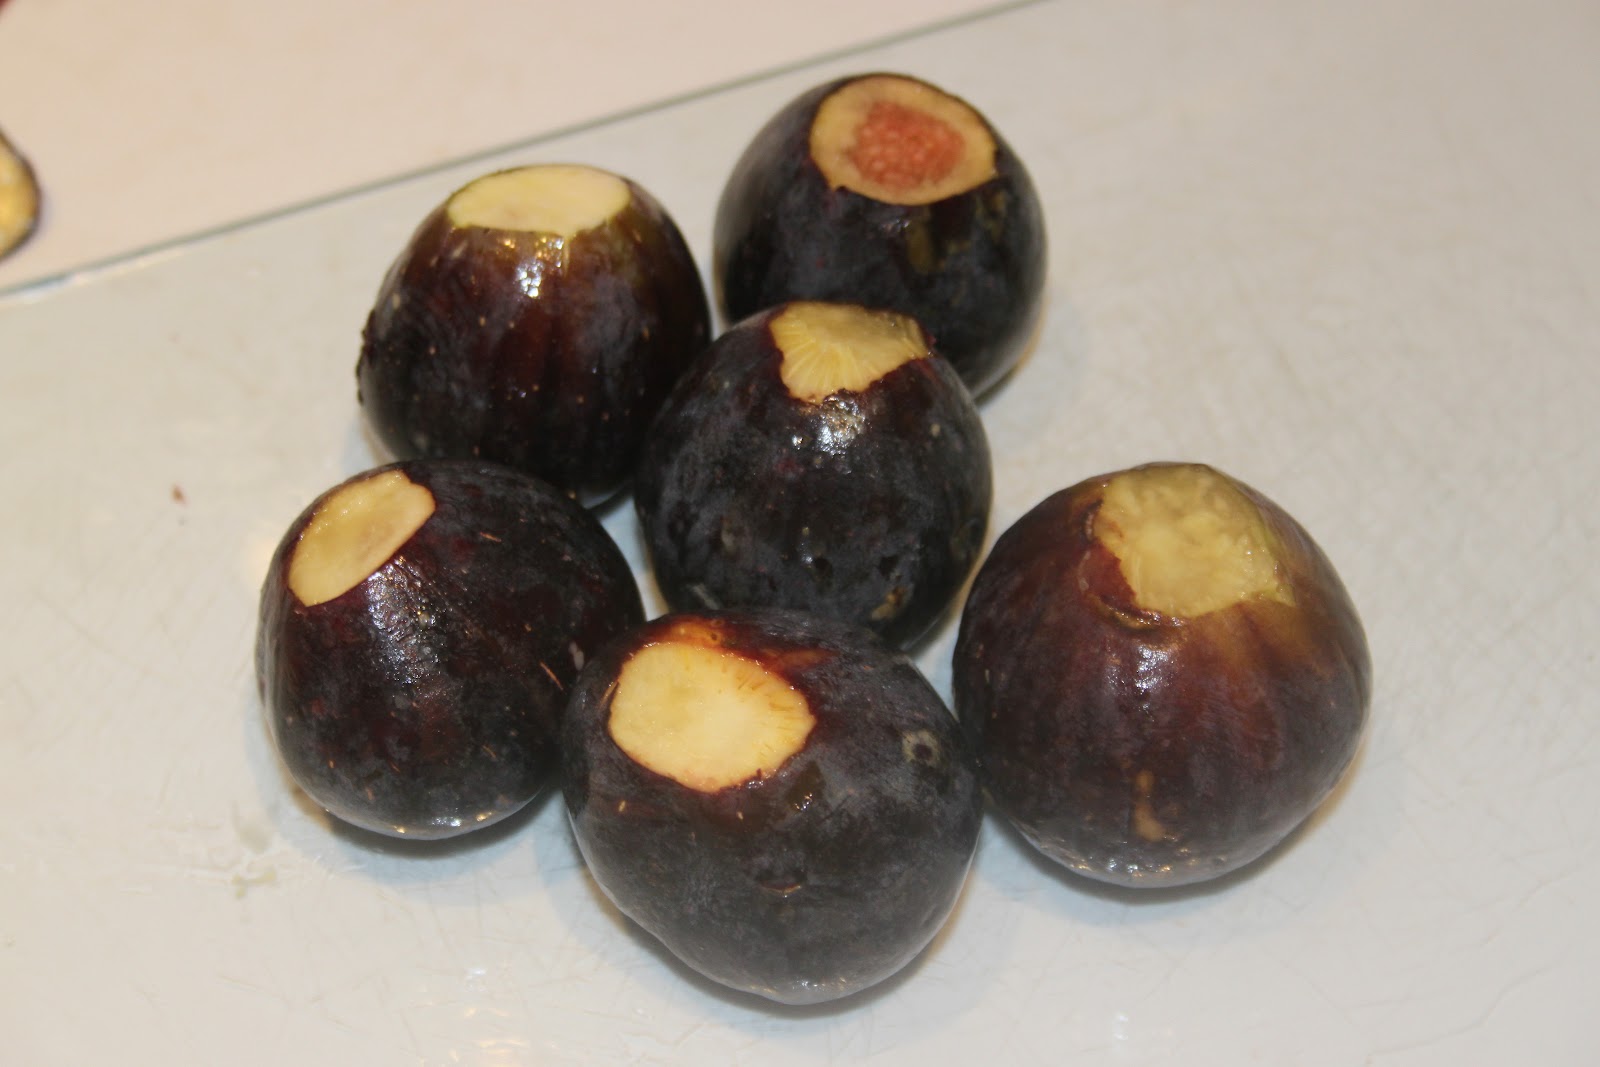
-500g of fresh figs


Mix well: it’s ready!


Recipe for 6 mango tarts:


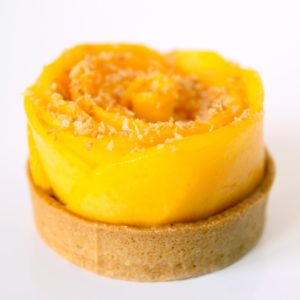
Tartelettes Mangue Chocolat et Coco Caramélisée
Ingredients
Pâte sucrée: (il en restera, on peut dans ce cas la congeler ou diviser par deux les proportions!)
- 210 g farine
- 125 g beurre doux en morceaux
- 25 g poudre d'amande
- 50 g oeuf battu
- 1 pincée sel
- 35 g sucre glace
Crème au Chocolat
- 400 g de crème liquide entière
- 200 g chocolat noir
Sur les tartelettes
- 100 g noix de coco râpée séchée
- 100 g sucre
- 2 mangues grosses et mûres
Instructions
Préparer la pâte sucrée
- Mettre la poudre d’amande, le sucre glace, la farine, le sel et le beurre en morceaux dans le bol du pétrisseur.
- Sabler le mélange pour incorporer le beurre avec le « k » du robot. Ou bien à la main!
- Ajouter l’œuf battu en avance et mélanger juste pour incorporer celui-ci, mais pas plus!
- Mettre une boule de pâte sur un papier sulfurisé et mettre une deuxième feuille de papier sur celle-ci. Étaler avec le rouleau sans ajout de farine, tout reste propre!!
- Étaler la pâte assez finement et foncer de cercles à tarte de 8 cm en s’assurant de bien plaquer la pâte au fond du cercle. L’angle droit doit être parfait!
- Couper le surplus de pâte en passant un couteau sur le tour du cercle!
- Faire de même pour tous les cercles!
- Piquer le fond de pâte avec une fourchette sur tous les cercles.
- Mettre ensuite une feuille du film étirable (SPÉCIAL CUISSON MICRO-ONDE!!Les autres fondent!) sur un fond de pâte.
- Remplir de farine en tassant pour remplie le fond à angle droit!
- Et fermer comme un petit baluchon.
- On a à ce stade des petits cercles parfaitement foncés!
- Laisser reposer le tout sur une plaque garnie de papier sulfurisé au frais pendant une heure.
- Préchauffer le four à 180°C.
- Cuire 15 minutes à 180°C avec le sac de farine, puis au bout de laps de temps, enlever le sac en tirant simplement vers le haut. Enlever de cette façon tous les sacs.
- Décercler également les fonds de pâte avec précaution. Remettre les fonds de pâte au four pour 15-20 minutes en surveillant.
- On obtient alors des fonds de pâte prêts à être garnis de délicieuse crème au chocolat! Si l’on a bien fait le travail, on peut voir l’angle droit!
Pour la garniture
- Mettre le sucre (100g) dans une poêle avec un peu d’eau. Porter à ébullition à gros bouillon épais.
- Ajouter la noix de coco.
- Bien mélanger et procéder comme pour un pralin. Il faut mélanger constamment sur feu modéré pour ne pas brûler le sucre.
- La noix de coco va caraméliser.
- On peut passer la noix de coco dans une passoire à gros trous pour enlever les plus gros morceaux de sucre si le pralin coco n’est pas parfait.
- Mettre la crème dans une casserole et chauffer sur feu doux.
- Porter à ébullition.
- Peser le chocolat. J’ai mis du chocolat, du manjari Valrhona.
- Mettre le chocolat dans la crème bouillante.
- Mélanger constamment sur feu doux jusqu’à ce que le chocolat soit parfaitement fondu (1 à 2 minutes).
- La crème continue de bouillir, mais le chocolat doit bien fondre.
- Verser la crème au chocolat sur les fonds de tartelettes garnis d’une cuillerée à soupe de noix de coco caramélisée.
- Mettre au frais pour au moins une heure pour figer la crème.
Mangues et finition
- Éplucher les mangues et couper en tranches fines chaque moitié de mangue.
- On peut mettre la mangue comme on le souhaite. J’ai voulu faire une fleur mais on peut faire ce que l’on veut bien sûr!
- Saupoudrer de noix de coco caramélisée.
- Servir bien frais et déguster !