Deprecated: Accessing static trait property MatthiasWeb\RealMediaLibrary\Vendor\MatthiasWeb\Utils\Localization::$PACKAGE_INFO_BACKEND is deprecated, it should only be accessed on a class using the trait in /var/www/html/public_html/wp-content/plugins/real-media-library/vendor/devowl-wp/utils/src/PackageLocalization.php on line 37
I received the oven I dreamed of having, an outdoor wood-fired pizza oven. So I had to make homemade pizzas. I already have some pizza dough recipes for this, but I wanted to go one step further. There are many ways of making perfect pasta, but I’m a bit put off by temperature control. I find the relationship between the work required and the result obtained less interesting than with this version of “biga” dough, a method I share here. Despite the absence of temperature control, there are still times to respect. Here, the dough is made in two stages, with a very brief initial kneading followed by a day’s fermentation, then a little more work the next day with several flaps to be made. But the pizzas made with biga are absolutely divine! I’ll be posting recipes using this method very soon to show what they look like.
For 4 pizzas :
Day 1 :
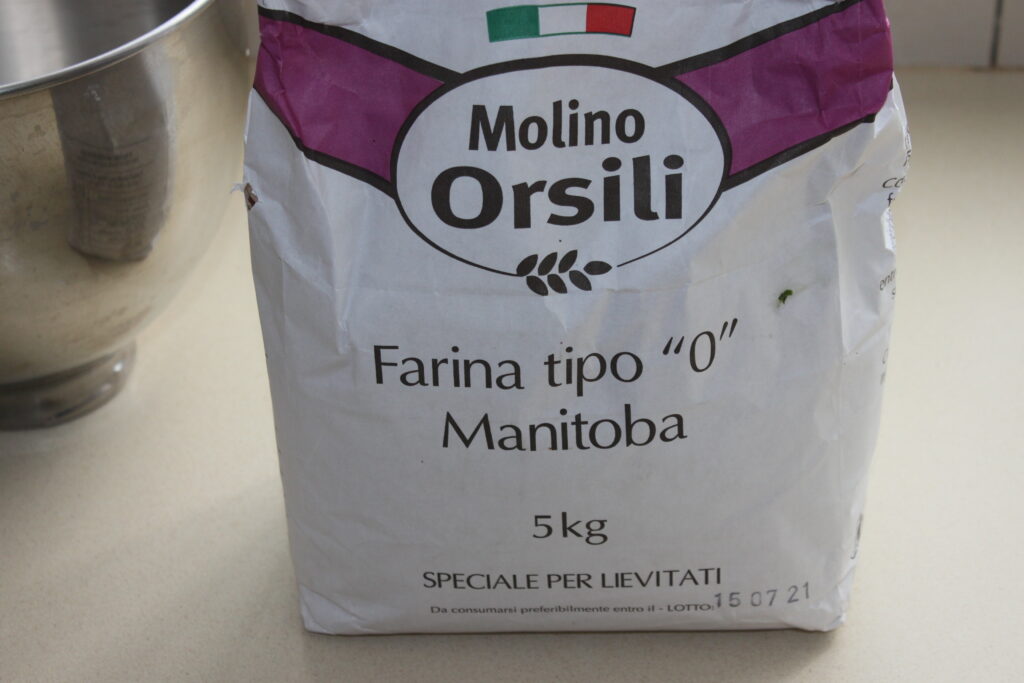
- 625g type “0” manitoba flour
- 280g cold water
- 3g fresh baker’s yeast (1.5g dried baker’s yeast)
Day 2 :
- 200g of water
- 15g salt
You can try this recipe with T55 or even T65 flour, which will produce a very good dough, but for the best results, it’s best to use Italian manitoba flour, which has a high gluten content and is very strong and resilient.
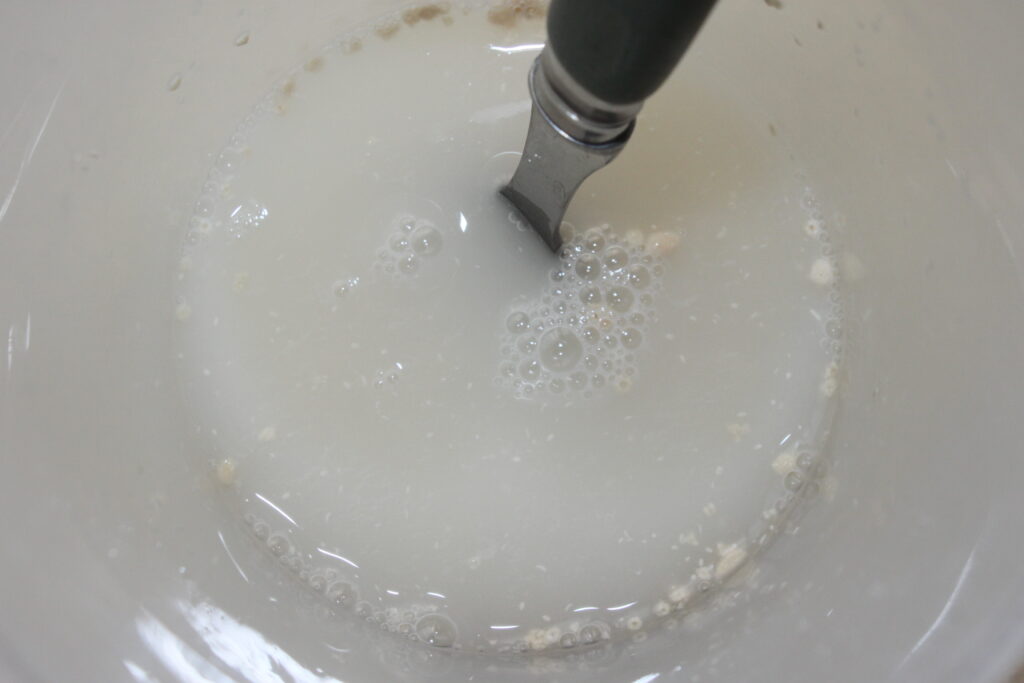
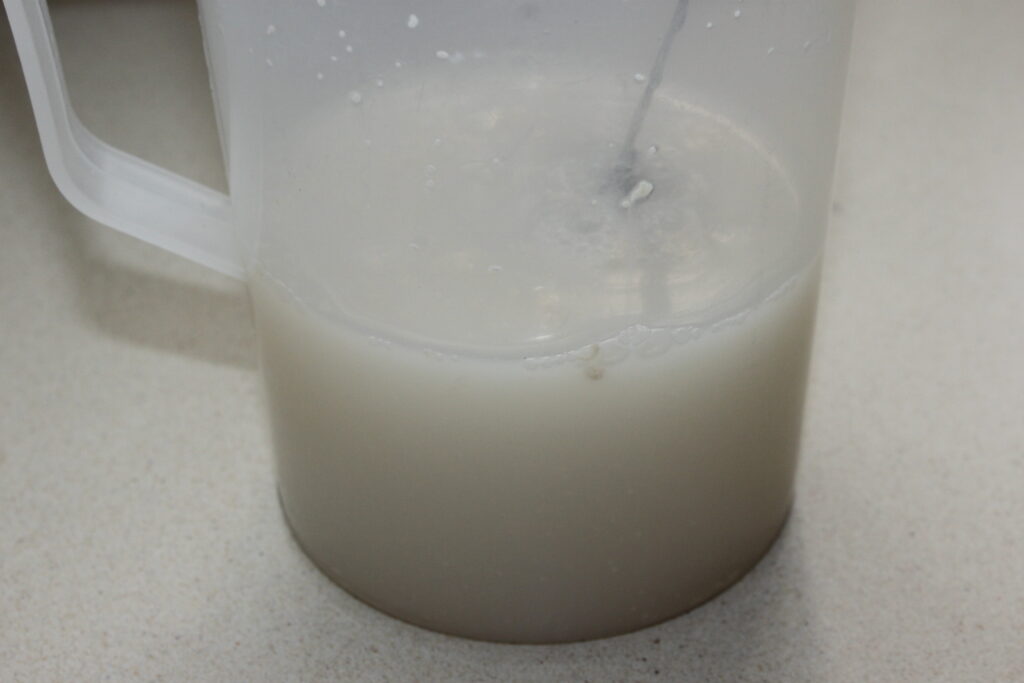
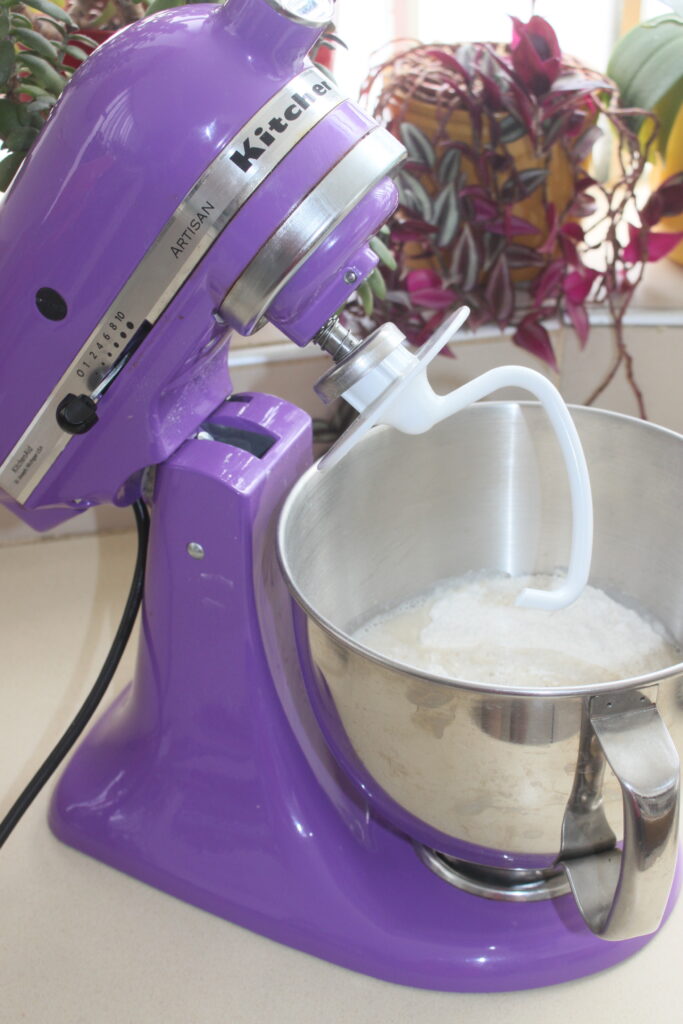
On Day 1, the day before your pizza meal, mix the water and yeast in a small bowl until the yeast has completely dissolved. Start the dough roughly 26 hours before making your meal. Around 10-11 a.m. for lunch the next day, or around 5-6 p.m. for dinner the next day.
Pour all the flour into the bowl of your food processor.
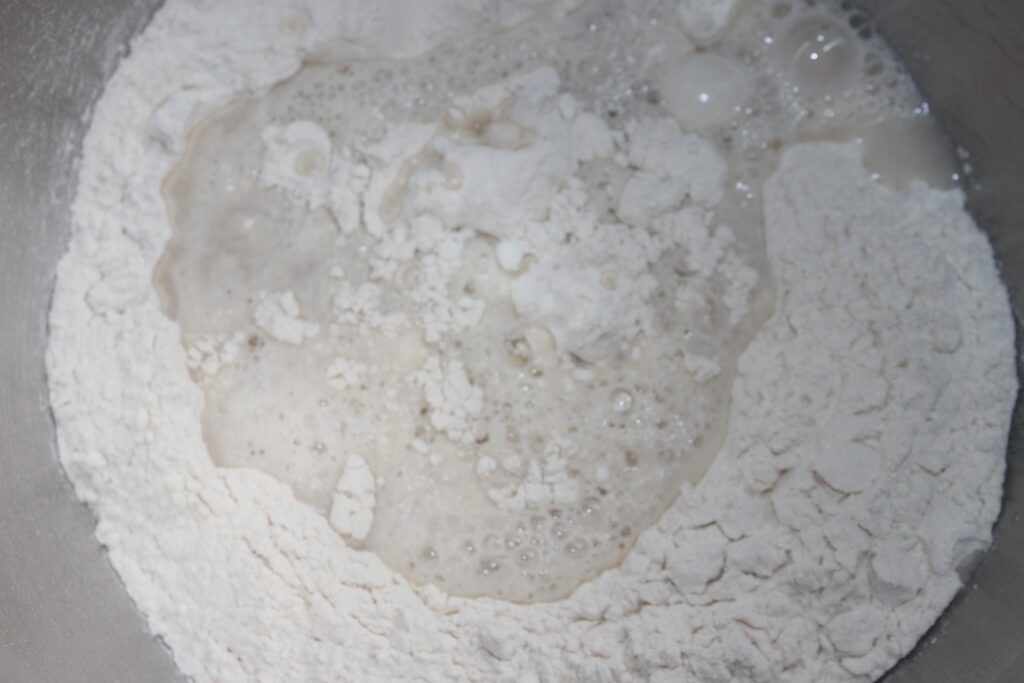
Mix with the dough hook.
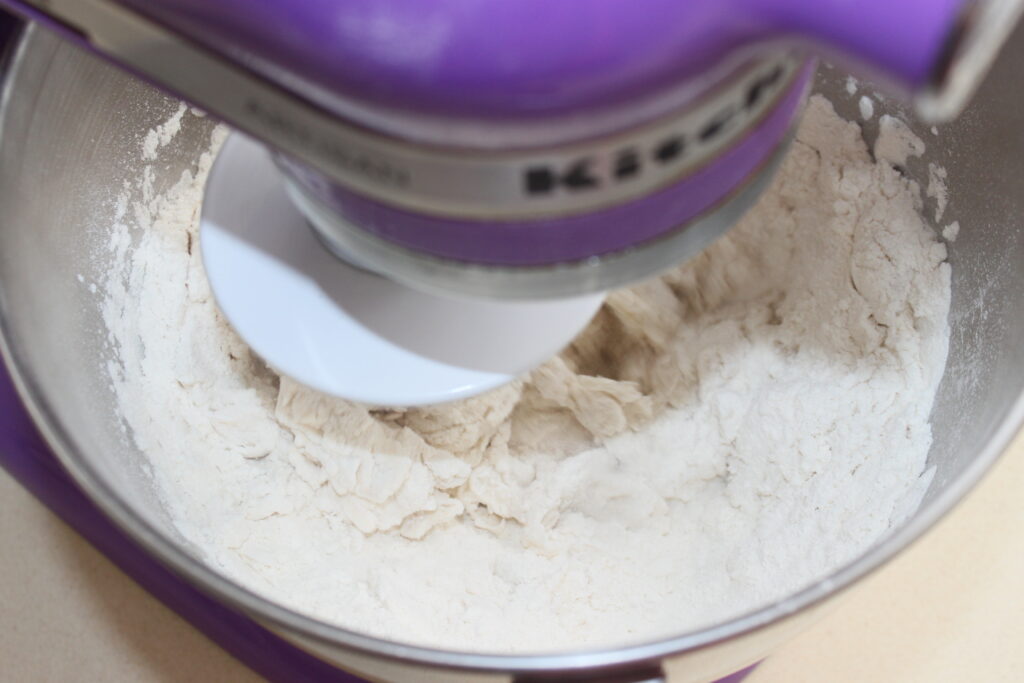
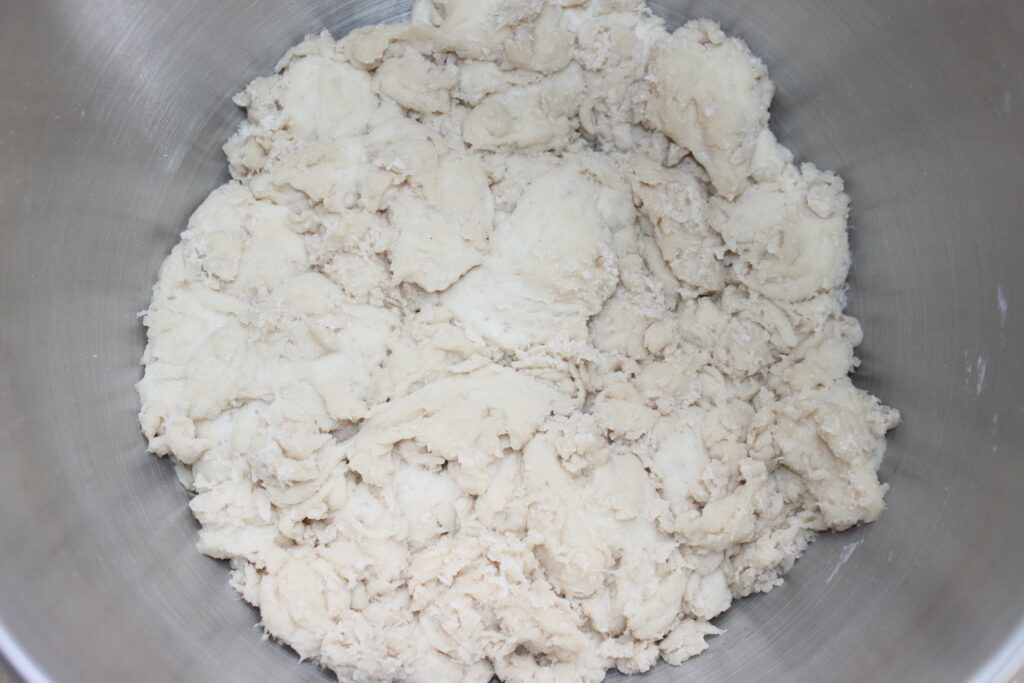
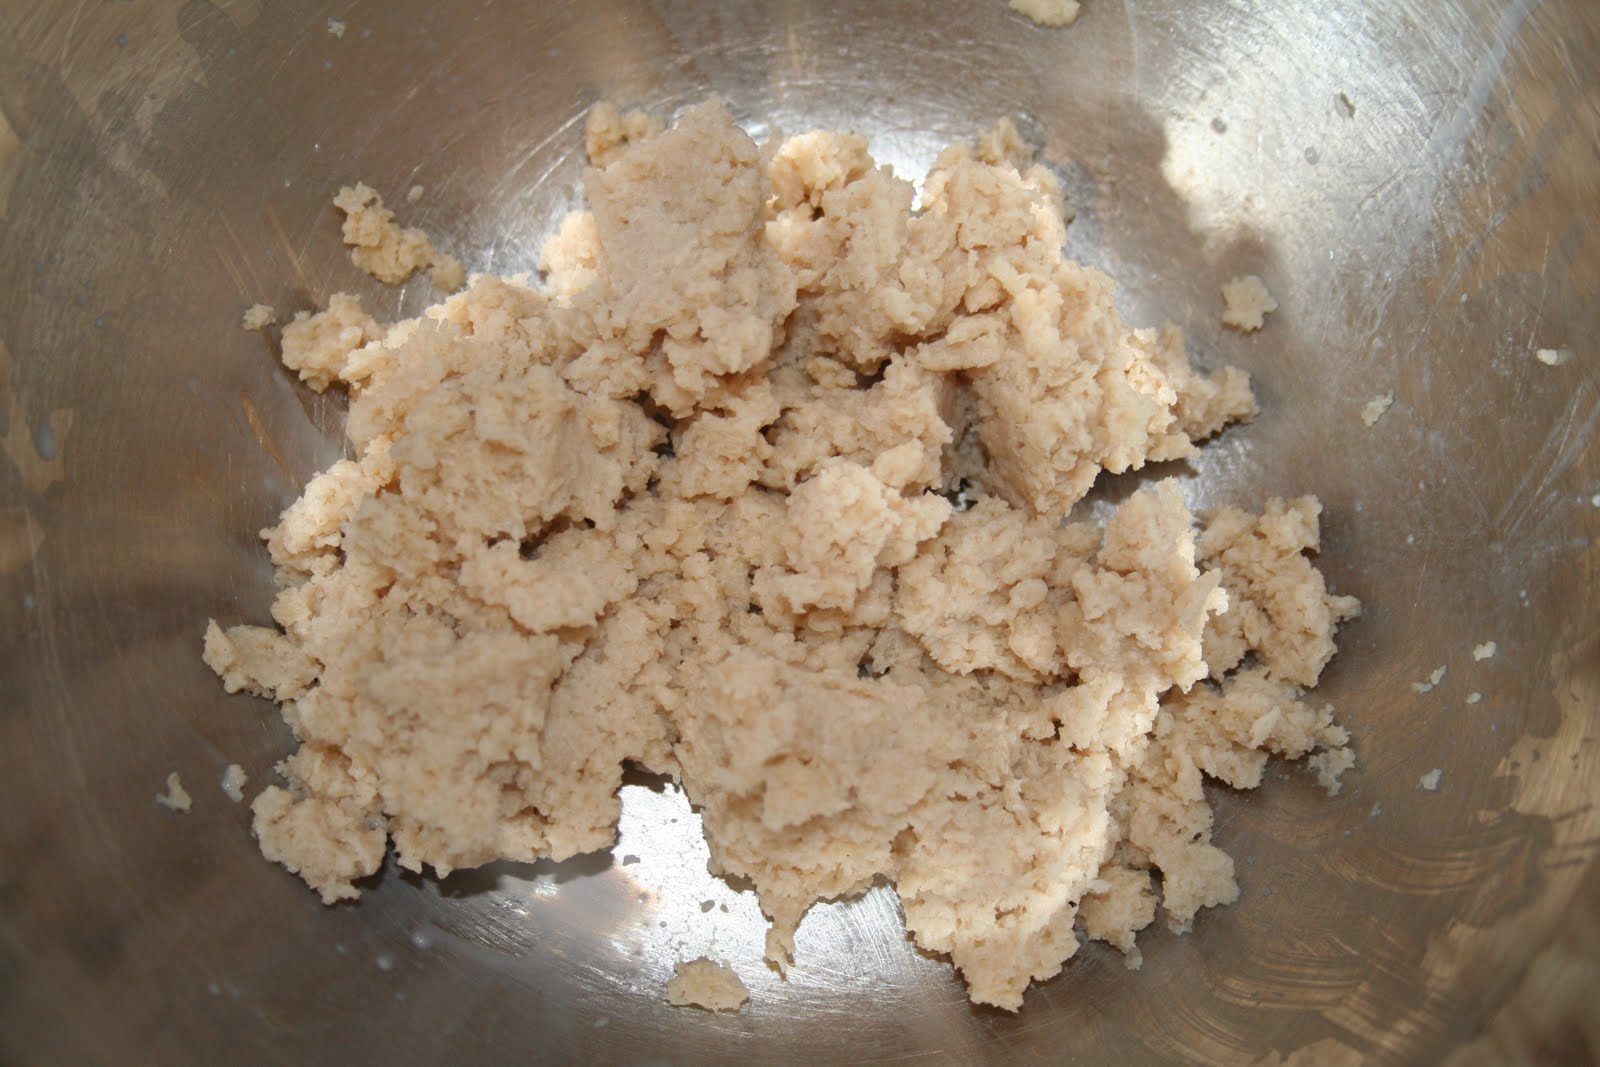
There’s very little water compared with the flour, so you’ll need just 1-2 minutes to mix the dough until it’s not homogeneous and chunky. just make sure there’s no flour in the bottom of the container. If worst comes to worst, mix by hand, bringing in the flour, then mix again briefly with the hook to obtain this texture.
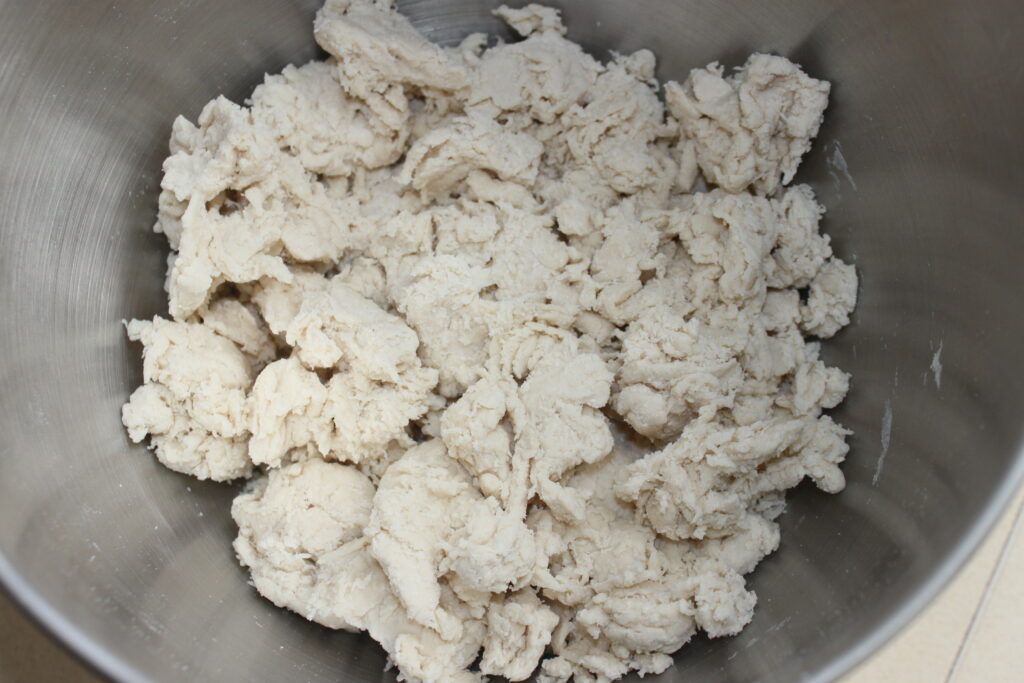
Put cling film over the bowl and poke small holes in it with a fork. Leave to stand at room temperature for 22 to 23 hours.
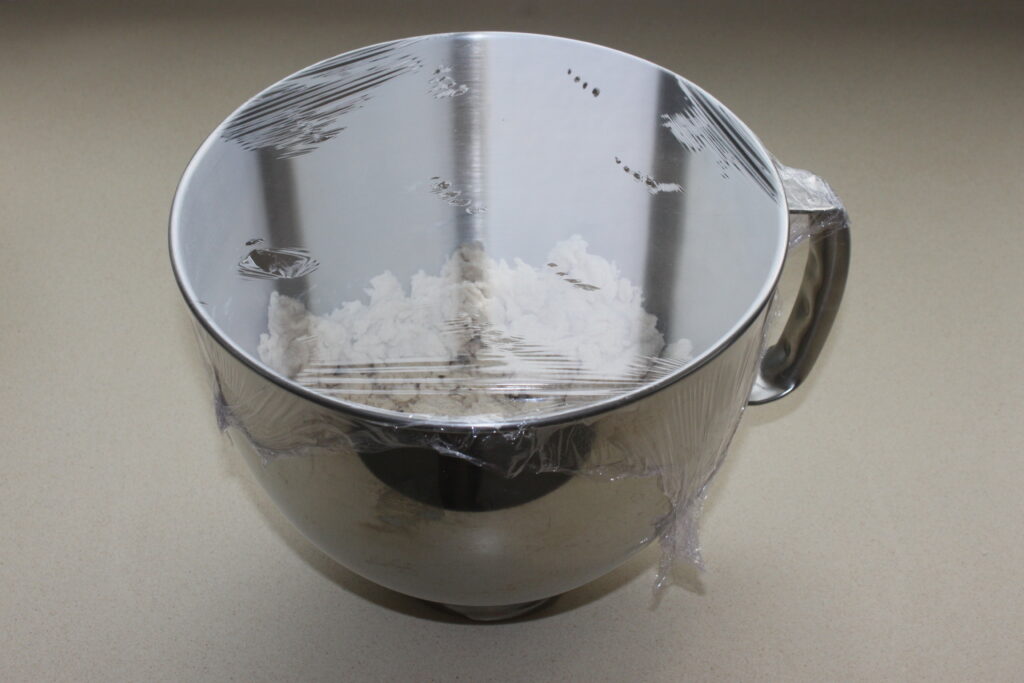
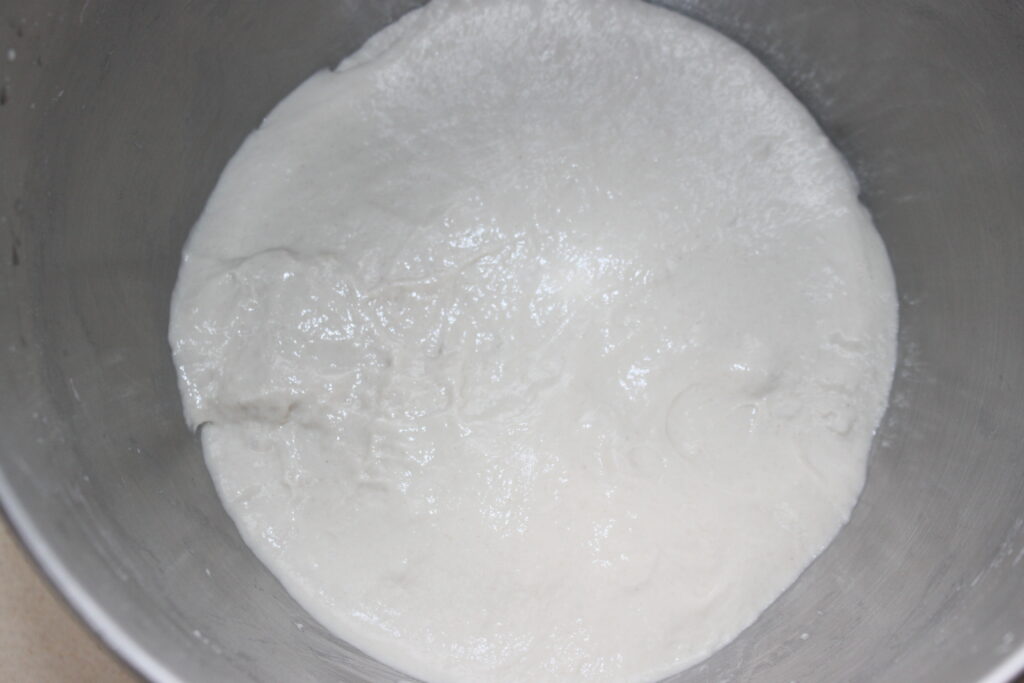
The next day, the pieces of dough changed heads a little. The dough has fermented and this will considerably change the taste and texture.
This time, add the same amount of water and salt as on Day 2.
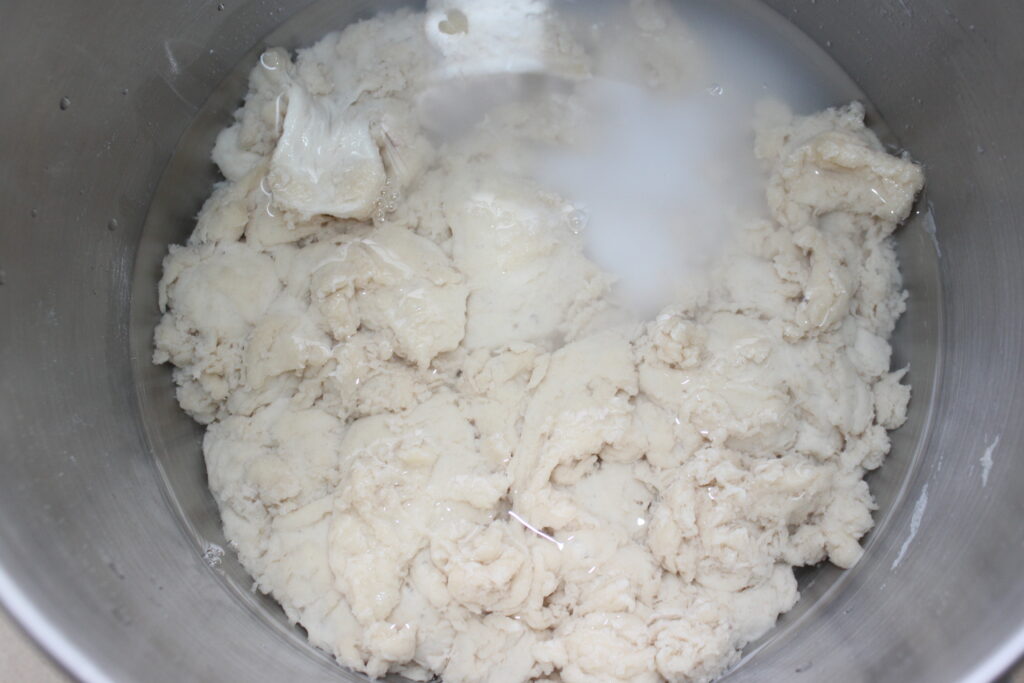
Stir gently (the water will want to come out at first).
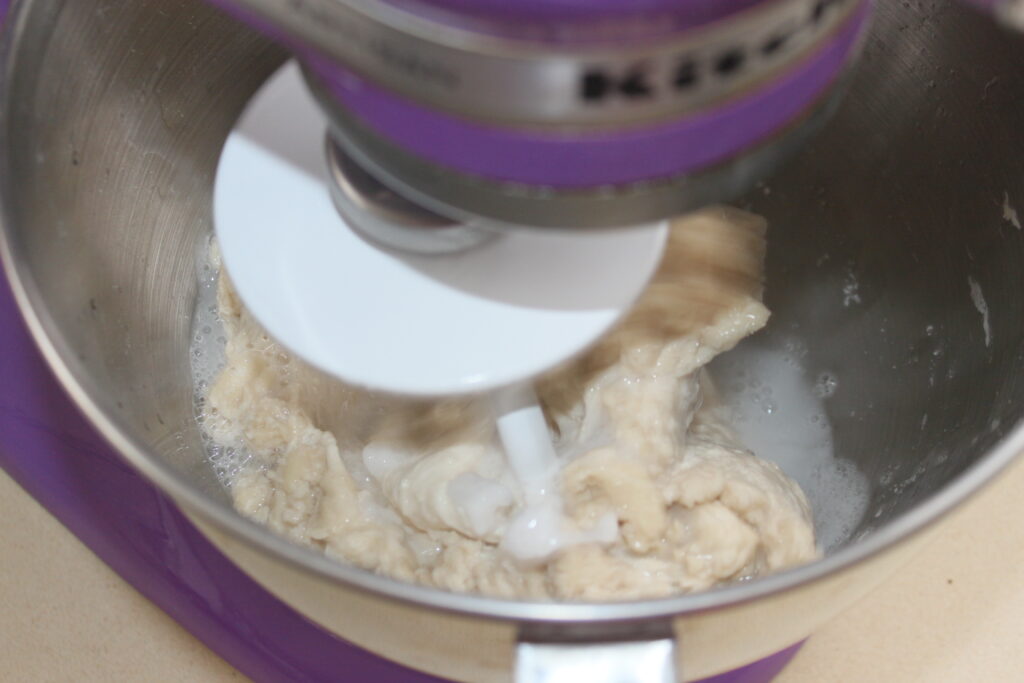
When the dough becomes more homogeneous, increase the speed and knead until the dough begins to lift from the inside of the bowl.
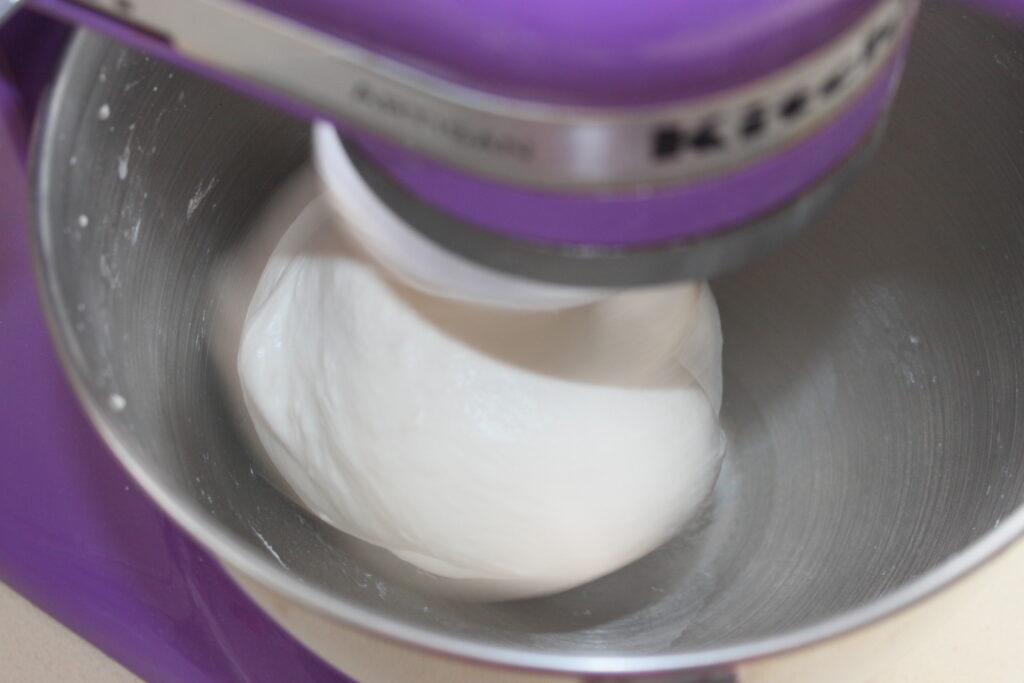
Bowl kneading is complete.
Pour the dough onto an unfloured work surface.
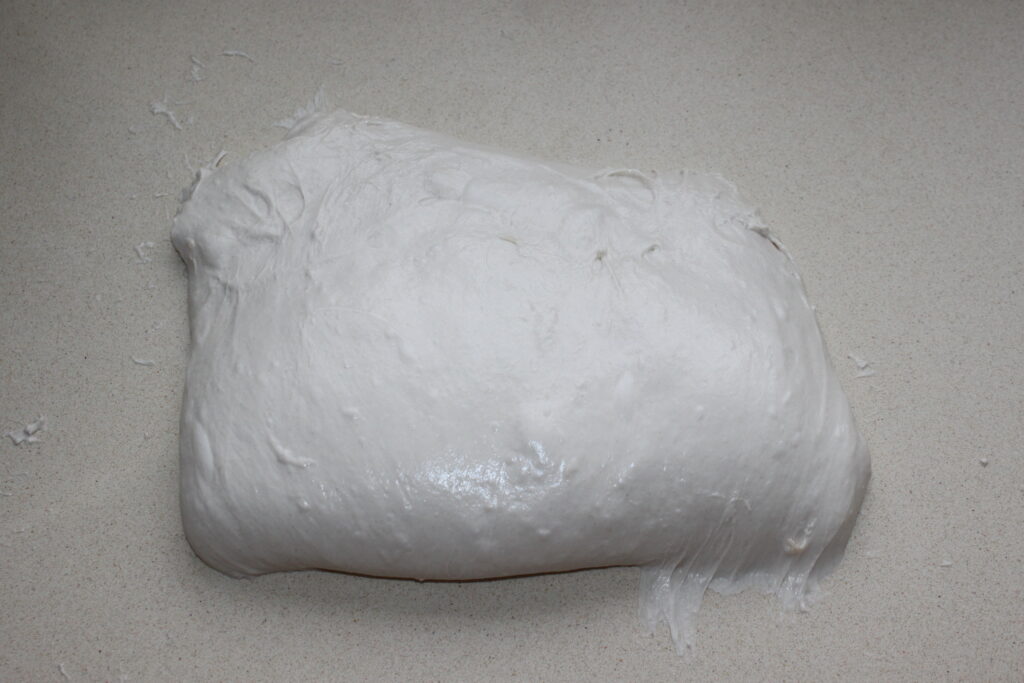
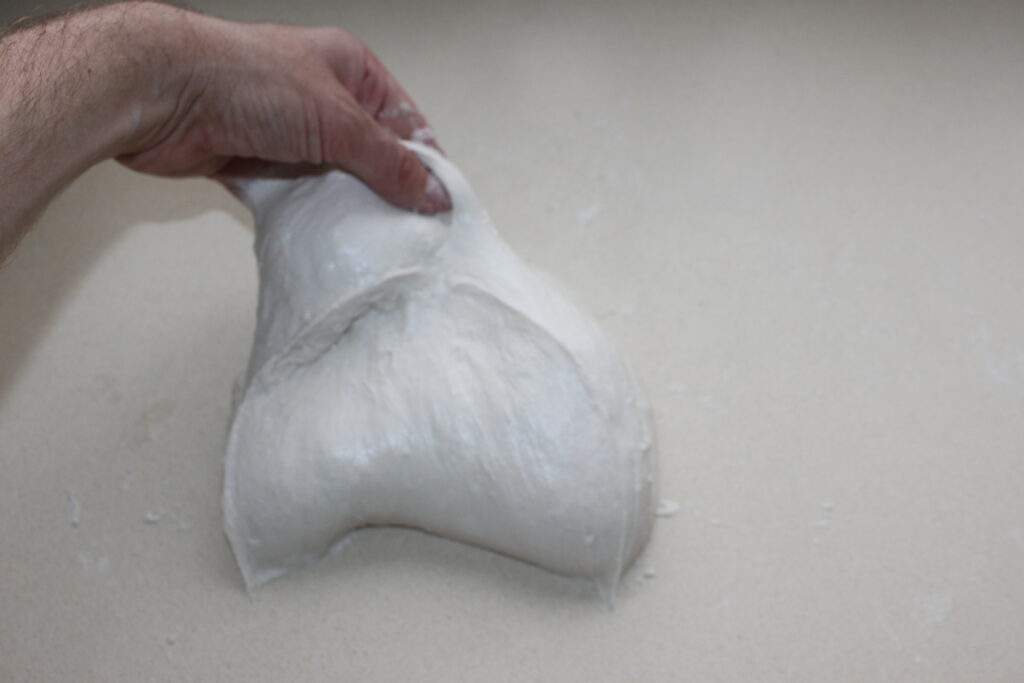
You’ll need to give it strength and elasticity, while trapping air in it by making flaps with your bare hands. This involves stretching the dough on the work surface, then folding it into the center, trapping air.
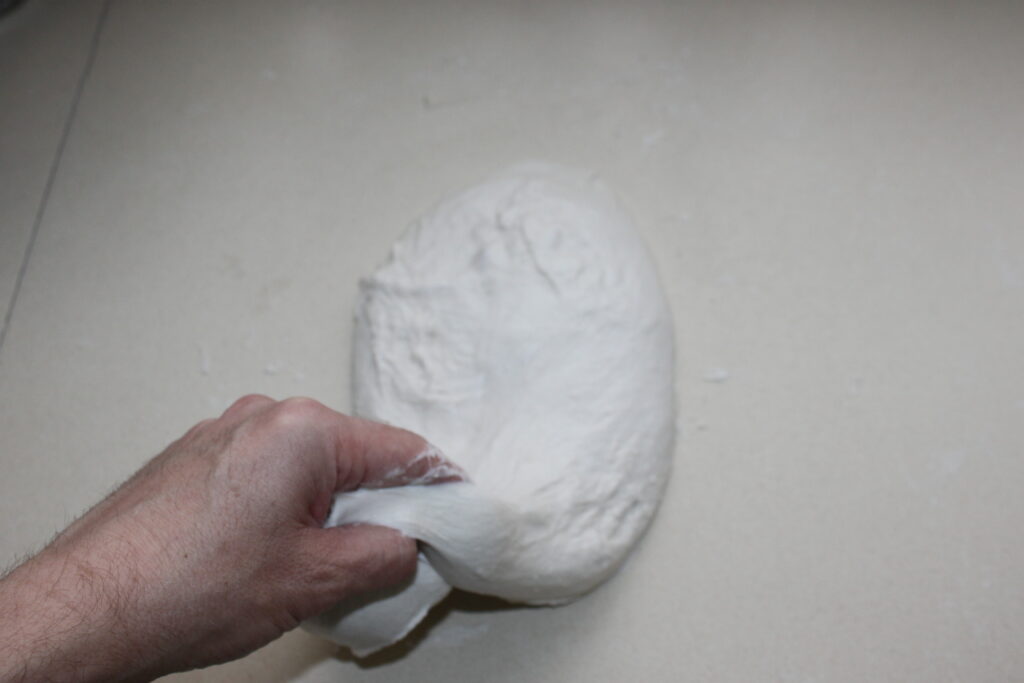
It’s not easy to take photos while making the flap! Do this 4-5 times in succession, then leave the dough to rest for 15 minutes. Do this step a total of three times, 15 minutes in between.
At the end of the 3 flap phases, this time let the dough rest for 1h30 by placing it back in the bowl, for example. Divide the dough into 4 equal-weight pieces.

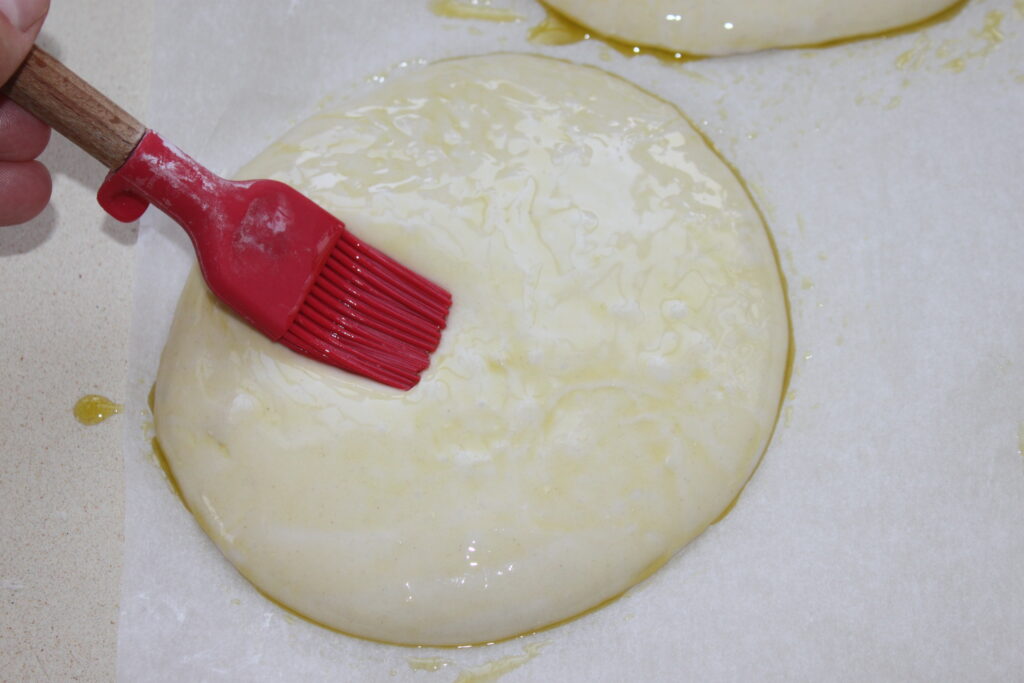
Change from photo: I don’t leave the dough on greaseproof paper, as the humidity will cause even the best paper to stick and tear. Leave the dough pieces directly on the work surface. Oil the dough pieces with olive oil to prevent them from crusting. This time, let the dough rise for 2 hours.
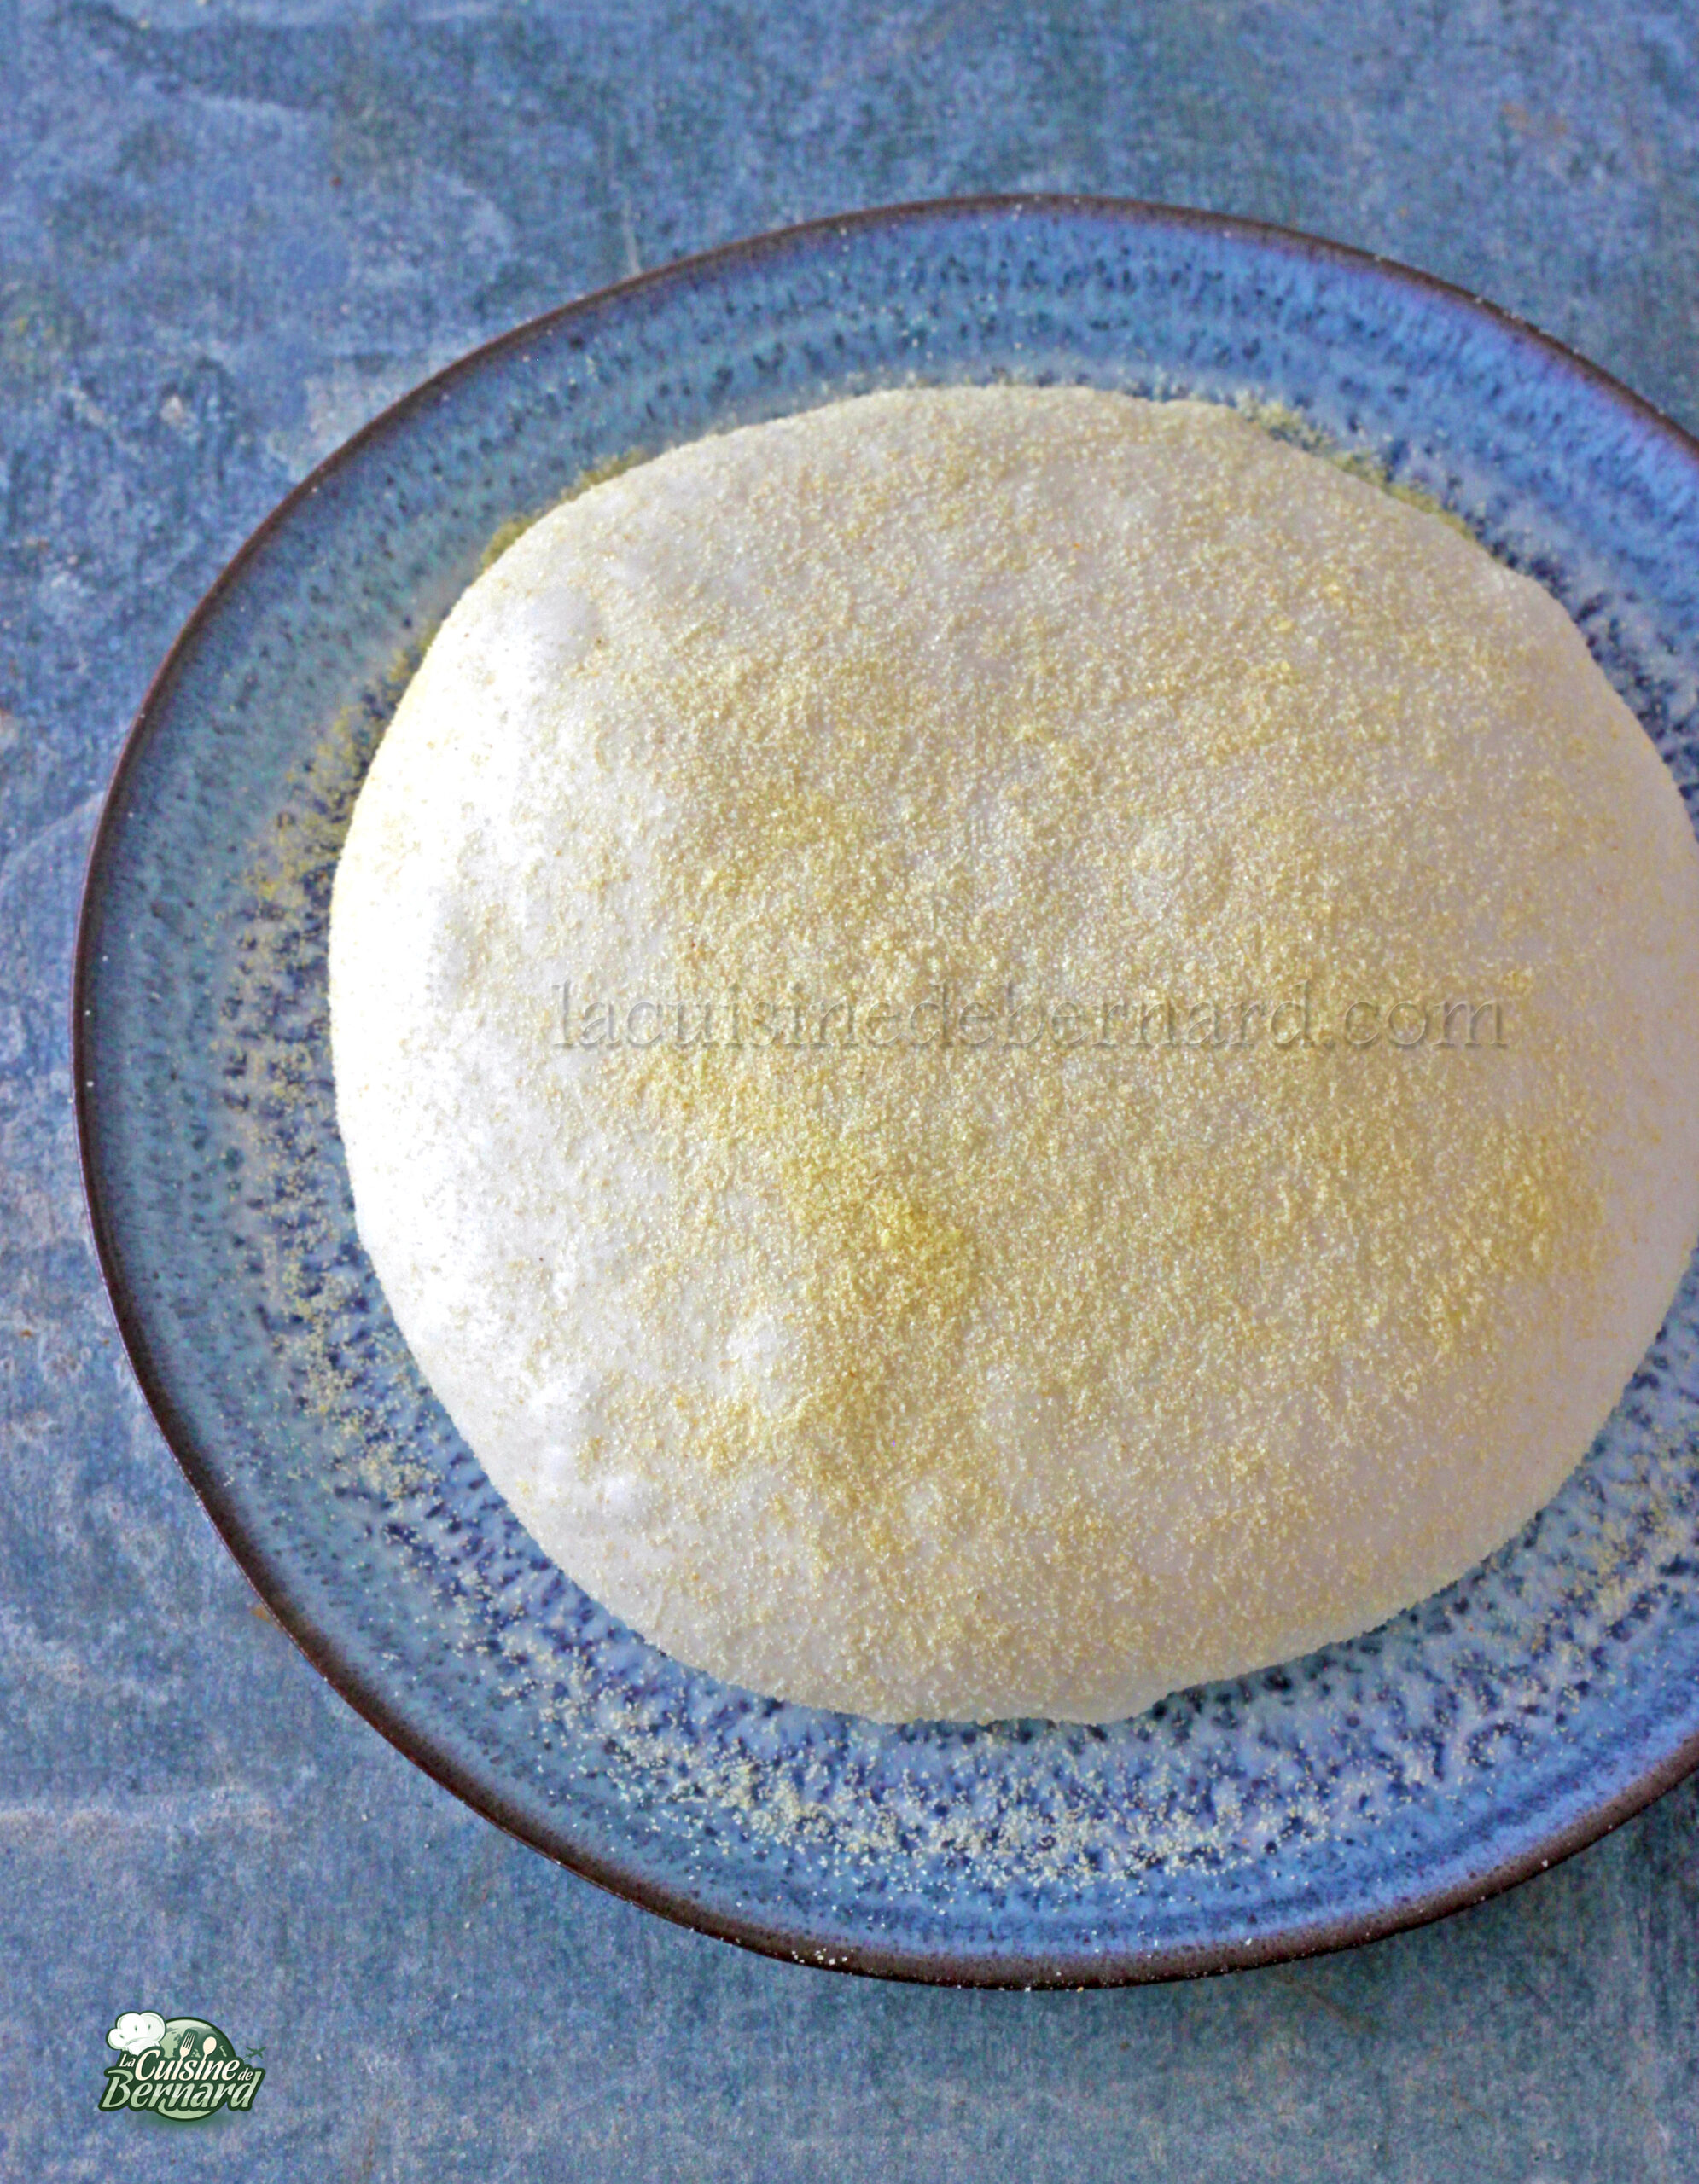
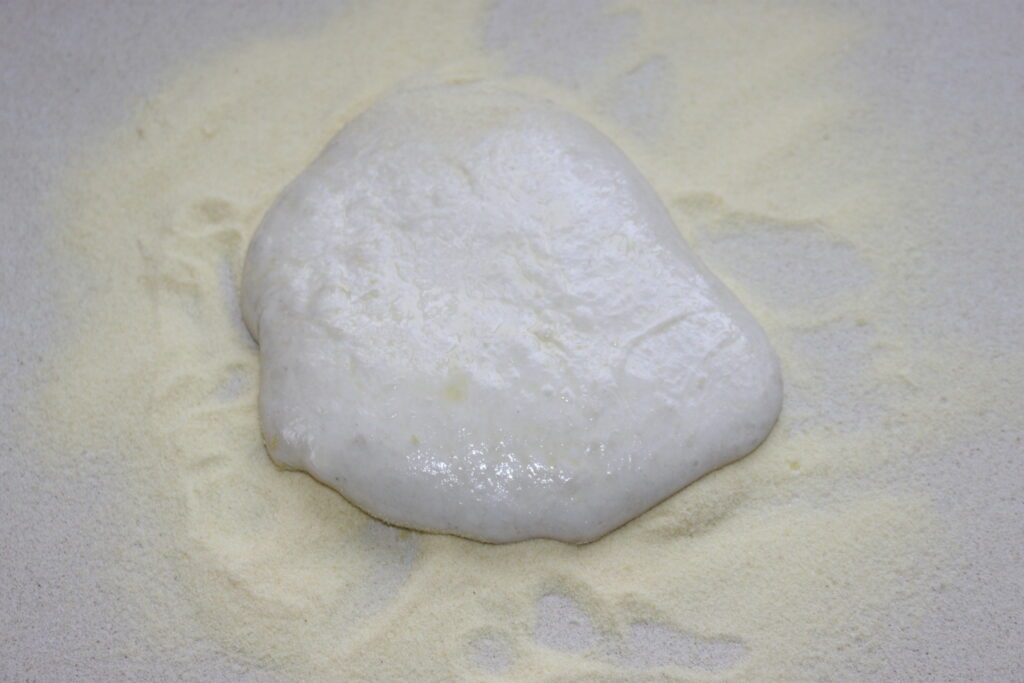
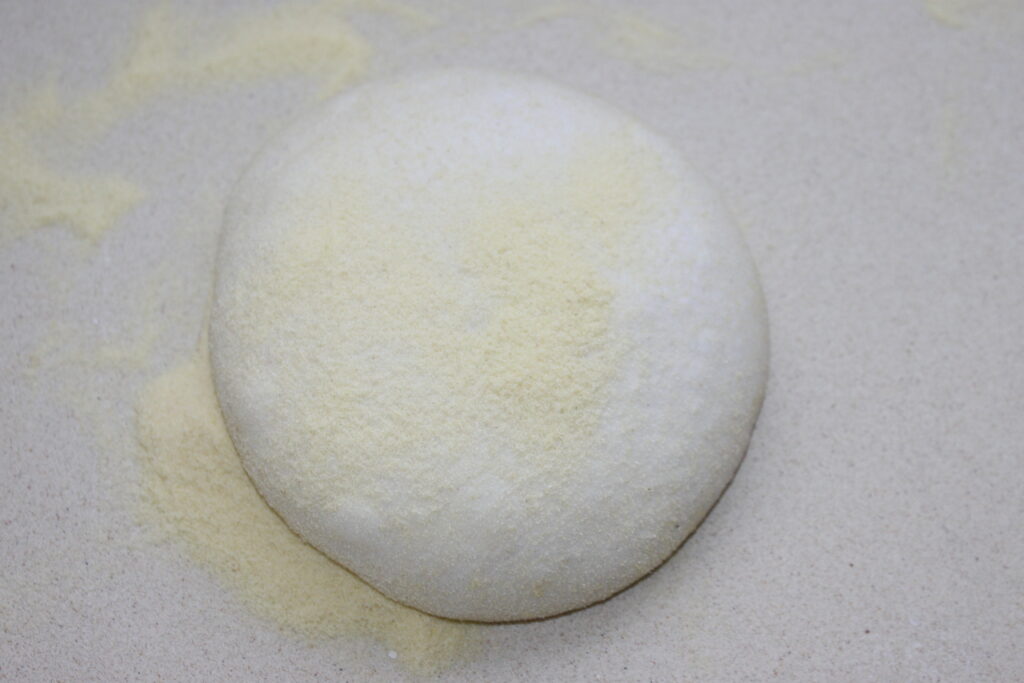
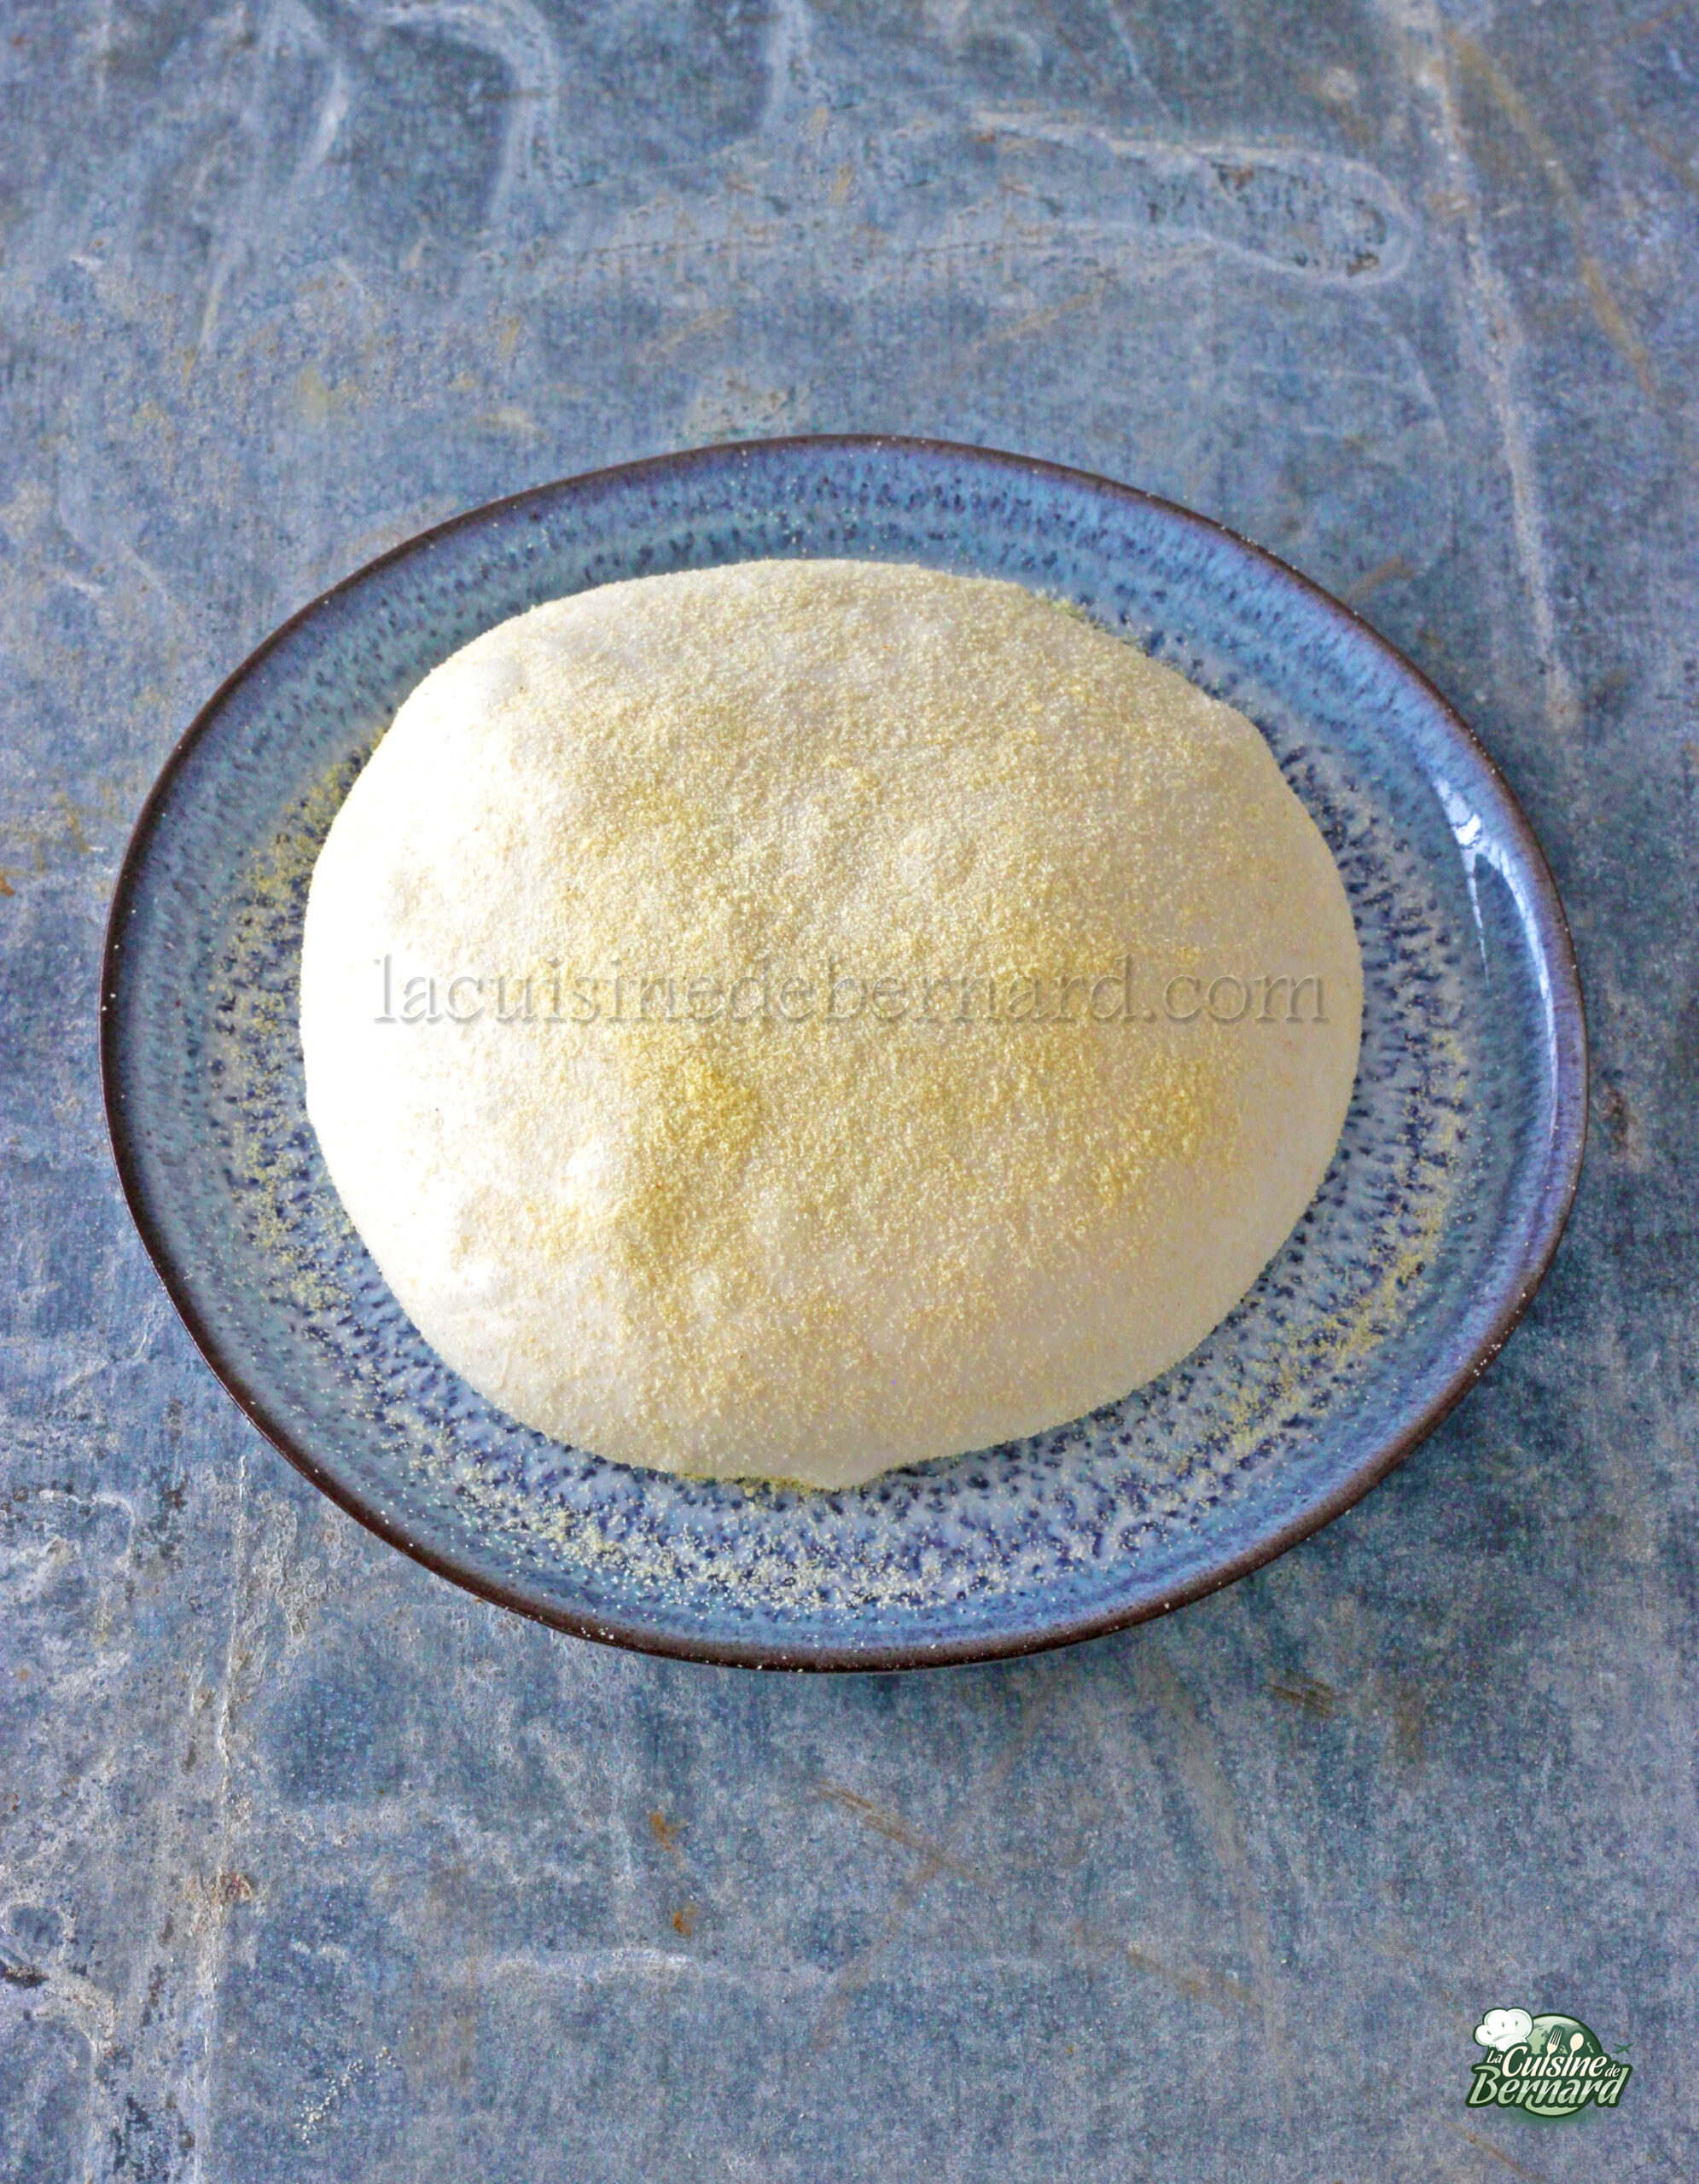
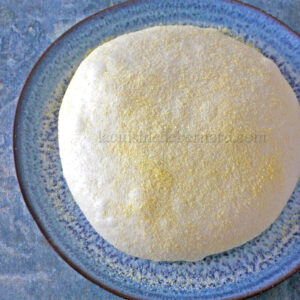
It’s finally good! If the dough sticks to the work surface, run a knife underneath. Take some fine semolina or flour and pour it onto the work surface. Place a dough piece on top.
Hand-roll the dough into a pizza shape, then proceed as usual.
Of course, I’ll quickly come up with a recipe!
Pâte biga pour pizza
Ingredients
Jour 1
- 625 g farine T"0" manitoba
- 280 g eau froide
- 3 g levure fraiche de boulanger
Instructions
- Vous pouvez tenter la recette avec de la T55 ou même T65, cela donnera une très bonne pâte, mais pour un résultat idéal, le mieux est de prendre la farine italienne manitoba, qui a un fort pouvoir de pousse et de résistance, grâce à son taux de gluten plus important.
- Le jour 1, la veille donc de votre repas pizza, mélangez l’eau et la levure dans un petit récipient jusqu’à ce que la levure soit totalement dissoute. Commencez la pâte en gros 26h avant de faire votre repas. Vers 10h-11h pour un repas le lendemain midi, ou vers 17h-18h pour un diner le lendemain.
- Versez la totalité dans la cuve de votre robot avec la farine.
- Mélangez avec le crochet à pâte.
- Il y a peu d’eau par rapport à la farine, vous allez donc mélanger très peu de temps (1-2 minute) jusqu’à avoir une pâte non homogène, en morceaux. il faut juste vérifier qu’il n’y ait pas de farine dans le fond du récipient. Au pire, mélangez à la main en ramenant la farine puis re-mélangez brièvement avec le crochet pour obtenir cette texture.
- Mettez un film étirable sur la cuve et percez-là de petits trous avec une fourchette. Laissez reposer à température ambiante pendant 22 à 23h.
- Le lendemain, les morceaux de pâte on changé un peu de tête. La pâte a fermenté et cela va considérablement changer le goût et la texture.
- Cette fois, ajoutez la quantité d’eau du jour 2 et le sel. Mélangez doucement (l’eau va vouloir sortir au début).
- Quand la pâte devient plus homogène, augmenter la vitesse puis pétrissez jusqu’à ce que la pâte commence à se décoller de la paroi interne de la cuve. Le pétrissage au bol est terminé.
- Versez la pâte sur un plan de travail non fariné. Elle est à ce stade assez collante.
- Il va falloir lui donner de la force et de l’élasticité, tout en lui emprisonnant de l’air en faisant des rabats à mains nues. Il s’agit d’un geste où l’on étire la pâte sur le pâte de travail, puis de la replier au centre en emprisonnant de l’air.
- Pas facile de prendre les photos tout en faisant le rabat ! Faites cela 4-5 fois de suite, puis laissez reposer la pâte 15 minutes. Faites cette étape trois fois au total avec 15 minutes entre chaque.
- Au bout des 3 phase de rabats, laissez cette fois la pâte reposer 1h30 en le remettant dans la cuve par exemple. Divisez ensuite la pâte en 4 pâtons de poids égal.
- Modification par rapport à la photo : je ne laisse pas la pâte ur un papier sulfurisé, car l’humidité va faire que même le meilleur papier va coller à la fin et se déchirer. Laissez donc les pâtons directement sur le plan de travail. Huilez avec de l’huile d’olive les pâtons pour éviter qu’ils ne croûtent. Laissez cette fois pousser la pâte 2h.
- C’est enfin bon ! Si la pâte colle sur le plan de travail, passez un couteau par en dessous. Prenez de la semoule fine ou de la farine et versez-en sur le plan de travail. Posez-y un pâton.
- Étalez la pâte à la main en pizza puis procédez comme habituellement.
Nutrition

Recipe of the “tarama” for 4 to 6 persons:
-70g of bread crumbs (bread without the crust, but quality bread!)
-1/2 egg yolk (just take a little yolk)
-a 280g bag of smoked cod eggs (or mullets if available)
-170g to 200g of oil
-1/2 glass of milk
Instructions:
Start by removing the crust from the bread. I bought bread from Poilâne, which has a dense and delicious crumb. It is very easy with a fresh crumb.
Put the crumb in a bowl and pour enough milk to soak it completely.


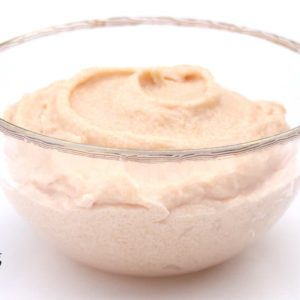
Tarama
Ingredients
- 70 g bread crumbs (bread without the crust, but quality bread!)
- 1/2 egg yolk (just take a little yolk)
- 280 g smoked cod eggs (or mullets if available)
- 170 to 200 g oil
- 1/2 glass of milk
Instructions
- Start by removing the crust from the bread. I bought bread from Poilâne, which has a dense and delicious crumb. It is very easy with a fresh crumb.Put the crumb in a bowl and pour enough milk to soak it completely.
- Wring out the crumb in your hand. Remove excess milk from bowl. Return the crushed crumb to the bowl. If the bread still has a little milk in it, that’s good because the tarama will hold up even better!
- Add half an egg yolk (this will not give any taste, but provides the protein needed to emulsify the oil).
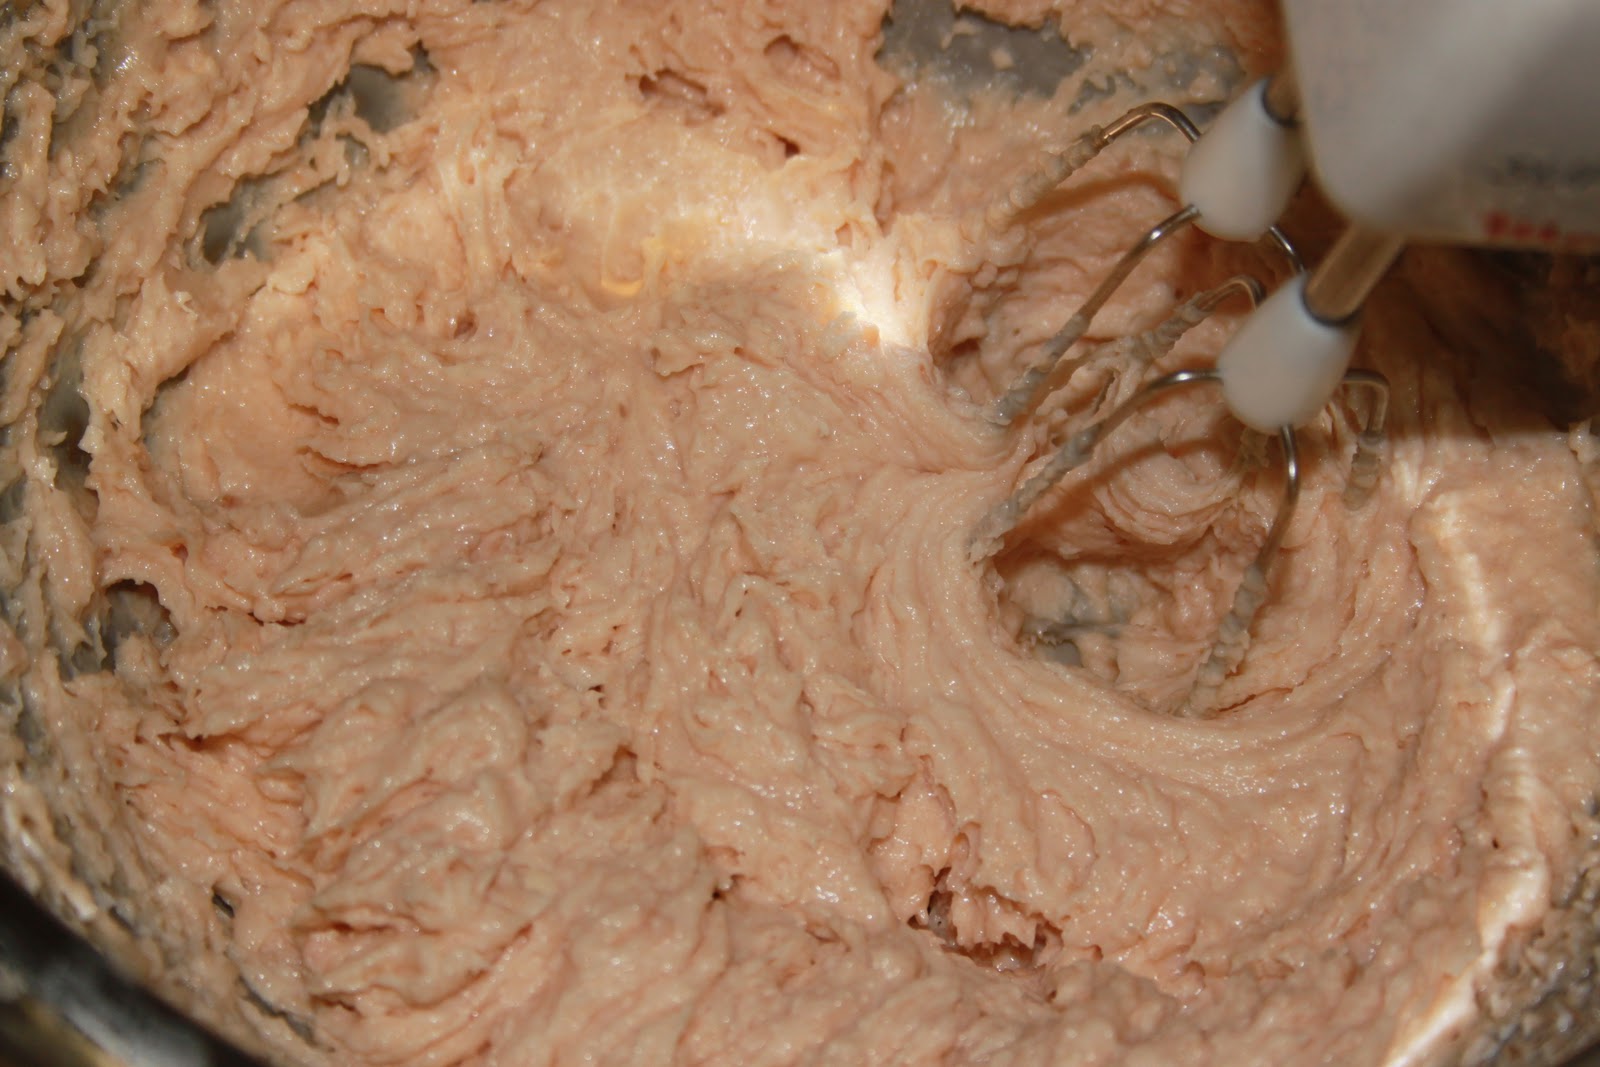
- Mix at low speed with an electric whisk for 2 minutes, to break down the proteins in the egg yolk and milk.
- Add the equivalent of two or three spoonfuls of oil while still mixing at low speed. This will start the emulsion. The oil immediately begins to enclose itself in small “capsules” of water (which comes from the milk and thanks to the half-yolk).
- Here is an egg pocket of smoked cod.
- Open it with a knife on one side. All that remains is to remove the eggs with a spoon.
- Add the eggs (without the skin of the pocket).
- Then start mixing until all the pocket pieces are gone.
- Add the remaining oil in a thin stream, slowly rising just like a mayonnaise.
- Do not make the tarama with a blender as I read in some recipes! Then with an electric whisk, add the oil in a stream, very gently, just like a mayonnaise! I made my tarama on the fly, trying to get the best result possible. But I weighed everything before and after, so the proportions I listed above are the ideal ones for me.Regarding the addition of lemon, I prefer to leave it up to each person to add it to the tarama at the time of tasting!Once all the oil has been added, mix well with a spoon, scraping the edges to incorporate everything.
- Film the tarama by putting the cling film in direct contact with the preparation. Let stand in the refrigerator for at least 3 hours before enjoying on slices of toast or (untraditional but delicious!) on warm blinis!