Deprecated: Calling static trait method MatthiasWeb\RealMediaLibrary\Vendor\DevOwl\RealProductManagerWpClient\UtilsProvider::setupConstants is deprecated, it should only be called on a class using the trait in /var/www/html/public_html/wp-content/plugins/real-media-library/vendor/devowl-wp/real-product-manager-wp-client/src/autoload.php on line 7

Deprecated: Calling static trait method MatthiasWeb\RealMediaLibrary\Vendor\DevOwl\RealUtils\UtilsProvider::setupConstants is deprecated, it should only be called on a class using the trait in /var/www/html/public_html/wp-content/plugins/real-media-library/vendor/devowl-wp/real-utils/src/autoload.php on line 7

Deprecated: Accessing static trait property MatthiasWeb\RealMediaLibrary\Vendor\MatthiasWeb\Utils\PluginReceiver::$PLUGIN_CONST_FILE is deprecated, it should only be accessed on a class using the trait in /var/www/html/public_html/wp-content/plugins/real-media-library/vendor/devowl-wp/utils/src/Core.php on line 174

Deprecated: Accessing static trait property MatthiasWeb\RealMediaLibrary\Vendor\MatthiasWeb\Utils\PluginReceiver::$PLUGIN_CLASS_ACTIVATOR is deprecated, it should only be accessed on a class using the trait in /var/www/html/public_html/wp-content/plugins/real-media-library/vendor/devowl-wp/utils/src/Core.php on line 46

Deprecated: Accessing static trait property MatthiasWeb\RealMediaLibrary\Vendor\MatthiasWeb\Utils\PluginReceiver::$PLUGIN_CLASS_ASSETS is deprecated, it should only be accessed on a class using the trait in /var/www/html/public_html/wp-content/plugins/real-media-library/vendor/devowl-wp/utils/src/Core.php on line 49

Deprecated: Accessing static trait property MatthiasWeb\RealMediaLibrary\Vendor\MatthiasWeb\Utils\PluginReceiver::$PLUGIN_CLASS_LOCALIZATION is deprecated, it should only be accessed on a class using the trait in /var/www/html/public_html/wp-content/plugins/real-media-library/vendor/devowl-wp/utils/src/Core.php on line 60

Deprecated: Accessing static trait property MatthiasWeb\RealMediaLibrary\Vendor\MatthiasWeb\Utils\PluginReceiver::$PLUGIN_CONST_ROOT_SLUG is deprecated, it should only be accessed on a class using the trait in /var/www/html/public_html/wp-content/plugins/real-media-library/vendor/devowl-wp/utils/src/Core.php on line 64

Deprecated: Accessing static trait property MatthiasWeb\RealMediaLibrary\Vendor\MatthiasWeb\Utils\PluginReceiver::$PLUGIN_CONST_SLUG is deprecated, it should only be accessed on a class using the trait in /var/www/html/public_html/wp-content/plugins/real-media-library/vendor/devowl-wp/utils/src/Service.php on line 149

Deprecated: Accessing static trait property MatthiasWeb\RealMediaLibrary\Vendor\MatthiasWeb\Utils\Localization::$PACKAGE_INFO_BACKEND is deprecated, it should only be accessed on a class using the trait in /var/www/html/public_html/wp-content/plugins/real-media-library/vendor/devowl-wp/utils/src/PackageLocalization.php on line 37
Deprecated: Accessing static trait property MatthiasWeb\RealMediaLibrary\Vendor\MatthiasWeb\Utils\PluginReceiver::$PLUGIN_CONST_OPT_PREFIX is deprecated, it should only be accessed on a class using the trait in /var/www/html/public_html/wp-content/plugins/real-media-library/vendor/devowl-wp/utils/src/Activator.php on line 78

Deprecated: Accessing static trait property MatthiasWeb\RealMediaLibrary\Vendor\MatthiasWeb\Utils\PluginReceiver::$PLUGIN_CONST_VERSION is deprecated, it should only be accessed on a class using the trait in /var/www/html/public_html/wp-content/plugins/real-media-library/vendor/devowl-wp/utils/src/Core.php on line 114

Deprecated: Accessing static trait property MatthiasWeb\RealMediaLibrary\Vendor\MatthiasWeb\Utils\Localization::$PACKAGE_INFO_BACKEND is deprecated, it should only be accessed on a class using the trait in /var/www/html/public_html/wp-content/plugins/real-media-library/vendor/devowl-wp/utils/src/PackageLocalization.php on line 37

Deprecated: Accessing static trait property MatthiasWeb\RealMediaLibrary\Vendor\MatthiasWeb\Utils\PluginReceiver::$PLUGIN_CONST_TEXT_DOMAIN is deprecated, it should only be accessed on a class using the trait in /var/www/html/public_html/wp-content/plugins/real-media-library/vendor/devowl-wp/utils/src/Core.php on line 79

Deprecated: Accessing static trait property MatthiasWeb\RealMediaLibrary\Vendor\MatthiasWeb\Utils\PluginReceiver::$PLUGIN_CONST_FILE is deprecated, it should only be accessed on a class using the trait in /var/www/html/public_html/wp-content/plugins/real-media-library/vendor/devowl-wp/utils/src/Core.php on line 85

Deprecated: Accessing static trait property MatthiasWeb\RealMediaLibrary\Vendor\MatthiasWeb\Utils\PluginReceiver::$PLUGIN_CONST_PATH is deprecated, it should only be accessed on a class using the trait in /var/www/html/public_html/wp-content/plugins/real-media-library/vendor/devowl-wp/utils/src/Core.php on line 143

Deprecated: Accessing static trait property MatthiasWeb\RealMediaLibrary\Vendor\MatthiasWeb\Utils\PluginReceiver::$PLUGIN_CONST_ROOT_SLUG is deprecated, it should only be accessed on a class using the trait in /var/www/html/public_html/wp-content/plugins/real-media-library/vendor/devowl-wp/utils/src/Core.php on line 147

Deprecated: Accessing static trait property MatthiasWeb\RealMediaLibrary\Vendor\MatthiasWeb\Utils\Localization::$PACKAGE_INFO_BACKEND is deprecated, it should only be accessed on a class using the trait in /var/www/html/public_html/wp-content/plugins/real-media-library/vendor/devowl-wp/utils/src/PackageLocalization.php on line 37

Deprecated: Accessing static trait property MatthiasWeb\RealMediaLibrary\Vendor\MatthiasWeb\Utils\PluginReceiver::$PLUGIN_CONST_ROOT_SLUG is deprecated, it should only be accessed on a class using the trait in /var/www/html/public_html/wp-content/plugins/real-media-library/vendor/devowl-wp/utils/src/Core.php on line 96

Deprecated: Accessing static trait property MatthiasWeb\RealMediaLibrary\Vendor\MatthiasWeb\Utils\Localization::$PACKAGE_INFO_BACKEND is deprecated, it should only be accessed on a class using the trait in /var/www/html/public_html/wp-content/plugins/real-media-library/vendor/devowl-wp/utils/src/PackageLocalization.php on line 37

Deprecated: Accessing static trait property MatthiasWeb\RealMediaLibrary\Vendor\MatthiasWeb\Utils\PluginReceiver::$PLUGIN_CONST_ROOT_SLUG is deprecated, it should only be accessed on a class using the trait in /var/www/html/public_html/wp-content/plugins/real-media-library/vendor/devowl-wp/utils/src/Core.php on line 96

Deprecated: Accessing static trait property MatthiasWeb\RealMediaLibrary\Vendor\MatthiasWeb\Utils\Localization::$PACKAGE_INFO_BACKEND is deprecated, it should only be accessed on a class using the trait in /var/www/html/public_html/wp-content/plugins/real-media-library/vendor/devowl-wp/utils/src/PackageLocalization.php on line 37

Deprecated: Accessing static trait property MatthiasWeb\RealMediaLibrary\Vendor\MatthiasWeb\Utils\PluginReceiver::$PLUGIN_CONST_ROOT_SLUG is deprecated, it should only be accessed on a class using the trait in /var/www/html/public_html/wp-content/plugins/real-media-library/vendor/devowl-wp/utils/src/Core.php on line 96

Deprecated: Accessing static trait property MatthiasWeb\RealMediaLibrary\Vendor\MatthiasWeb\Utils\Localization::$PACKAGE_INFO_BACKEND is deprecated, it should only be accessed on a class using the trait in /var/www/html/public_html/wp-content/plugins/real-media-library/vendor/devowl-wp/utils/src/PackageLocalization.php on line 37

Deprecated: Creation of dynamic property WP_Grid_Builder_Elementor\Includes\Render::$providers is deprecated in /var/www/html/public_html/wp-content/plugins/wp-grid-builder-elementor/includes/class-render.php on line 55

Deprecated: Creation of dynamic property WP_Grid_Builder_Elementor\Includes\Filter::$providers is deprecated in /var/www/html/public_html/wp-content/plugins/wp-grid-builder-elementor/includes/class-filter.php on line 35

Deprecated: Accessing static trait property MatthiasWeb\RealMediaLibrary\Vendor\MatthiasWeb\Utils\Localization::$PACKAGE_INFO_BACKEND is deprecated, it should only be accessed on a class using the trait in /var/www/html/public_html/wp-content/plugins/real-media-library/vendor/devowl-wp/utils/src/PackageLocalization.php on line 37

Warning: Cannot modify header information - headers already sent by (output started at /var/www/html/public_html/wp-content/plugins/real-media-library/vendor/devowl-wp/utils/src/PackageLocalization.php:37) in /var/www/html/public_html/wp-includes/feed-rss2.php on line 8
Fall – La cuisine de Bernard https://stagingapp15670.cloudwayssites.com/en/ Traveler and passionate about cooking, I give you all my secrets of cooking, without detour. Sun, 27 Nov 2022 23:36:28 +0000 en-US hourly 1 https://wordpress.org/?v=6.9.4 https://stagingapp15670.cloudwayssites.com/wp-content/uploads/logo/frame-3-1.png Fall – La cuisine de Bernard https://stagingapp15670.cloudwayssites.com/en/ 32 32 Cocoa nut cake https://stagingapp15670.cloudwayssites.com/en/cocoa-nut-cake/ https://stagingapp15670.cloudwayssites.com/en/cocoa-nut-cake/#respond Fri, 07 Oct 2022 13:45:25 +0000 https://stagingapp15670.cloudwayssites.com/cocoa-nut-cake
Deprecated: Accessing static trait property MatthiasWeb\RealMediaLibrary\Vendor\MatthiasWeb\Utils\Localization::$PACKAGE_INFO_BACKEND is deprecated, it should only be accessed on a class using the trait in /var/www/html/public_html/wp-content/plugins/real-media-library/vendor/devowl-wp/utils/src/PackageLocalization.php on line 37
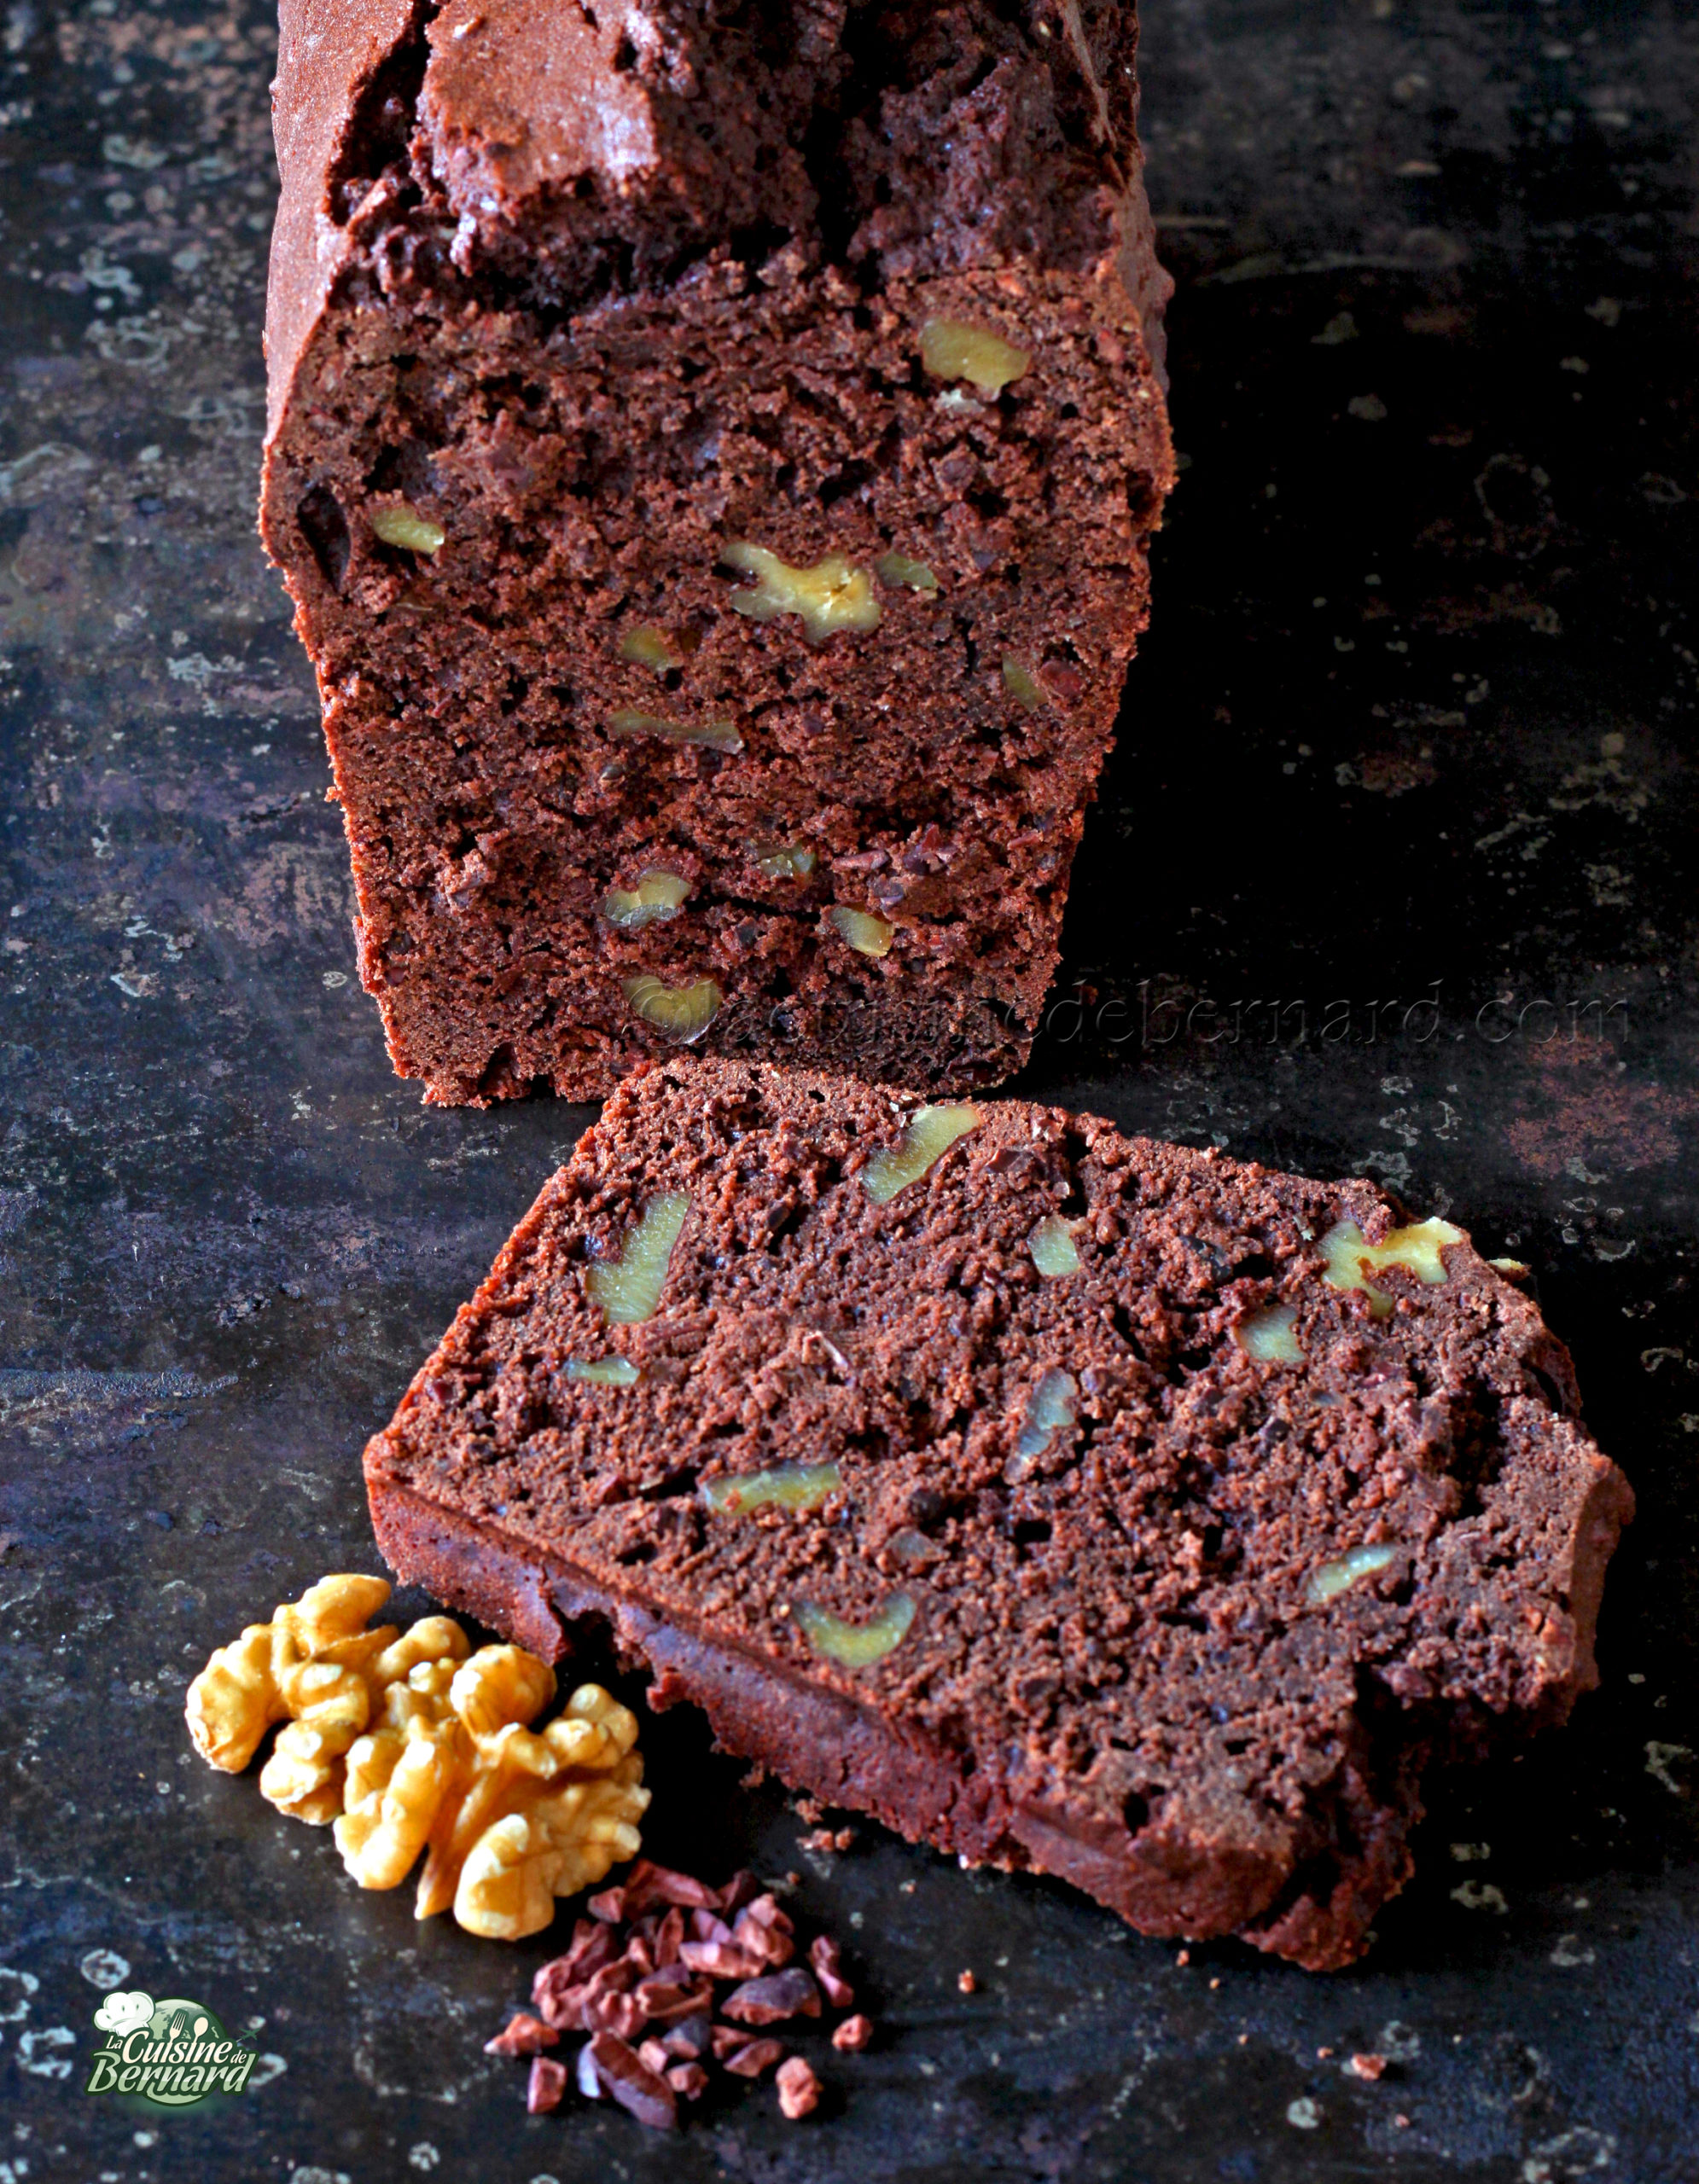
IMG 2465 3

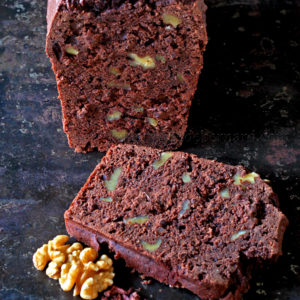
I propose a cake recipe, this time not very sweet, with coffee, cocoa and nut flavors. It is rich in chocolate and cocoa, and if you use very strong dark chocolate, the cake will be even less sweet. As is often the case with my cake recipes, it will taste better the next day after a night in the fridge!

Recipe for a cake of

  • 220g of semi-salted butter
  • 125g of dark chocolate
  • 175g of sugar
  • 2 coffee sticks
  • 7g of baking powder
  • 240g of egg
  • 210g of flour
  • 35g unsweetened cocoa powder
  • 60g of almond powder
  • 95g of semi-skimmed milk
  • 100g of cocoa nibs
  • 85g of nuts

Melt the butter and dark chocolate together in a microwave oven in a double boiler.
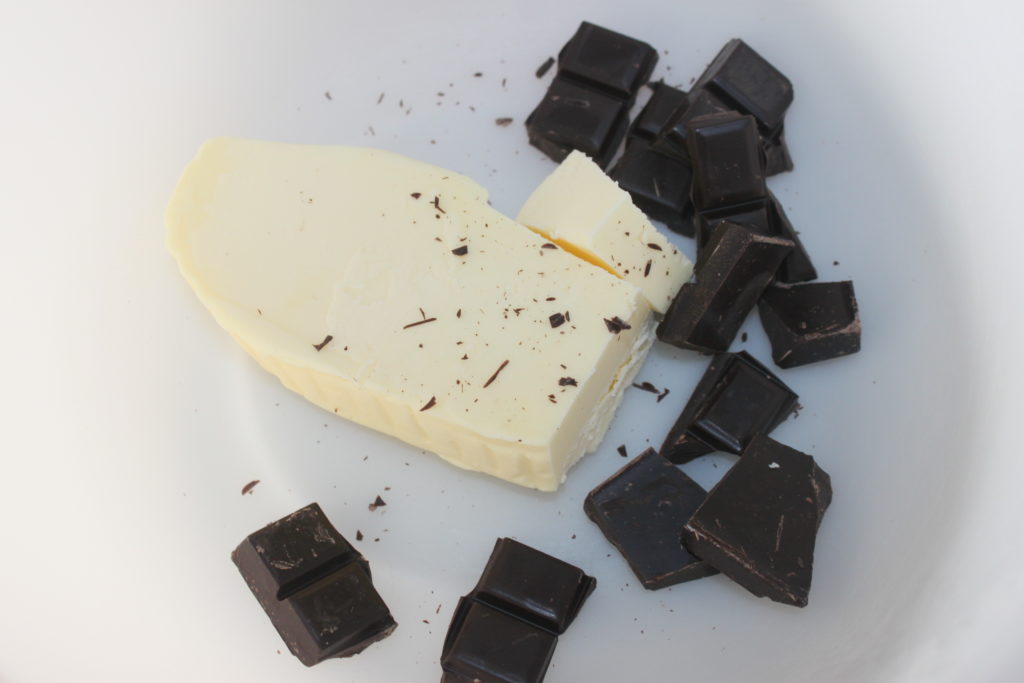
0C1FD78A 2A72 4F60 8A1C EB1FDC0B4943

Then add the sugar and coffee powder.

3C89F28B 6C39 4097 BDD6 C5CE035A5D34

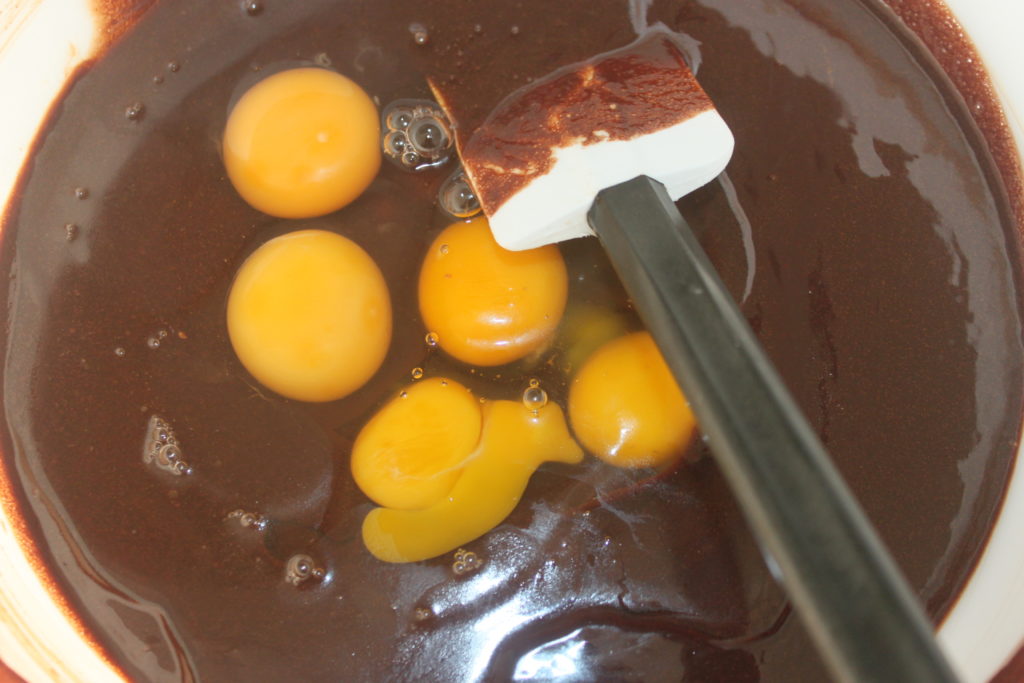
Mix well and add the eggs.

8AC2F2E0 06BB 4556 98EE C2E0CE16AF8C

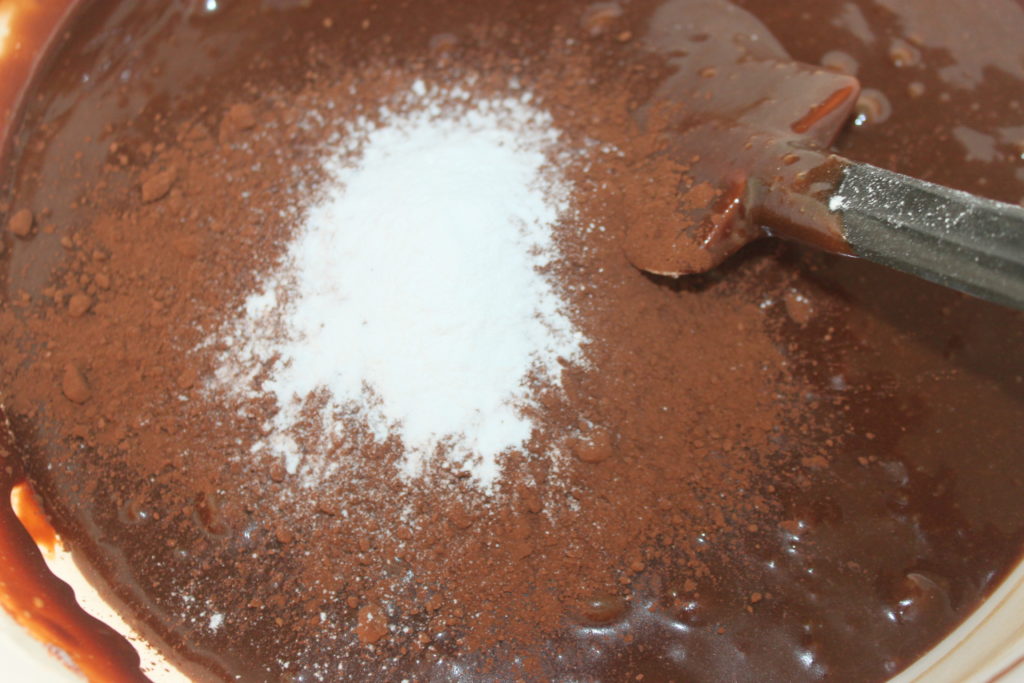
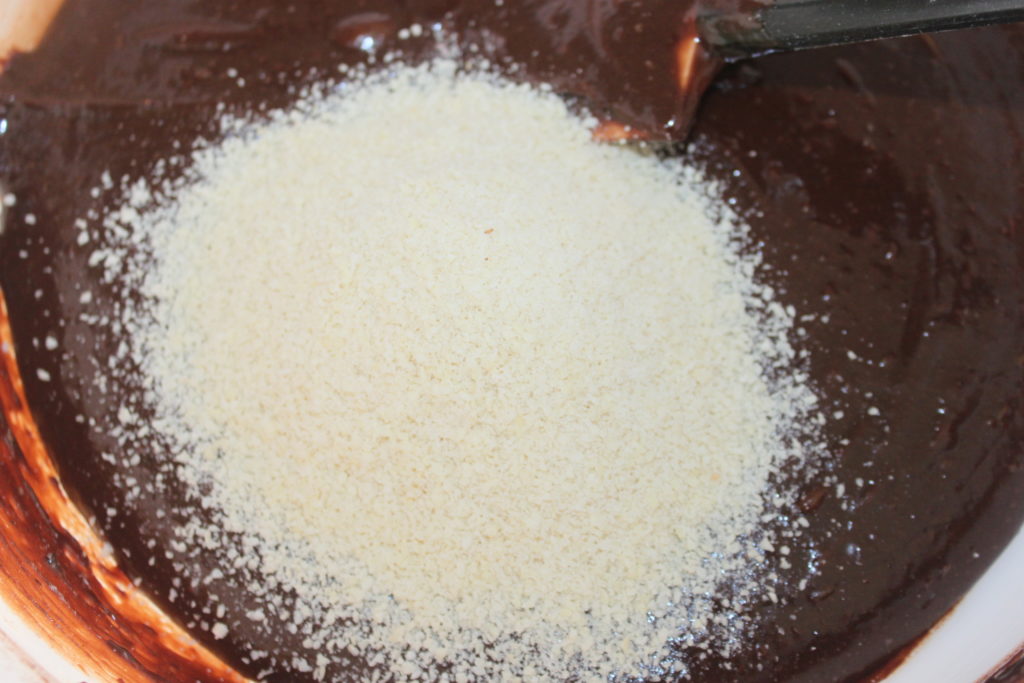
A mixture then pour in the flour, unsweetened cocoa powder, baking powder and almond powder.
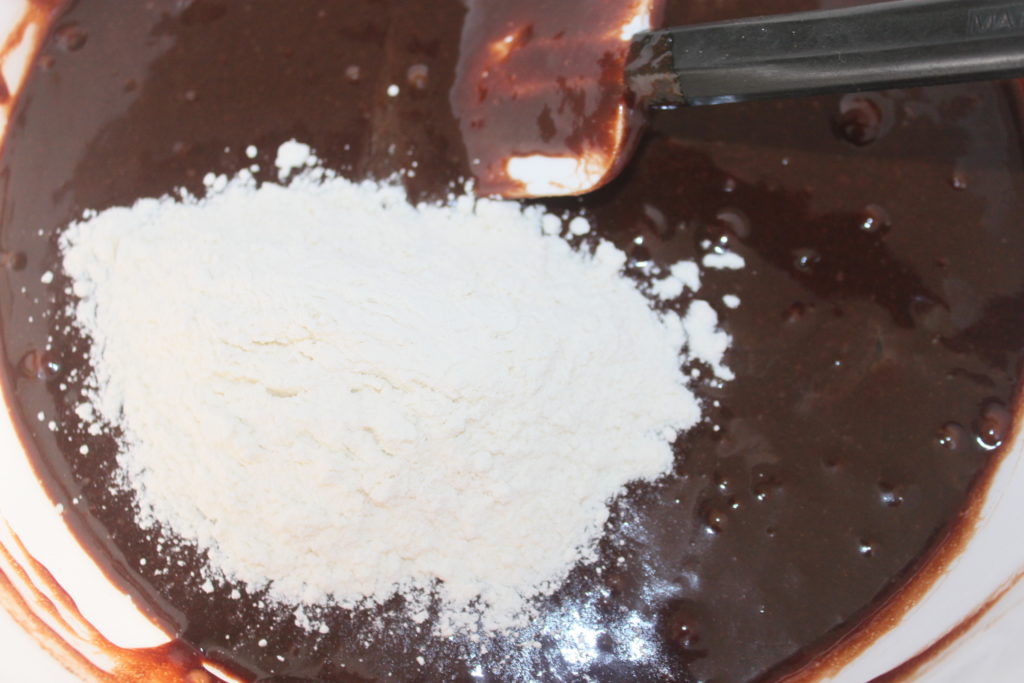
6BA9BFA8 C82E 4DC8 BD2E 49727D8469DA


2C23CD5E 74E9 4D38 A10F B092D02CE42F


2D6BF278 CC98 495E A447 283F1759952B

Pour in the milk and mix the dough.
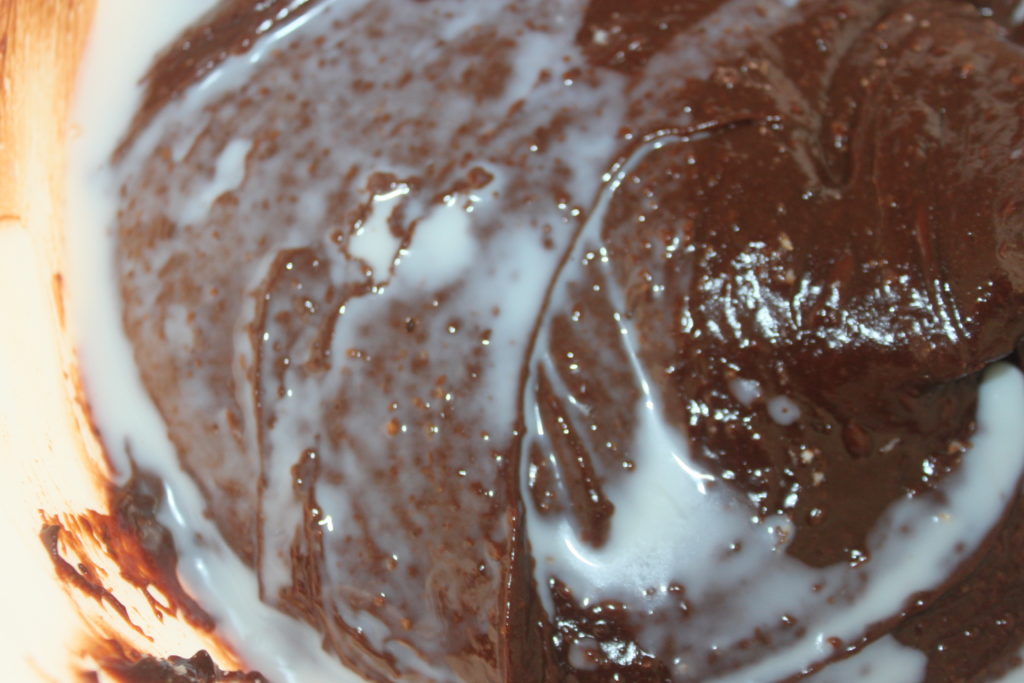
CB128A71 A92C 4F92 AA07 BE58F74E230C

Finish with the cocoa nibs and chopped nuts.
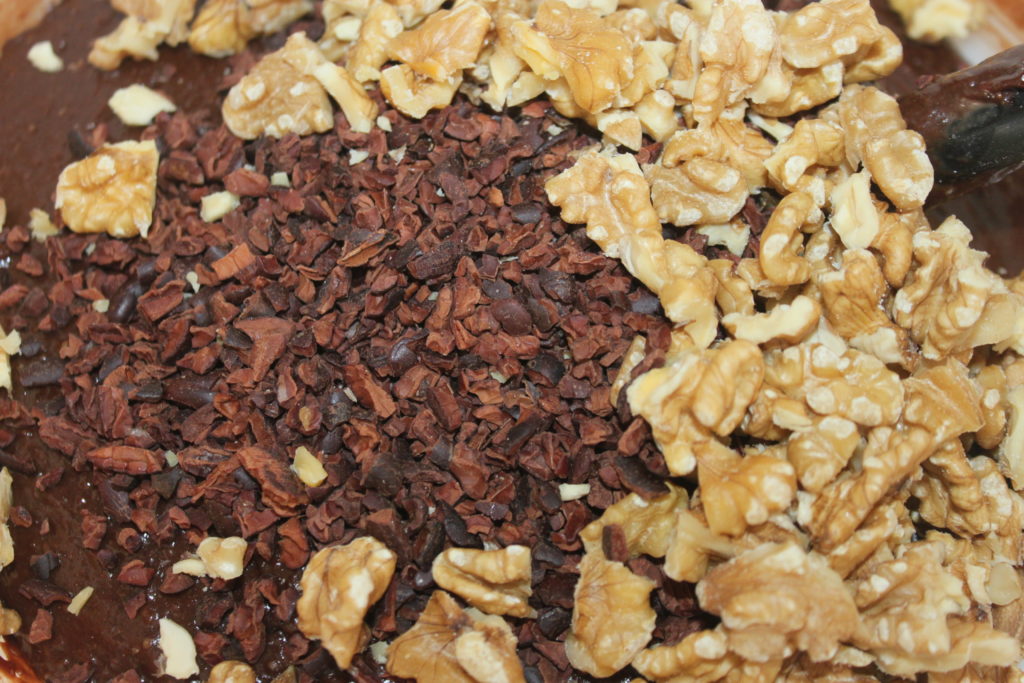
62D36644 4774 40DF A4A2 10833CB5E7D6

Put in the parchment paper lined pan.
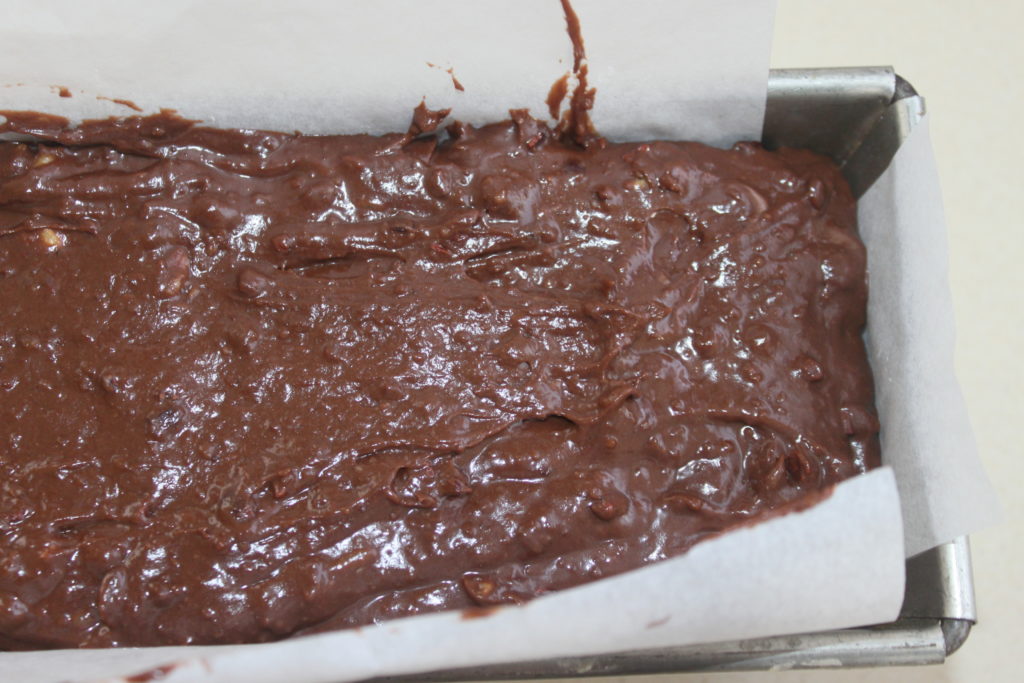
9A7D4AE9 5F01 4AAF A2DC 20E9B00C90C4

Bake on revolving heat for 15 minutes at 160°C, then 1h30 at 145°C.
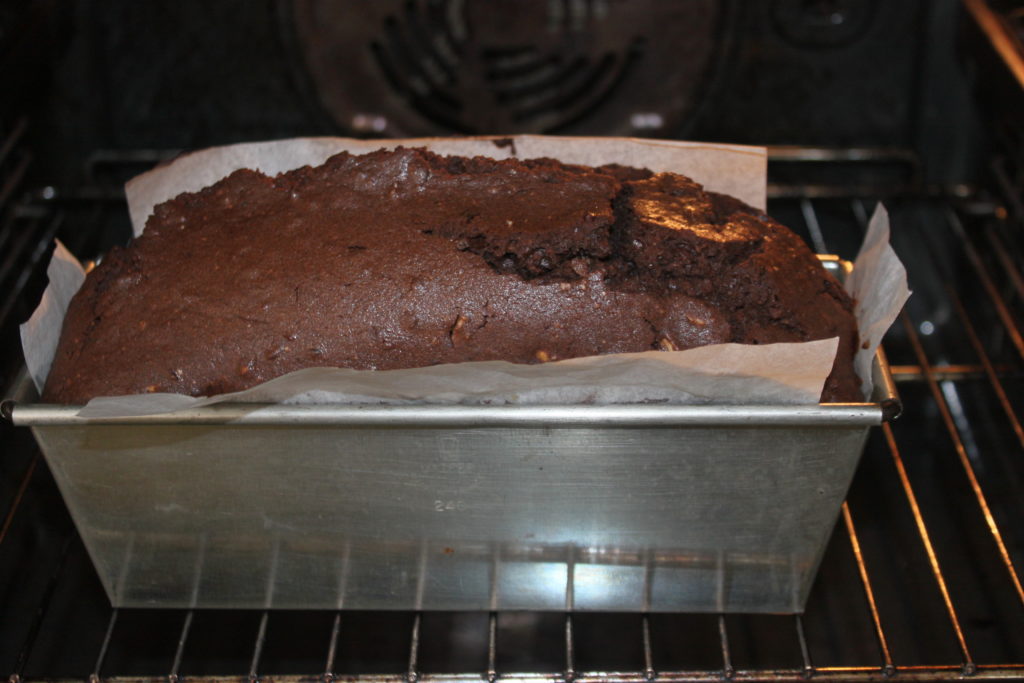
17E17148 FD21 4F00 98D4 69F20A33D5A4

Turn out and let cool to room temperature.
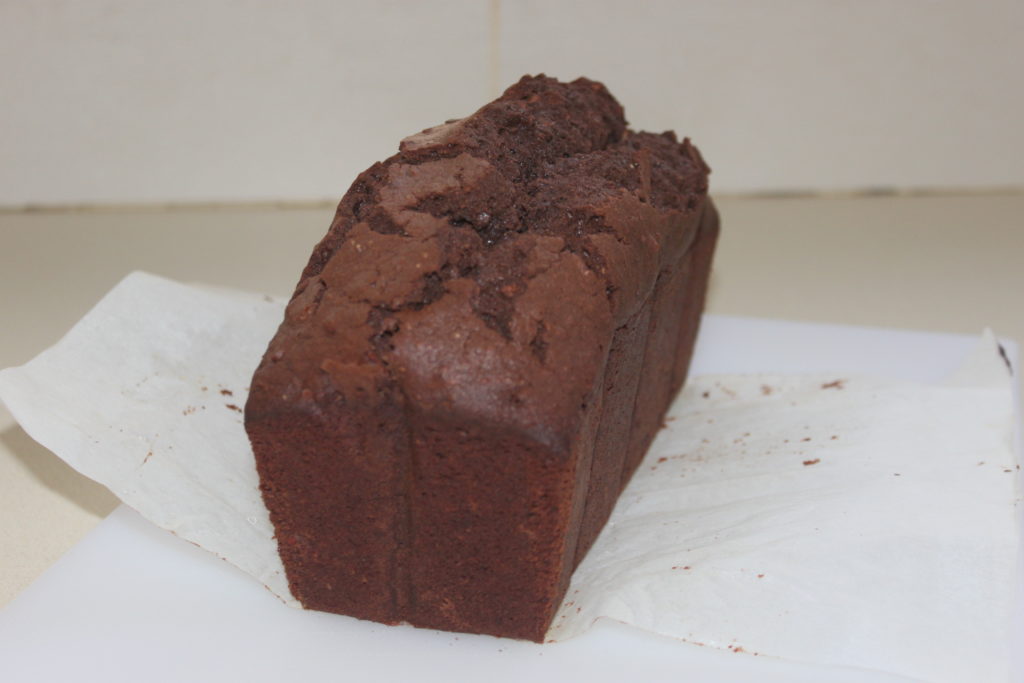
2C9C5603 DA64 409F ABE8 7E633A03D41F

Then put it in cling film and refrigerate overnight. Cut out the next day!
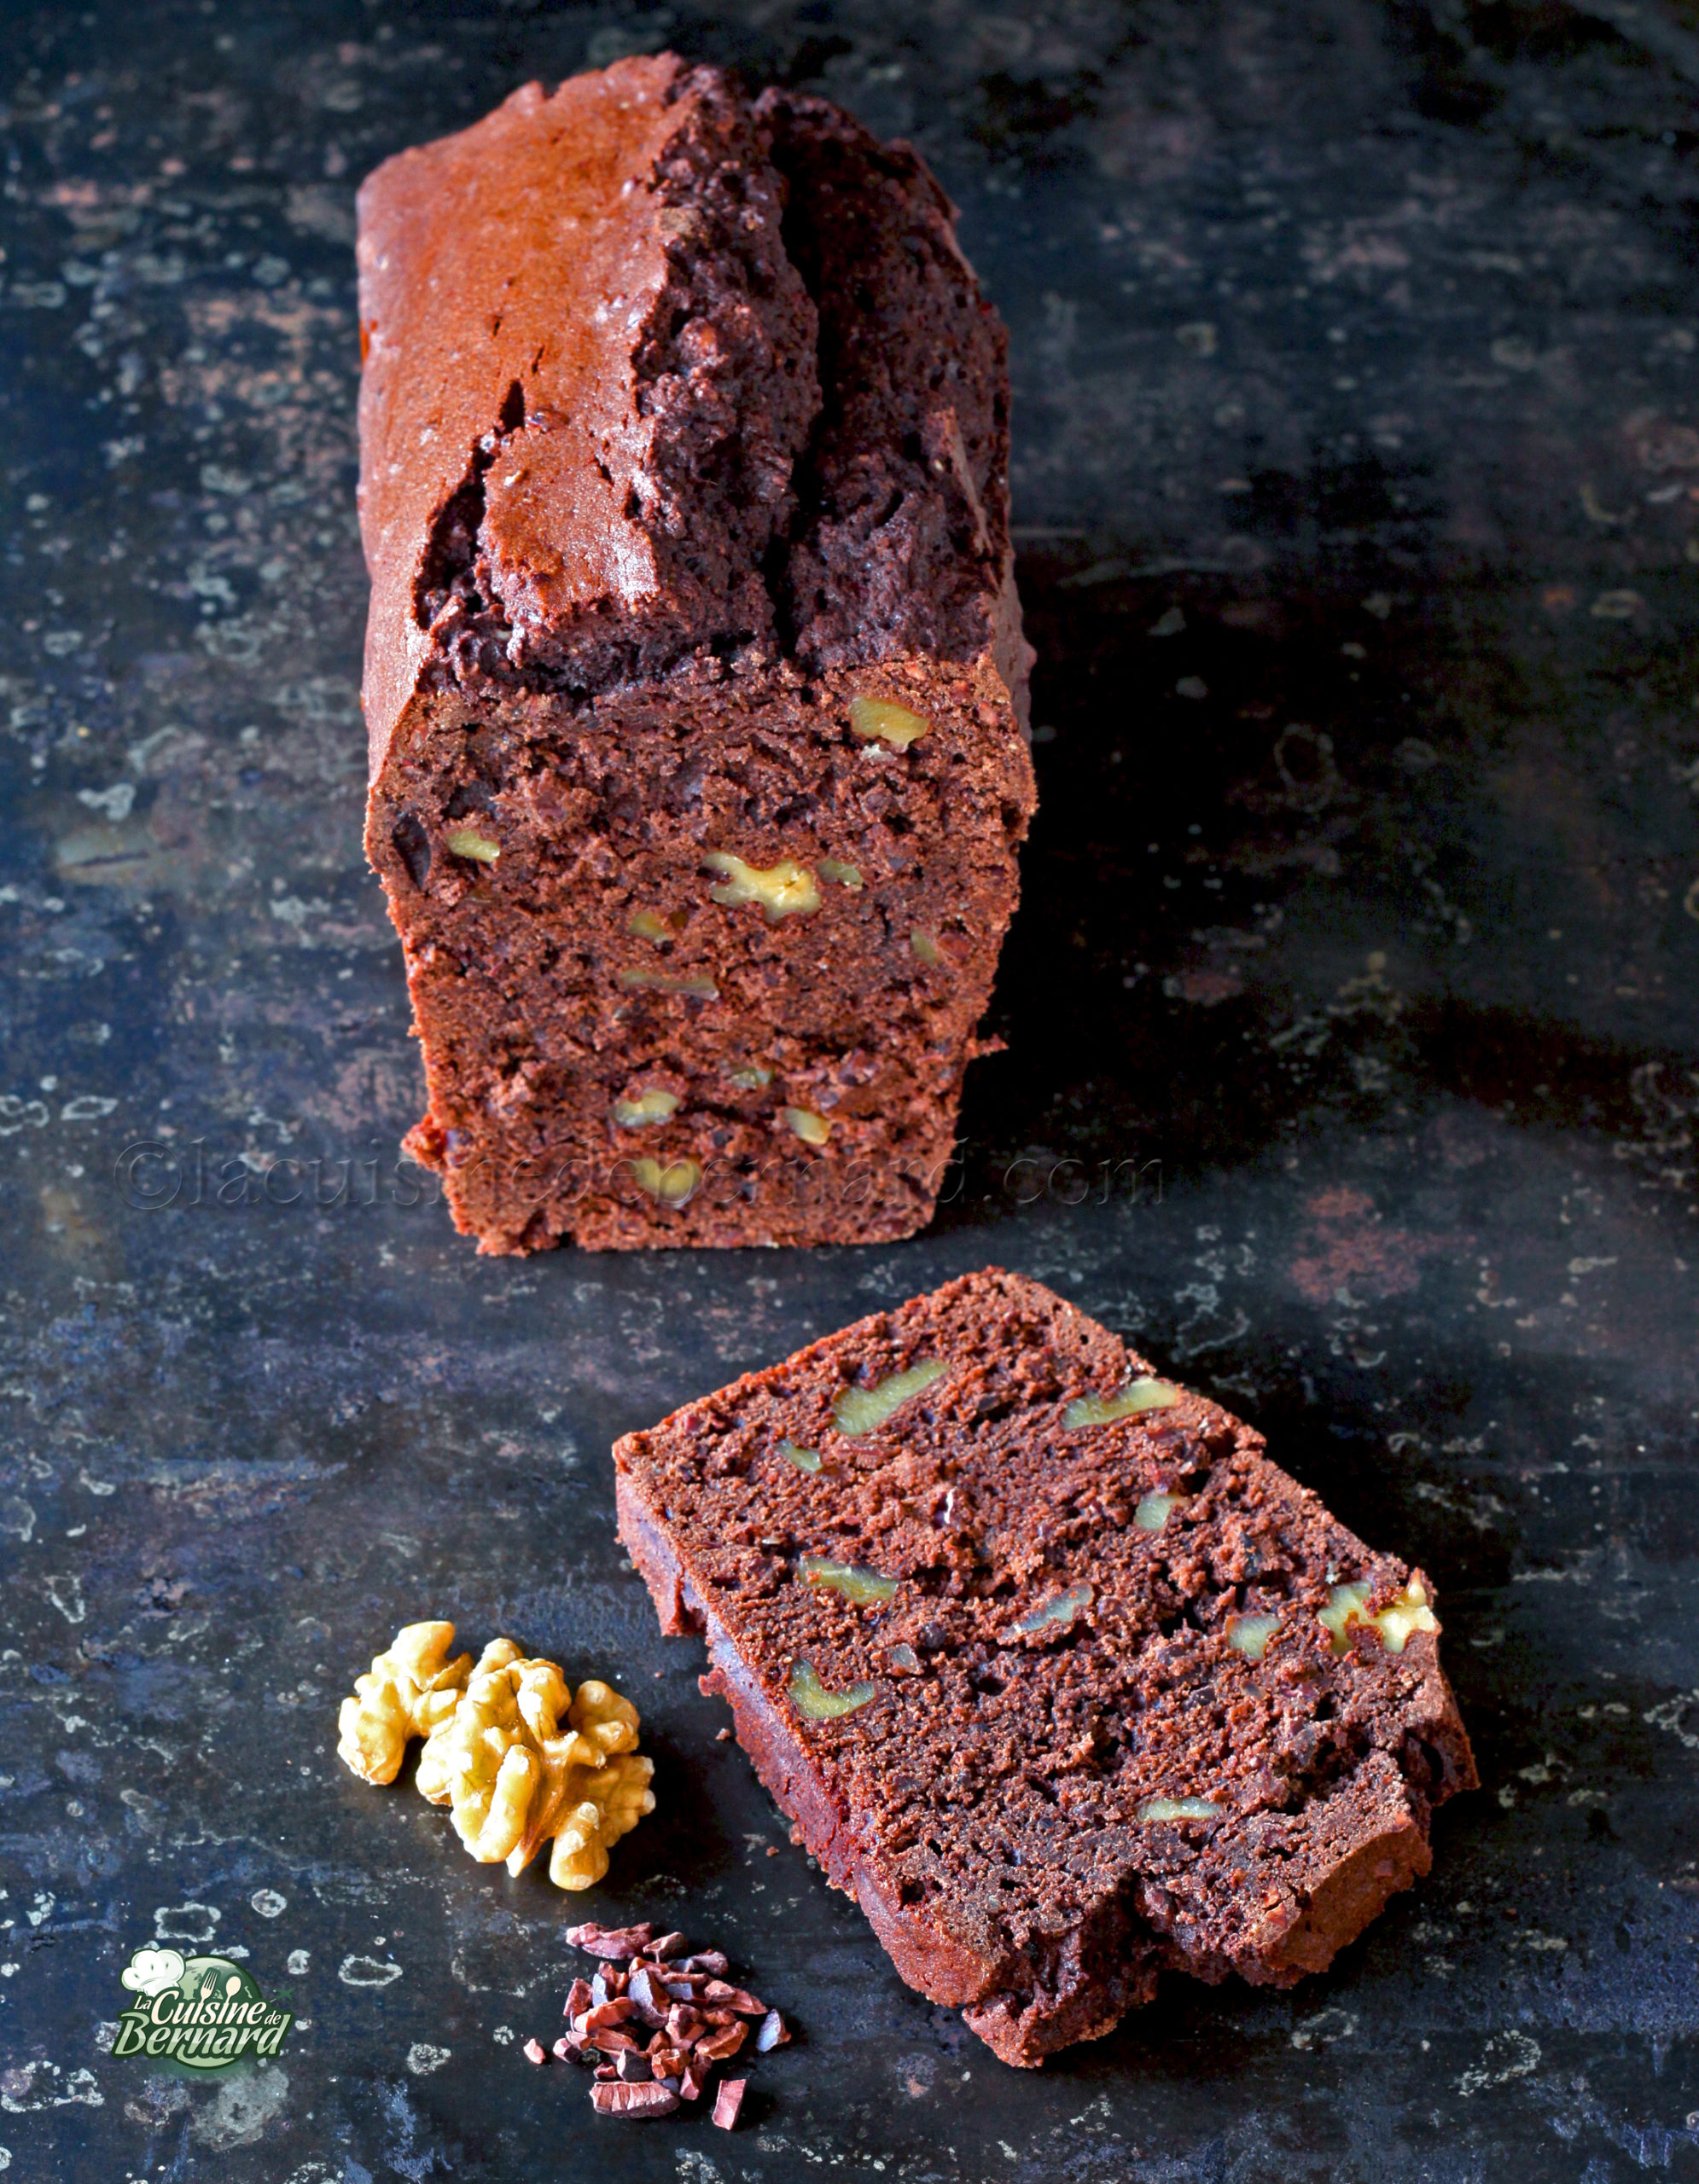
IMG 2462 3
IMG 2465 3

Cake cacao noix

Je vous propose une recette de cake, cette fois peu sucré, aux saveurs de café, de cacao et de noix. Il est riche en chocolat et cacao, et pour peu que vous mettiez du chocolat noir très fort, le cake sera encore moins sucré. Comme souvent avec mes recettes de cakes, il sera meilleur le lendemain après une nuit au frais !
5 of 6 ratings
Prep Time 20 minutes
Cook Time 1 hour 45 minutes
Servings 12 personnes
Calories 463 kcal

Ingredients
  

Instructions
 

  • Mettez le beurre et le chocolat noir à fondre ensemble au four à micro-ondes au au bain-marie.
  • Ajoutez alors le sucre et le café en poudre.
  • Mélangez bien puis ajoutez les œufs.
  • Un mélange puis versez la farine, le cacao en poudre non sucré, la levure chimique et la poudre d’amande.
  • Versez le lait et mélangez la pâte. Terminez avec le grué de cacao et les noix en morceaux.
  • Mettez dans le moule chemisé de papier sulfurisé. Faites cuire sur chaleur tournante 15 minutes à 160°C, puis 1h30 à 145°C. Démoulez et laissez refroidir à température ambiante.
  • Mettez-le ensuite sous film étirable puis une nuit au réfrigérateur. Découpez le lendemain !

Nutrition
Calories: 463kcalCarbohydrates: 40gProtein: 10gFat: 31gSaturated Fat: 16gPolyunsaturated Fat: 2gMonounsaturated Fat: 8gTrans Fat: 1gCholesterol: 114mgSodium: 145mgPotassium: 230mgFiber: 5gSugar: 18gVitamin A: 542IUVitamin C: 0.04mgCalcium: 55mgIron: 3mg
Tried this recipe?Let us know how it was!
]]>
https://stagingapp15670.cloudwayssites.com/en/cocoa-nut-cake/feed/ 0
Hazelnut pancakes https://stagingapp15670.cloudwayssites.com/en/hazelnut-pancakes/ https://stagingapp15670.cloudwayssites.com/en/hazelnut-pancakes/#comments Mon, 08 Nov 2021 13:49:29 +0000 https://stagingapp15670.cloudwayssites.com/2021/11/pancakes-aux-noisettes.html

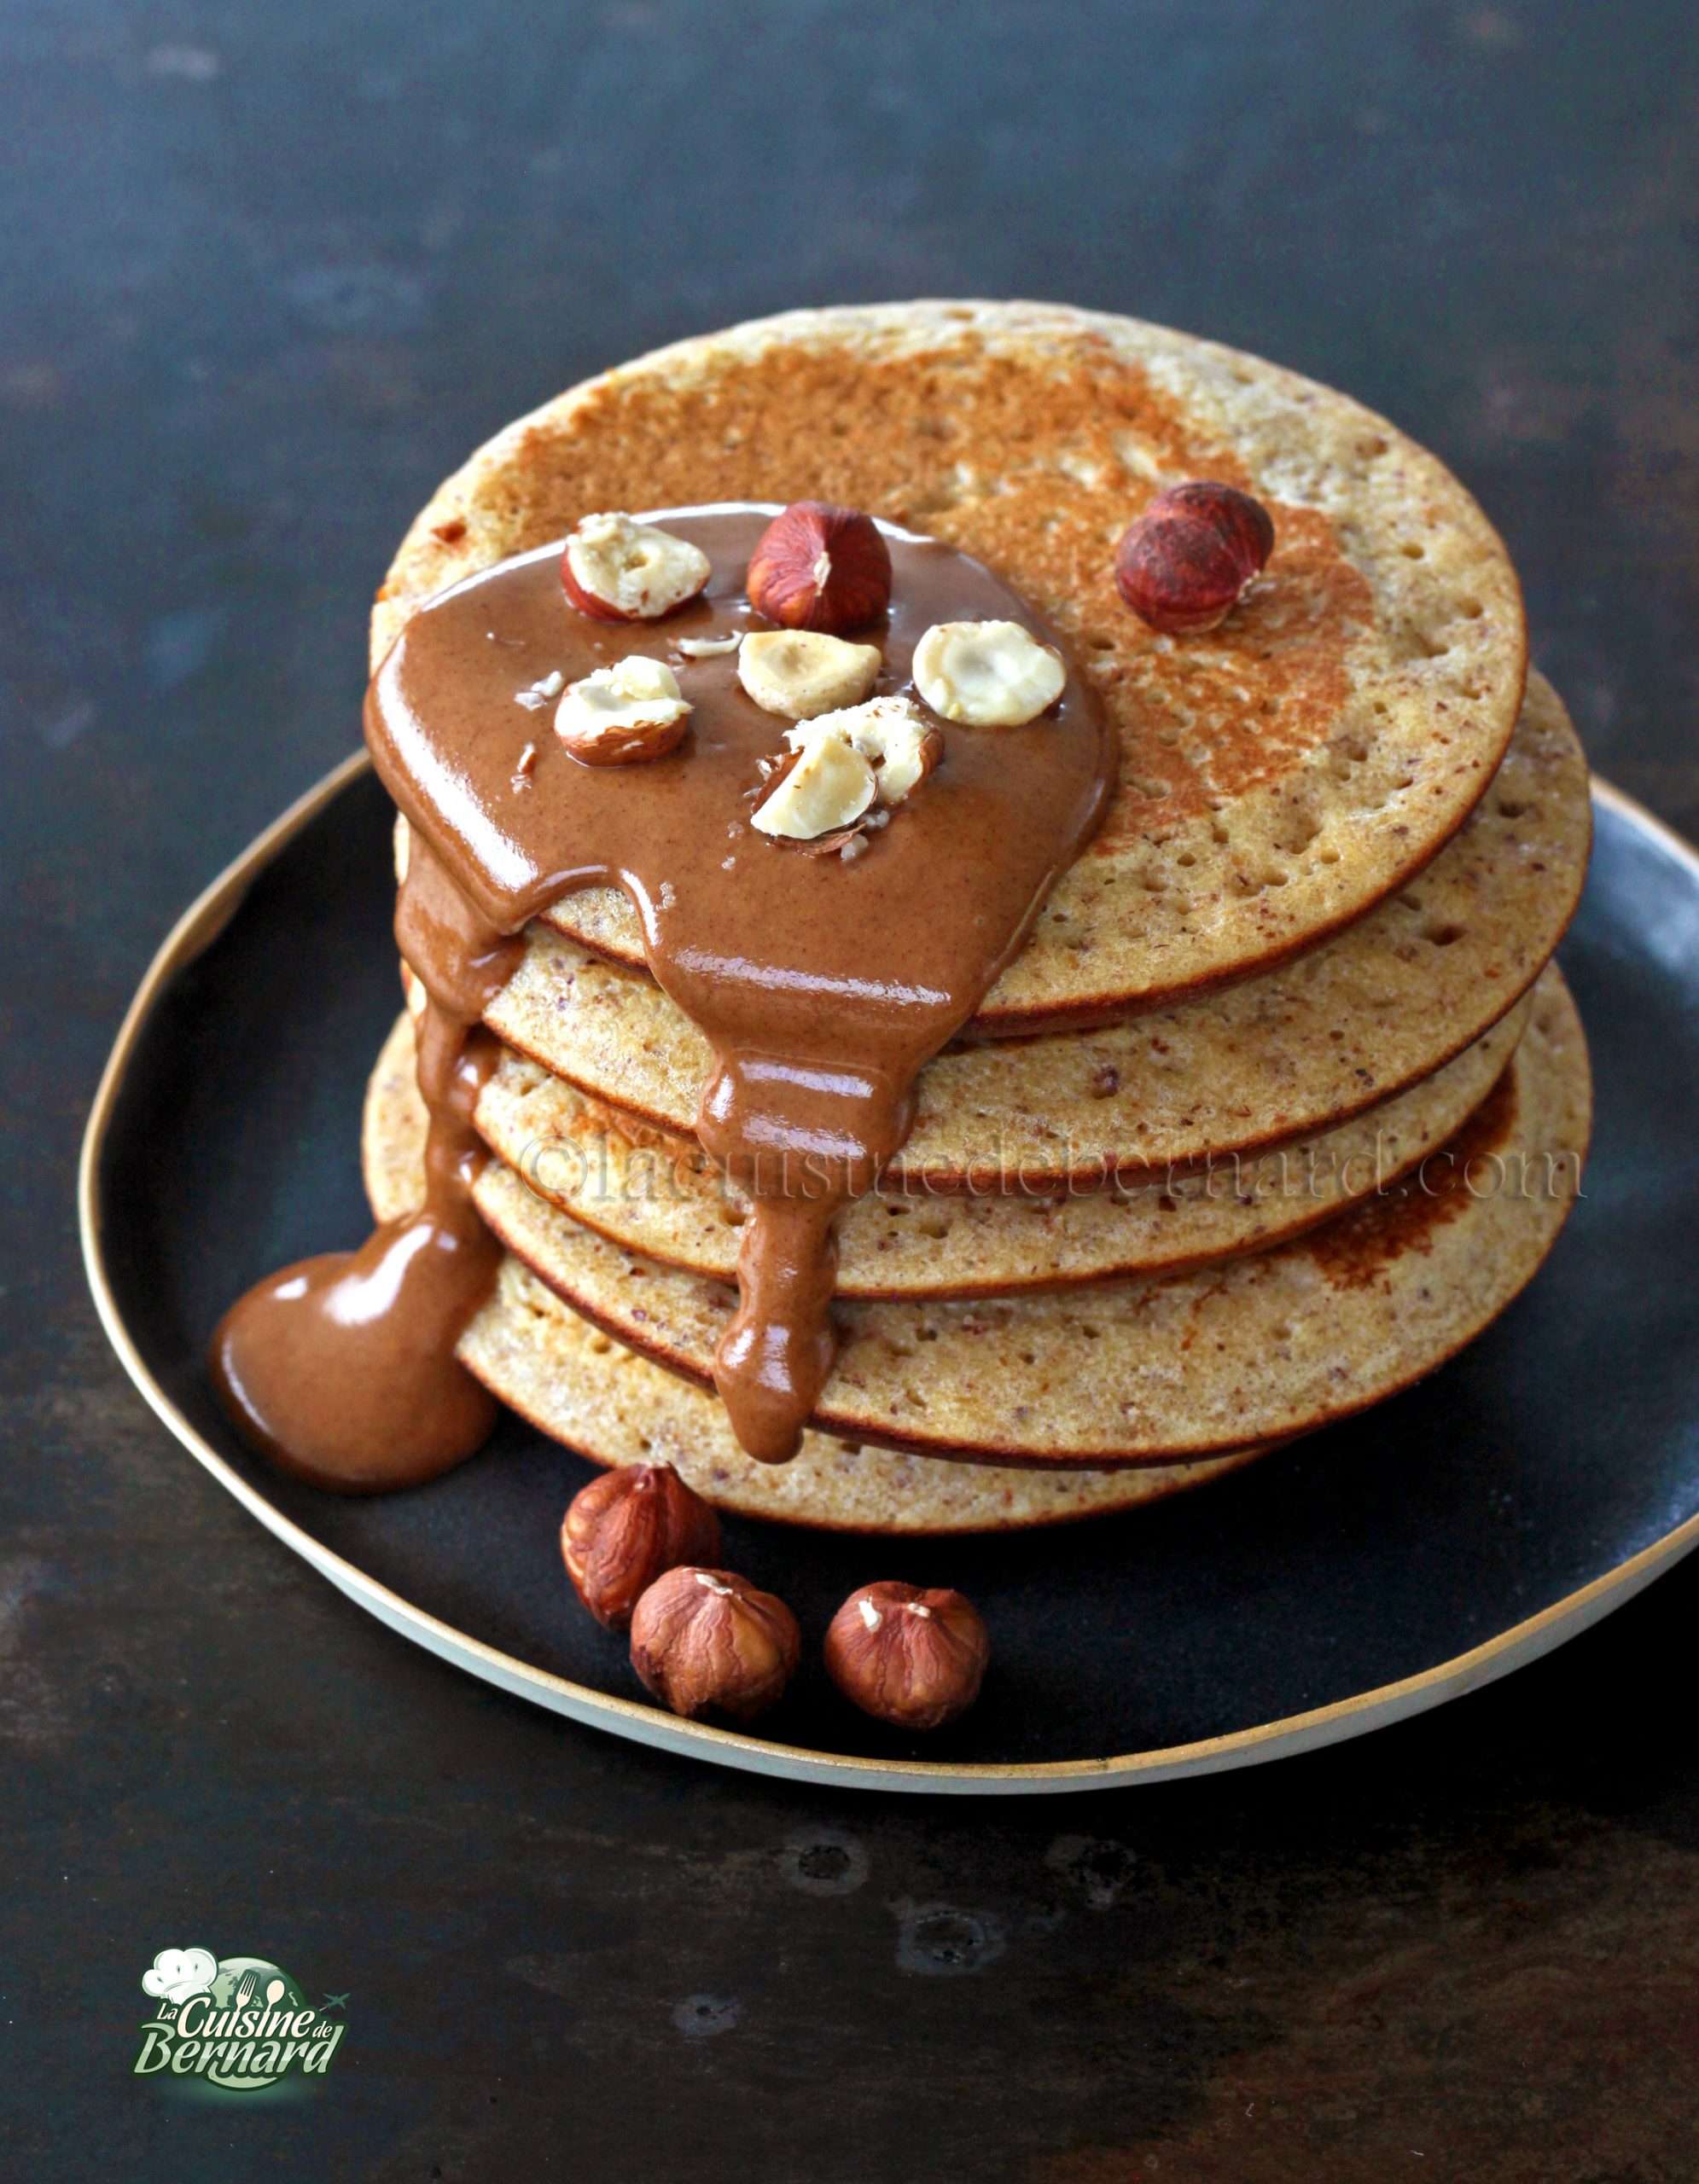
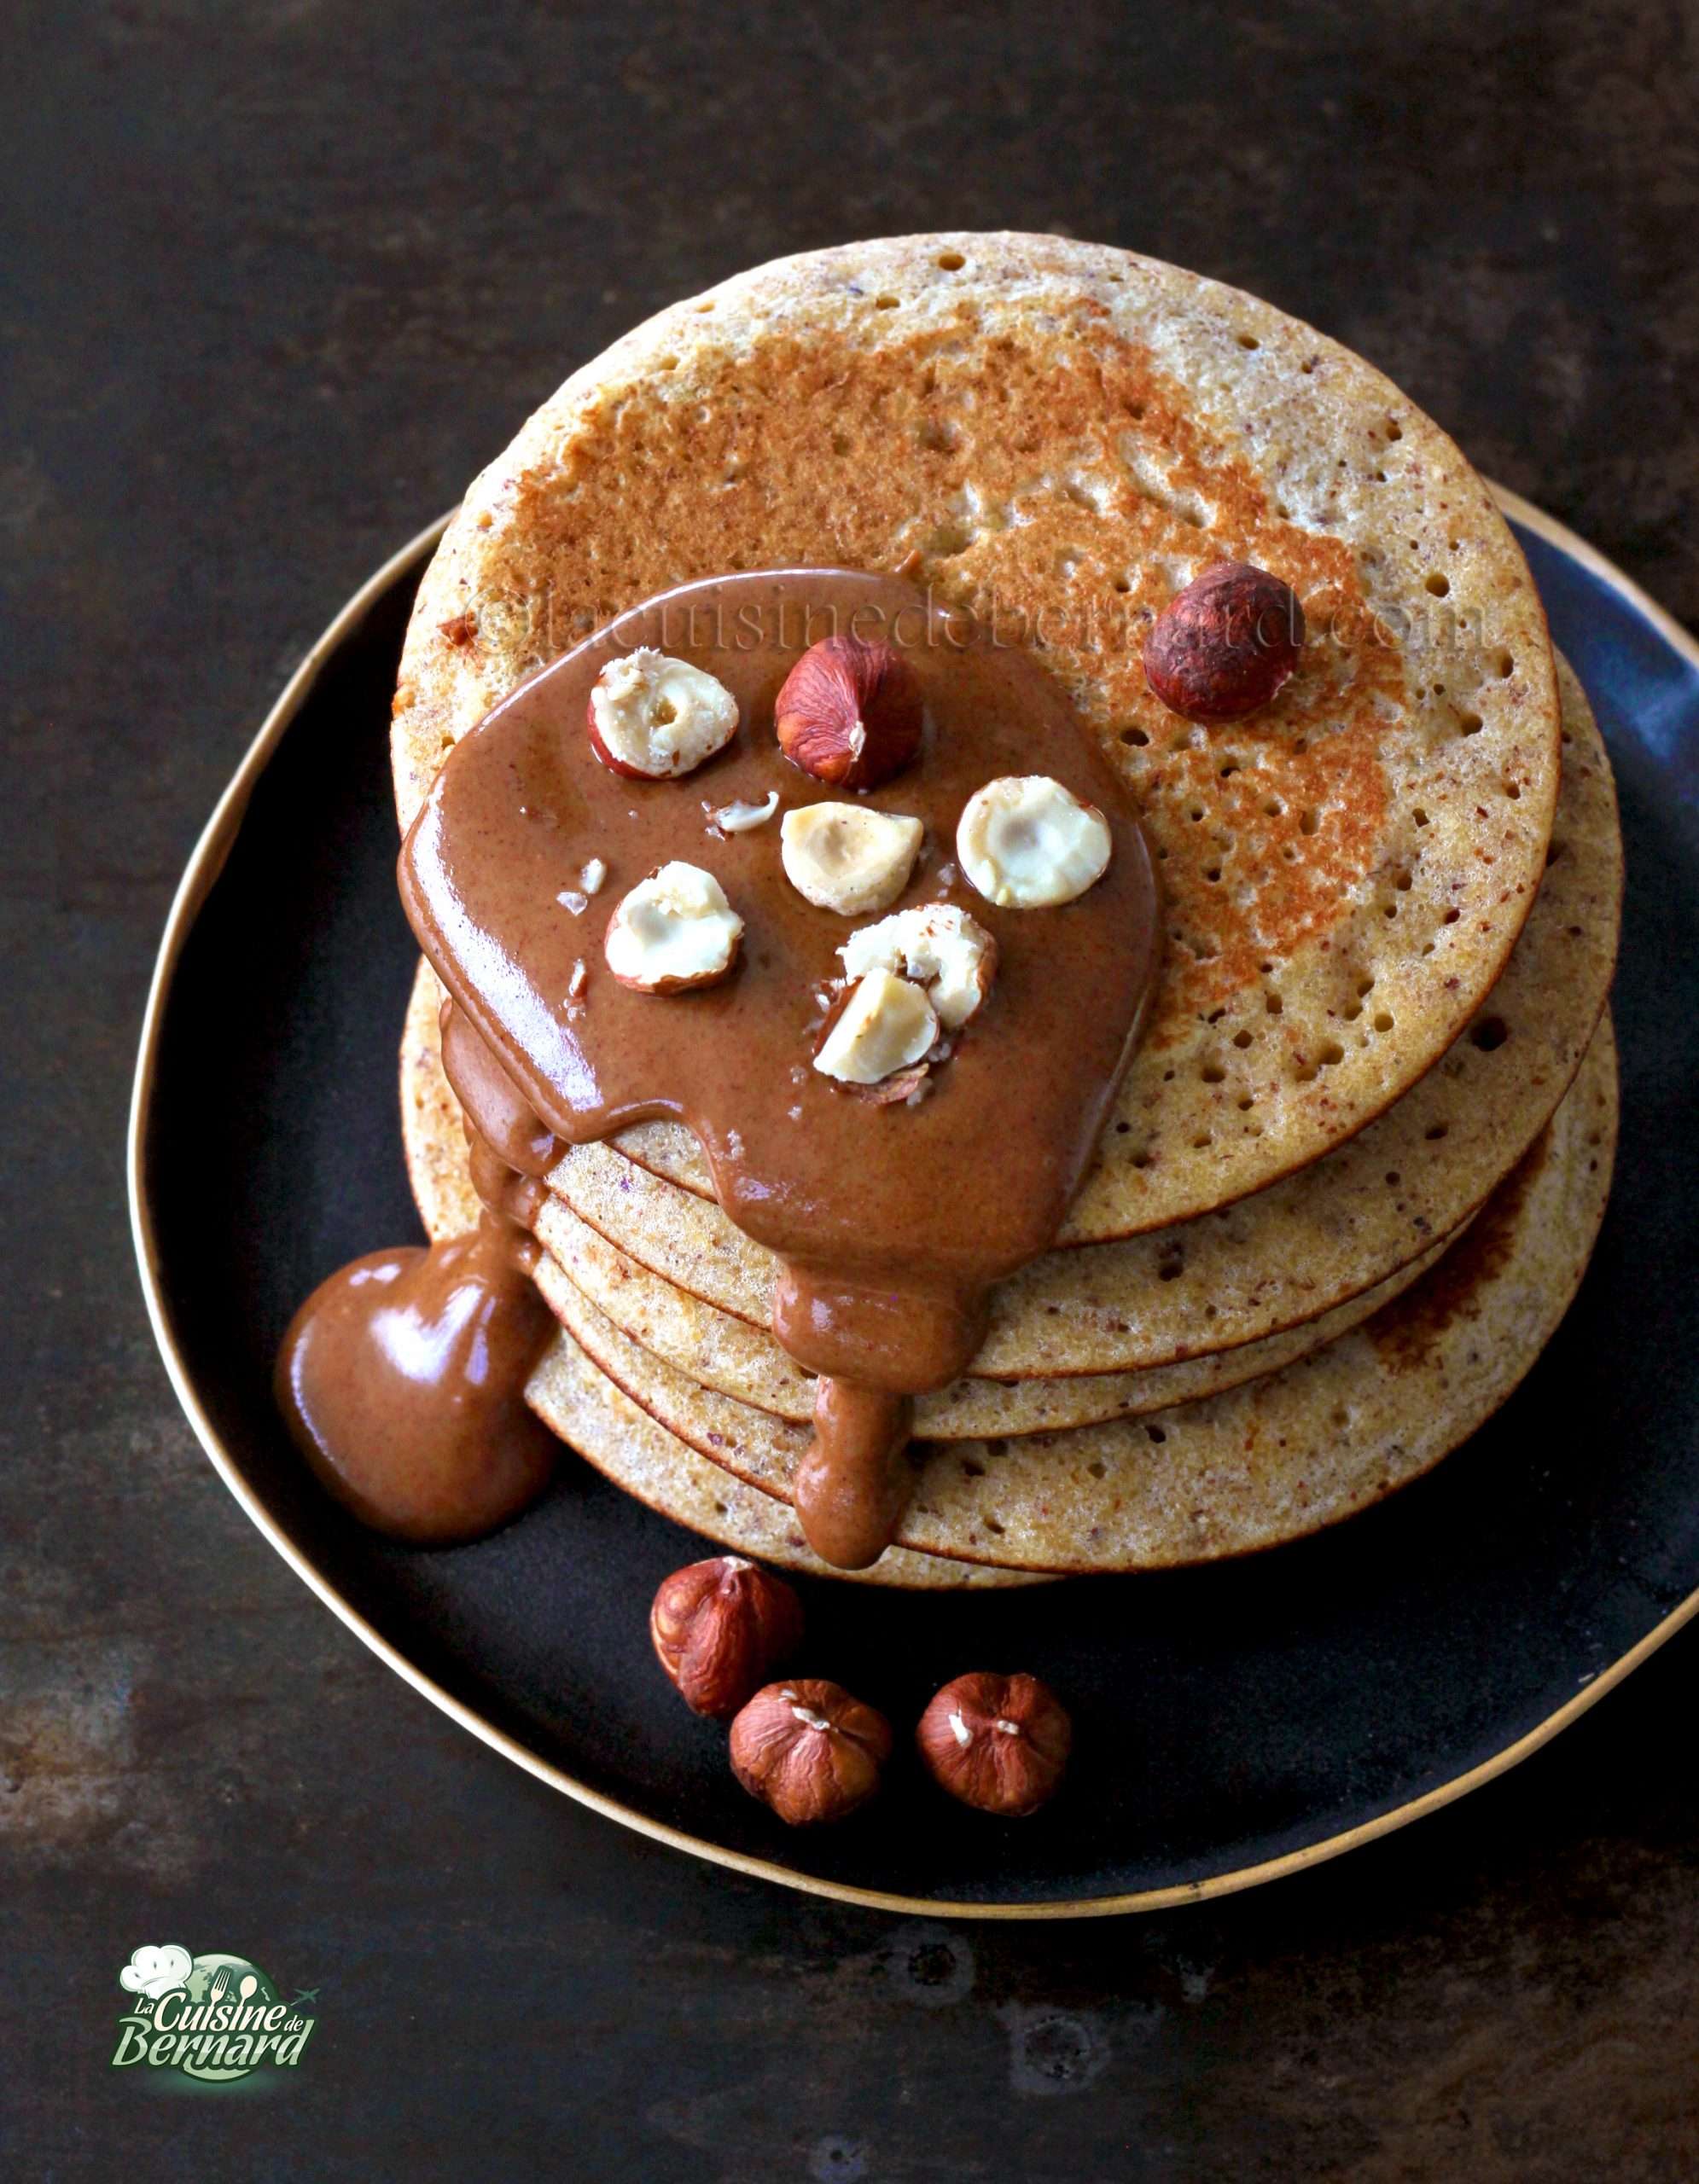
Here’s a recipe that’s ready in just a few minutes. In less than 10 minutes, you’ll have delicious pancakes ready to devour. And they’re naturally gluten-free! Serve with maple syrup or a homemade praline for a perfect fall breakfast or snack…

Recipe for about 7 pancakes:

  • 125g hazelnut powder
  • 75g rice flour
  • 1 teaspoon baking powder
  • 2 large eggs
  • 50g maple syrup
  • 150g of semi-skimmed milk

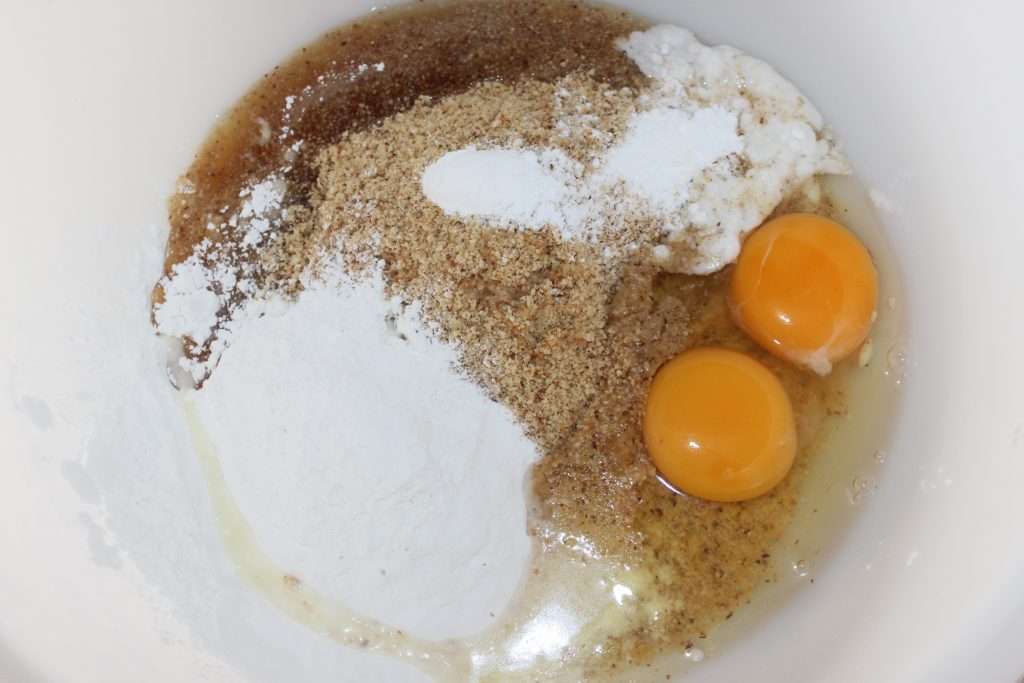
Put all the ingredients except the milk in a container.
 

Whisk together while pouring in the milk.
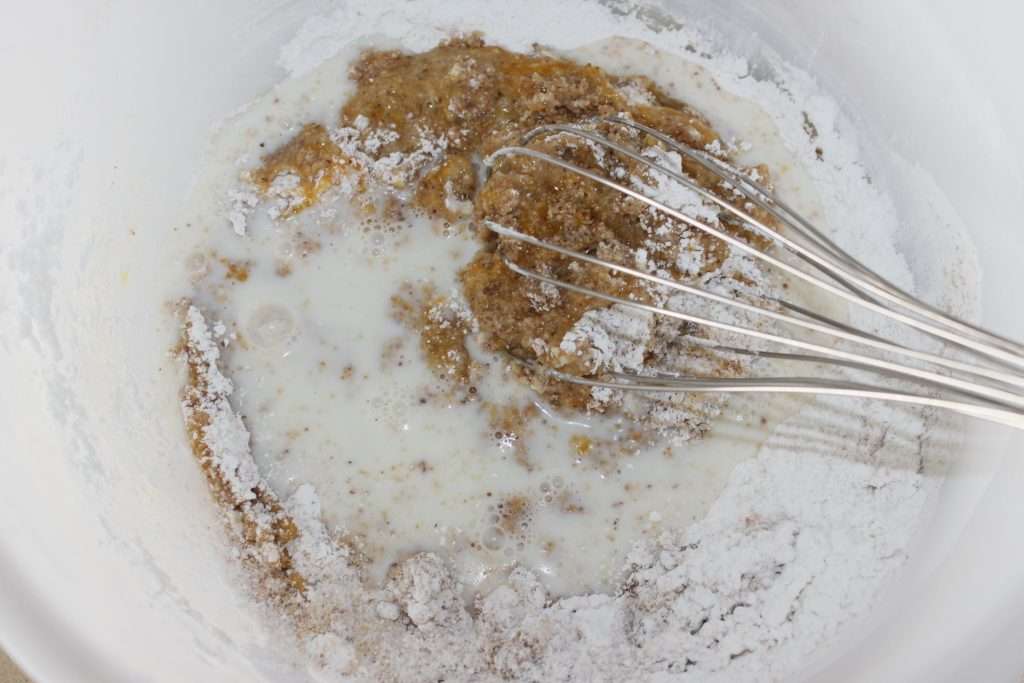
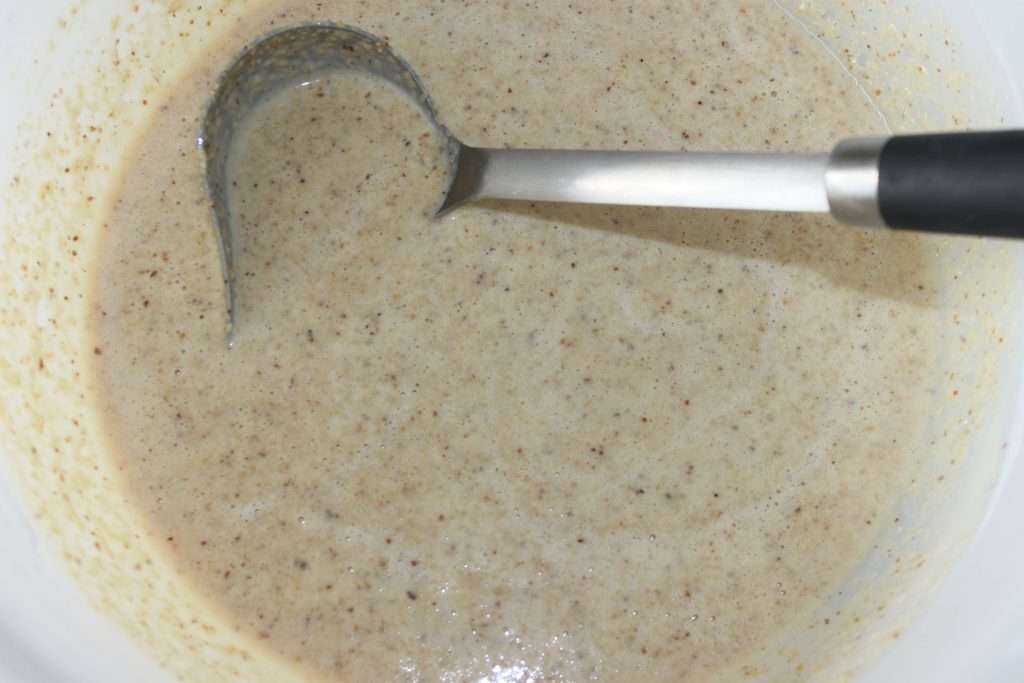
The dough is already ready.
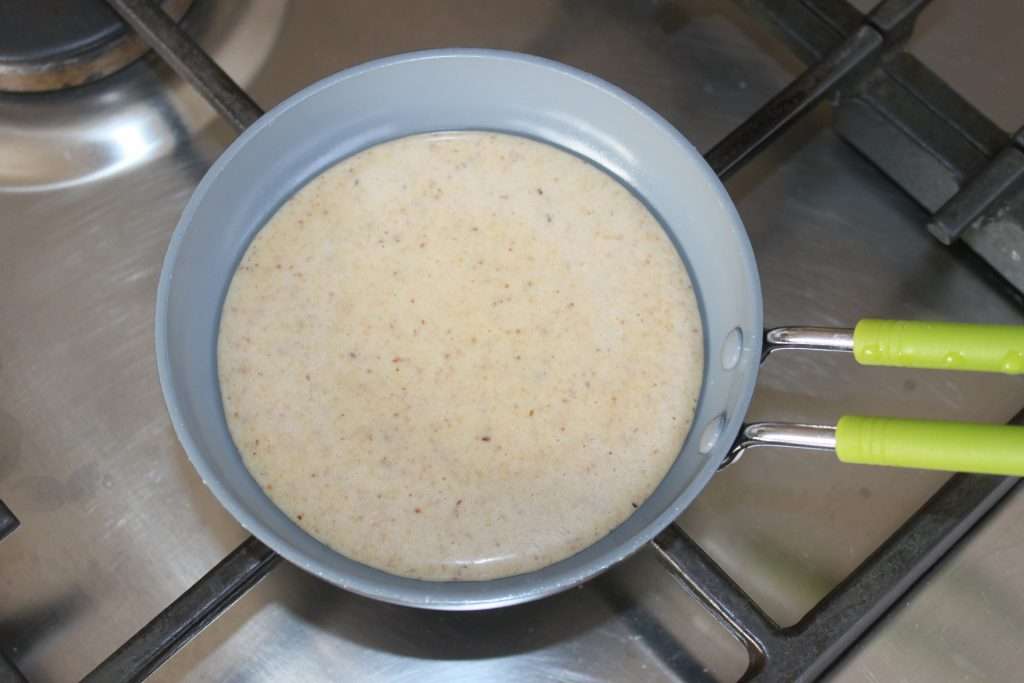
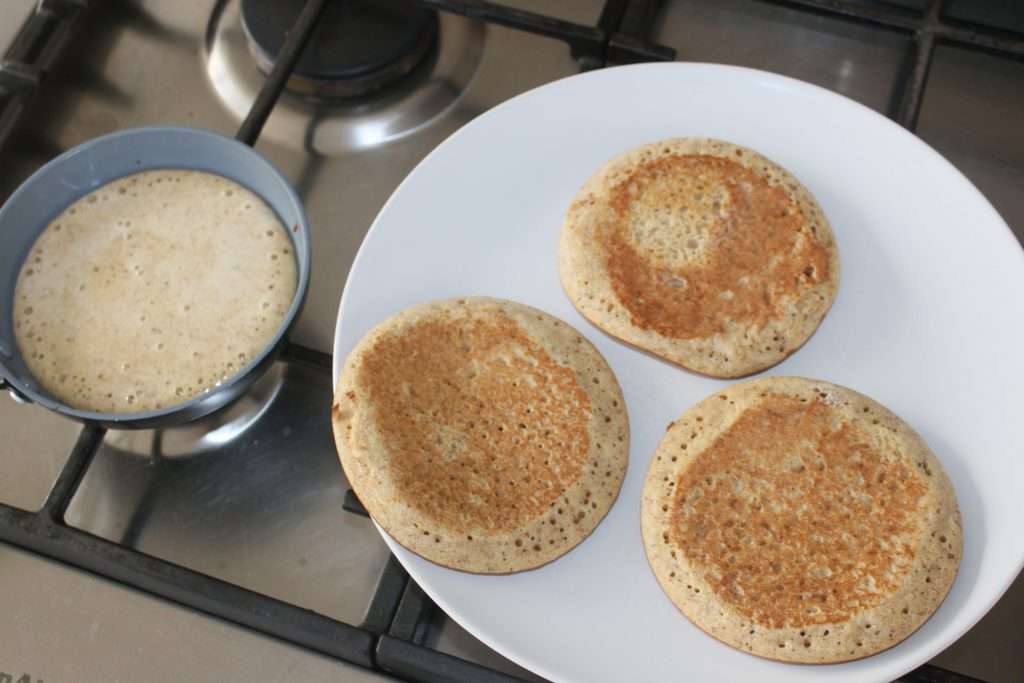
Heat a small frying pan over moderate heat. Pour a little bit of the dough (about 5mm thick).
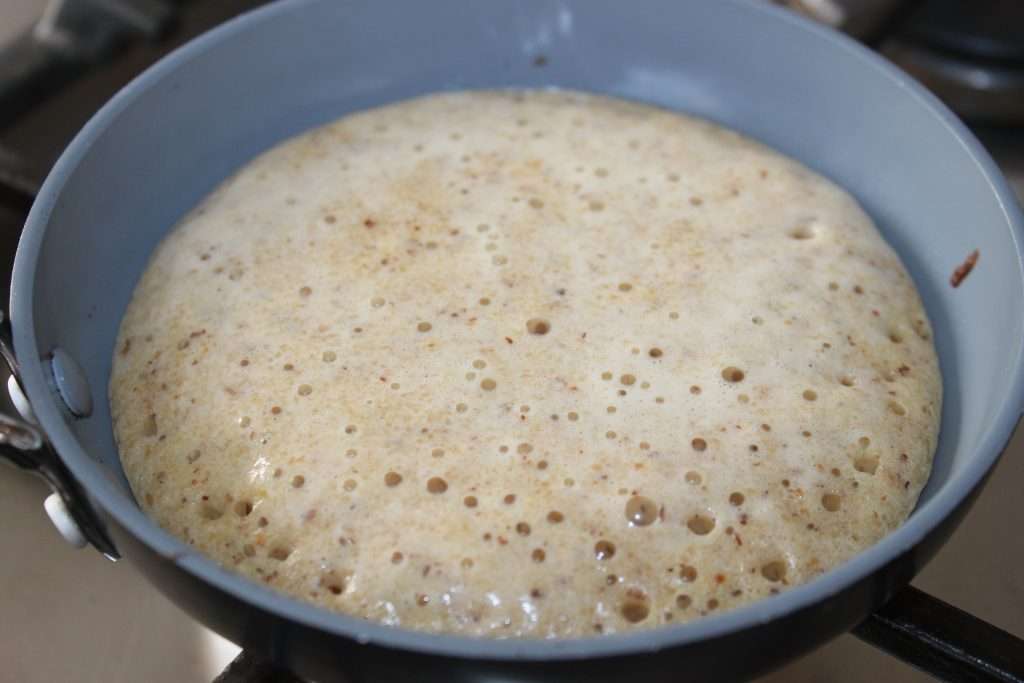
The dough will start to puff up.
Turn over gently with a spatula. The underside will color well thanks to the hazelnuts. Let cook just a few seconds on the other side.
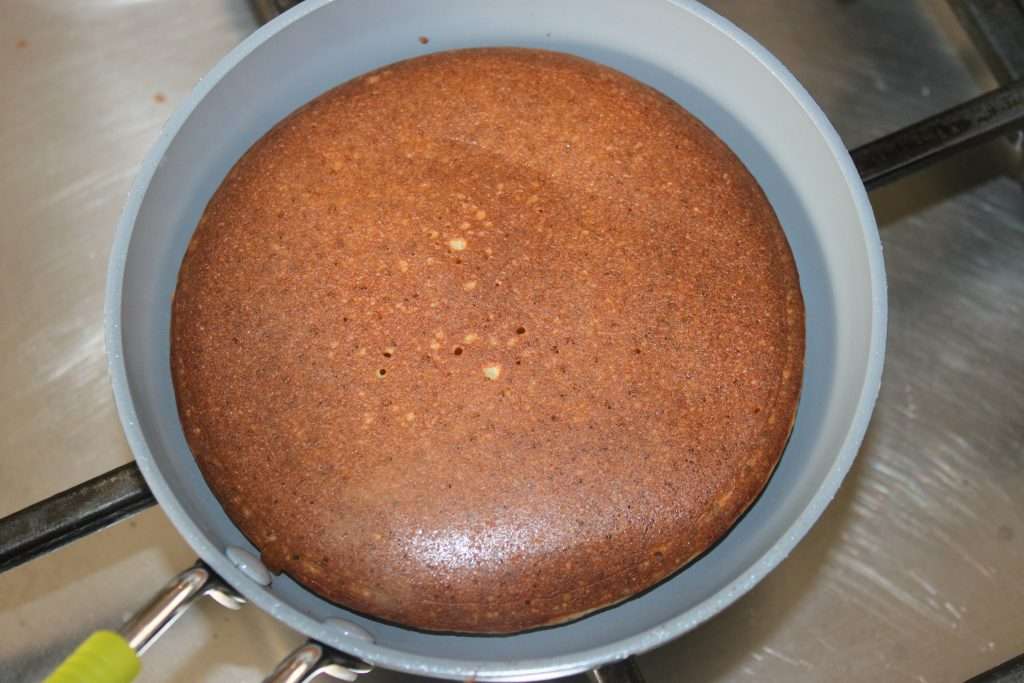
Do the same for the remaining dough.
Serve with maple syrup and/or a delicious homemade praline!
]]>
https://stagingapp15670.cloudwayssites.com/en/hazelnut-pancakes/feed/ 3
Shortbread with caramel and pine nuts https://stagingapp15670.cloudwayssites.com/en/shortbread-with-caramel-and-pine-nuts/ https://stagingapp15670.cloudwayssites.com/en/shortbread-with-caramel-and-pine-nuts/#comments Thu, 12 Nov 2020 12:39:45 +0000 https://stagingapp15670.cloudwayssites.com/sables-au-caramel-et-aux-pignons

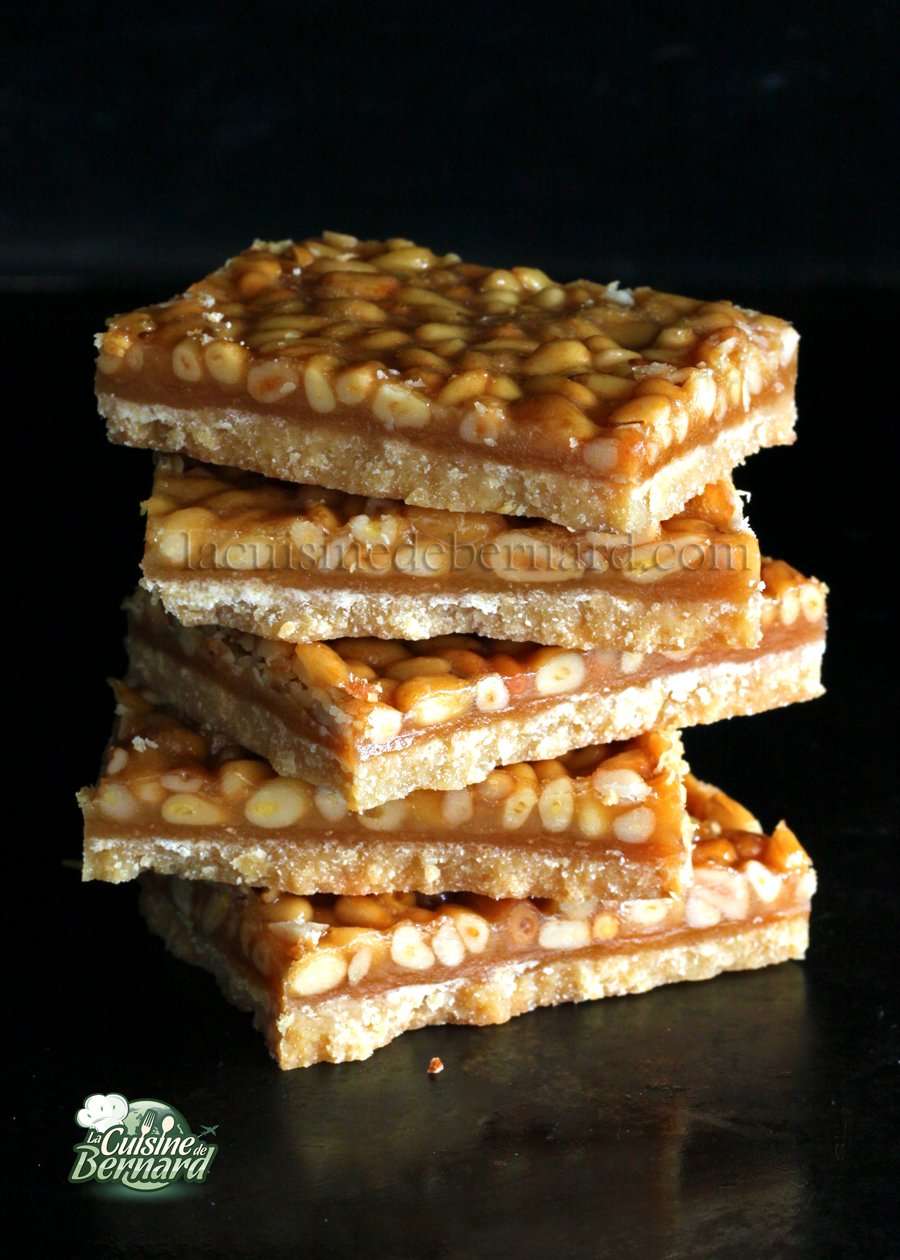
Fan de pignons, je voulais une belle recette pour les mettre dans un dessert. J’ai pensé à ces sablés qui se révèlent démoniaques, mais terriblement délicieux ! On essaie désespérément de les couper en petites parts, mais on y revient toujours. À se damner avec un bon café ou un thé pour l’heure du goûter.

Recette des SABLÉS AU CARAMEL ET AUX PIGNONS pour un plat de 23x30cm :

Sablé shortbread :

  • 200g de beurre demi-sel
  • 110g de vergeoise blonde
  • 310g de farine

Caramel aux pignons :

  • 125g de beurre demi-sel
  • 120g de sucre
  • 125g de miel
  • 225g de pignons de pin

Instructions : 

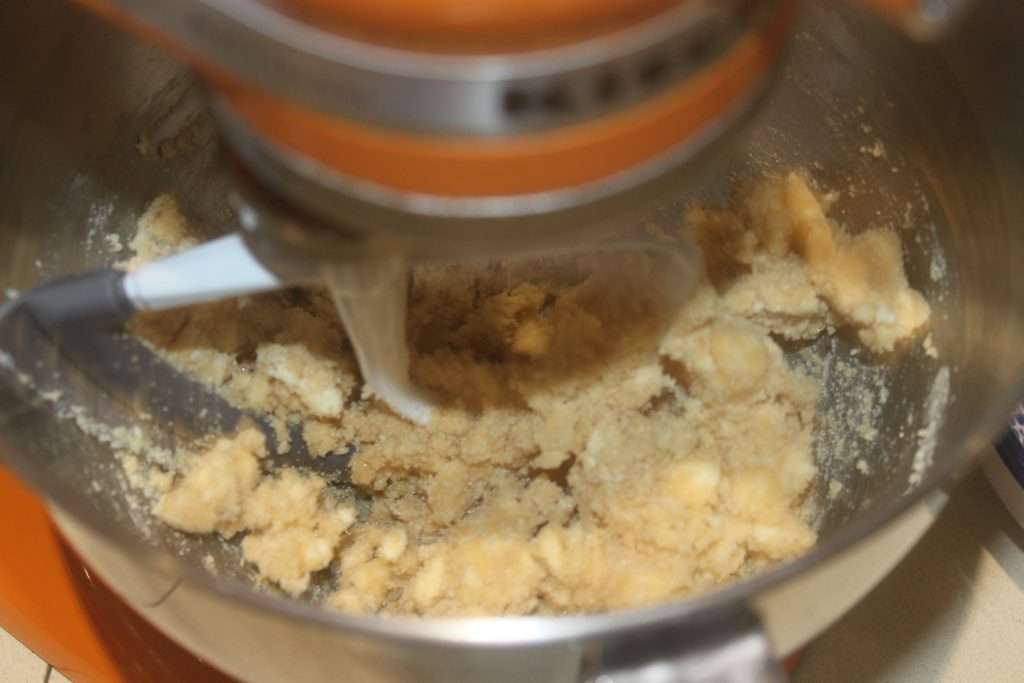
Placez le beurre et le sucre dans le bol de votre robot muni de la feuille ou dans un récipient.
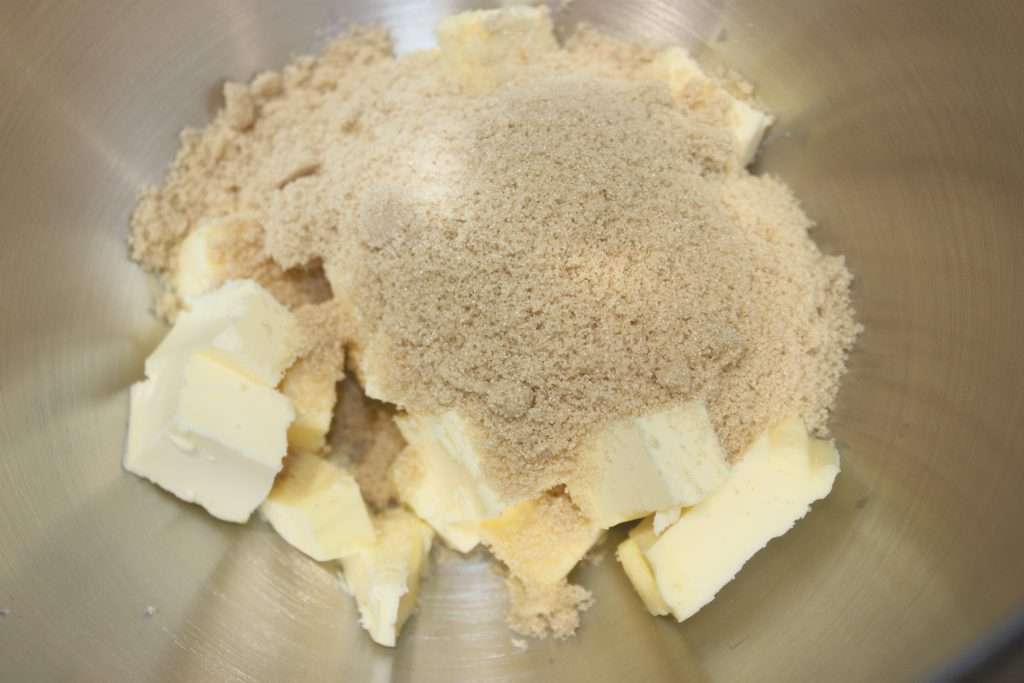
Mélangez jusqu’à avoir une crème homogène.
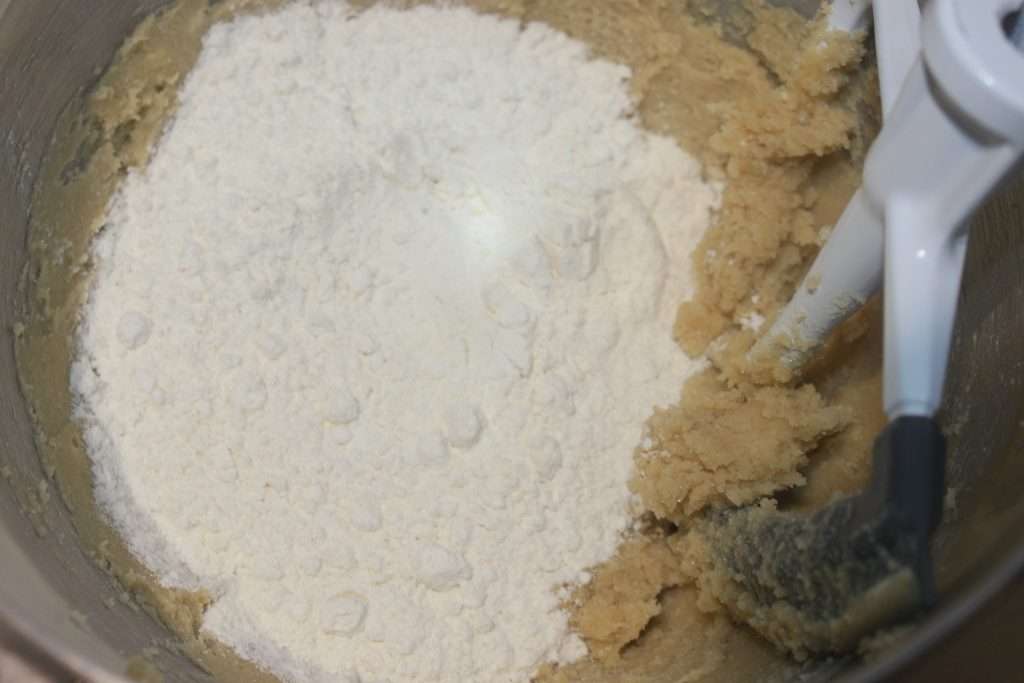
Ajoutez la farine puis mélangez jusqu’à avoir une pâte.
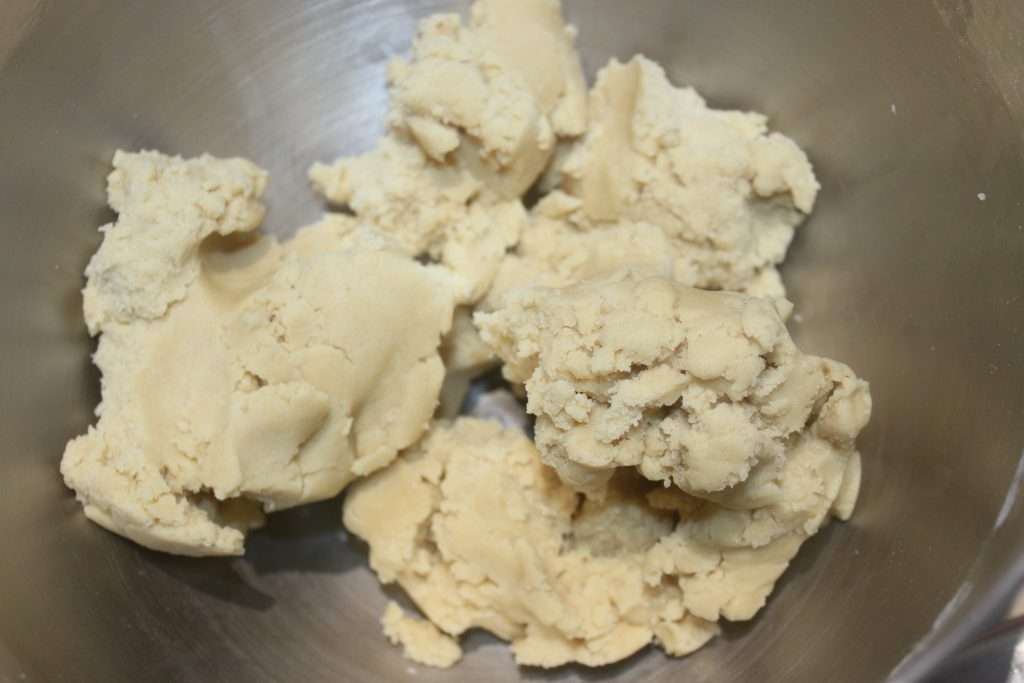
Ne mélangez pas plus.
Versez dans le moule ou le plat (de 23x30cm pour moi), en ayant pris soin de mettre une feuille de papier cuisson coupée à la taille du fond.
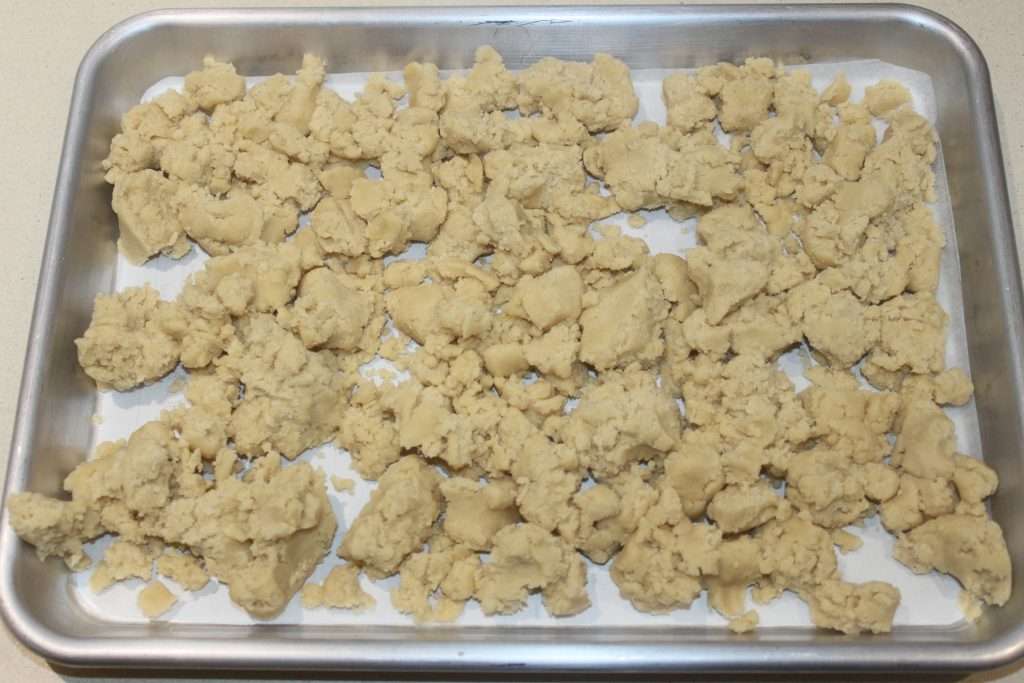
Aplatissez la pâte de façon uniforme.
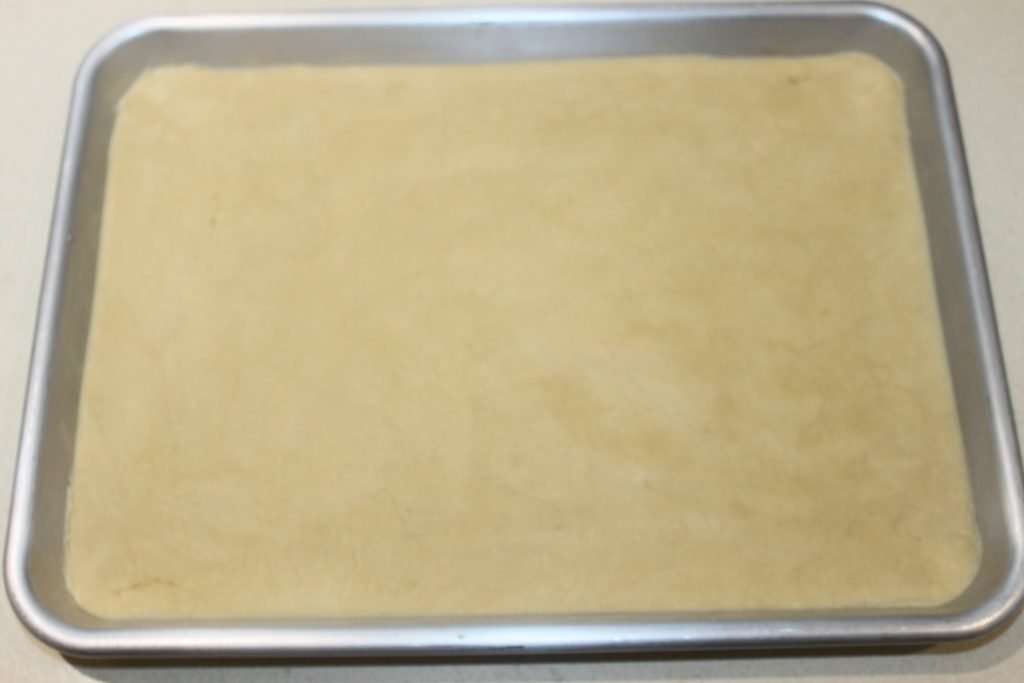
Faites cuire dans un four préchauffé à 175°C pendant 20 à 25 minutes. Le dessus doit être un peu doré.

Versez le beurre, le sucre et le miel du caramel dans une casserole.
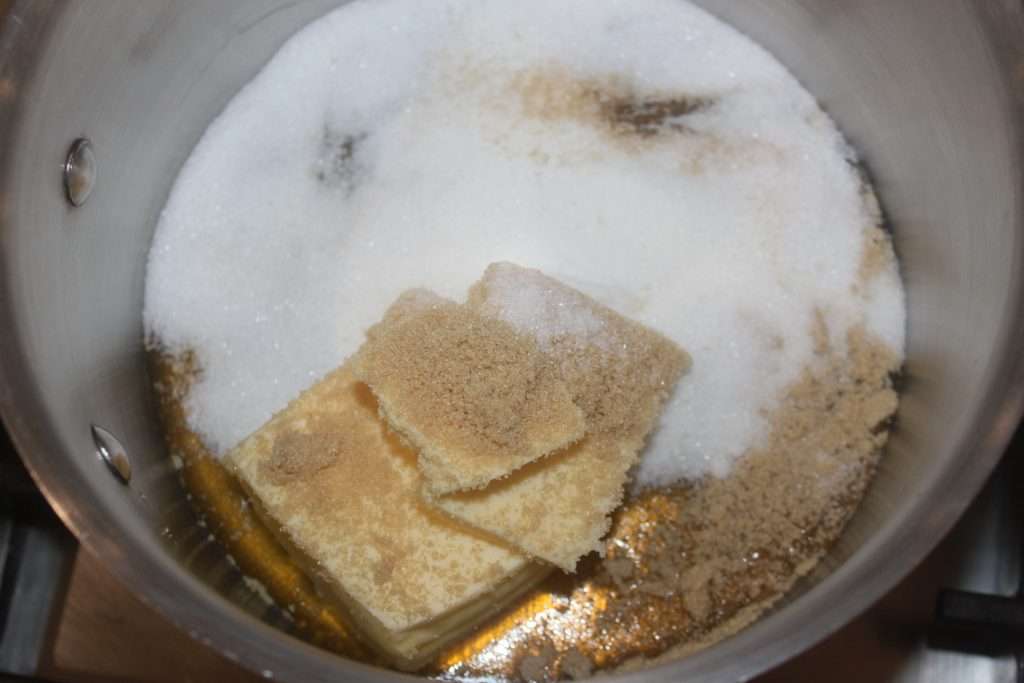
Faites fondre puis portez à 114°C.
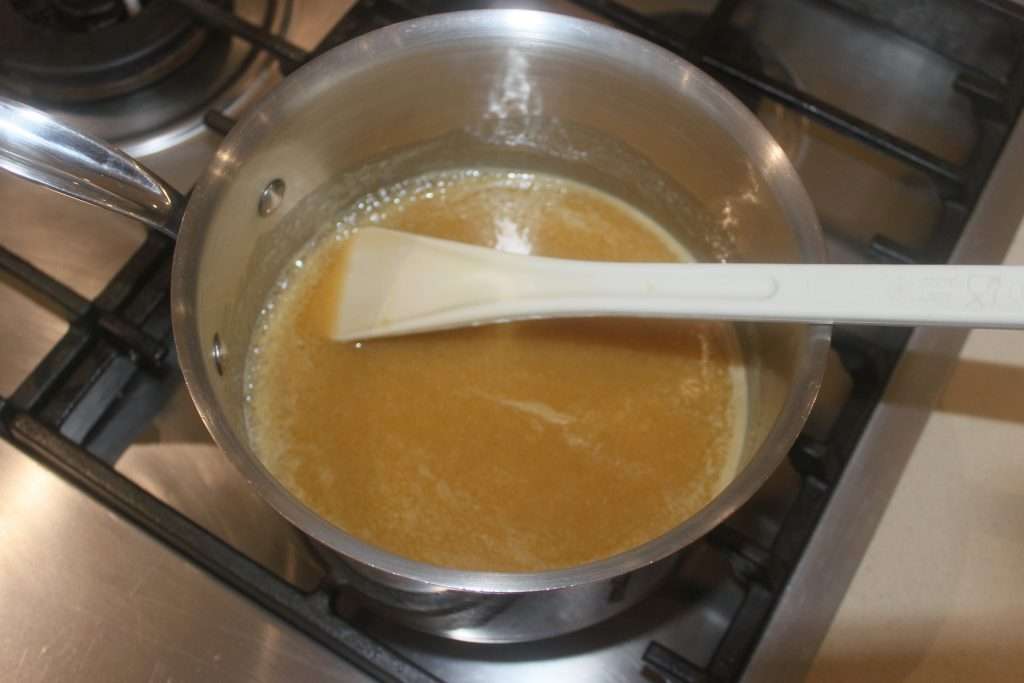
Versez alors en dehors du feu les pignons.
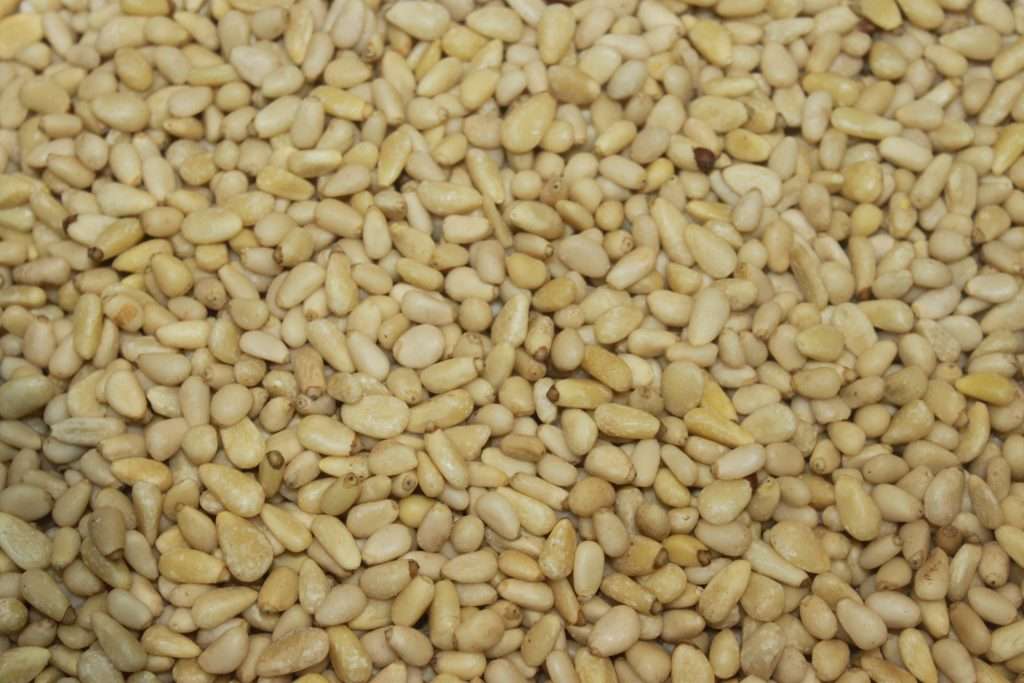
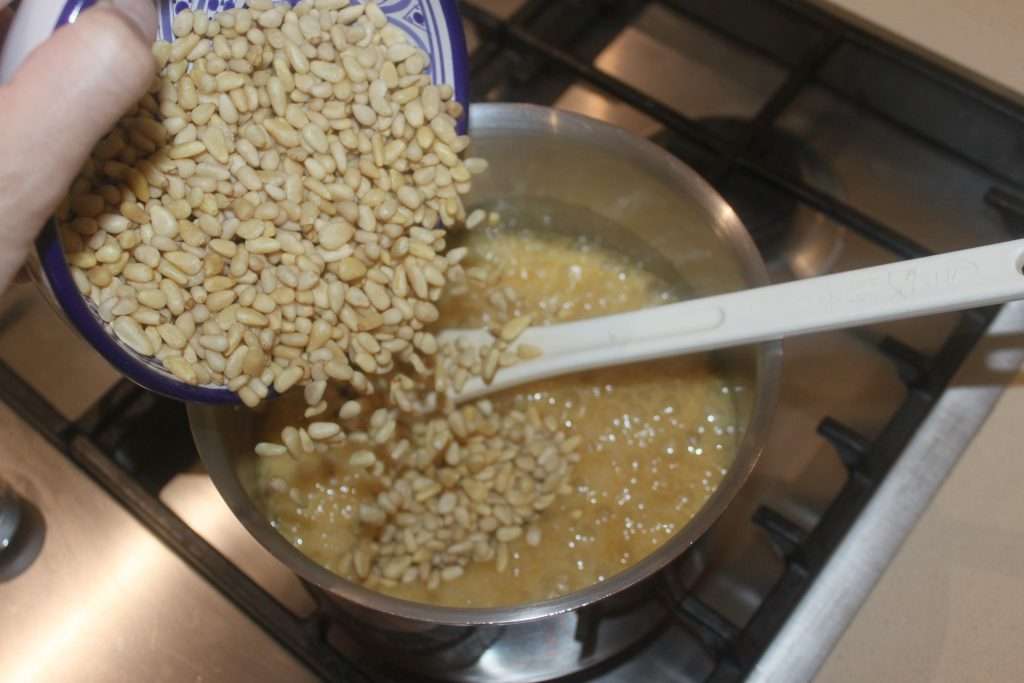
 

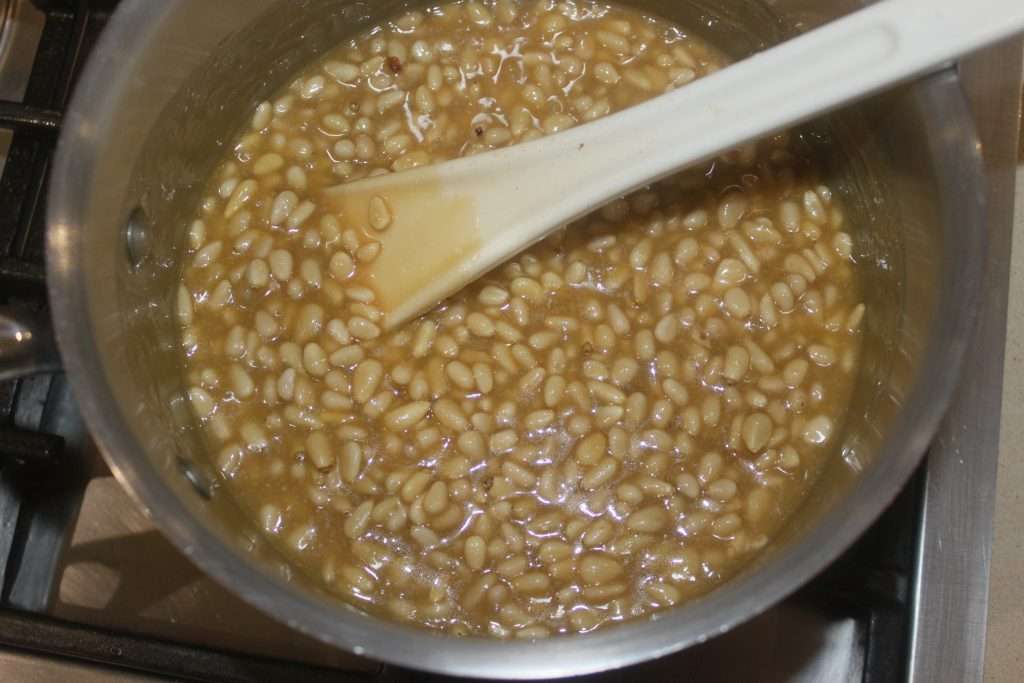
Mélangez bien.
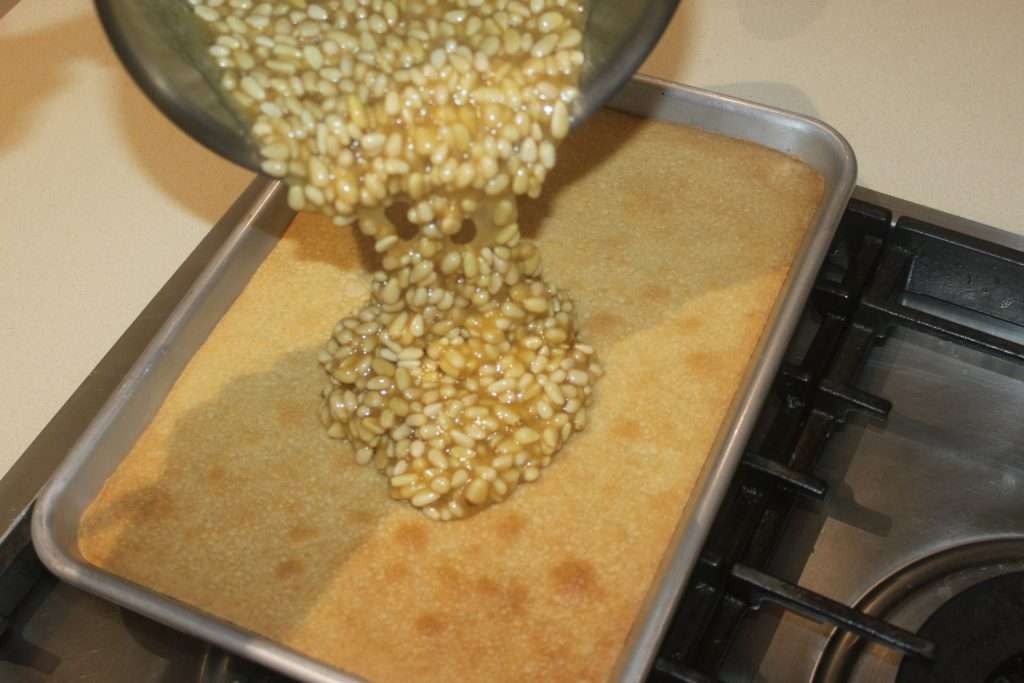
Puis versez immédiatement sur le pâte précuite.
Refaites cuire cette fois à 165°C pendant 25 minutes.
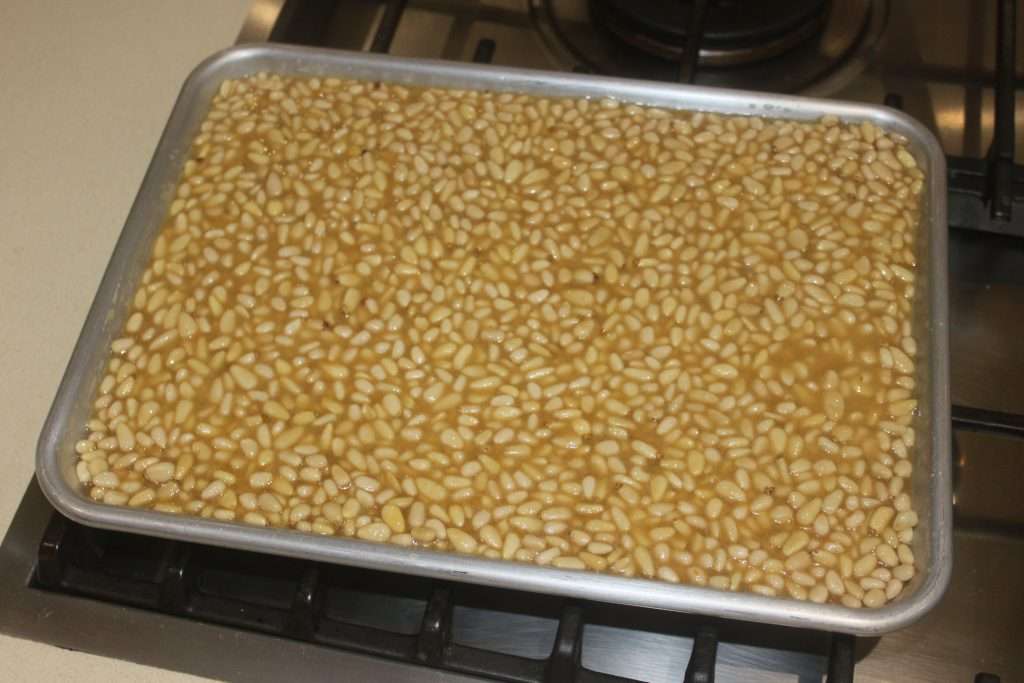
Le dessus doit être joliment coloré et des bulles apparaissent en surface.
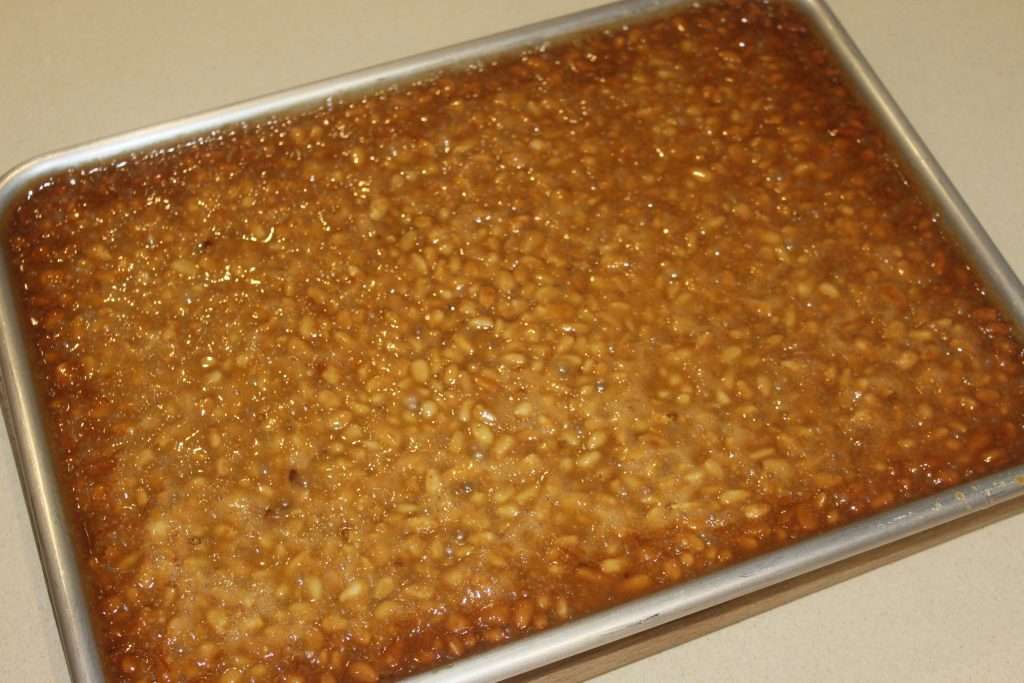
Laissez totalement refroidir à température ambiante. Coupez en belles parts.

Conservez les sablés dans une boite totalement hermétique à température ambiante.
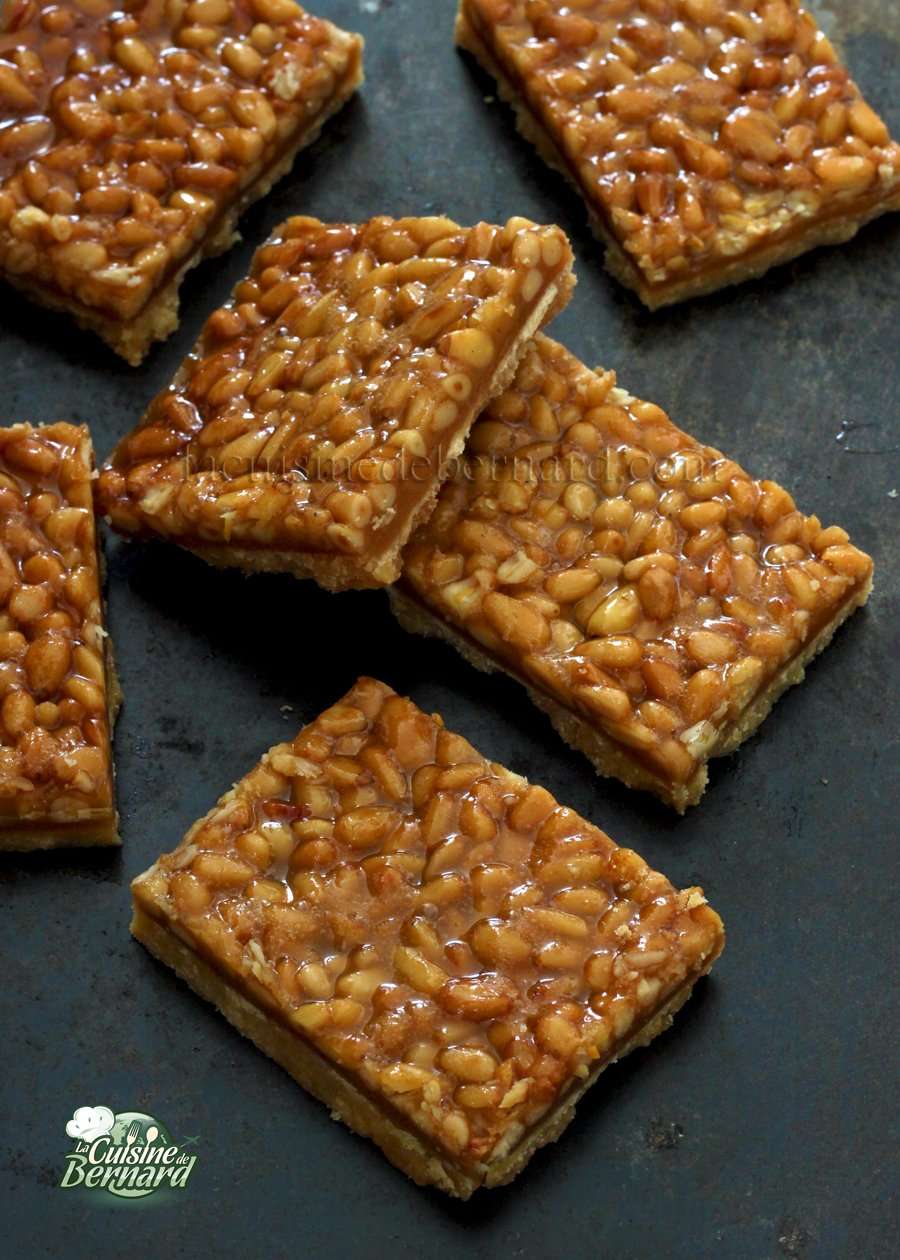
Shortbread with caramel and pine nuts
As a fan of pine nuts, I wanted a nice recipe to use them in a dessert. I thought of these shortbread that turned out to be demonic, but terribly delicious! We try desperately to cut them into small pieces, but we keep coming back to it. To be damned with a good coffee or tea for snack time.
No notes yet
Type de plat Goûter
Cuisine Européenne
Keyword Salted butter caramel, Shortbread, Sprockets
Tried this recipe?Let us know how it was!
]]>
https://stagingapp15670.cloudwayssites.com/en/shortbread-with-caramel-and-pine-nuts/feed/ 6
Cookies avoine chocolat noir https://stagingapp15670.cloudwayssites.com/en/cookies-avoine-chocolat-noir/ https://stagingapp15670.cloudwayssites.com/en/cookies-avoine-chocolat-noir/#comments Thu, 29 Oct 2020 16:48:46 +0000 https://stagingapp15670.cloudwayssites.com/cookies-avoine-chocolat-noir

La saison est parfaite et dans l’ambiance actuelle, nous avons besoin d’un peu de réconfort. J’avais fait ces cookies pour mes élèves de mon atelier chocolat, pour le rendez-vous du petit déjeuner. La recette est simplissime à faire et les cookies sont cuits en 12 minutes. Tièdes, ils seront parfaits. Vous pouvez bien sûr mettre du chocolat blanc ou au lait à la place du chocolat noir.

Recette pour 28 COOKIES AVOINE CHOCOLAT NOIR :

  • 225g de beurre doux
  • 100g de sucre vergeoise brune
  • 170g de sucre blanc
  • 1 œuf
  • 1 cuillerée à café de vanille liquide
  • 1 cuillerée à café de sel
  • 3/4 de cuillerée à café de bicarbonate de sodium
  • 240g de farine T55
  • 220g de flocons d’avoine
  • 360g de chocolat noir

Instructions :

Mélangez le beurre et les sucres jusqu’à avoir une sorte de crème
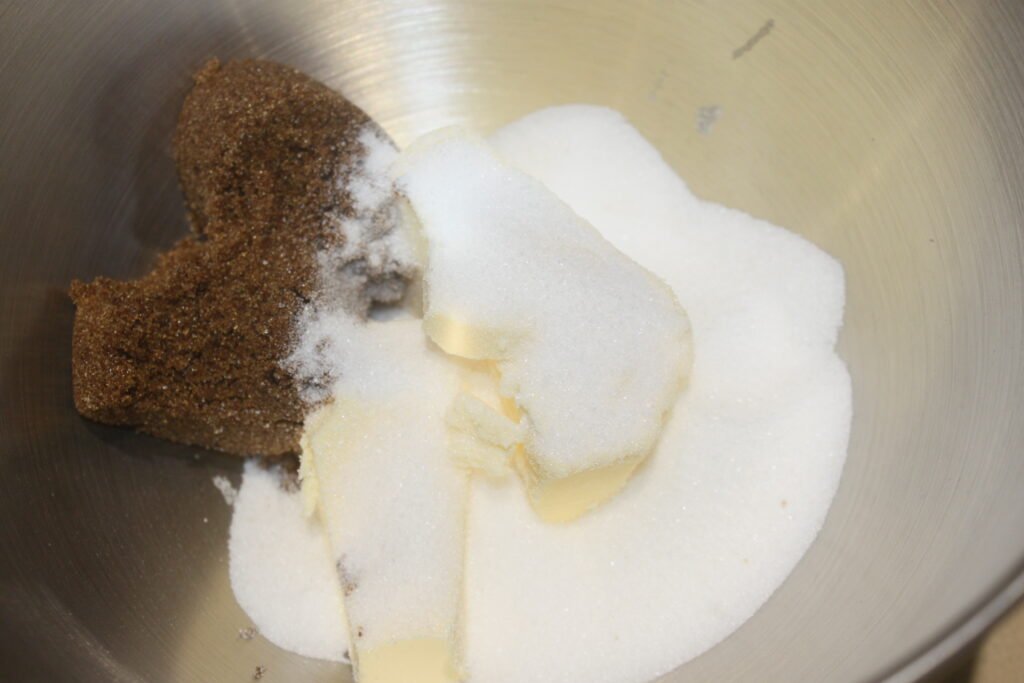
Ajoutez l’œuf, puis la vanille, le sel et le bicaronate.
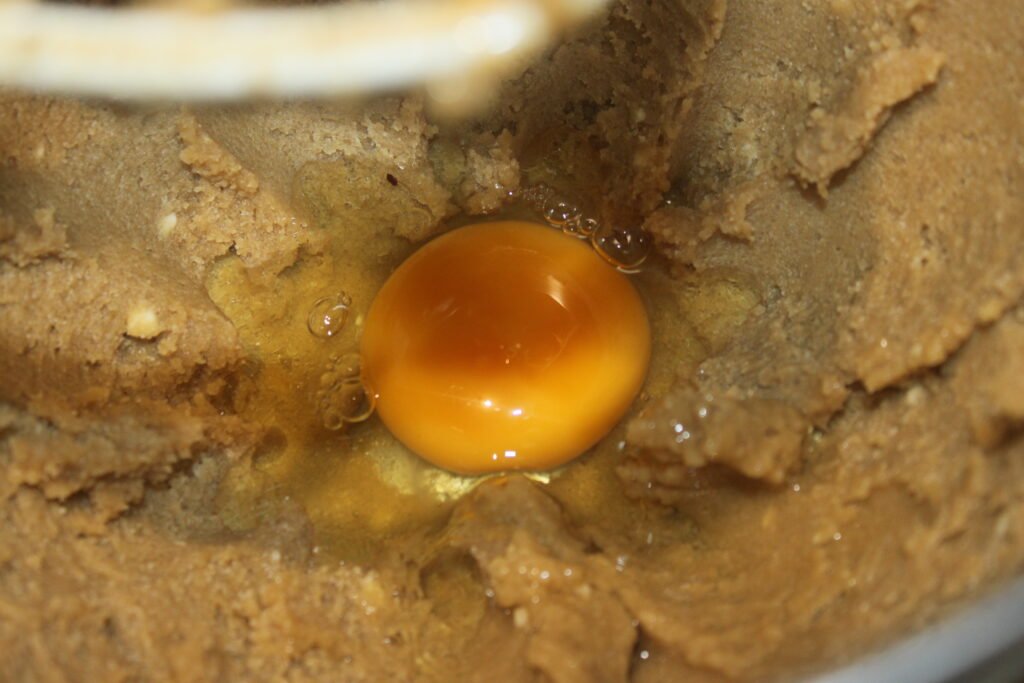
Versez ensuite la farine et les flocons d’avoine.
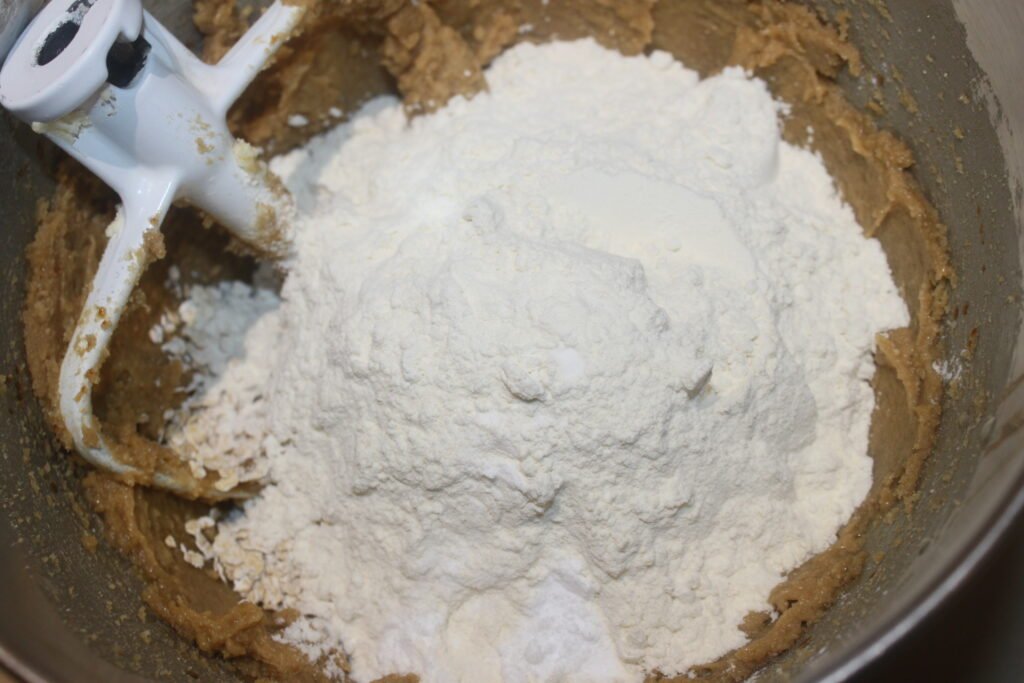
Mélangez bien puis versez les pépites de chocolat.

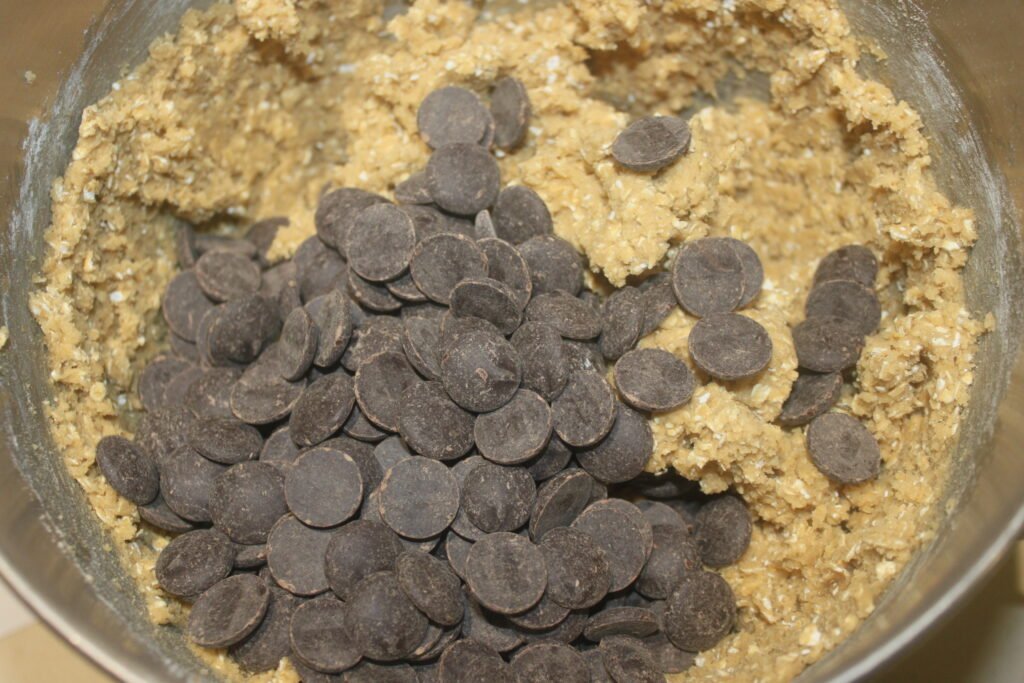
 

Faites des boulettes de 50g et posez-les sur une plaque à pâtisserie.
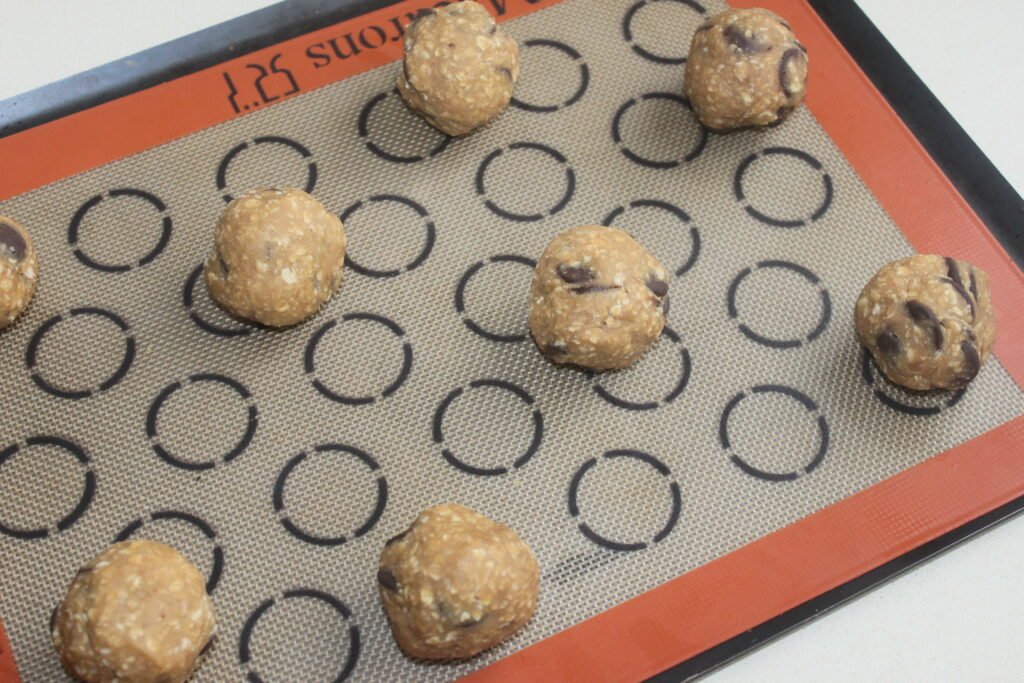
Faites cuire chaque plaque 12 minutes à 170°C à chaleur tournante.
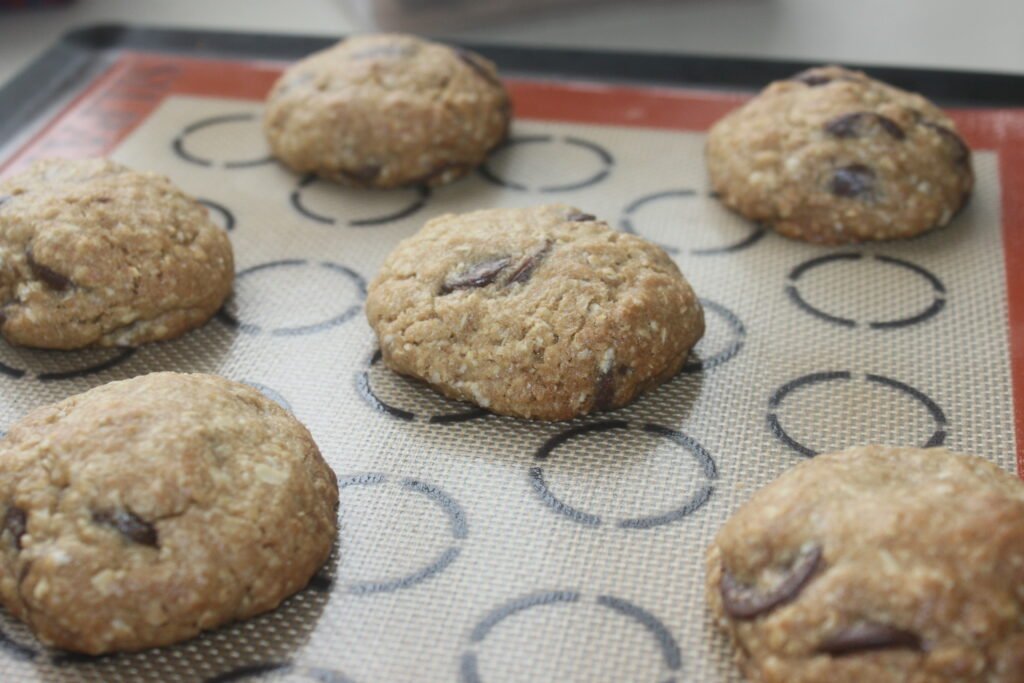
C’est déjà prêt ! Laissez tiédir avant de croquer dedans !

]]>
https://stagingapp15670.cloudwayssites.com/en/cookies-avoine-chocolat-noir/feed/ 8
Apple pie and hazelnut crumble https://stagingapp15670.cloudwayssites.com/en/apple-pie-and-hazelnut-crumble/ https://stagingapp15670.cloudwayssites.com/en/apple-pie-and-hazelnut-crumble/#comments Thu, 17 Oct 2019 15:05:16 +0000 https://stagingapp15670.cloudwayssites.com/tarte-aux-pommes-et-crumble-noisettes

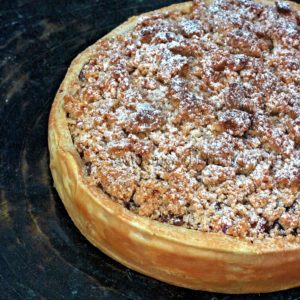
It’s been a while since I posted a dessert recipe. Right now I was writing and shooting my next book coming out in March 2020! So here I am again with this delicious apple pie and hazelnut crumble. I love it because it is not very sweet, apart from the crumble on top which balances everything harmoniously. I add some chocolate to it. The mixture of hazelnut fondant apples, crispy puff pastry and crunchy crumble is just perfect for my taste!

Recipe for a 20cm APPLE AND HAZELNUT CRUMBLE PIE:

  • 1 recette de pâte feuilletée ou pâte feuilletée inversée (ICI et )
  • 5 pommes (j’ai pris de la “pink lady”)
  • 25g de beurre demi-sel
  • 4 cuillerées à soupe de poudre de noisettes
  • quelques noisettes grillées concassées
  • 50g de chocolat noir en chunks

Crumble noisette:

  • 110g de cassonade
  • 110g de farine
  • 65g de beurre demi-sel
  • 60g de poudre de noisettes

Instructions : 

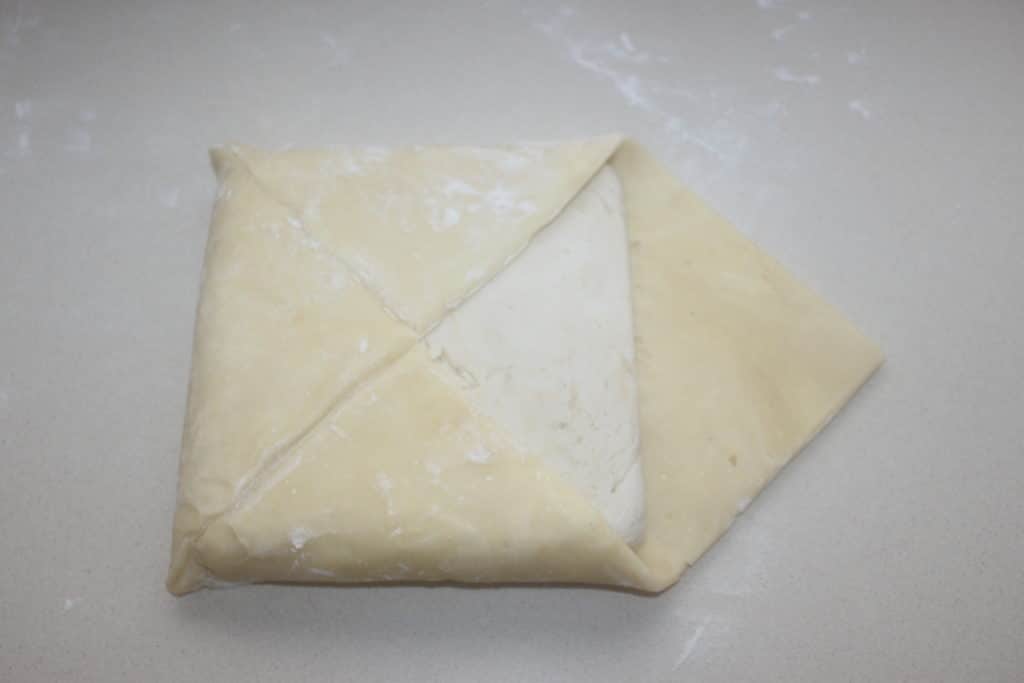
Pour cette recette, j’ai fait ma pâte feuilletée inversée maison. Ce n’est pas compliqué à faire et je vous invite à voir ma recette ICI. Il faudrait que j’actualise mes photos ! Je procède de la même façon que ma pâte feuilletée au cacao que je donne ICI. Voici en photos ce que ça donne.

Étalez ensuite votre pâte sur 3mm d’épaisseur. Placez la pâte dans un cercle de 20cm de diamètre sur de 3,5cm hauteur. Faites attention à bien avoir un angle droit dans le fond. Je pose ici mon cercle sur une plaque à pâtisserie.
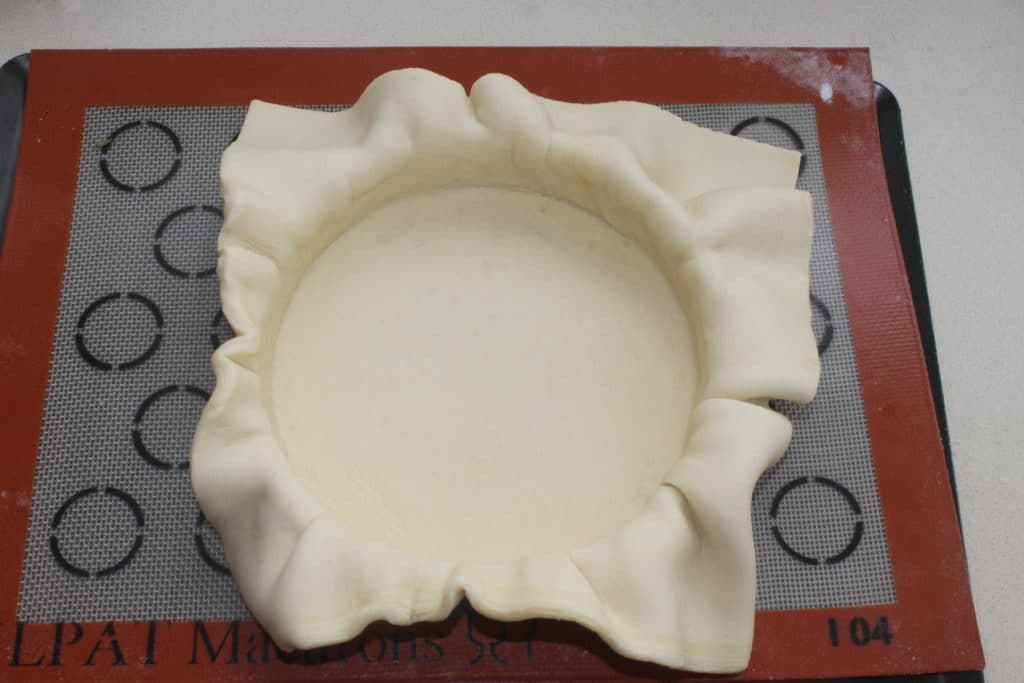
Coupez l’excédent de pâte au couteau et piquez le fonde de pâte à la fourchette .
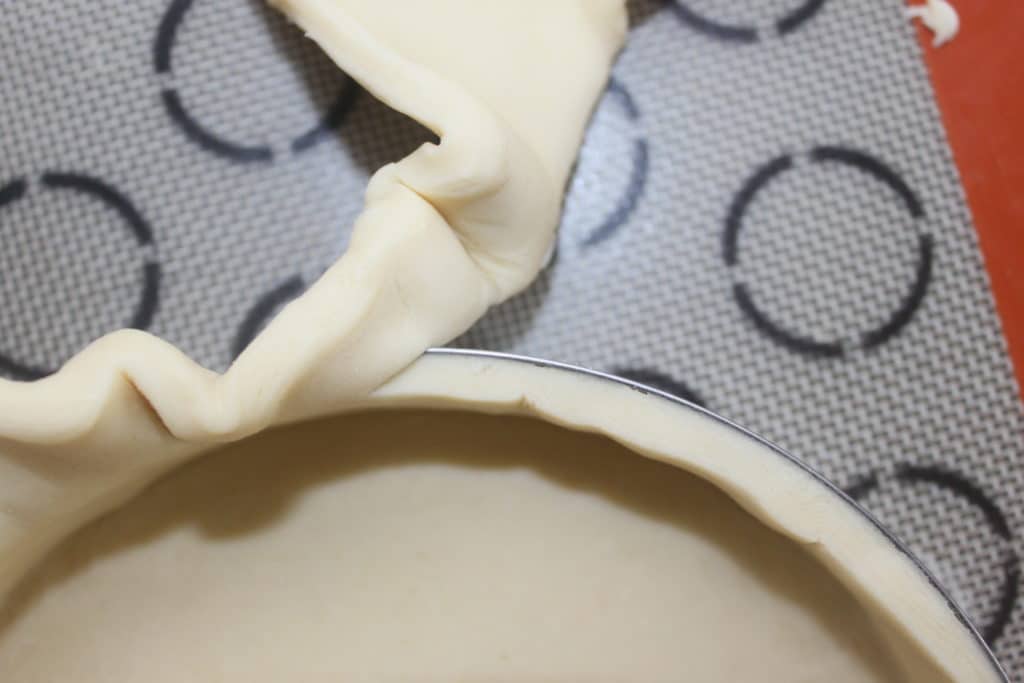
Je pose ici mon cercle sur un petit tapis aéré coupé à la bonne taille, le tout posé dans un moule à charnière, car les plaques à pâtisserie ont tendance à se tordre. Du coup la pâte a tendance à tomber alors que dans un moule, le fond ne va pas se tordre. Vous pouvez prendre aussi un moule classique pour la tarte et non un cercle. À vous de voir !

J’ai mis un autre cercle plus petit de 18cm de diamètre pour bloquer la pâte lors de cuisson à blanc, et dans le fond, un sac de farine en film étirable résistant à le cuisson. Cela me garantit une cuisson plus uniforme et la pâte ne va pas se soulever.
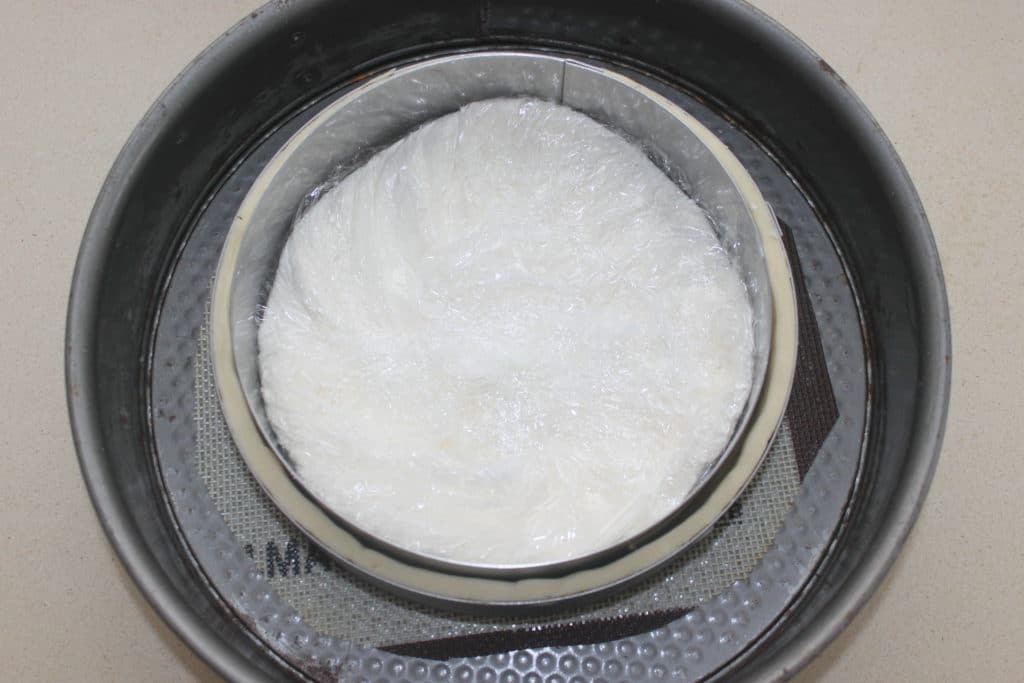
Mettez le tout au frais pour une heure. Pendant ce temps, préparez les pommes. Épluchez-les puis coupez-les en morceaux.

Mettez-les à cuire avec le beurre demi-sel (les 25g) avec un couvercle.
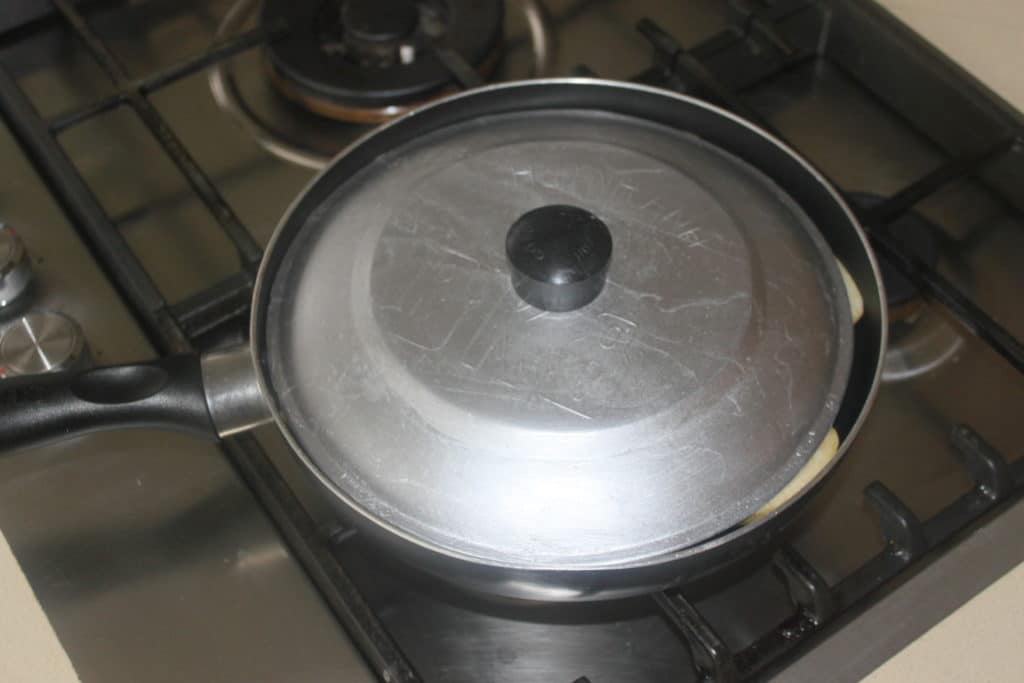
Quand elles sont bien tendres, ôtez le couvercle pour laisser le jus s’évaporer.
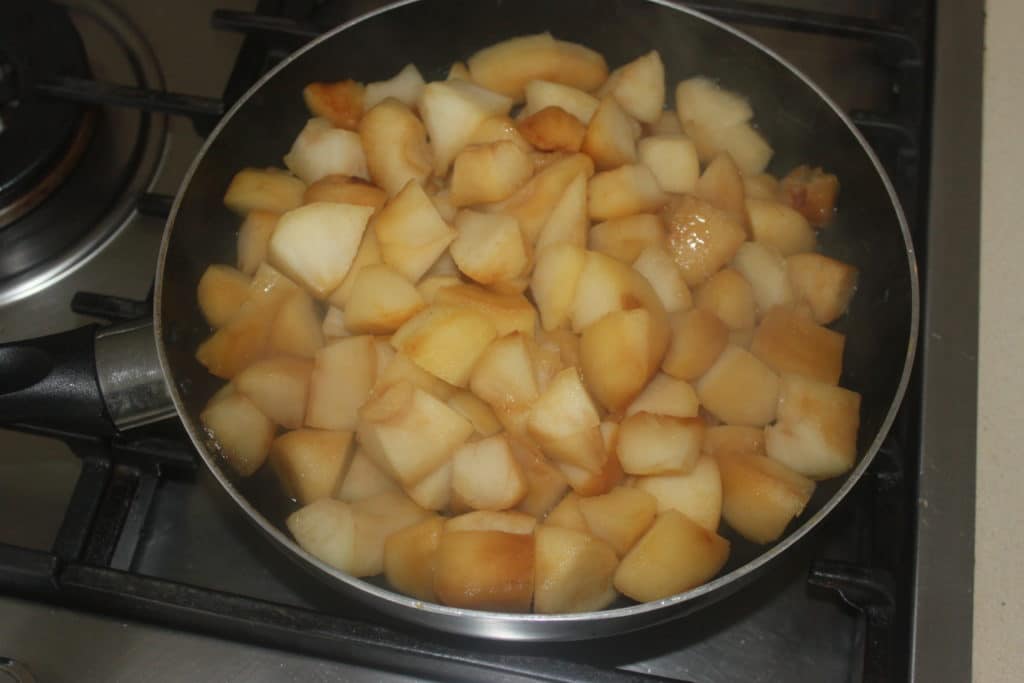
Laissez-les ensuite tiédir. Préparez le crumble en plaçant tous les ingrédients dans la cuve d’un robot ou dans un récipient.

Mélangez à la feuille ou à la main jusqu’à avoir une consistance de crumble. Cela peut prendre un peu de temps.
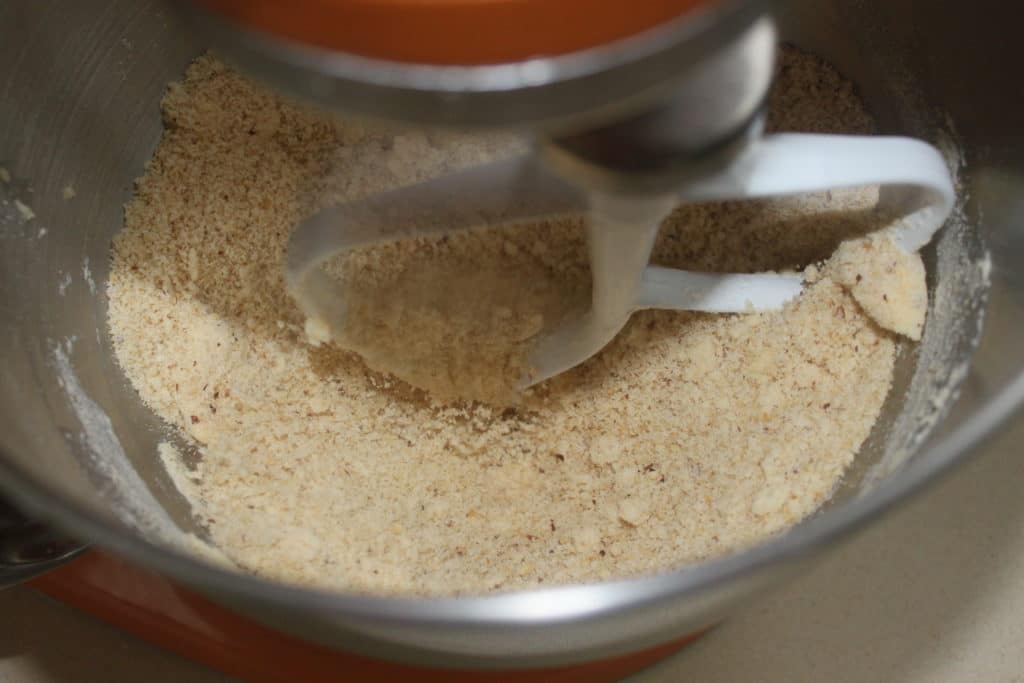
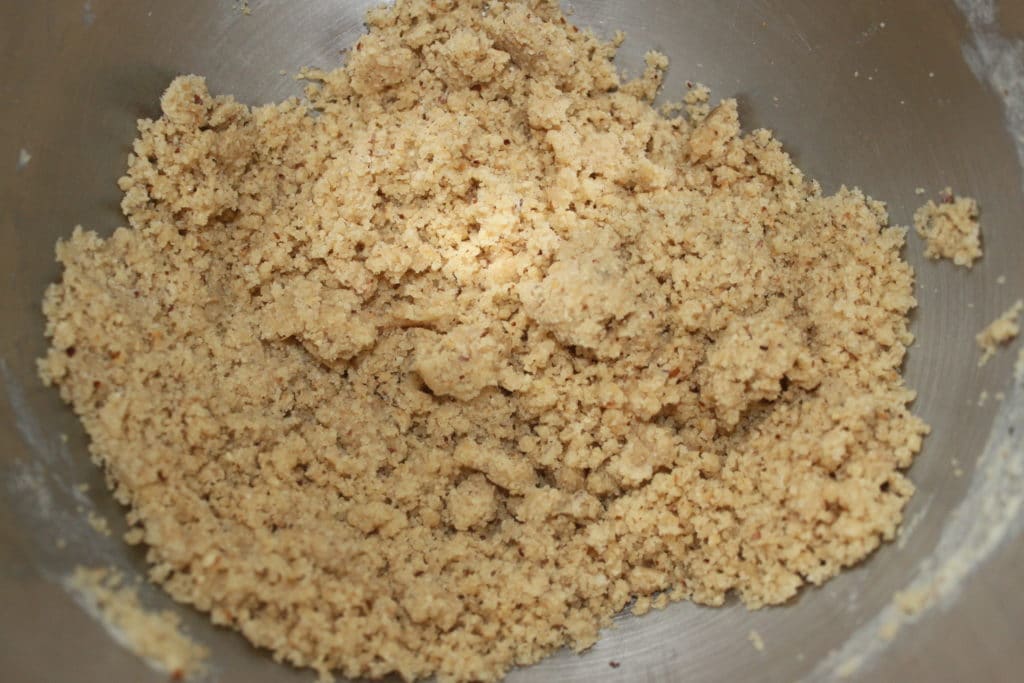
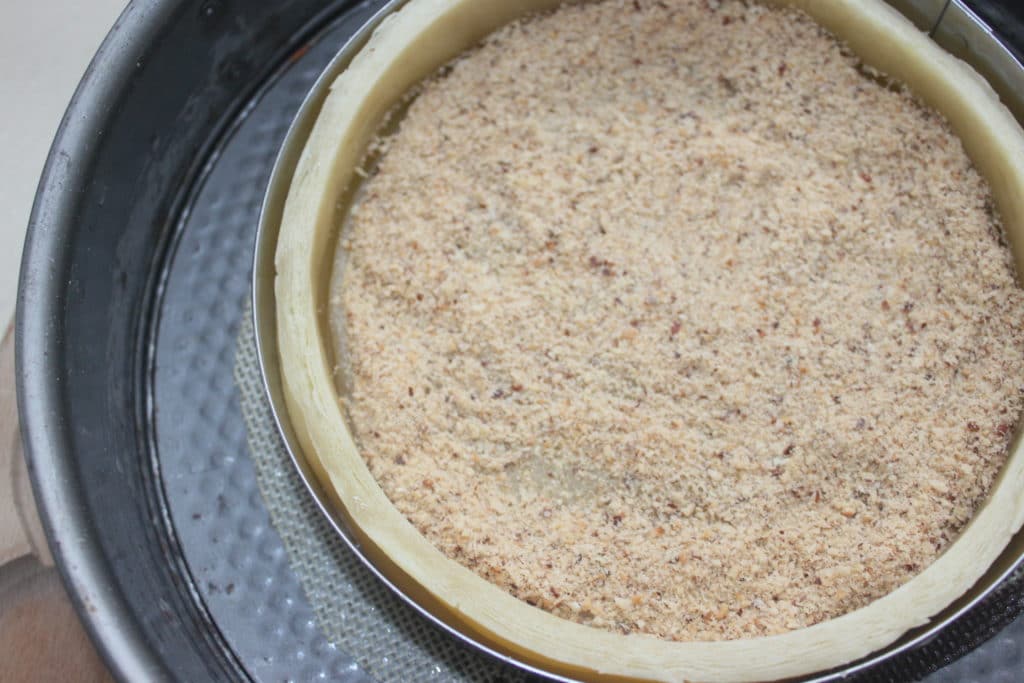
Faites cuire la pâte 30 minutes à 205°C. Enlevez ensuite le sac de farine et le cercle interne. Saupoudrez de poudre de noisette pour tapisser le fond.
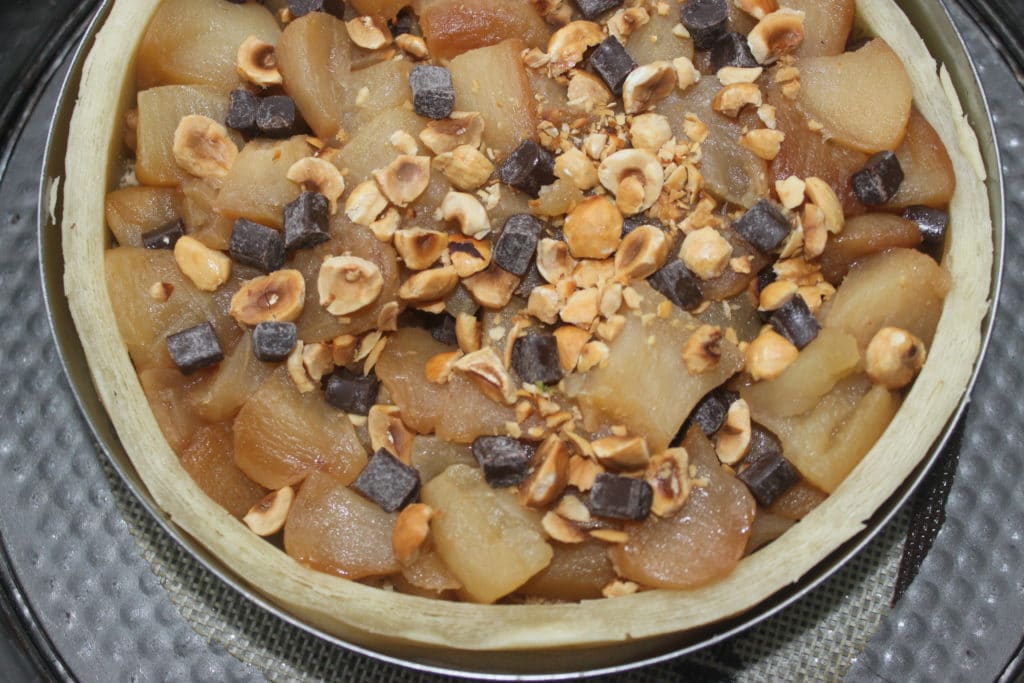
Ajoutez les pommes, parsemez de chunks de chocolat noir et de noisettes grillées concassées.
Versez le crumble et remettes à cuire à 180°C cette fois, pendant 50 minutes à une heure.

Le crumble doit être bien doré.
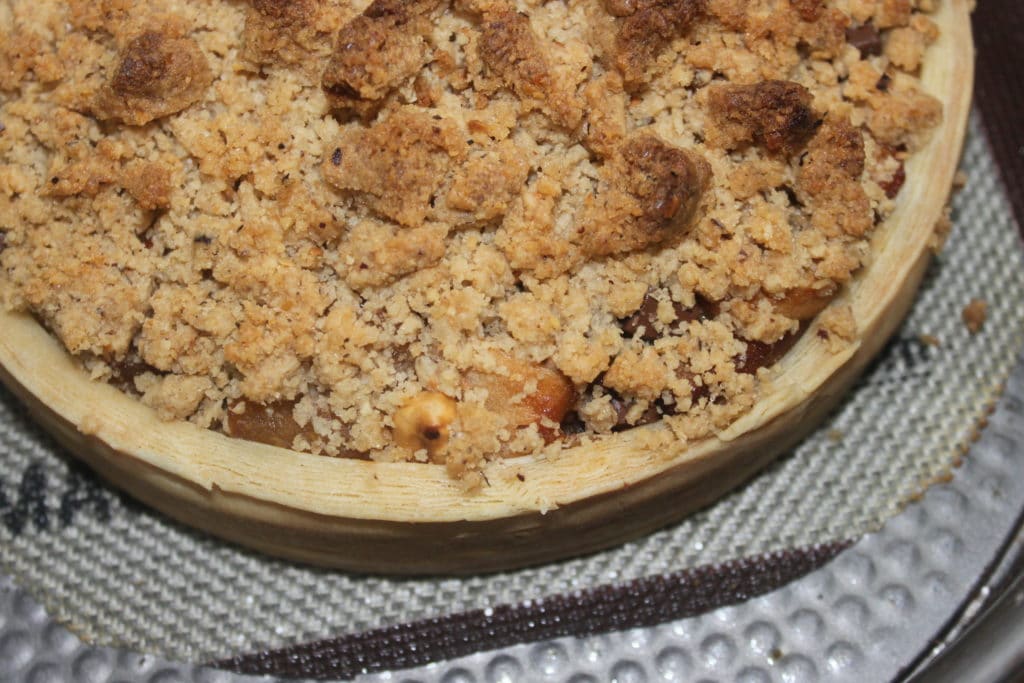
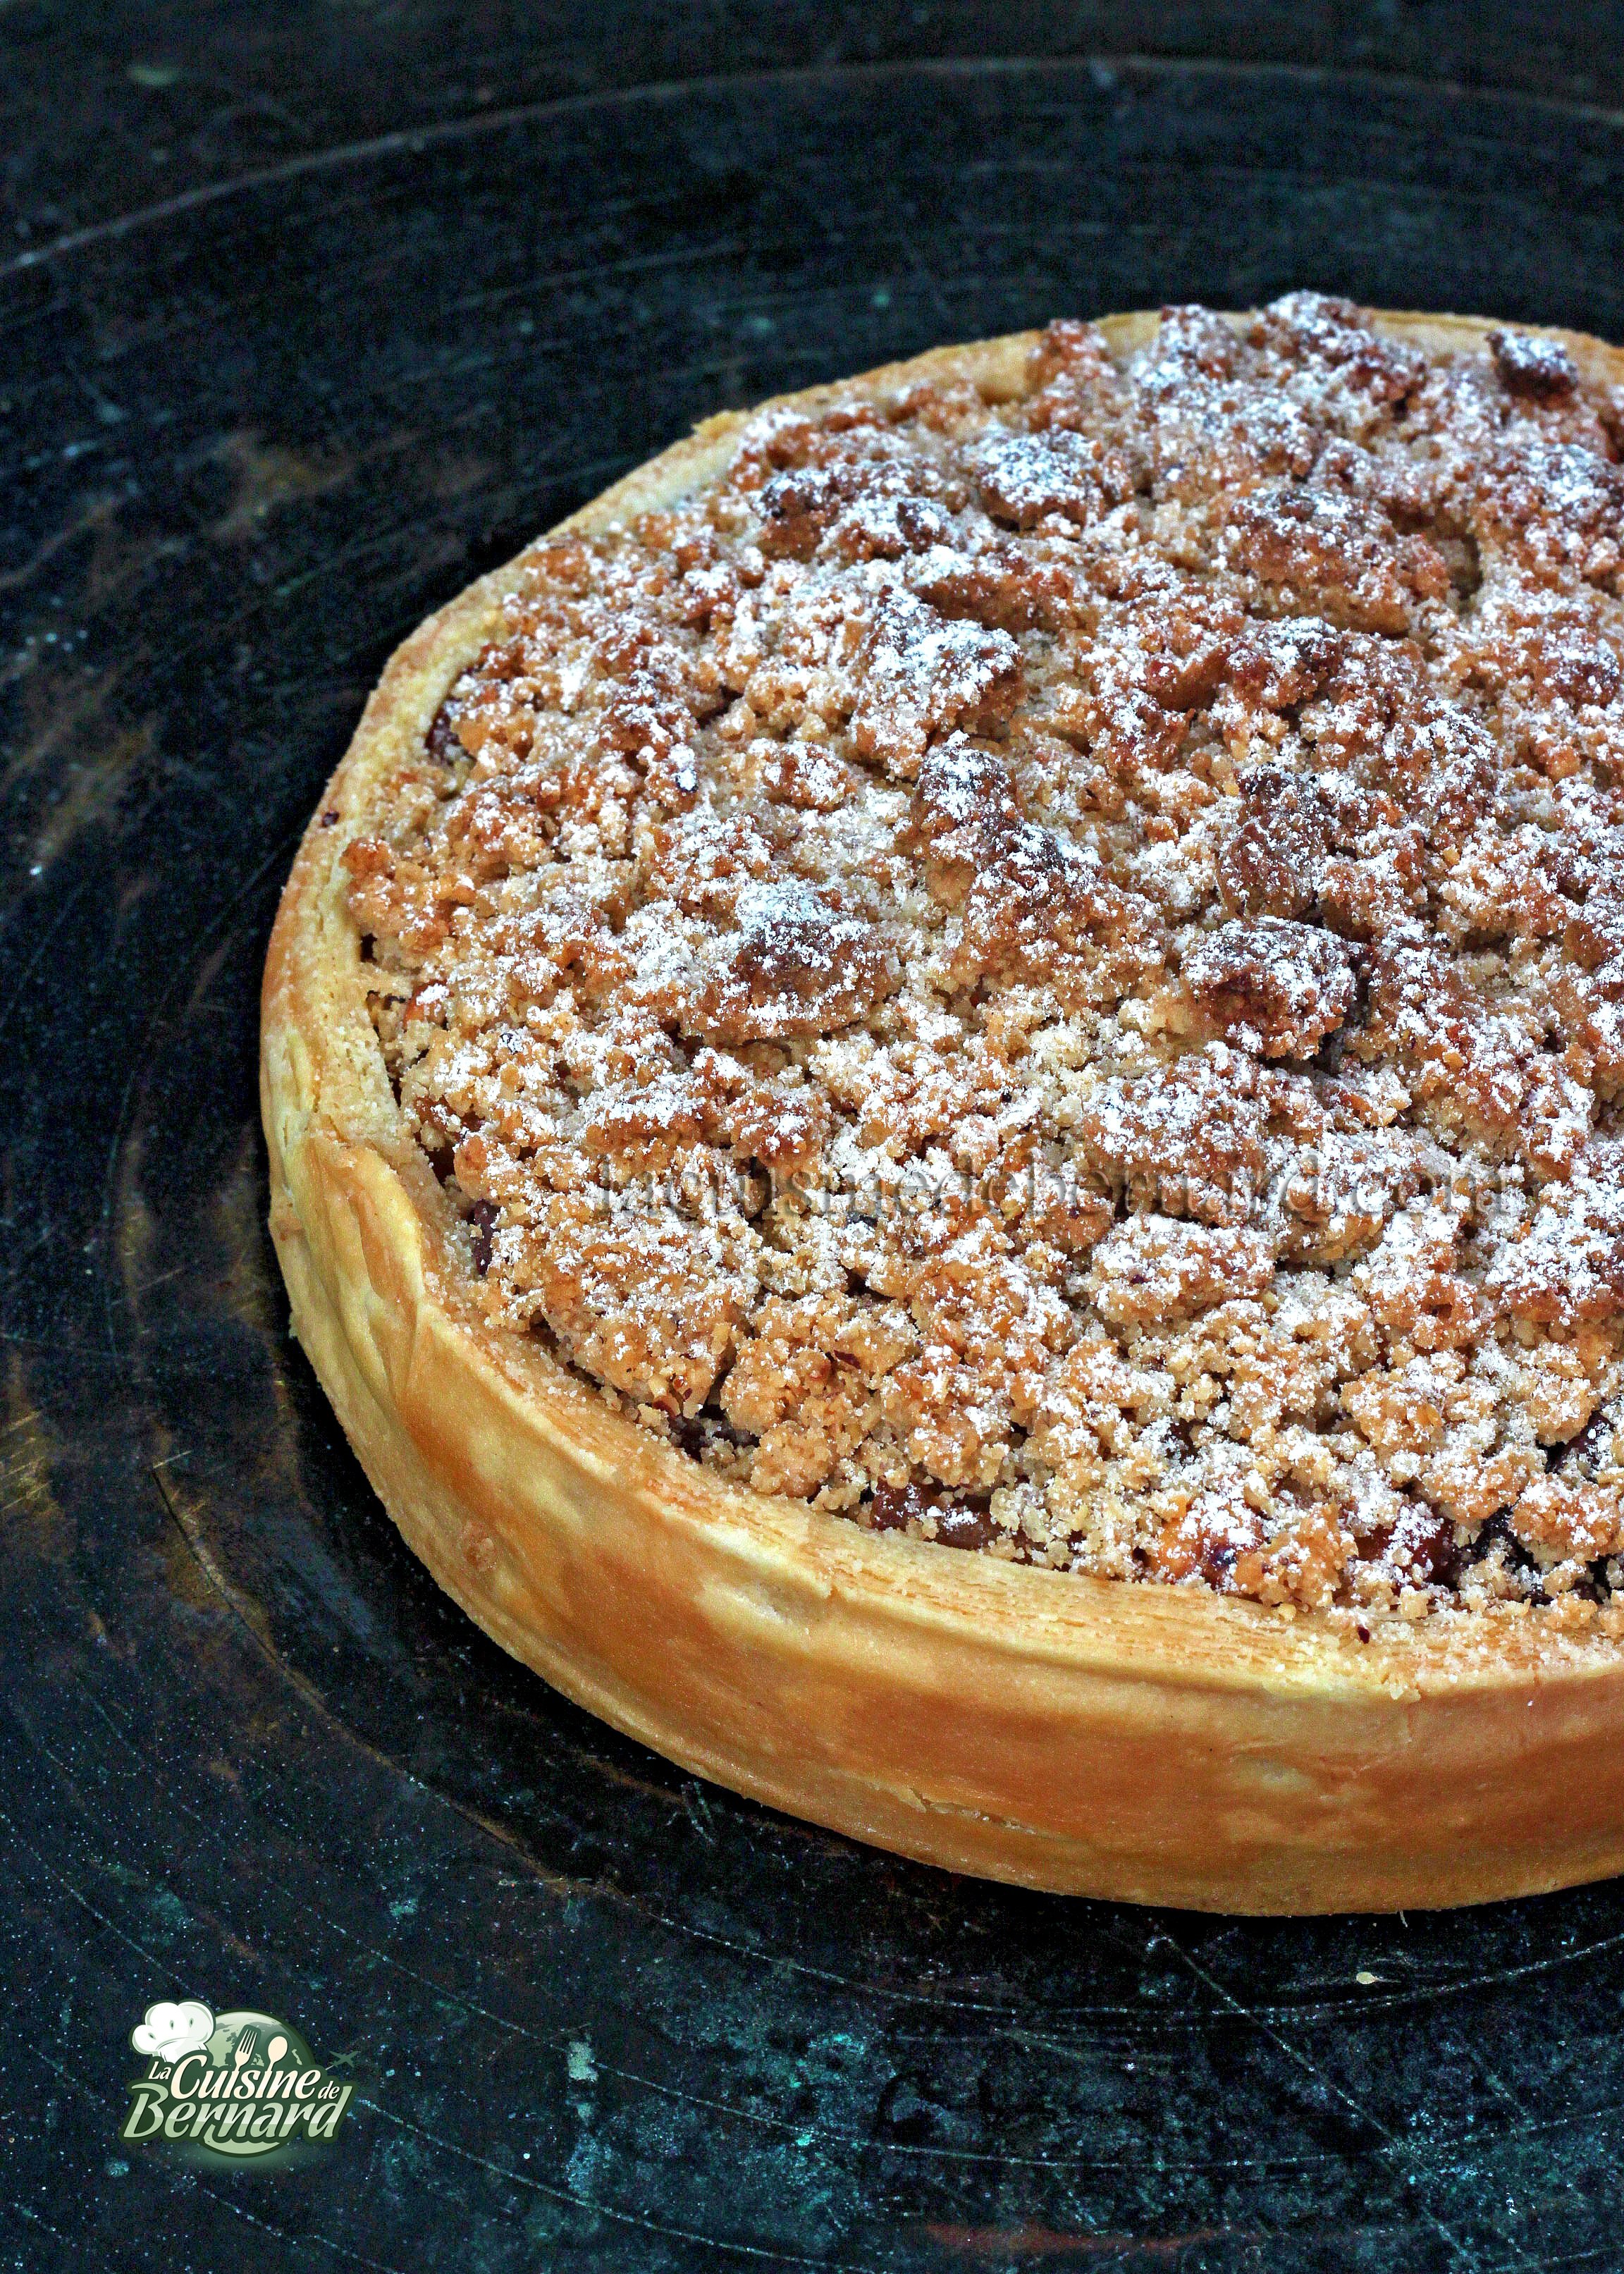
Vous pouvez évidemment saupoudrer de sucre glace !

Il ne reste plus qu’à déguster !
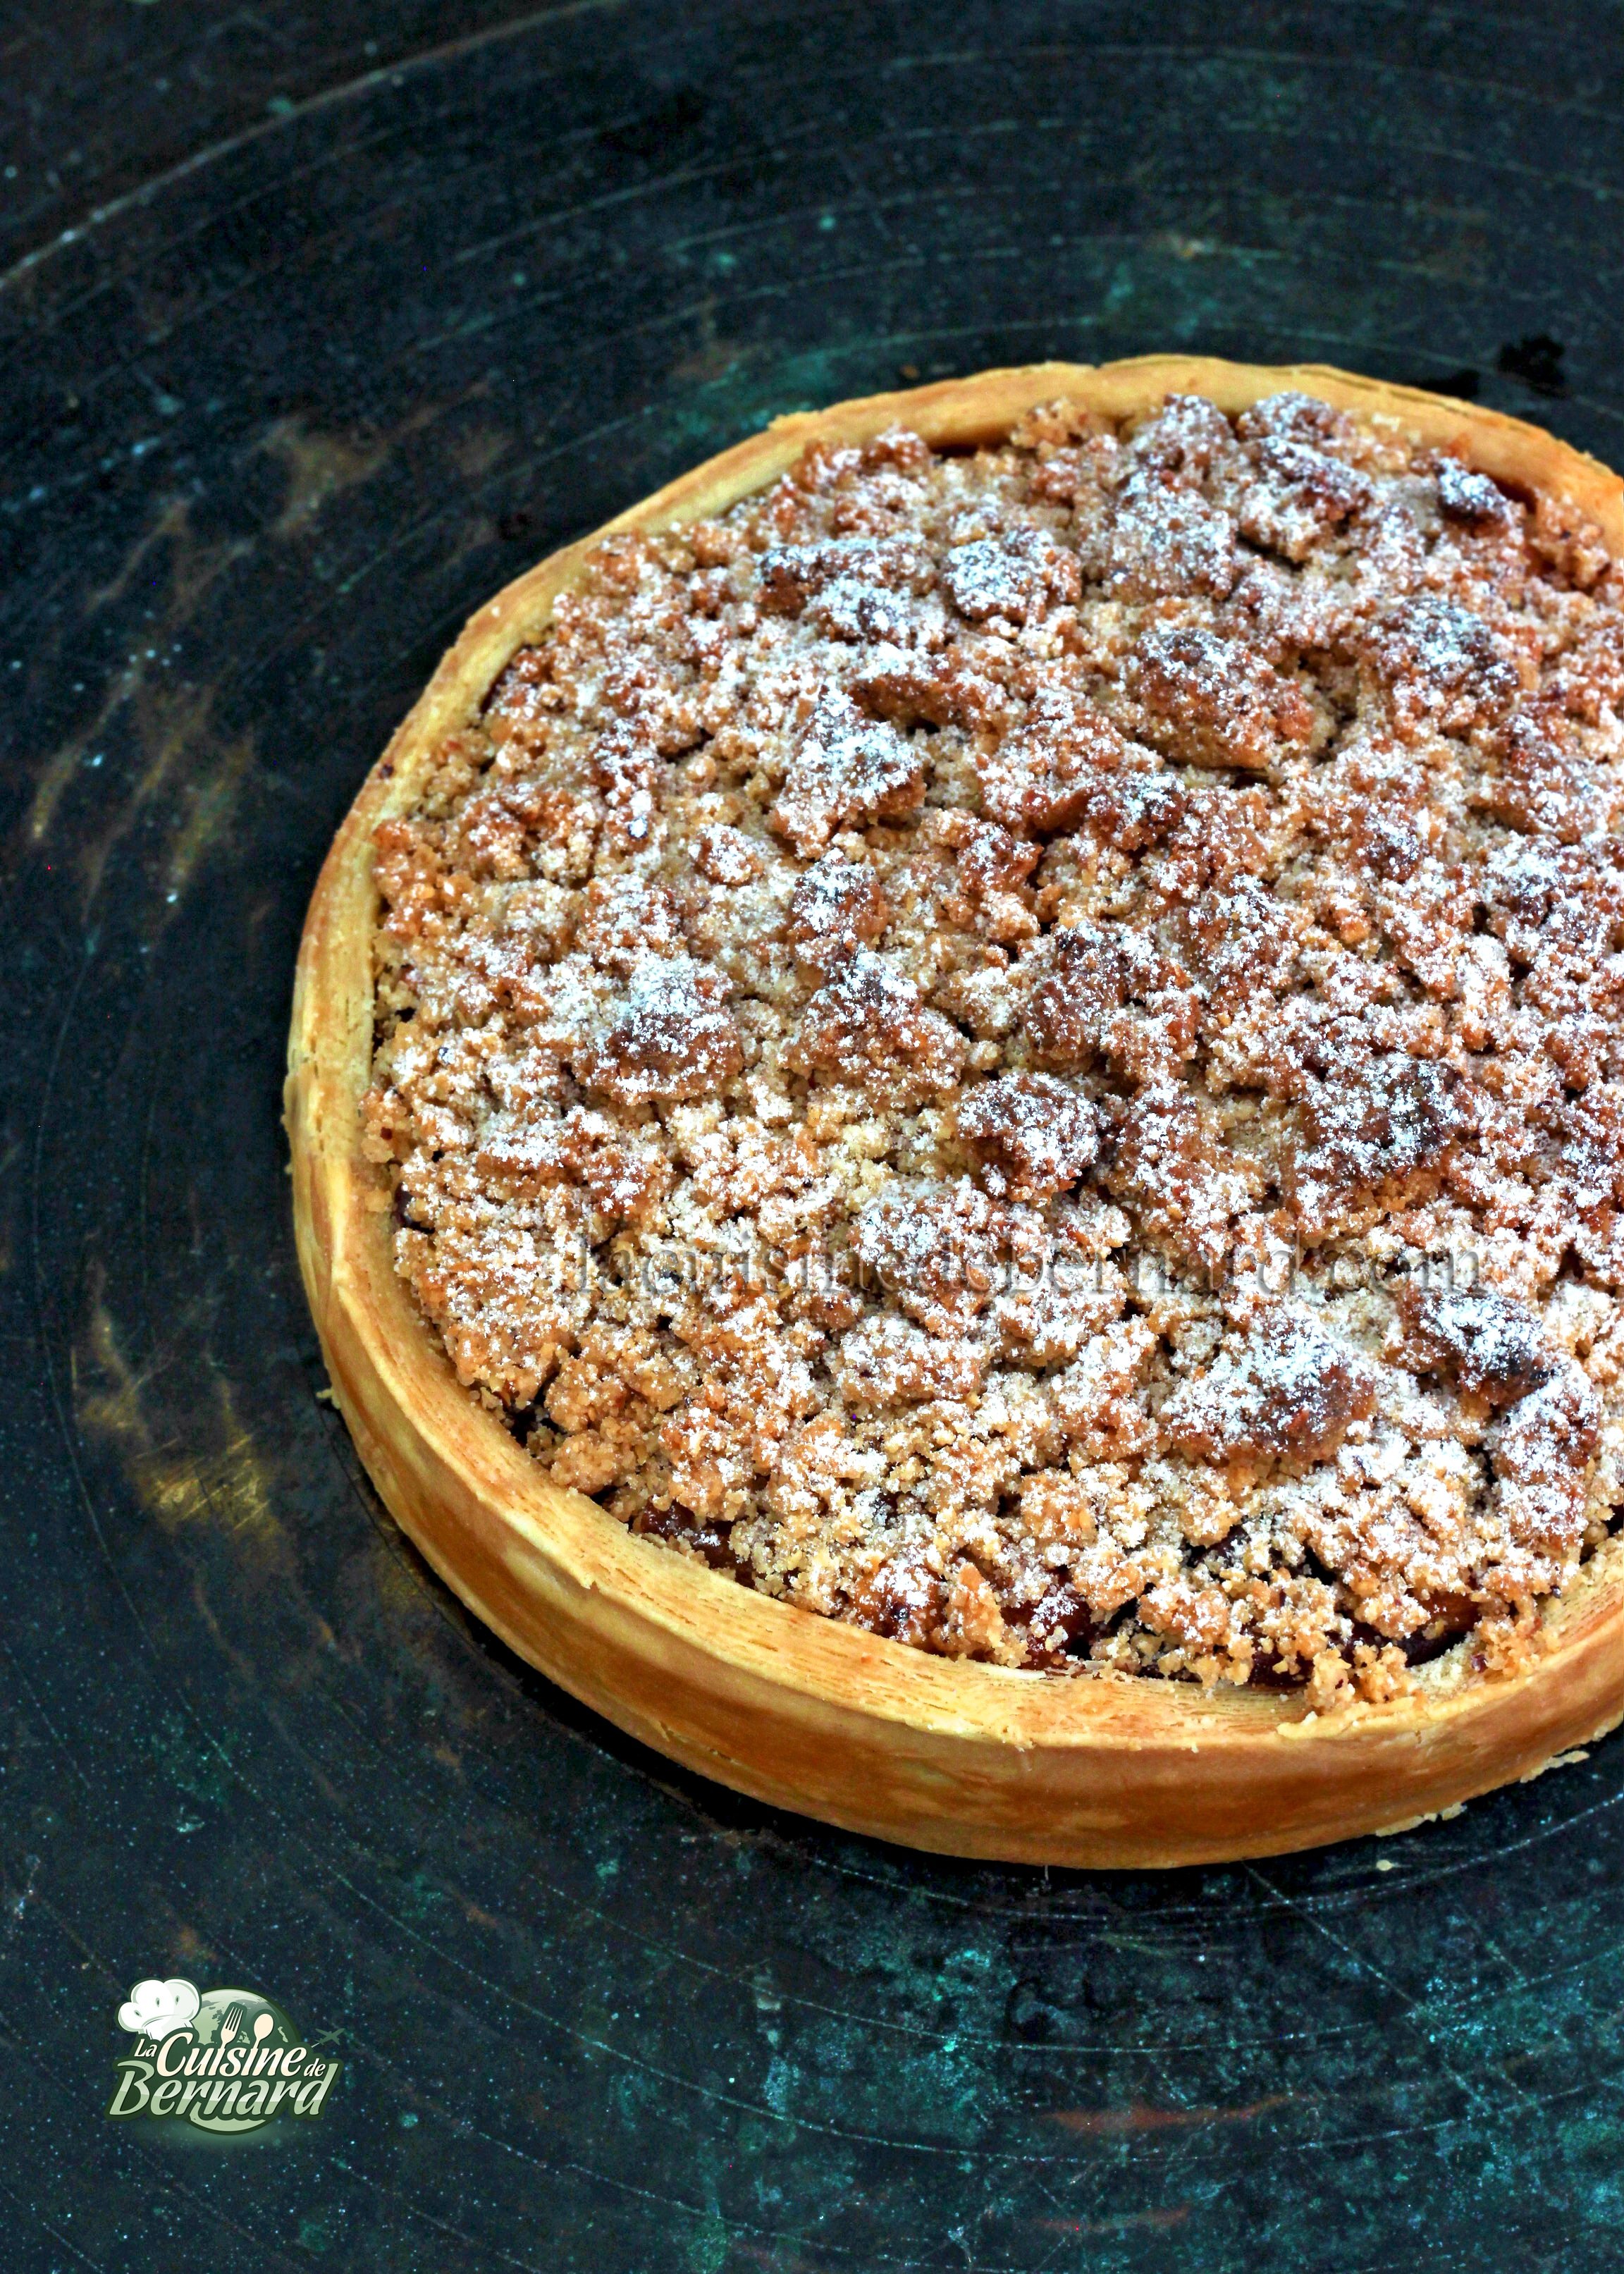
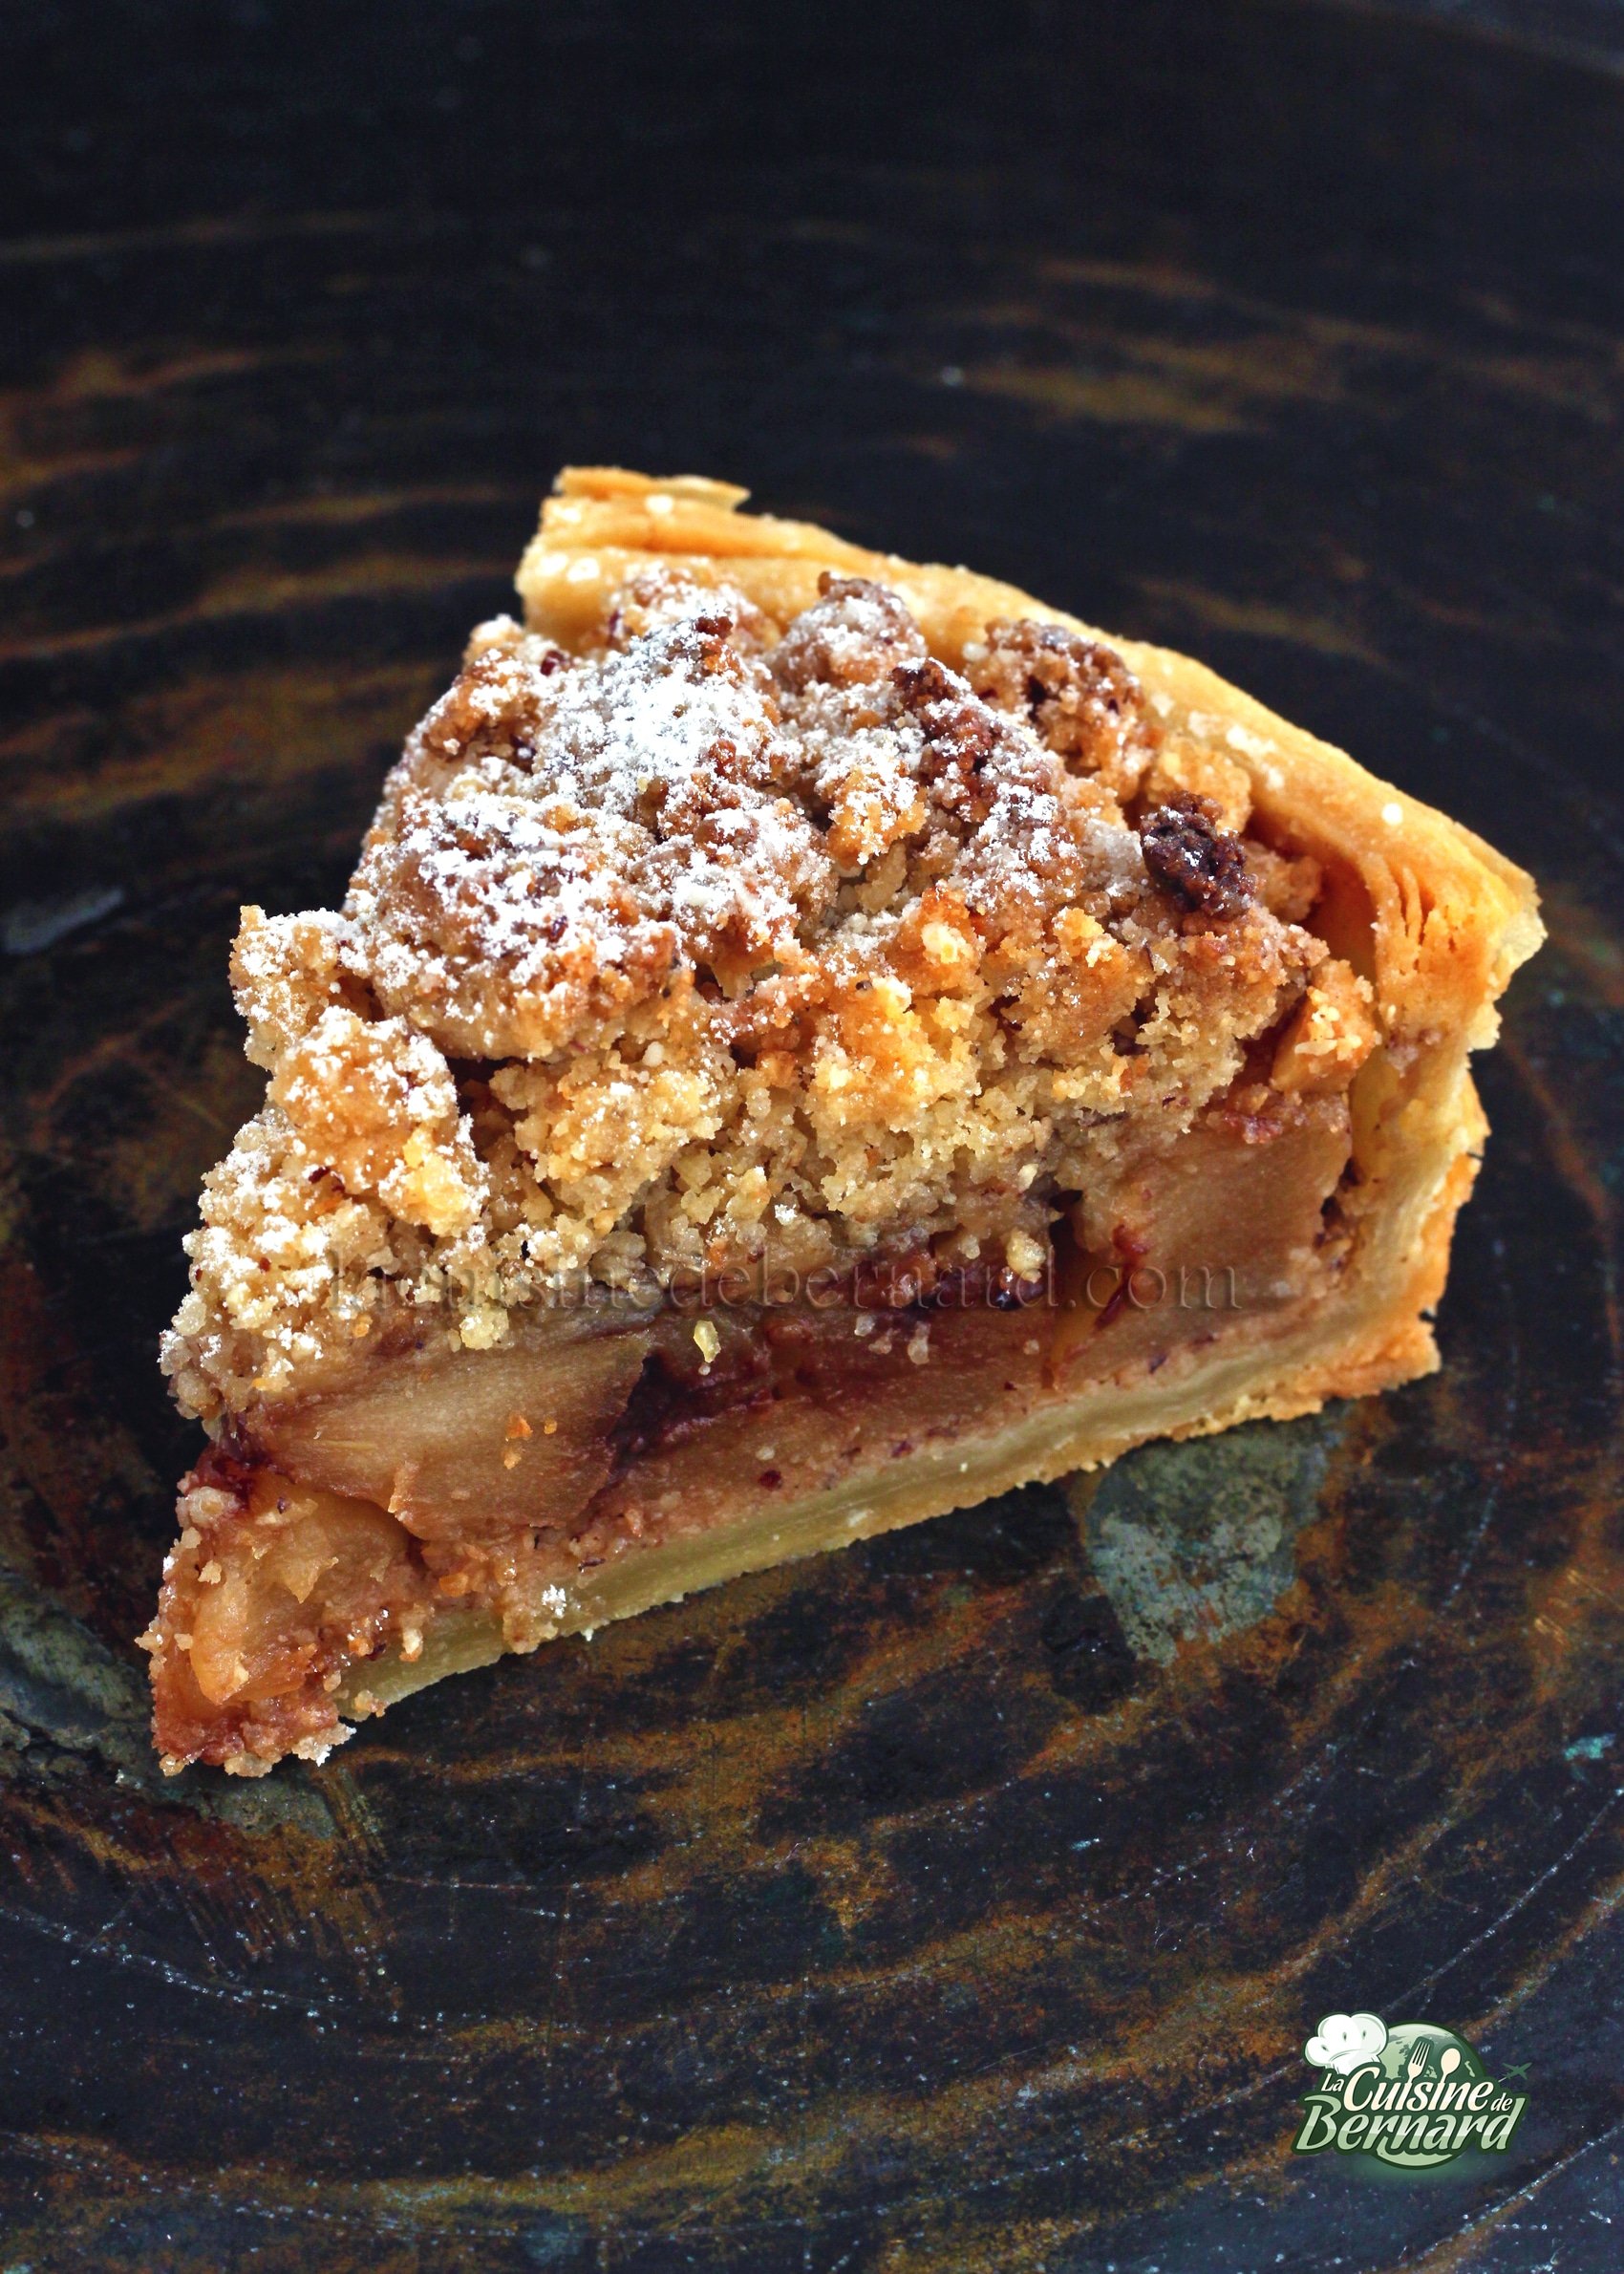
Apple pie with hazelnut crumble
It's been a while since I posted a dessert recipe. It's because I was currently writing and shooting my next book which will be released in March 2020! So here I am again with this delicious apple pie with hazelnut crumble. I love it because it's not very sweet, except for the crumble on top which balances it out nicely. I add a little chocolate. The combination of the hazelnuts in the melting apples, the crispy puff pastry and the crunch of the crumble is just perfect for my taste!
No notes yet
Type de plat Breakfast, Dessert, Goûter
Keyword apples, crumble, hazelnuts, Pie
Tried this recipe?Let us know how it was!
]]>
https://stagingapp15670.cloudwayssites.com/en/apple-pie-and-hazelnut-crumble/feed/ 10
Buckwheat ice cream, buckwheat pancake https://stagingapp15670.cloudwayssites.com/en/buckwheat-ice-cream-buckwheat-pancake/ https://stagingapp15670.cloudwayssites.com/en/buckwheat-ice-cream-buckwheat-pancake/#comments Tue, 02 Apr 2019 13:08:00 +0000 https://stagingapp15670.cloudwayssites.com/2019/04/creme-glacee-au-sarrasin-galette-au.html
Je voulais faire une véritable ode au sarrasin. J’avais dégusté un dessert similaire en Bretagne (là d’où vient toute ma famille) et je l’avais trouvé absolument délicieux. Je suis fan de sarrasin et on l’utilise encore trop peu dans le sucré. Alors qu’une galette de blé noir avec du miel et de beurre demi-sel est une association irrésistible ! Je vous propose donc ma recette de crème glacée au sarrasin, avec une galette de sarrasin chaude et croustillante au beurre salé, le tout servi du miel de sarrasin et du sarrasin grillé. Le mélange de textures et de températures est juste incroyable !


Crème glacée au sarrasin pour 4 personnes : 


  • 750ml de lait

  • 100g de beurre demi-sel

  • 60g de sarrasin grillé

  • 180g de sucre

  • 80g de jaune d’œuf

  • 100g de crème liquide entière


Crêpes sarrasin : 


  • 200g de farine de sarrasin semi-complète

  • 500ml d’eau

  • 100g de beurre demi-sel

Pour servir:

  • Miel de sarrasin

  • 20g de sarrasin grillé

Instructions :
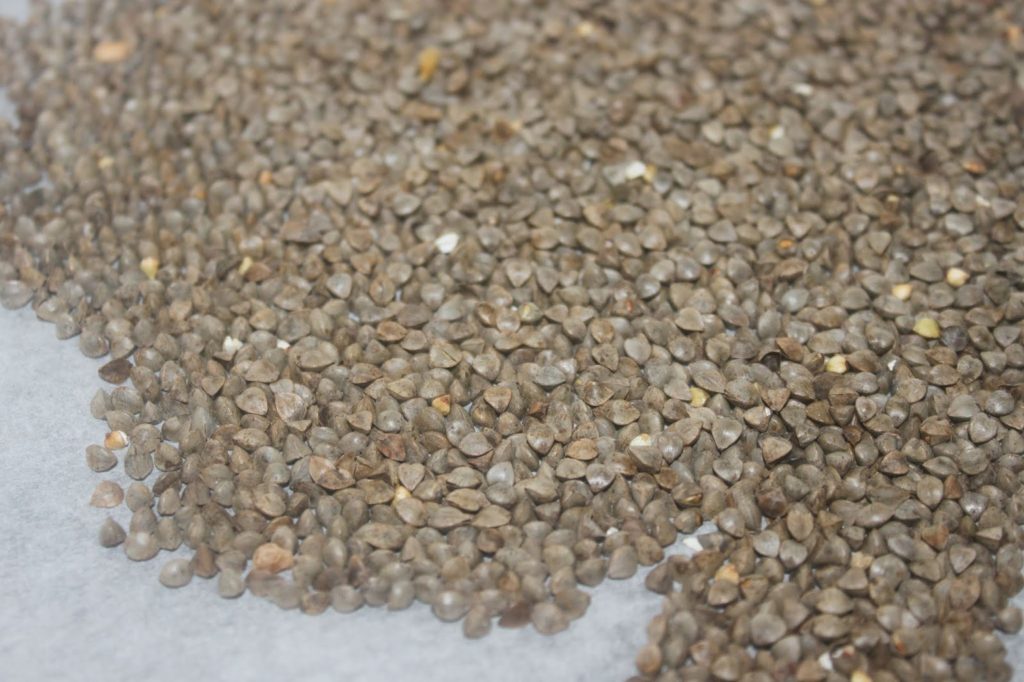
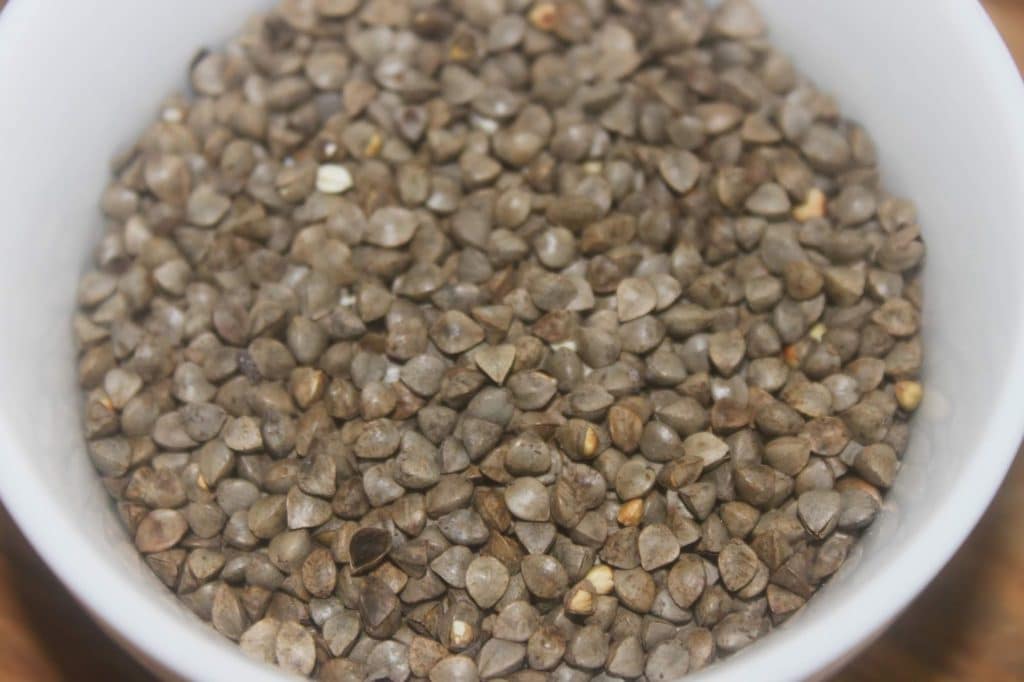
Commencez par préparer la crème glacée. Préchauffez votre four à 180°C. Versez le sarrasin (60 pour la crème et 20 en plus pour servir) sur plaque et laissez-le se torréfier pendant 17-18 minutes. 
Versez le lait dans une casserole et le sarrasin grillé (60g). 


Portez le tout à ébullition et stoppez le feu. Laissez infuser 20 minutes.
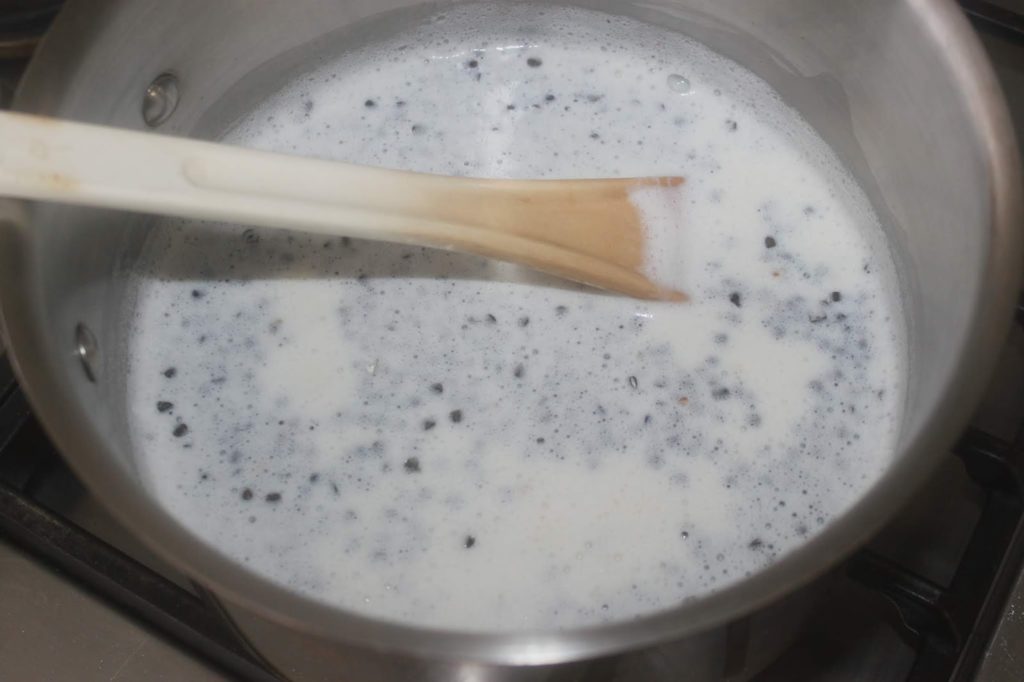
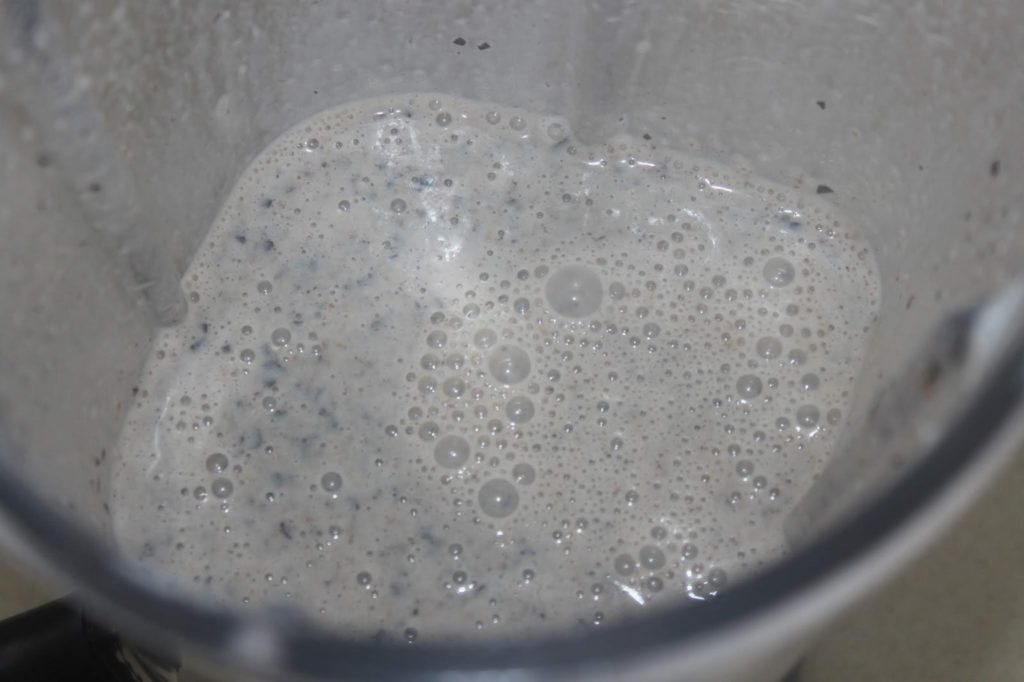
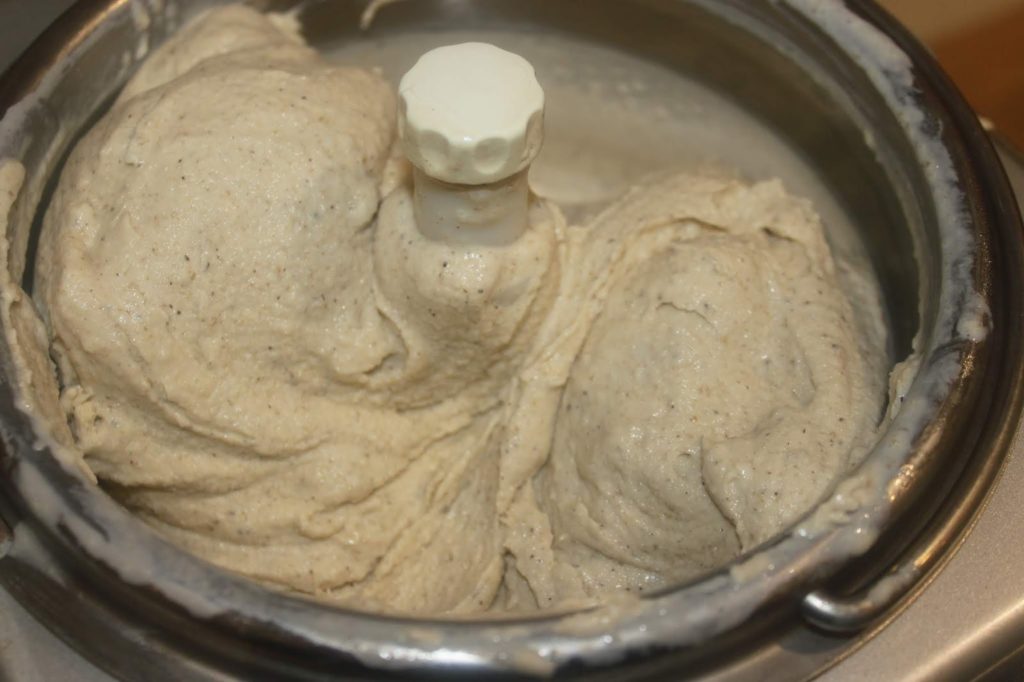
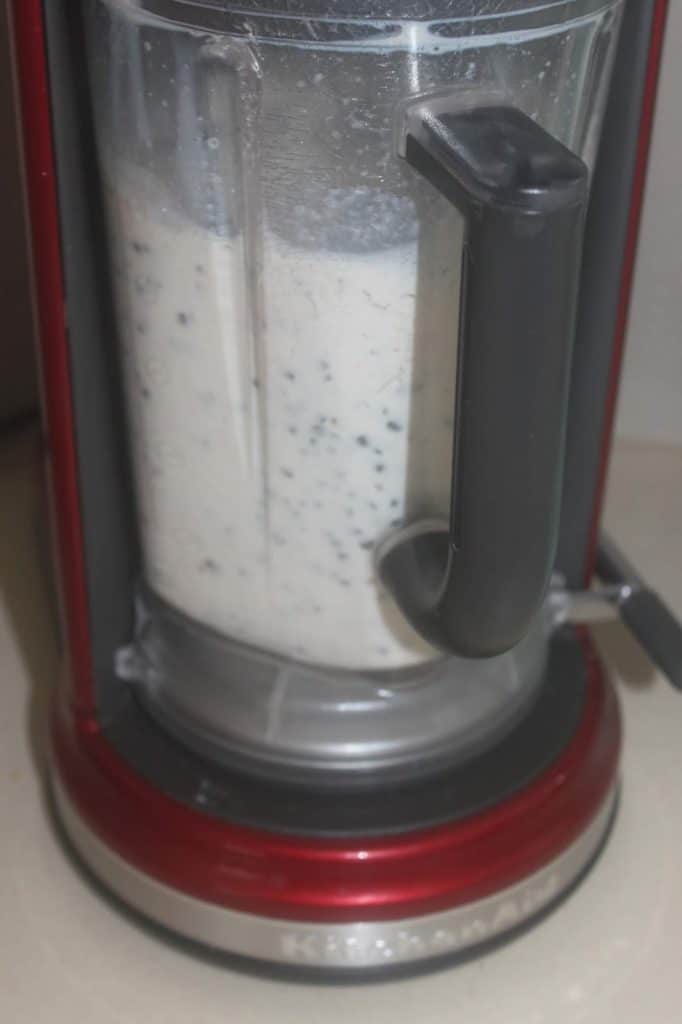
Mettez le tout au blender et mixez finement.



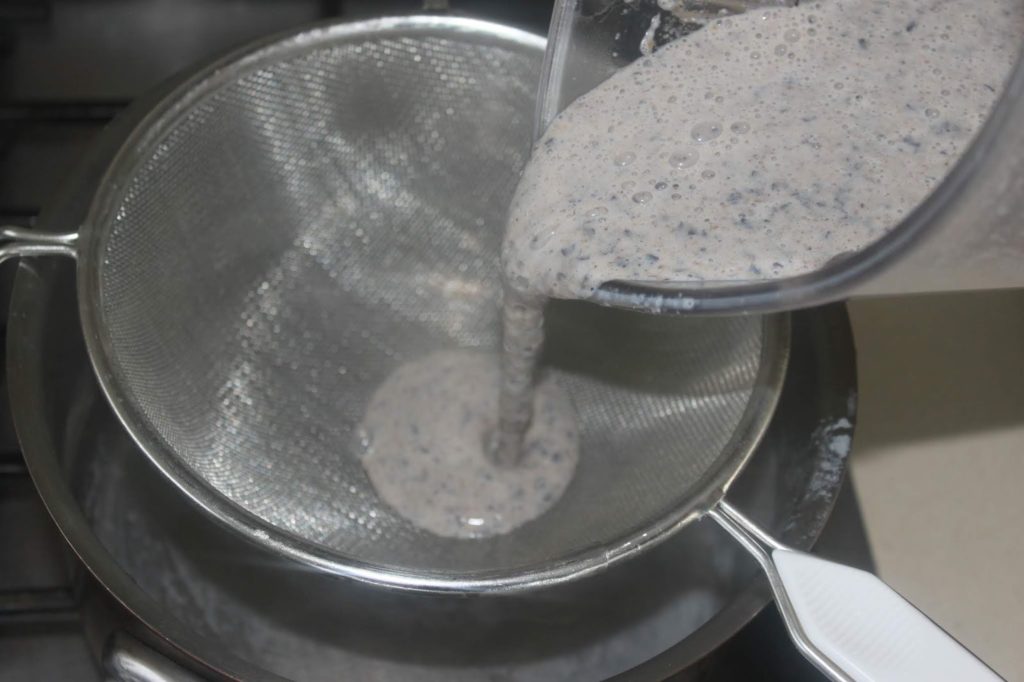
Reversez dans la casserole en filtrant avec un fin tamis. Posez la casserole sur une balance pour peser ce que vous versez.
Vous devez avoir 600g de lait au sarrasin. Au besoin complétez avec du lait.

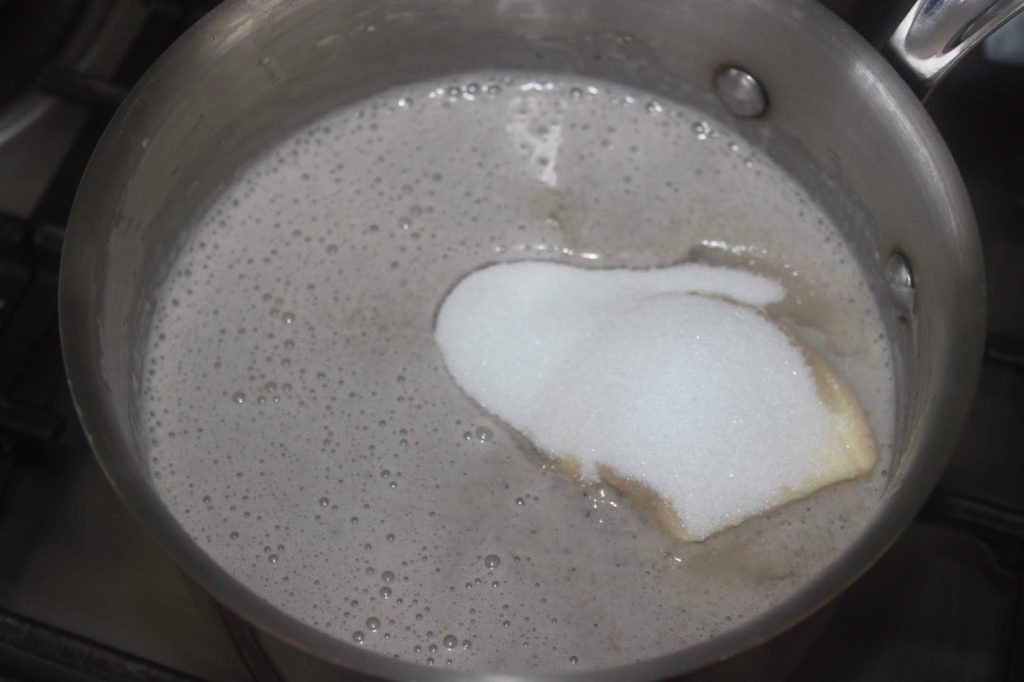
Versez le beurre demi-sel et la moitié du sucre (90g du coup) puis faites chauffer (pas bouillir cette fois). 

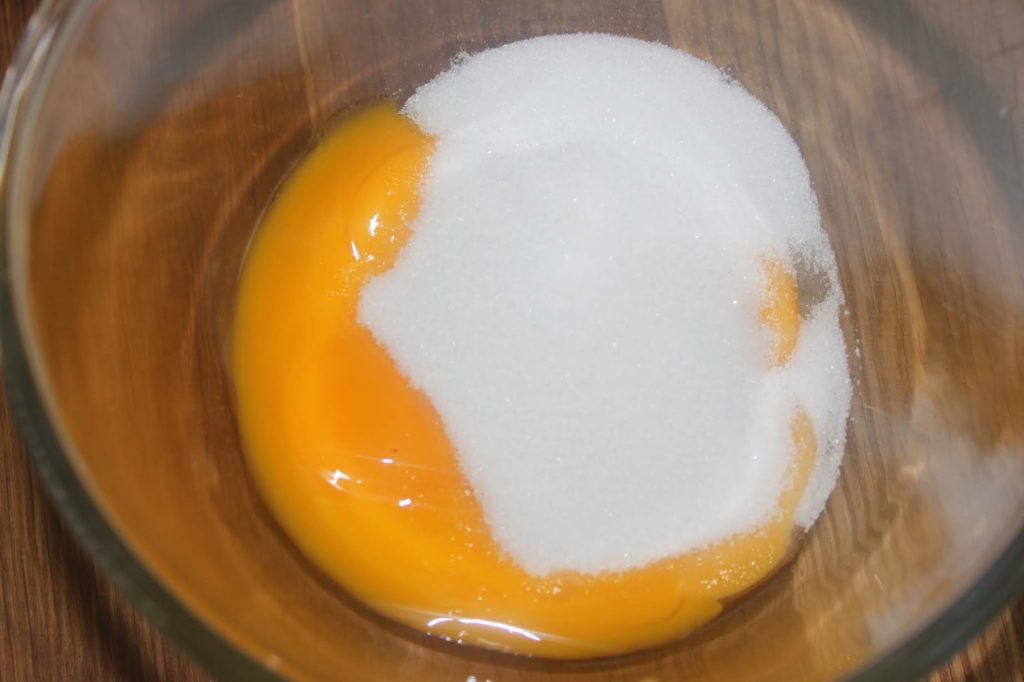
Versez dans un récipient l’autre moitié du sucre et les 80g de jaune. Mélangez bien.
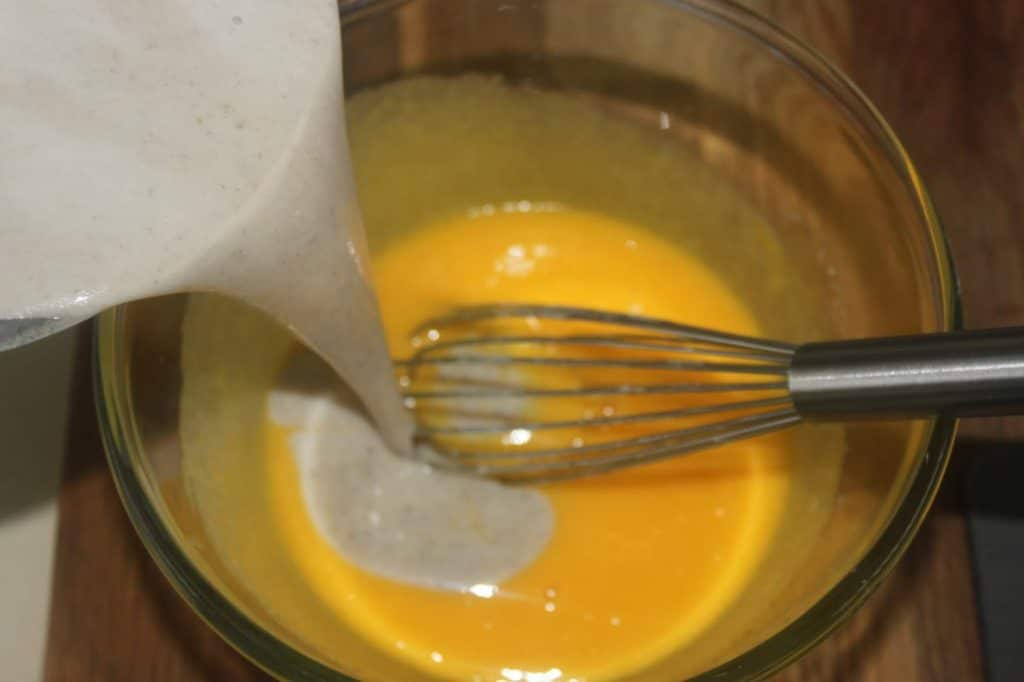
Quand le beurre a fondu, versez le contenu de la casserole dans le récipient tout en mélangeant.
Rerversez dans la casserole et mettez à chauffer tout en mélangeant au fouet.
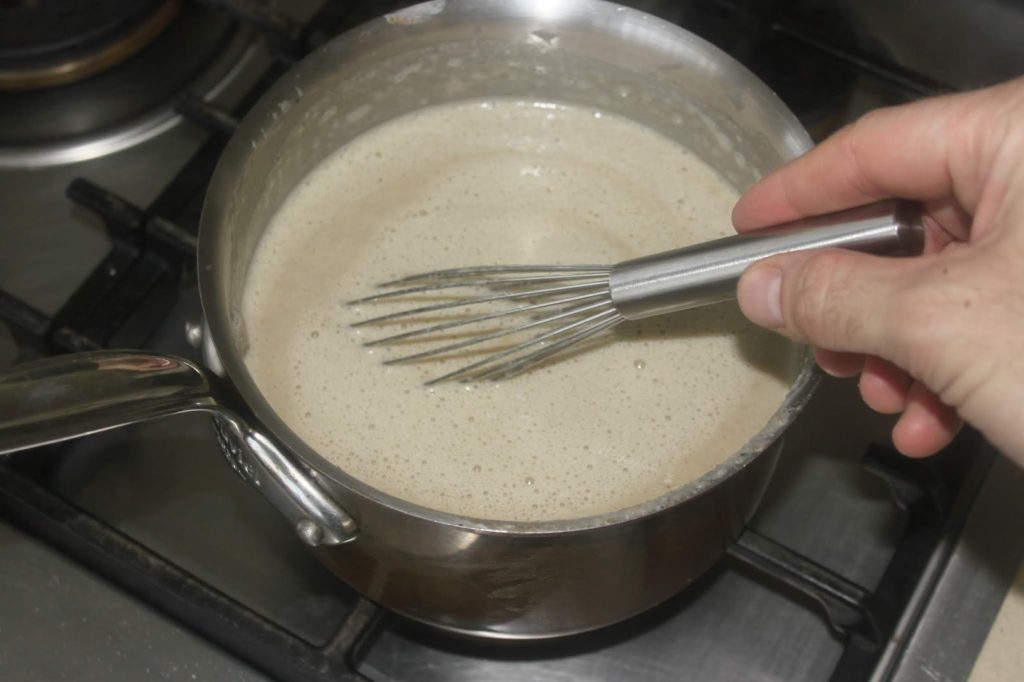
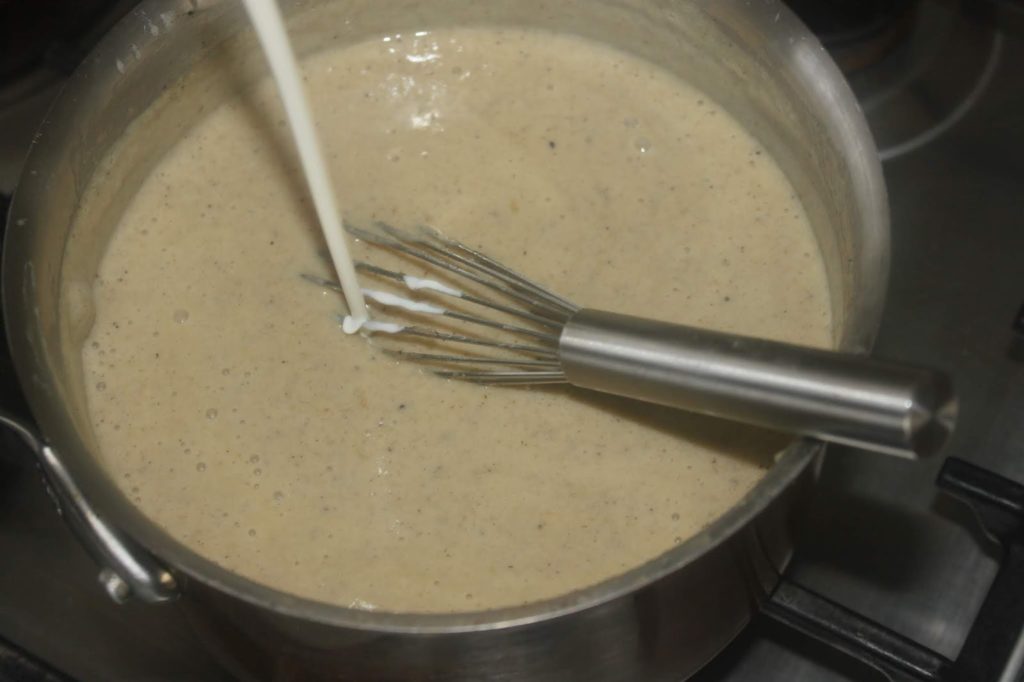
 

Portez le tout à 86°C. Quand cette température est atteinte, coupez le feu et versez la crème liquide entière. 


Laissez complètement refroidir à température ambiante puis mettez en turbine à glace.
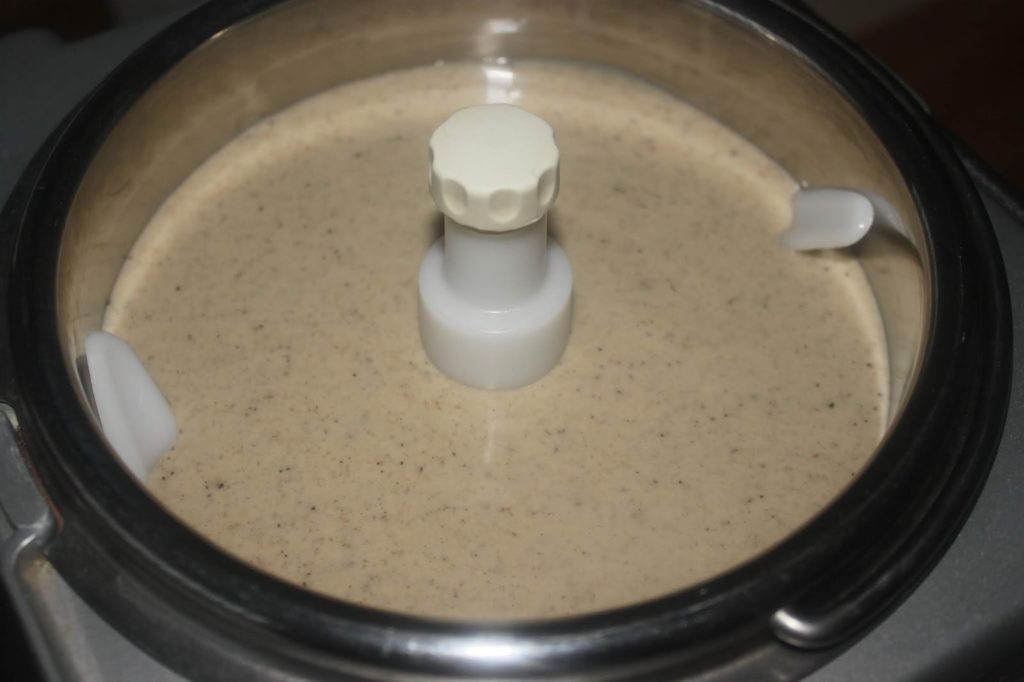
 

Quand la crème est prise, versez dans un récipient et conservez au congélateur. 


Quand vous êtes prêts à servir, mélangez la farine et l’eau.
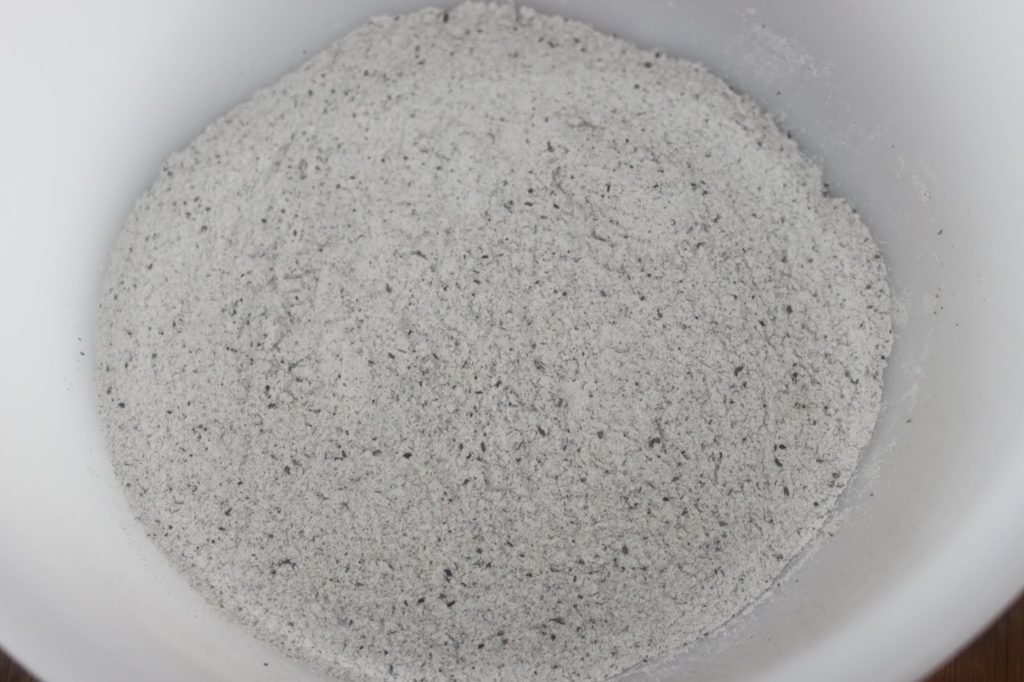
 

Vous devez avoir une pâte assez fluide.
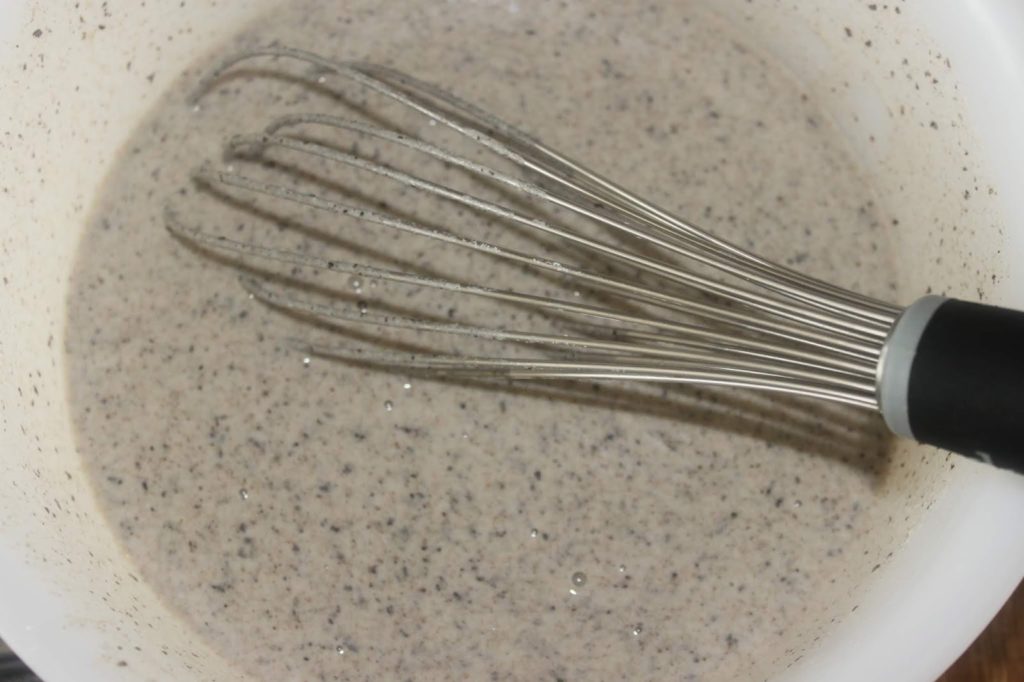
 

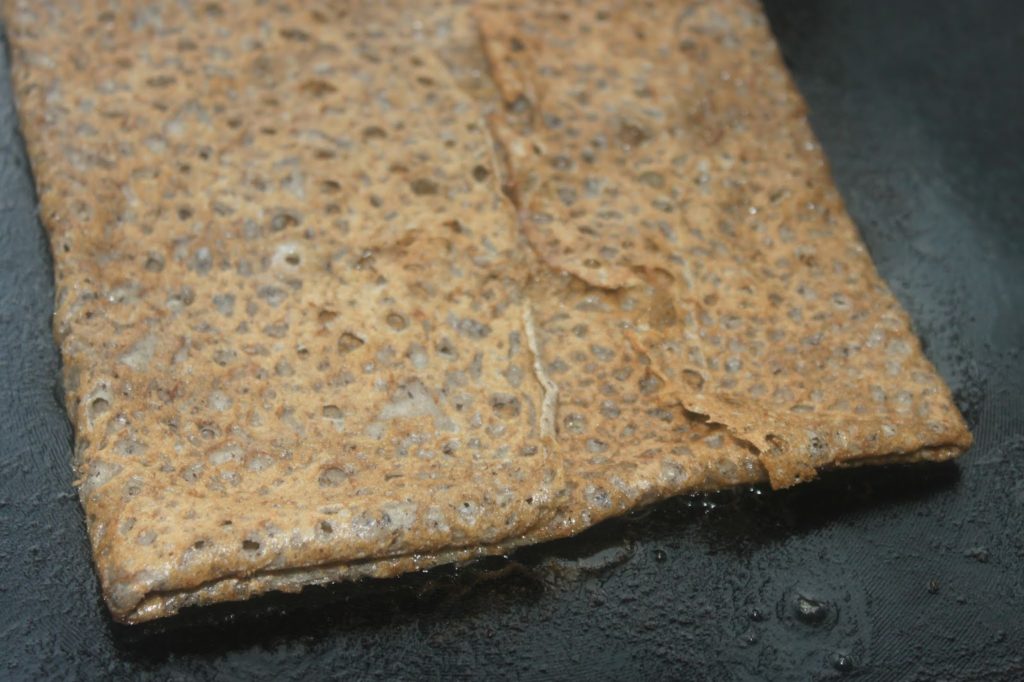
Faites 4 crêpes sur un bilig (voir le processus ICI) ou faites-les à la poêle. 


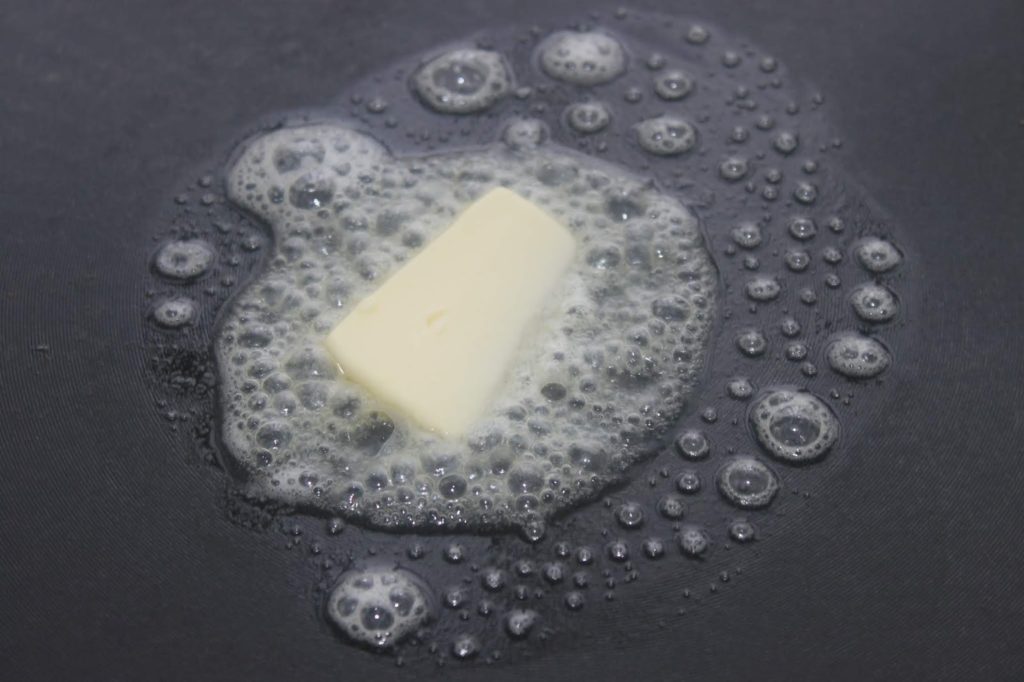
Quand les crêpes sont faites, refaites-les chauffer chacune avec 25g de beurre demi-sel (25g par crêpe).


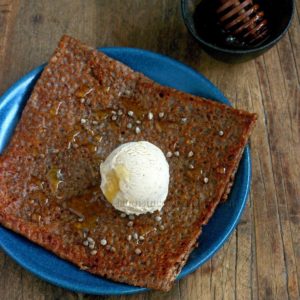
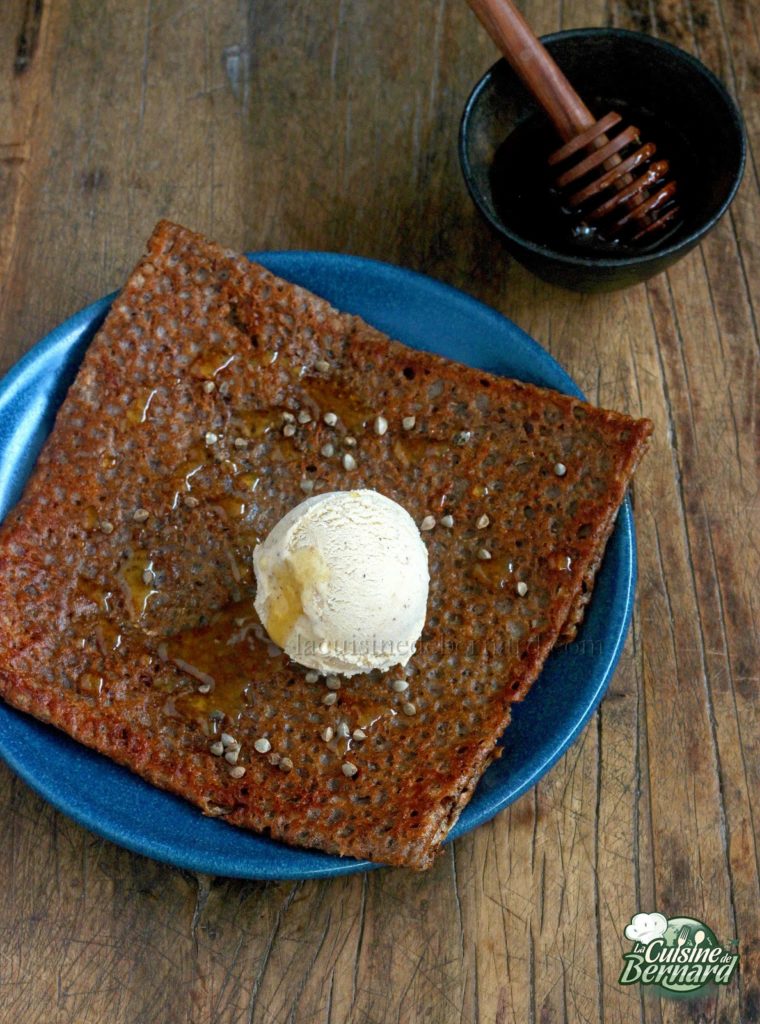
La crêpe va devenir croustillante. Faites cuire de l’autre côté puis servez sans attendre avec une boule de crème glacée, un peu de miel de sarrasin et du sarrasin grillé. 

Buckwheat ice cream, buckwheat pancake

I wanted to make a real ode to buckwheat. I had tasted a similar dessert in Brittany (where my whole family is from) and found it absolutely delicious. I am a fan of buckwheat and it is still not used enough in sweet dishes. While a buckwheat cake with honey and semi-salted butter is an irresistible combination! So here is my recipe for buckwheat ice cream, with a warm and crispy buckwheat pancake with salted butter, served with buckwheat honey and toasted buckwheat. The mix of textures and temperatures is just amazing!
No notes yet
Type de plat Dessert, Goûter
Cuisine Française
Keyword Crèpes, Glace
Tried this recipe?Let us know how it was!

]]>
https://stagingapp15670.cloudwayssites.com/en/buckwheat-ice-cream-buckwheat-pancake/feed/ 3
Chocolate Canelés https://stagingapp15670.cloudwayssites.com/en/chocolate-caneles/ https://stagingapp15670.cloudwayssites.com/en/chocolate-caneles/#respond Thu, 08 Nov 2018 13:24:00 +0000 https://stagingapp15670.cloudwayssites.com/chocolate-caneles


The recipe for the canelés is one of the first I published on my cooking blog in January 2010. Already almost 9 years… You can see them HERE. I’ve said it all along and I stand by it: you’ll need real copper molds to make them! In any case to have a good and crisp result. So today I’m publishing a chocolate version. I’ve been making my own chocolate for a while now and I wanted to try it out in a recipe. I thought it would make the dough heavier, but in fact the opposite is true: the dough seems almost lighter. The consistency is incredible. Everyone around me loved these chocolate canelés. 


Recipe for a dozen canelés : 
 
  • 500g of whole milk (or even raw milk)
  • 65g of semi-salted butter
  • 65g of amber rum
  • 210g of chocolate 
  • 210g of sugar
  • 170g whole egg
  • 2 large egg yolks
  • 100g of flour 
 
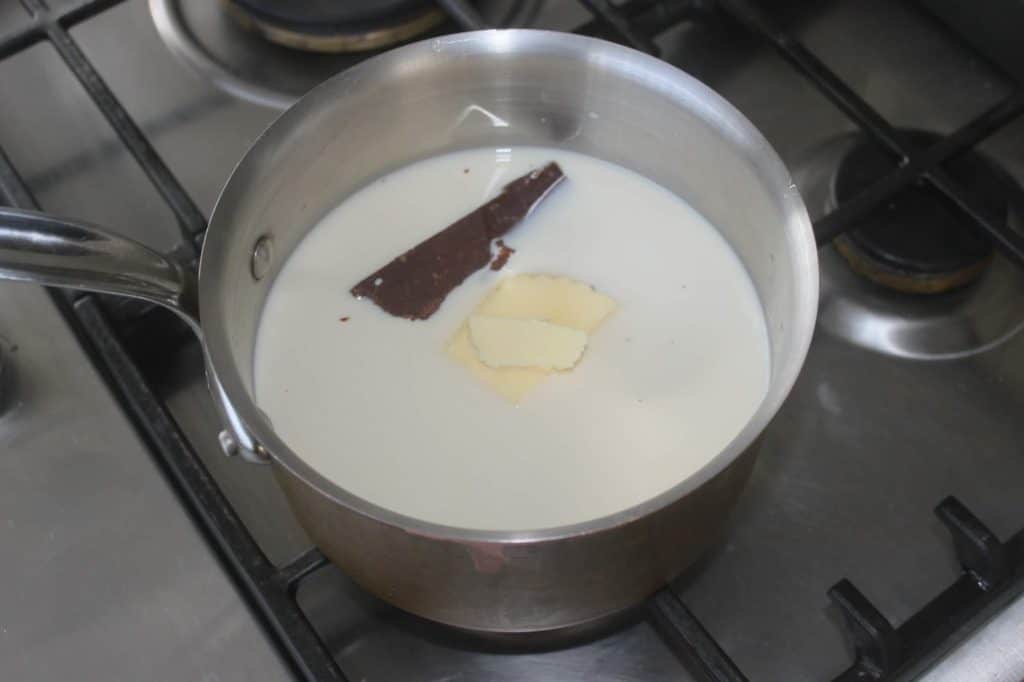
Pour the milk into a saucepan with the rum, chocolate and semi-salted butter. Heat without boiling over low heat, just long enough to melt the butter and chocolate.
 
 
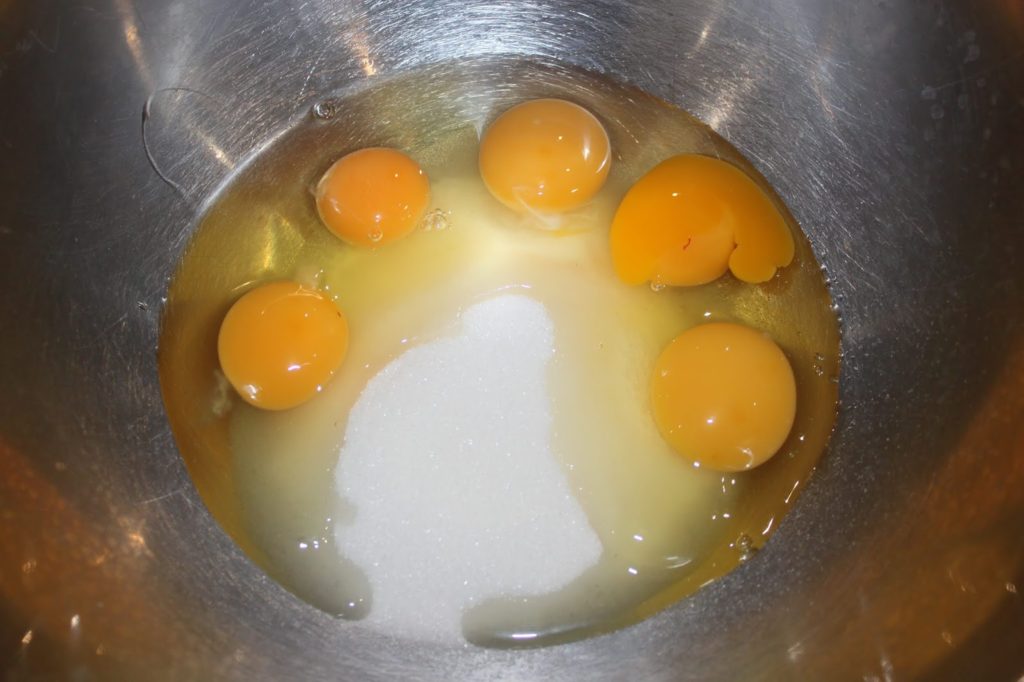
Meanwhile, put the 170g of egg and the 2 yolks in a bowl with the sugar. Mix with a whisk without insisting. 


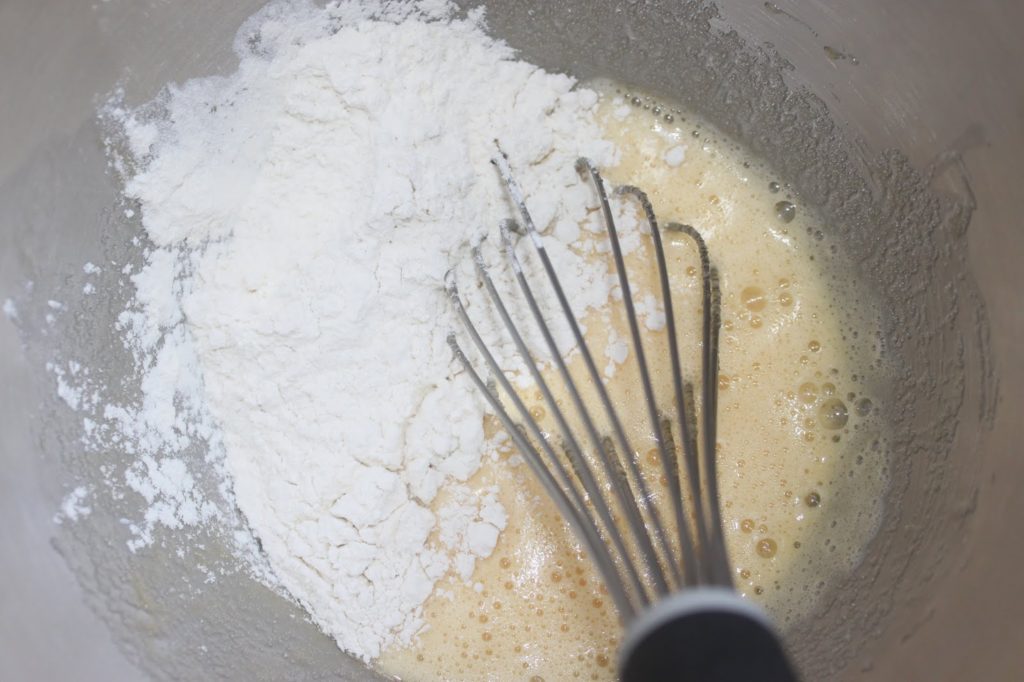
Add the flour and mix again.


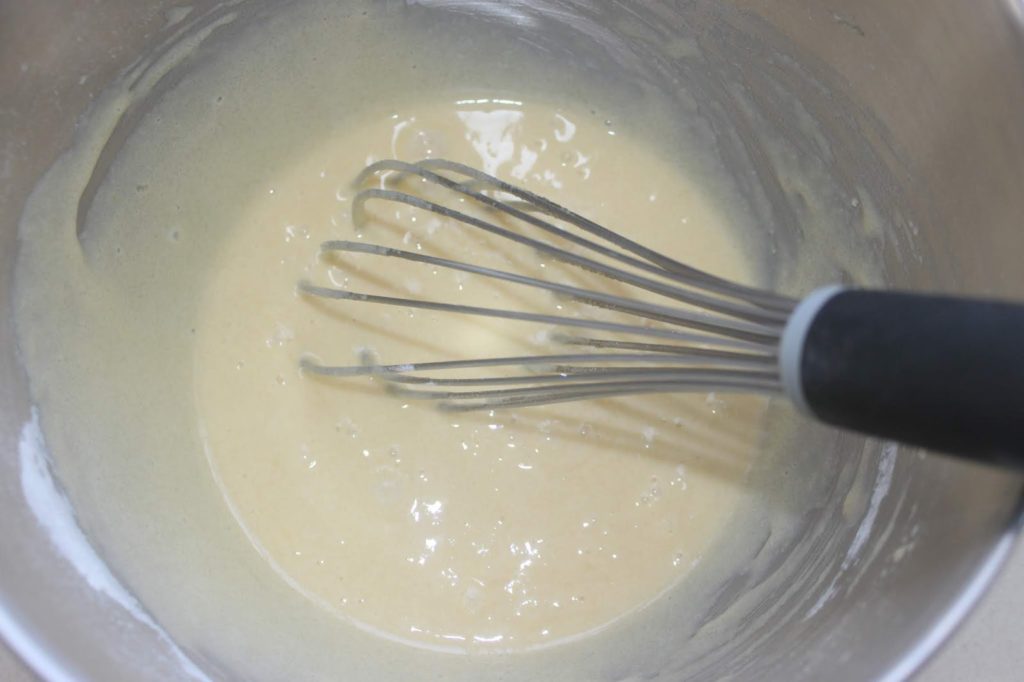
Then pour the contents of the pan slowly while stirring.
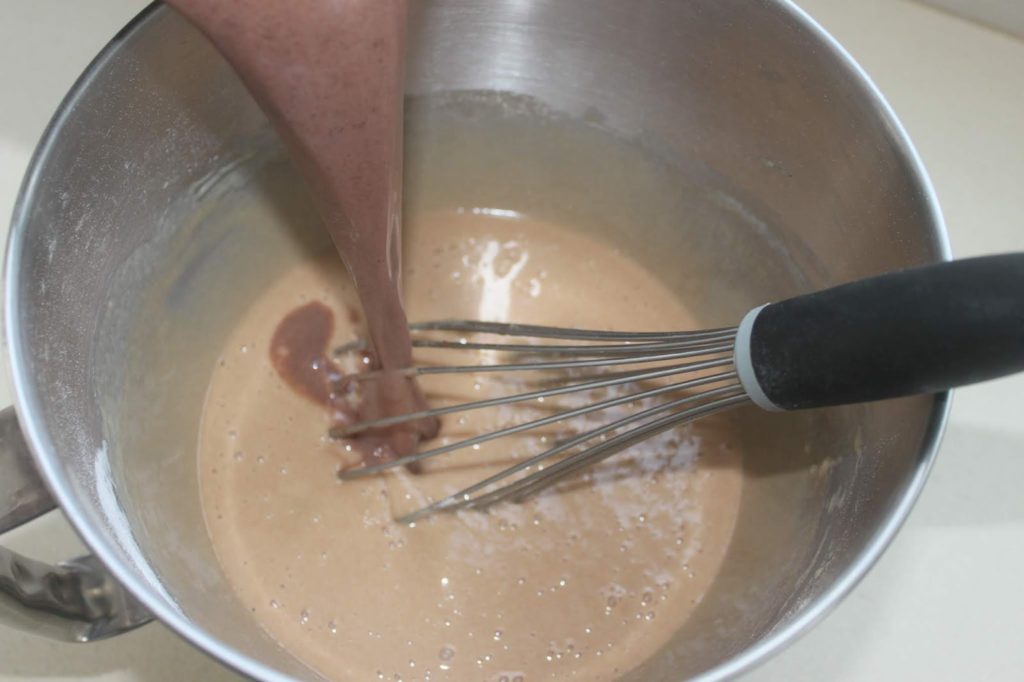
 

Pour into a container. Let cool to room temperature. Cover with cling film and chill overnight.
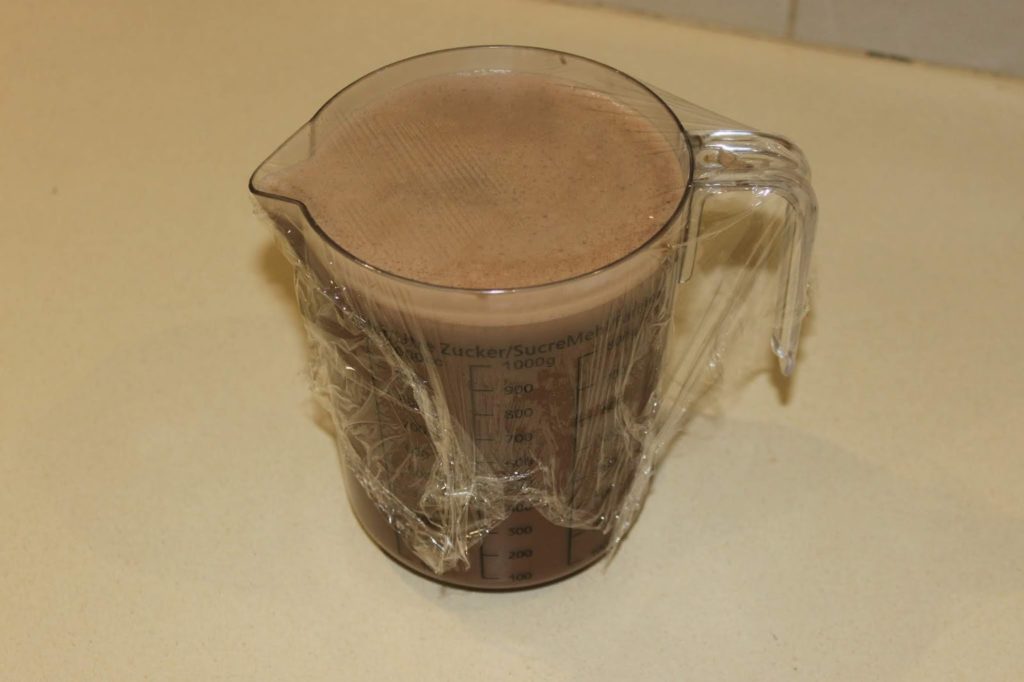
 

The next day, take the container out at least 3 hours before making the canelés. Mix one last time gently. 


Grease the copper molds with slider (see HERE) or release spray (see explanation THERE). 
 

Heat your oven to 275°C and if the maximum is 250°C, at least to that temperature.
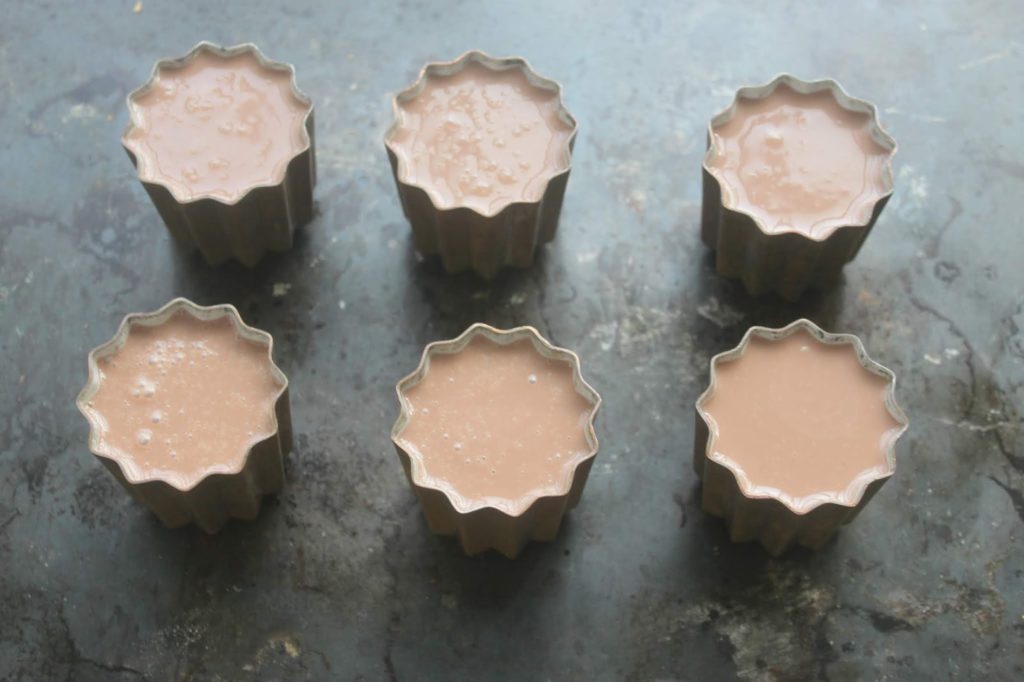
When the oven is hot, bake for 10 minutes at 275°C or 13 minutes at 250°C. Then lower the oven to 180°C and bake again for 35 minutes.
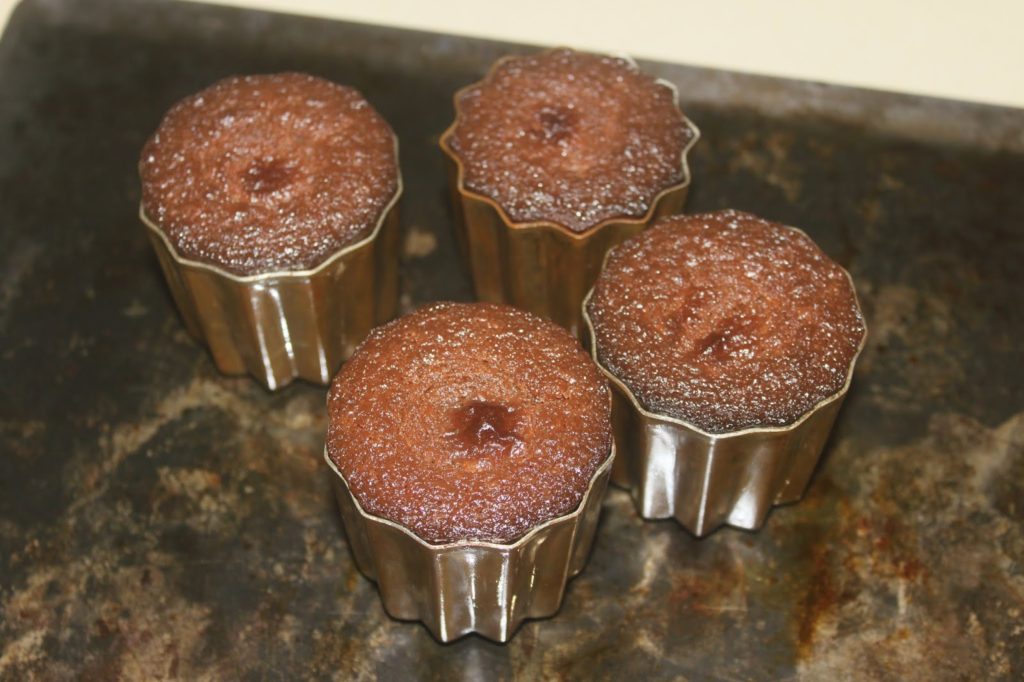
Turn out gently when still warm.
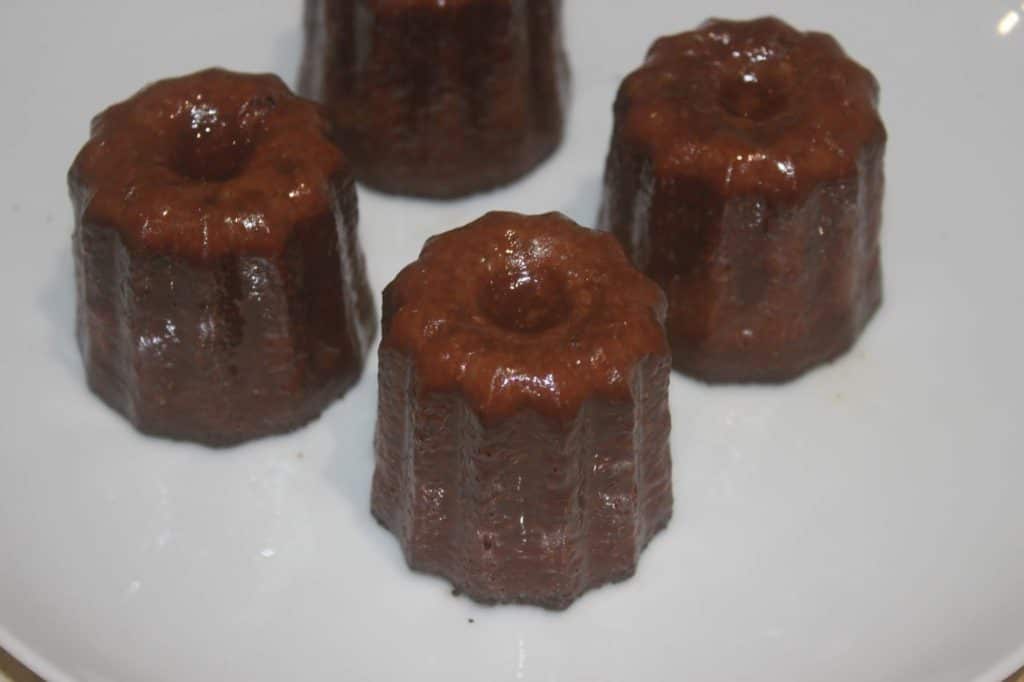
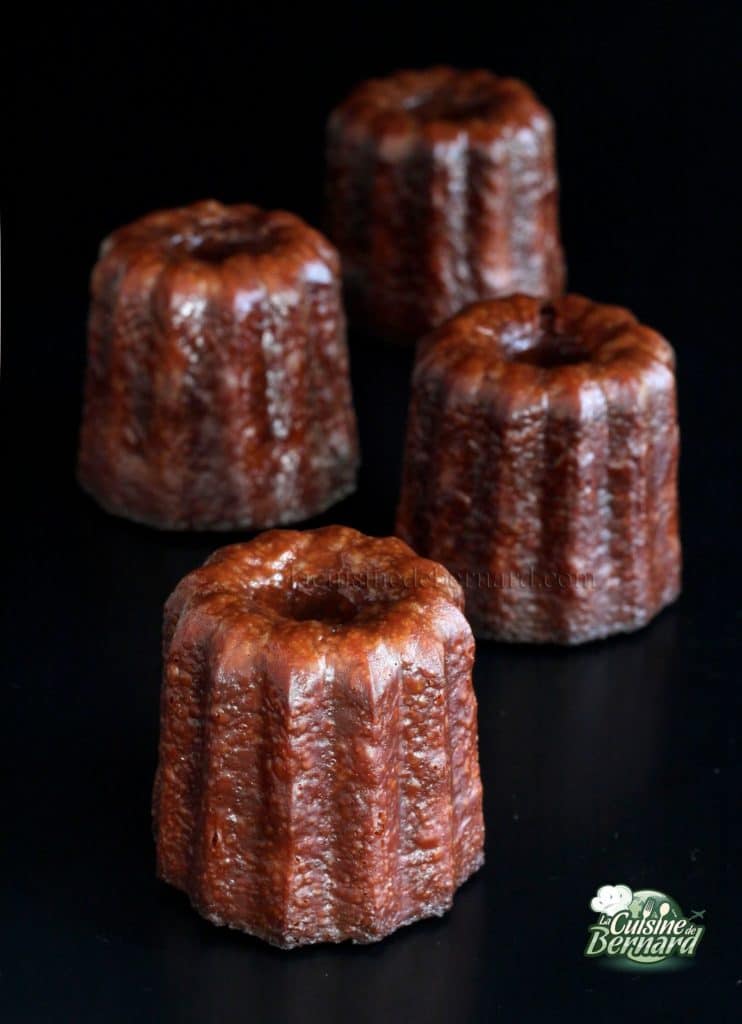
 

Let cool for another 1 to 1 1/2 hours. They will then be absolutely irresistible: still crispy on the outside and soft on the inside…


]]>
https://stagingapp15670.cloudwayssites.com/en/chocolate-caneles/feed/ 0
Pumpkin Pie https://stagingapp15670.cloudwayssites.com/en/pumpkin-pie/ https://stagingapp15670.cloudwayssites.com/en/pumpkin-pie/#respond Sat, 13 Oct 2018 09:00:00 +0000 https://stagingapp15670.cloudwayssites.com/pumpkin-pie
 
For me, this is one of the most representative pies of the fall season! Of North American origin, it is traditionally made for Thanksgiving and Christmas. Its spicy scents will perfume the whole house while it is cooking. This dessert, served with a touch of whipped cream is totally irresistible. I first tasted pumpkin pie a long time ago, in an American family, and I found the consistency very (too?) surprising. Coming back to it today and making it myself from fresh pumpkin, I’ve become a total fan! 


Recipe for a 18 to 20cm pumpkin pie:
 
Sweet dough:
 
  • 210g of flour
  • 35g of powdered sugar
  • 25g of almond powder
  • 125g of soft butter
  • 50g of egg
 
Pumpkin cream:
 
  • 450g cooked pumpkin flesh
  • 1 can of sweetened condensed milk (397g)
  • 2 eggs of 60g each
  • 1 teaspoon cinnamon powder
  • 1 half teaspoon of ginger powder
  • 1 half teaspoon gingerbread mix
  • 1 good pinch of salt


Start by preparing the sweet dough. You’ll only need half the dough, but it’s easier to make the whole thing. You can freeze the other half! Place all ingredients except the egg in a bowl or in the bowl of a food processor.
 
 
Beat with the leaf of the robot (this is the K) until the butter is incorporated. 
 
 
The whole thing looks like sand. At this point, add the beaten egg.
 
 
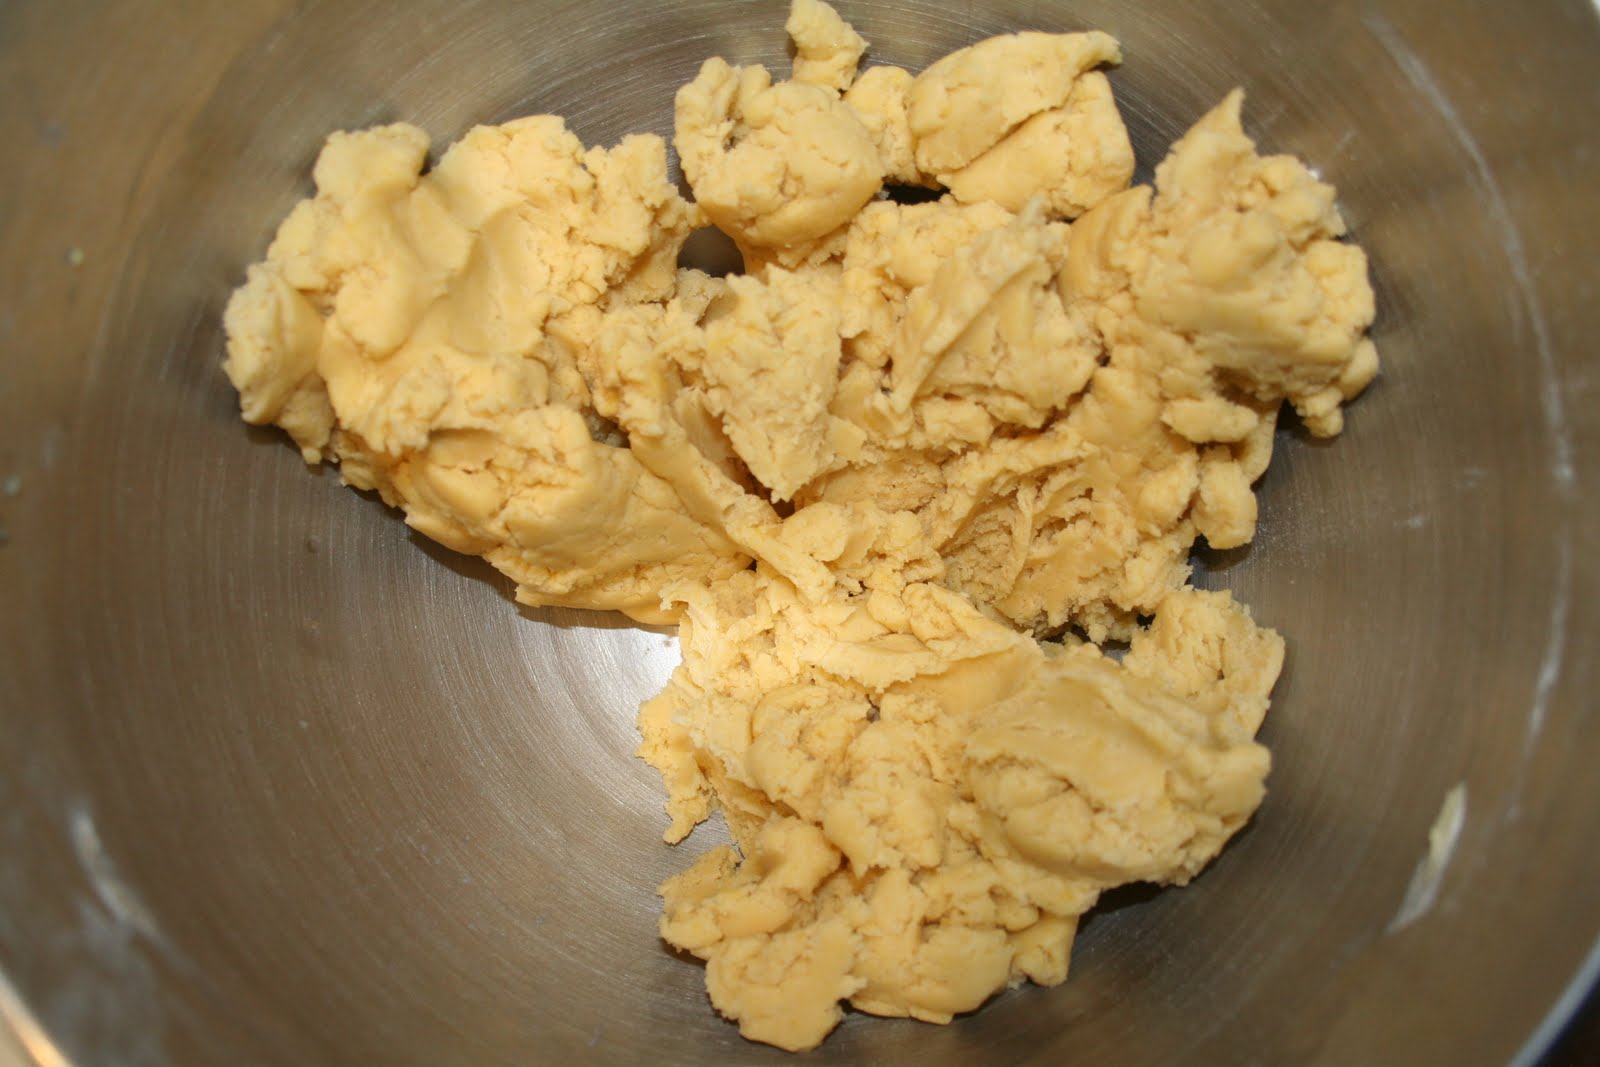
Turn on again just to incorporate the beaten egg but no more! Place the dough in cling film and chill.
 
 
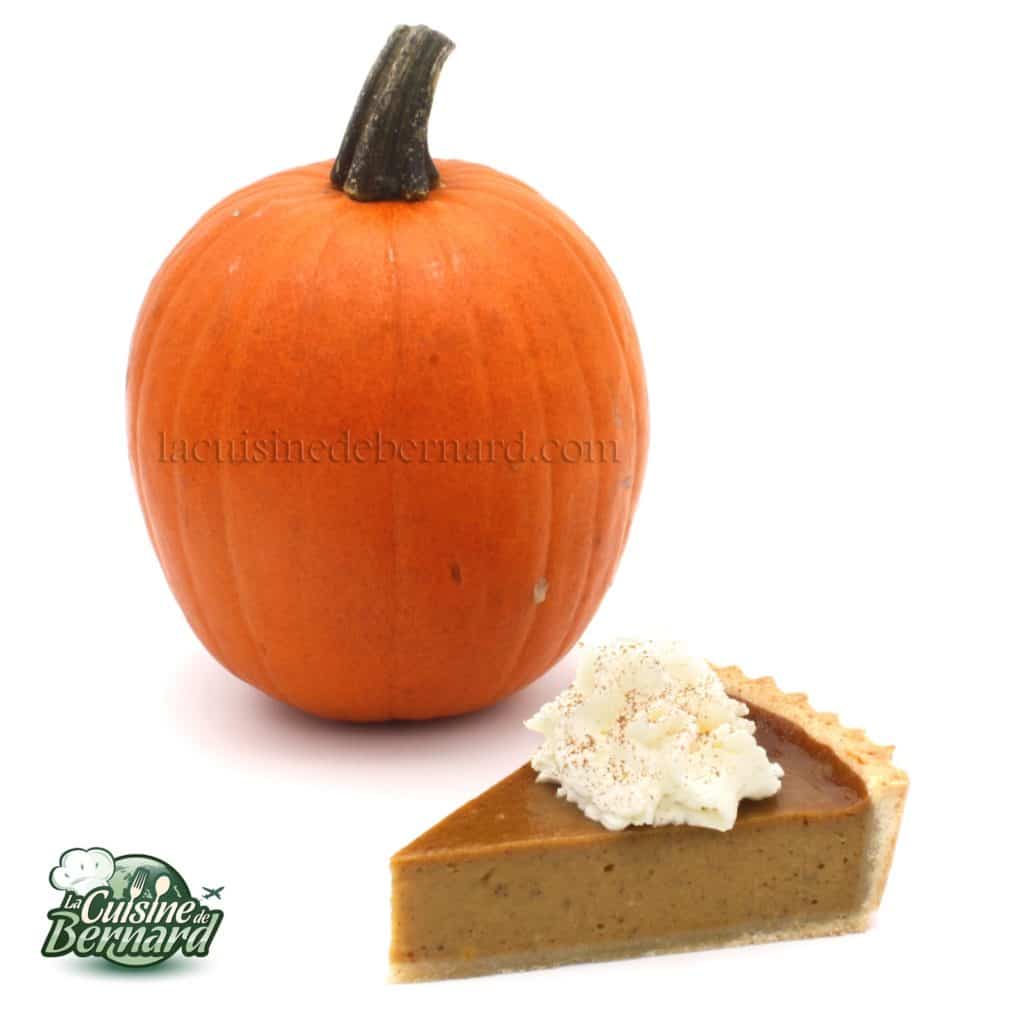
This is the pumpkin used in this recipe. I found a small one. You can take a larger one and use only the amount indicated in the recipe, to put the rest in a soup for example.
Note from Bernard:
Small precision on the pumpkin. If you can’t find a classic pumpkin, you can use pumpkin. Its rather floury flesh is perfect but the pie will be a little bit sweeter. I also tried it with butternut squash from Provence. Its flesh is juicier and you’ll have to put an extra egg in the recipe, but it works just as well! So don’t panic if you can’t find a little pumpkin.
 

Cut it in half.
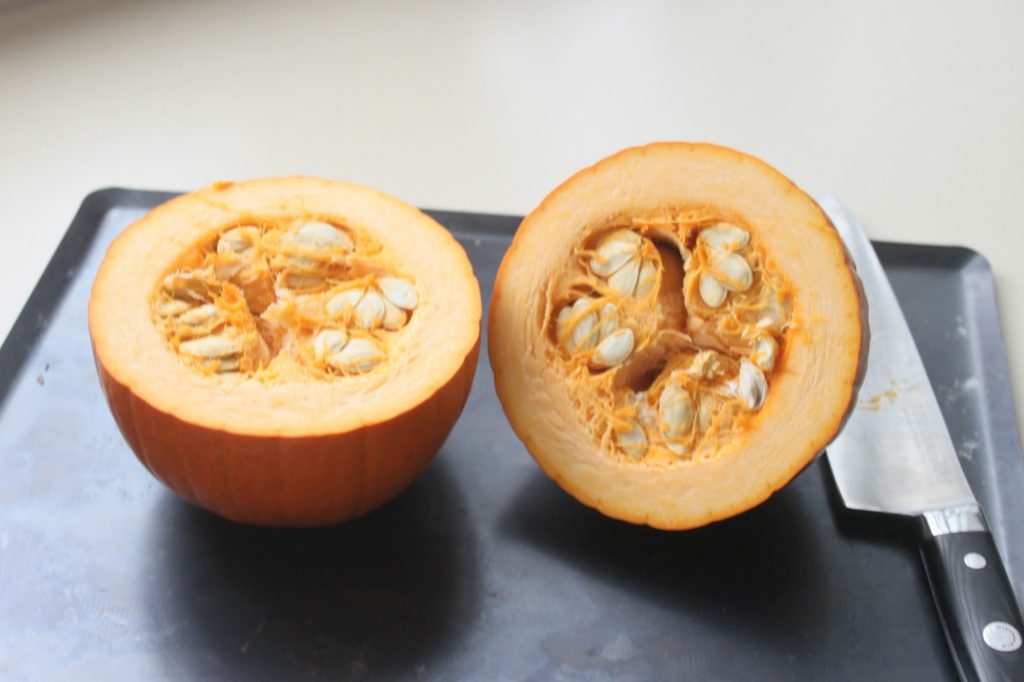
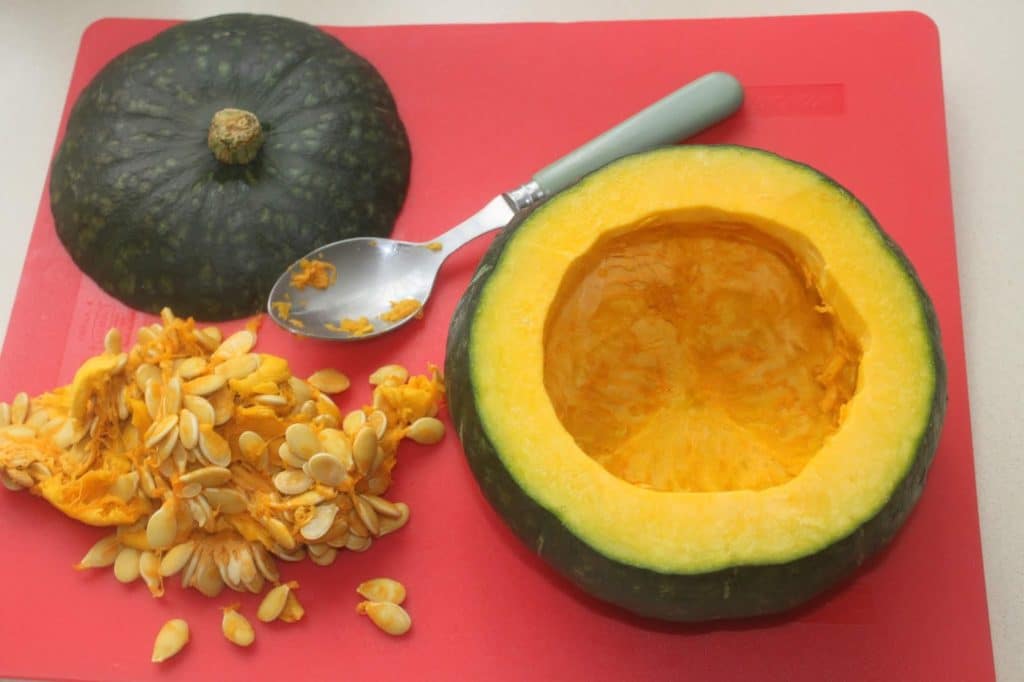
Remove the seeds with a spoon.
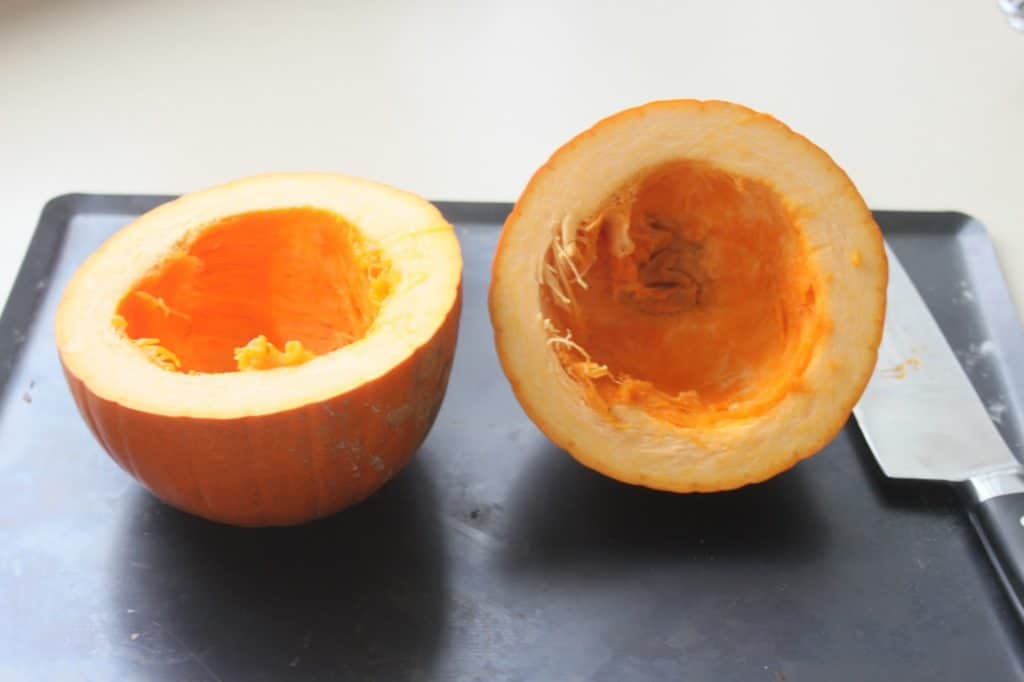
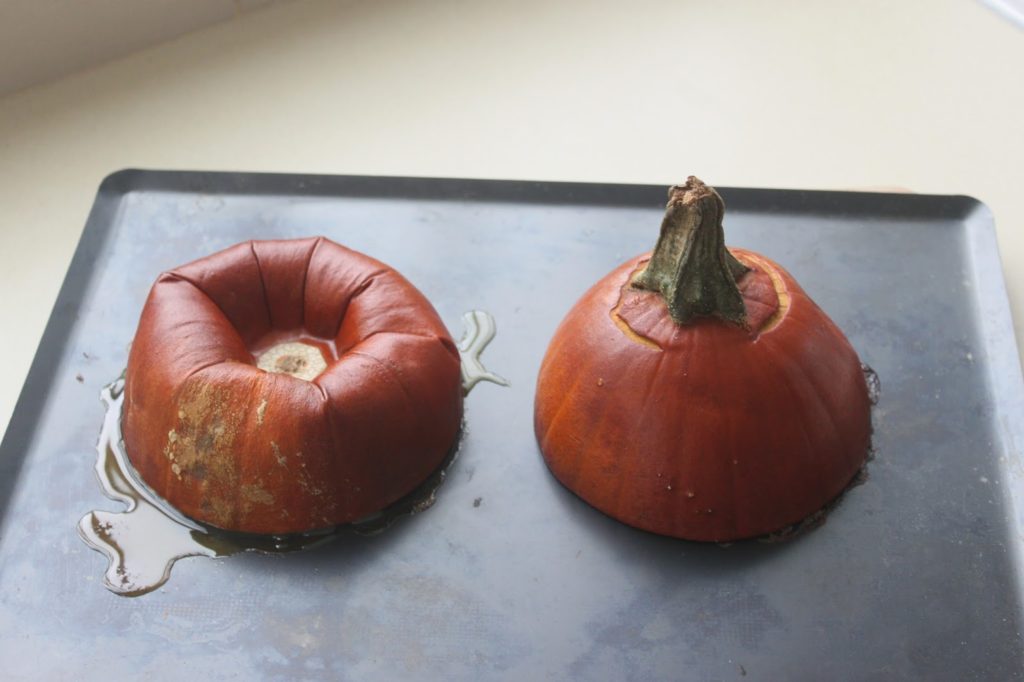
And put the two pieces face down.

 

Put in a preheated oven at 180°C.

Bake for 45 minutes. The pumpkin is all softened and well cooked!
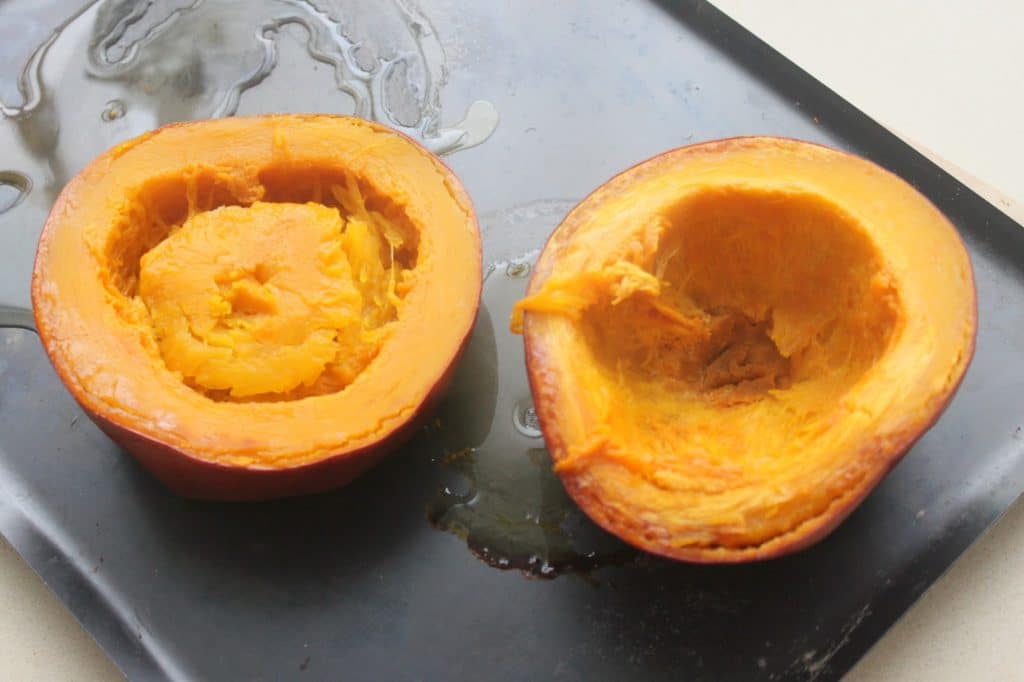
Let it cool, faces up this time.
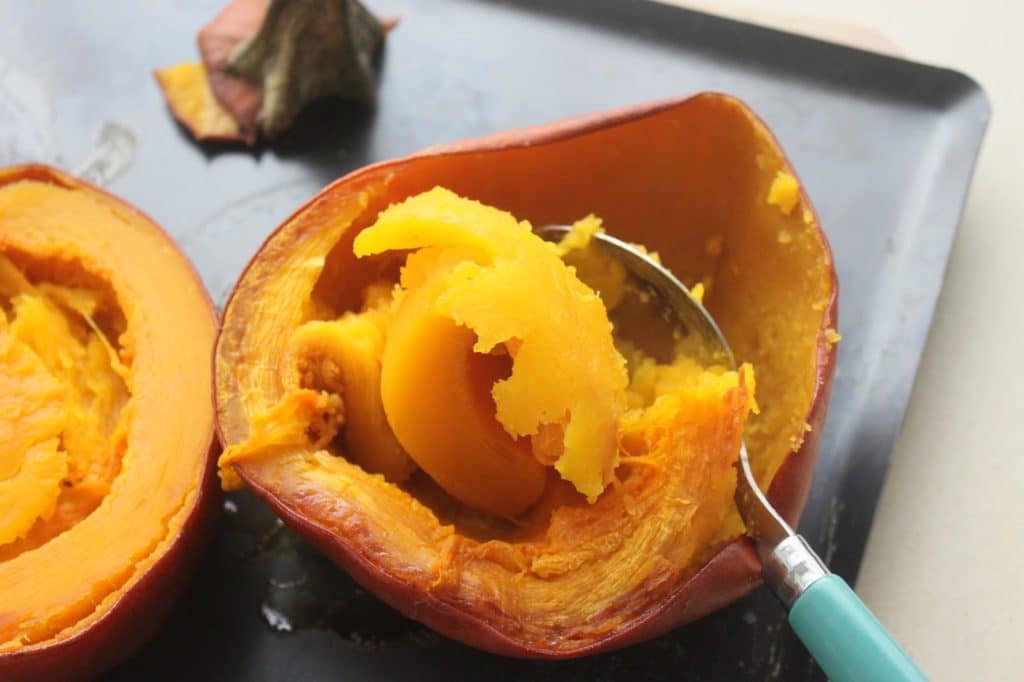
Remove the flesh with a spoon.
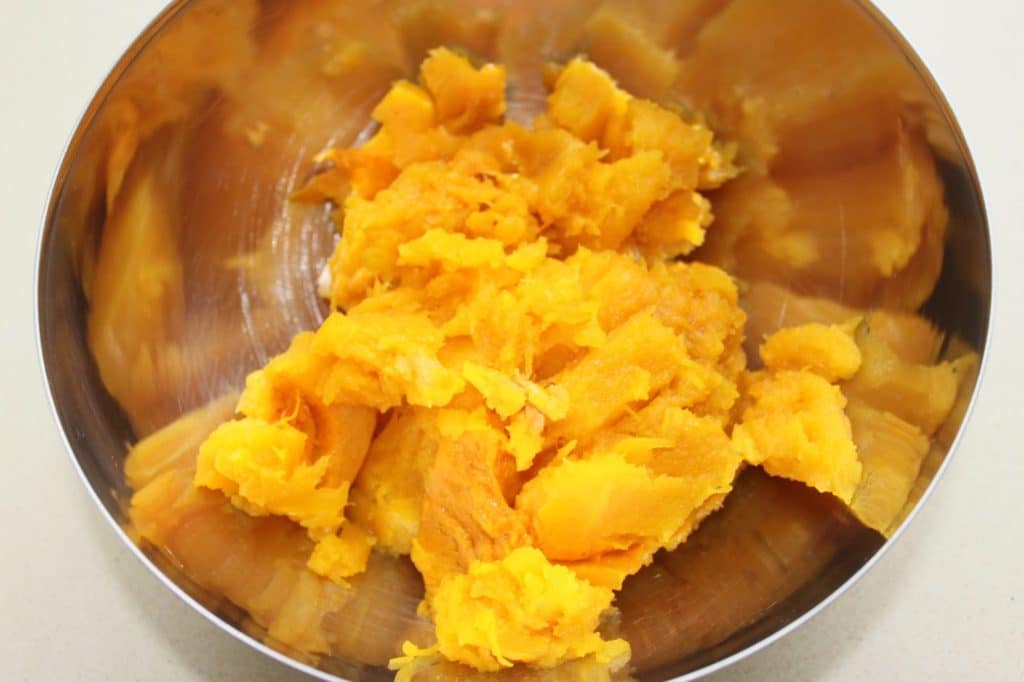
 
Keep 450g (do what you want with the rest).


Take the dough out of the refrigerator. Lightly flour it and place it on a piece of baking paper (it’s easier!). Start rolling it out.
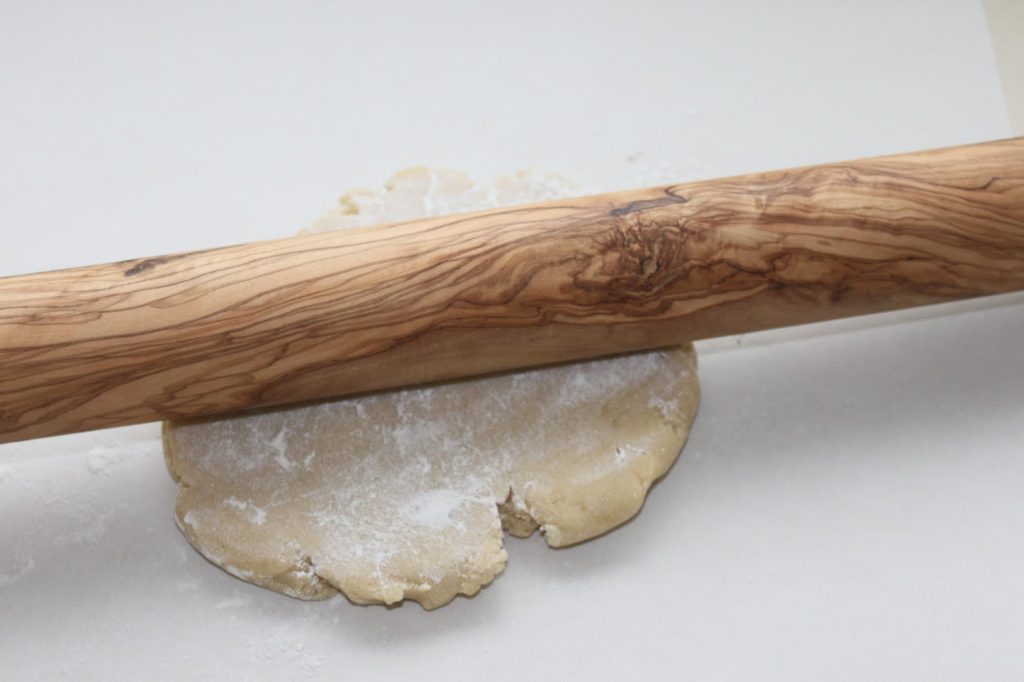
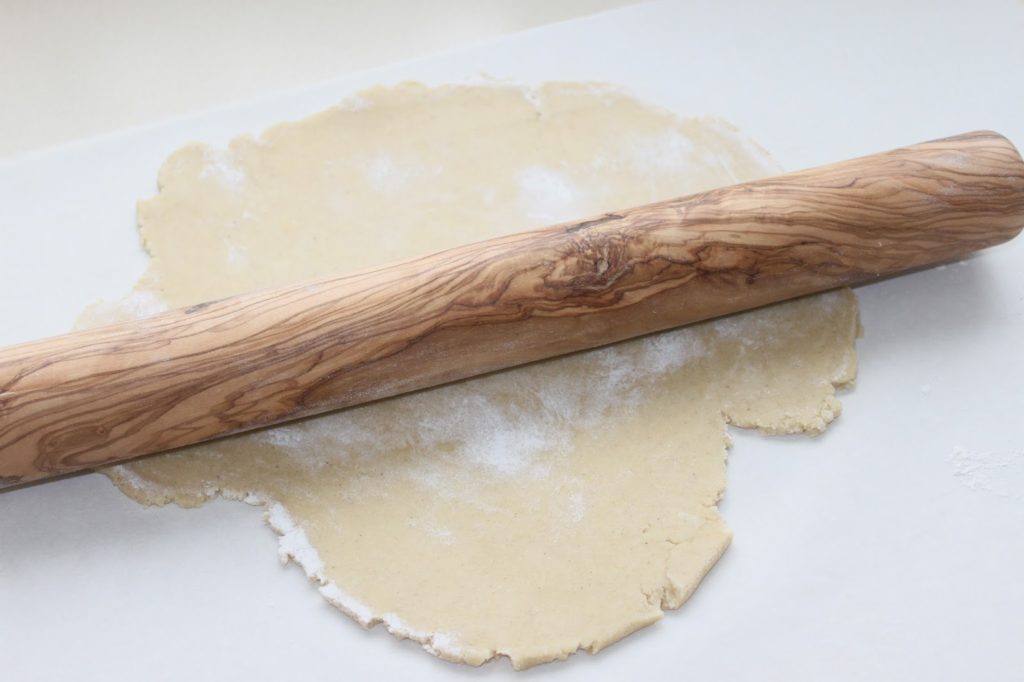
 

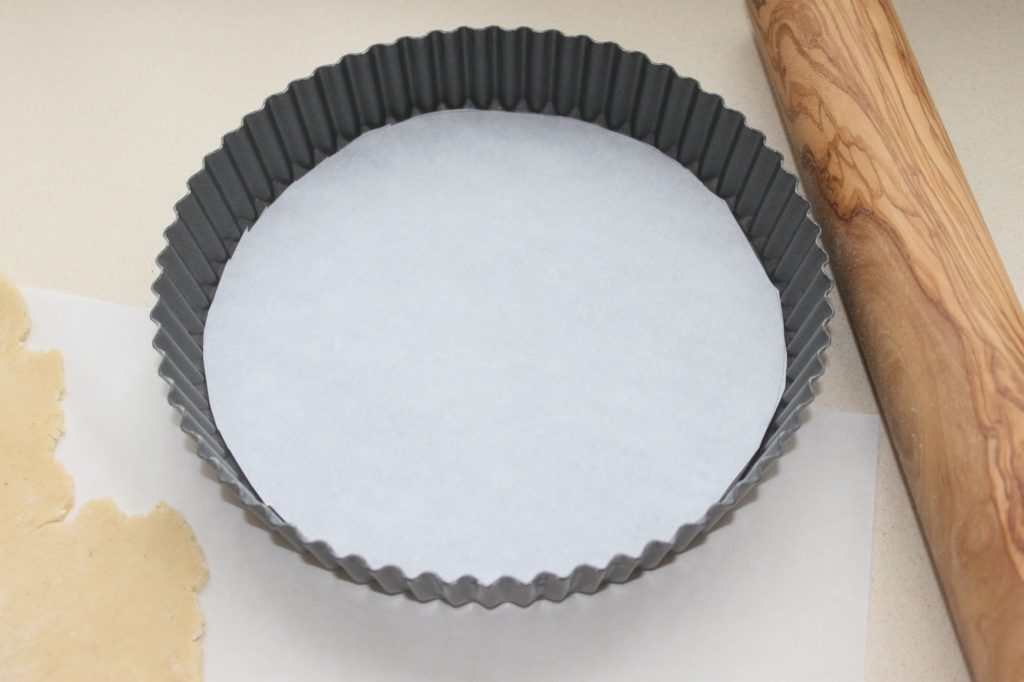
Put a piece of baking paper in the bottom of the pan. I used a pan with a removable bottom for ease. Take a mold of 18 or 20cm. This will just change the thickness of the cream.
Place the dough on the pan.
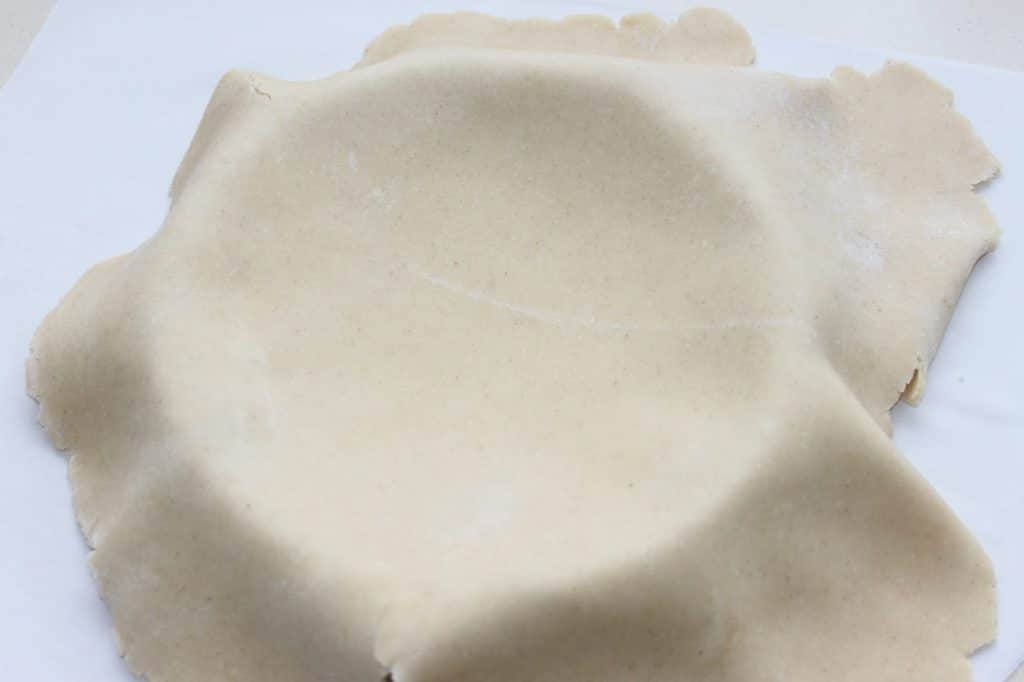
Fill it well (darken it) with dough.
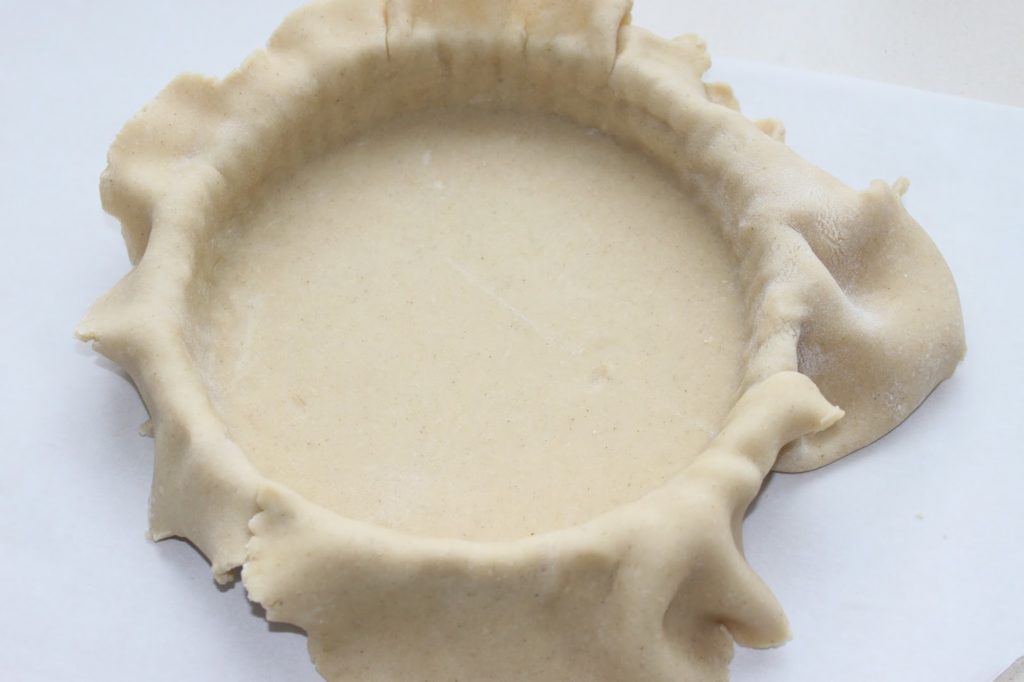
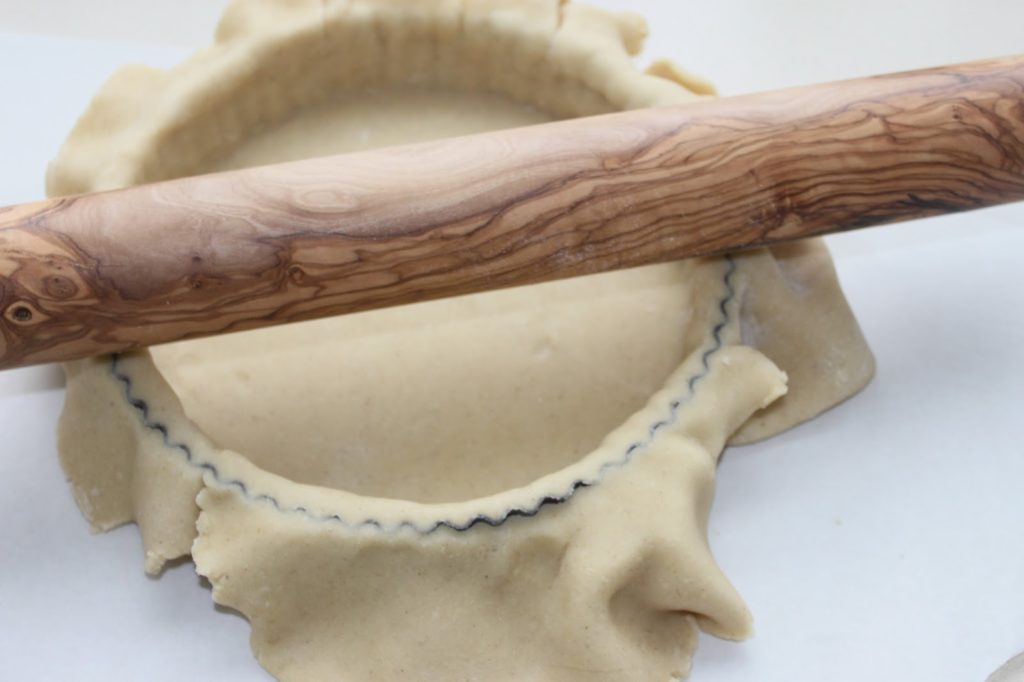
Remove excess dough with a roller or knife.
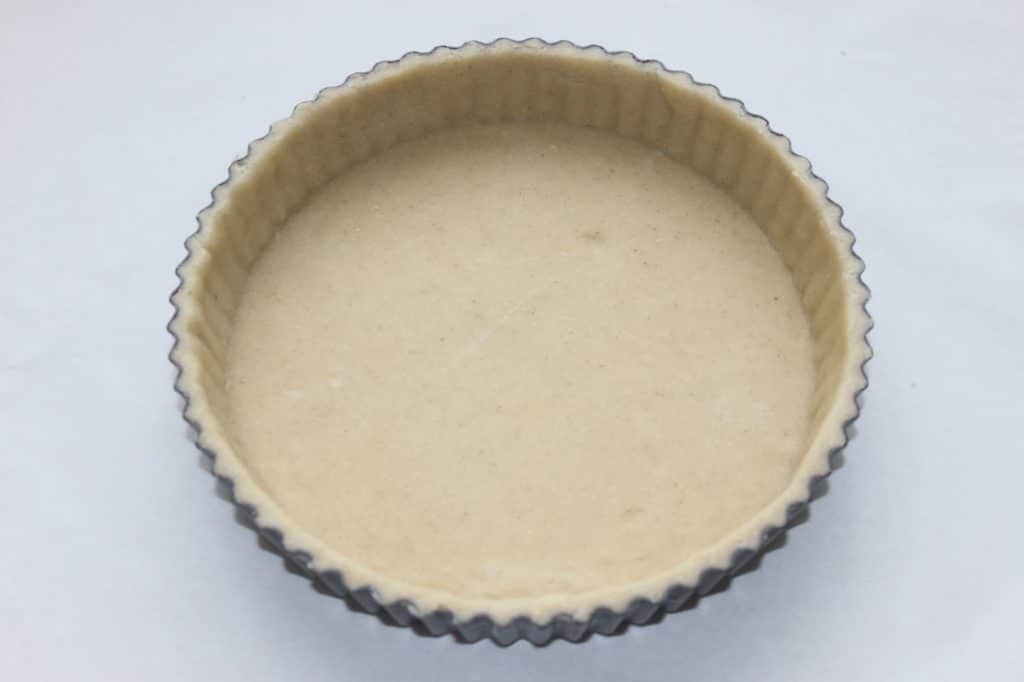
It’s ready! Chill while you prepare the rest.
 

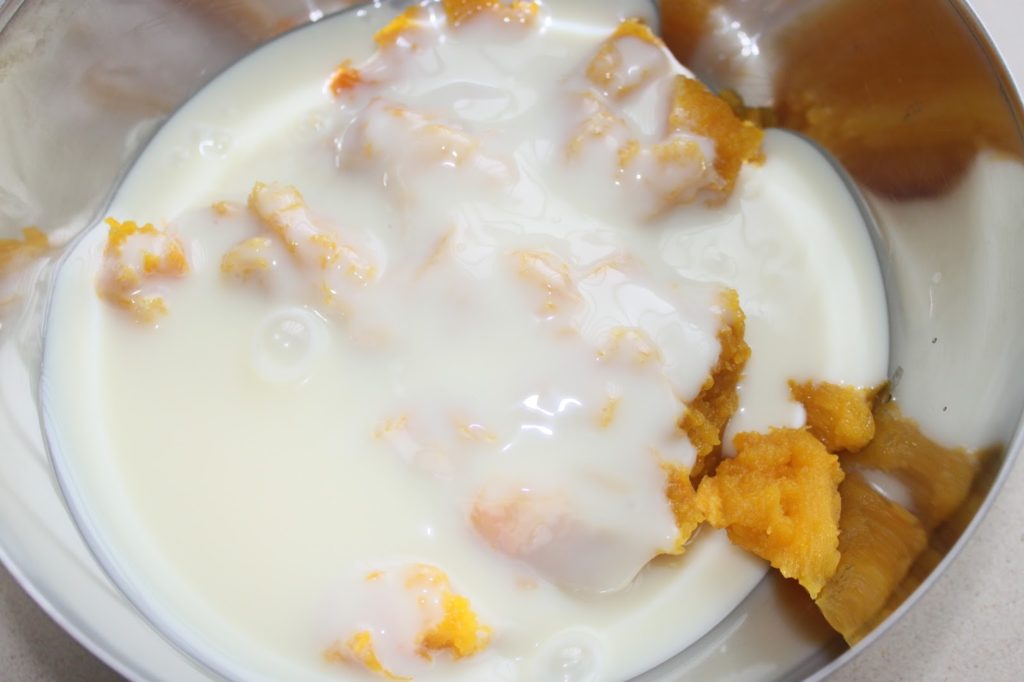
Pour the can of sweetened condensed milk over the cooled pumpkin flesh.
 

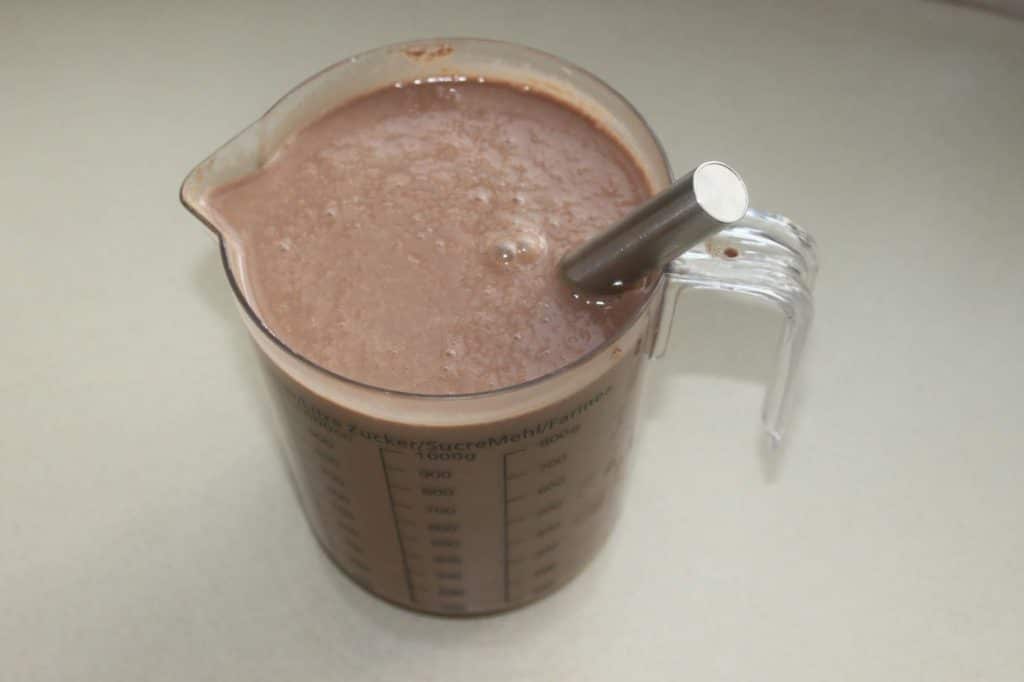
Puree with an immersion blender. You can also blend the pumpkin flesh alone (cooked) in a conventional blender and place the 450g in the bowl with the sweetened condensed milk. 


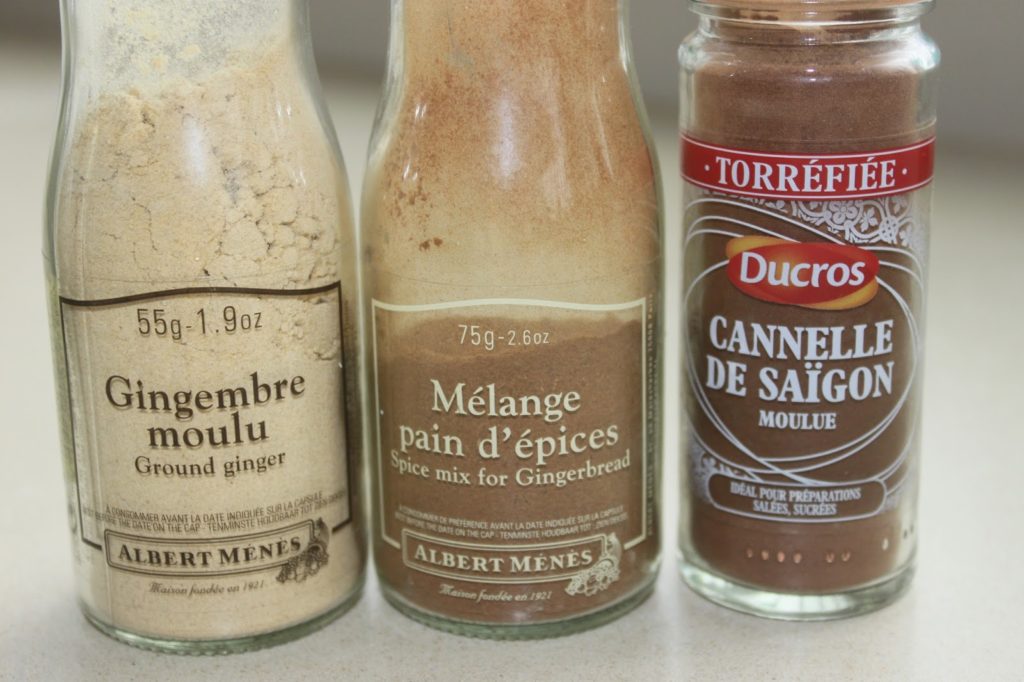
Here are the spices. 


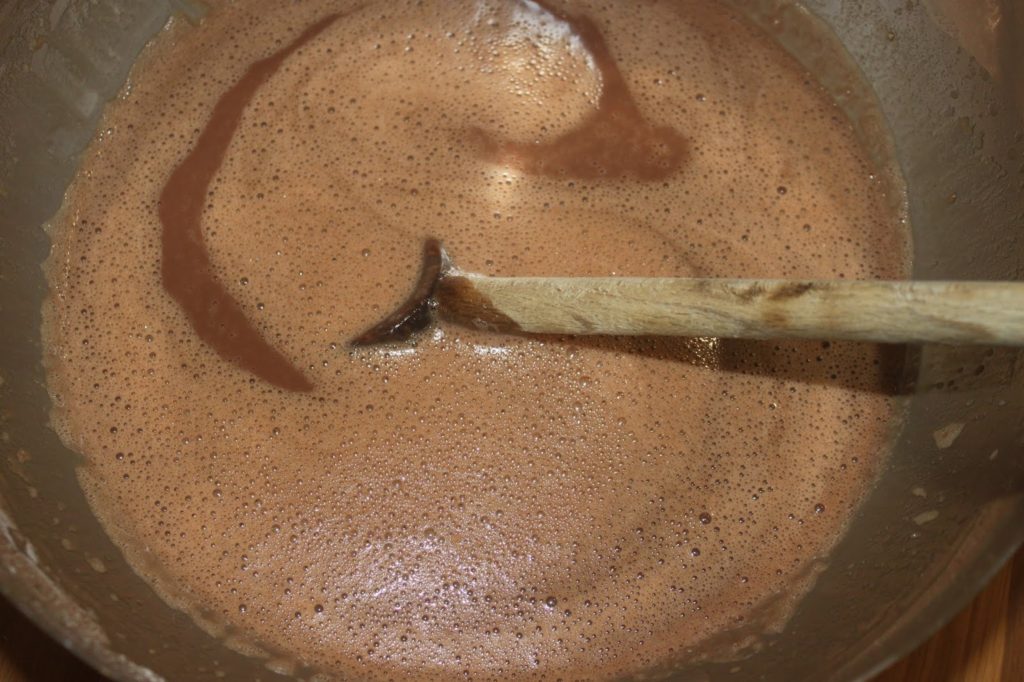
Pour in the salt, spices and add the eggs.

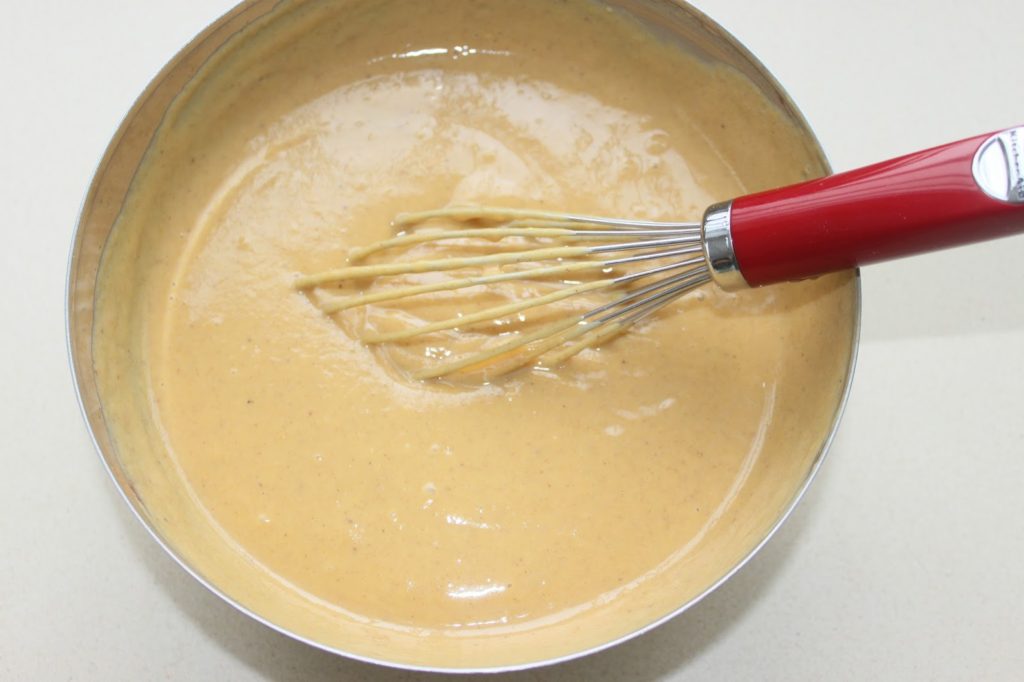
Mix well with a whisk.


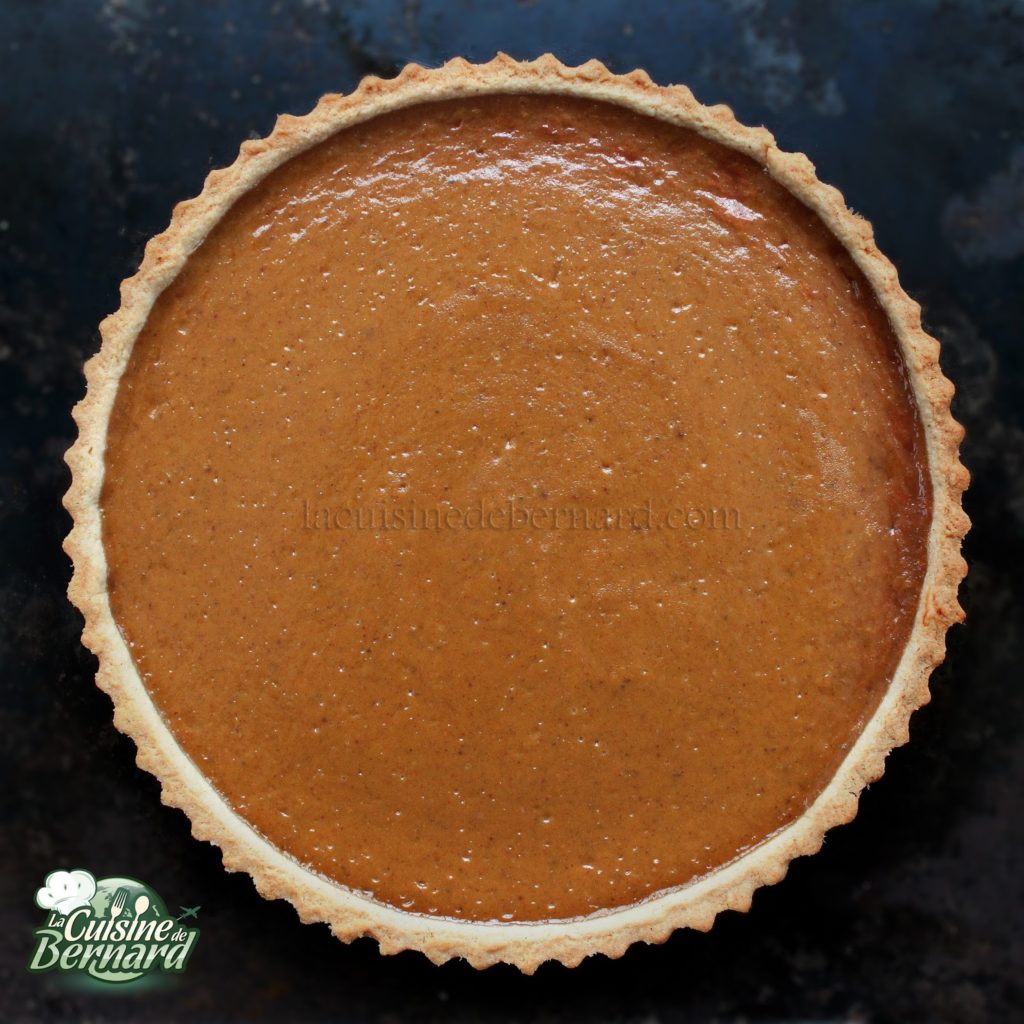
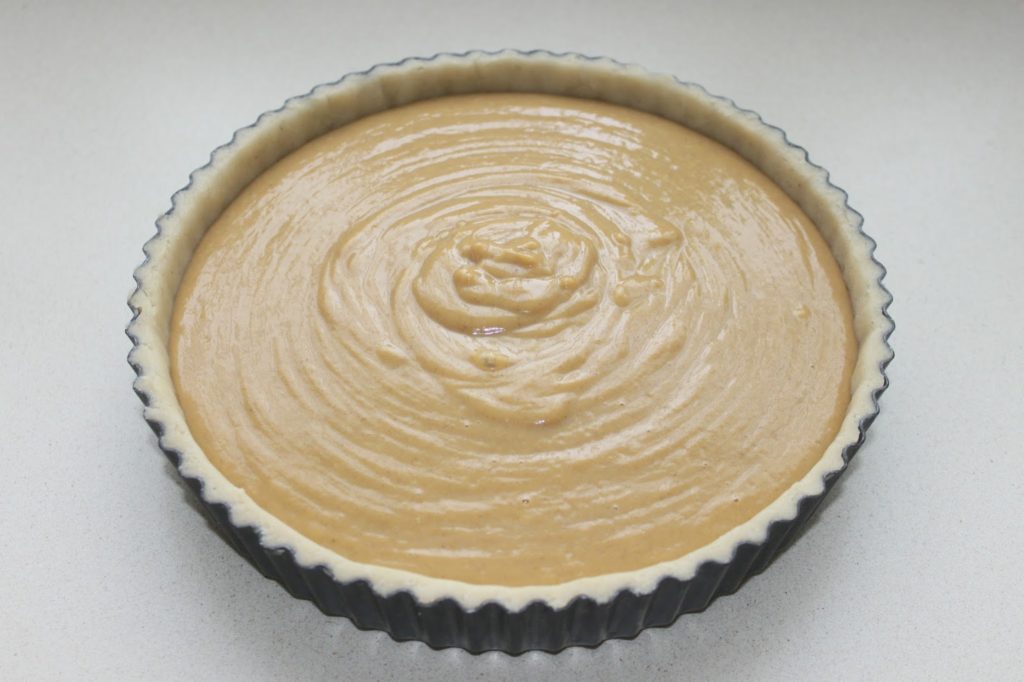
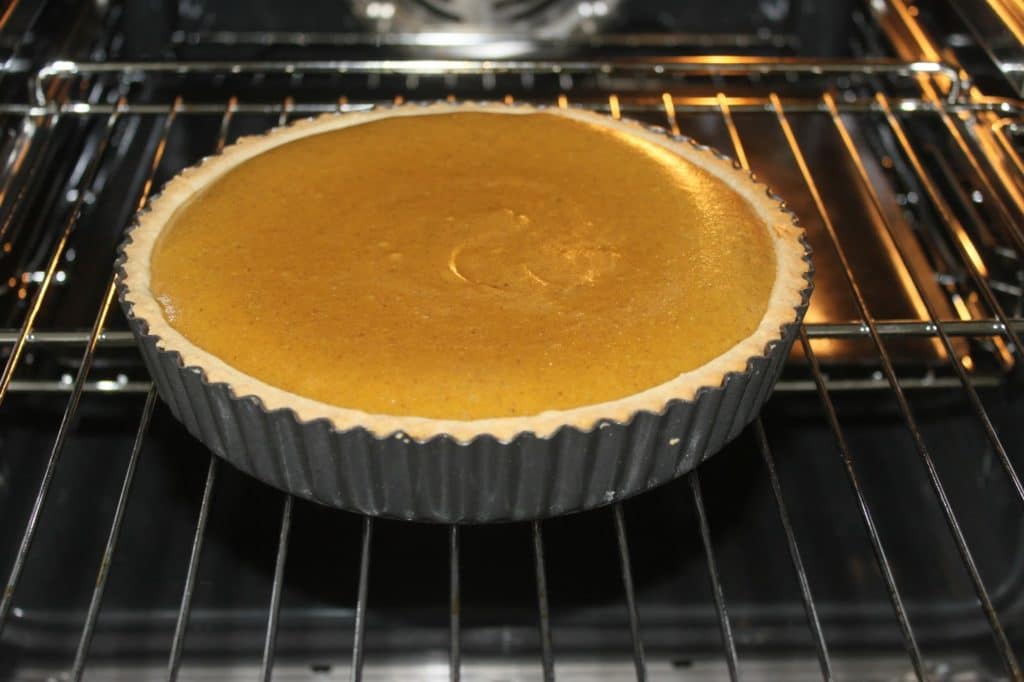
Pour the mixture into the pan. You can also pre-bake the dough in the pan. It’s up to you!


Bake at 185°C for 35-40 minutes.


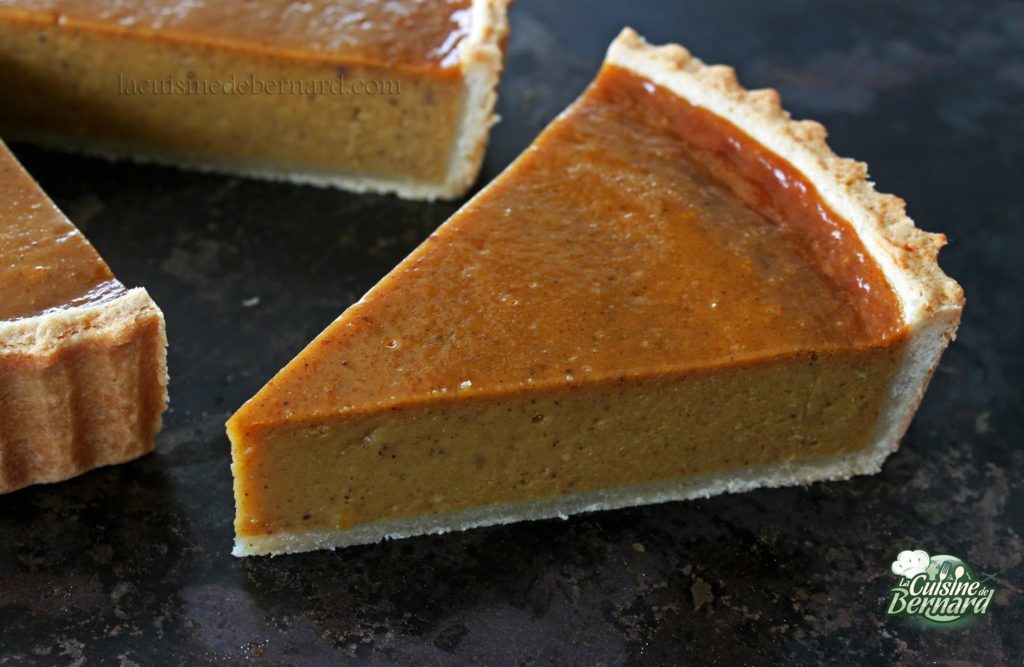
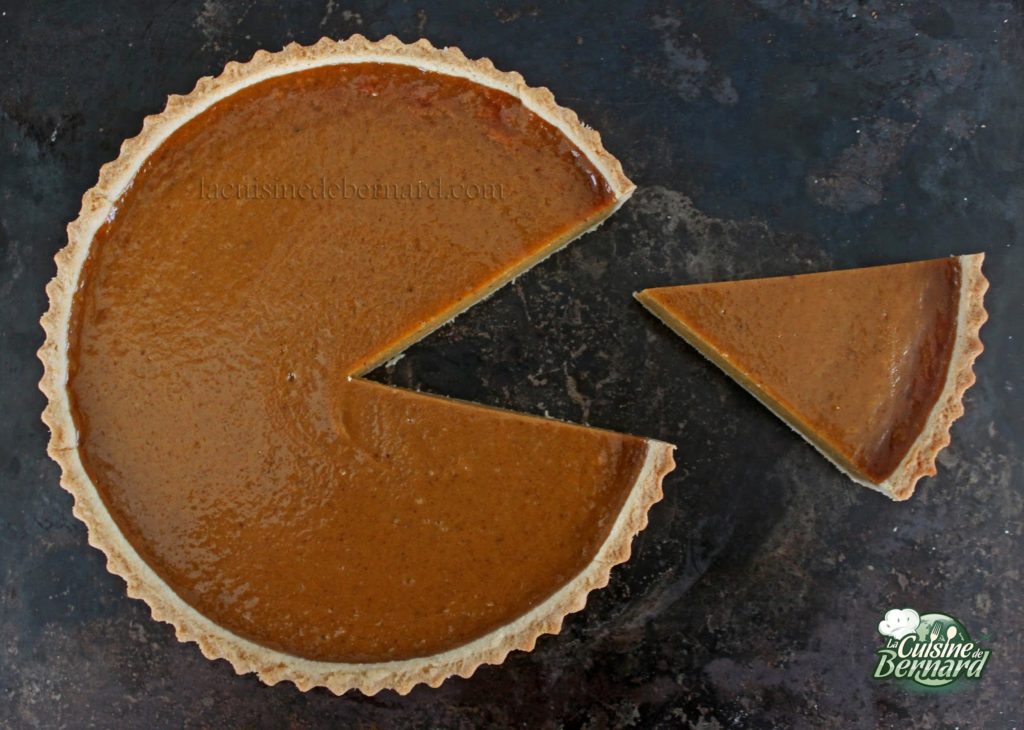
Let cool and serve with a little whipped cream (not a must)! As the pie cools completely, it will turn into a sort of light syrup on the surface that will make it very shiny. 


pumpkin

Pumpkin Pie

For me, this is one of the most representative pies of the fall season! Of North American origin, it is traditionally made for Thanksgiving and Christmas. Its spicy scents will perfume the whole house while it is cooking. This dessert, served with a touch of whipped cream is totally irresistible. I first tasted pumpkin pie a long time ago, in an American family, and I found the consistency very (too?) surprising. Coming back to it today and making it myself from fresh pumpkin, I’ve become a total fan! 
No notes yet
Prep Time 30 minutes
Cook Time 1 hour 20 minutes
Type de plat Dessert
Servings 8 people
Calories 393 kcal

Ingredients


Sweet dough

Pumpkin Cream

Instructions
 

  • Start by preparing the sweet dough. You'll only need half the dough, but it's easier to make the whole thing. You can freeze the other half! Place all ingredients except the egg in a bowl or in the bowl of a food processor.
  • Beat with the leaf of the robot (this is the K) until the butter is incorporated. 
  • The whole thing looks like sand. At this point, add the beaten egg.
  • Turn on again just to incorporate the beaten egg but no more! Place the dough in cling film and chill.
  • This is the pumpkin used in this recipe. I found a small one. You can take a larger one and use only the amount indicated in the recipe, to put the rest in a soup for example.
    Note from Bernard:
    Small precision on the pumpkin. If you can't find a classic pumpkin, you can use pumpkin. Its rather floury flesh is perfect but the pie will be a little bit sweeter. I also tried it with butternut squash from Provence. Its flesh is juicier and you'll have to put an extra egg in the recipe, but it works just as well! So don't panic if you can't find a little pumpkin.
  • Cut it in half.
  • Remove the seeds with a spoon.
  • And put the two pieces face down.
  • Put in a preheated oven at 180°C.
  • Bake for 45 minutes. The pumpkin is all softened and well cooked!
  • Let it cool, faces up this time.
  • Remove the flesh with a spoon.
  • Keep 450g (do what you want with the rest).
  • Take the dough out of the refrigerator. Lightly flour it and place it on a piece of baking paper (it's easier!). Start rolling it out.
  • Put a piece of baking paper in the bottom of the pan. I used a pan with a removable bottom for ease. Take a mold of 18 or 20cm. This will just change the thickness of the cream.
  • Place the dough on the pan.
  • Fill it well (darken it) with dough.
  • Remove excess dough with a roller or knife.
  • It's ready! Chill while you prepare the rest.
  • Pour the can of sweetened condensed milk over the cooled pumpkin flesh.
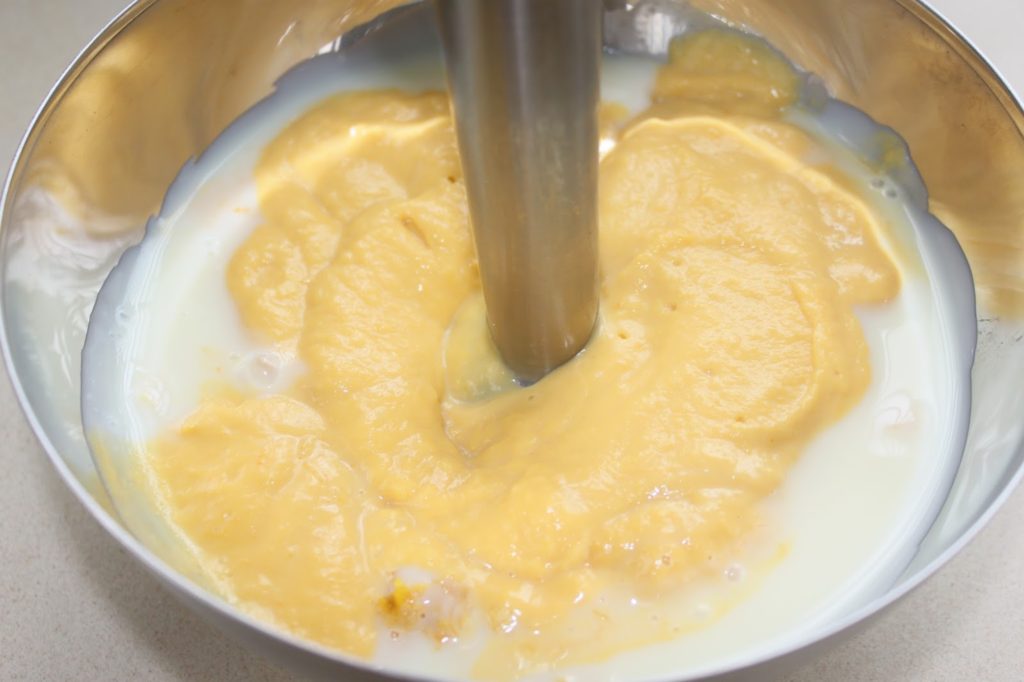
  • Puree with an immersion blender. You can also blend the pumpkin flesh alone (cooked) in a conventional blender and place the 450g in the bowl with the sweetened condensed milk. 
  • Here are the spices. 
  • Pour in the salt, spices and add the eggs.
  • Mix well with a whisk.
  • Pour the mixture into the pan. You can also pre-bake the dough in the pan. It's up to you!
  • Bake at 185°C for 35-40 minutes.
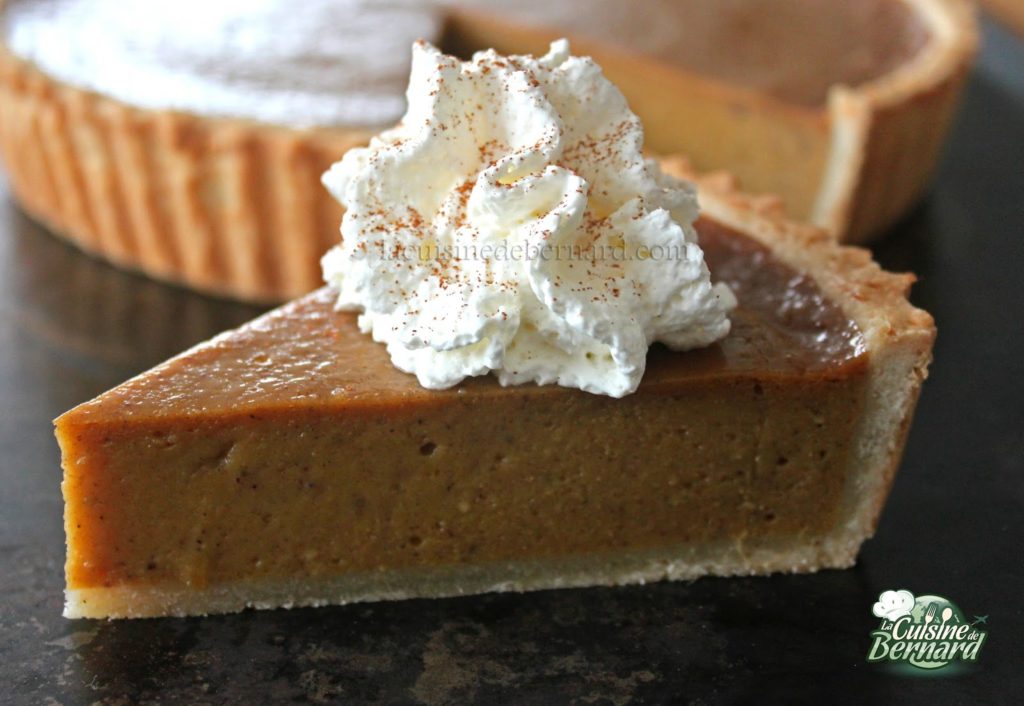
  • Let cool and serve with a little whipped cream (not a must)! As the pie cools completely, it will turn into a sort of light syrup on the surface that will make it very shiny. 

Nutrition
Serving: 8peopleCalories: 393kcalCarbohydrates: 49gProtein: 9gFat: 21gSaturated Fat: 12gPolyunsaturated Fat: 2gMonounsaturated Fat: 6gTrans Fat: 1gCholesterol: 115mgSodium: 434mgPotassium: 440mgFiber: 1gSugar: 30gVitamin A: 5406IUVitamin C: 6mgCalcium: 213mgIron: 2mg
Keyword Cinnamon, eggs, hazelnut butter, Pumpkin
Tried this recipe?Let us know how it was!

 
]]>
https://stagingapp15670.cloudwayssites.com/en/pumpkin-pie/feed/ 0
Kabocha stuffed with chicken, chestnuts, nuts and quinoa https://stagingapp15670.cloudwayssites.com/en/kabocha-stuffed-with-chicken-chestnuts-nuts-and-quinoa/ https://stagingapp15670.cloudwayssites.com/en/kabocha-stuffed-with-chicken-chestnuts-nuts-and-quinoa/#respond Sat, 29 Sep 2018 06:14:00 +0000 https://stagingapp15670.cloudwayssites.com/kabocha-stuffed-with-chicken-chestnuts-nuts-and-quinoa


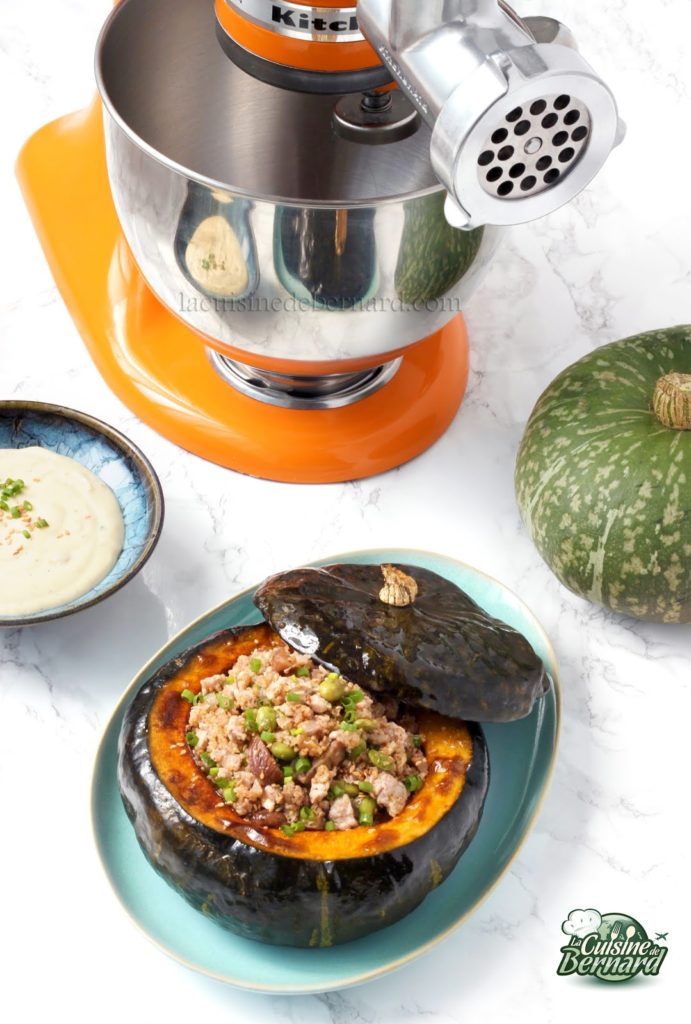
Autumn is slowly setting in. This is my favorite season: the weather is getting cooler and it’s the perfect alibi to cook delicious food, stay at home and make it a cozy place that smells like cookies slowly baking in the oven. It is also the return of squash. As you know, there is a game to win a KitchenAid Heritage Blue Vintage right now. I am lucky enough to be one of the brand ambassadors in France for my workshop and they sometimes send me utensils for my classes. Here is the latest addition, the metal chopper. They just asked me to make a recipe with this chopper, which will be printed and given away when you buy an artisan food processor. Of course, I’m sharing the recipe with you here too! 

For 4 people :

  • 1 kabocha squash or small pumpkin
  • 1 tablespoon of olive oil
  • 1 head of garlic
  • 75g of quinoa
  • 1 white onion
  • 2cm of freshly grated ginger
  • 2 tablespoons of walnut oil
  • 300g of chicken breast
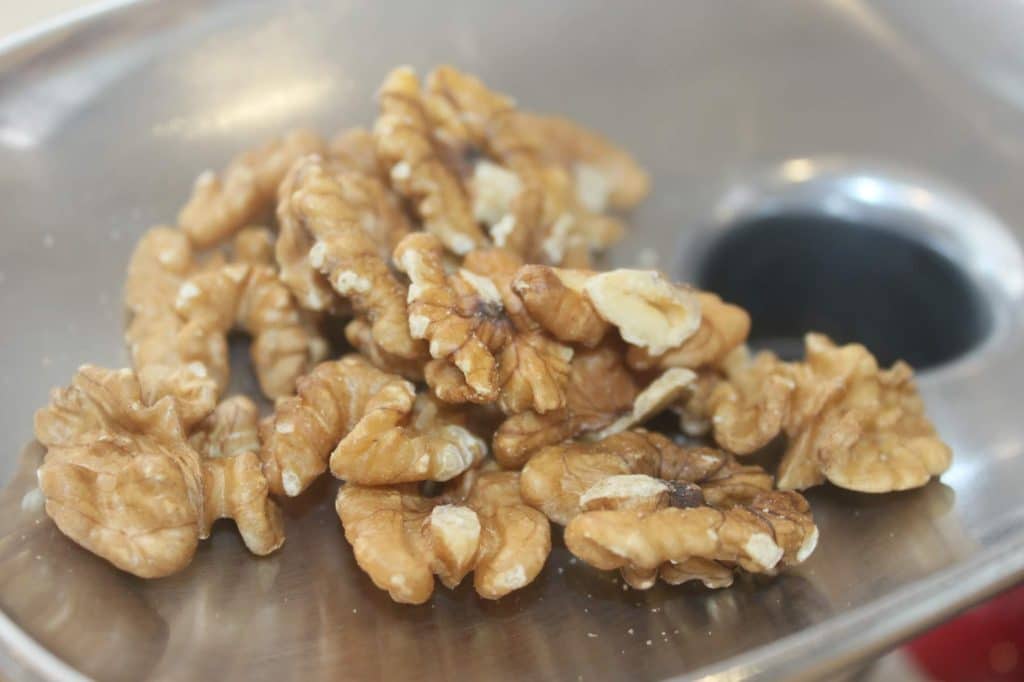
  • 50g of nuts
  • 150g of cooked chestnuts
  • 150g of edamame or beans
  • 1 tablespoon of toasted sesame oil
  • a few sprigs of coriander
  • a few stems of chives
  • 250g of mascarpone
  • salt pepper

First, cook the kabocha squash. You can replace it with any firm, sweet squash.
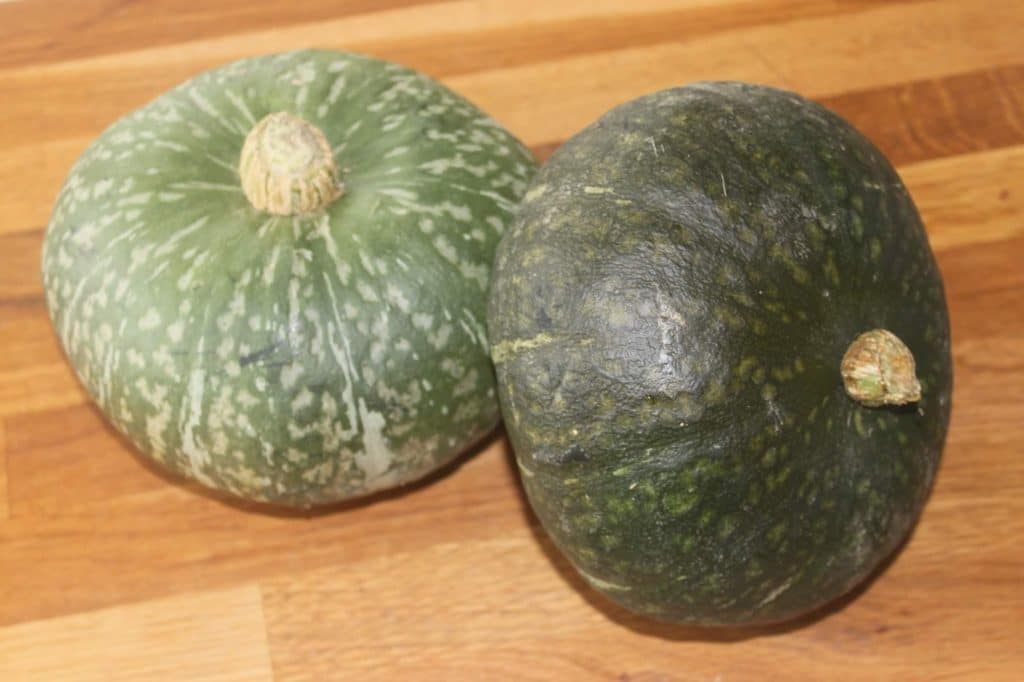
 
 
Cut off the top with a good knife, then scoop it out with a spoon. Brush olive oil on the flesh inside and on the skin. 


Place it on a plate, put also the whole head of garlic and cook the whole 1h30 at 170°C. Remove the head of garlic after one hour of cooking and set aside.  Check the color of the squash after an hour and fifteen minutes and adjust the cooking time to your own oven. 


Meanwhile, prepare the stuffing.
Cook the quinoa for 15 minutes in boiling salted water, then drain it thoroughly.

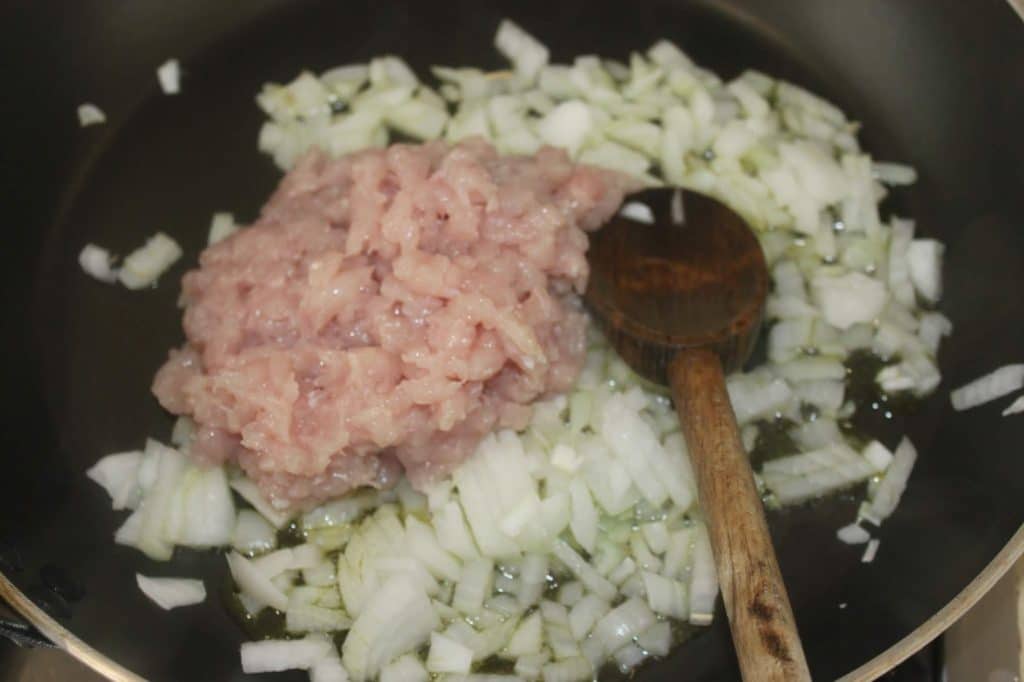
Peel and finely chop the onion. Pour the walnut oil (which you can substitute with olive oil) into a large frying pan. Heat it over moderate heat and add the onion and freshly grated ginger. Cook for 5 minutes.

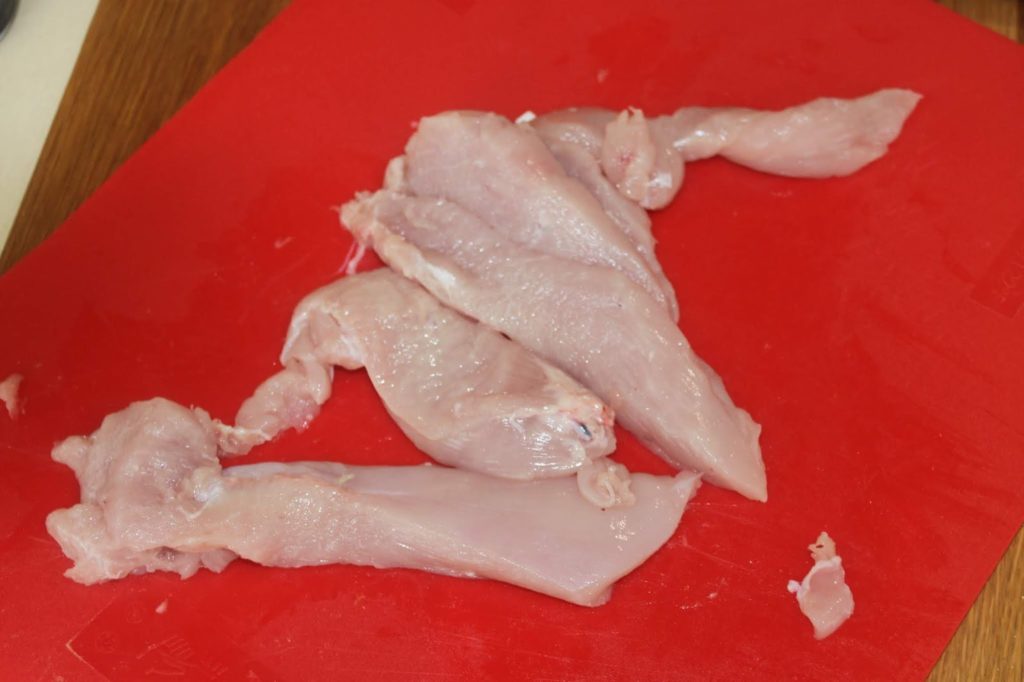
 
 
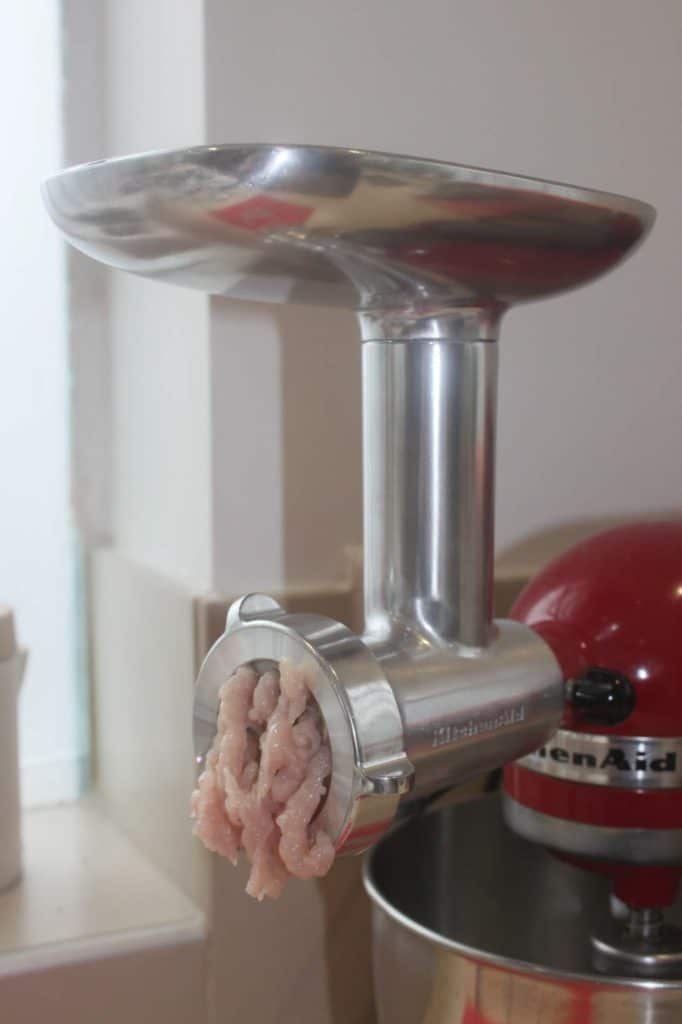
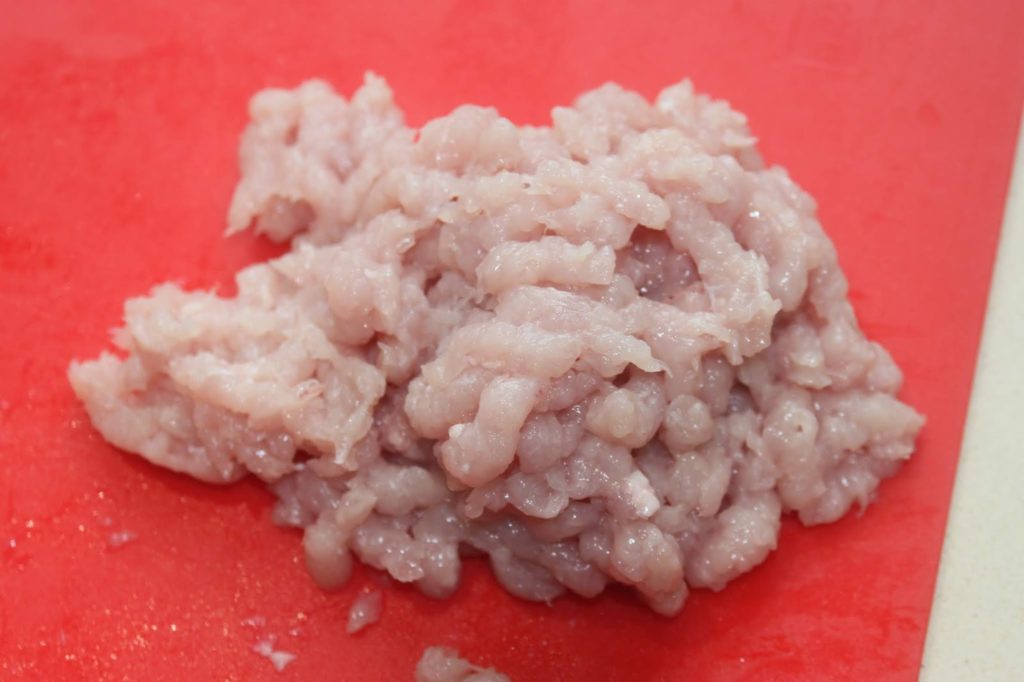
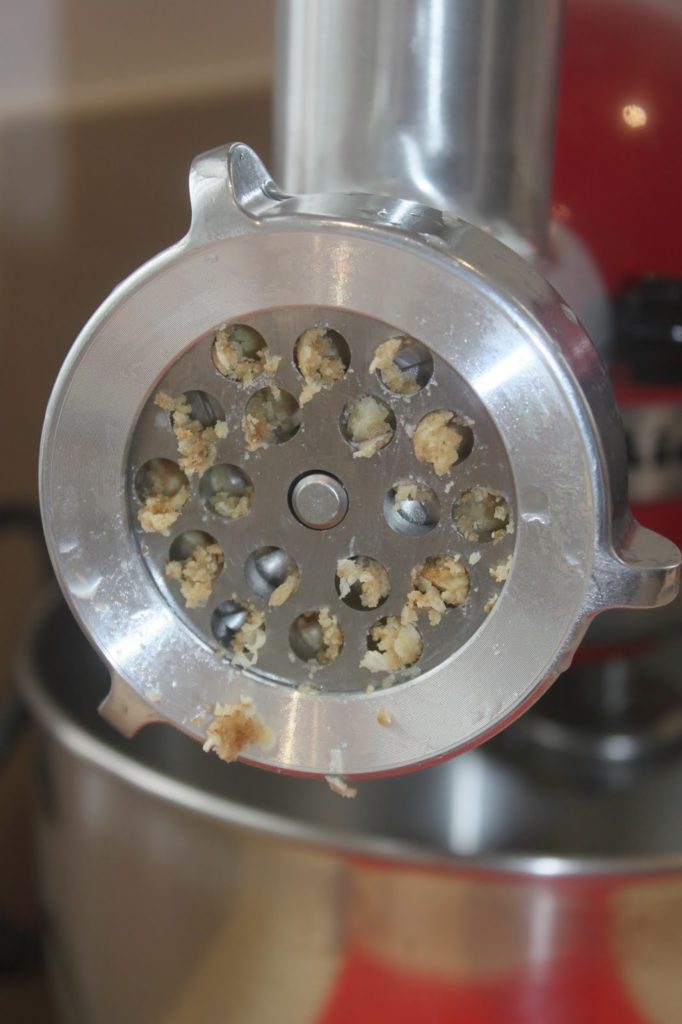
Cut the chicken into thick strips and put them through the Kitchenaid meat grinder. 


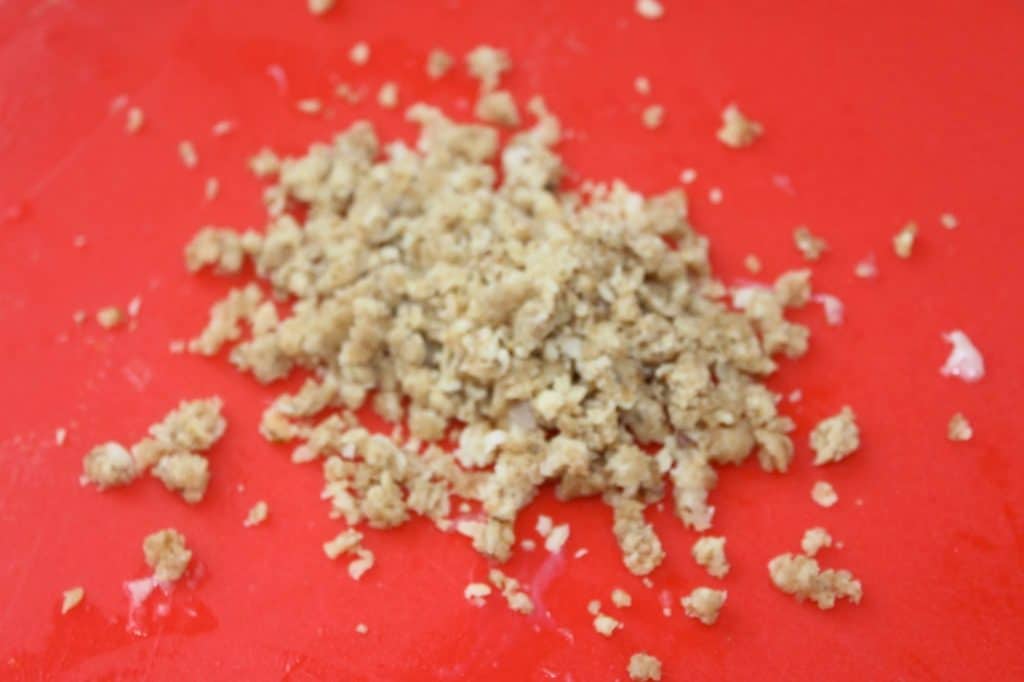
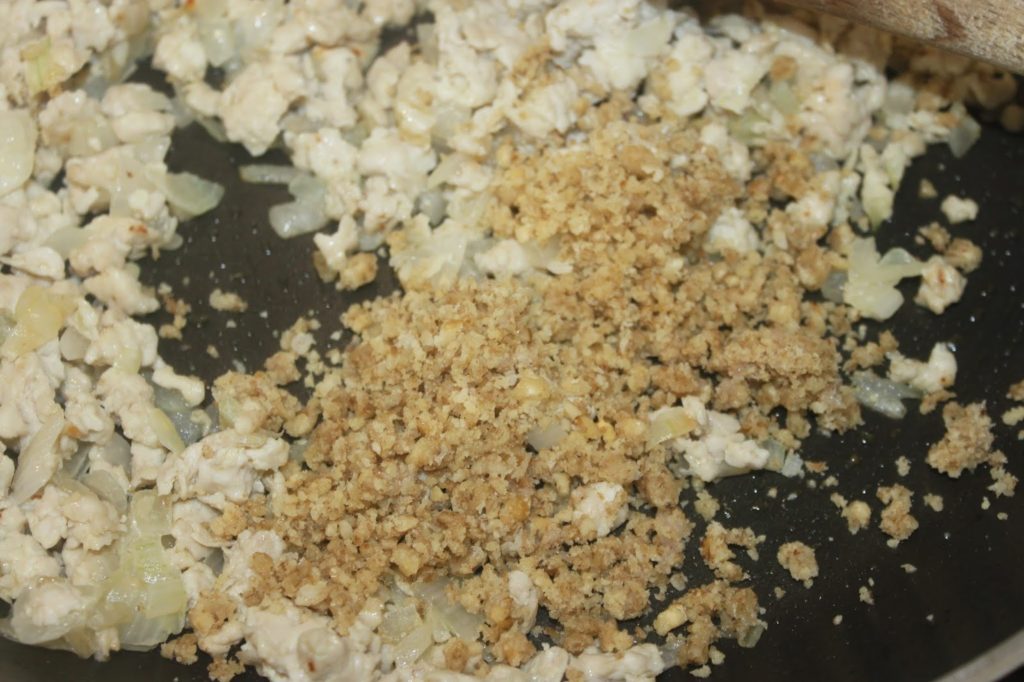
Retrieve the chicken and place it in the pan. Mix well. Pass the nuts through the chopper and put the result in the pan. 


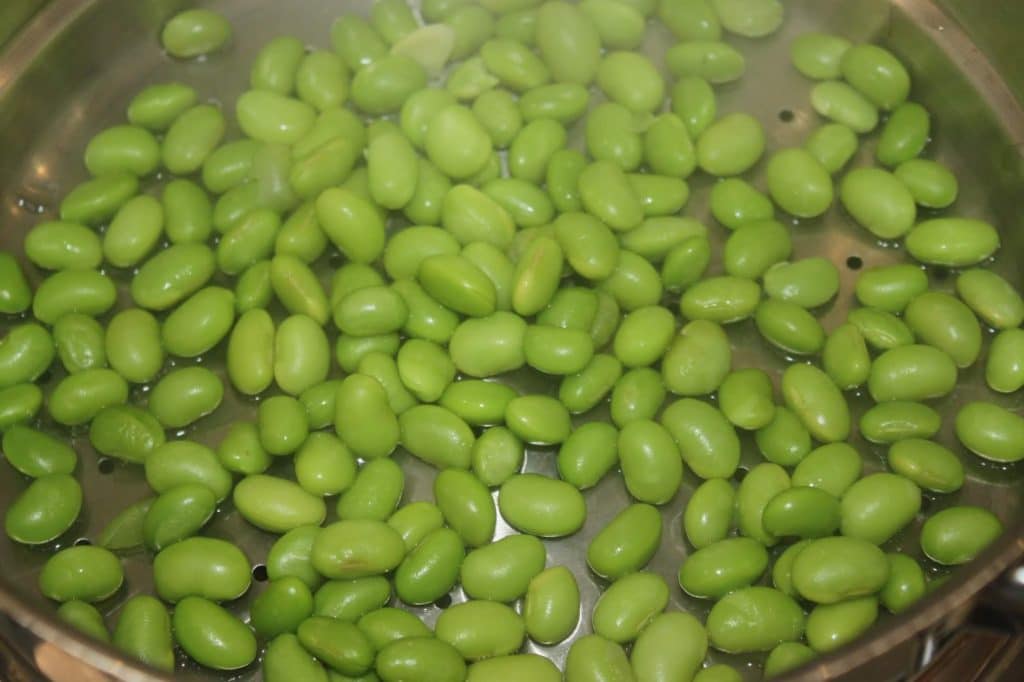
Steam the edamame or beans for 10 minutes. 


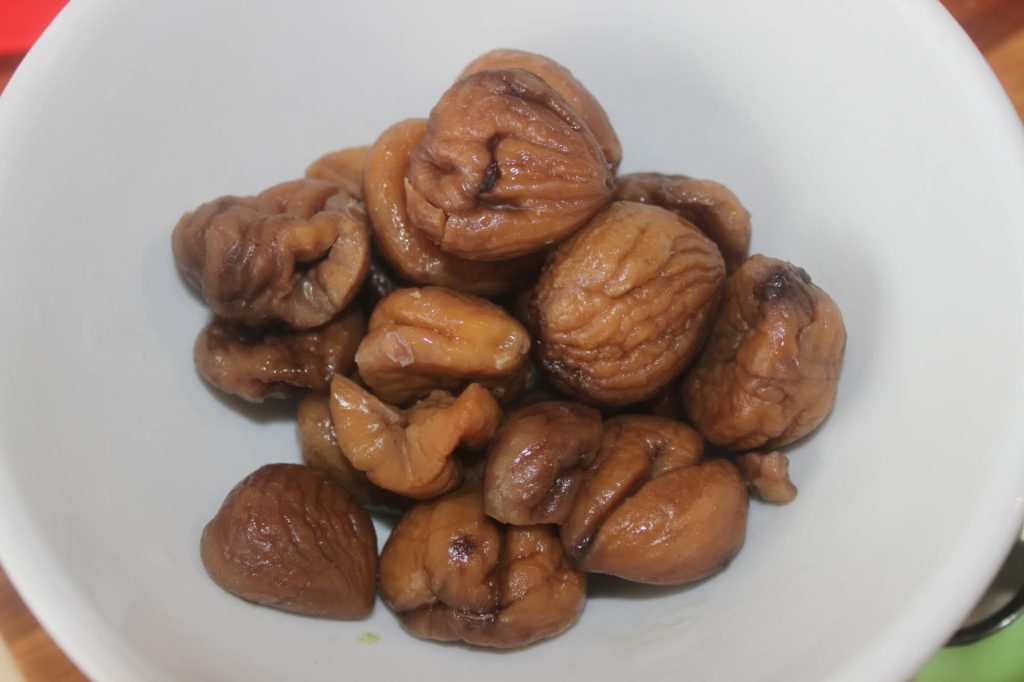
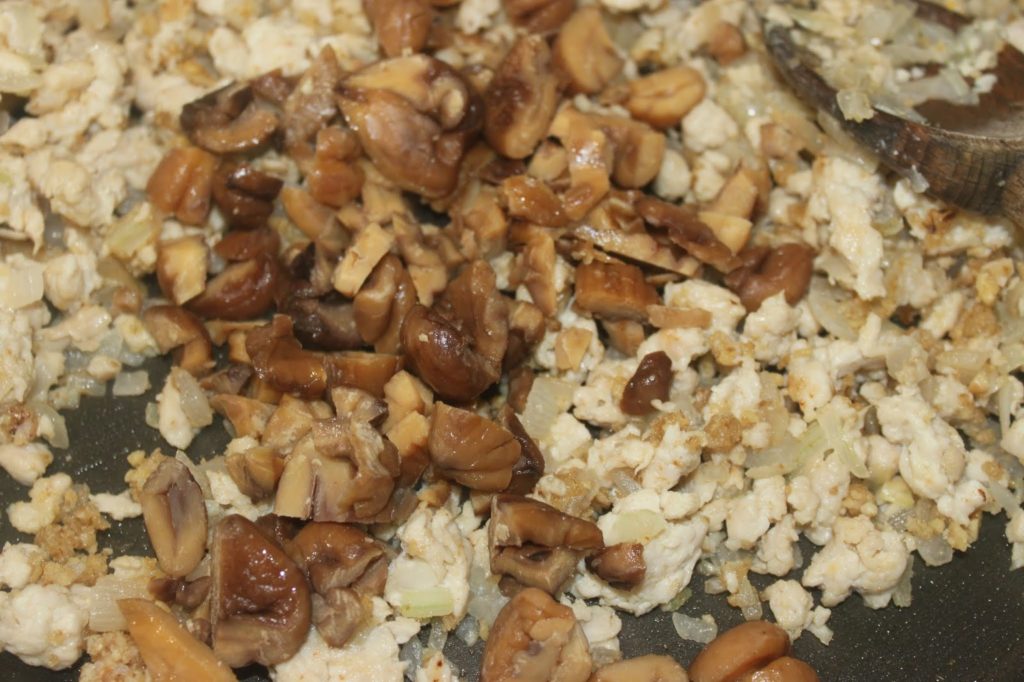
When the chicken is well cooked, add the chopped chestnuts and the edamame (or beans) cooked. Put salt and pepper at your taste. 


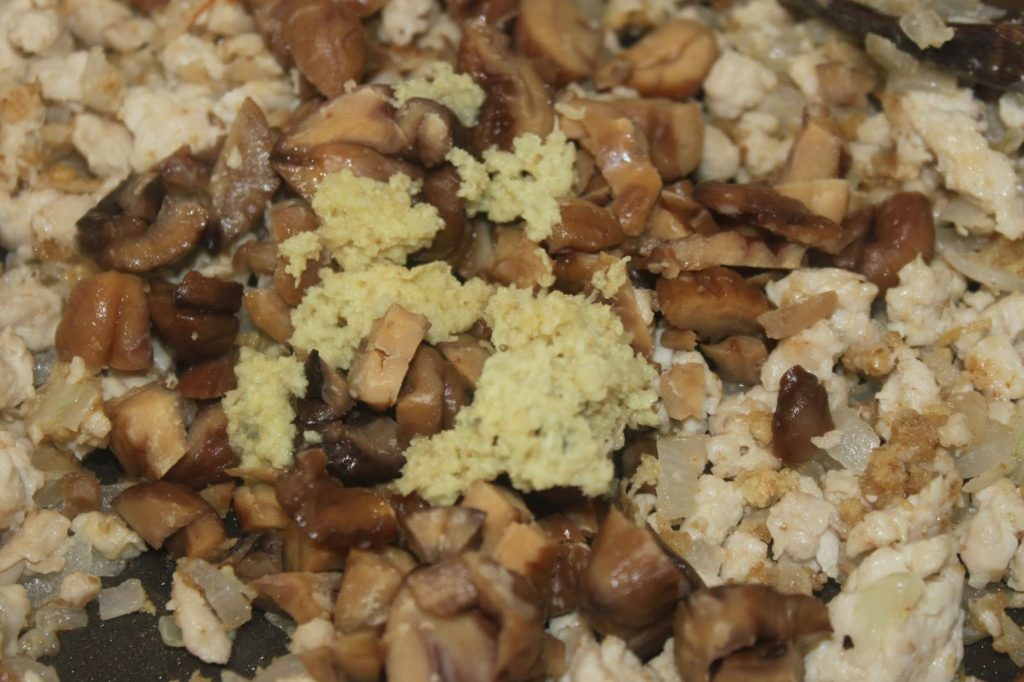
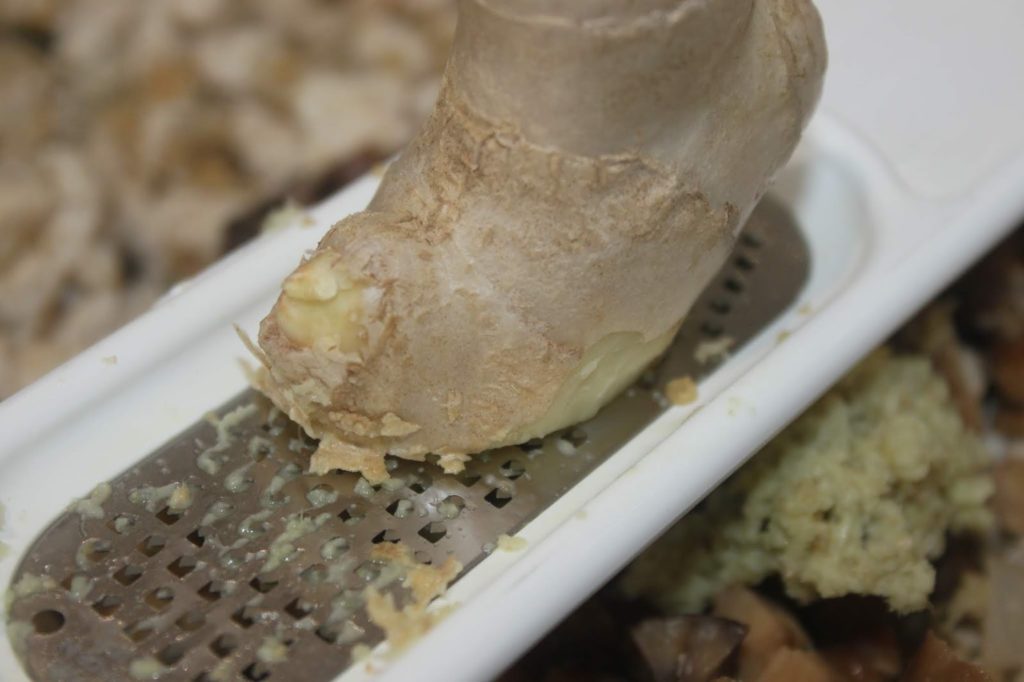
Grate a little fresh ginger.
 

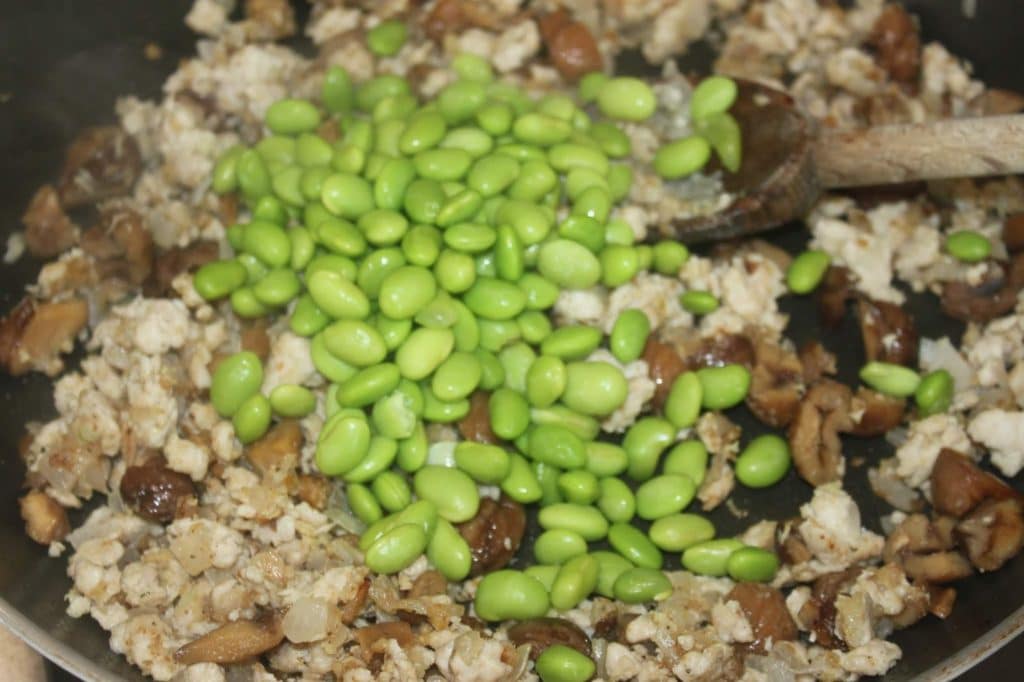
Add the cooked edamame.
Quinoa.
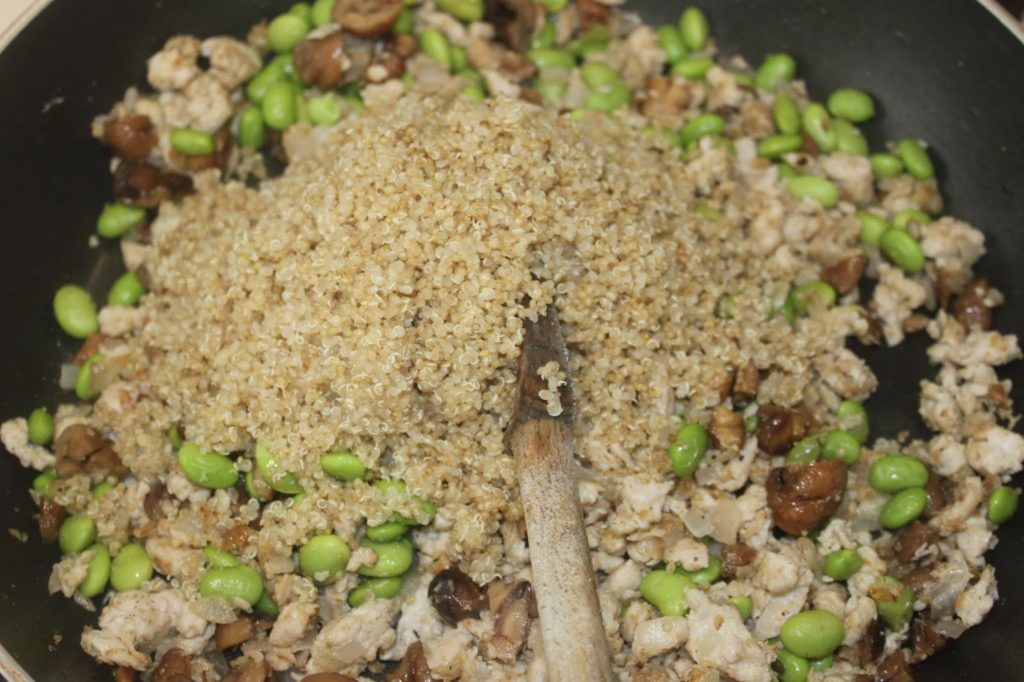
Mix well.
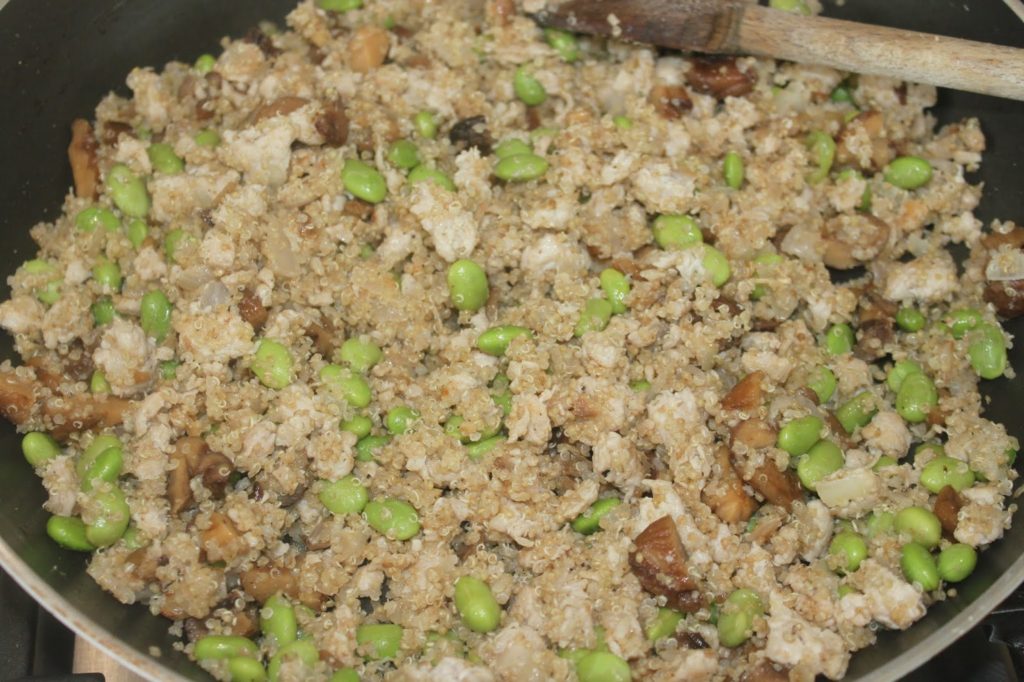
 
 Finely chop the cilantro and add it to the stuffing. 


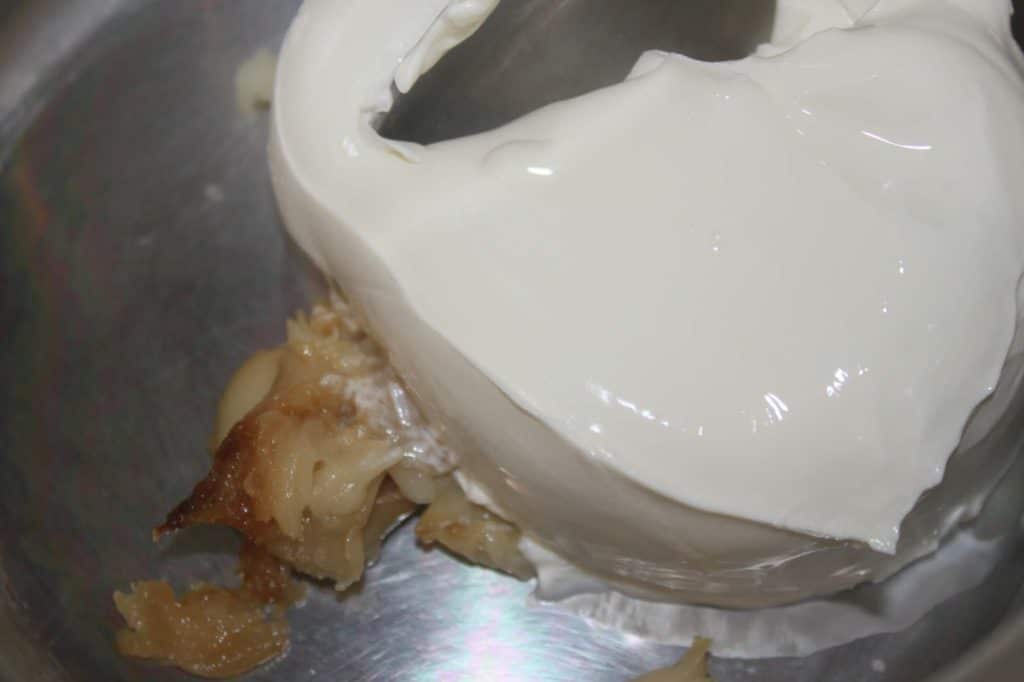
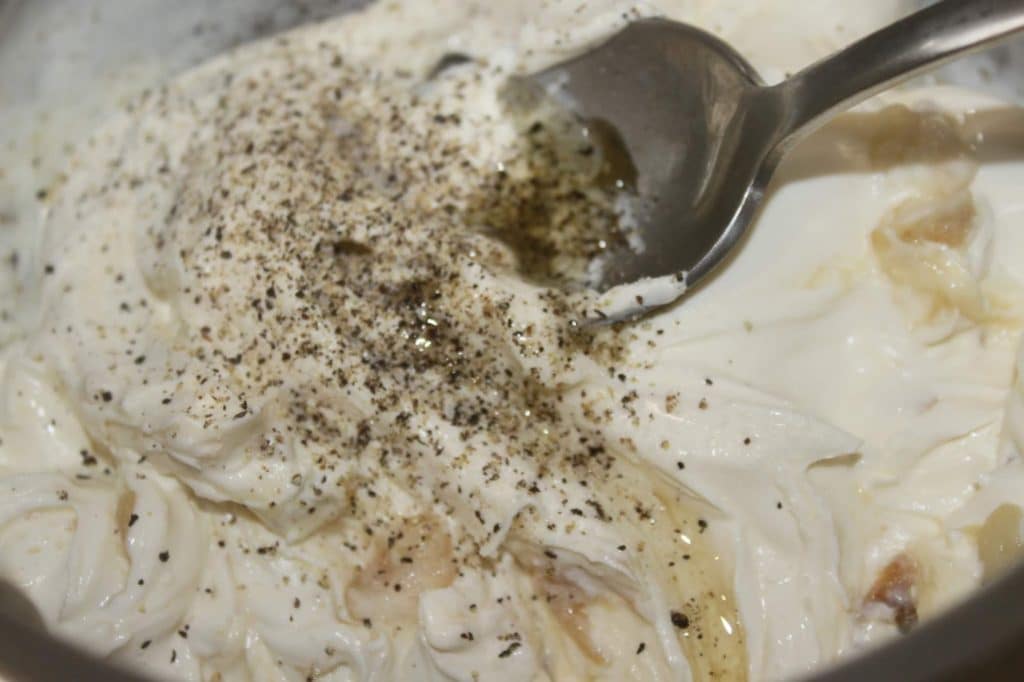
Peel the roasted garlic and place the flesh in a saucepan. Crush it with a fork and add the mascarpone.  Heat just to liquefy the mascarpone.
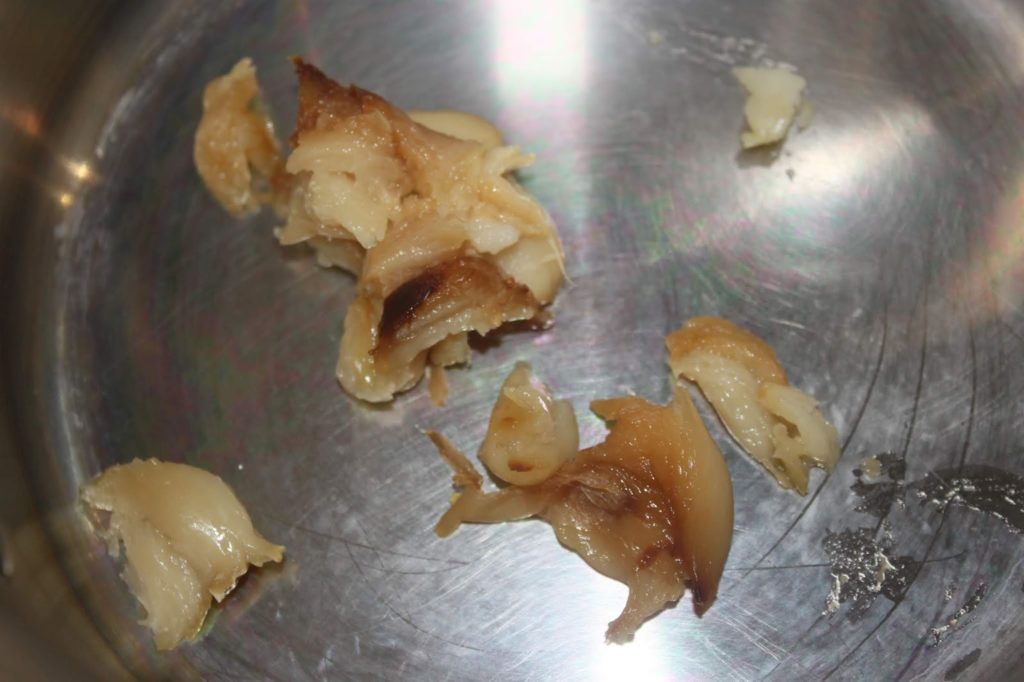


Put salt and pepper at your taste. Set aside. 
 
 
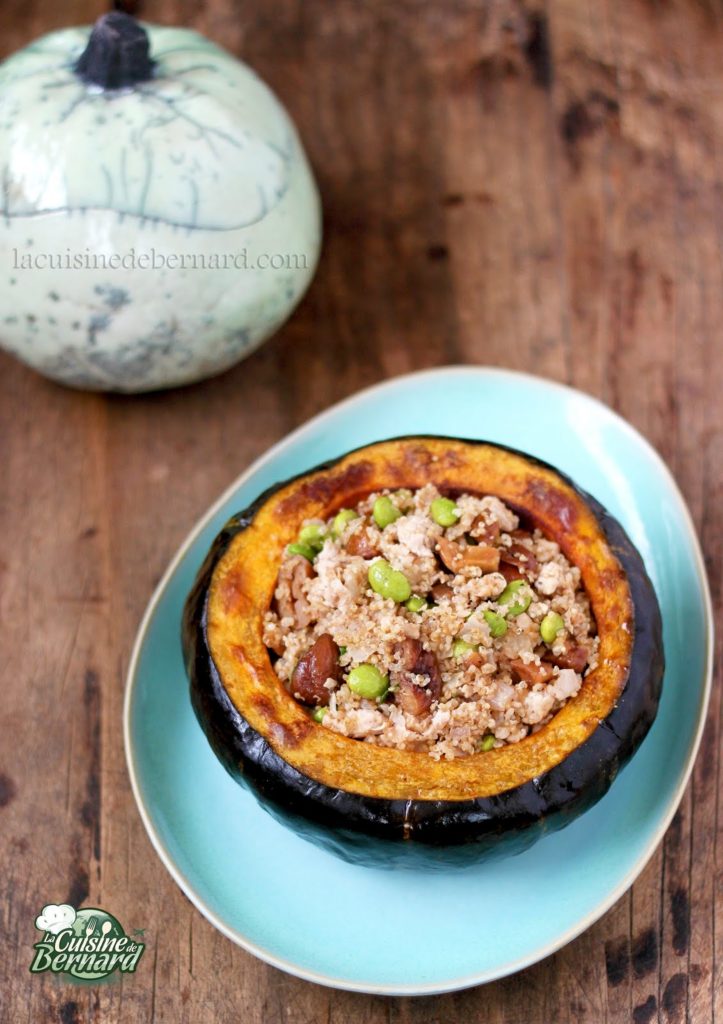
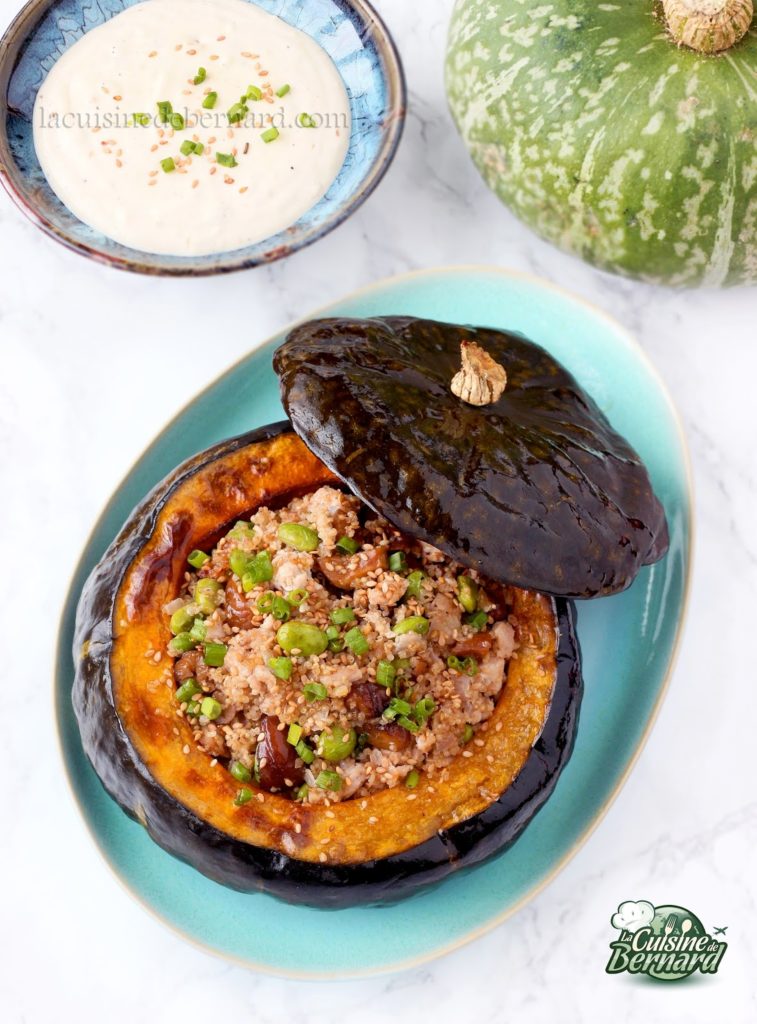
When the squash is cooked, fill it with hot stuffing, sprinkle it with toasted sesame seeds and finely chopped chives. Serve immediately with the mascarpone and roasted garlic cream. If the skin of the squash is tender and organic, don’t hesitate to eat it! 


]]>
https://stagingapp15670.cloudwayssites.com/en/kabocha-stuffed-with-chicken-chestnuts-nuts-and-quinoa/feed/ 0