Deprecated: Calling static trait method MatthiasWeb\RealMediaLibrary\Vendor\DevOwl\RealProductManagerWpClient\UtilsProvider::setupConstants is deprecated, it should only be called on a class using the trait in /var/www/html/public_html/wp-content/plugins/real-media-library/vendor/devowl-wp/real-product-manager-wp-client/src/autoload.php on line 7

Deprecated: Calling static trait method MatthiasWeb\RealMediaLibrary\Vendor\DevOwl\RealUtils\UtilsProvider::setupConstants is deprecated, it should only be called on a class using the trait in /var/www/html/public_html/wp-content/plugins/real-media-library/vendor/devowl-wp/real-utils/src/autoload.php on line 7

Deprecated: Accessing static trait property MatthiasWeb\RealMediaLibrary\Vendor\MatthiasWeb\Utils\PluginReceiver::$PLUGIN_CONST_FILE is deprecated, it should only be accessed on a class using the trait in /var/www/html/public_html/wp-content/plugins/real-media-library/vendor/devowl-wp/utils/src/Core.php on line 174

Deprecated: Accessing static trait property MatthiasWeb\RealMediaLibrary\Vendor\MatthiasWeb\Utils\PluginReceiver::$PLUGIN_CLASS_ACTIVATOR is deprecated, it should only be accessed on a class using the trait in /var/www/html/public_html/wp-content/plugins/real-media-library/vendor/devowl-wp/utils/src/Core.php on line 46

Deprecated: Accessing static trait property MatthiasWeb\RealMediaLibrary\Vendor\MatthiasWeb\Utils\PluginReceiver::$PLUGIN_CLASS_ASSETS is deprecated, it should only be accessed on a class using the trait in /var/www/html/public_html/wp-content/plugins/real-media-library/vendor/devowl-wp/utils/src/Core.php on line 49

Deprecated: Accessing static trait property MatthiasWeb\RealMediaLibrary\Vendor\MatthiasWeb\Utils\PluginReceiver::$PLUGIN_CLASS_LOCALIZATION is deprecated, it should only be accessed on a class using the trait in /var/www/html/public_html/wp-content/plugins/real-media-library/vendor/devowl-wp/utils/src/Core.php on line 60

Deprecated: Accessing static trait property MatthiasWeb\RealMediaLibrary\Vendor\MatthiasWeb\Utils\PluginReceiver::$PLUGIN_CONST_ROOT_SLUG is deprecated, it should only be accessed on a class using the trait in /var/www/html/public_html/wp-content/plugins/real-media-library/vendor/devowl-wp/utils/src/Core.php on line 64

Deprecated: Accessing static trait property MatthiasWeb\RealMediaLibrary\Vendor\MatthiasWeb\Utils\PluginReceiver::$PLUGIN_CONST_SLUG is deprecated, it should only be accessed on a class using the trait in /var/www/html/public_html/wp-content/plugins/real-media-library/vendor/devowl-wp/utils/src/Service.php on line 149

Deprecated: Accessing static trait property MatthiasWeb\RealMediaLibrary\Vendor\MatthiasWeb\Utils\Localization::$PACKAGE_INFO_BACKEND is deprecated, it should only be accessed on a class using the trait in /var/www/html/public_html/wp-content/plugins/real-media-library/vendor/devowl-wp/utils/src/PackageLocalization.php on line 37

Deprecated: Accessing static trait property MatthiasWeb\RealMediaLibrary\Vendor\MatthiasWeb\Utils\PluginReceiver::$PLUGIN_CONST_OPT_PREFIX is deprecated, it should only be accessed on a class using the trait in /var/www/html/public_html/wp-content/plugins/real-media-library/vendor/devowl-wp/utils/src/Activator.php on line 78

Deprecated: Accessing static trait property MatthiasWeb\RealMediaLibrary\Vendor\MatthiasWeb\Utils\PluginReceiver::$PLUGIN_CONST_VERSION is deprecated, it should only be accessed on a class using the trait in /var/www/html/public_html/wp-content/plugins/real-media-library/vendor/devowl-wp/utils/src/Core.php on line 114

Deprecated: Accessing static trait property MatthiasWeb\RealMediaLibrary\Vendor\MatthiasWeb\Utils\Localization::$PACKAGE_INFO_BACKEND is deprecated, it should only be accessed on a class using the trait in /var/www/html/public_html/wp-content/plugins/real-media-library/vendor/devowl-wp/utils/src/PackageLocalization.php on line 37

Deprecated: Accessing static trait property MatthiasWeb\RealMediaLibrary\Vendor\MatthiasWeb\Utils\PluginReceiver::$PLUGIN_CONST_TEXT_DOMAIN is deprecated, it should only be accessed on a class using the trait in /var/www/html/public_html/wp-content/plugins/real-media-library/vendor/devowl-wp/utils/src/Core.php on line 79

Deprecated: Accessing static trait property MatthiasWeb\RealMediaLibrary\Vendor\MatthiasWeb\Utils\PluginReceiver::$PLUGIN_CONST_FILE is deprecated, it should only be accessed on a class using the trait in /var/www/html/public_html/wp-content/plugins/real-media-library/vendor/devowl-wp/utils/src/Core.php on line 85

Deprecated: Accessing static trait property MatthiasWeb\RealMediaLibrary\Vendor\MatthiasWeb\Utils\PluginReceiver::$PLUGIN_CONST_PATH is deprecated, it should only be accessed on a class using the trait in /var/www/html/public_html/wp-content/plugins/real-media-library/vendor/devowl-wp/utils/src/Core.php on line 143

Deprecated: Accessing static trait property MatthiasWeb\RealMediaLibrary\Vendor\MatthiasWeb\Utils\PluginReceiver::$PLUGIN_CONST_ROOT_SLUG is deprecated, it should only be accessed on a class using the trait in /var/www/html/public_html/wp-content/plugins/real-media-library/vendor/devowl-wp/utils/src/Core.php on line 147

Deprecated: Accessing static trait property MatthiasWeb\RealMediaLibrary\Vendor\MatthiasWeb\Utils\Localization::$PACKAGE_INFO_BACKEND is deprecated, it should only be accessed on a class using the trait in /var/www/html/public_html/wp-content/plugins/real-media-library/vendor/devowl-wp/utils/src/PackageLocalization.php on line 37

Deprecated: Accessing static trait property MatthiasWeb\RealMediaLibrary\Vendor\MatthiasWeb\Utils\PluginReceiver::$PLUGIN_CONST_ROOT_SLUG is deprecated, it should only be accessed on a class using the trait in /var/www/html/public_html/wp-content/plugins/real-media-library/vendor/devowl-wp/utils/src/Core.php on line 96

Deprecated: Accessing static trait property MatthiasWeb\RealMediaLibrary\Vendor\MatthiasWeb\Utils\Localization::$PACKAGE_INFO_BACKEND is deprecated, it should only be accessed on a class using the trait in /var/www/html/public_html/wp-content/plugins/real-media-library/vendor/devowl-wp/utils/src/PackageLocalization.php on line 37

Deprecated: Accessing static trait property MatthiasWeb\RealMediaLibrary\Vendor\MatthiasWeb\Utils\PluginReceiver::$PLUGIN_CONST_ROOT_SLUG is deprecated, it should only be accessed on a class using the trait in /var/www/html/public_html/wp-content/plugins/real-media-library/vendor/devowl-wp/utils/src/Core.php on line 96

Deprecated: Accessing static trait property MatthiasWeb\RealMediaLibrary\Vendor\MatthiasWeb\Utils\Localization::$PACKAGE_INFO_BACKEND is deprecated, it should only be accessed on a class using the trait in /var/www/html/public_html/wp-content/plugins/real-media-library/vendor/devowl-wp/utils/src/PackageLocalization.php on line 37

Deprecated: Accessing static trait property MatthiasWeb\RealMediaLibrary\Vendor\MatthiasWeb\Utils\PluginReceiver::$PLUGIN_CONST_ROOT_SLUG is deprecated, it should only be accessed on a class using the trait in /var/www/html/public_html/wp-content/plugins/real-media-library/vendor/devowl-wp/utils/src/Core.php on line 96

Deprecated: Accessing static trait property MatthiasWeb\RealMediaLibrary\Vendor\MatthiasWeb\Utils\Localization::$PACKAGE_INFO_BACKEND is deprecated, it should only be accessed on a class using the trait in /var/www/html/public_html/wp-content/plugins/real-media-library/vendor/devowl-wp/utils/src/PackageLocalization.php on line 37

Deprecated: Creation of dynamic property WP_Grid_Builder_Elementor\Includes\Render::$providers is deprecated in /var/www/html/public_html/wp-content/plugins/wp-grid-builder-elementor/includes/class-render.php on line 55

Deprecated: Creation of dynamic property WP_Grid_Builder_Elementor\Includes\Filter::$providers is deprecated in /var/www/html/public_html/wp-content/plugins/wp-grid-builder-elementor/includes/class-filter.php on line 35

Deprecated: Accessing static trait property MatthiasWeb\RealMediaLibrary\Vendor\MatthiasWeb\Utils\Localization::$PACKAGE_INFO_BACKEND is deprecated, it should only be accessed on a class using the trait in /var/www/html/public_html/wp-content/plugins/real-media-library/vendor/devowl-wp/utils/src/PackageLocalization.php on line 37

Warning: Cannot modify header information - headers already sent by (output started at /var/www/html/public_html/wp-content/plugins/real-media-library/vendor/devowl-wp/utils/src/PackageLocalization.php:37) in /var/www/html/public_html/wp-includes/feed-rss2.php on line 8
asia-oceania salty – La cuisine de Bernard https://stagingapp15670.cloudwayssites.com/en/ Traveler and passionate about cooking, I give you all my secrets of cooking, without detour. Fri, 08 Jul 2022 07:39:49 +0000 en-US hourly 1 https://wordpress.org/?v=6.9.4 https://stagingapp15670.cloudwayssites.com/wp-content/uploads/logo/frame-3-1.png asia-oceania salty – La cuisine de Bernard https://stagingapp15670.cloudwayssites.com/en/ 32 32 Vietnamese Salad with Caramelized Pork https://stagingapp15670.cloudwayssites.com/en/vietnamese-salad-with-caramelized-pork/ https://stagingapp15670.cloudwayssites.com/en/vietnamese-salad-with-caramelized-pork/#respond Tue, 19 Jun 2018 17:20:00 +0000 https://stagingapp15670.cloudwayssites.com/vietnamese-salad-with-caramelized-pork Deprecated: Accessing static trait property MatthiasWeb\RealMediaLibrary\Vendor\MatthiasWeb\Utils\Localization::$PACKAGE_INFO_BACKEND is deprecated, it should only be accessed on a class using the trait in /var/www/html/public_html/wp-content/plugins/real-media-library/vendor/devowl-wp/utils/src/PackageLocalization.php on line 37
The weather is so nice at times that I almost forget that it’s still winter. So I wanted to make this Vietnamese salad that I had enjoyed in Ho Chi…]]>
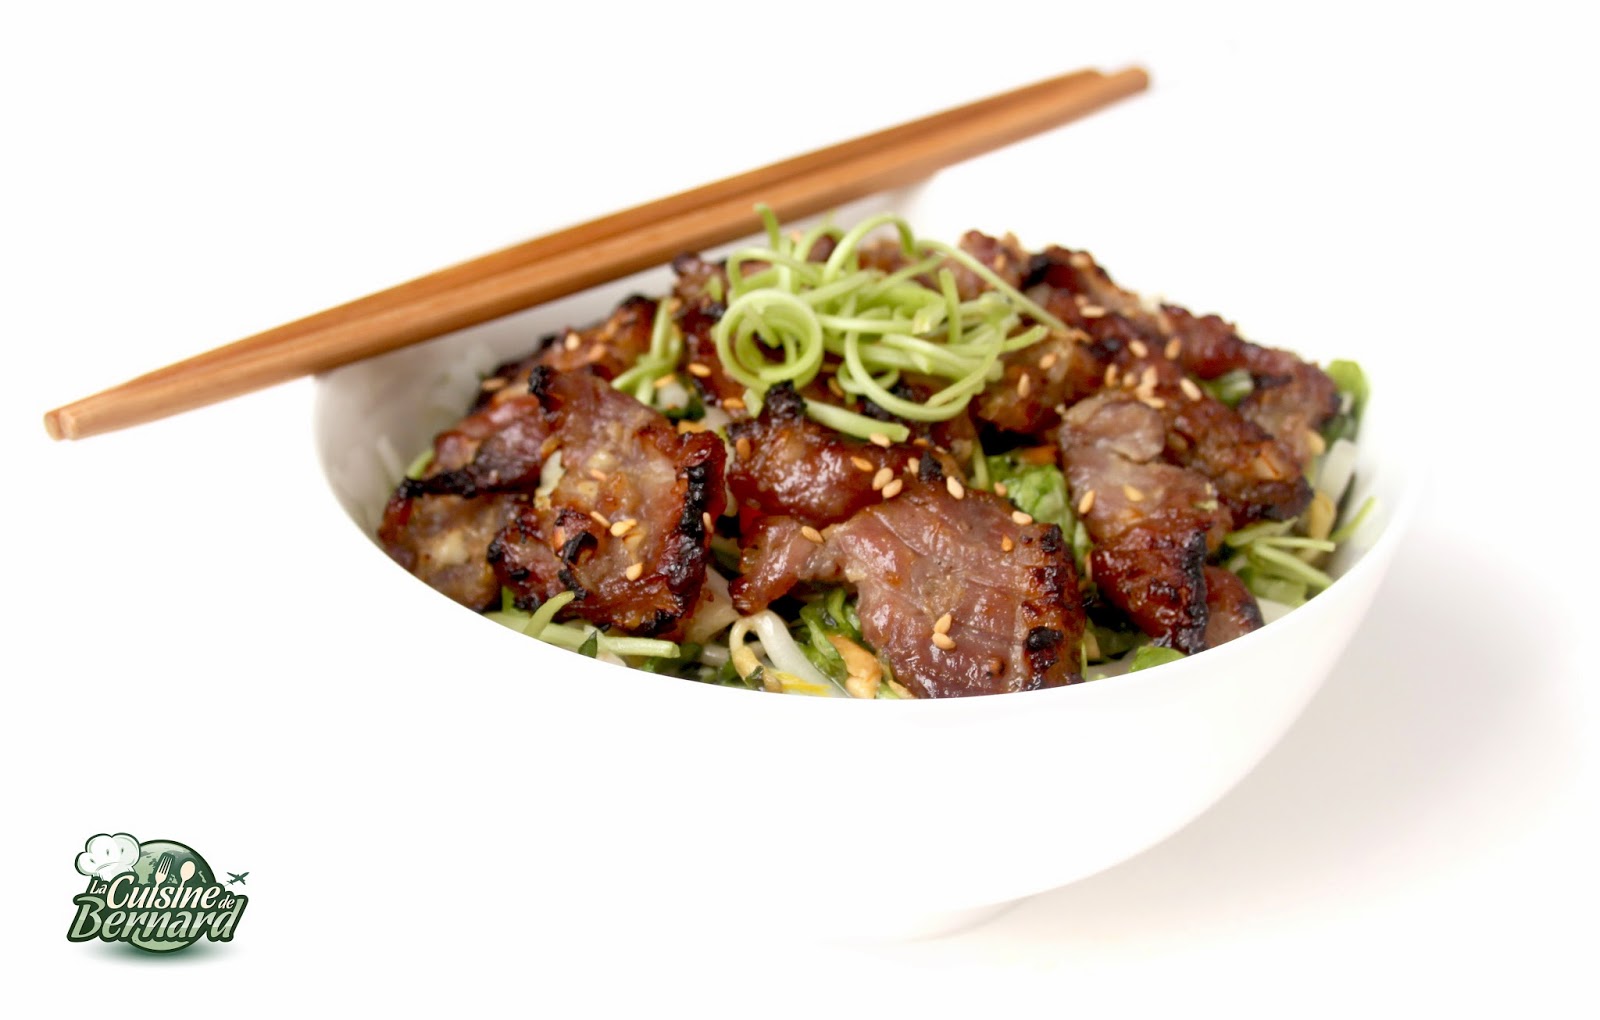
The weather is so nice at times that I almost forget that it’s still winter. So I wanted to make this Vietnamese salad that I had enjoyed in Ho Chi Minh. Small pieces of pork, marinated, grilled and caramelized on a salad with fresh, complex and multiple flavors. It’s a real trip in your bowl and you’ll hardly feel bad about it! Very simple to make, the most complicated part is to gather all the ingredients.

For 4 people:

Recipe for marinated pork:
-400g of boneless pork loin
-5 cloves of garlic
-3 small shallots (roughly as much garlic as shallot by weight)
-3 tablespoons of chopped lemongrass
-3 tablespoons of honey
-4 tablespoons of nuoc mâm
-2 tablespoons of oil
-ground black pepper


Salad:
Sauce:
-juice of 2 large limes
-4 tablespoons of nuoc mâm
-5 tablespoons of sugar
-2 tablespoons of water
-4 cloves of garlic, chopped
-1 small red or green bird pepper


-Lettuce or oak leaves
-150g of dried rice noodles to rehydrate (I took the noodles for pho, but you can take rice vermicelli)
-water bindweed
-shiso leaves
-Thai basil
-Chinese ball
-ma-om leaves (or mint leaves if necessary) 
-200g of mung bean sprouts (often called “bean sprouts”)


-1 tablespoon of unsalted roasted peanuts per serving
-1 tablespoon of oil per serving
-some toasted sesame seeds for decoration
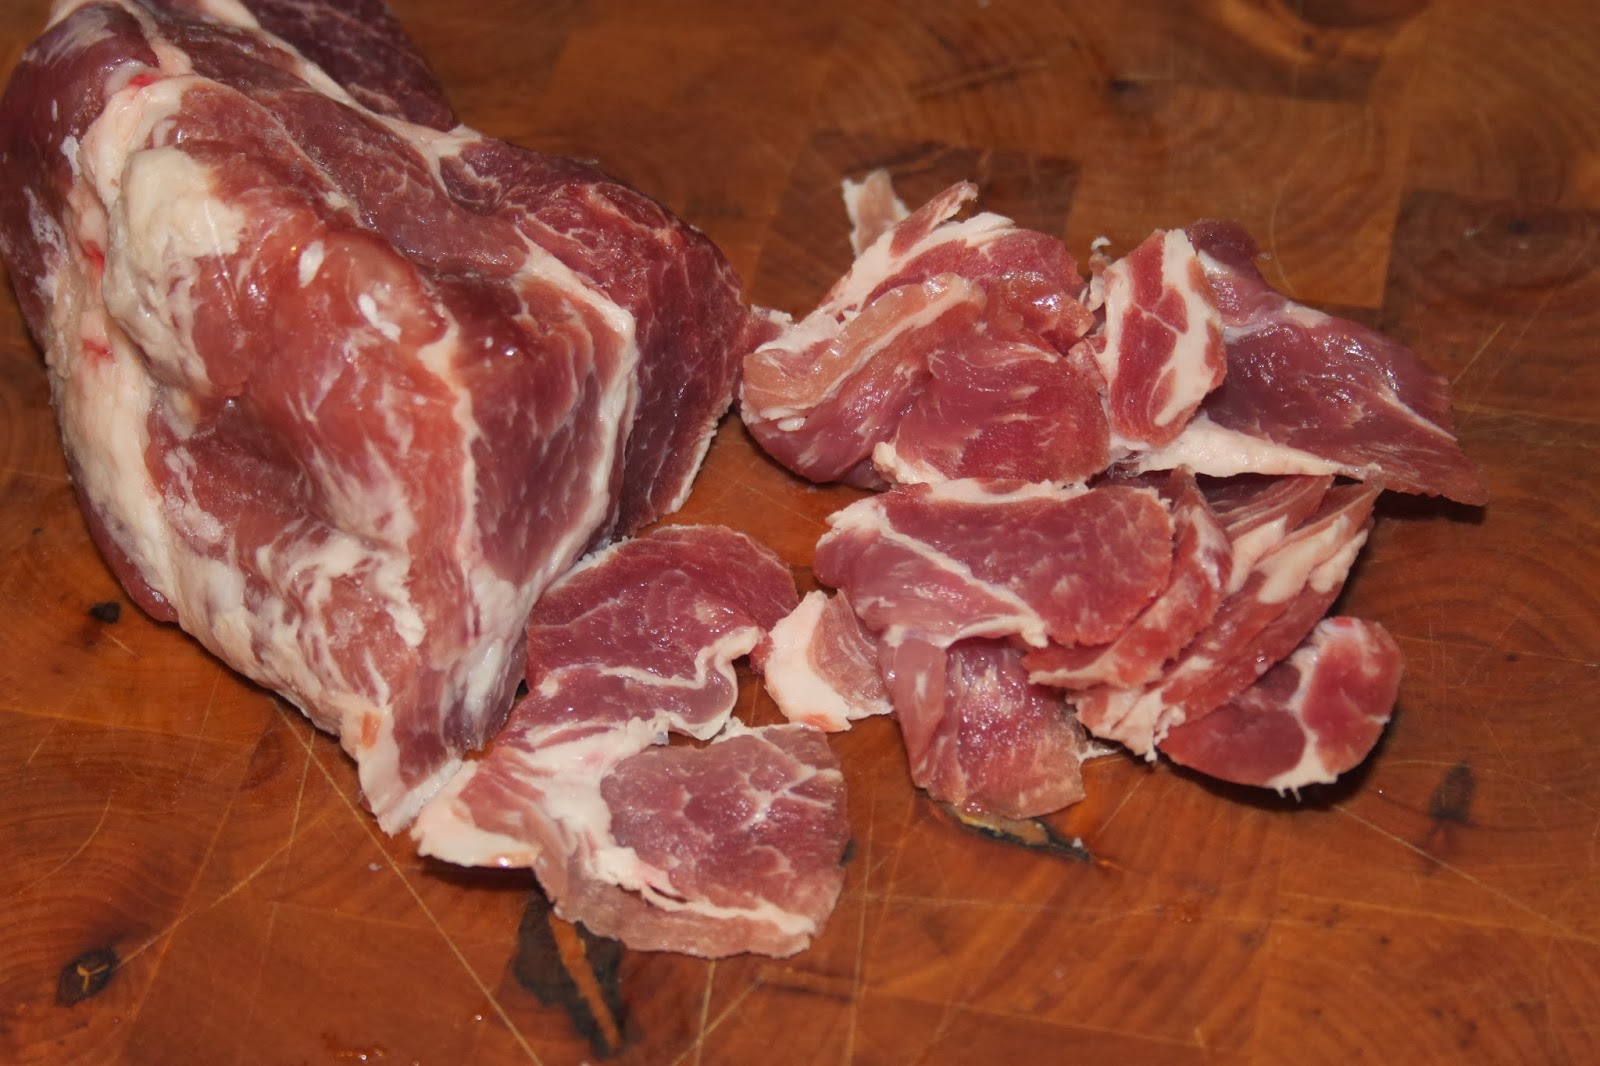
First, freeze the pork loin so that it is easier to slice. You can then cut it into very thin slices without any effort. 


Chop the garlic and shallot (you need roughly as much garlic as shallot).


Mix the honey, the nuoc mâm and the oil.


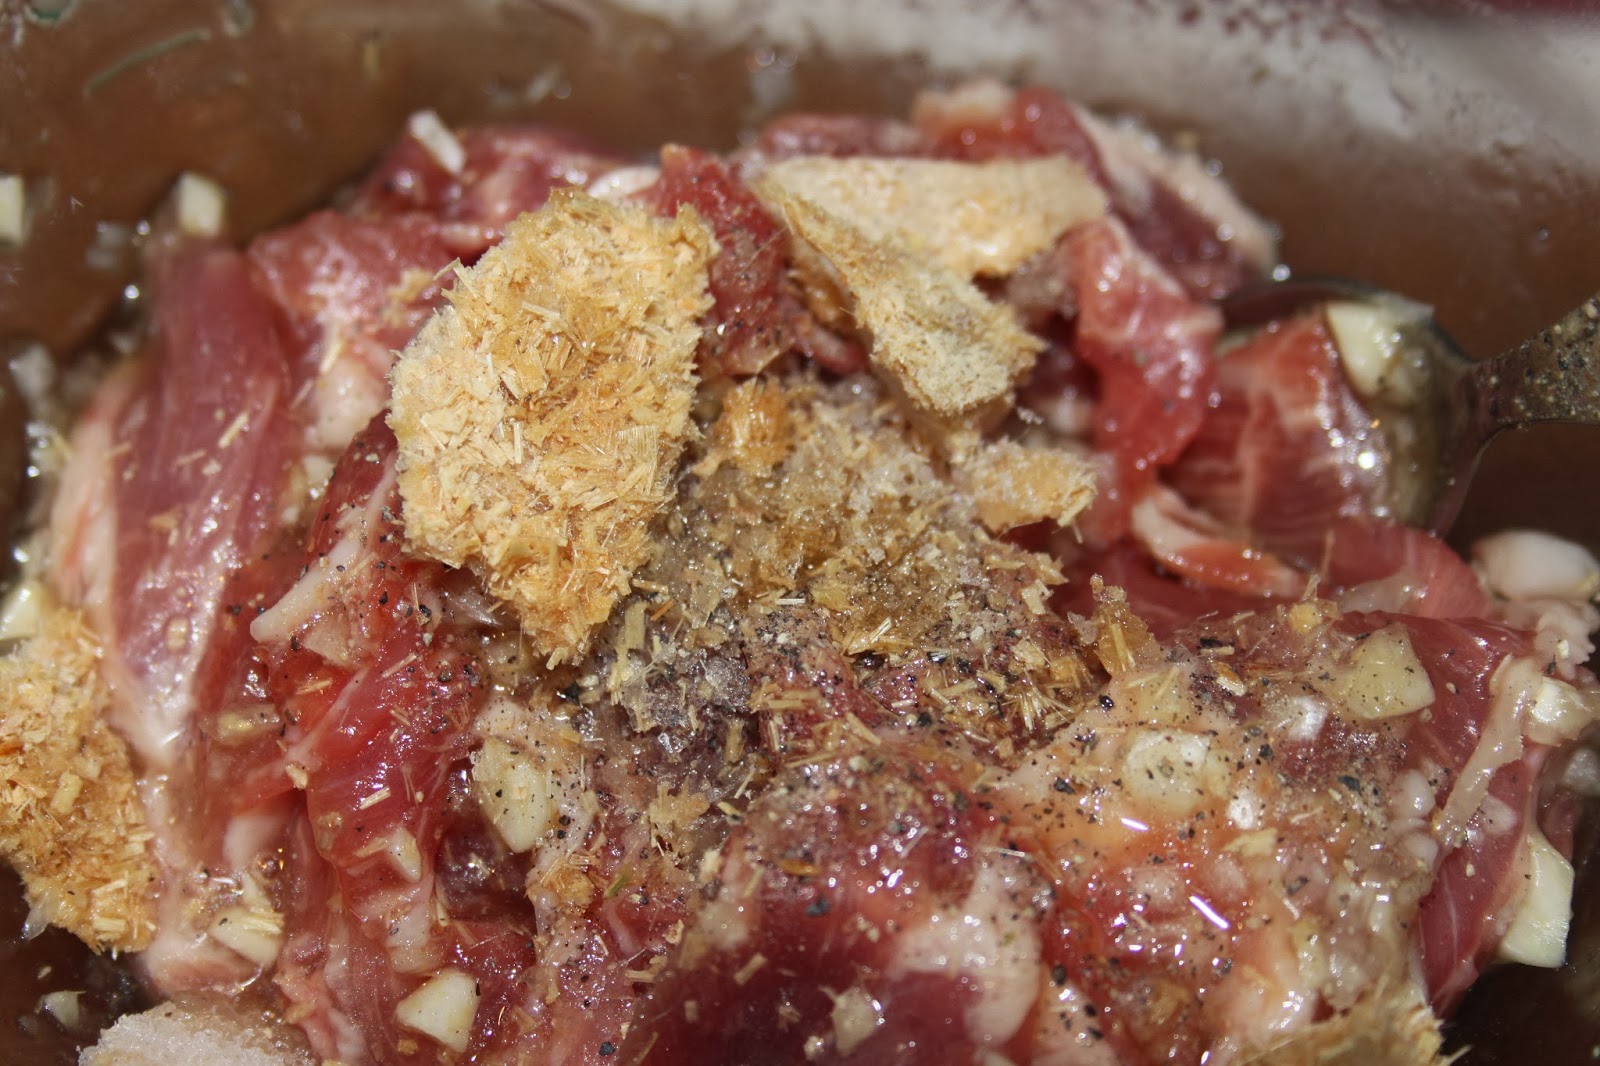
Place the pork in a bowl, add the finely chopped garlic and shallot.


Pour in the liquid. 


Add the chopped lemongrass. I used frozen lemongrass here, already chopped, which I always have in my freezer. Of course, you can instead chop fresh lemongrass (2 sticks) by removing the base and a good part of the stem (it is in the bulb that the taste is concentrated!!).  Also add ground black pepper. Mix everything together and let the pork marinate for one or two hours. 


If you have a barbecue, it’s the best! Otherwise, do what I do, broil the pork in your oven on broil mode. Place a rack (such as a baking rack) on an ovenproof dish and arrange the pork with the marinade. 


Grill until pork begins to caramelize. I swear that this operation is very delicate, because it is very difficult not to devour everything before arranging the small pieces of pork on the salad…! Moreover I explain here all the preparation of the pork, but the ideal is to cook it during the preparation of the salad…


In a large bowl of very hot water, soak your rice noodles. Look at the package to make sure your noodles are prepared correctly. 


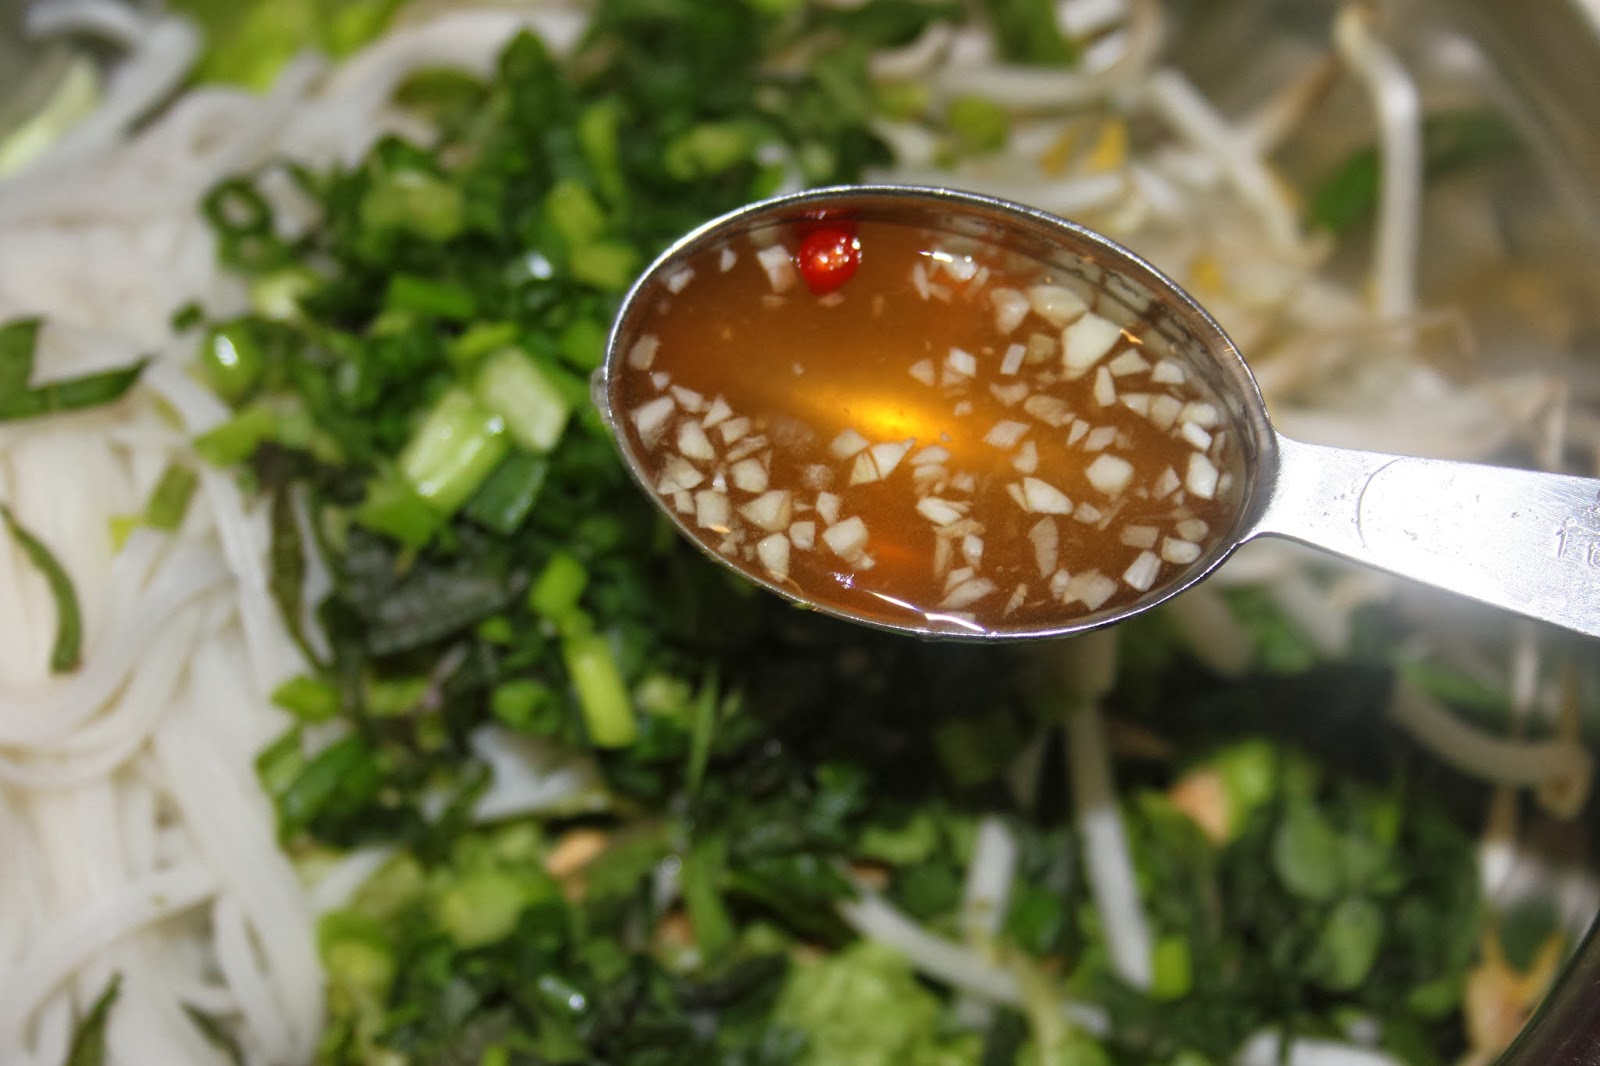
For the salad dressing: mix the sugar and the nuoc mâm until the sugar is dissolved. 


Add the lime juice. 


Then the chopped garlic. Cut the bird’s eye chilli into thin slices and add gradually, tasting each time to make sure you get the right amount! 


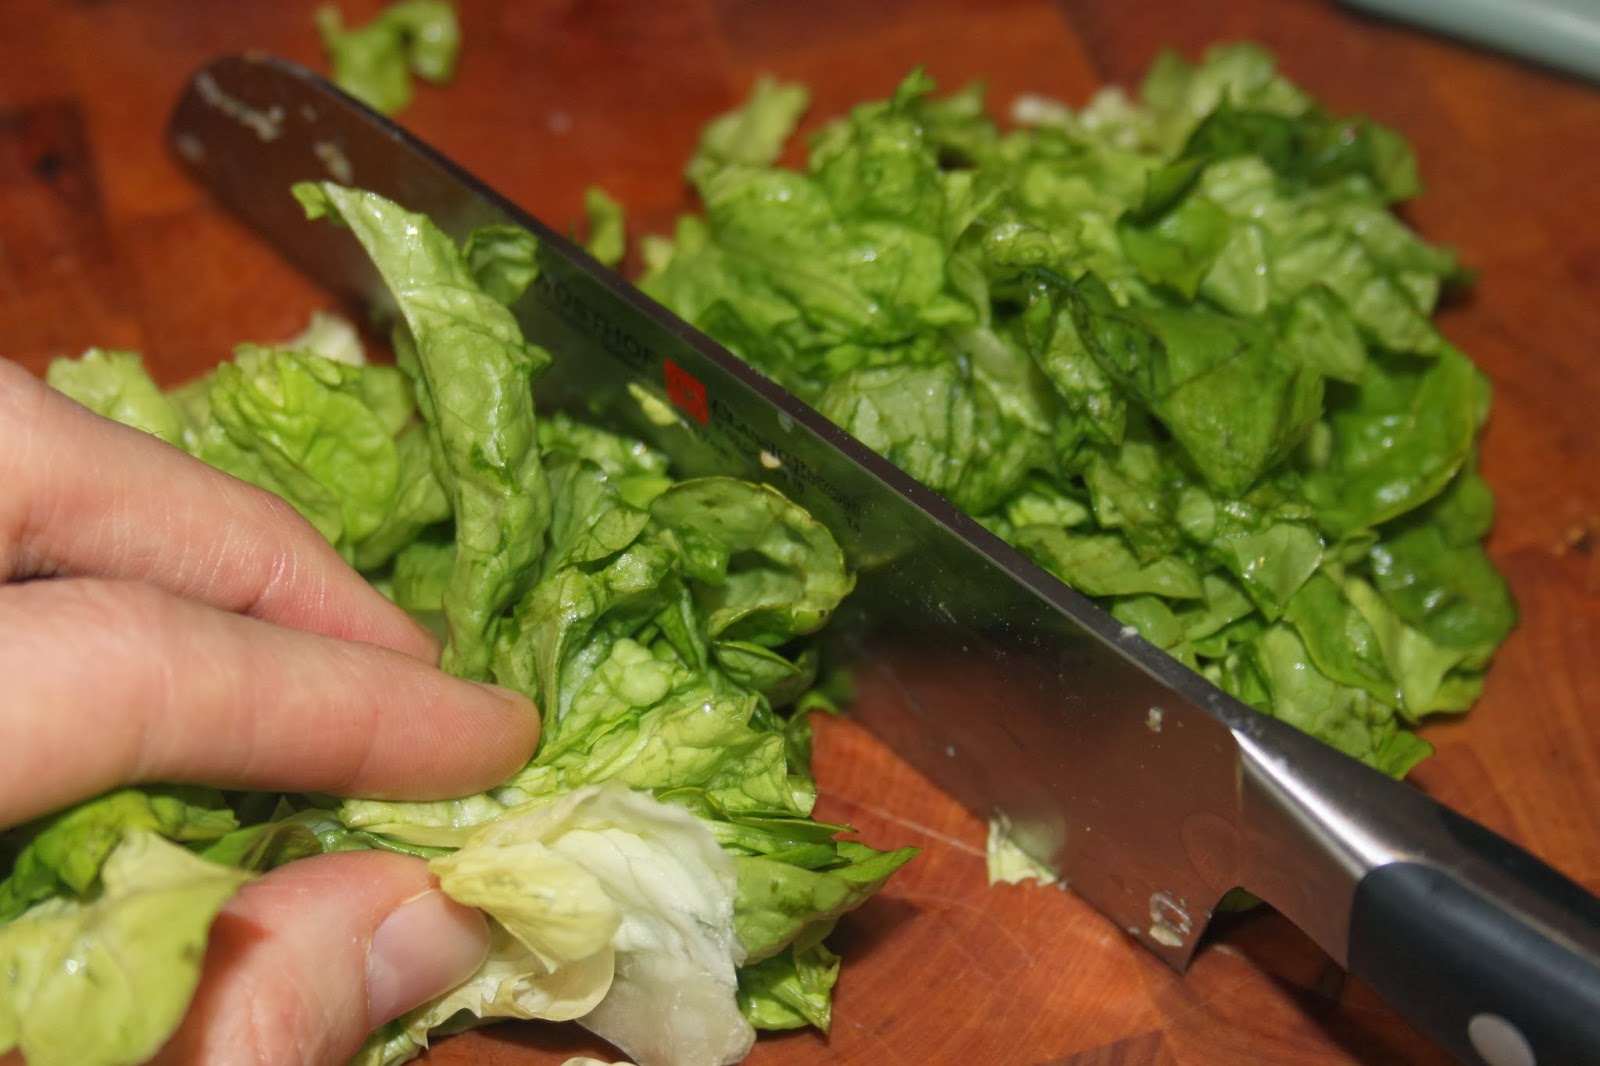
Wash and cut the lettuce leaves (or here oak leaves). You need 3-4 per person. 


Coarsely chop the unsalted roasted peanuts with a knife. 


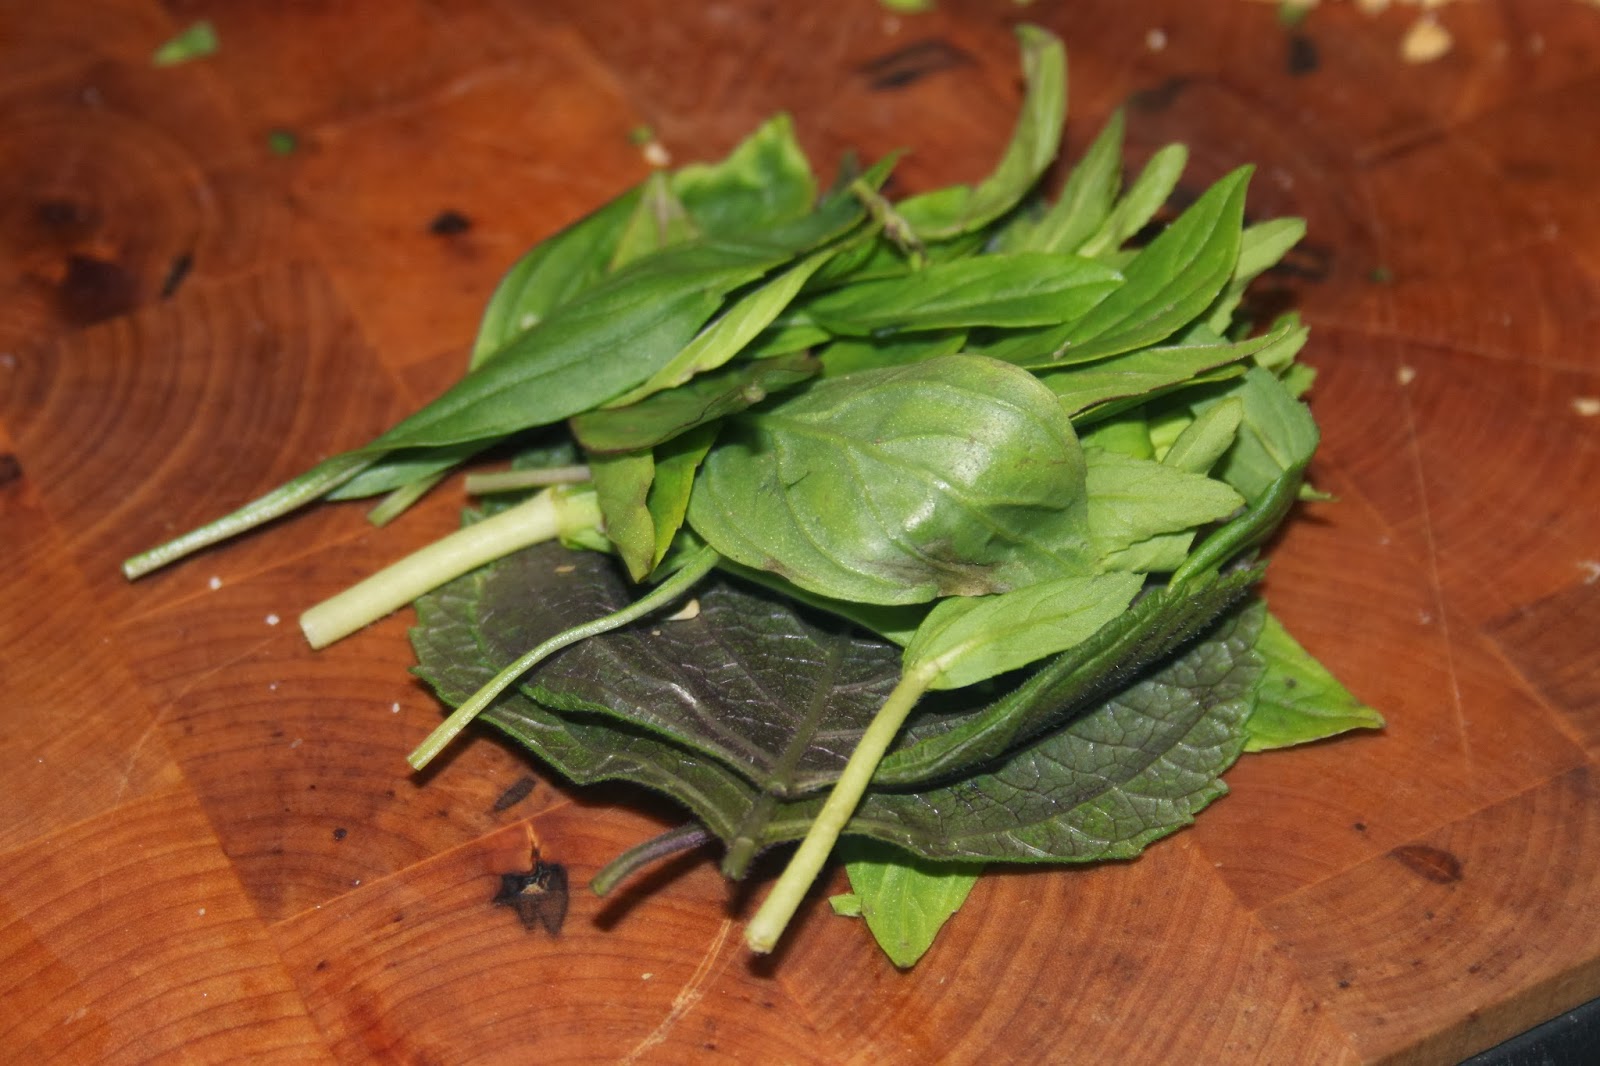
Per serving (per person) put 2-3 Thai basil leaves, the same of shiso leaves, ma-om leaves. The latter is probably harder to find (although if you have a place where you can find shiso and Thai basil leaves, you should be able to find the ma-om) but you can replace it with mint (using half as much). 


Roll up and finely chop with a knife. 
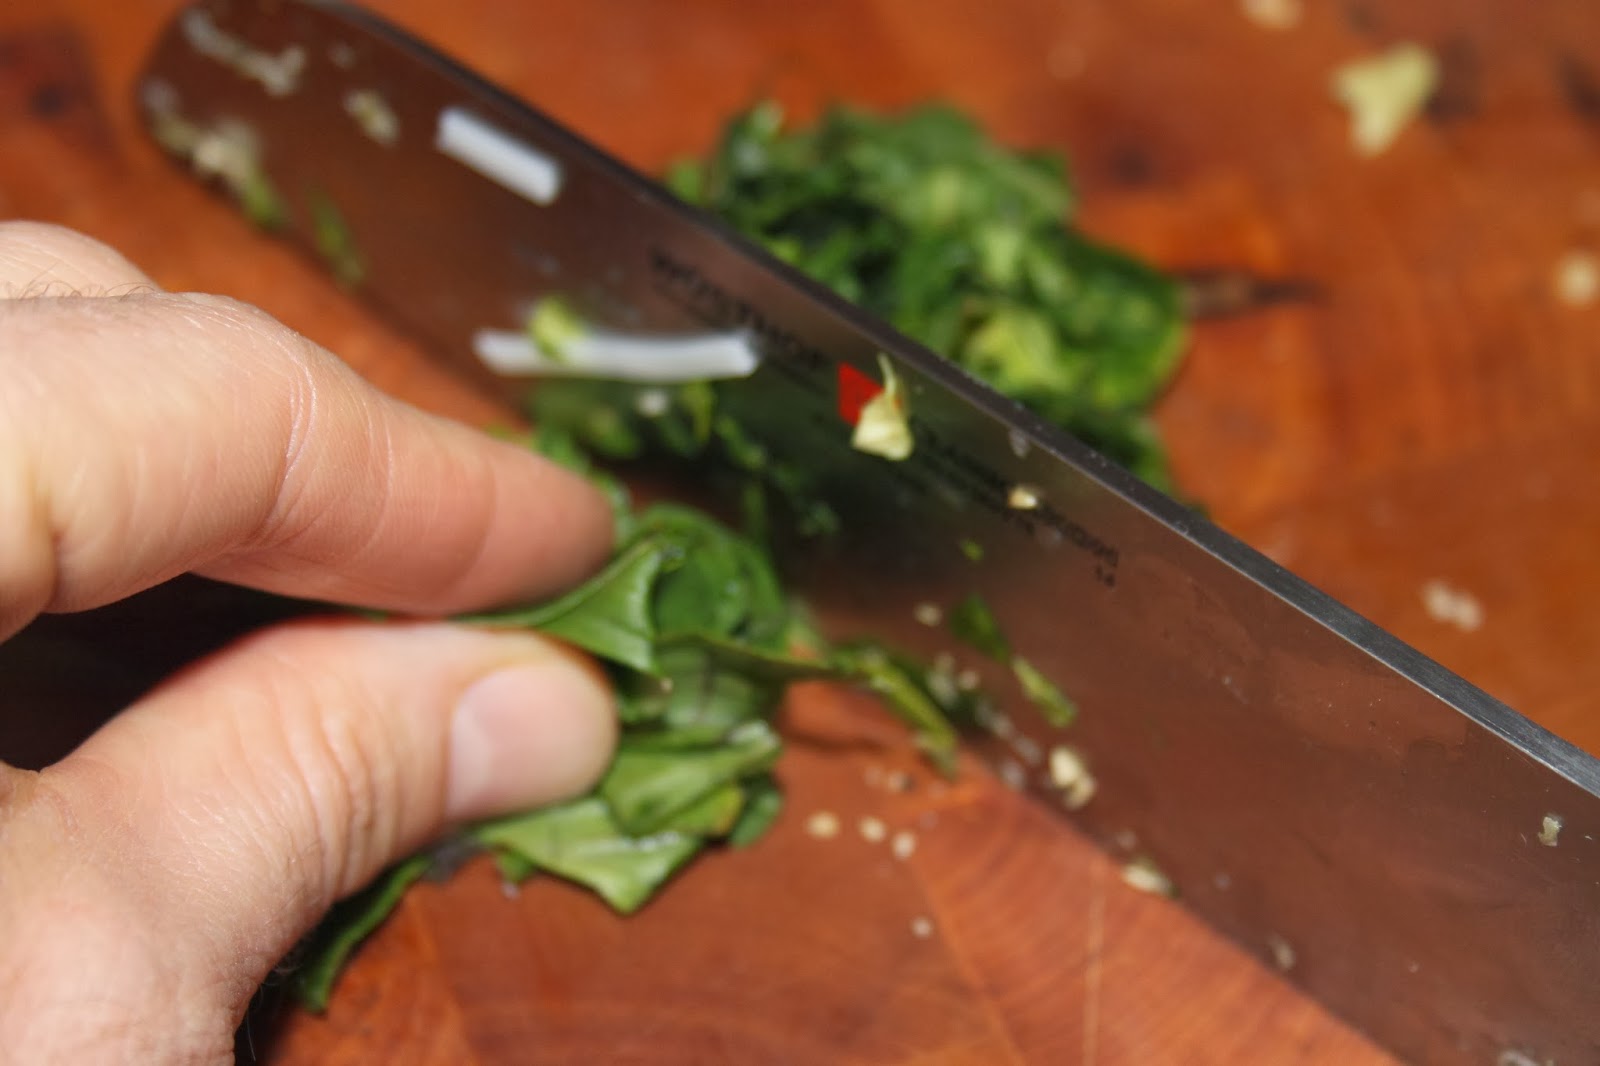


Also chop the Chinese onion (one per person). 


For each person, place the salad, a handful of cooled and drained noodles, herbs, mung bean sprouts and peanuts. 


Add three to four tablespoons of sauce (one quarter of your sauce per person) and one tablespoon of oil. 


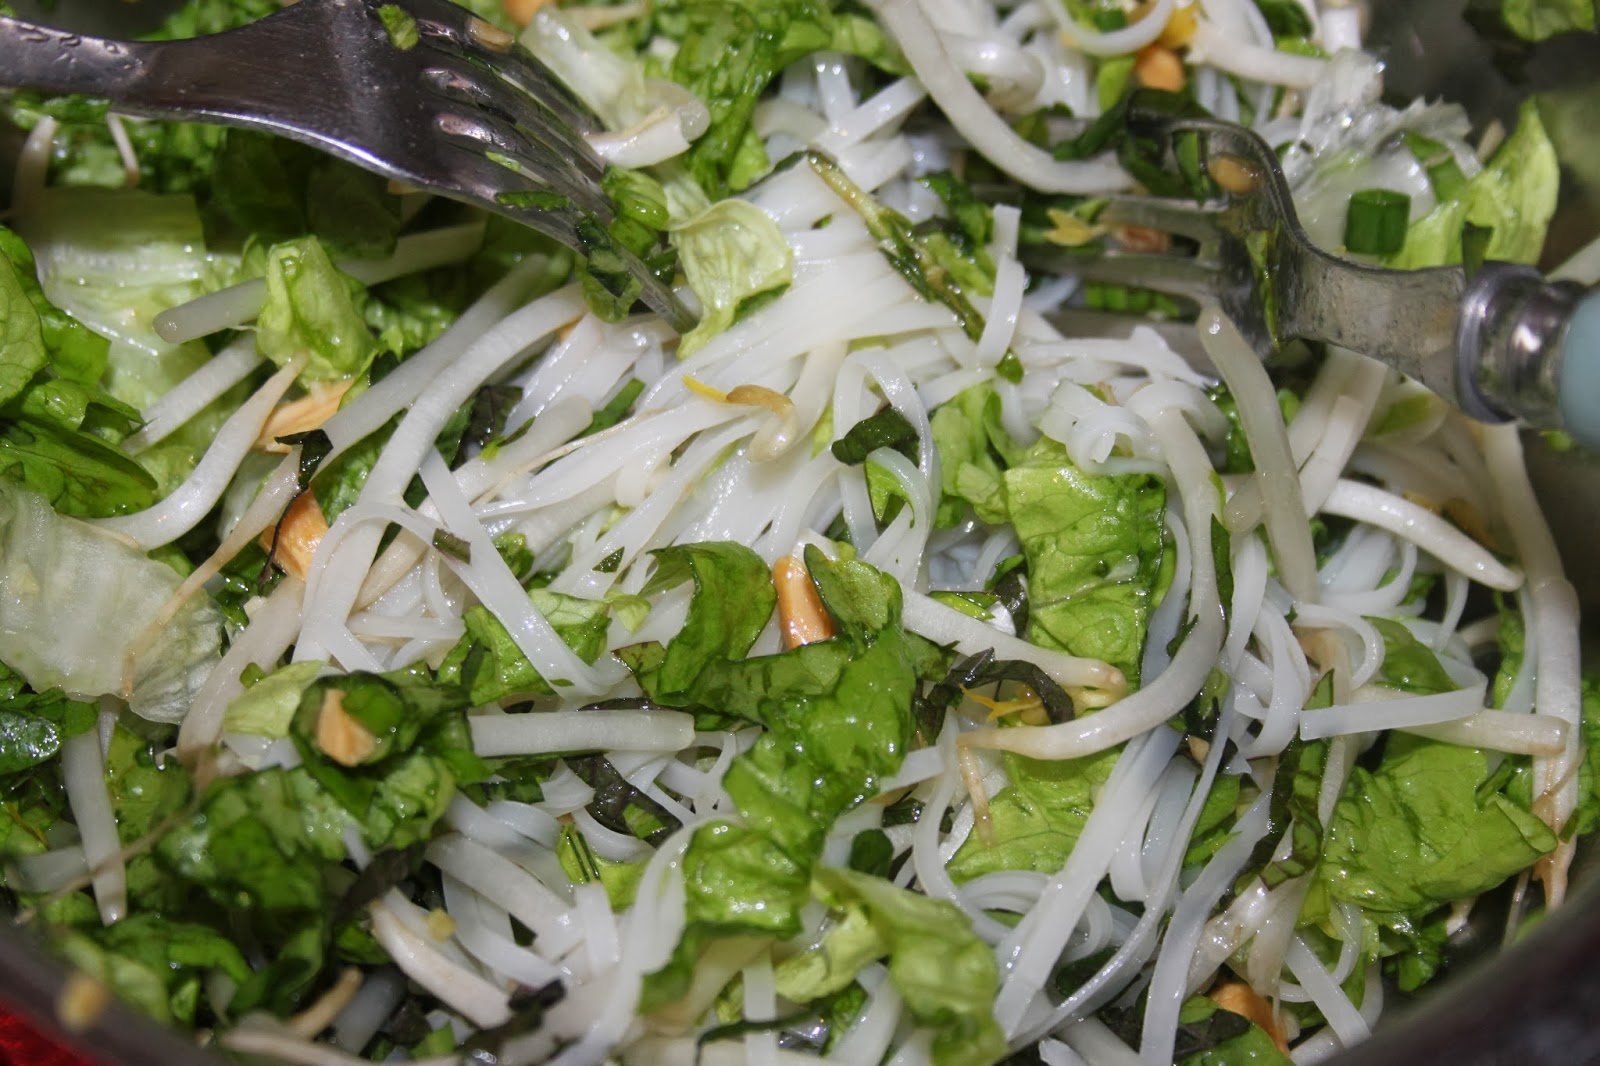
Mix the salad. 


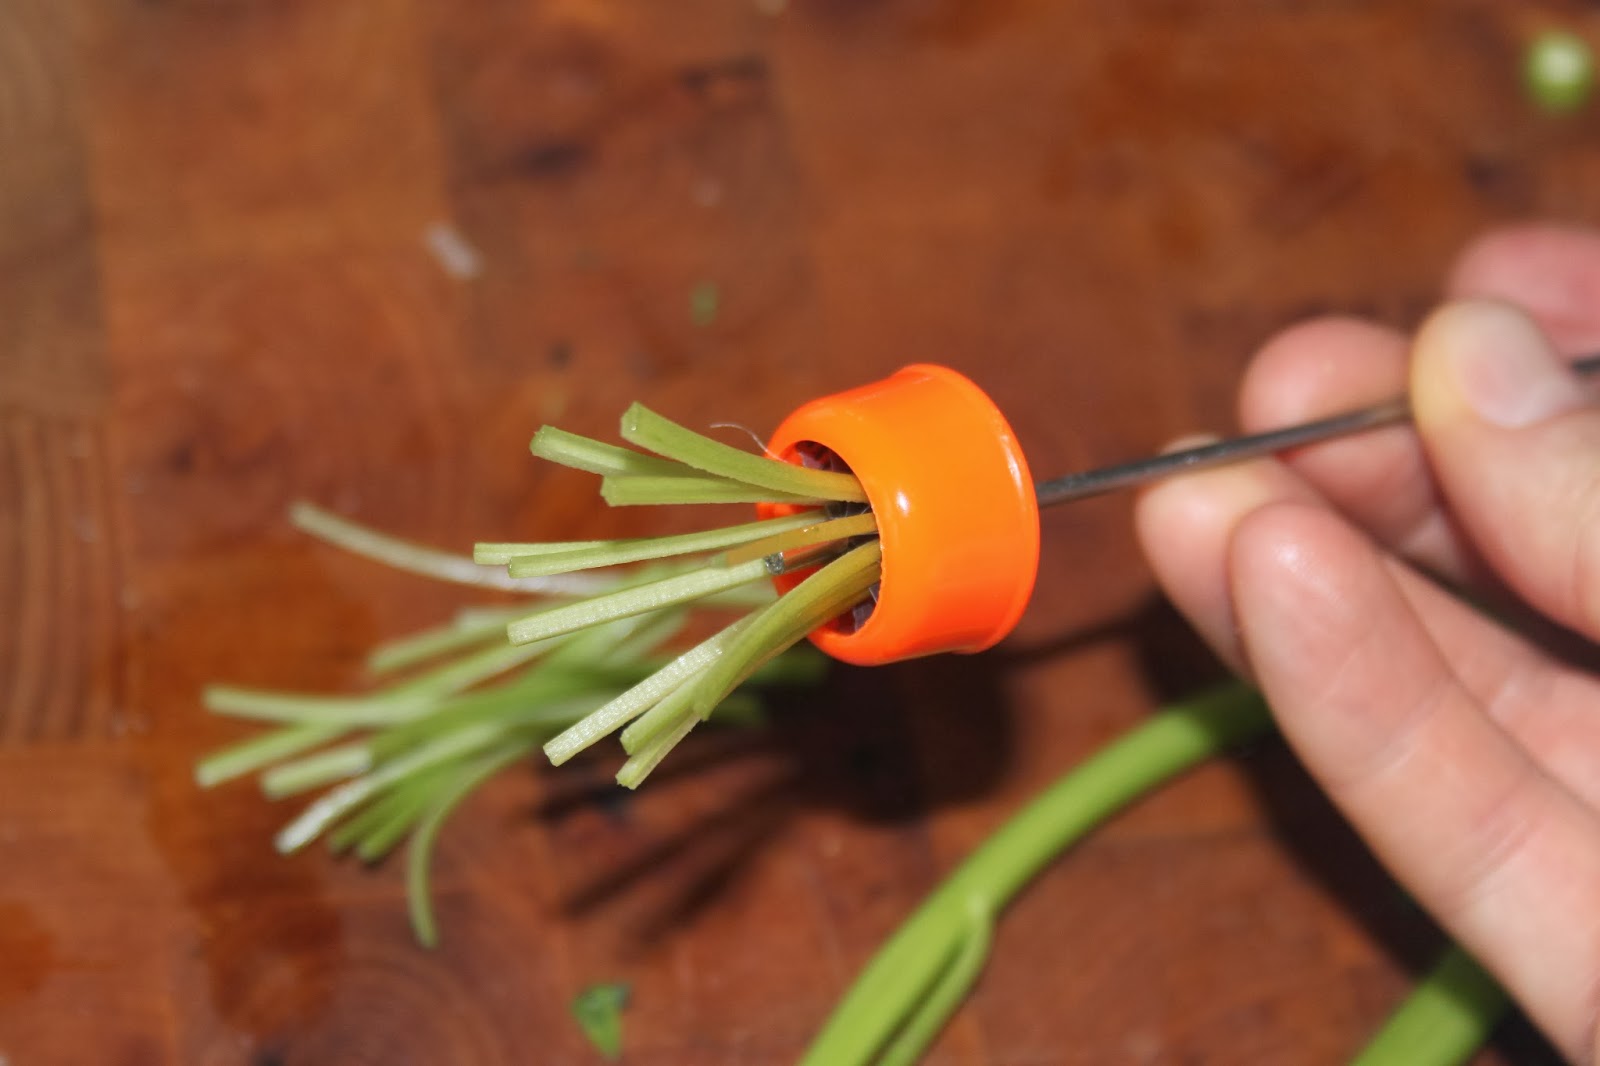
Here is the moment I love: the presentation of a new improbable kitchen instrument! Wash and remove the leaves from the water bindweed. 


Here is my bindweed cutter: a large metal rod…


And at the other end, a cylinder with 12 blades. 


Place the bindweed in the stem (the water bindweed is hollow). 
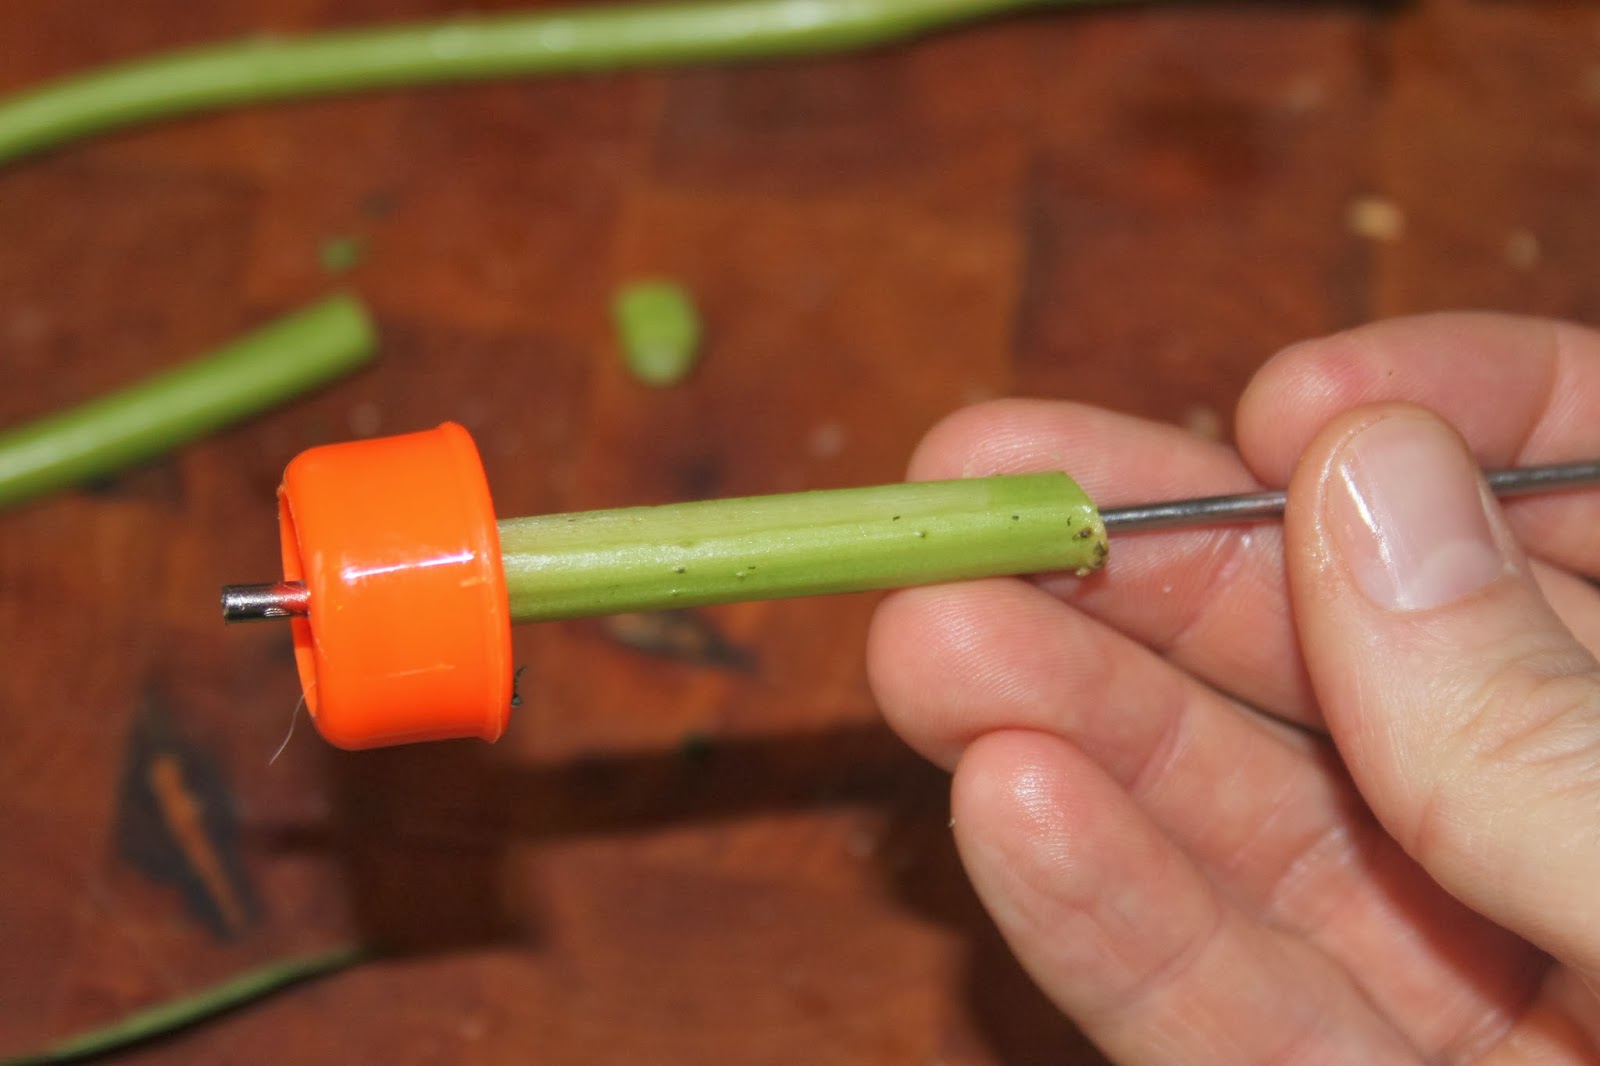


Push, the bindweed is cut! Magical! Of course, you can do without bindweed and even more so without the cutter. It was just for the beauty of the utensil ! If you put the bindweed, simply cut into strips. 


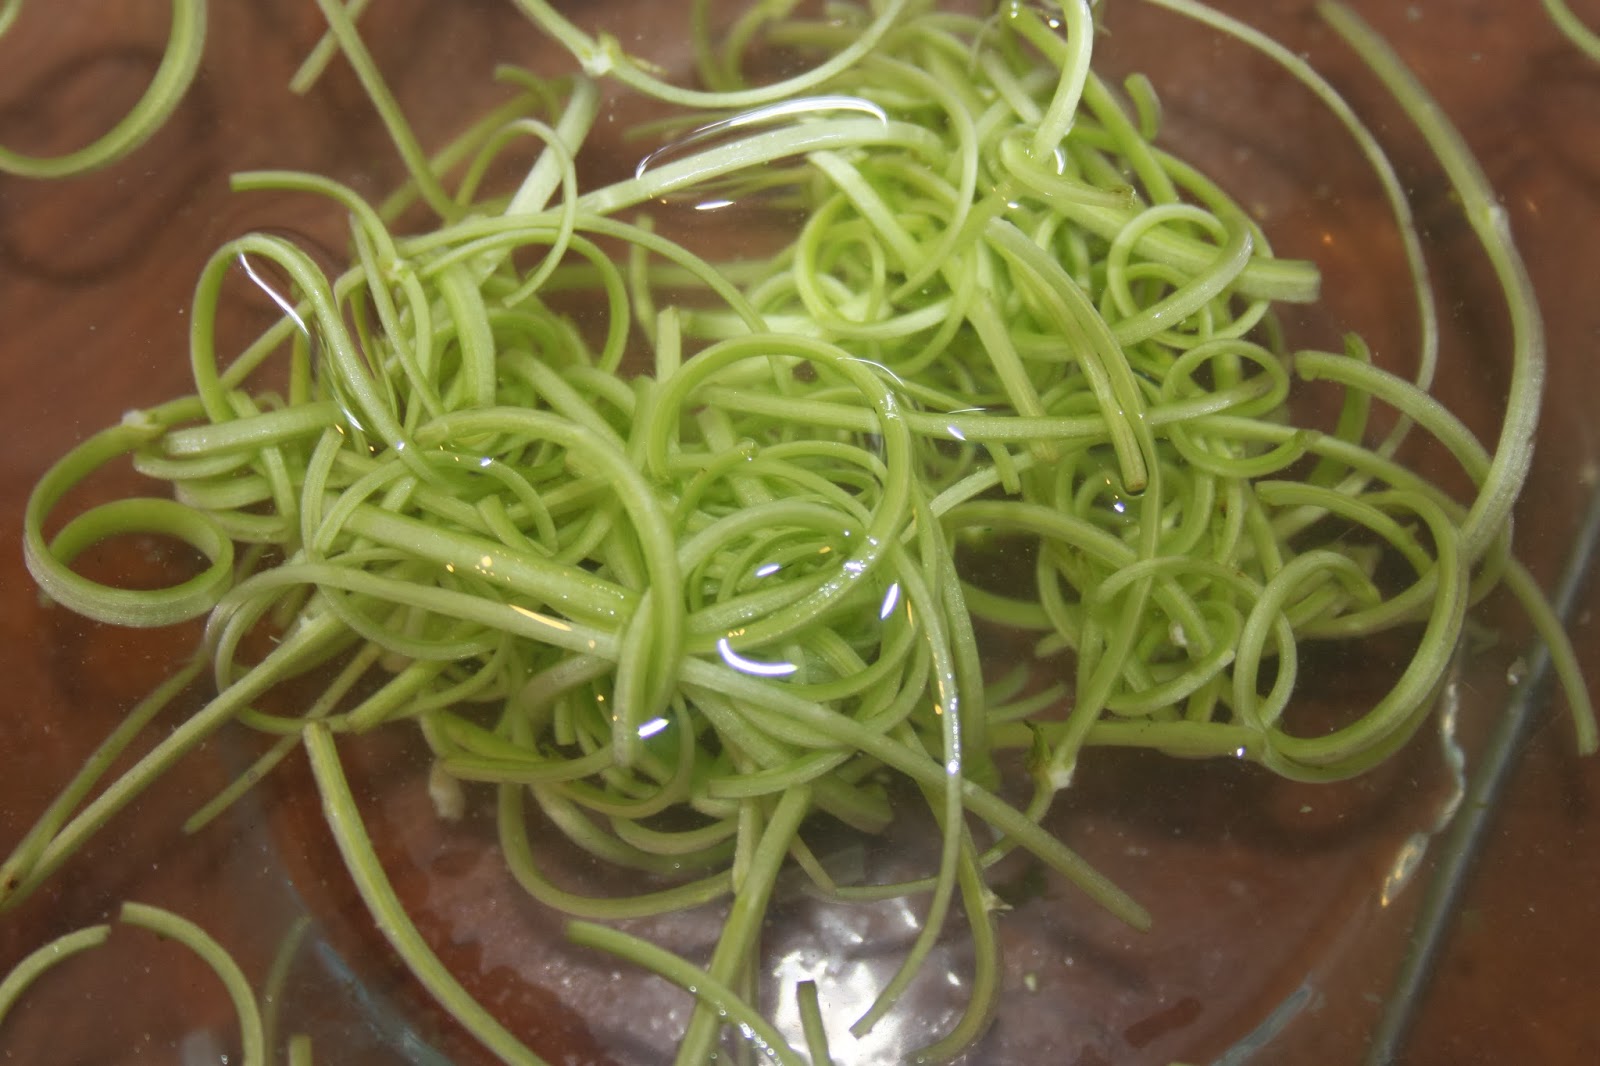
Then place the thin slices of bindweed in a bowl of cold water. 
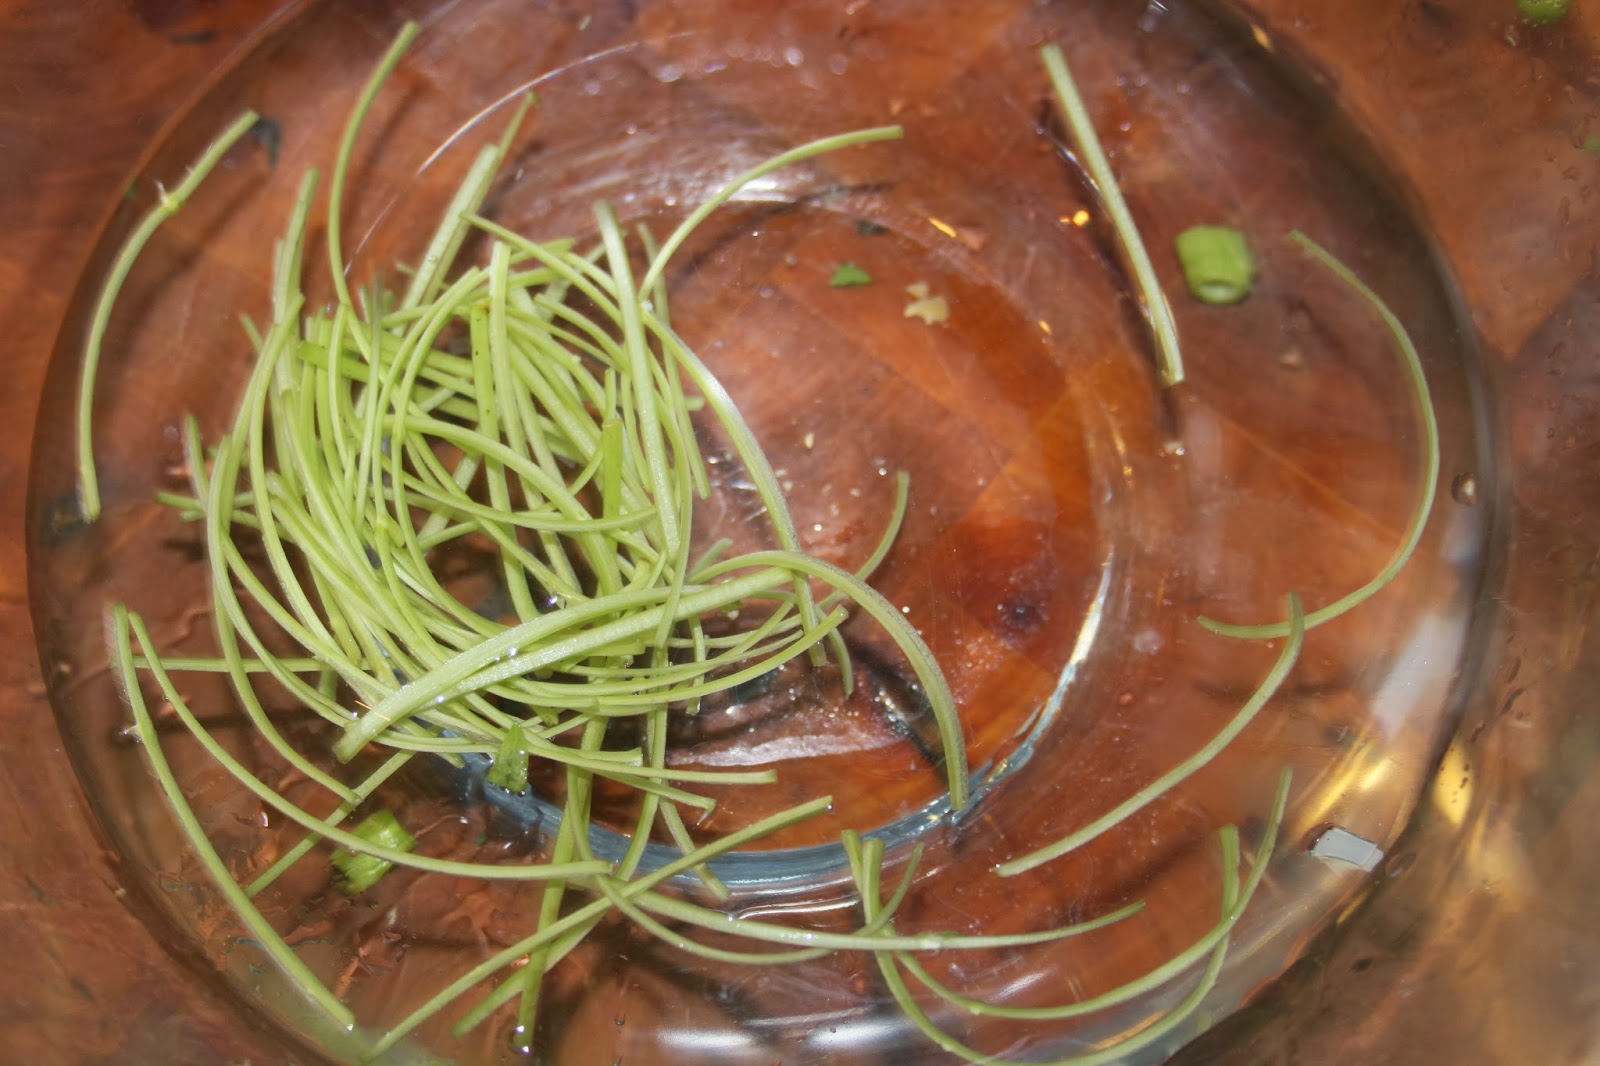


In a few minutes, the bindweed twists like bolduc. 


Add it to the salad, keeping some for garnish. 
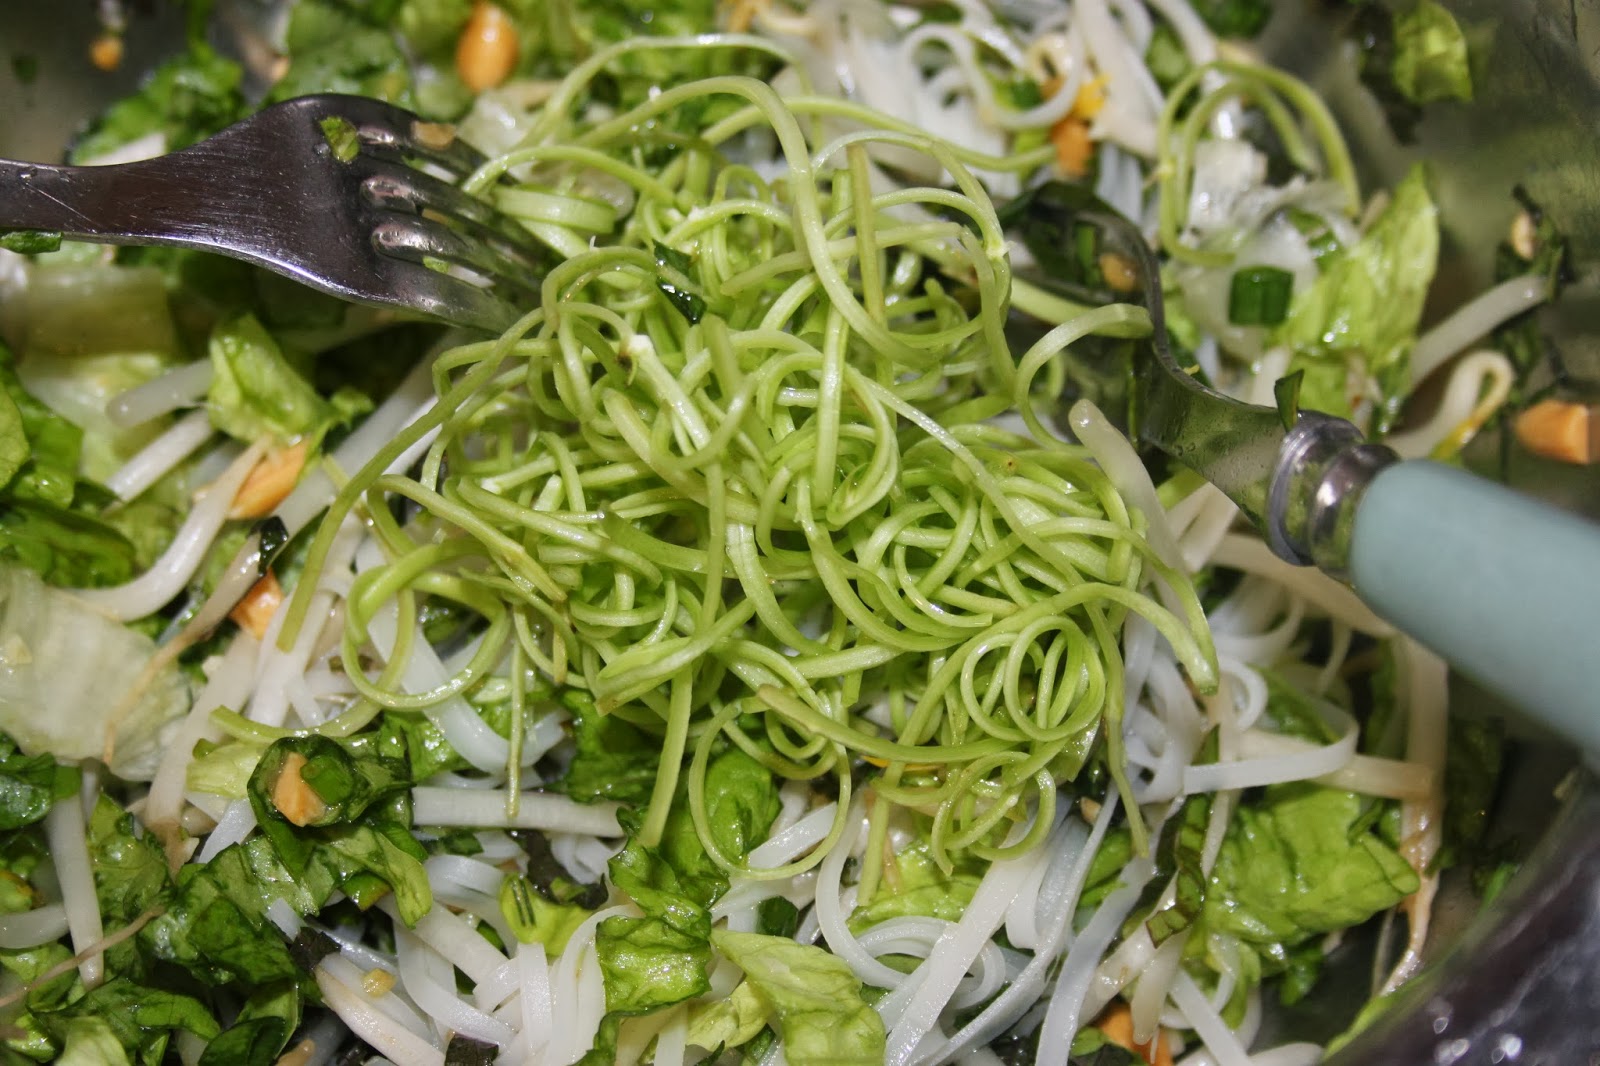


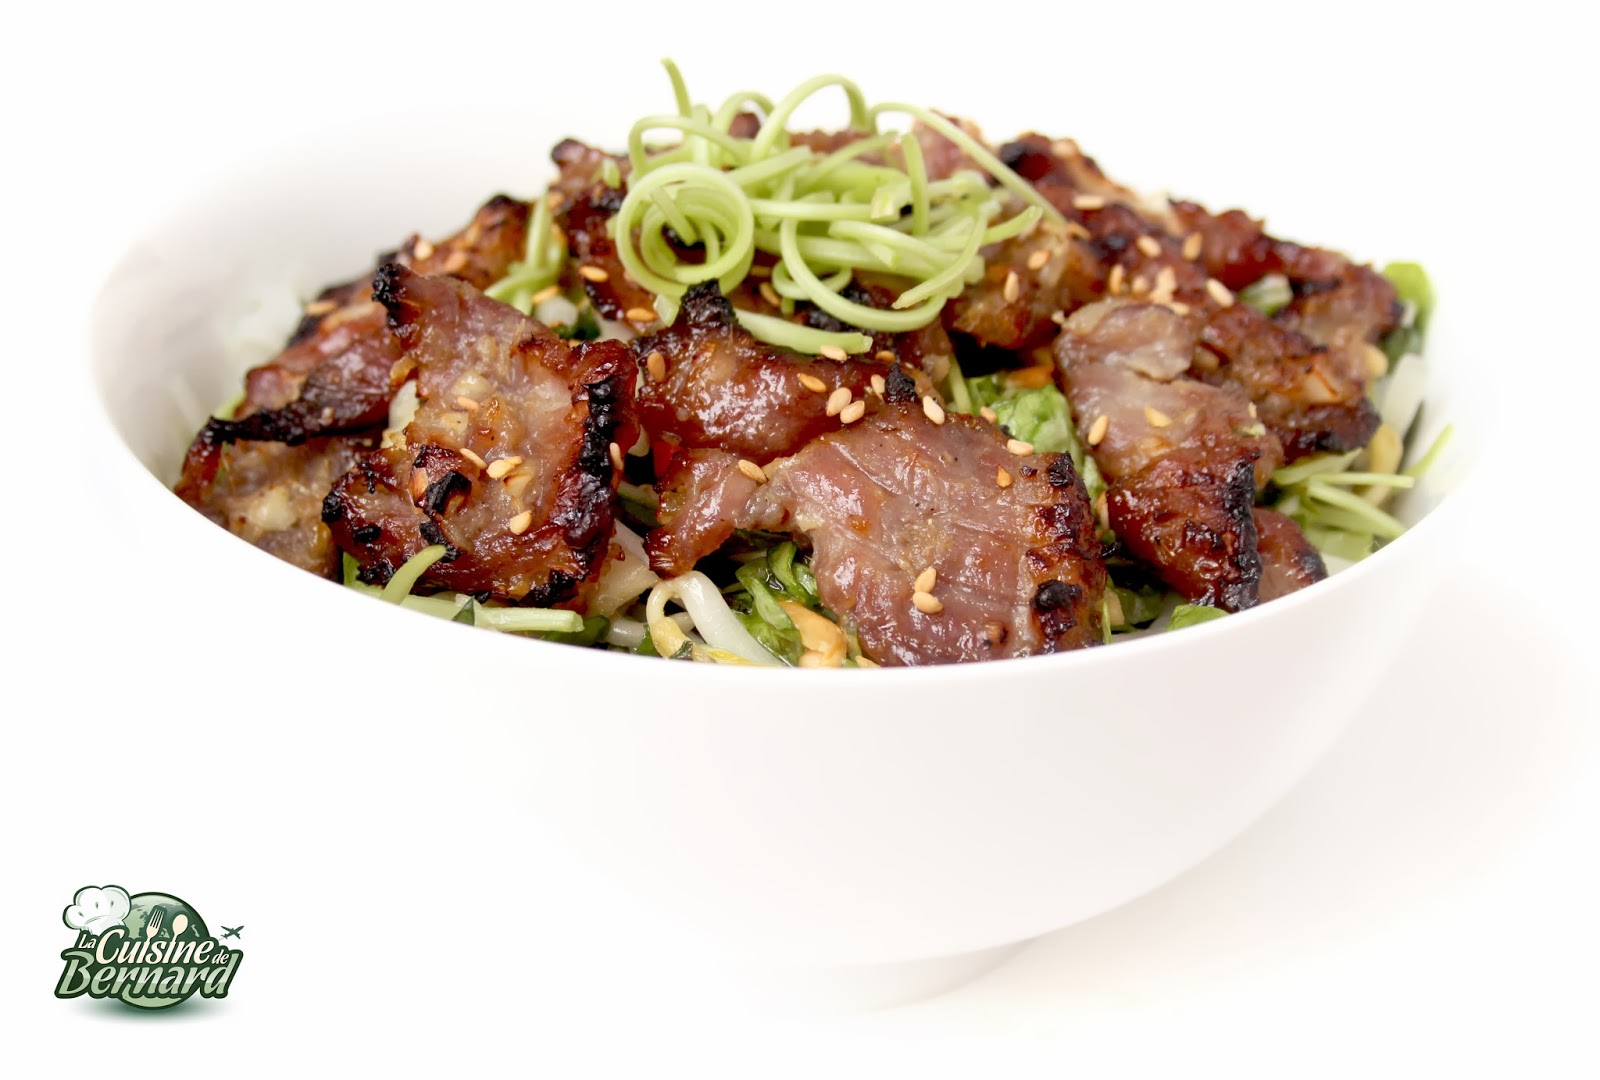
Pour  each serving into a large bowl. 


Then sprinkle with grilled pieces of marinated pork.
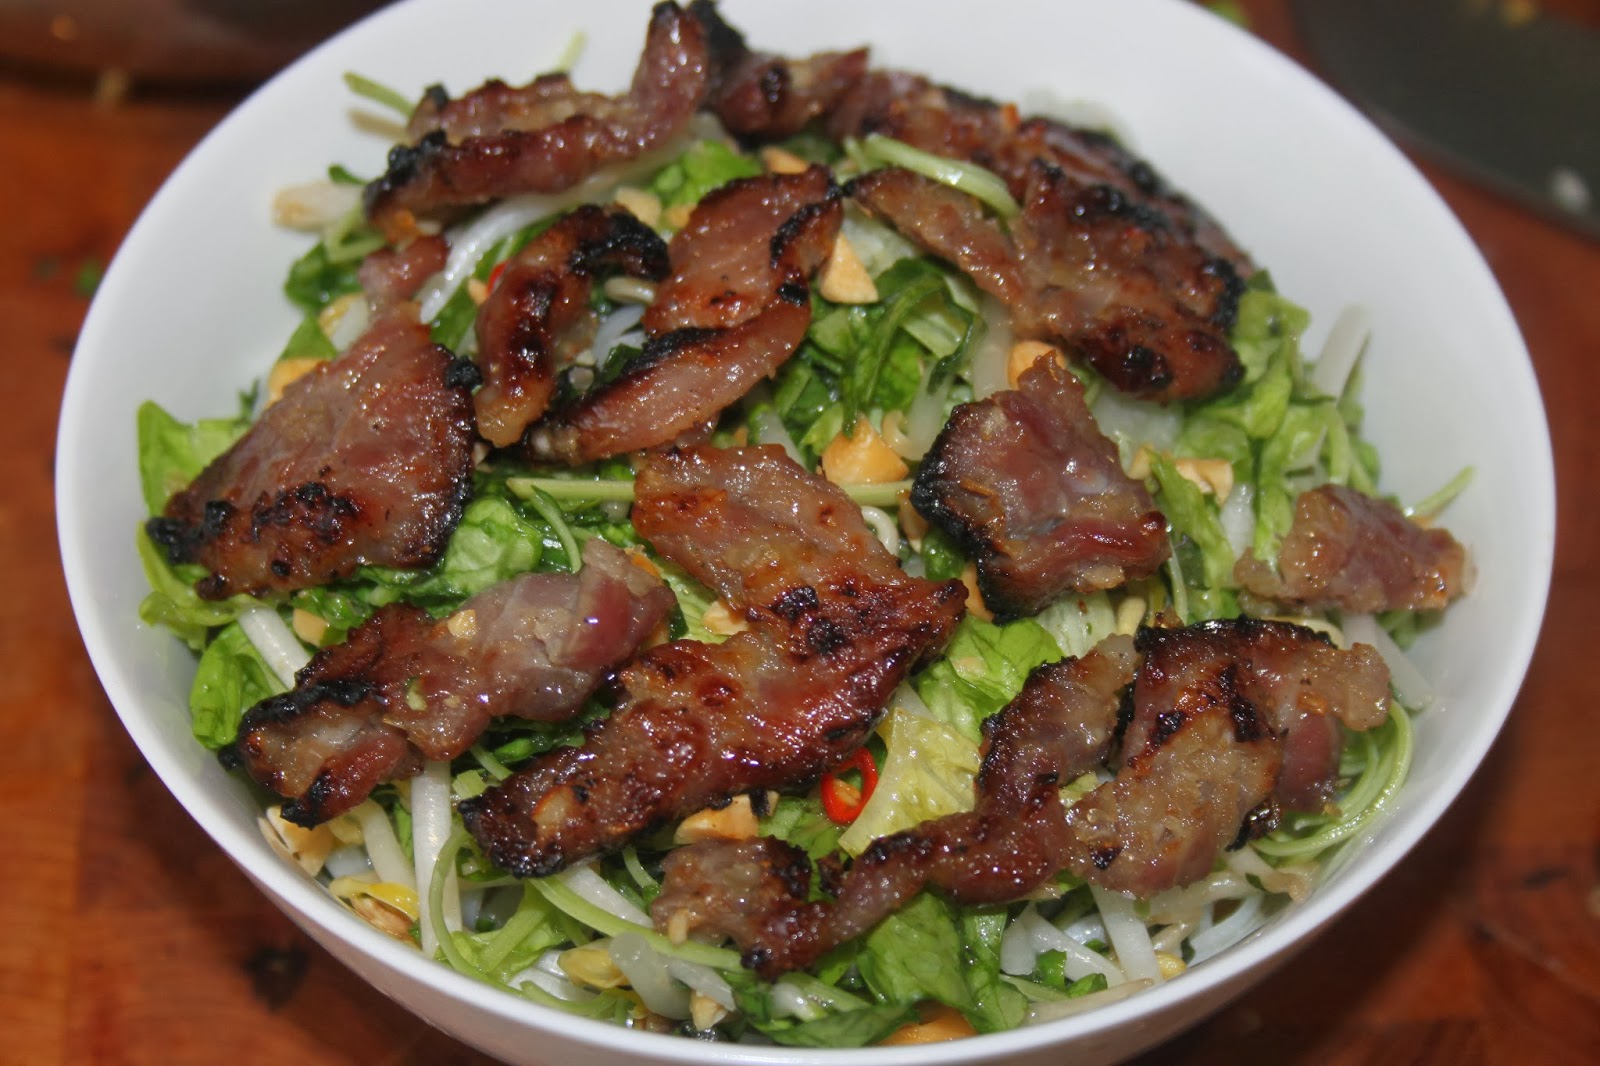


If you have some on hand, sprinkle with a few toasted sesame seeds. All you have to do is serve and enjoy…! With chopsticks of course ! 
]]>
https://stagingapp15670.cloudwayssites.com/en/vietnamese-salad-with-caramelized-pork/feed/ 0
Chicken with Pomelo and coconut milk with satay https://stagingapp15670.cloudwayssites.com/en/chicken-with-pomelo-and-coconut-milk-with-satay/ https://stagingapp15670.cloudwayssites.com/en/chicken-with-pomelo-and-coconut-milk-with-satay/#respond Fri, 23 Jun 2017 02:16:00 +0000 https://stagingapp15670.cloudwayssites.com/chicken-with-pomelo-and-coconut-milk-with-satay

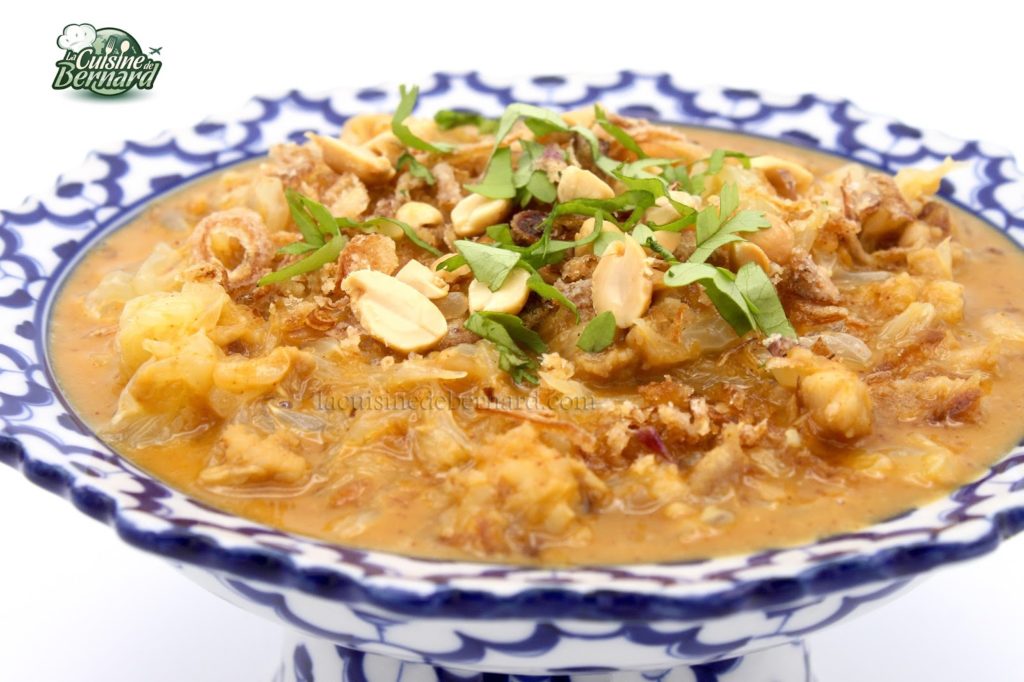
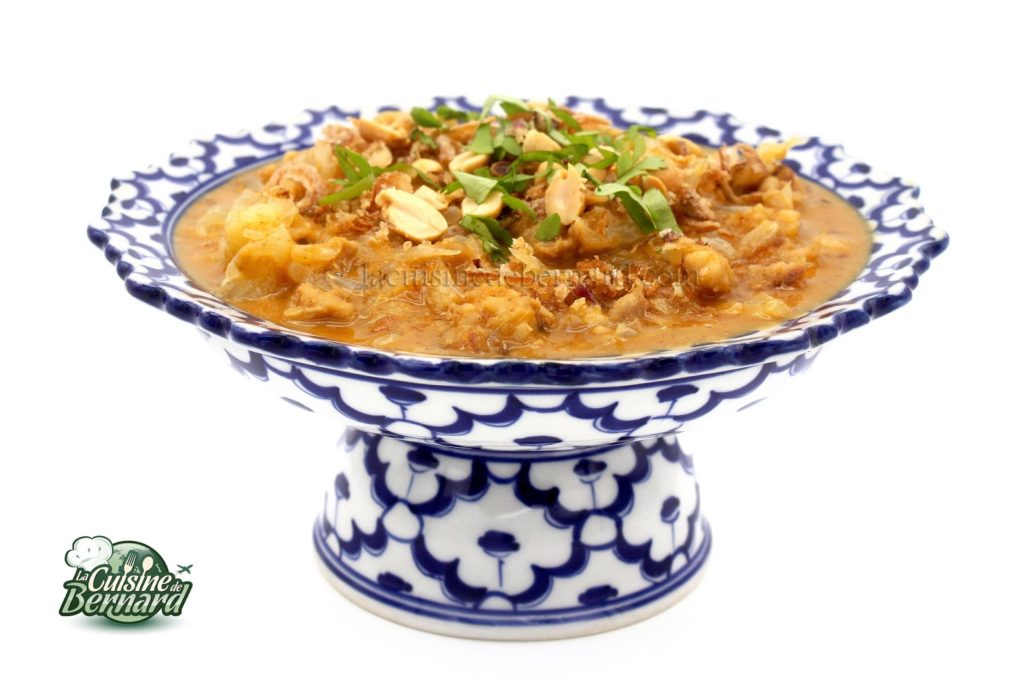
Here I am again after a little absence on the blog. As I told you, I have several projects on the go and I especially need to finish writing my 4th book (already!!) which will be released in October. I went back to Bangkok recently and tasted in a small street restaurant this recipe that doesn’t look like that, but is just absolutely delicious! I asked to be present at the making of it (I devoured it 3 times) and I have all the necessary elements to reproduce it identically. It is chicken cooked in coconut milk, with satay sauce and Thai chili paste, with roasted peanuts and fried onions. It’s a lot less heavy than it sounds, because there’s also pomelo, that big fruit that looks like grapefruit. It is even the main ingredient of the recipe. The dish is ready in a few minutes in the wok. The most time-consuming part is peeling the pomelo. I really enjoyed making it again in my kitchen and I found the flavors of the original dish. There is still room for the Thai cooking class on Saturday June 24th at 2pm (tomorrow!!) see HERE.

For 4 people : 

  • 4 chicken thighs
  • 20cl of coconut milk
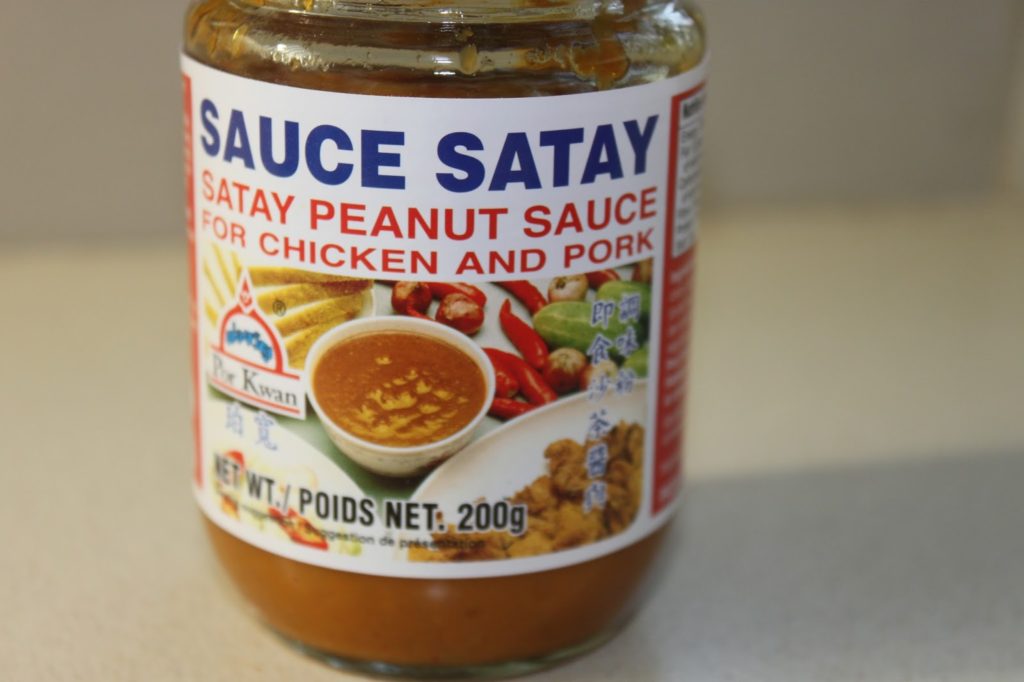
  • 100g of satay sauce
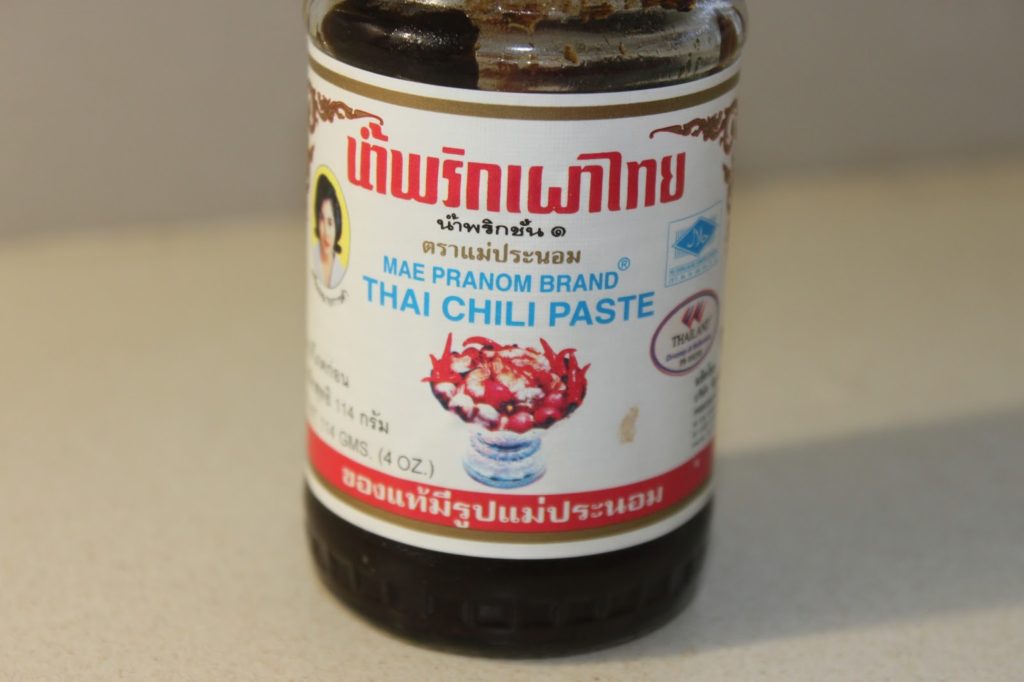
  • 60g of Thai chili paste
  • 900g pomelo flesh (peeled weight)
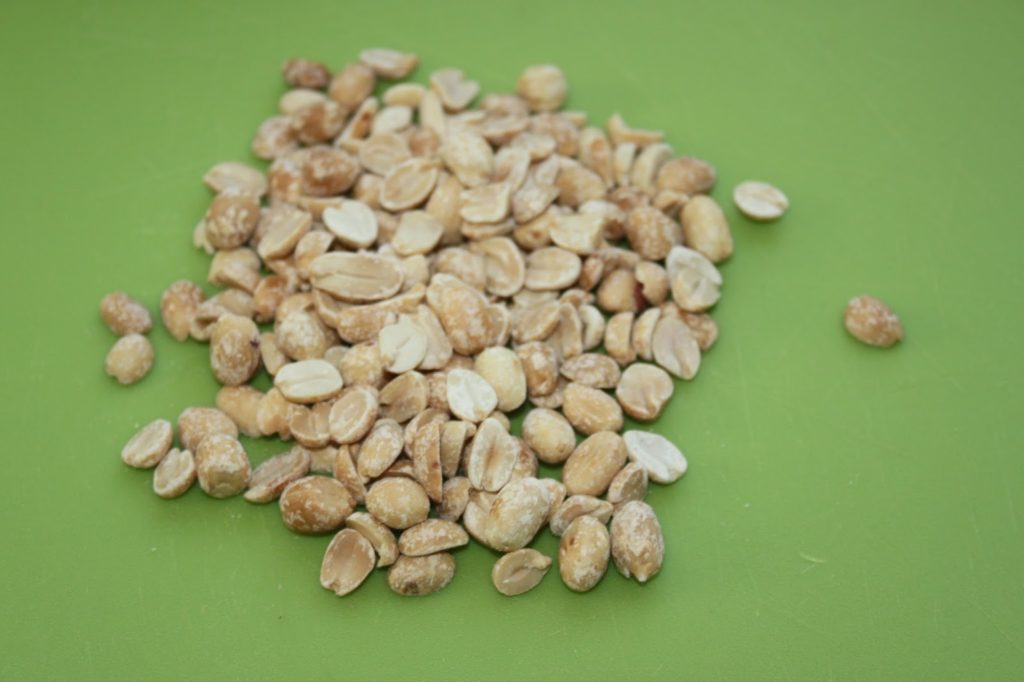
  • 40g unsalted roasted peanuts
  • 40g of fried onions (in jar)
  • 20g of brown sugar
  • 15g of nuoc mam


To serve

  • fried onions, roasted peanuts, fresh coriander
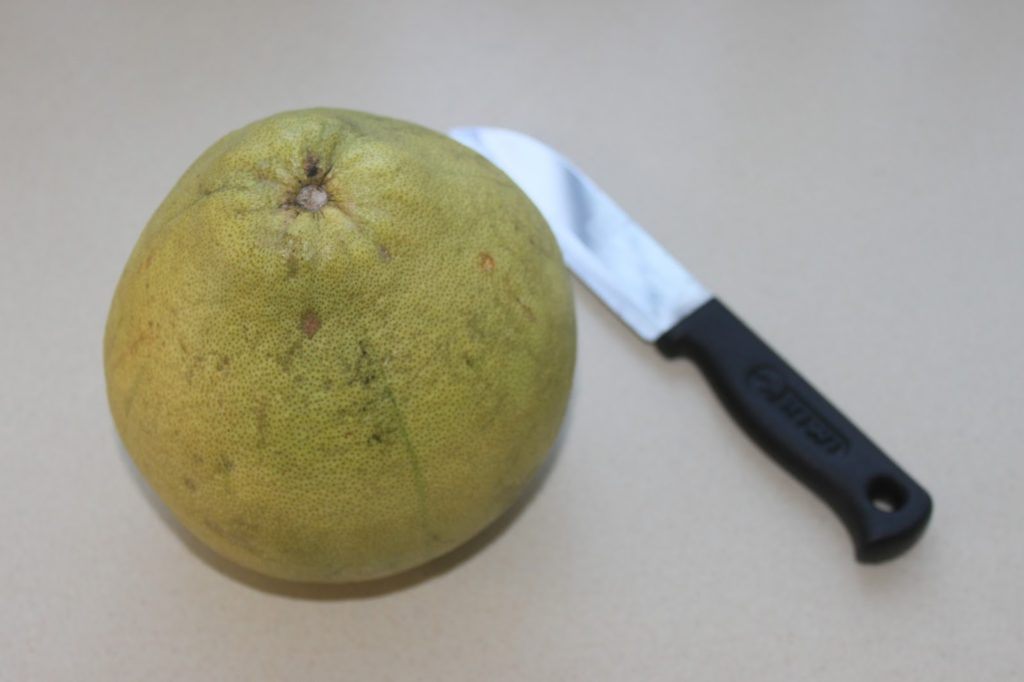
First, open your pomelo. For this recipe, choose a yellow-fleshed pomelo. 

Remove the skin and carefully remove the flesh.
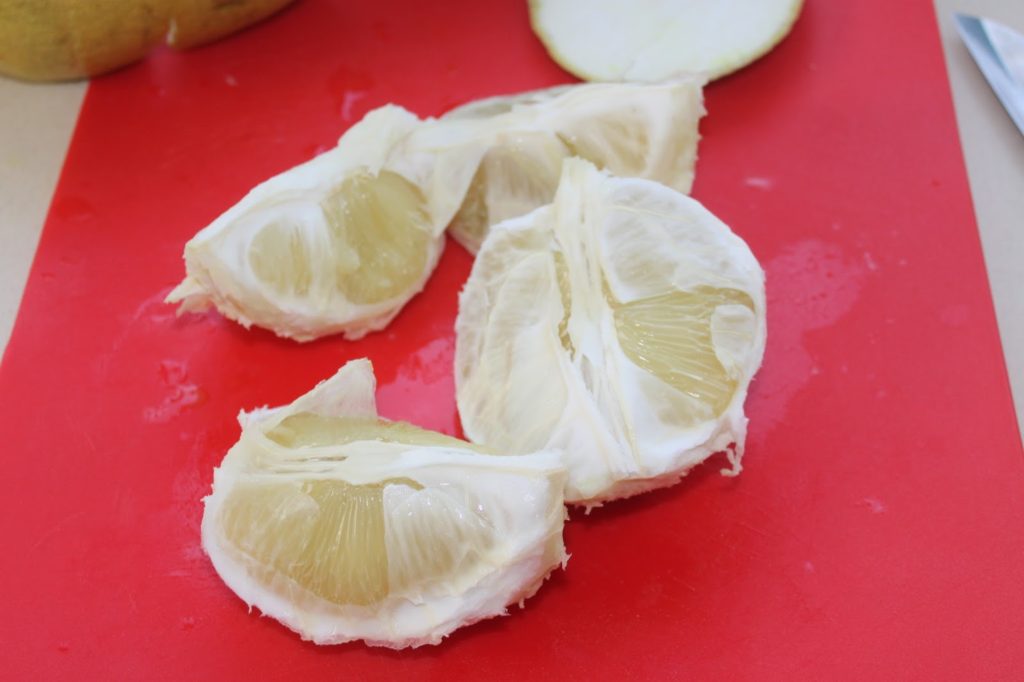
Crumble it roughly without crushing it.

Remove the skin, bones and cartilage from the upper thighs.
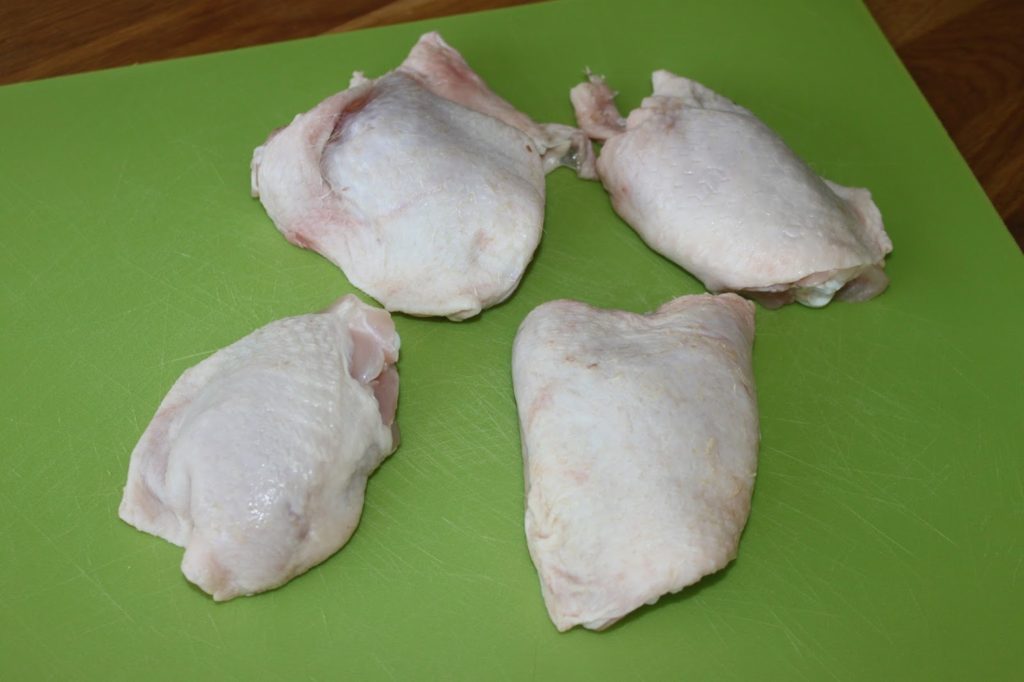
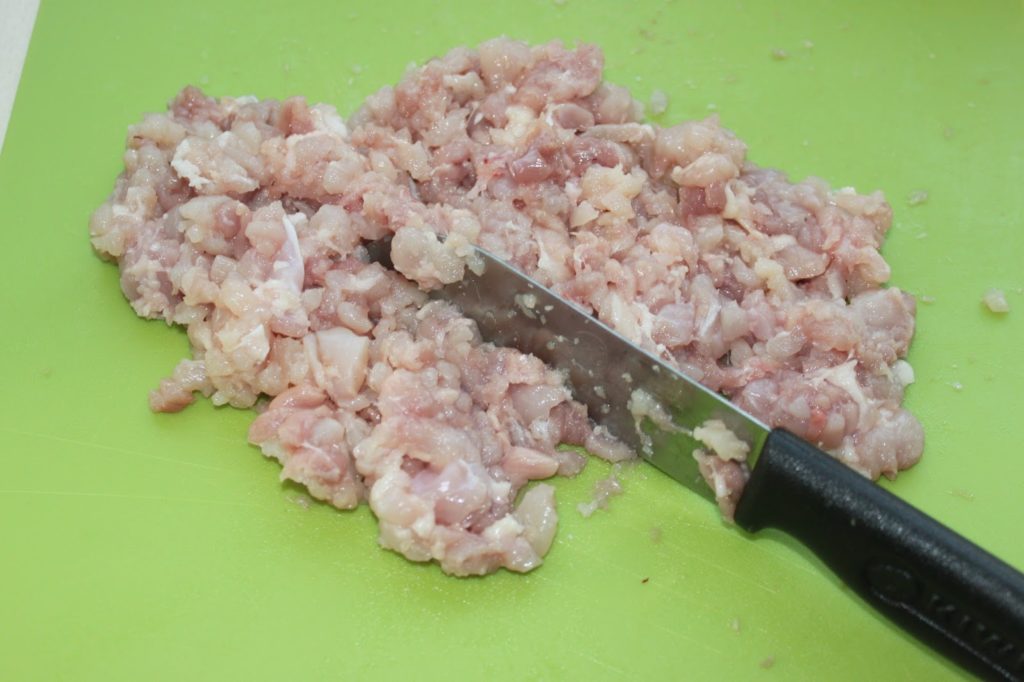
Cut the flesh into pieces.
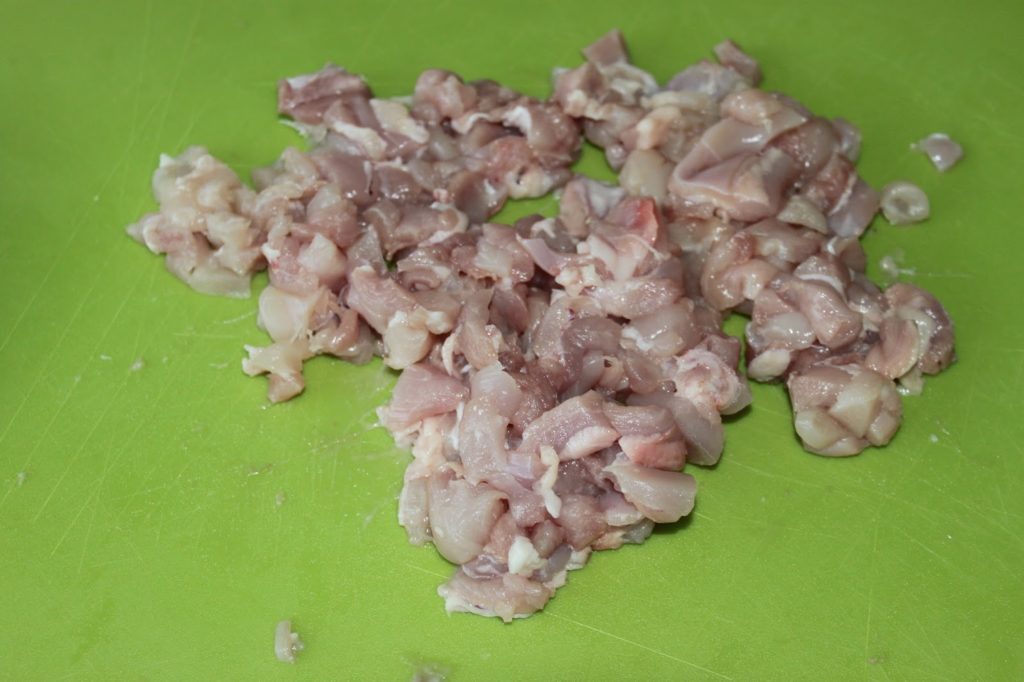
Then chop it as finely as possible.
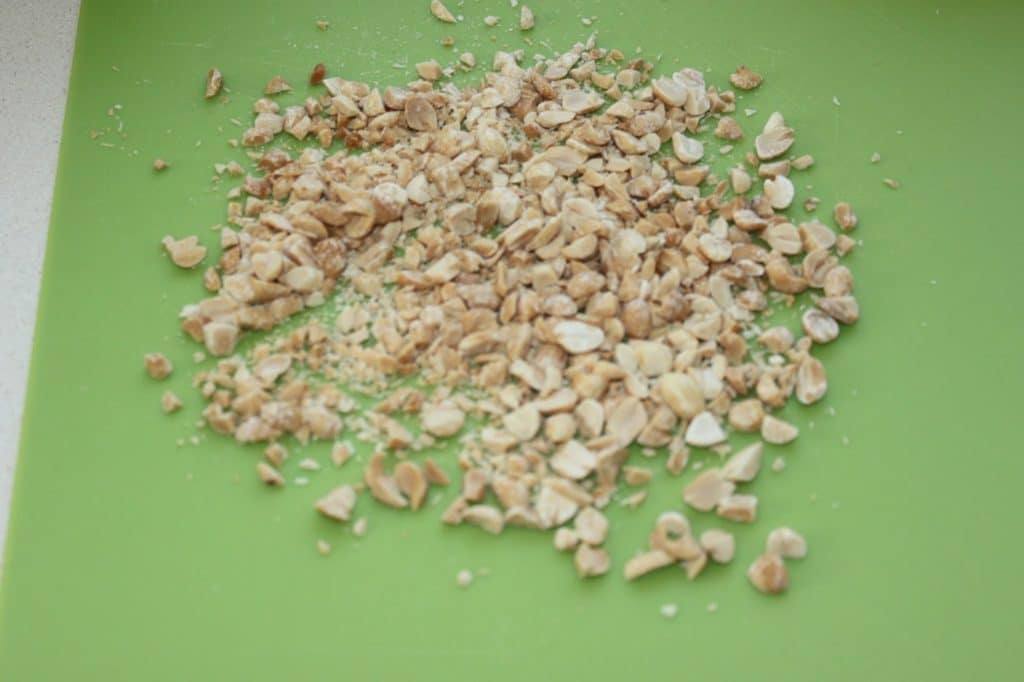
Also chop the unsalted roasted peanuts.
Today, satay sauce is easily available. It can also be homemade (see my recipe HERE), but for this dish, it’s just as easy with a ready-made one. 

Thai chili paste can be found under several brands. Here is one of the best known. Despite its name, it does not sting at all! So no fear, the final result is not at all spicy (yet I love when it stings!). 

Put a tablespoon of oil, the coconut milk and the chopped chicken in the wok over fairly high heat.

Add the satay sauce and Thai chili paste.
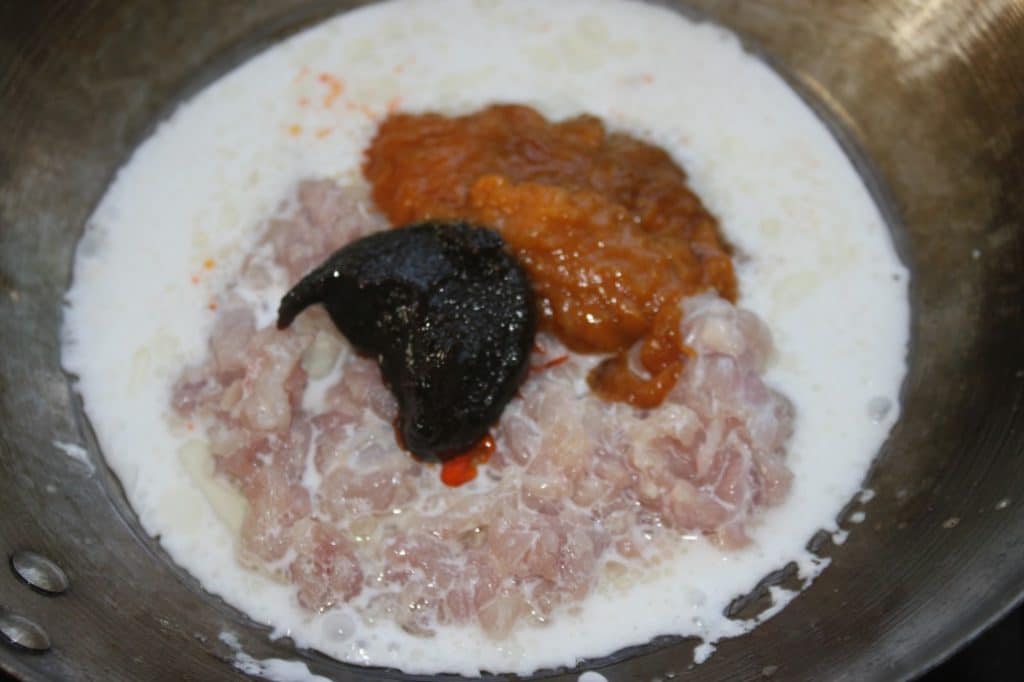
Stir all the time, scraping the caramelized sauce off the edge of the wok. The sauce should be creamy before adding the rest.
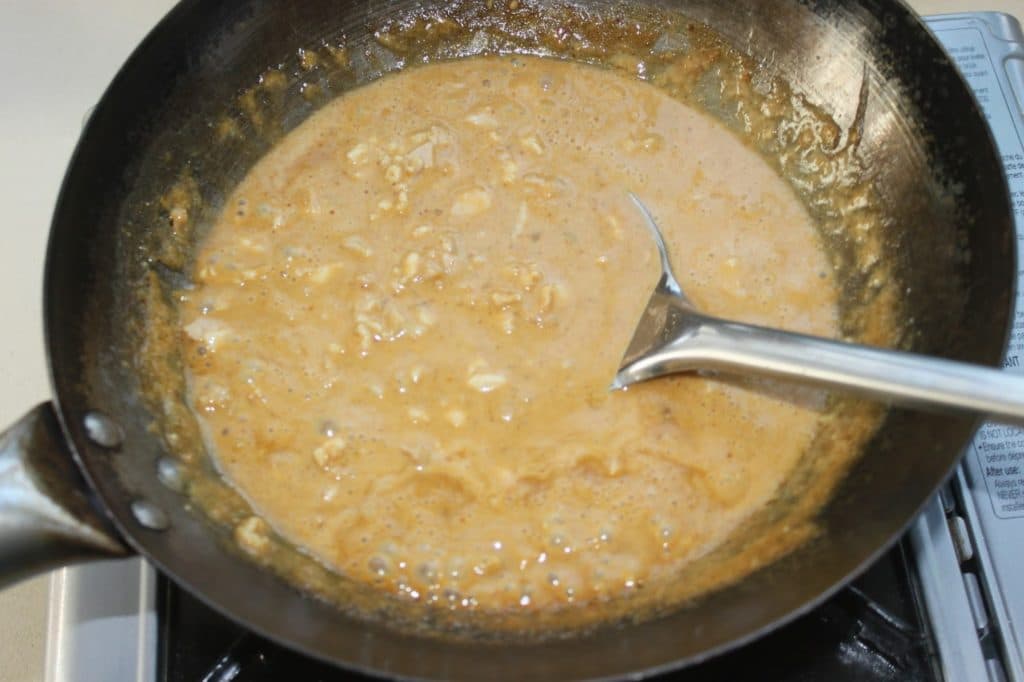
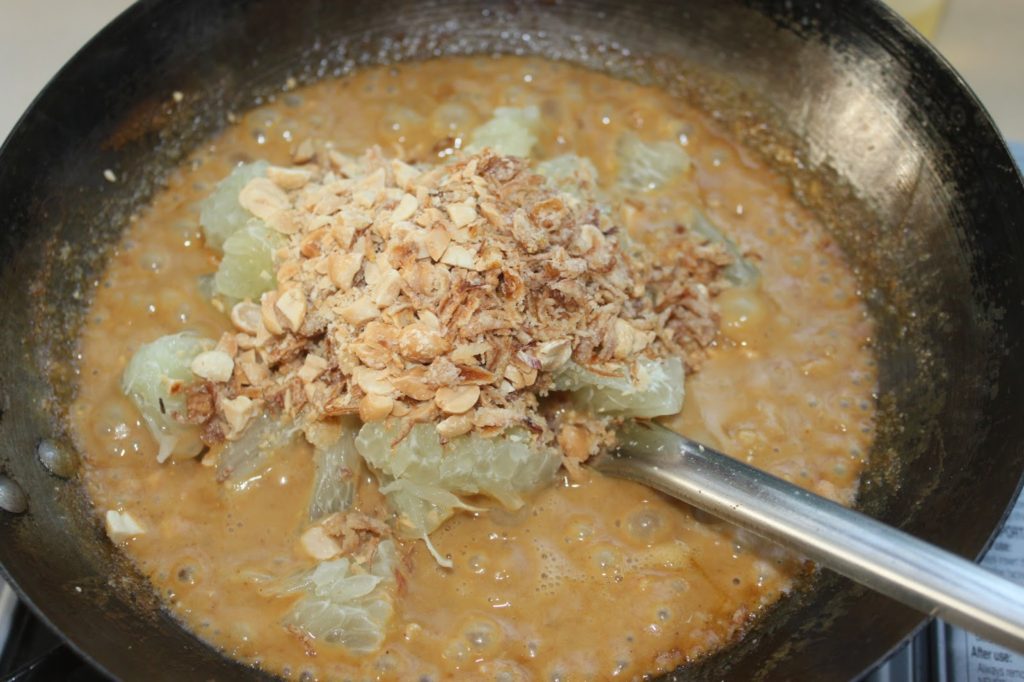
Add the pomelo, fried onions and chopped peanuts when the chicken looks cooked.
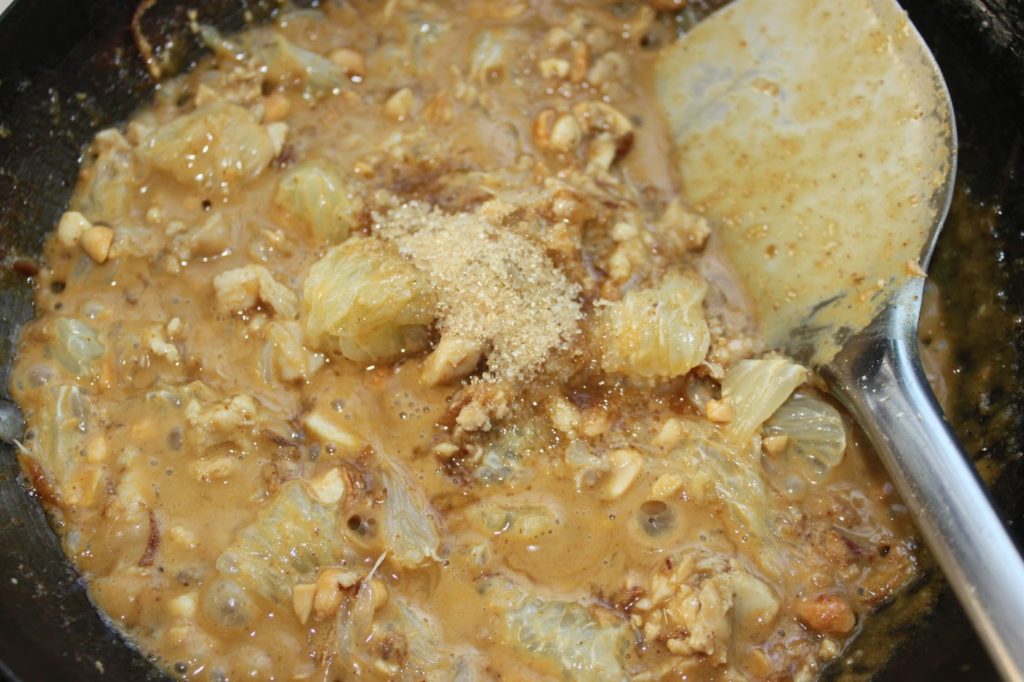
Pour in the brown sugar and the nuoc mam.
Mix again and cook for 2-3 minutes.
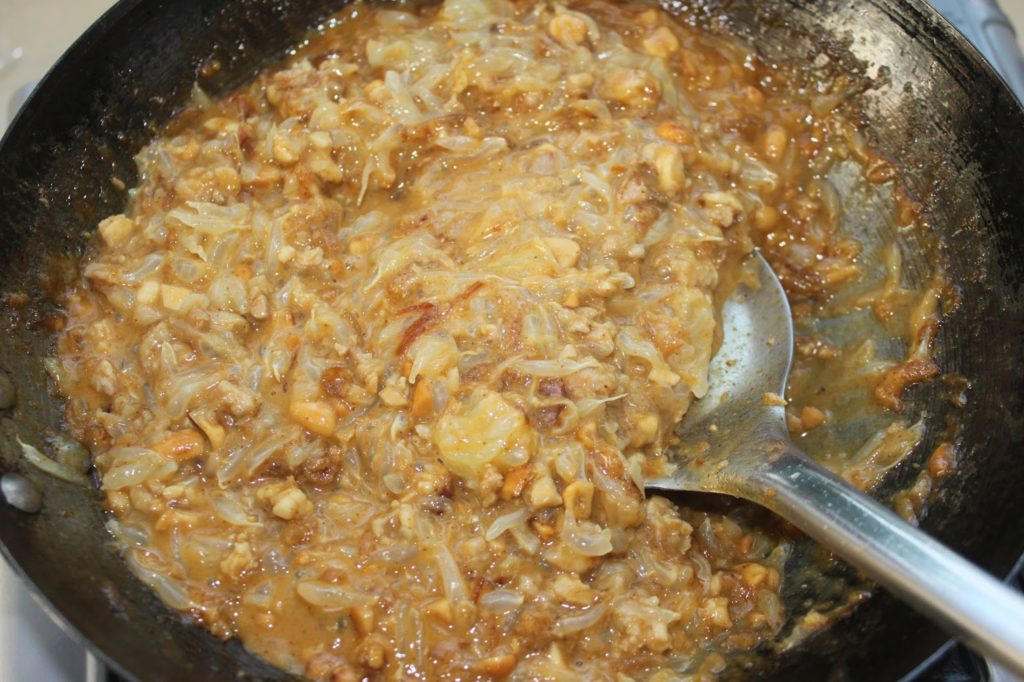
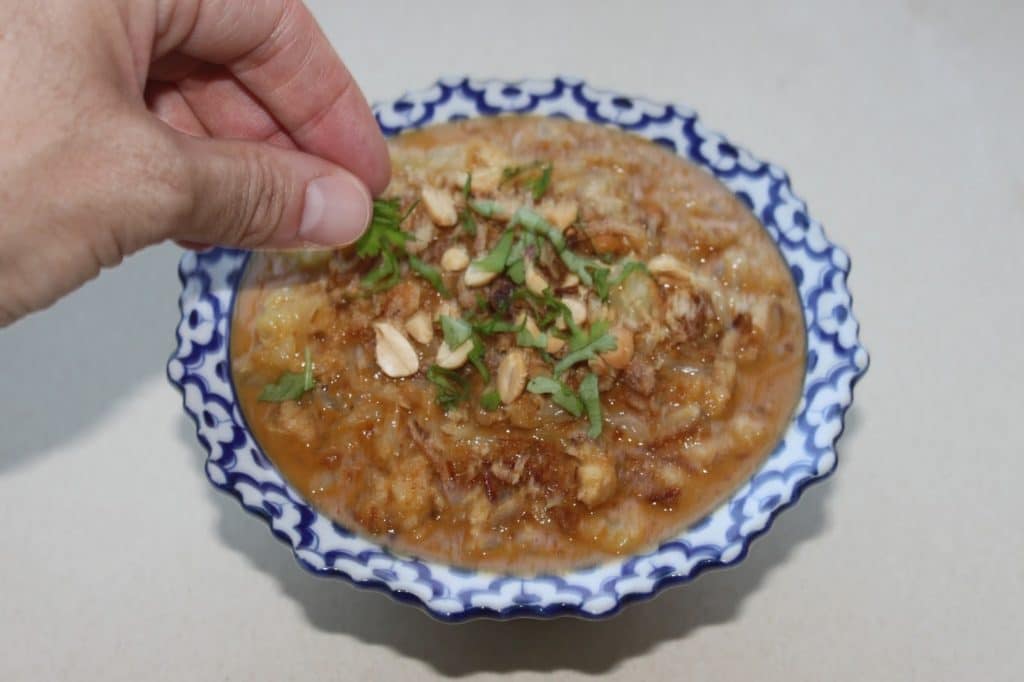
In a few minutes the dish is ready. Do not overcook, as the pomelo will give off too much juice. 

Pour into a dish, add some fried onions, peanuts and coriander. Serve immediately and enjoy with a spoon! 

]]>
https://stagingapp15670.cloudwayssites.com/en/chicken-with-pomelo-and-coconut-milk-with-satay/feed/ 0
Mango chutney https://stagingapp15670.cloudwayssites.com/en/mango-chutney/ https://stagingapp15670.cloudwayssites.com/en/mango-chutney/#respond Fri, 12 Feb 2016 16:30:00 +0000 https://stagingapp15670.cloudwayssites.com/mango-chutney
 
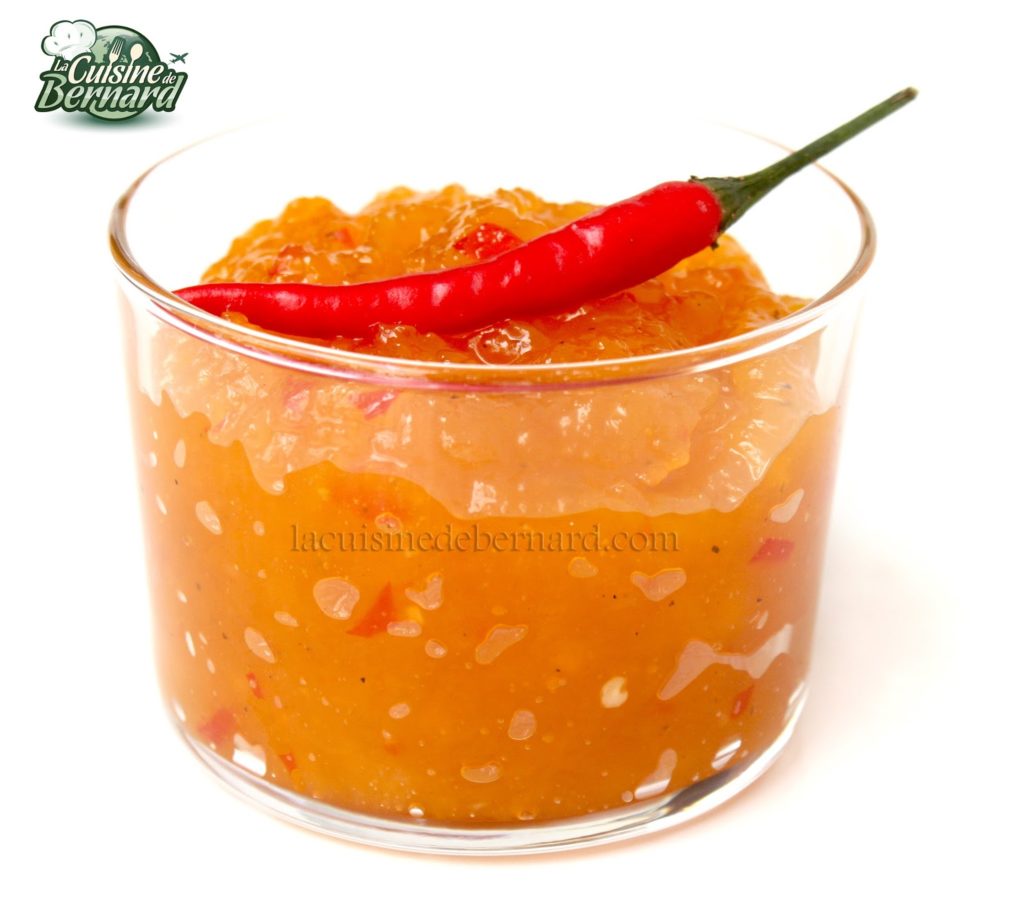
The other day I had a mango that wasn’t really good, and I finally made a chutney out of it, kind of randomly. Delicious with lots of things: rice, foie gras, chicken etc. I made it again with a better mango this time and adjusted the proportions to have a chutney that I love. I could eat it as it is with a spoon! A really simple recipe while waiting for the little caloric bomb that will arrive next week on the blog…


For the chutney:

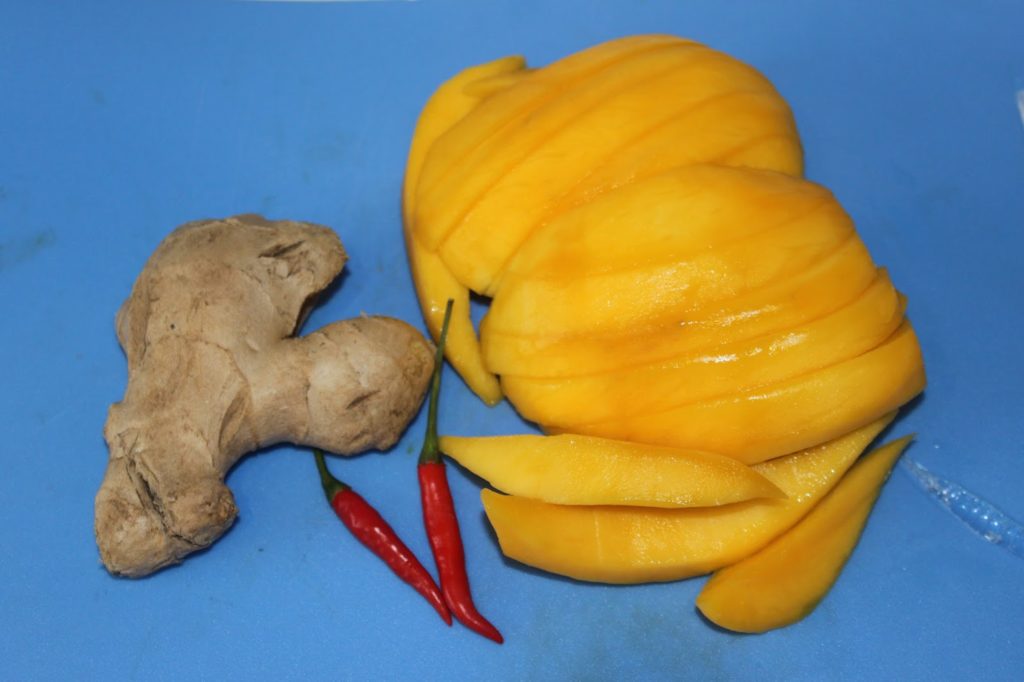
  • 400g of mango flesh
  • 150g of caster sugar
  • 1/2 teaspoon of salt
  • black pepper
  • 75ml white vinegar
  • 2 bird peppers
  • 1cm freshly grated ginger 


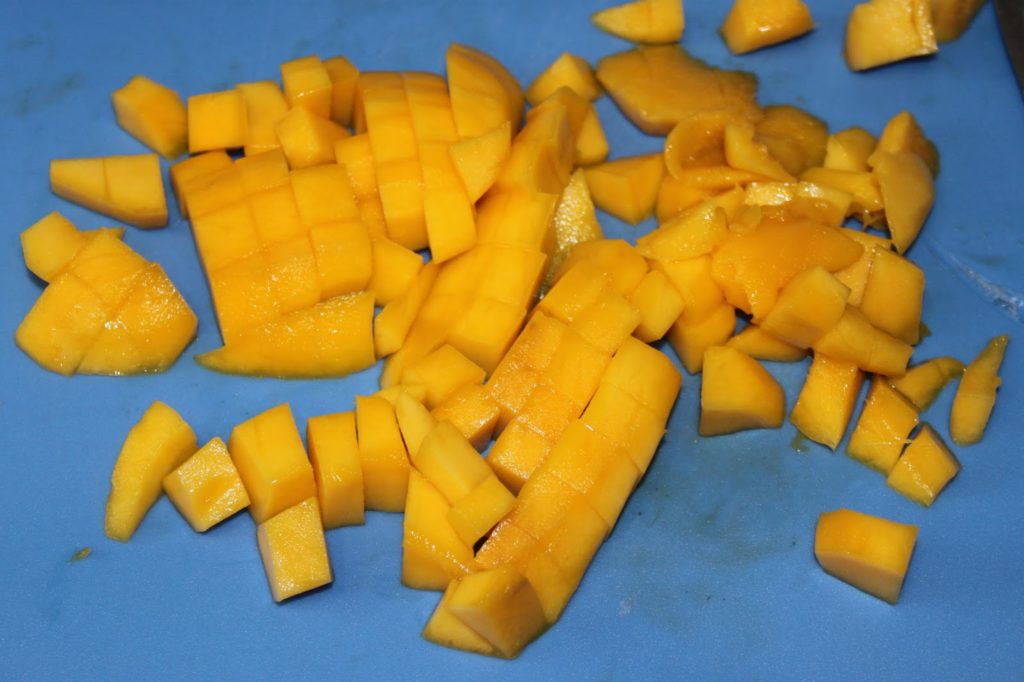
Peel and cut the mango into pieces.


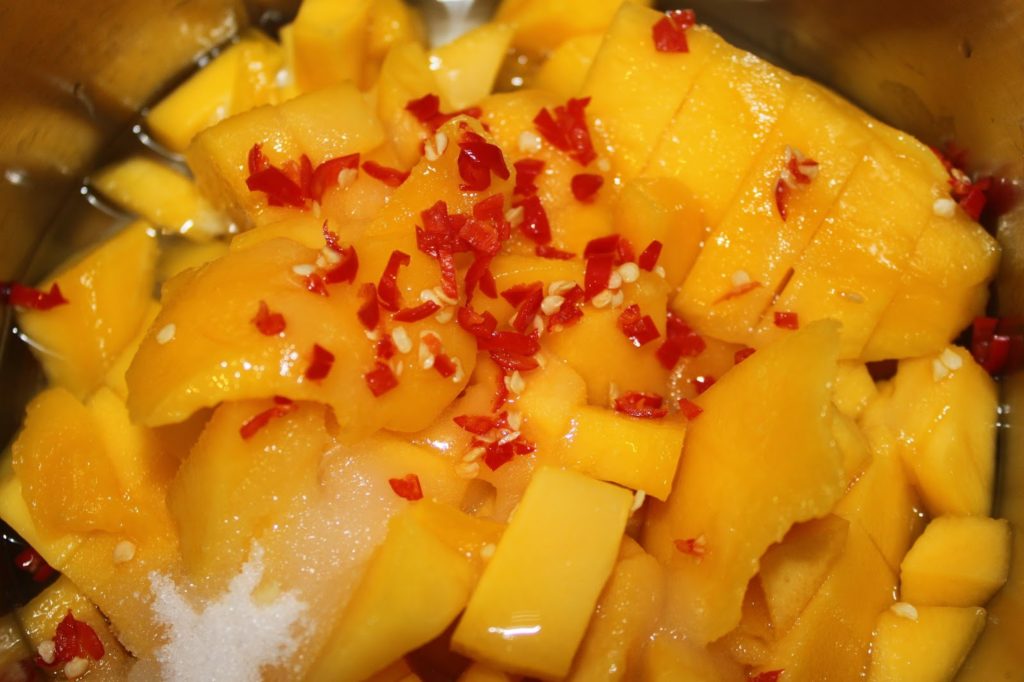
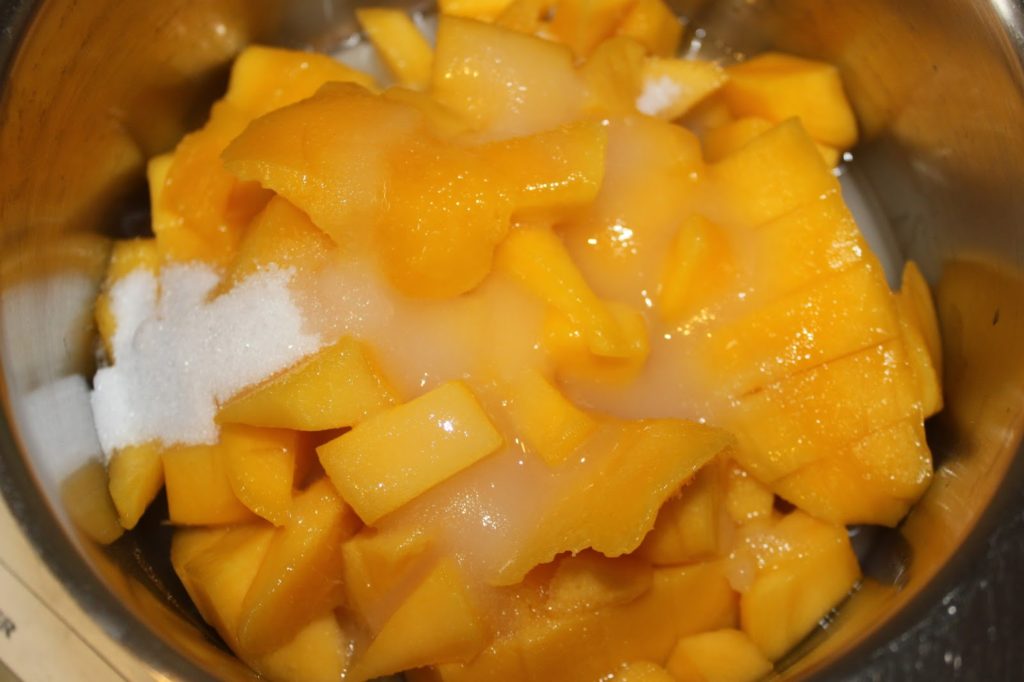
Put the pieces in a saucepan with the sugar, salt and vinegar.
 

Finely chop the red peppers. You can put only half of the seeds. I put the whole thing in, because I love the spice! Also add ground black pepper to taste. 


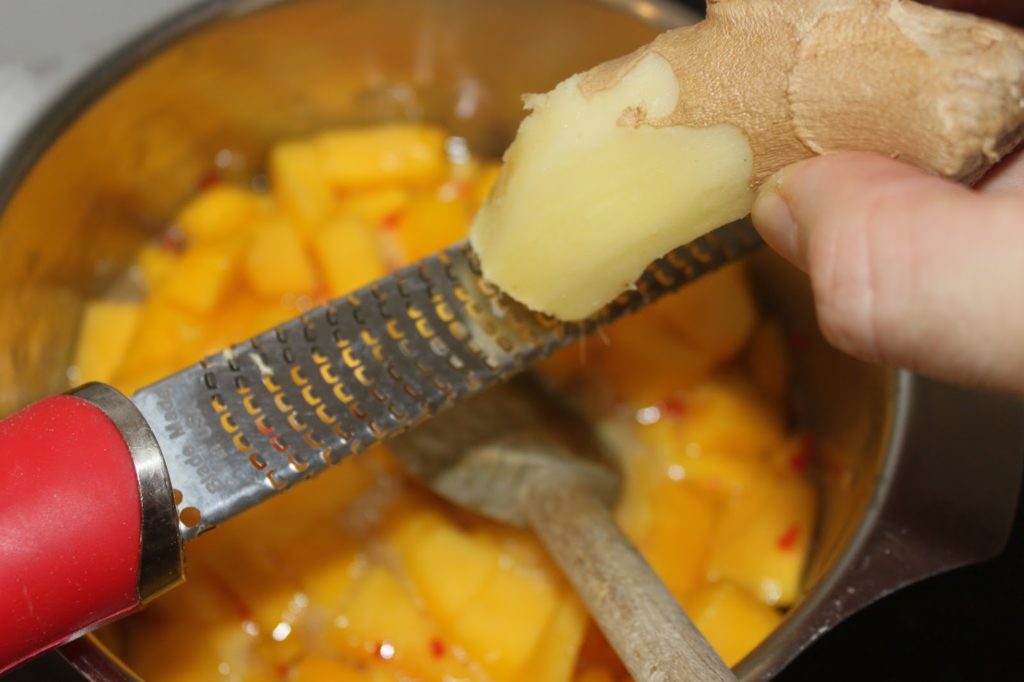
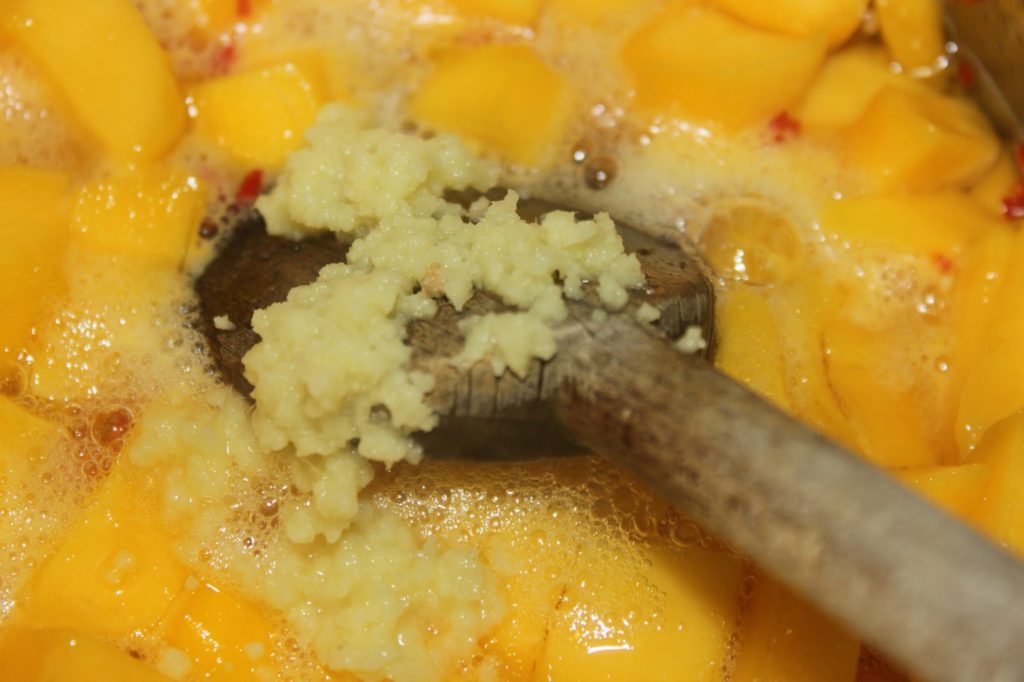
Grate the ginger.


Mix well and cook for about 20 minutes over moderate heat.
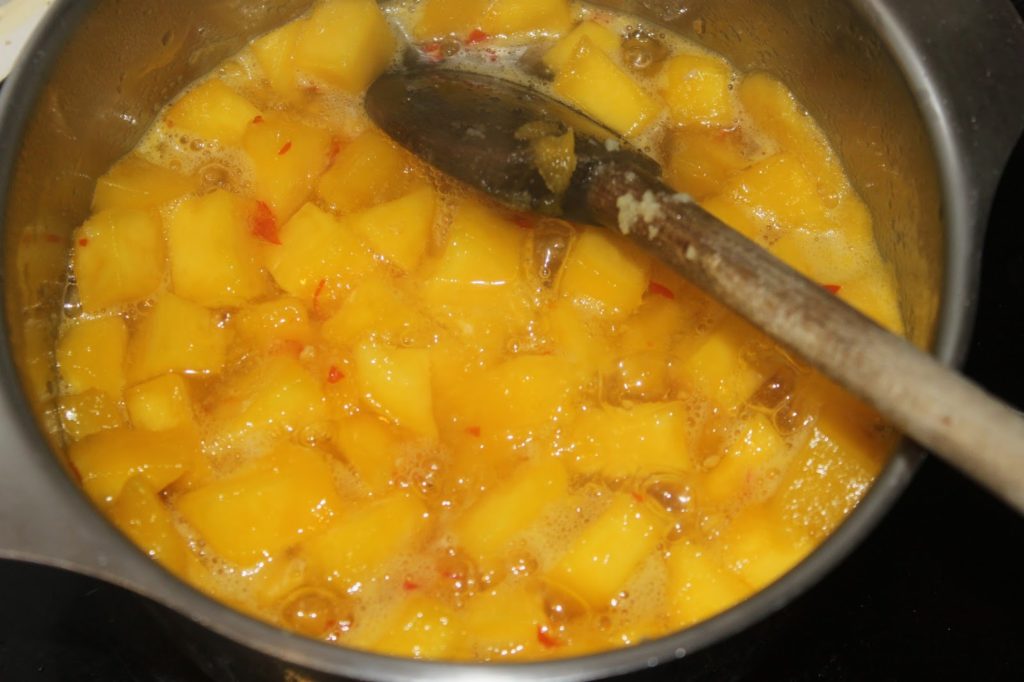
After this time, mix a little with an immersion blender.

There should still be some texture left.
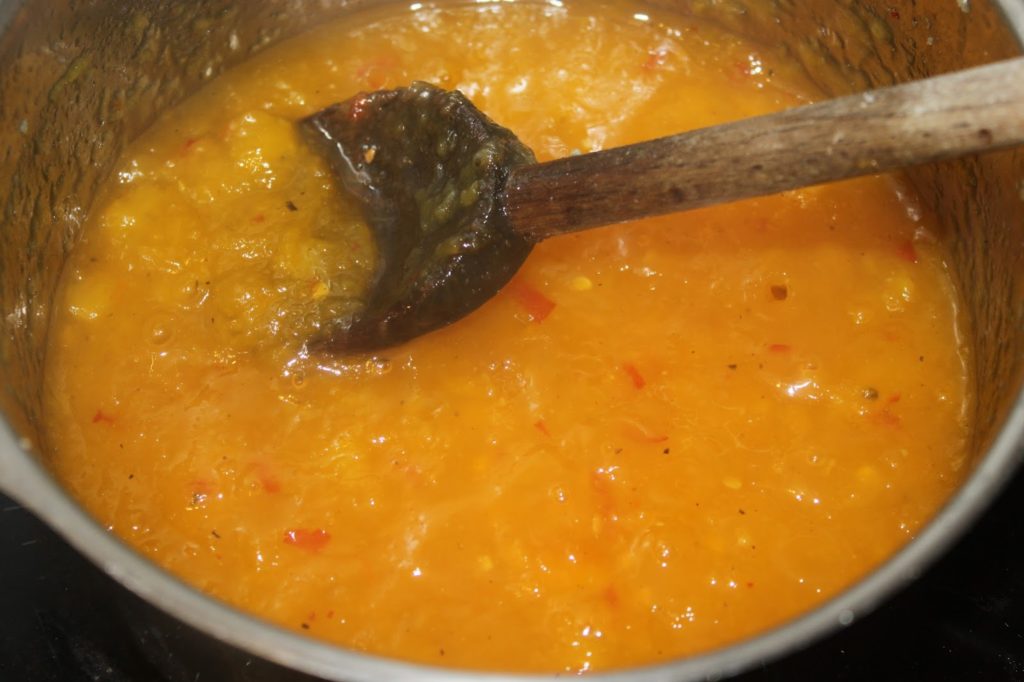
Cook for another 10 to 15 minutes. The chutney should have a nice texture, like a jam.

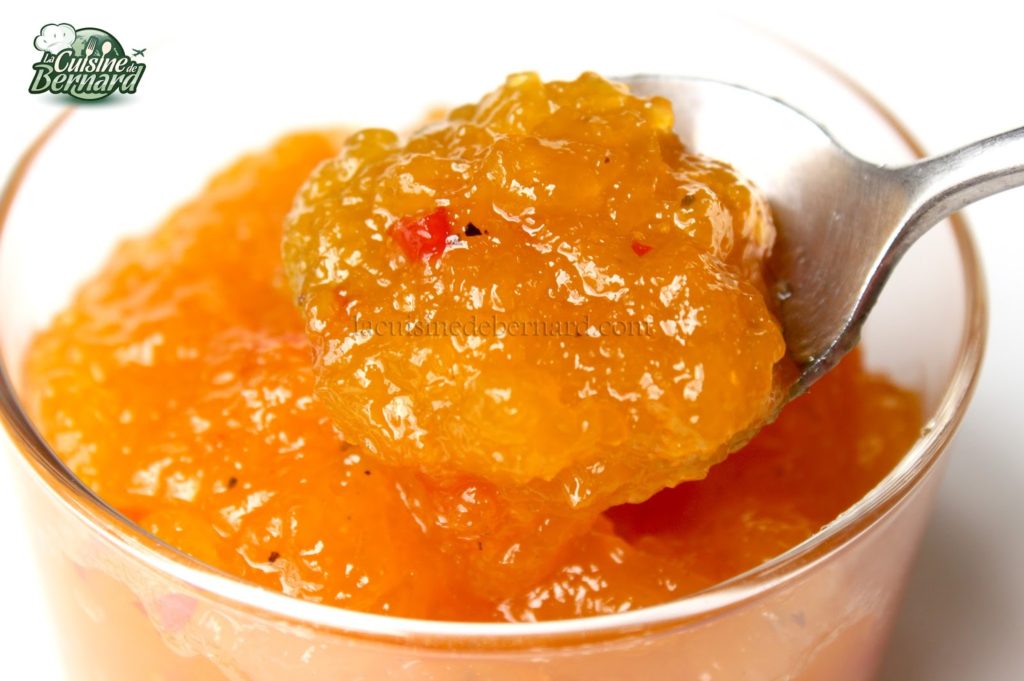
 
Store in a cool place or in a sterilized jam jar. 
 

Mango chutney

The other day I ate a mango that wasn't really good, and I ended up making a chutney out of it, kinda haphazardly. Delicious with lots of things: rice, foie gras, chicken etc. I did it again, this time with a better mango and adjusting the proportions to have a chutney that I love. I could eat it as it is with a spoon! A really simple recipe while waiting for the little calorie bomb that will arrive next week on the blog…
No notes yet
Type de plat Plat principal
Cuisine Indienne
Keyword mangue
Tried this recipe?Let us know how it was!
]]>
https://stagingapp15670.cloudwayssites.com/en/mango-chutney/feed/ 0
Vietnamese Pork with Caramel https://stagingapp15670.cloudwayssites.com/en/vietnamese-pork-with-caramel/ https://stagingapp15670.cloudwayssites.com/en/vietnamese-pork-with-caramel/#respond Fri, 13 Mar 2015 16:43:00 +0000 https://stagingapp15670.cloudwayssites.com/vietnamese-pork-with-caramel

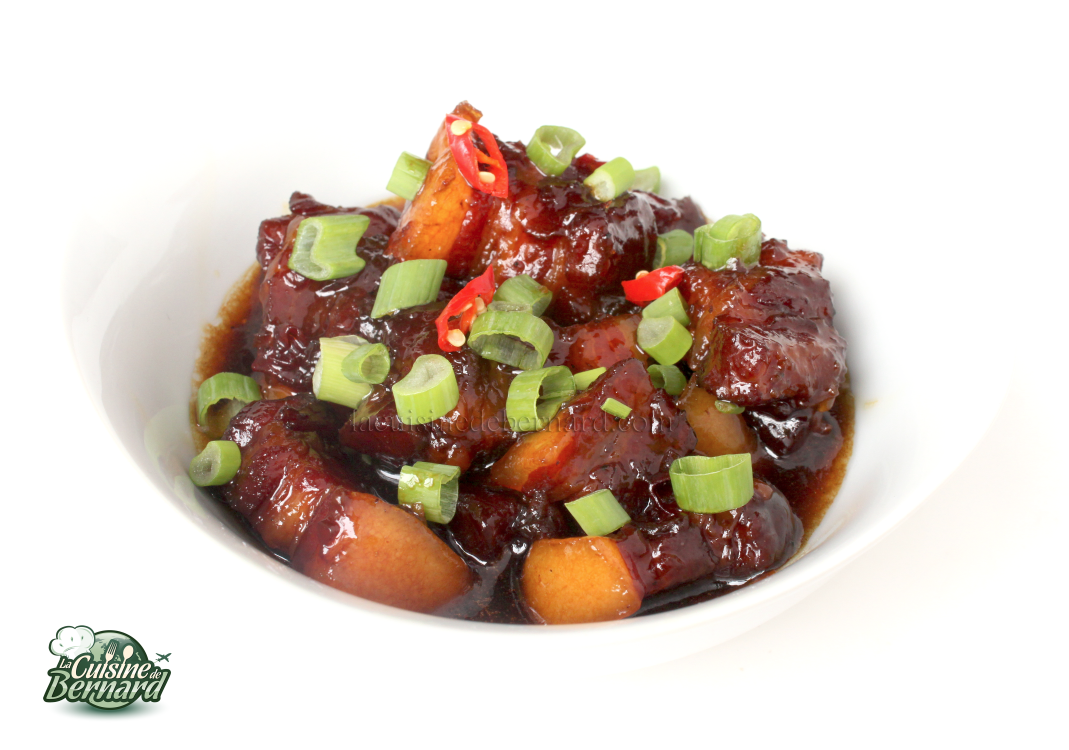
A year ago, I published my culinary journey of Ho Chi Minh (which you can read HERE). I promised you some recipes. So here’s a new one with this delicious caramel pork. Its beautiful color is totally natural and the sauce is very rich in flavor. Many recipes suggest a fairly short cooking time, but I prefer to get a very tender meat, and the only way to do that is to cook it longer. You can serve this pork (and cook it at the same time) in the traditional Vietnamese earthenware dish and/or accompany it with hard-boiled egg quarters. 

recipe for 2-3 people:

-600g of pork (here I used cut up pork belly, but pork loin will also do)
-100g of sugar
-3 tablespoons of nuoc mâm
-1 teaspoon chicken stock powder
-2 tablespoons of oil
-1 shallot
-1 or 2 Chinese chives
-1 small red pepper
-1 hard-boiled egg
-black pepper from the mill
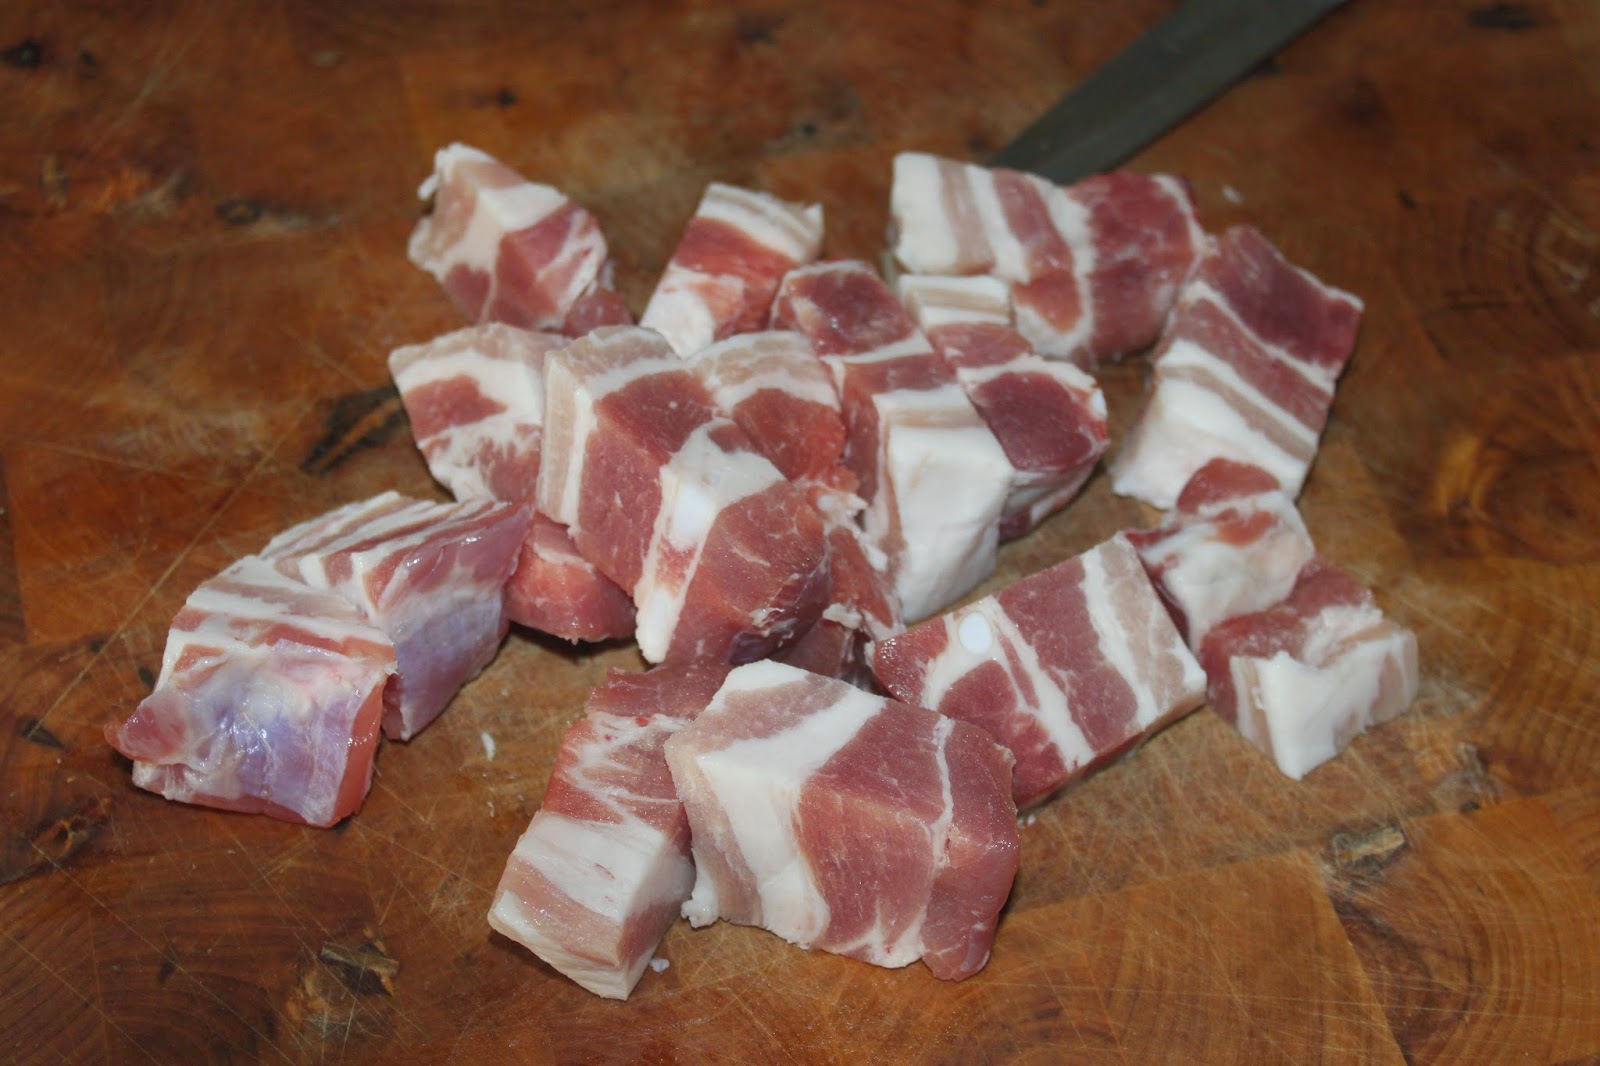
For this dish, I used fresh brisket. I simply removed the skin which you can of course leave on. This piece is quite fatty. It is often this piece that is in this dish in Vietnam. Don’t hesitate to use boneless loin. 

Put it in a container and add 20g of sugar (out of 100), the 3 tablespoons of nuoc mâm, the poultry stock powder. Mix well.

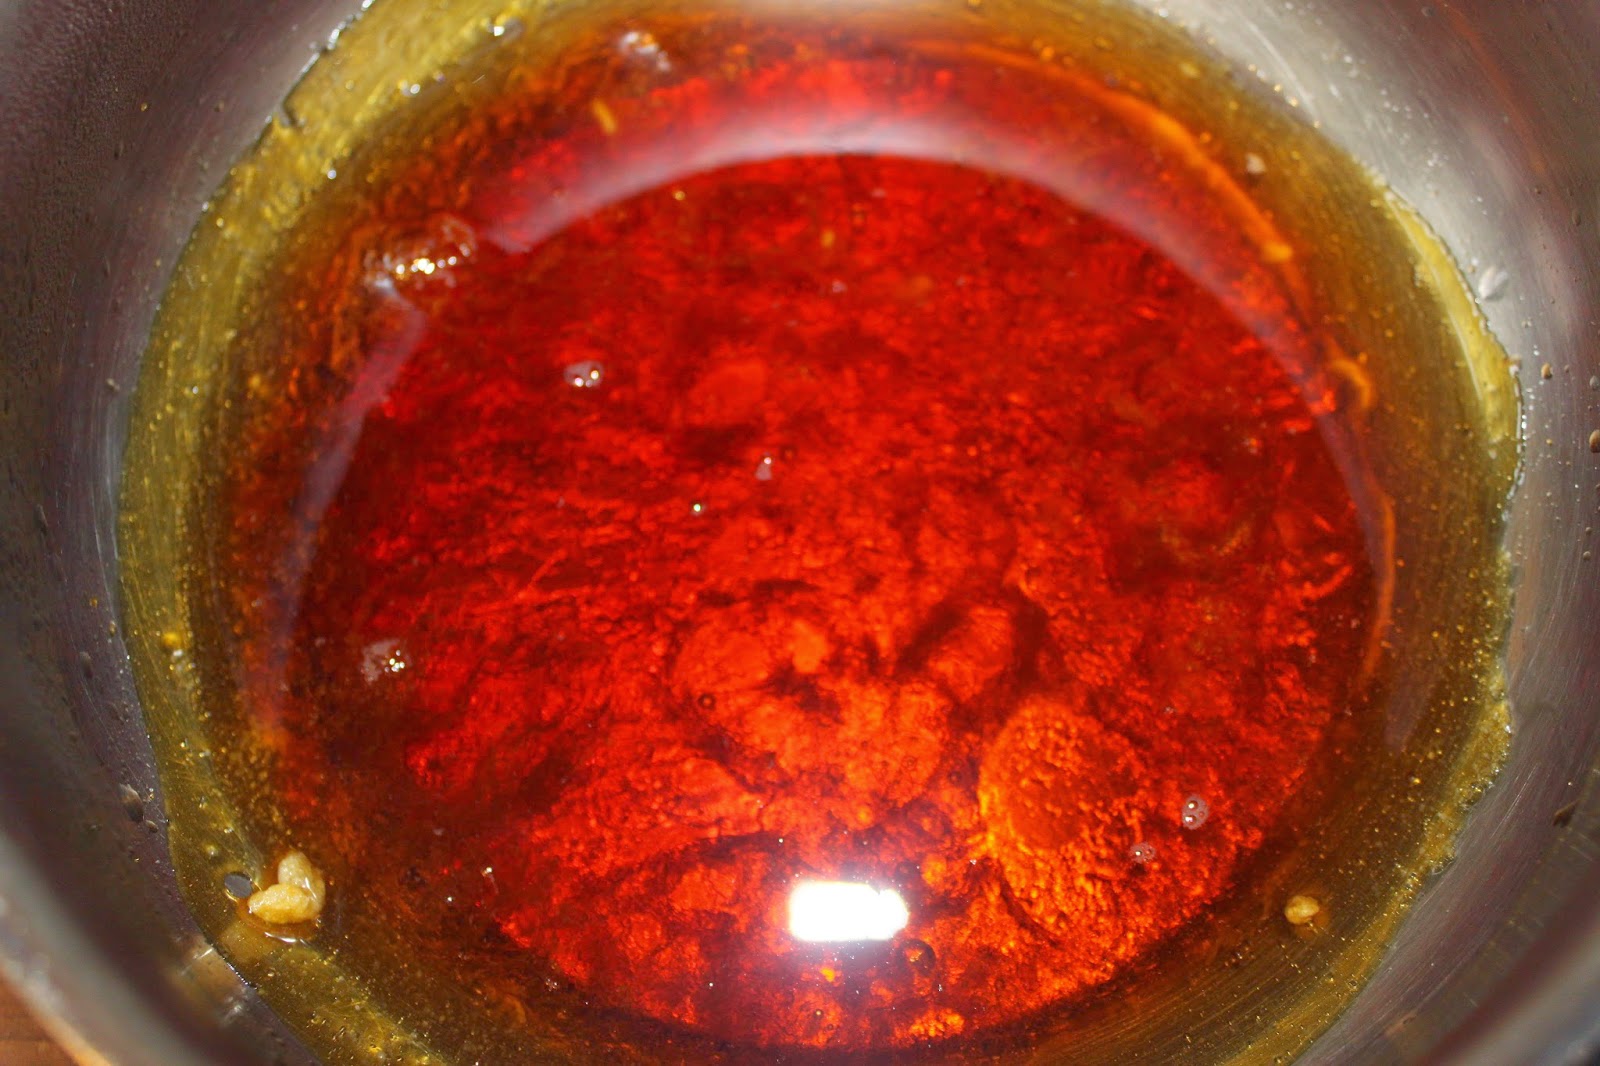
Put the remaining 80g of sugar in a saucepan over fairly high heat. 

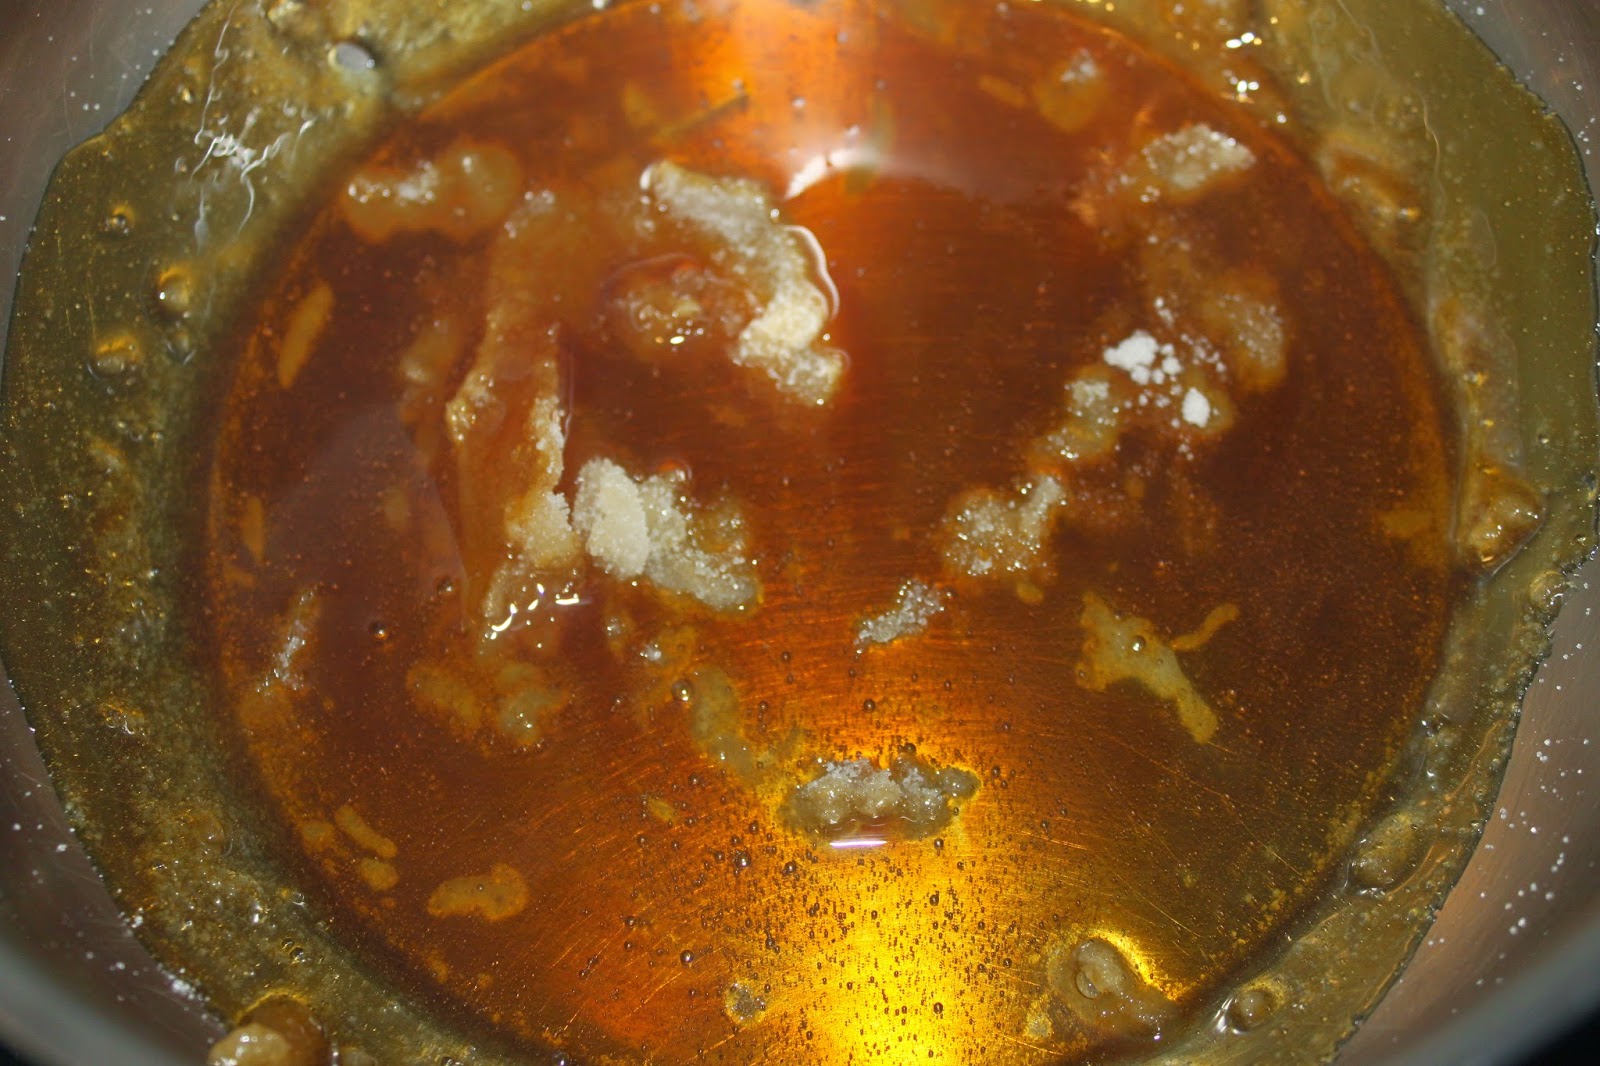
Let it melt gently without burning it. 

It must have a nice color. When it is, pour 350ml of water into the pan. It will make some noise, that’s normal!

Add the meat with its marinade.

Pour in the oil and bring to a boil.

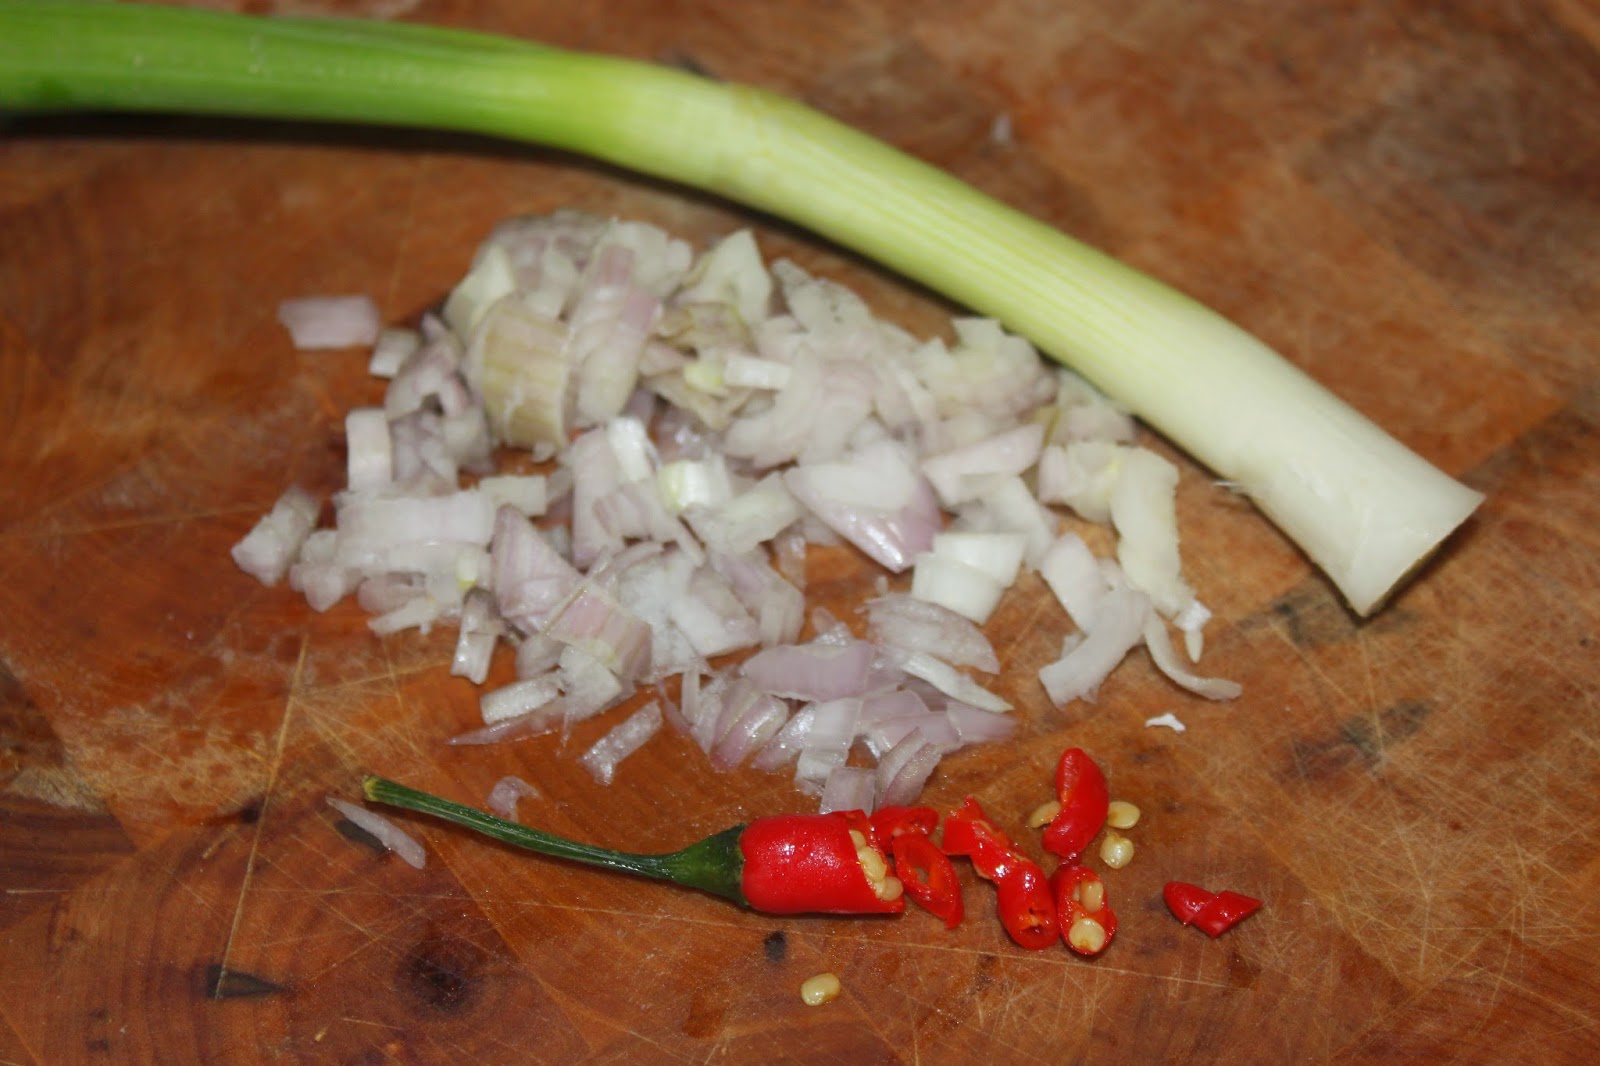
Cut the shallot into small pieces. Take the whitest part of the chives and cut them into pieces. The same goes for the little red pepper. 

Head for the pot! For the chili, you can remove some of the seeds to avoid having a dish that is too strong. This is not the purpose of this recipe.
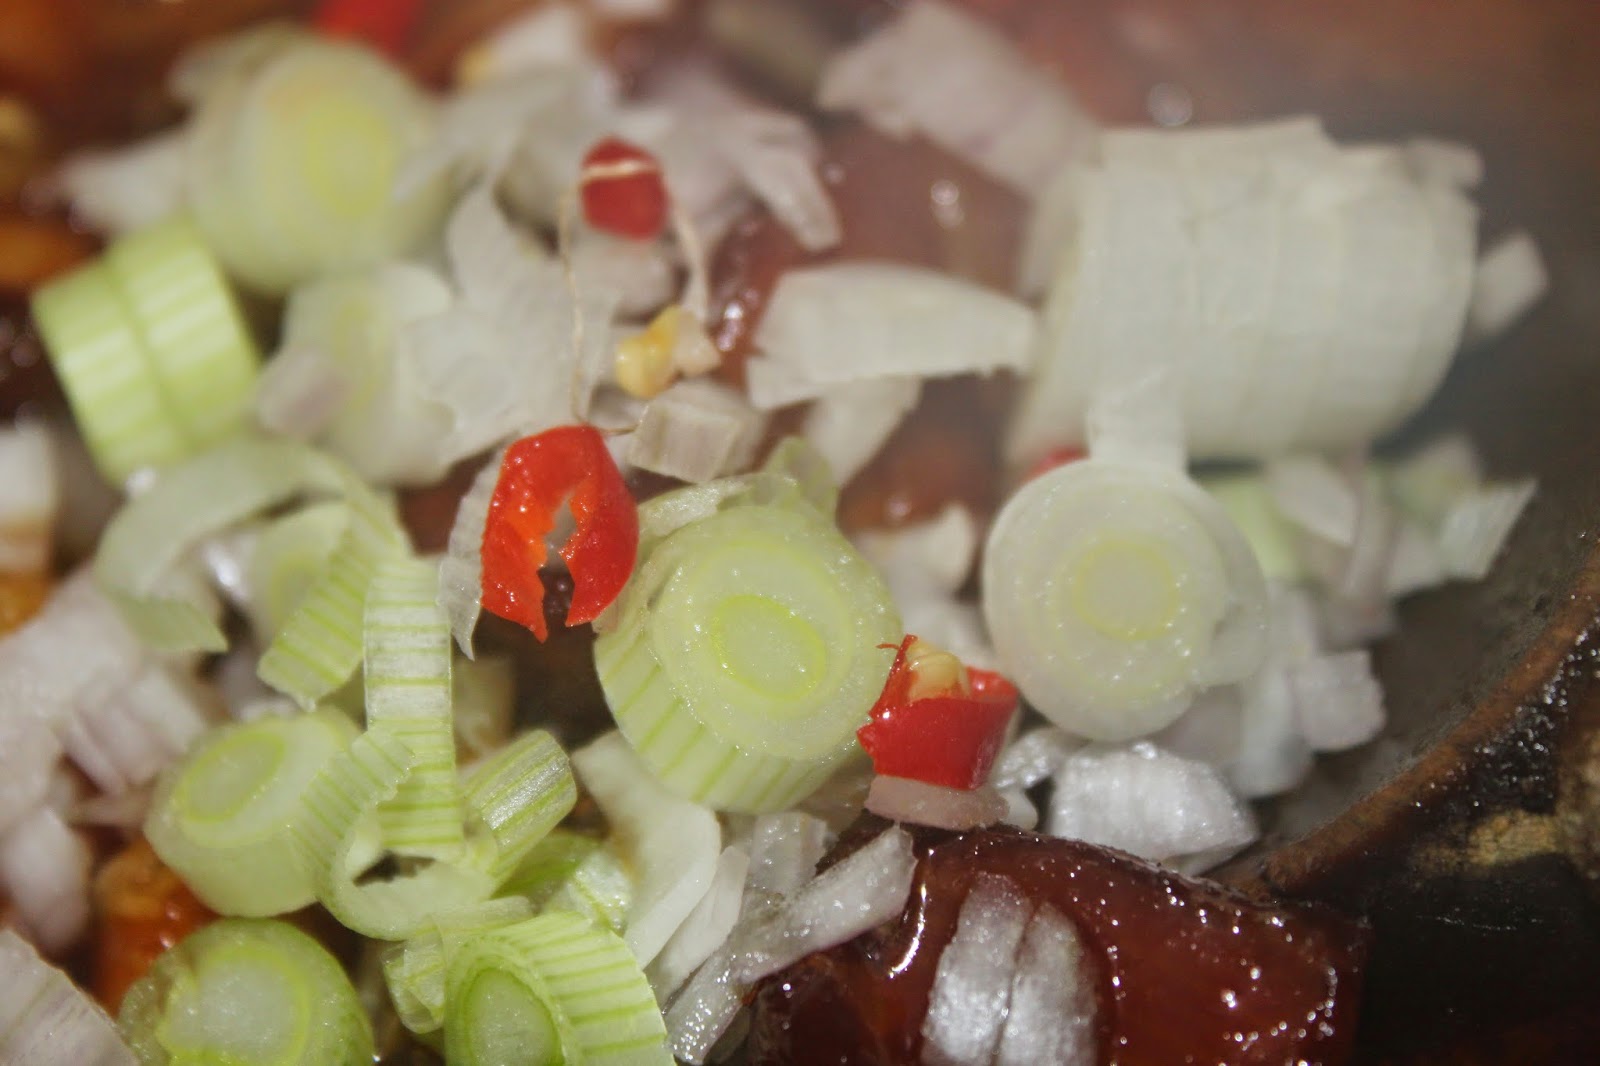
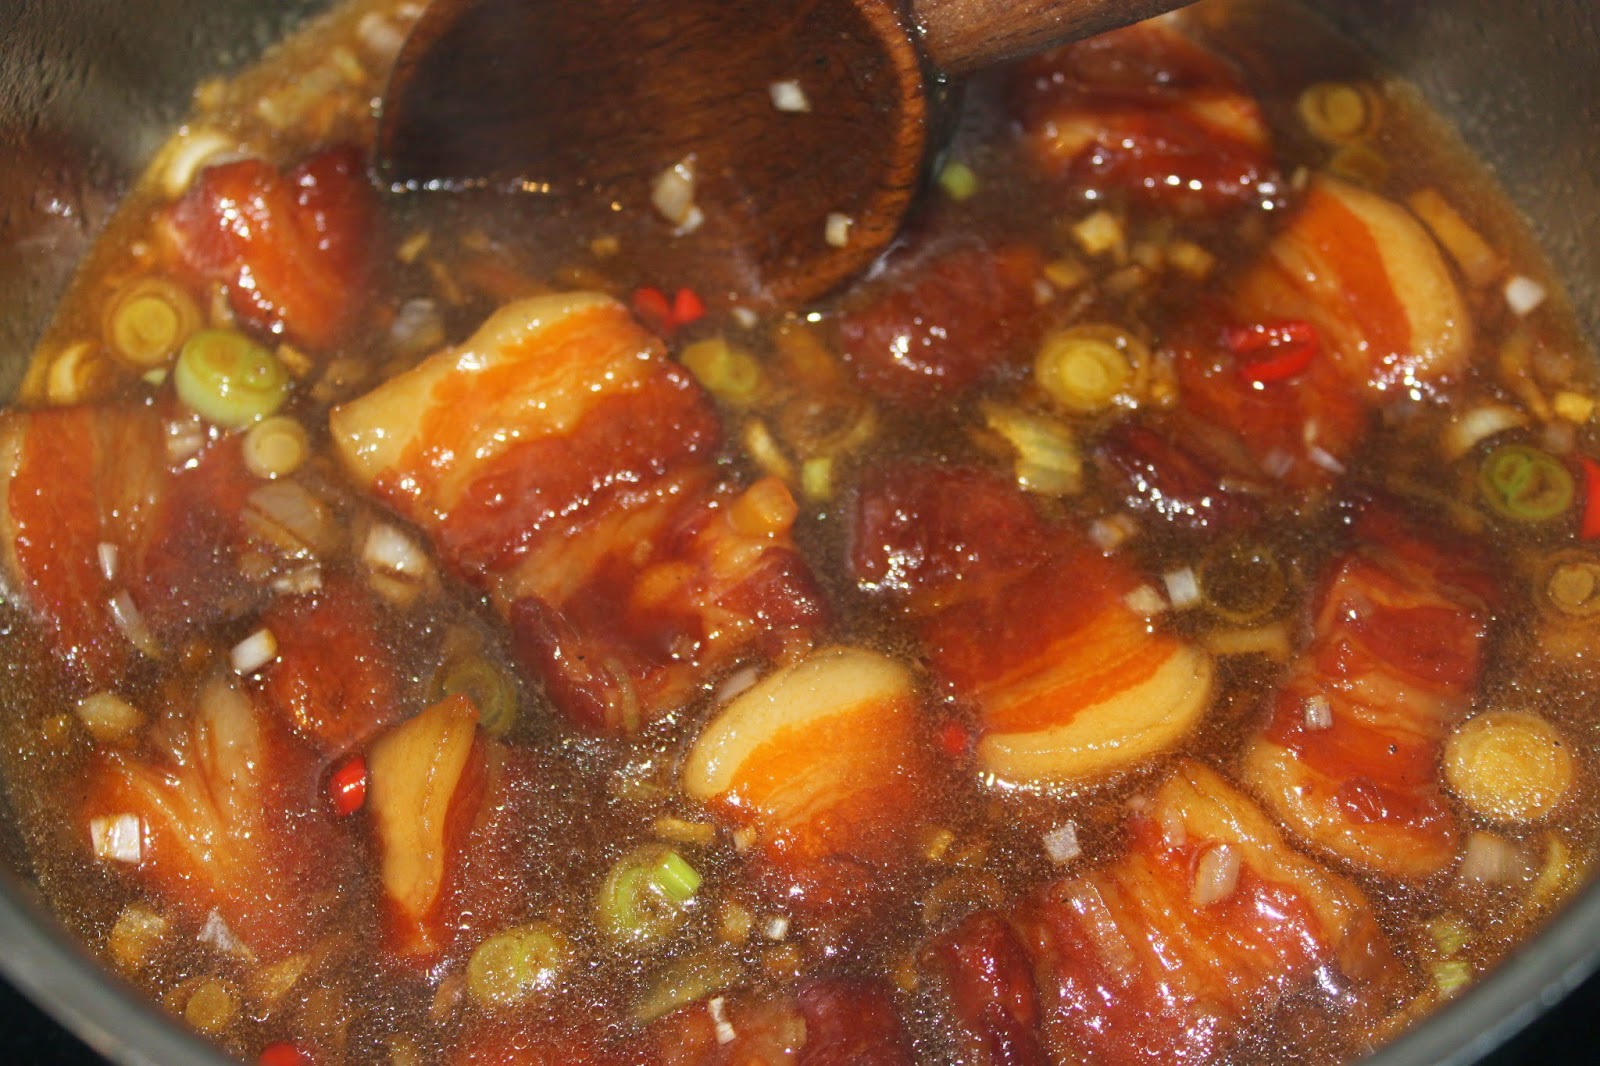
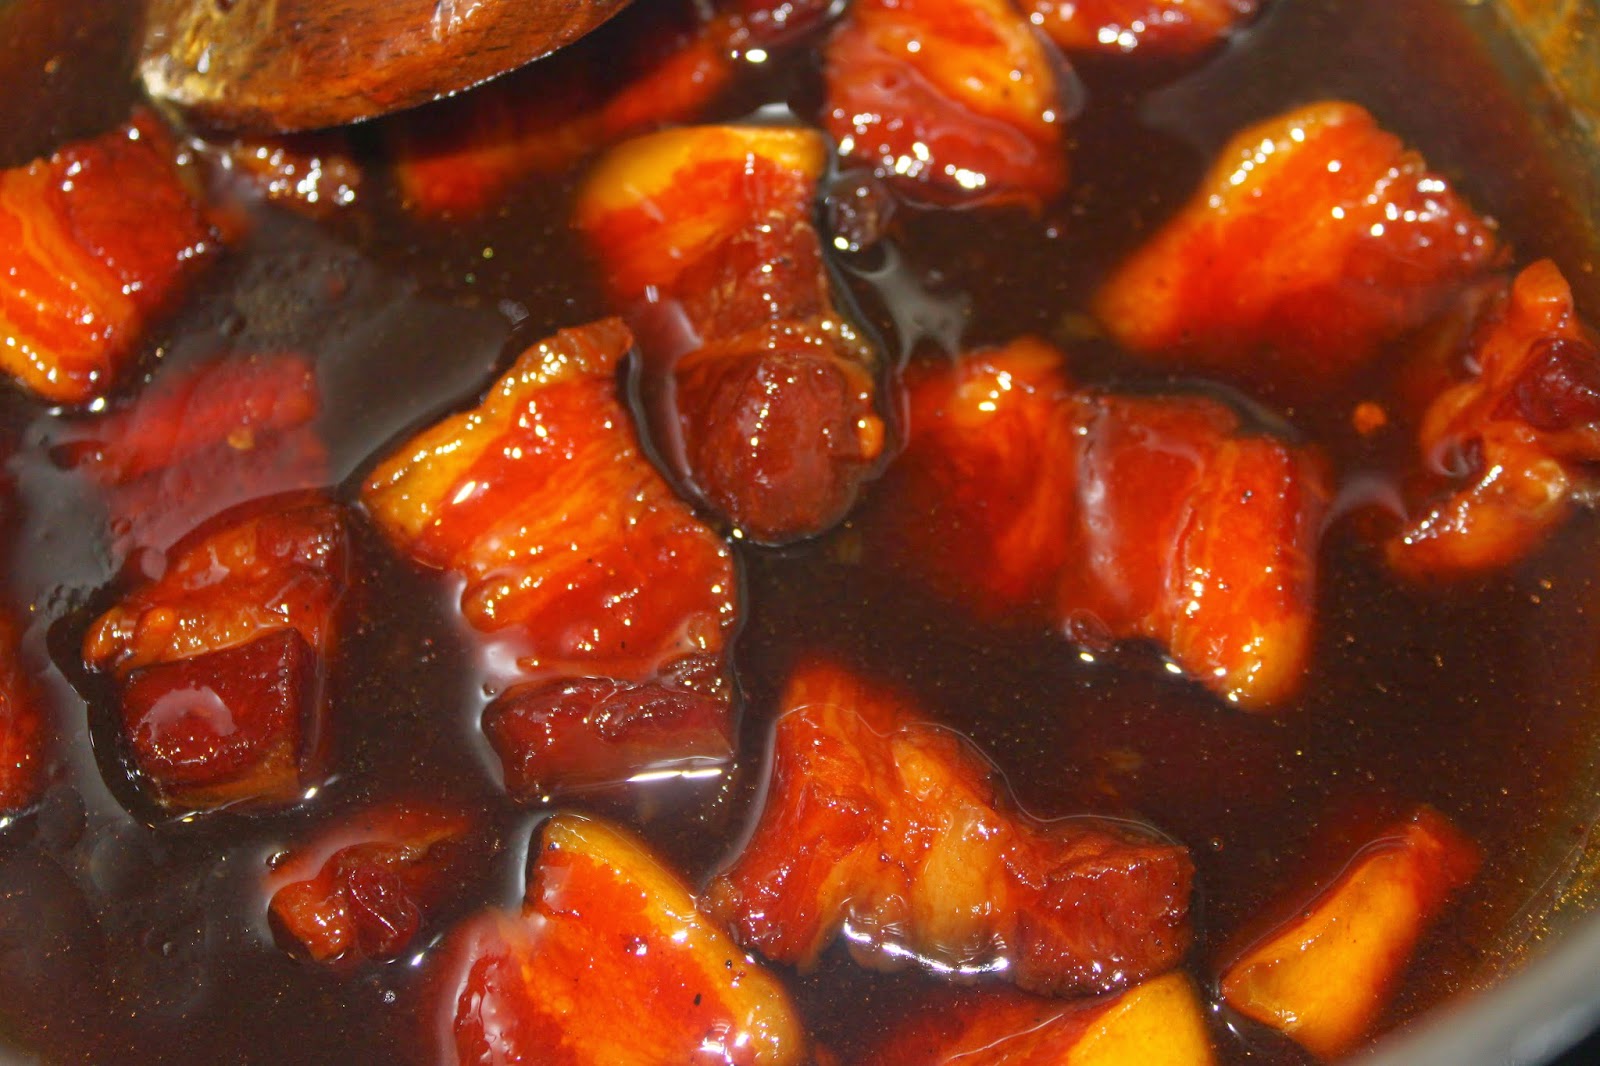
Now let cook on moderate heat for at least 1 to 1.5 hours.

After this time, the meat should be very tender and the sauce should thicken slightly. The color becomes red and the fat of the meat transparent. Add ground black pepper. 

If the meat is not cooked, add a little water and continue cooking. You can start over until it’s perfect to your liking! As a comment below says, the sauce should be quite liquid after all. 

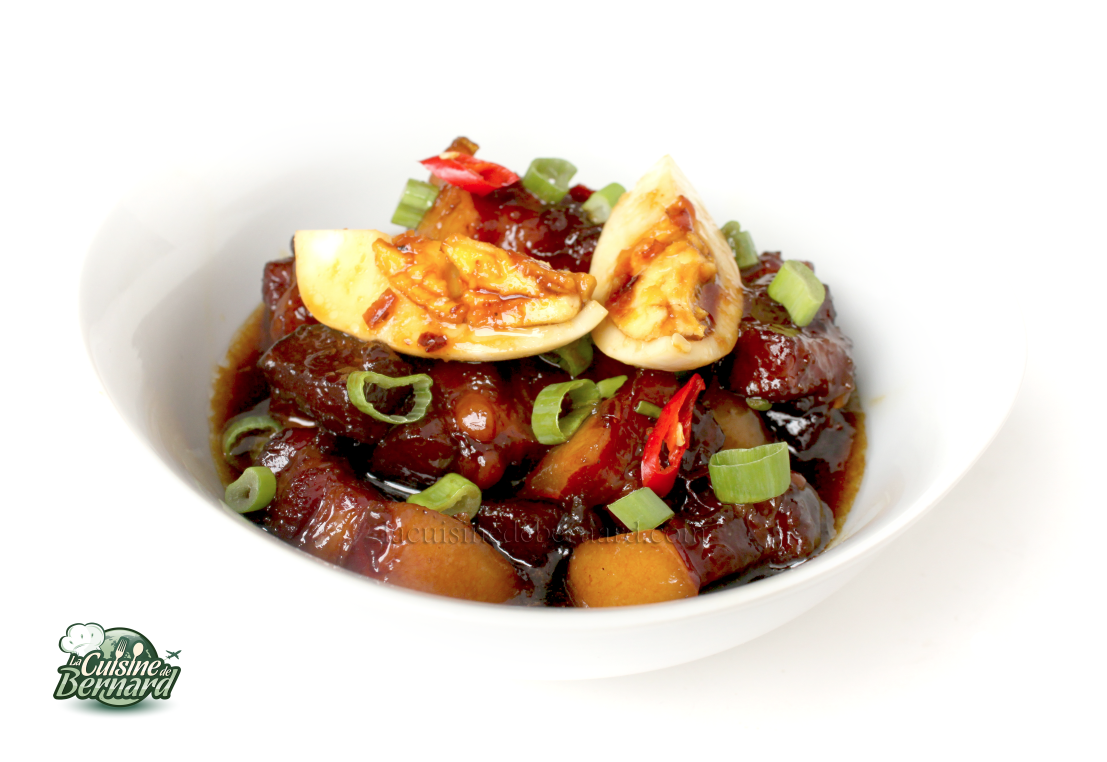
Serve the pork in caramel with the chopped green chives. You can also add a hard-boiled egg cut into quarters. A real delight! Serve with plain rice. 
]]>
https://stagingapp15670.cloudwayssites.com/en/vietnamese-pork-with-caramel/feed/ 0
Fried Rice with Shrimps, Pineapple and Cashew Nuts https://stagingapp15670.cloudwayssites.com/en/fried-rice-with-shrimps-pineapple-and-cashew-nuts/ https://stagingapp15670.cloudwayssites.com/en/fried-rice-with-shrimps-pineapple-and-cashew-nuts/#respond Fri, 27 Feb 2015 13:42:00 +0000 https://stagingapp15670.cloudwayssites.com/fried-rice-with-shrimps-pineapple-and-cashew-nuts
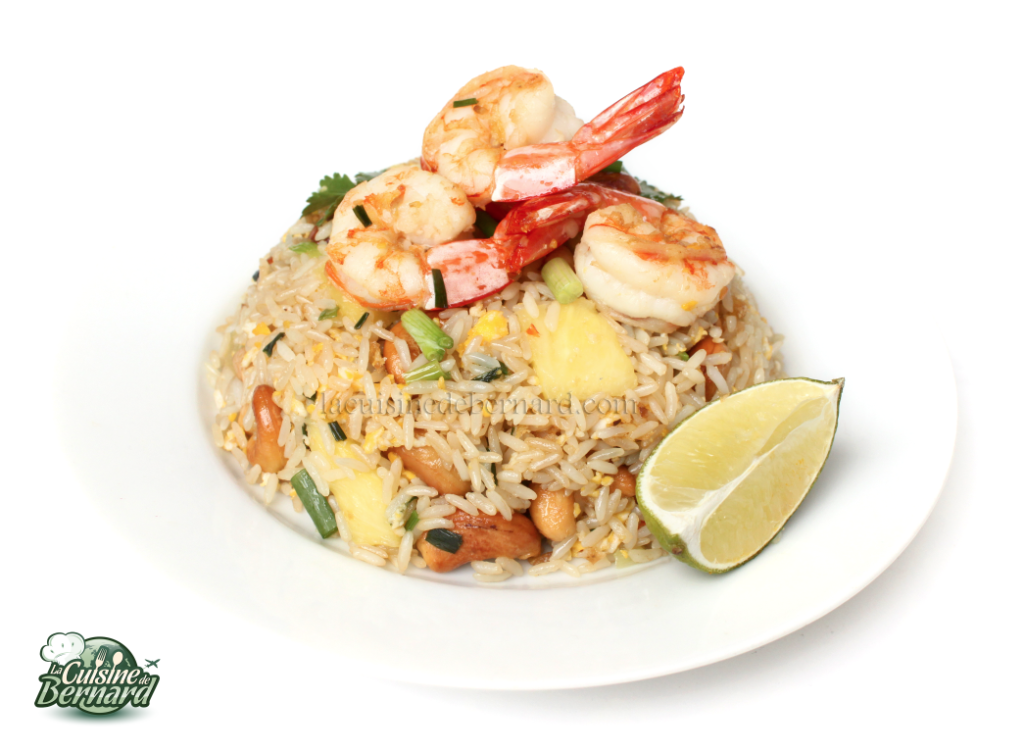
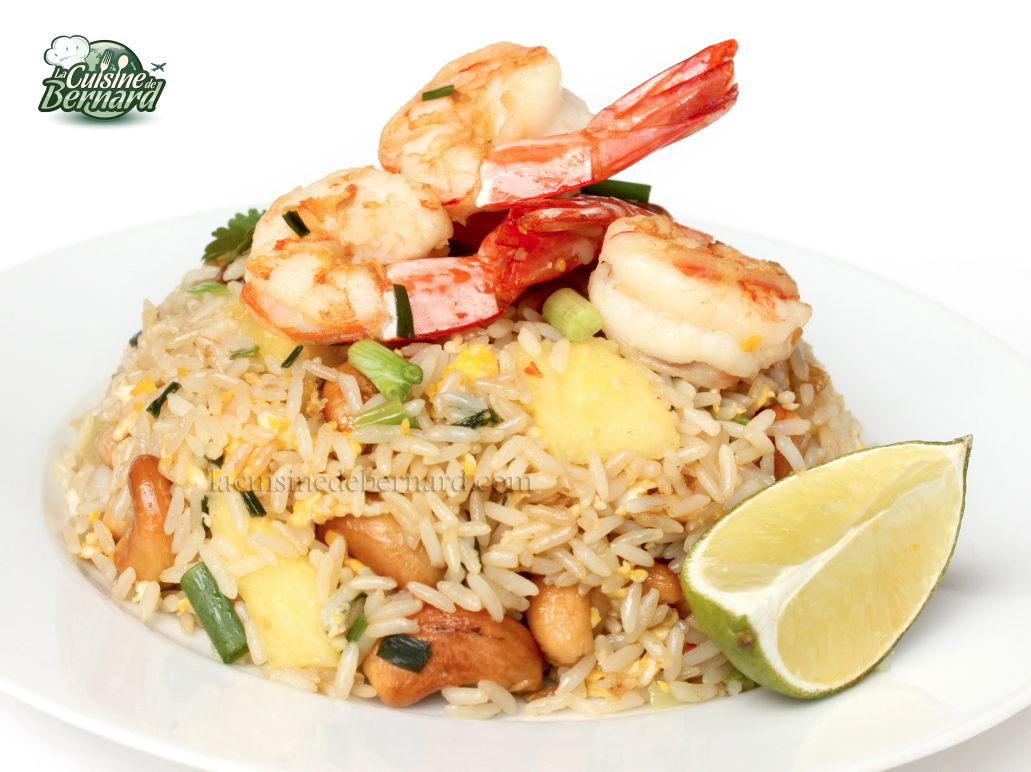
Not long ago, I ate in Bangkok in an excellent restaurant, this fried rice with pineapple, shrimps and cashew nuts. It’s been a long time since I gave you my recipe for Cantonese rice (recipe HERE) and I thought it was time to offer you a new recipe with unusual flavors. The cooking time is only a few minutes, and the crunch of the cashew nuts and the sweetness of the pineapple will perfectly match these shrimps. A recipe that is a one-way ticket to Asia! 

Recipe for 2 people:

-500g of cooked rice
-3 Chinese chives
-60g of raw cashew nuts
-200g fresh pineapple cut into pieces
-1 or 2 cloves of garlic
-12 large raw shrimp
-2 eggs
-2 teaspoons of sugar
-3 teaspoons of nuoc mâm
-2 teaspoons of clear soy sauce
-salt pepper
-oil
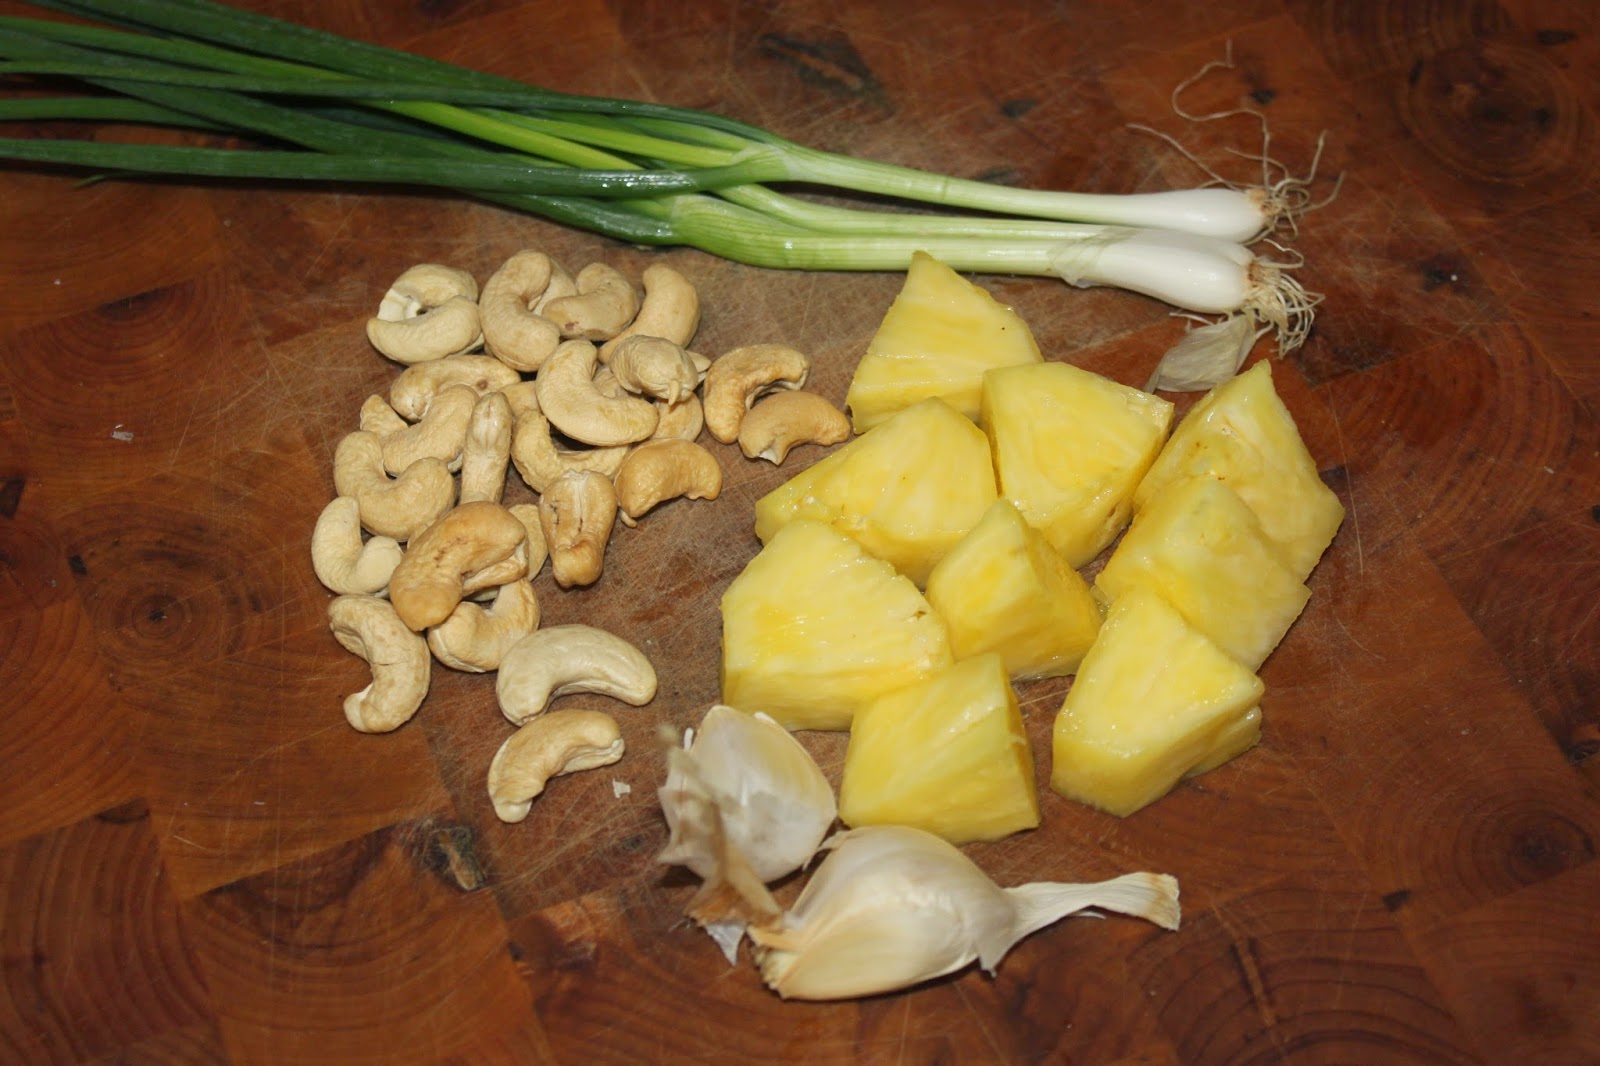
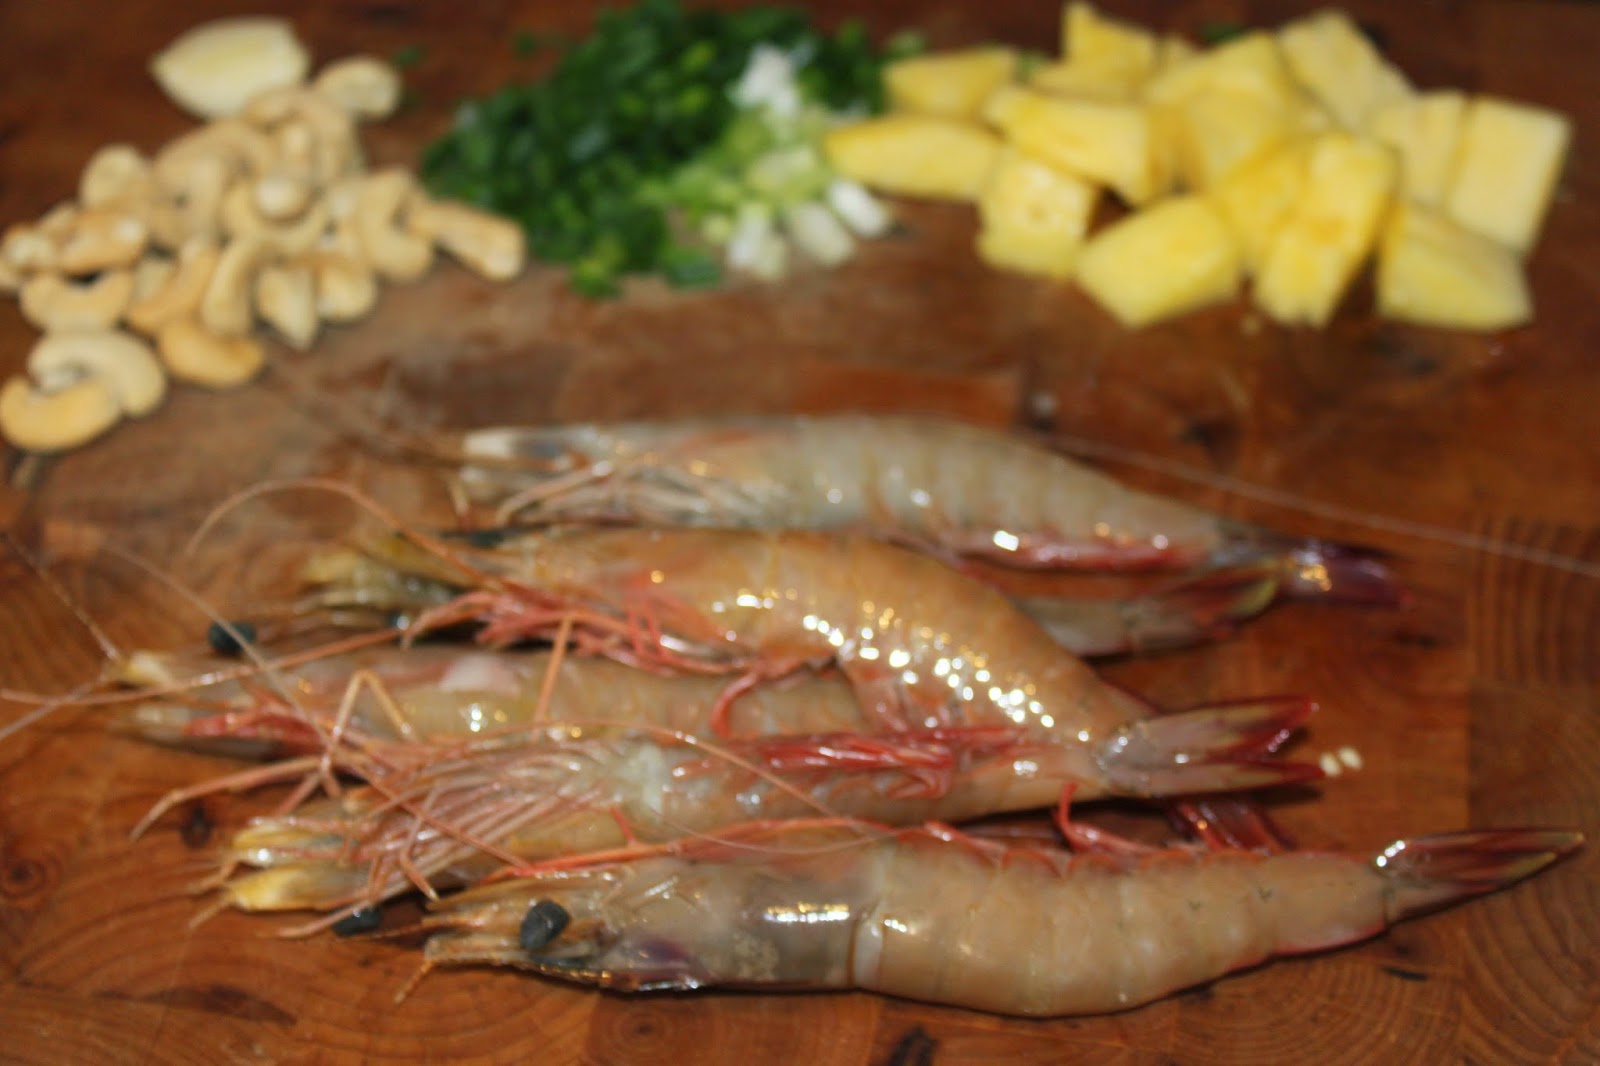
Here are the ingredients. Before I start, I’d like to point out that I made the recipe for one person (just me!!). But I give you above the ingredients for 2. So don’t worry about seeing one egg when I say 2! Use fresh pineapple if you can, otherwise canned will do. 


Peel the shrimp, leaving just the tip of the tail. Also cut where the small hose is located to remove it. It will also “open” the shrimp nicely.


Take rice already cooked, preferably the day before. This way, it won’t stick and will have the right consistency for pan-frying. 


In a large frying pan or wok (impossible to get my hands on my wok since the salty book! I had to give it away…), pour 6 good tablespoons of neutral oil (rapeseed for example) on a fairly high heat and add the raw cashew nuts. 


Brown them, stirring them well to prevent them from burning. 


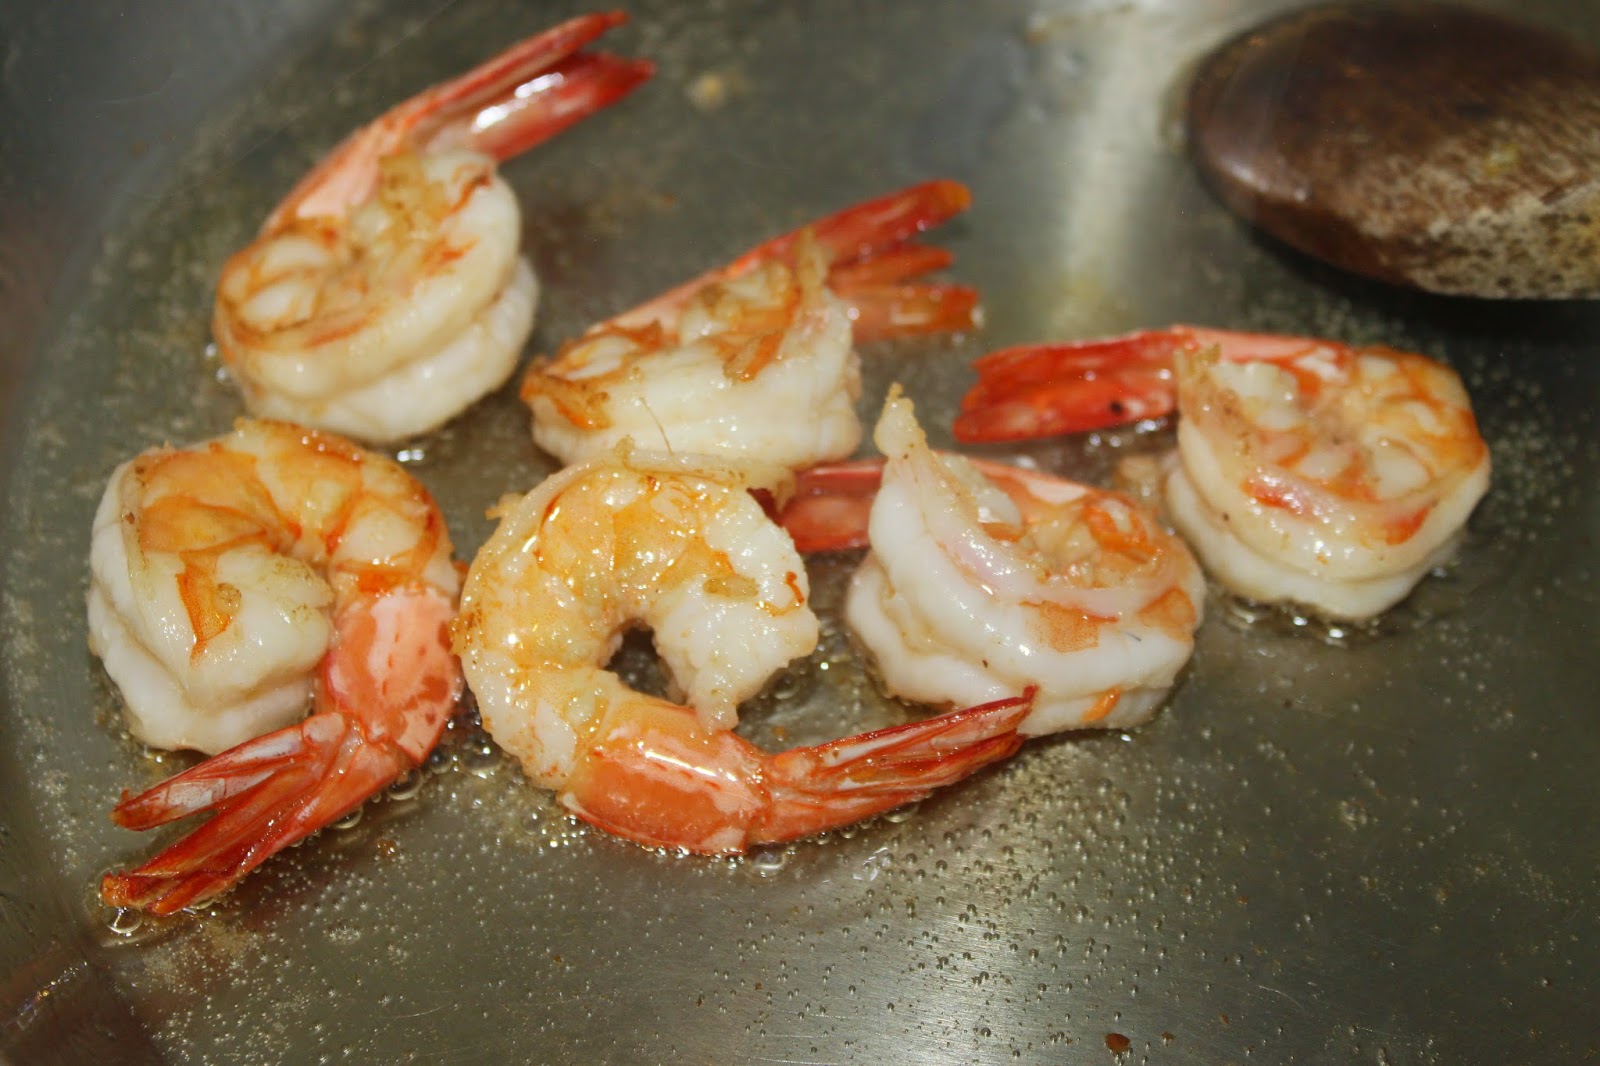
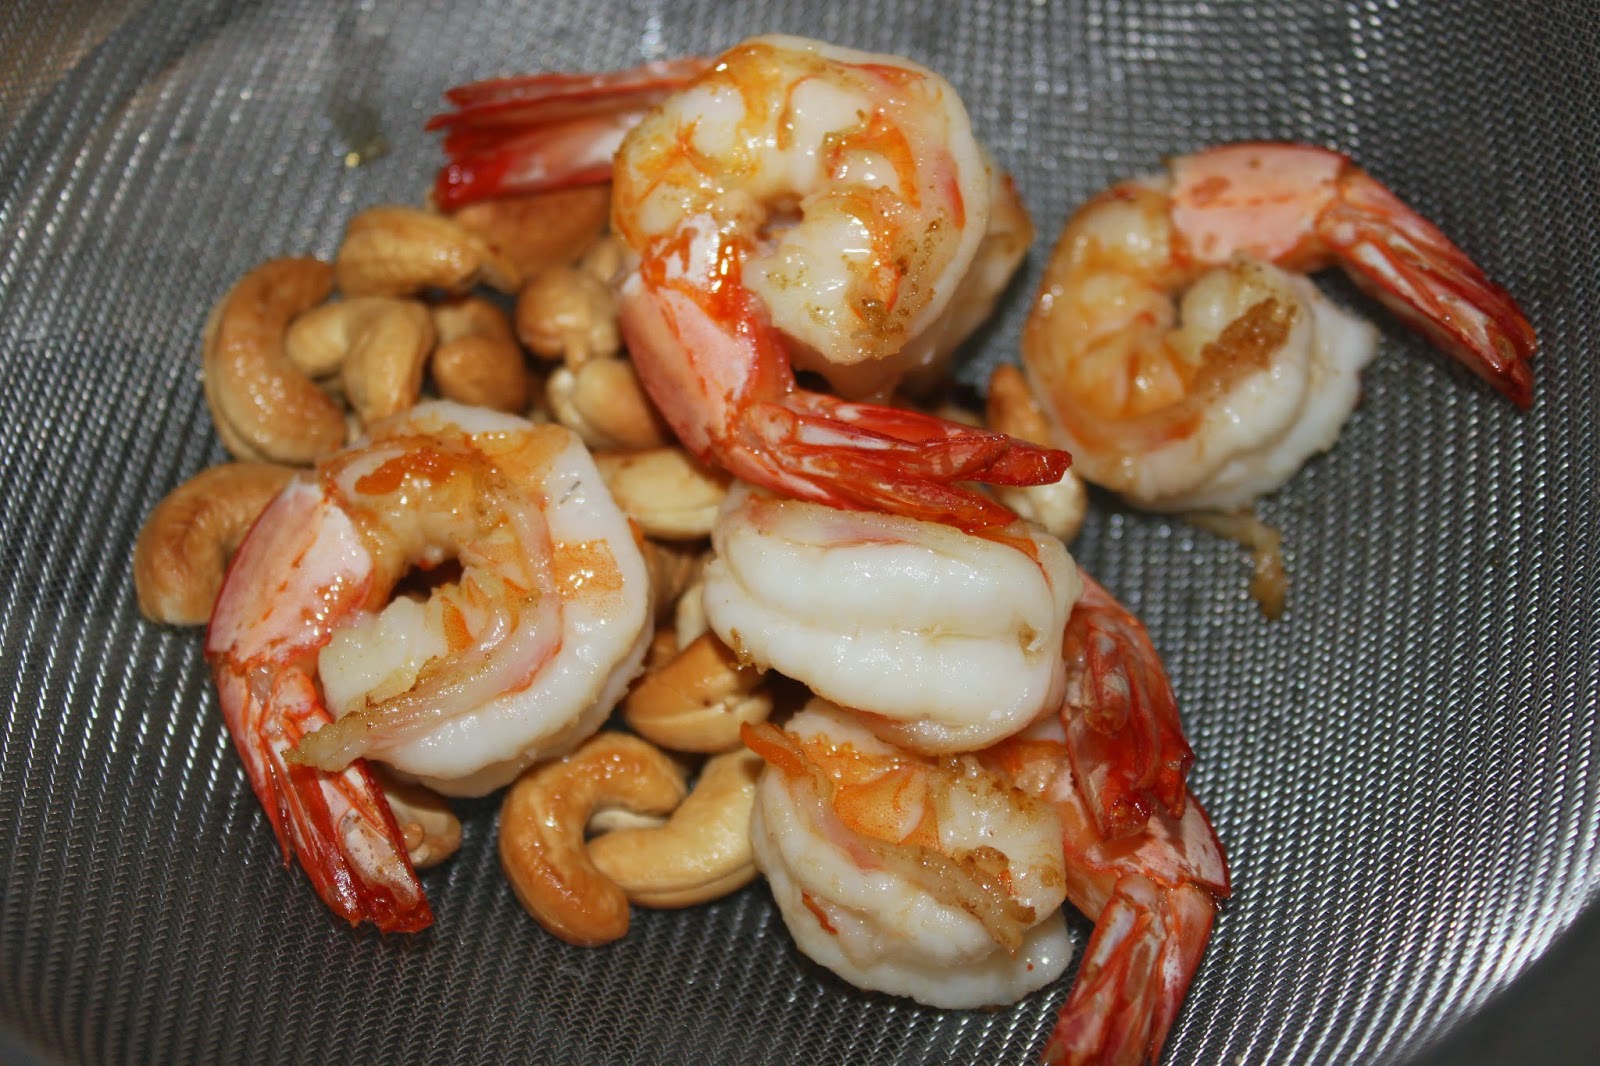
Remove them (place them in a drainer) and then put the shrimp in their place. 


Brown them well for 2-3 minutes then place them in a drainer with the cashews.


Remove enough oil to leave only the equivalent of 3 tablespoons and add the crushed garlic. Brown it.


Finely chop the chives and put them in the pan/wok.


Be careful not to burn your ingredients. Lower the heat if necessary. Pour in the cooked rice and mix well. 


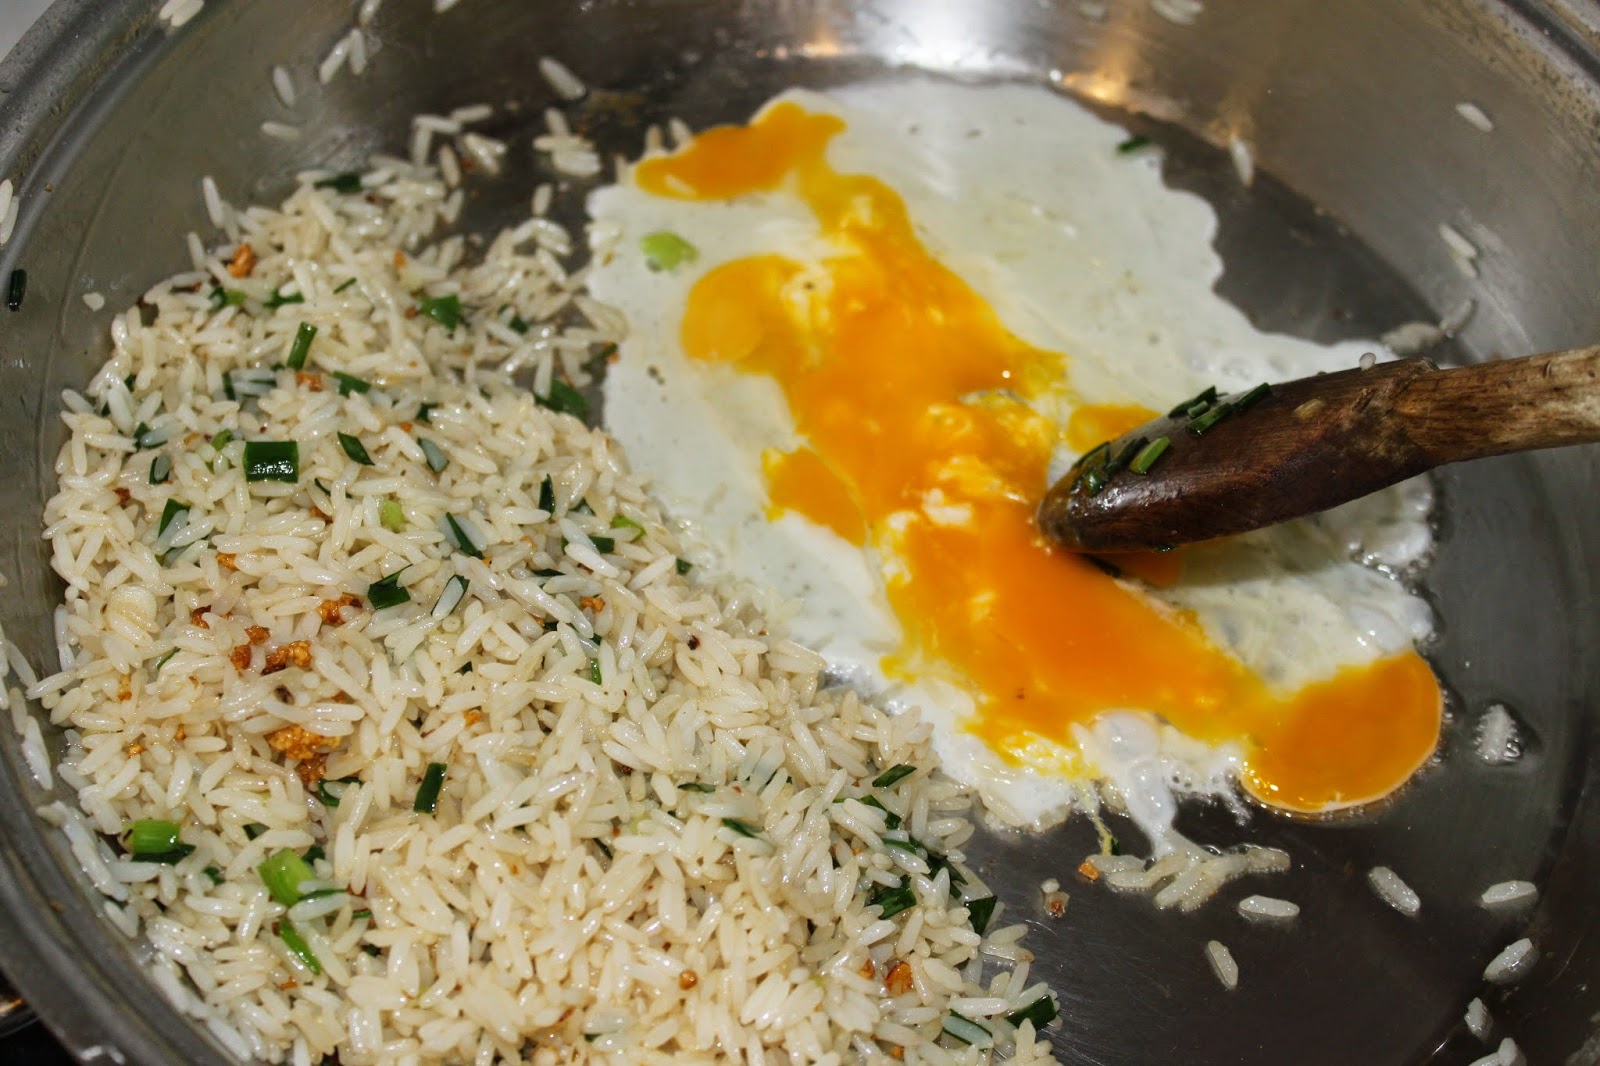
Push the rice into a corner and break the eggs (yes I know there is only one in the picture!!) into the empty space. 


Mix them with a spoon to cook it quickly. When they are cooked (but not overcooked either) mix them with the rest of the rice.


Add the pineapple pieces.


And pour in the sauces and sugar. 


Finally, add the shrimp and cashews and serve immediately. 

Tip:

If your rice looks too dry, feel free to add a tablespoon or two of water!
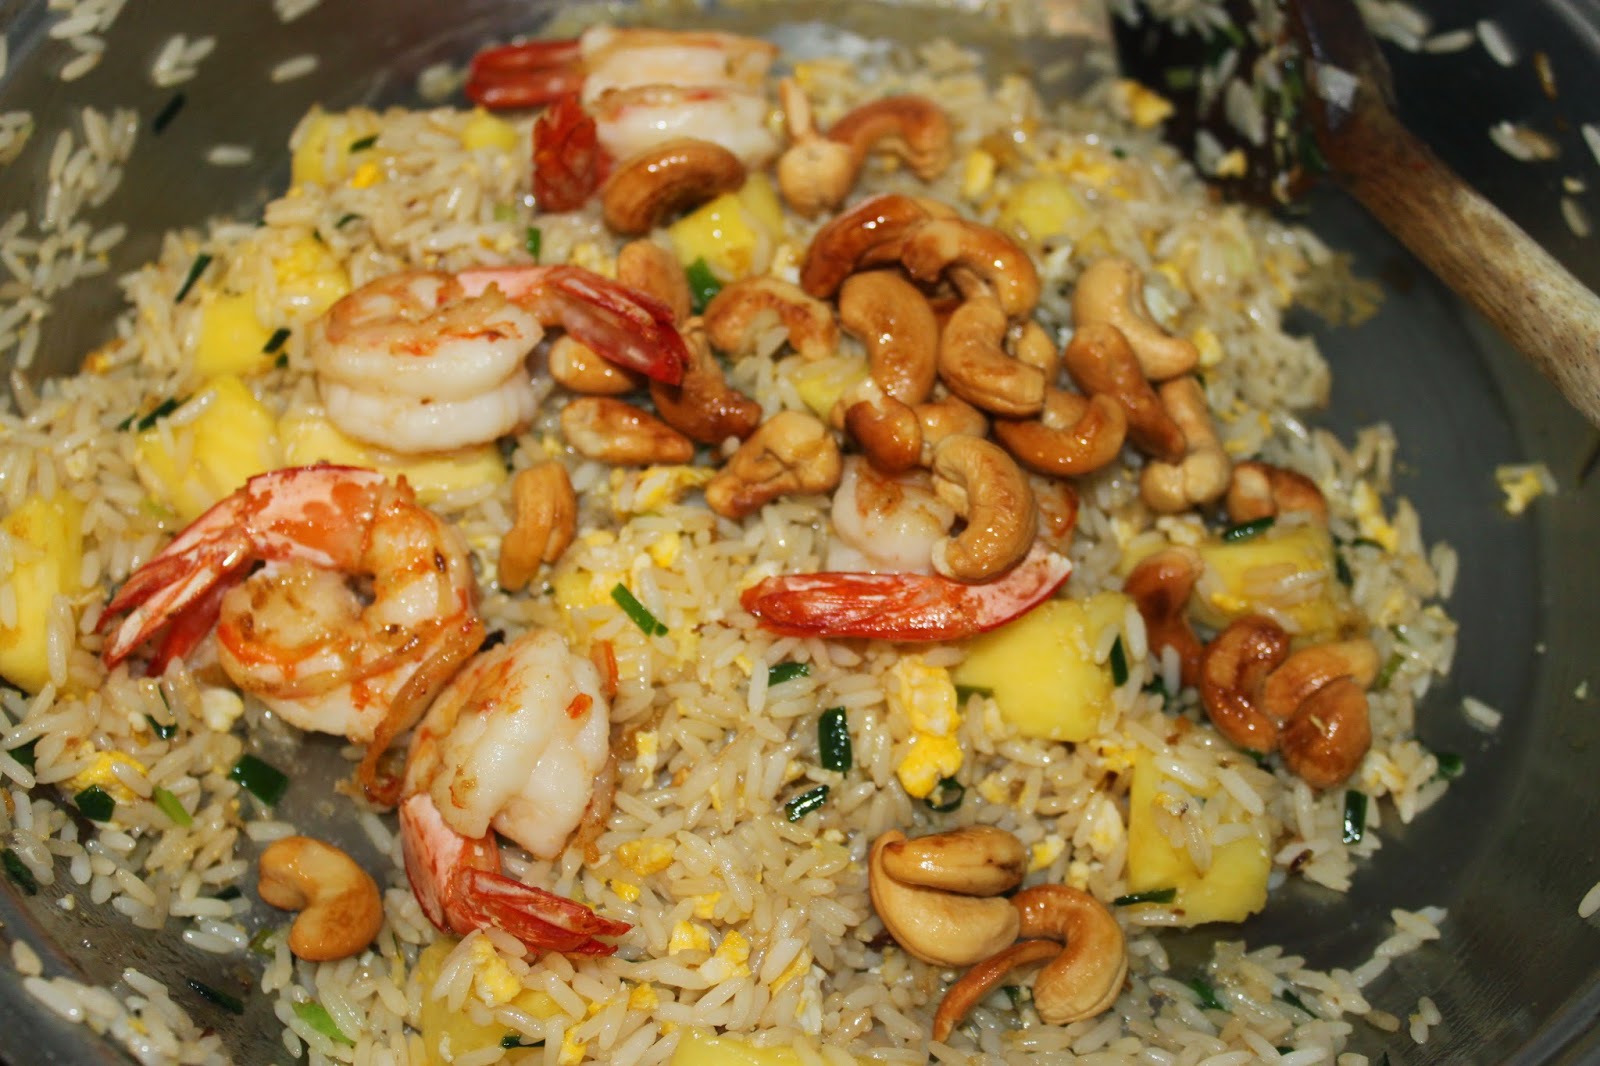


Put half of the rice in a bowl (keeping a few shrimp to place on top), pressing it well, then invert it onto a plate. Do the same for the second portion. You can serve it with a little lime. To devour without delay! 
]]>
https://stagingapp15670.cloudwayssites.com/en/fried-rice-with-shrimps-pineapple-and-cashew-nuts/feed/ 0
Red Curry and Shrimp Risotto https://stagingapp15670.cloudwayssites.com/en/red-curry-and-shrimp-risotto/ https://stagingapp15670.cloudwayssites.com/en/red-curry-and-shrimp-risotto/#respond Mon, 09 Feb 2015 13:11:00 +0000 https://stagingapp15670.cloudwayssites.com/red-curry-and-shrimp-risotto

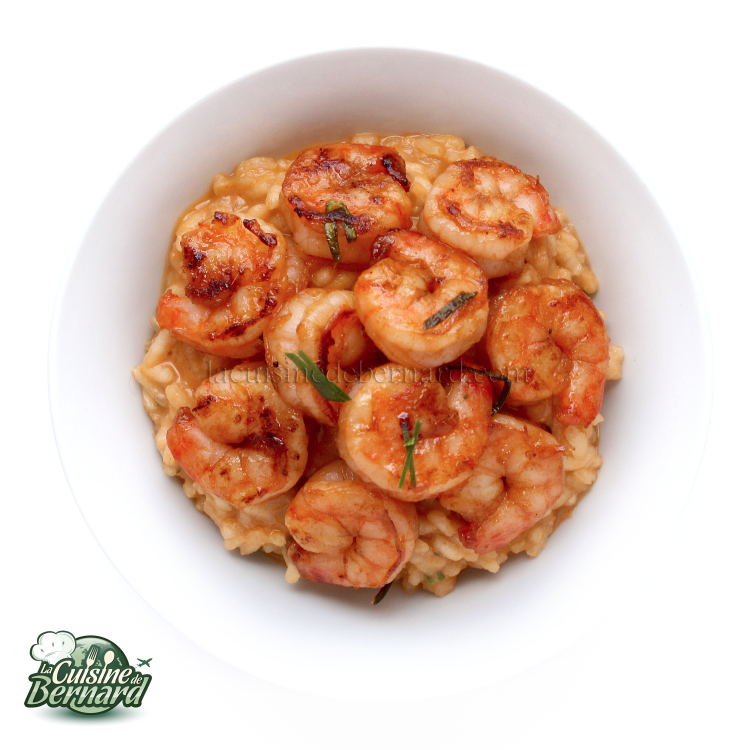
A creamy risotto with totally unexpected flavors! This is what I suggest by adding red curry paste and shrimp with kaffir leaves. A cross between classic Italian cuisine and Thai flavors. The result is explosive and particularly tasty. The risotto melts in your mouth, the chili pepper tastes delicious, the shrimp are caramelized on the surface and the whole thing will add a touch of originality to your dinner! 

This is what a “kaffir leaf”, also called “lemon leaf” or “combava leaf”, looks like. It is often sold frozen in Asian grocery stores.

Recipe for red curry risotto for 4 people:

-1 shallot
-3 tablespoons of oil
-2-3 teaspoons of red curry paste (for a homemade paste click here
-300g of risotto rice
-1 liter of vegetable broth
-6 kaffir leaves
-4 bunches of cilantro
-2 heaping teaspoons of brown sugar
-2 tablespoons of nuoc mâm
-15cl of coconut cream


For shrimp:
-40 peeled shrimp
-2 heaping teaspoons of red curry paste
-6 kaffir leaves
-2 heaping teaspoons of brown sugar 
-2 tablespoons of nuoc mâm
-oil to make them return

For the risotto: put the finely chopped shallot, oil and red curry paste in a large saucepan over moderate heat.


Sauté for a minute or two, then add the rice. 


Mix well in the fat so that it becomes pearly. Then pour in a little vegetable stock (on the liter).


Then proceed as for a classic risotto: pour the broth in small quantities. Wait until it is well absorbed before pouring more. In total, a risotto takes about 20 minutes to cook from the time the broth is poured in. 


This gives you time to prepare the shrimp: remove the midrib from the kaffir leaves. 


Then chop them finely.  


Prepare the shrimps by placing them with all their ingredients in a bowl (sugar, red curry paste, nuoc mâm, 6 kaffir leaves).  Mix well. 


Put 6 chopped kaffir lime leaves in the risotto. 


When you have poured all the broth, add the coconut cream, sugar and nuoc mâm. 


Finely chop the coriander and add it. In the photo, I had flat cilantro, but classic cilantro obviously works! 


Mix well. The risotto is ready! Keep it warm! 


Pour oil into a large frying pan over fairly high heat and add the shrimp. If everything doesn’t fit in the pan, cook in two batches! 


With the sugar, the shrimp will color well. 


Pour the risotto into 4 plates, add 10 cooked shrimp and serve immediately! 
]]>
https://stagingapp15670.cloudwayssites.com/en/red-curry-and-shrimp-risotto/feed/ 0
Baigan Massala https://stagingapp15670.cloudwayssites.com/en/baigan-massala/ https://stagingapp15670.cloudwayssites.com/en/baigan-massala/#respond Sun, 31 Aug 2014 13:48:00 +0000 https://stagingapp15670.cloudwayssites.com/baigan-massala

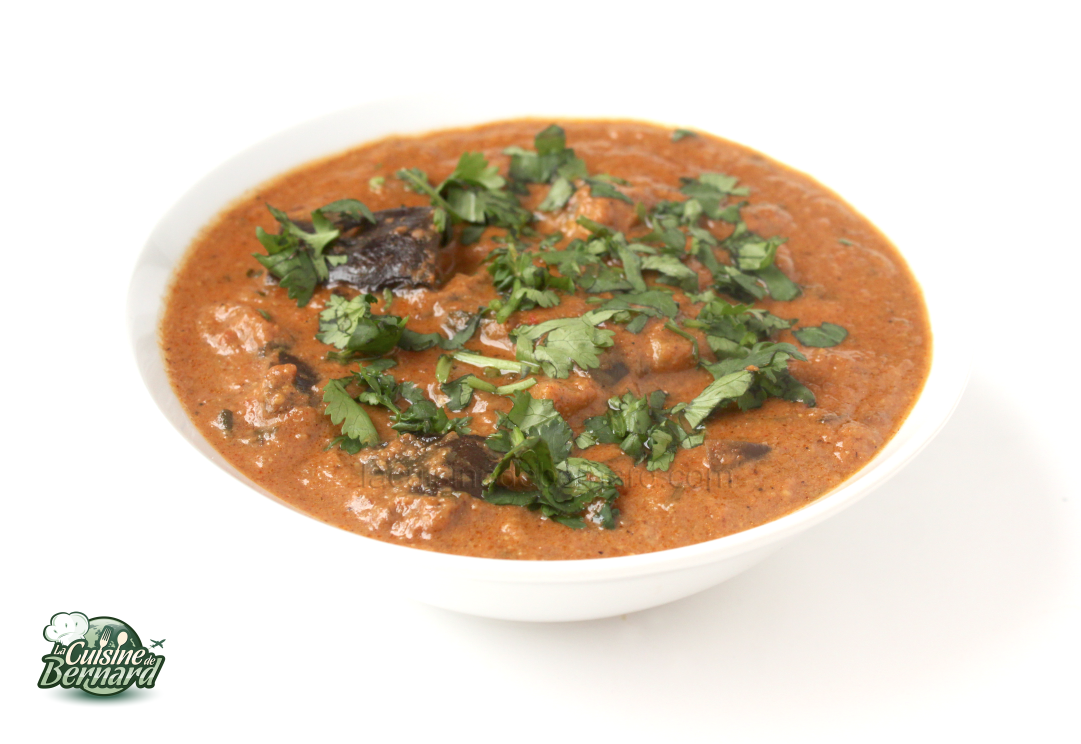
This is a dish made for vegetarians. Although I am not, I often do not eat meat. So here are these eggplants in spicy sauce. There is no single identical recipe for massala and everyone can put in what they want within certain guidelines. I give you here my recipe which is eaten with fresh bread to sauce it all. I sauté the eggplants, but you are free to fry them… It will be even better but much richer (too much?). 

Recipe for baigan massala:
-4 eggplants
-oil for sautéing eggplant

Sauce:
-2 onions
-500ml of tomato pulp
-2 teaspoons of garlic-ginger paste
-2 teaspoons paprika
-2 tablespoons of sugar
-4 cloves
-1 cinnamon stick 
-2 tablespoons of double tomato paste
-4 cardamom pods
-3 teaspoons coriander powder
-1 teaspoon cumin powder
-6 teaspoons garam massala (more or less)
-10cl of heavy cream
-75g of raw cashew nuts mixed with a little water
-200ml of coconut milk
-1 large bunch of coriander
-50g of ghee
-2 teaspoons of caraway seeds

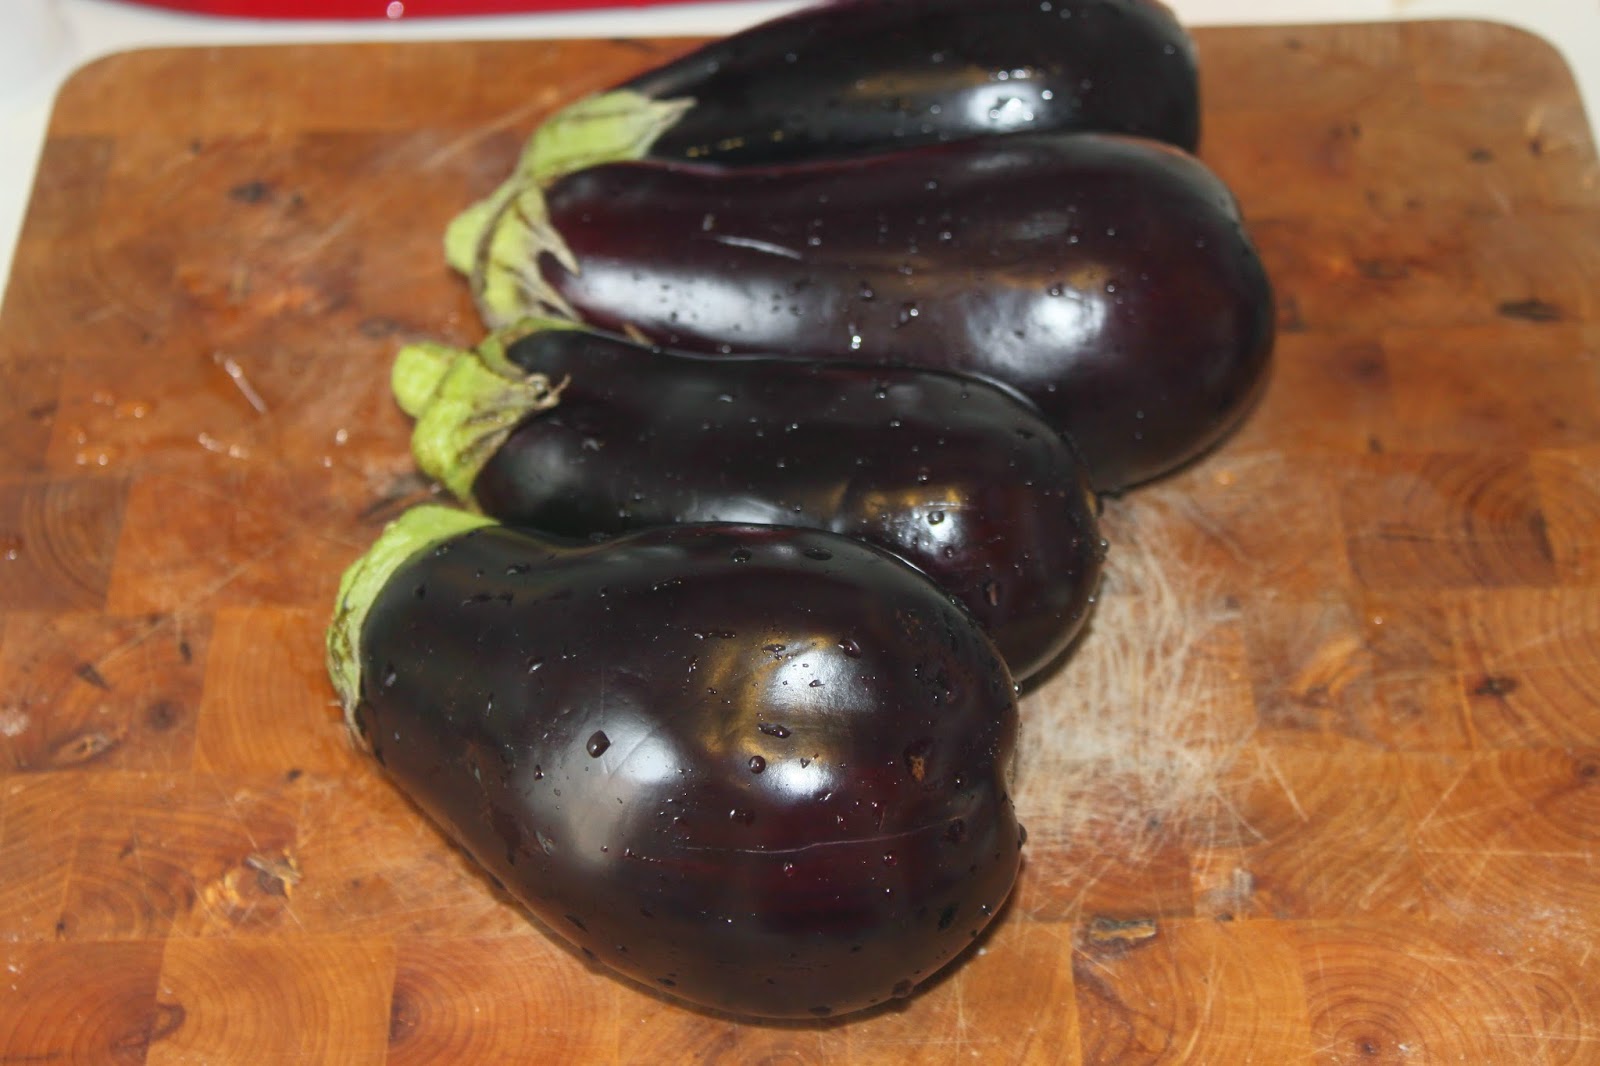
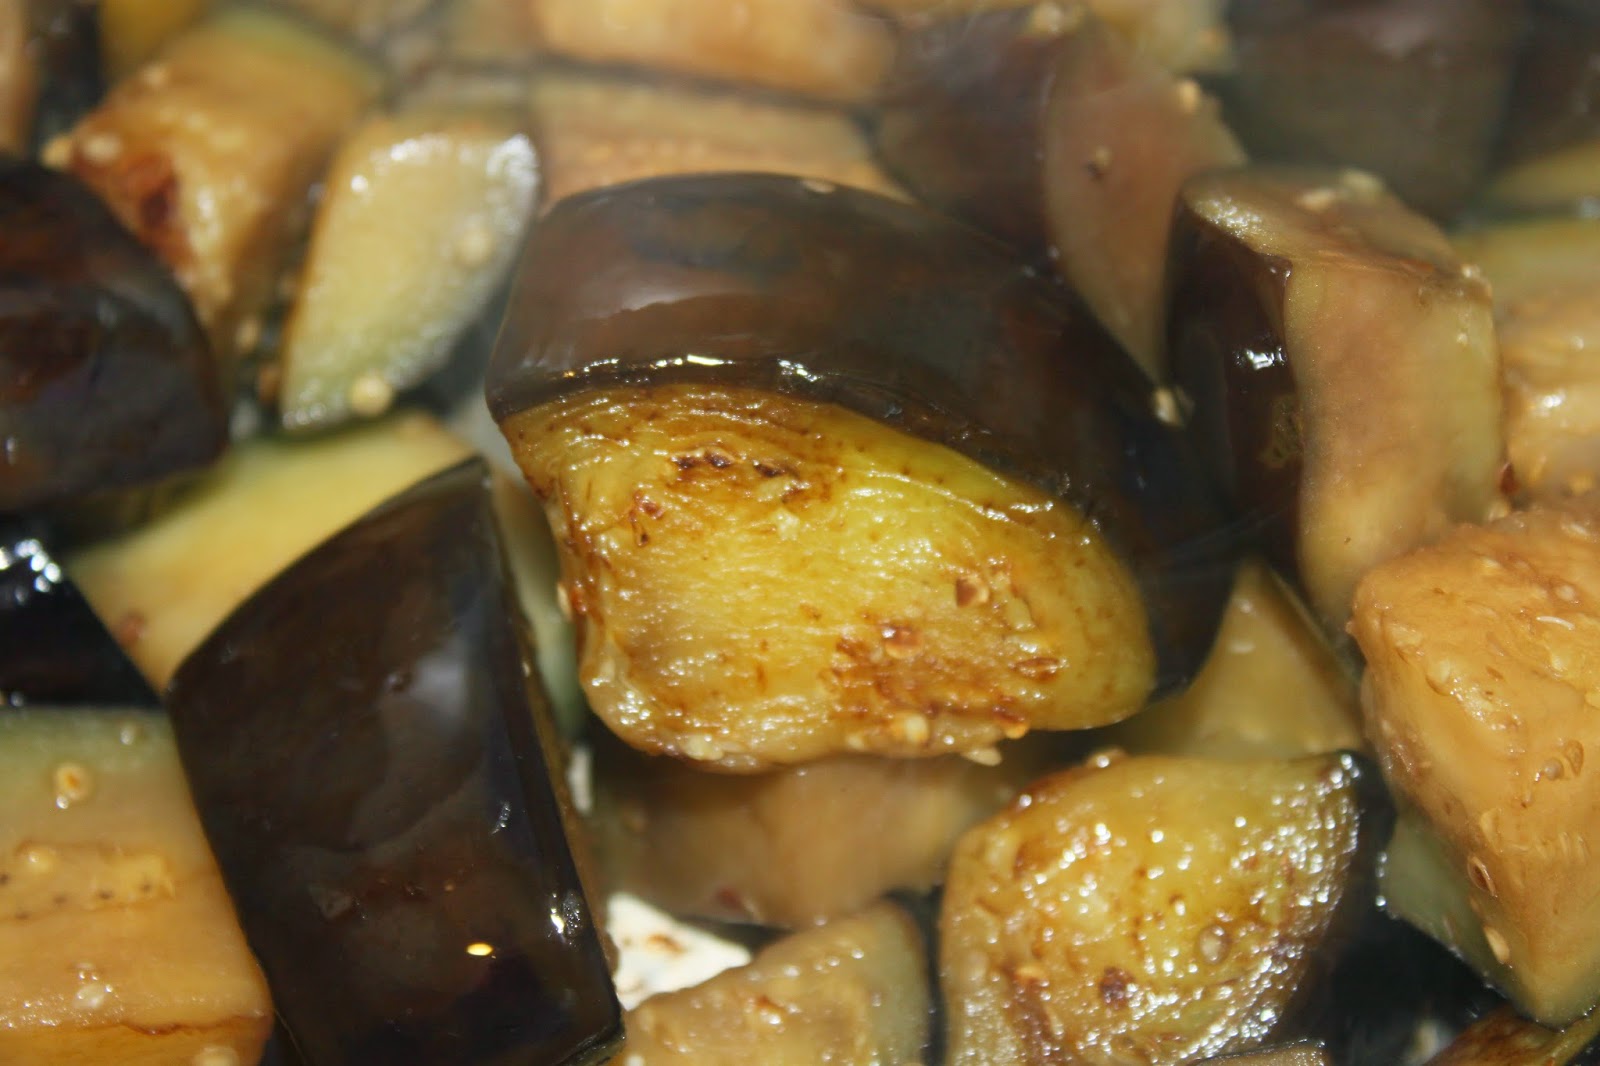
Wash and chop the eggplants.

In a casserole dish, pour a good amount of oil and add half of the eggplants.

Sauté them so that they become colored. To avoid damaging them, I shake the pot and do not use a wooden spoon. Add oil if you find the bottom is too dry and threatens to burn.
Problem: the more oil there is, the more they absorb…
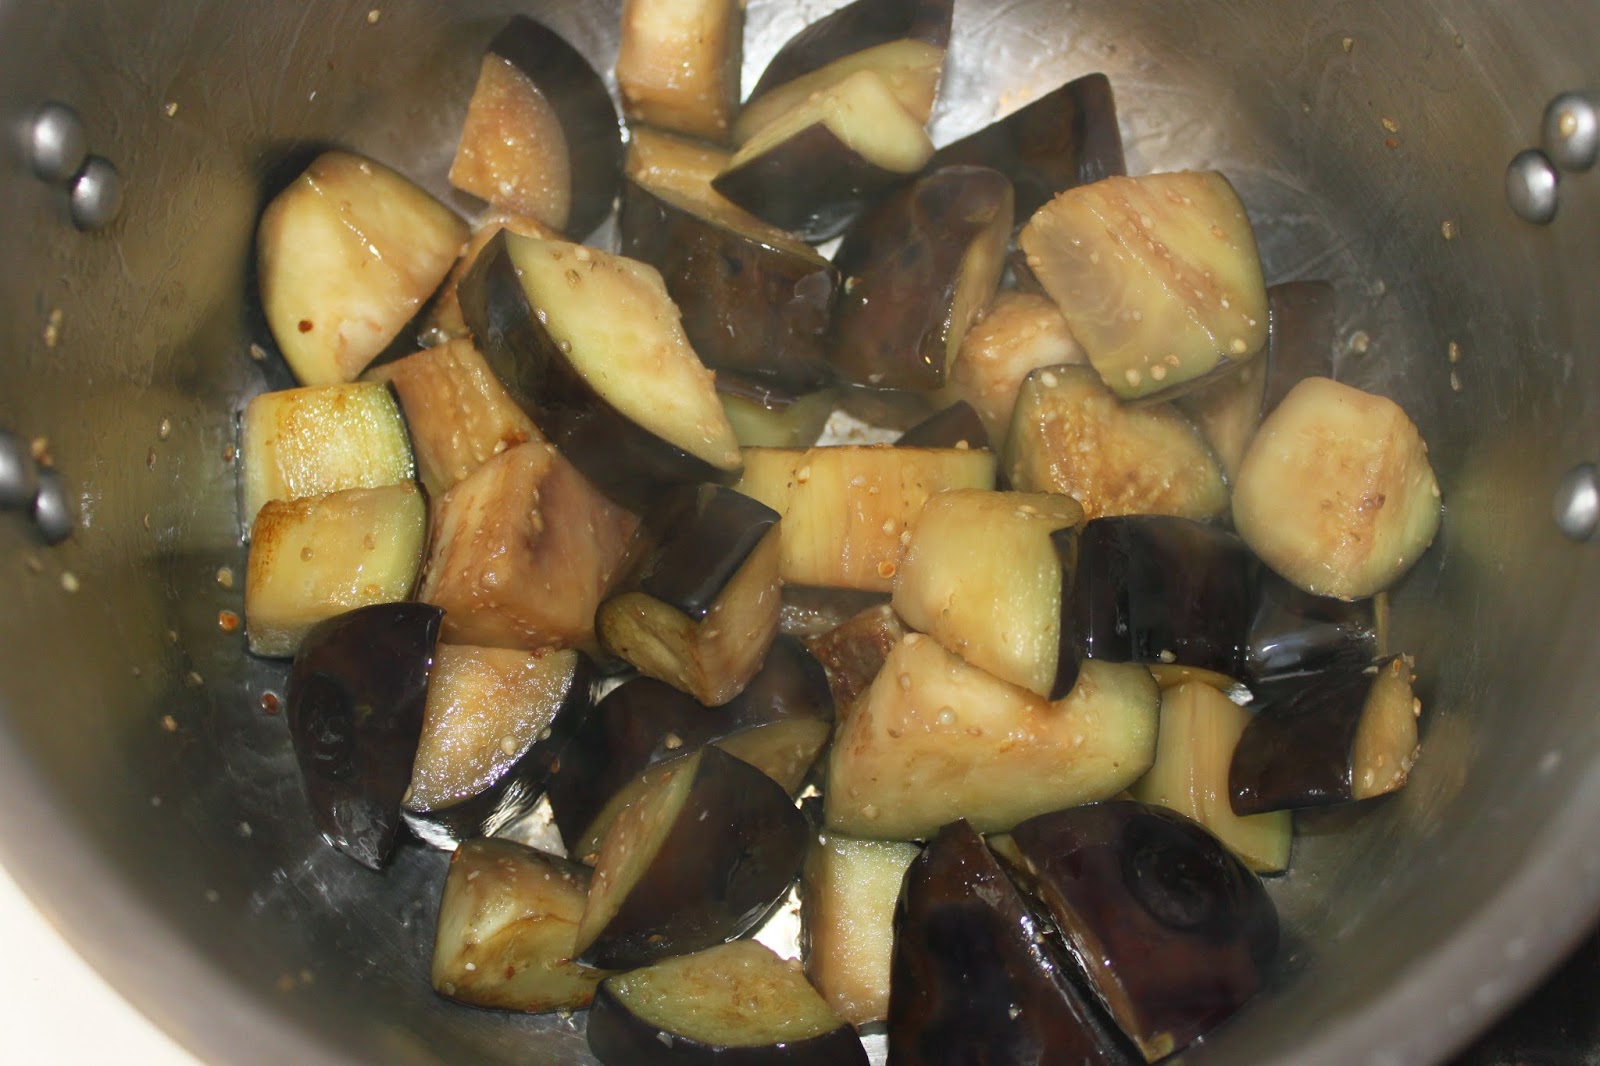
The eggplants should start to color without really cooking.
When they are ready, repeat the process with the other half of the eggplants.
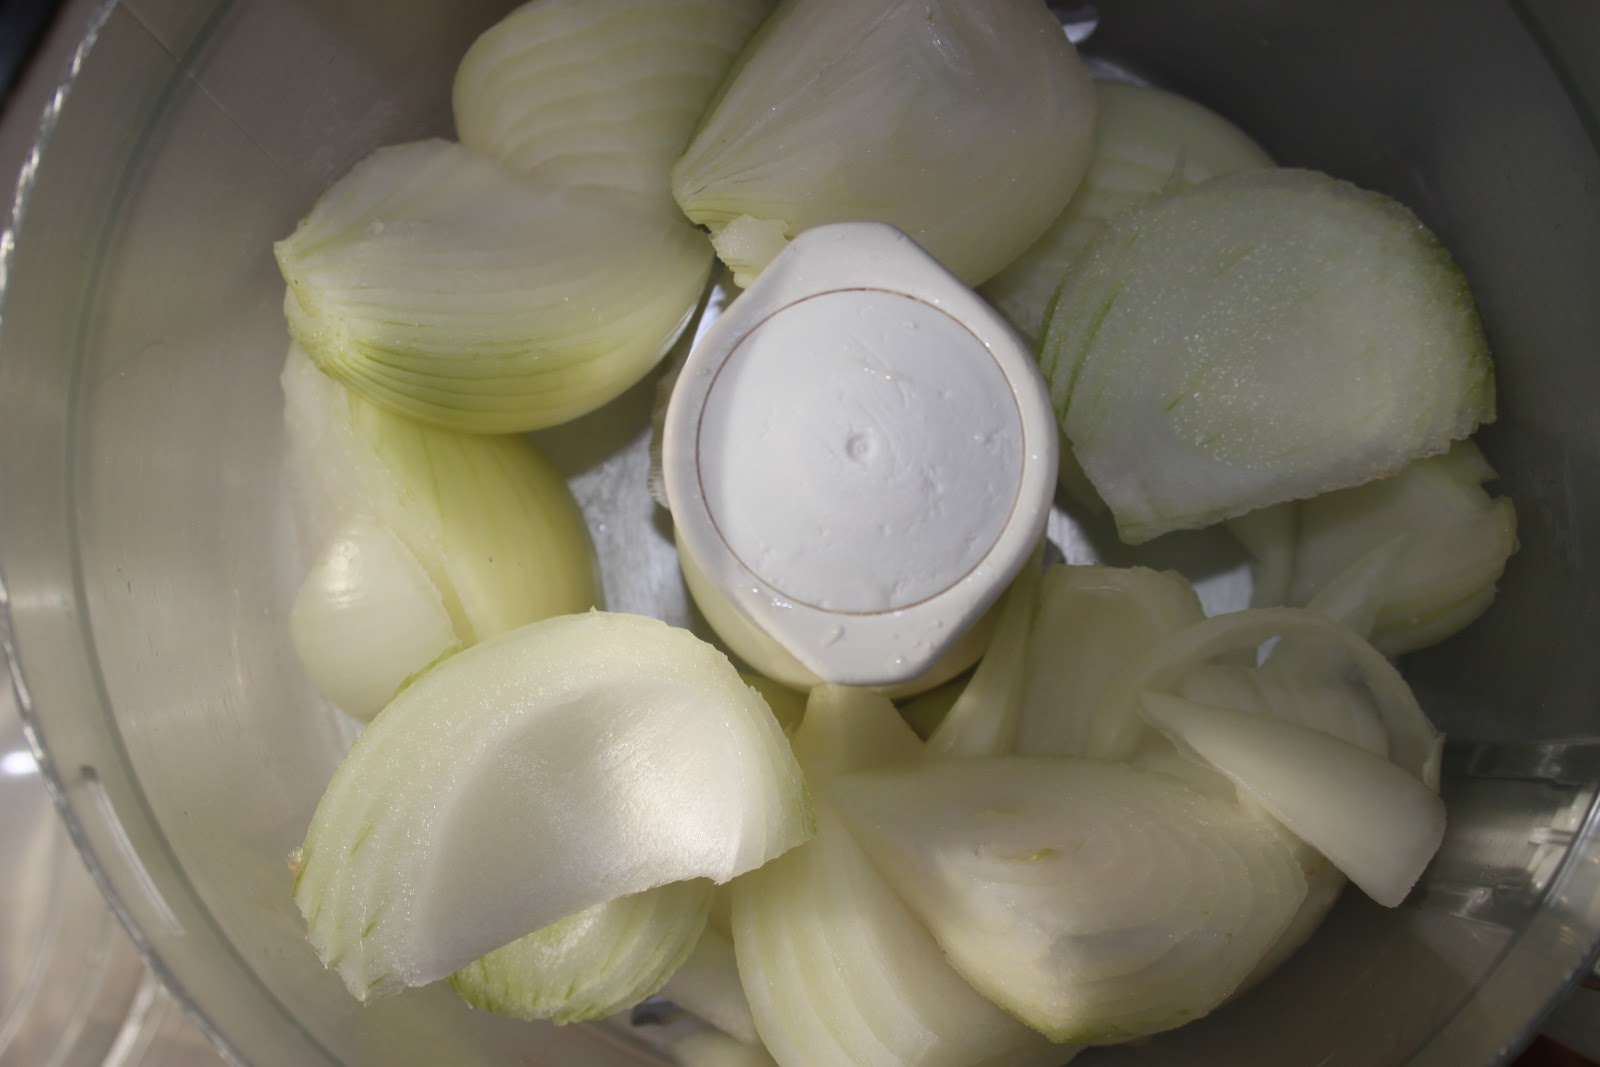
Cut the onions into coarse pieces and put them in a blender. 


Blend to reduce to very small pieces. Be careful not to puree the onion! 


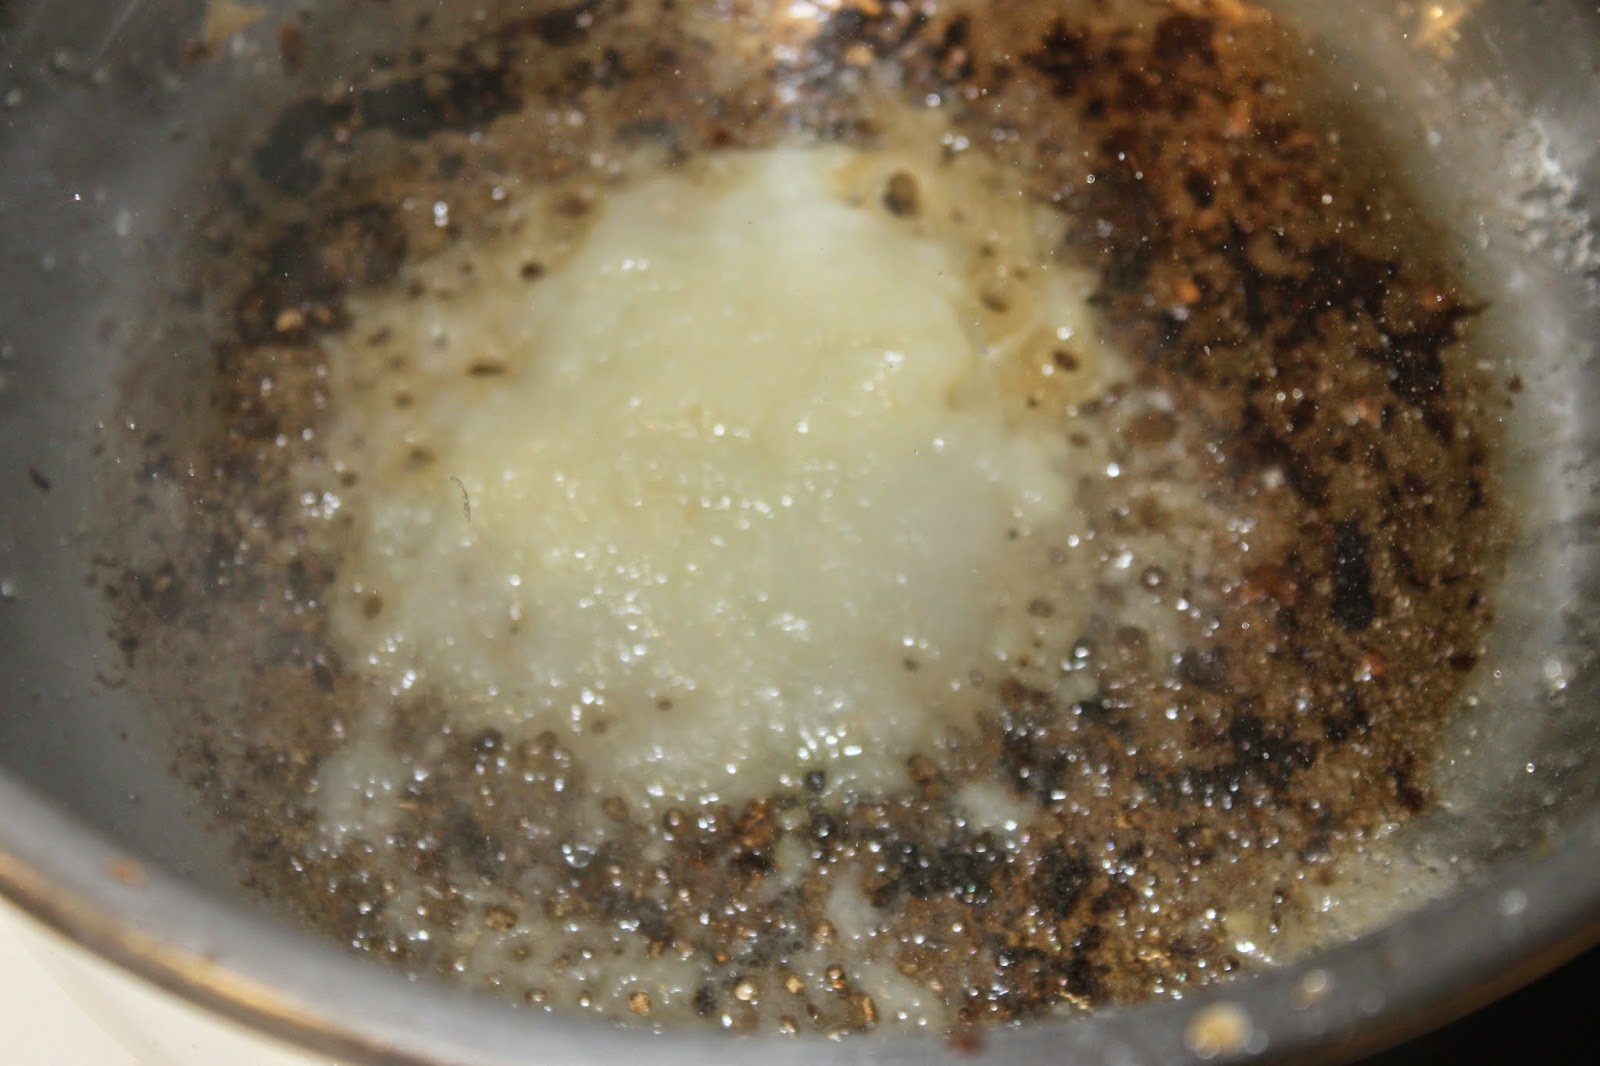
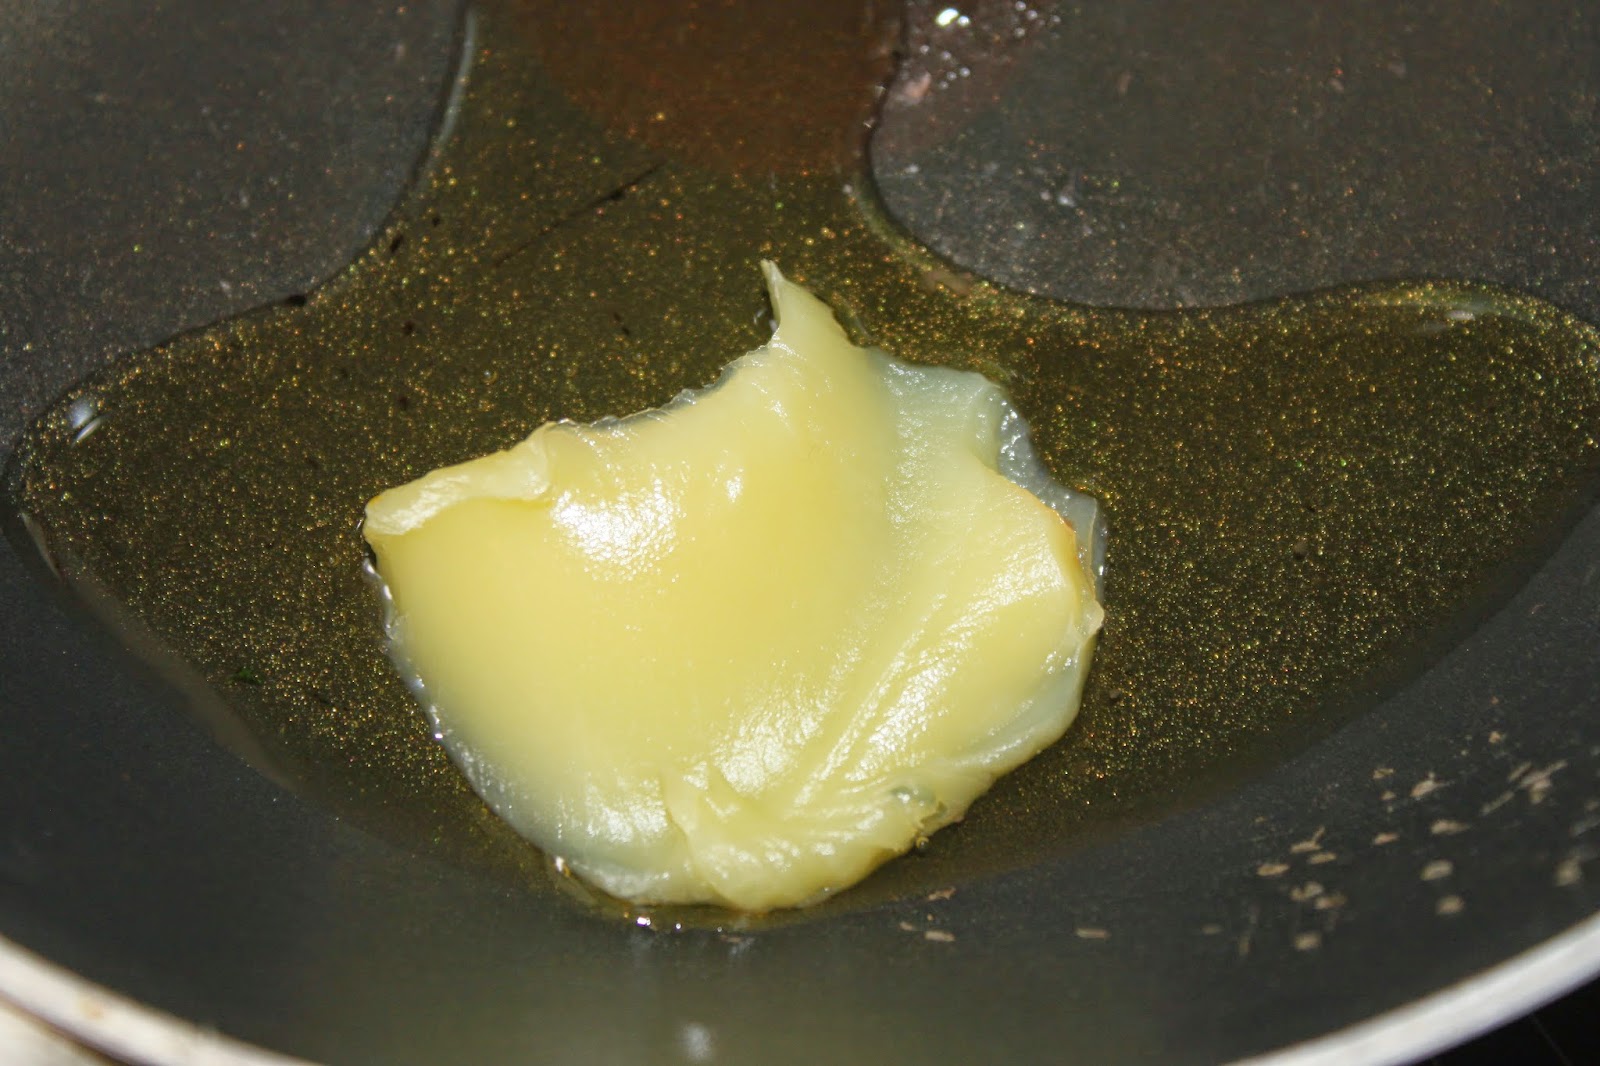
Pour 20g of ghee to heat in the casserole where the eggplants have browned. Add the garlic-ginger paste. Instead of this paste, you can grate 2cm of fresh ginger and crush 3 cloves of garlic. 

Add the onions and cook over moderate heat. 


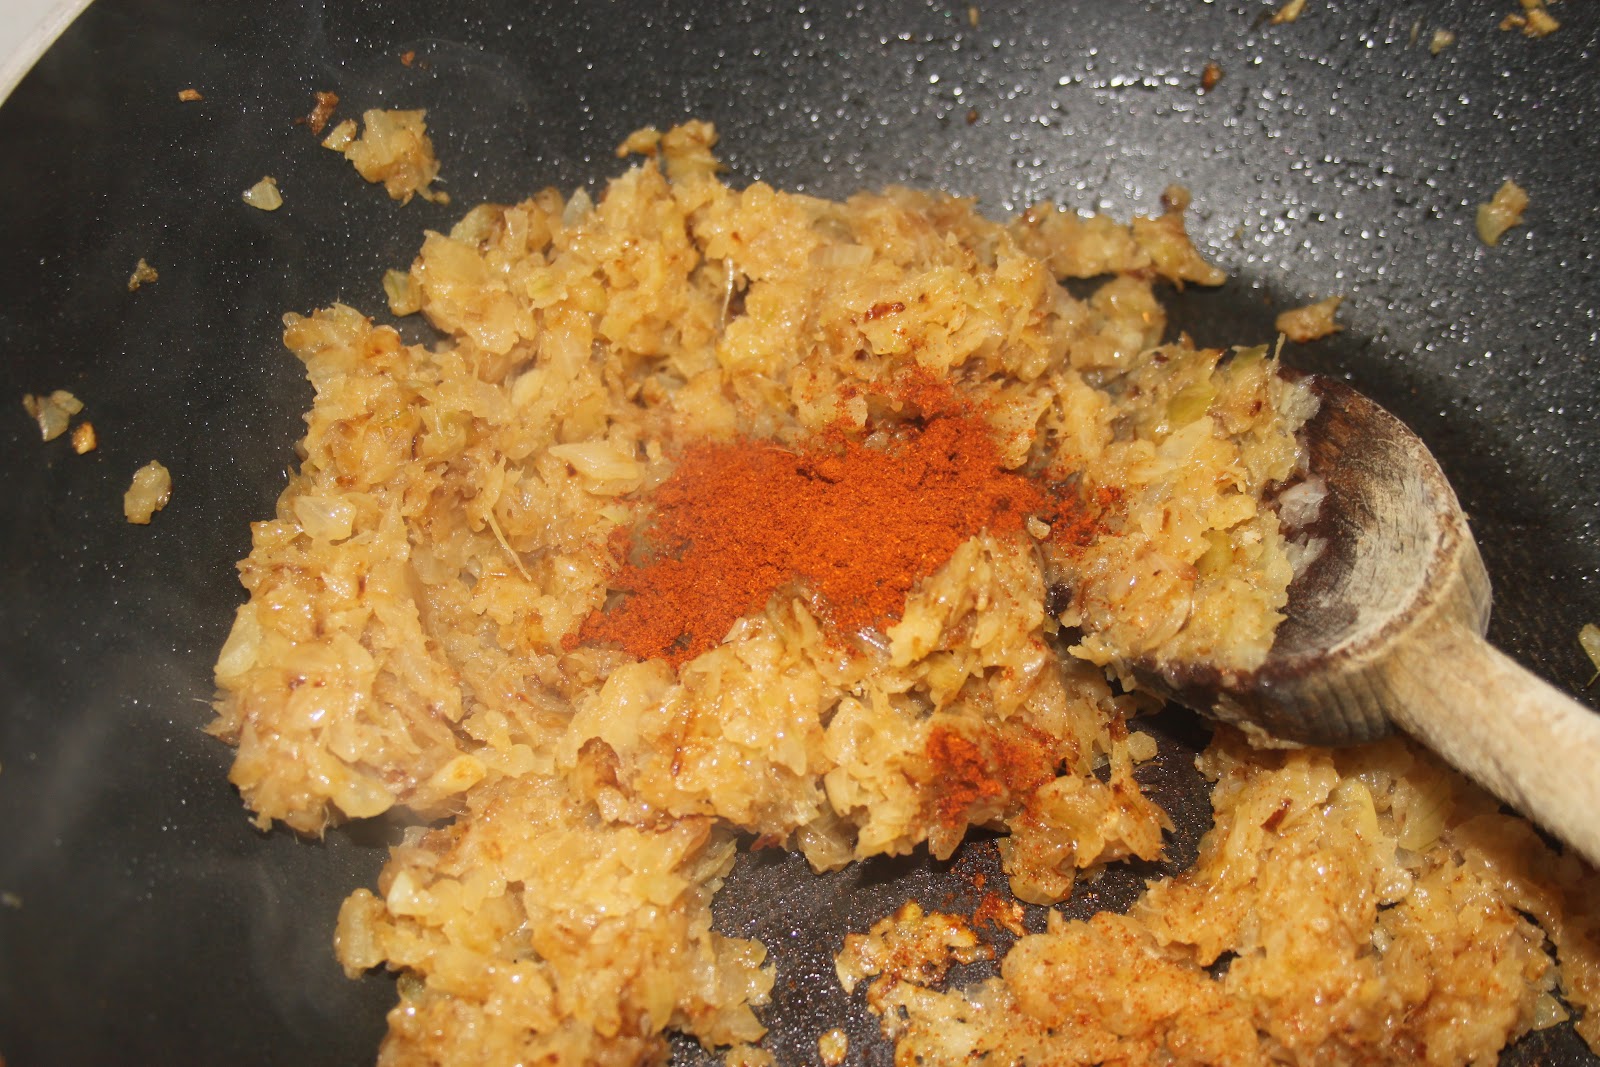
Let cook for about 15 minutes, stirring regularly. 


The onions should start to color and have a nice amber color. 


Add the sweet paprika.


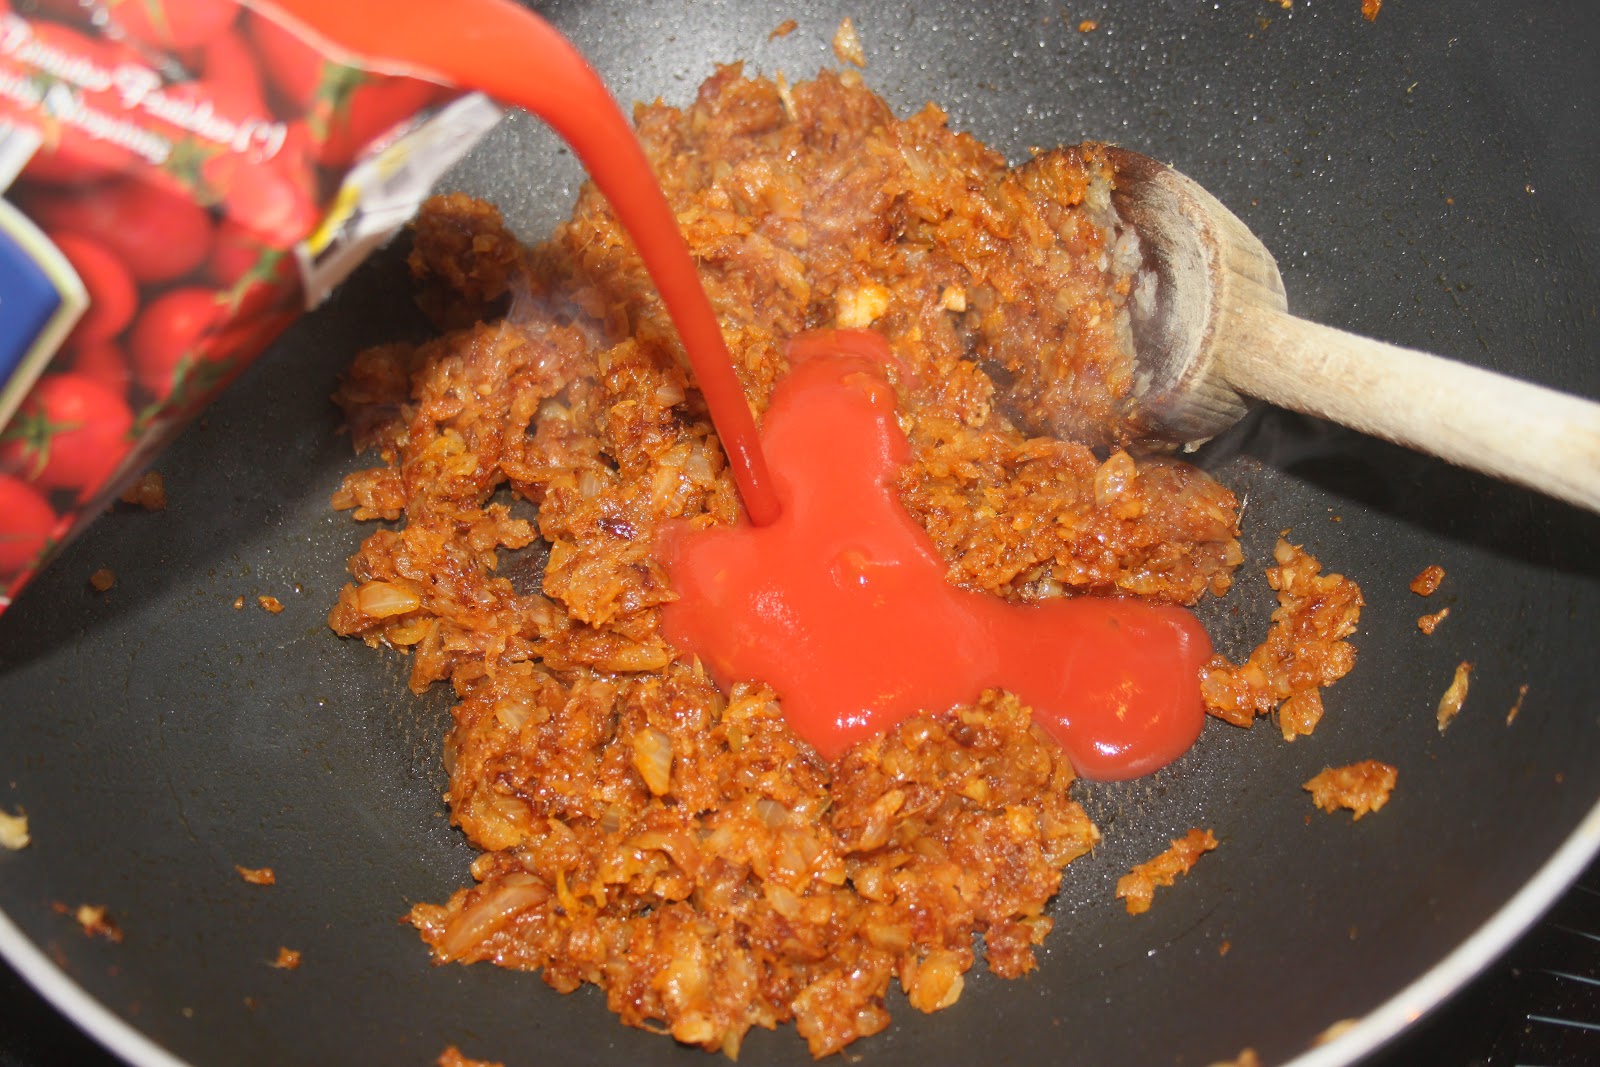
Mix well and cook for two minutes. Add the tomato pulp and sugar.


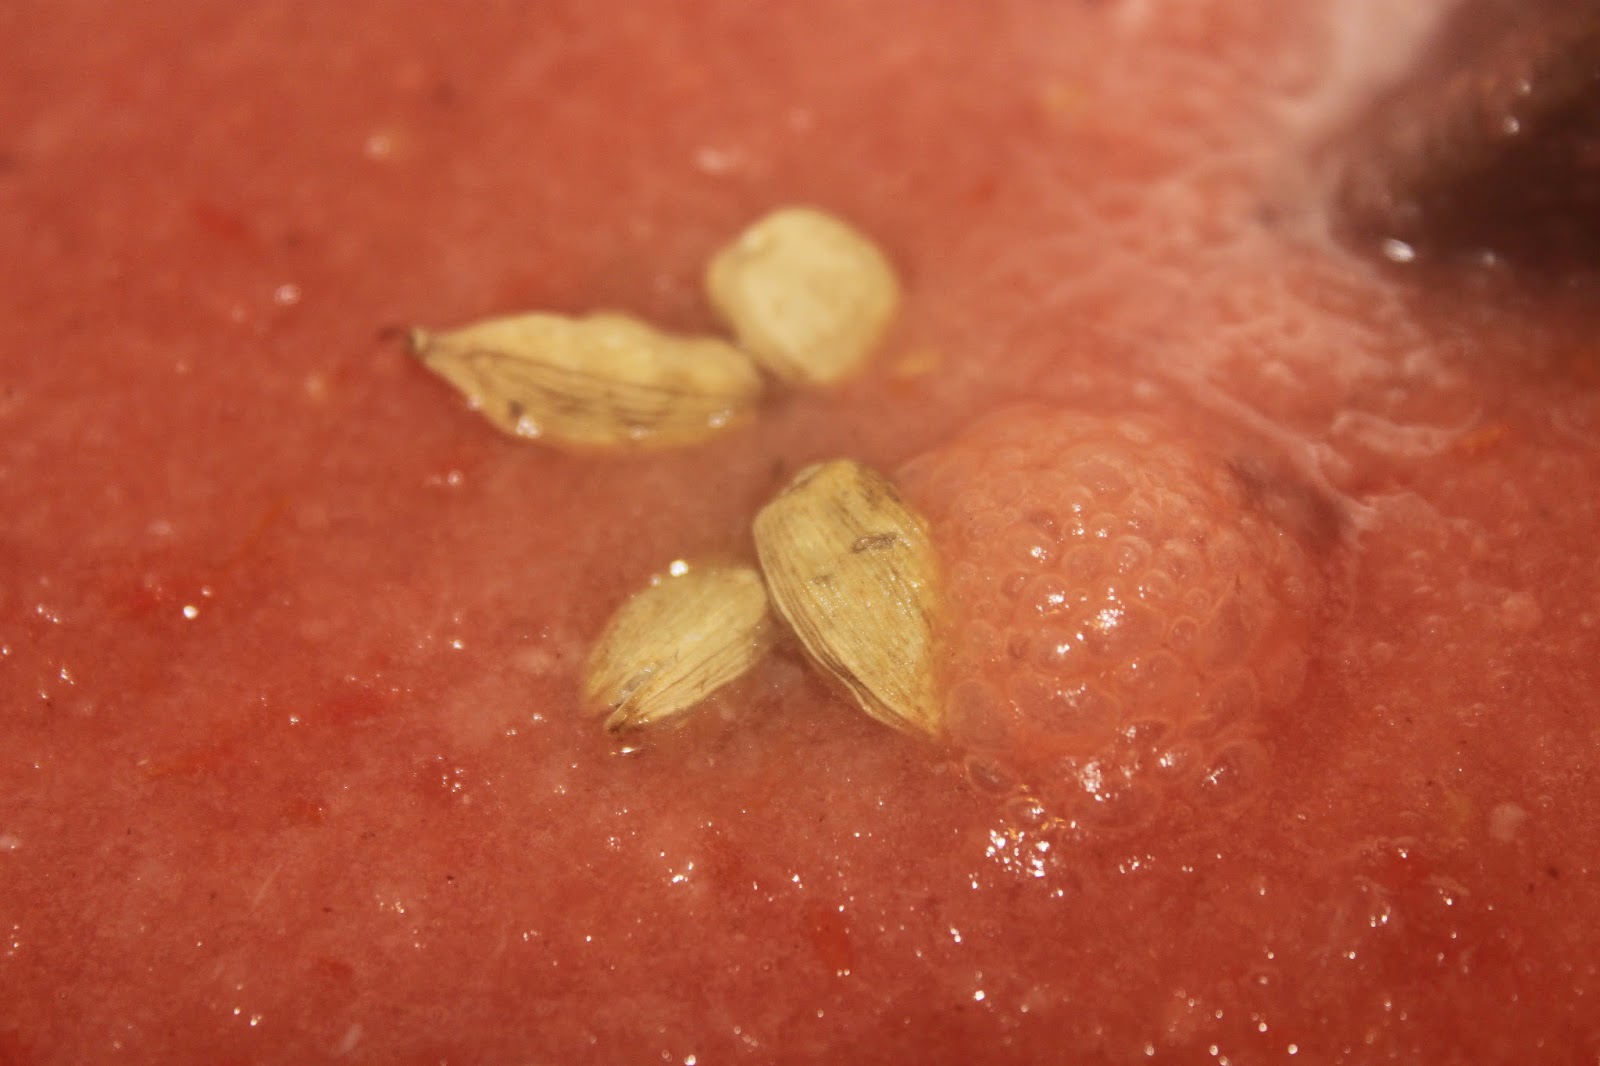
Cardamom pods.

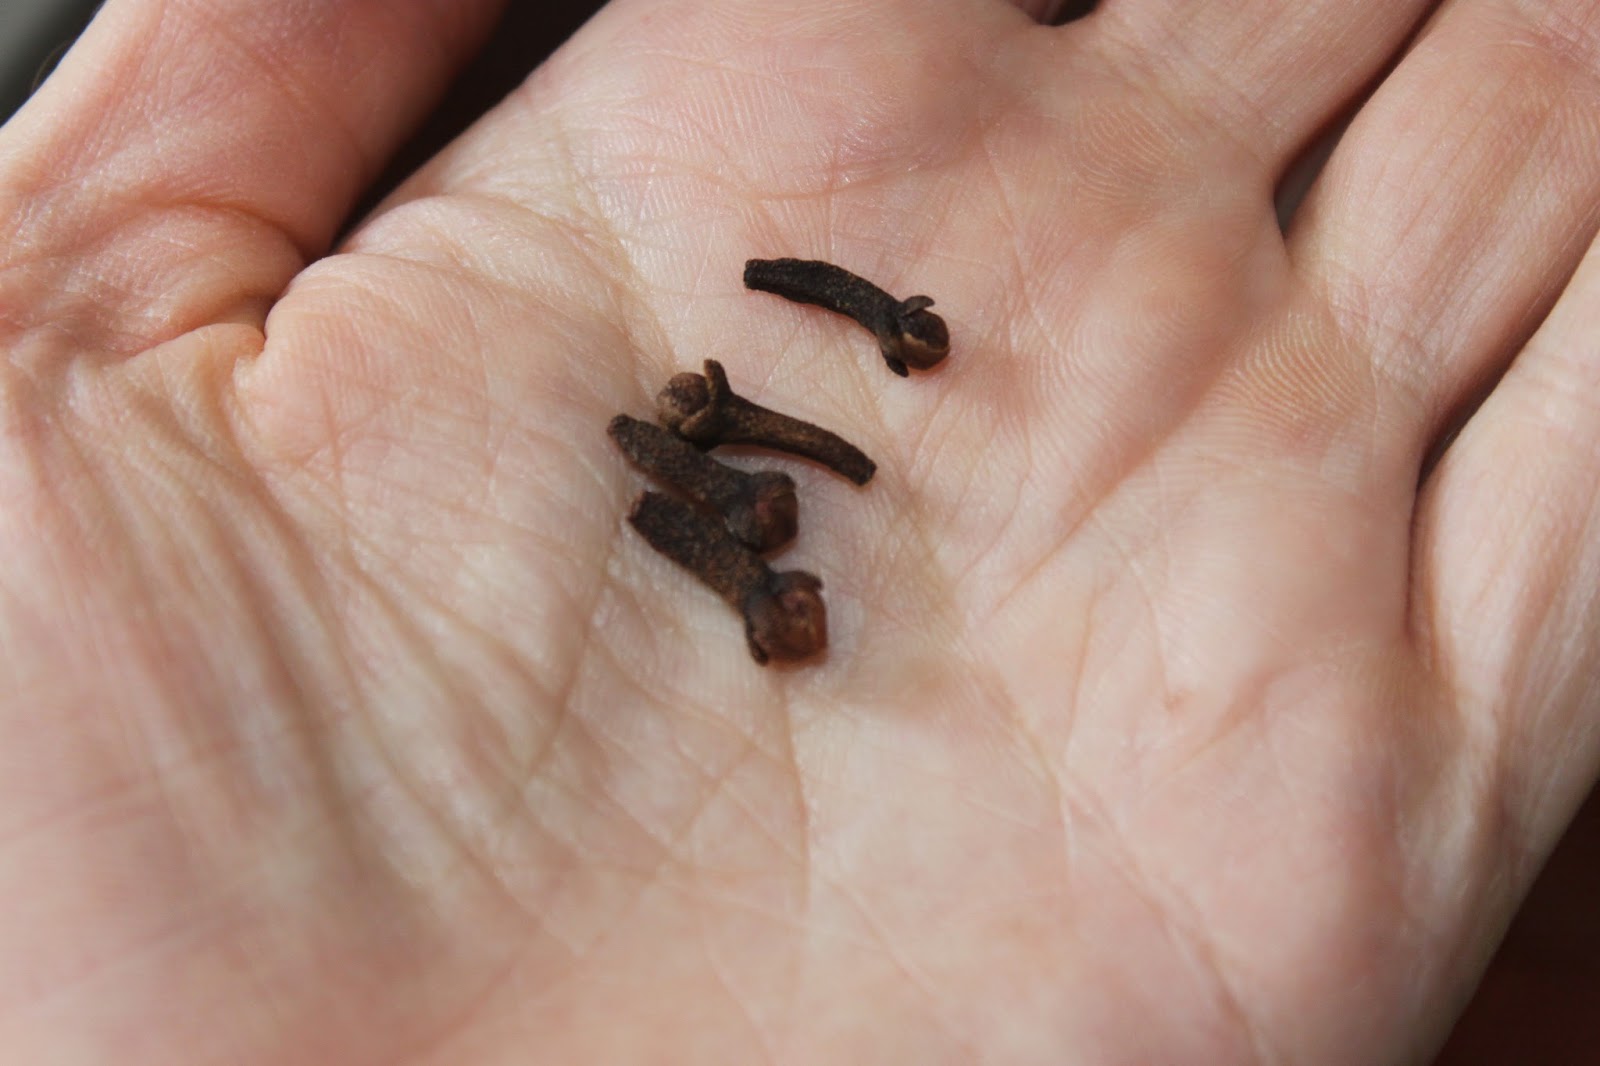
The double tomato paste, the cloves, the cinnamon stick.

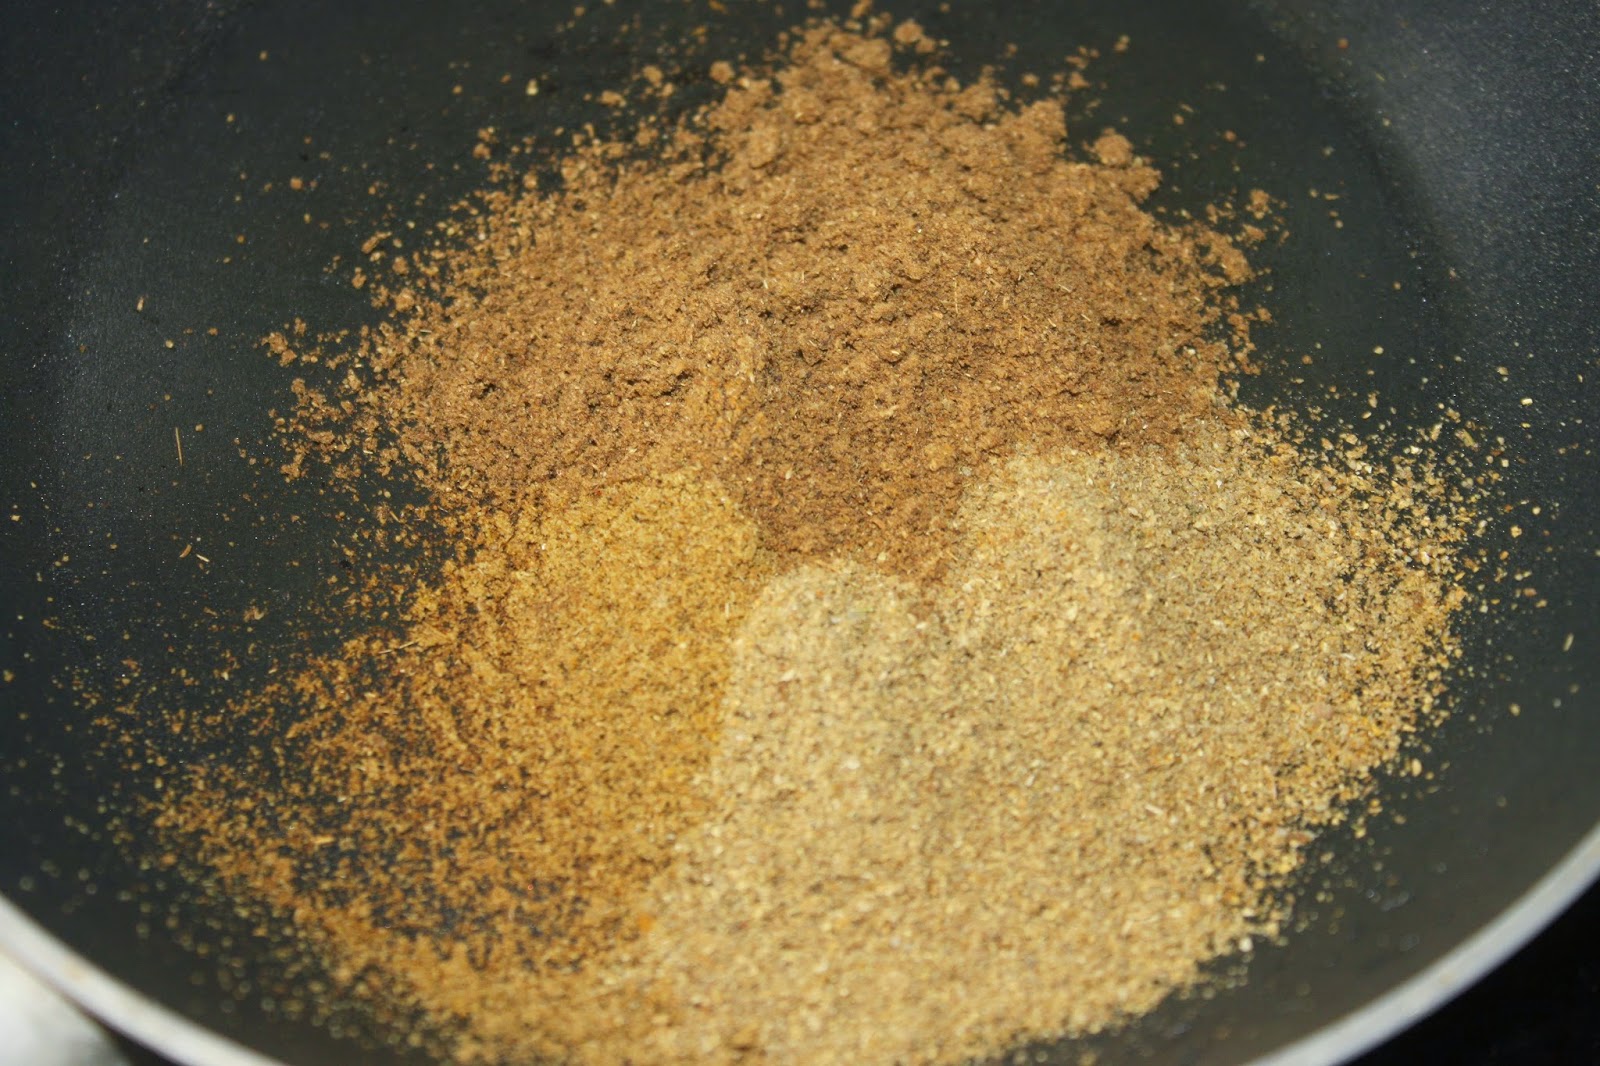
Bring to a boil. In a small pan, lightly heat the spices: cumin powder, coriander powder and garam massala. 
Regarding the latter, there are all kinds, more or less flavored but especially more or less spicy. So adapt the quantity according to your taste! 

When they start to smell good, pour them into the sauce.

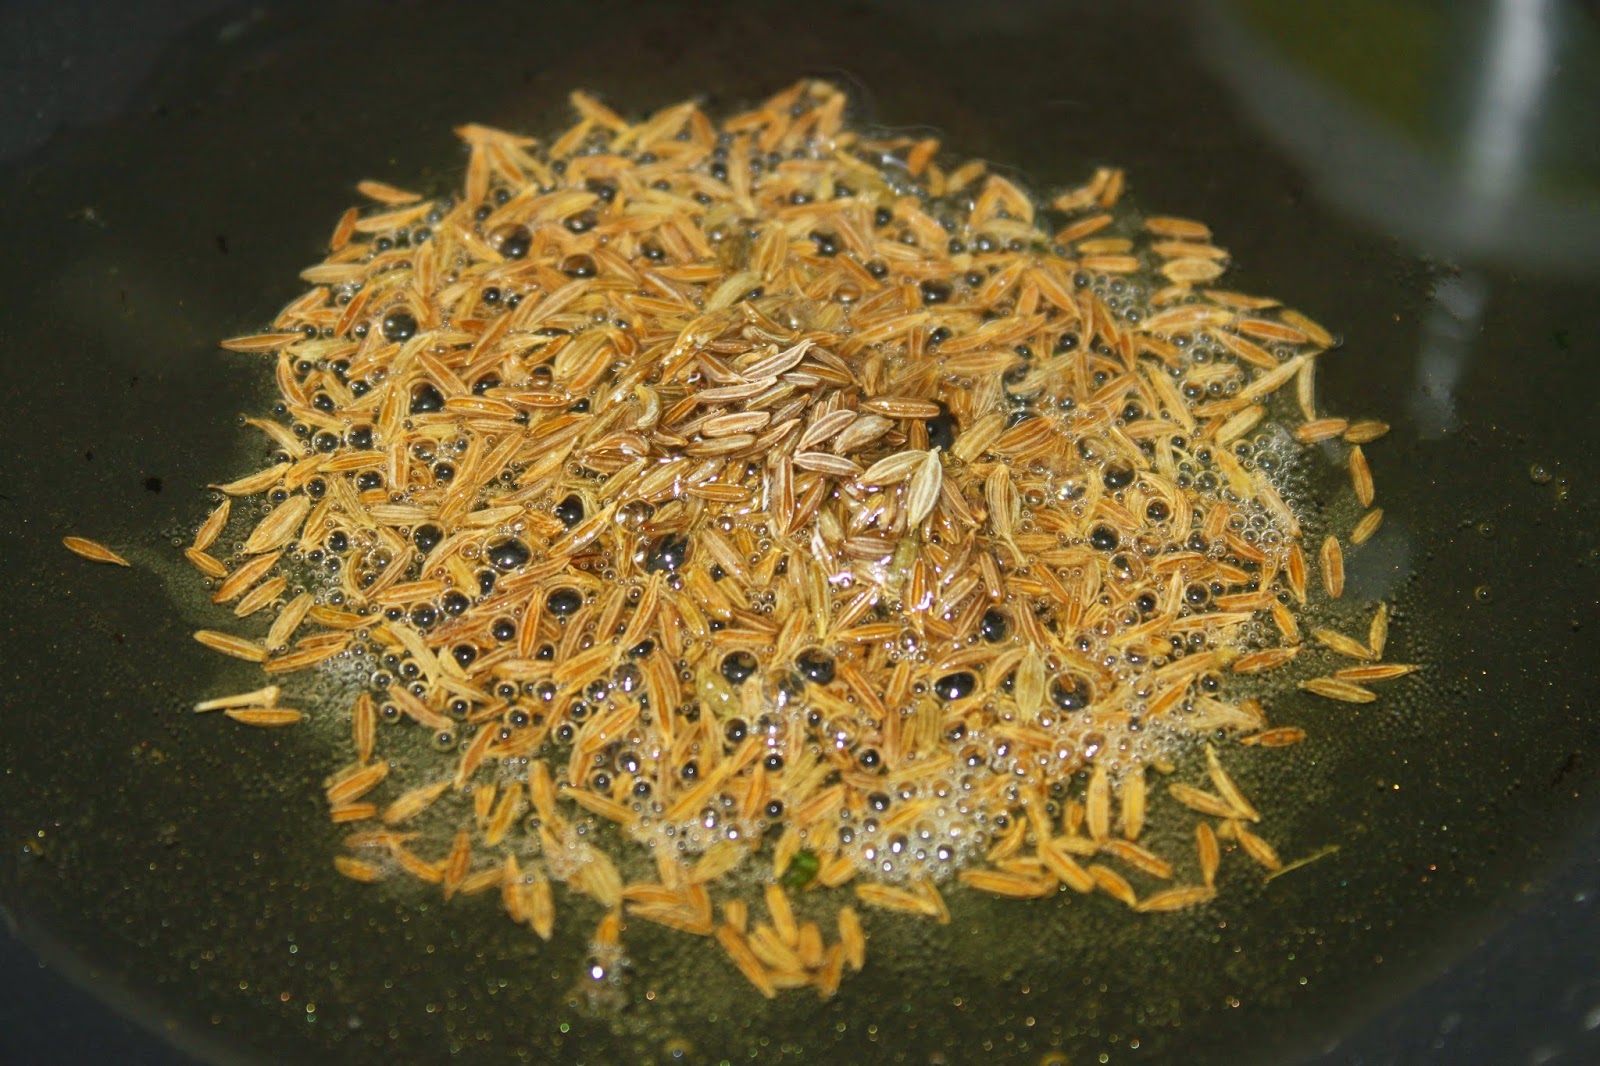
In the pan, pour 20g of ghee and toast the caraway seeds. 

Which you pour into the sauce with the melted ghee.

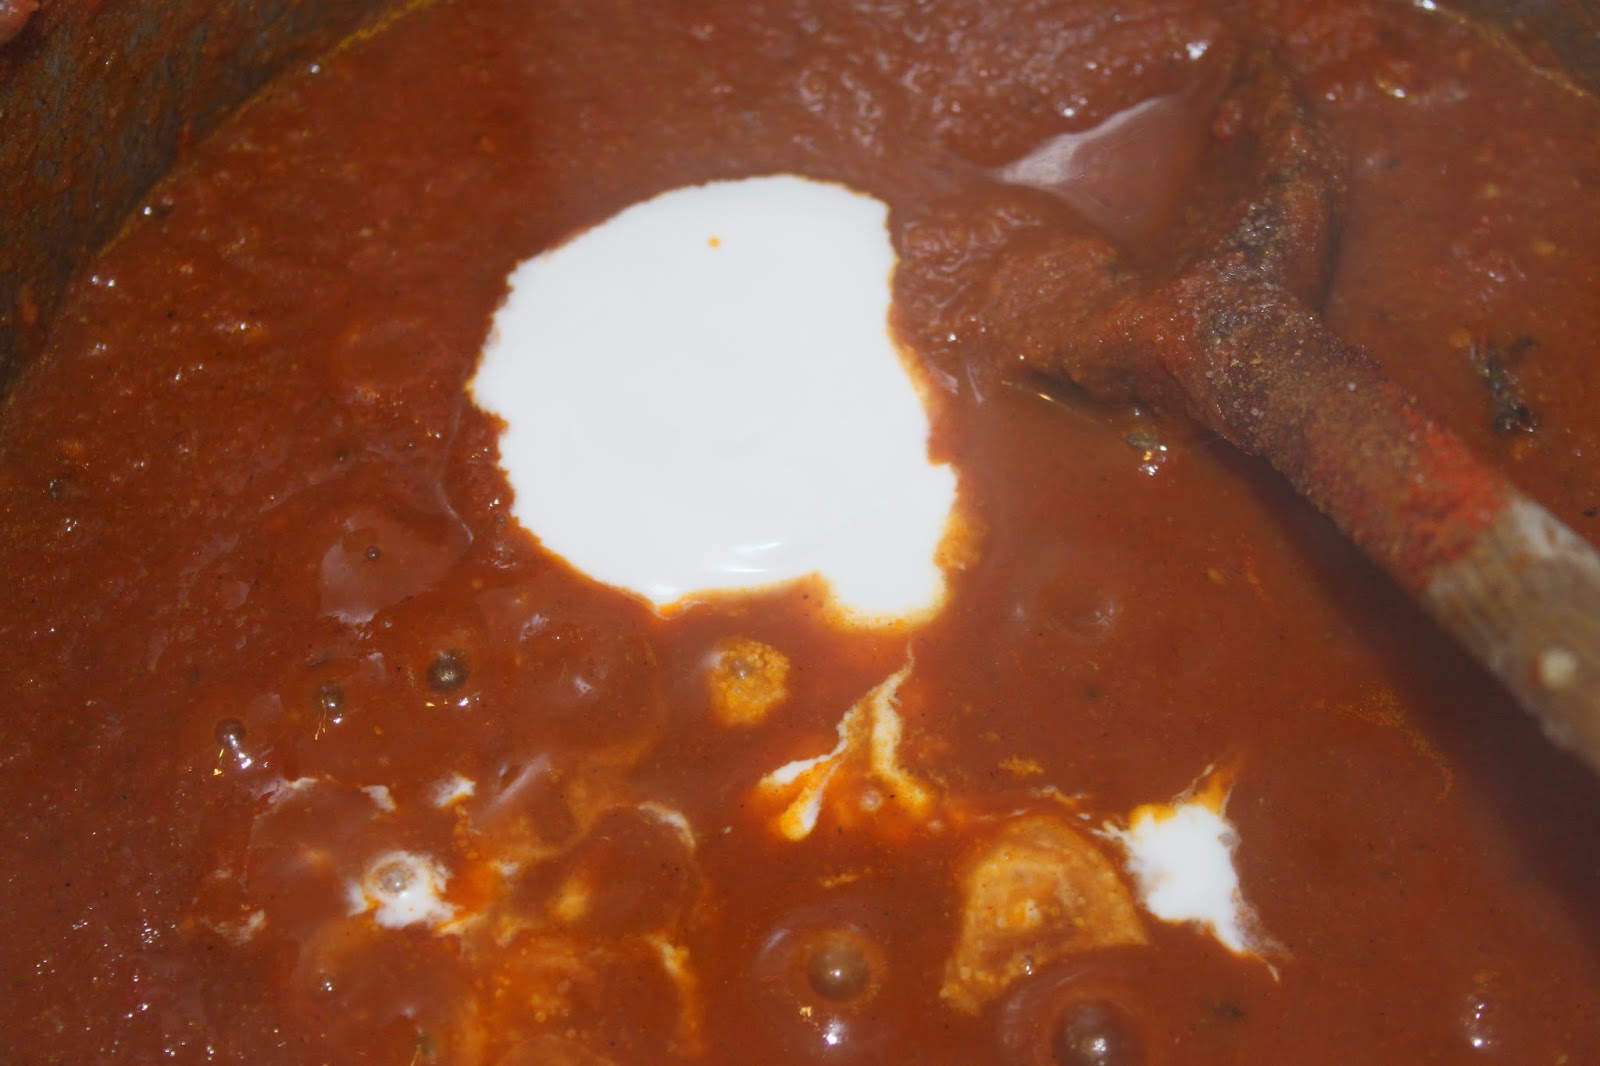
Cook for 15 minutes to thicken the sauce. Add the coconut milk and cream.

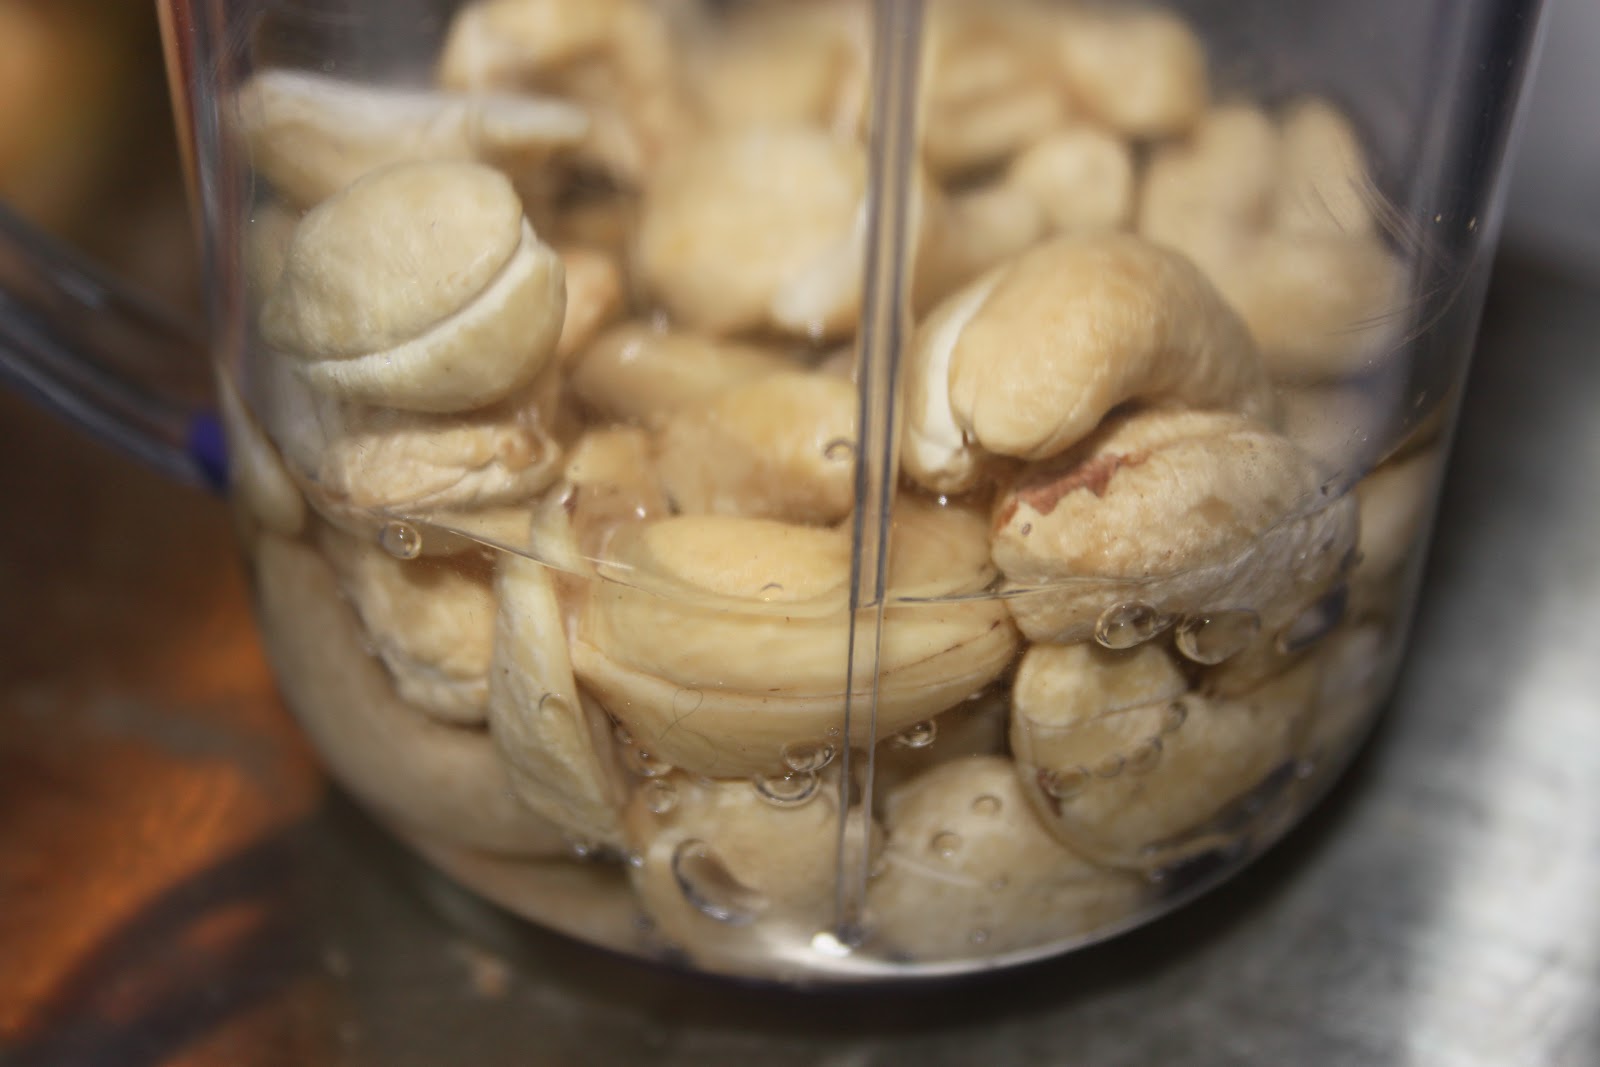
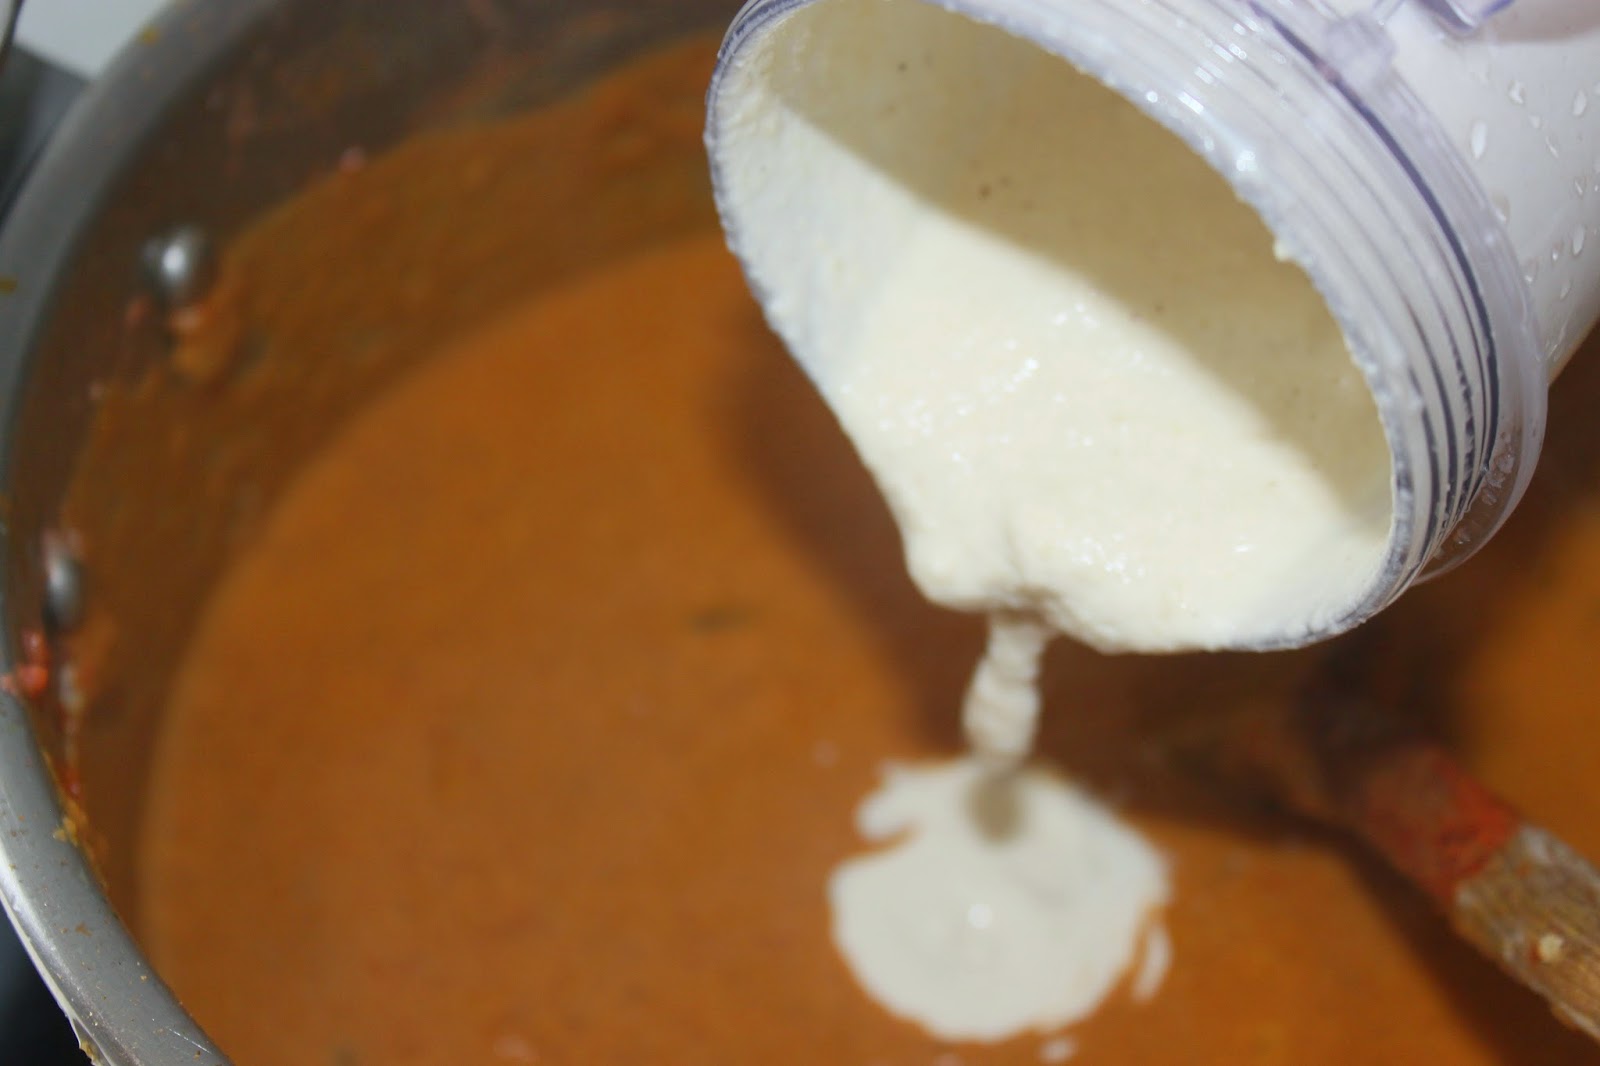
Put the cashews in a small blender or blender. Add half a glass of water to help grind the nuts. Blend until you get a kind of cream.

Hop in the dish!

Cook until you like the consistency.
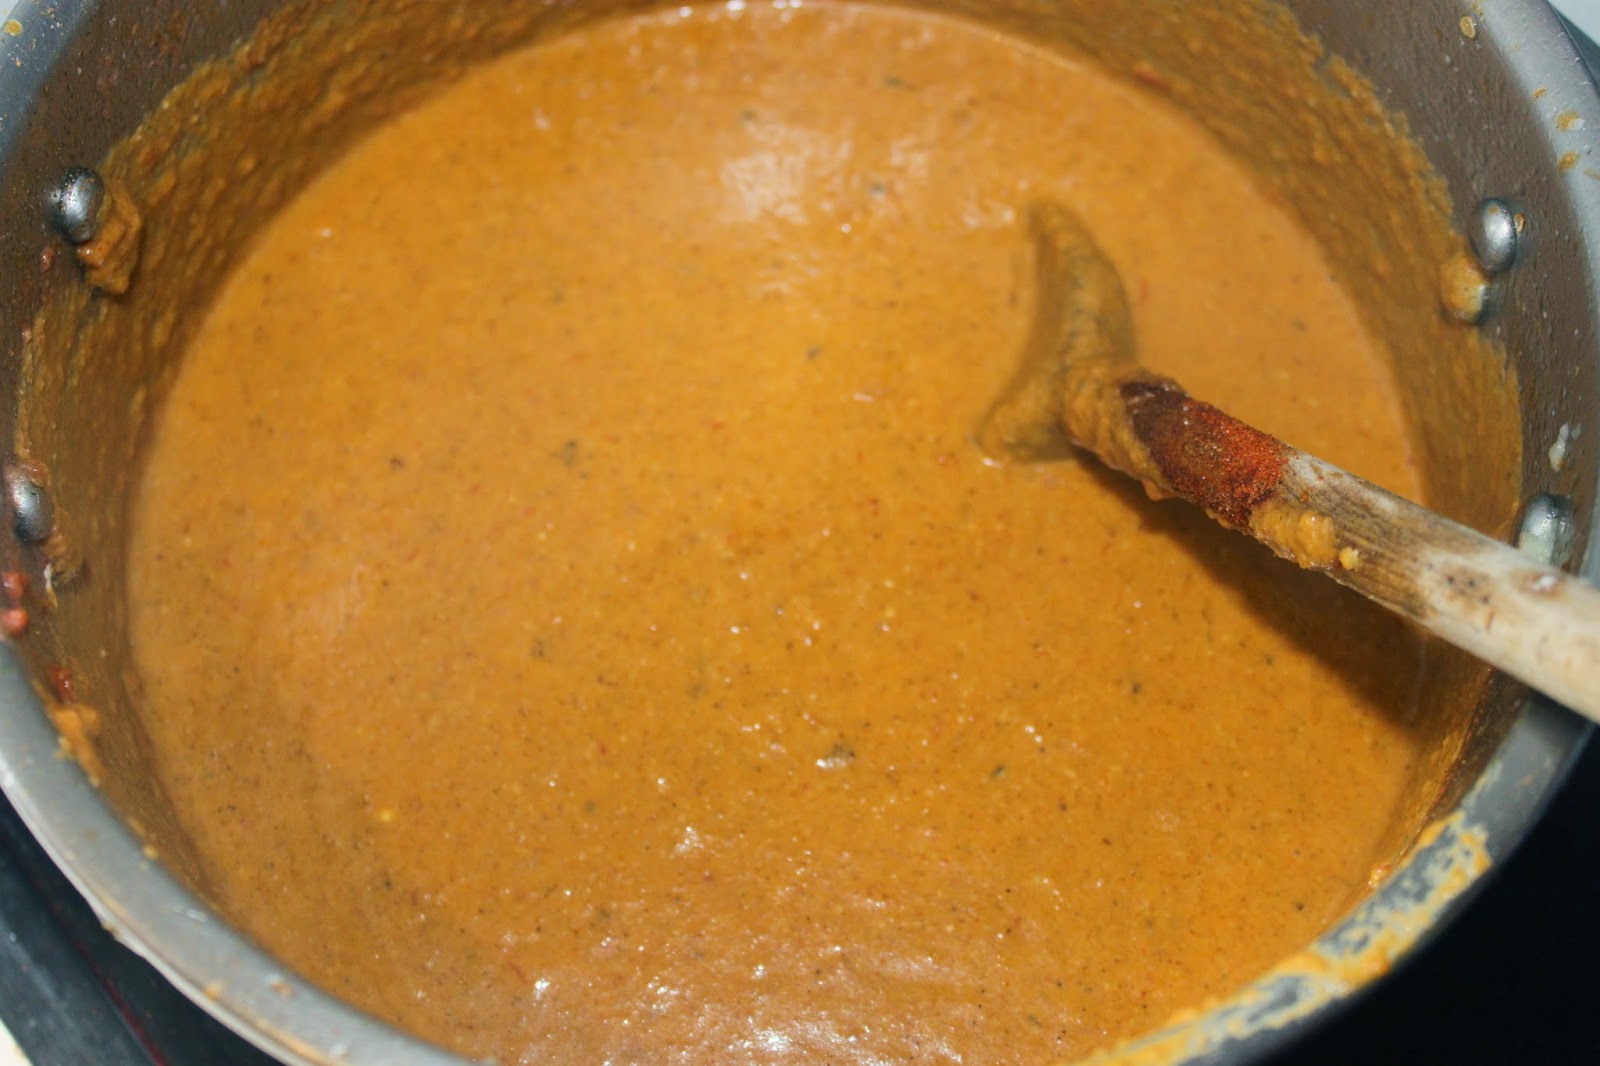
Then add the eggplants. Then let them cook until they are tender.

At the end of cooking, add the chopped coriander. 

Serve with naans for dipping! 
]]>
https://stagingapp15670.cloudwayssites.com/en/baigan-massala/feed/ 0
Tamagoyaki (Japanese omelette) https://stagingapp15670.cloudwayssites.com/en/tamagoyaki-japanese-omelette/ https://stagingapp15670.cloudwayssites.com/en/tamagoyaki-japanese-omelette/#respond Wed, 25 Jun 2014 12:21:00 +0000 https://stagingapp15670.cloudwayssites.com/tamagoyaki-japanese-omelette

Here is the “tamagoyaki” that I learned to make thanks to Kazuo, owner of the restaurant Hinodeya at 71, rue du Trône in Brussels, that I invite you to discover. Yes, I went there to meet Kazuo who wanted to teach me Japanese recipes. One of the advantages of having a cooking blog is to be able to meet a lot of people, always enriching! I learned with him some tricks to make sushi and maki. I will address them later on the blog. But to begin with, let me introduce you to the tamagoyaki, tamago meaning egg and yaki: grilled. It is a Japanese omelette, but very particular because it is slightly sweetened and also contains dashi. It is especially its design that is worth a look! You can eat it warm or cold, it doesn’t matter and devour it as is or on rice to make sushi. 

Recipe of tamagoyaki:
-6 eggs
-40ml of water
-2 teaspoons of sugar
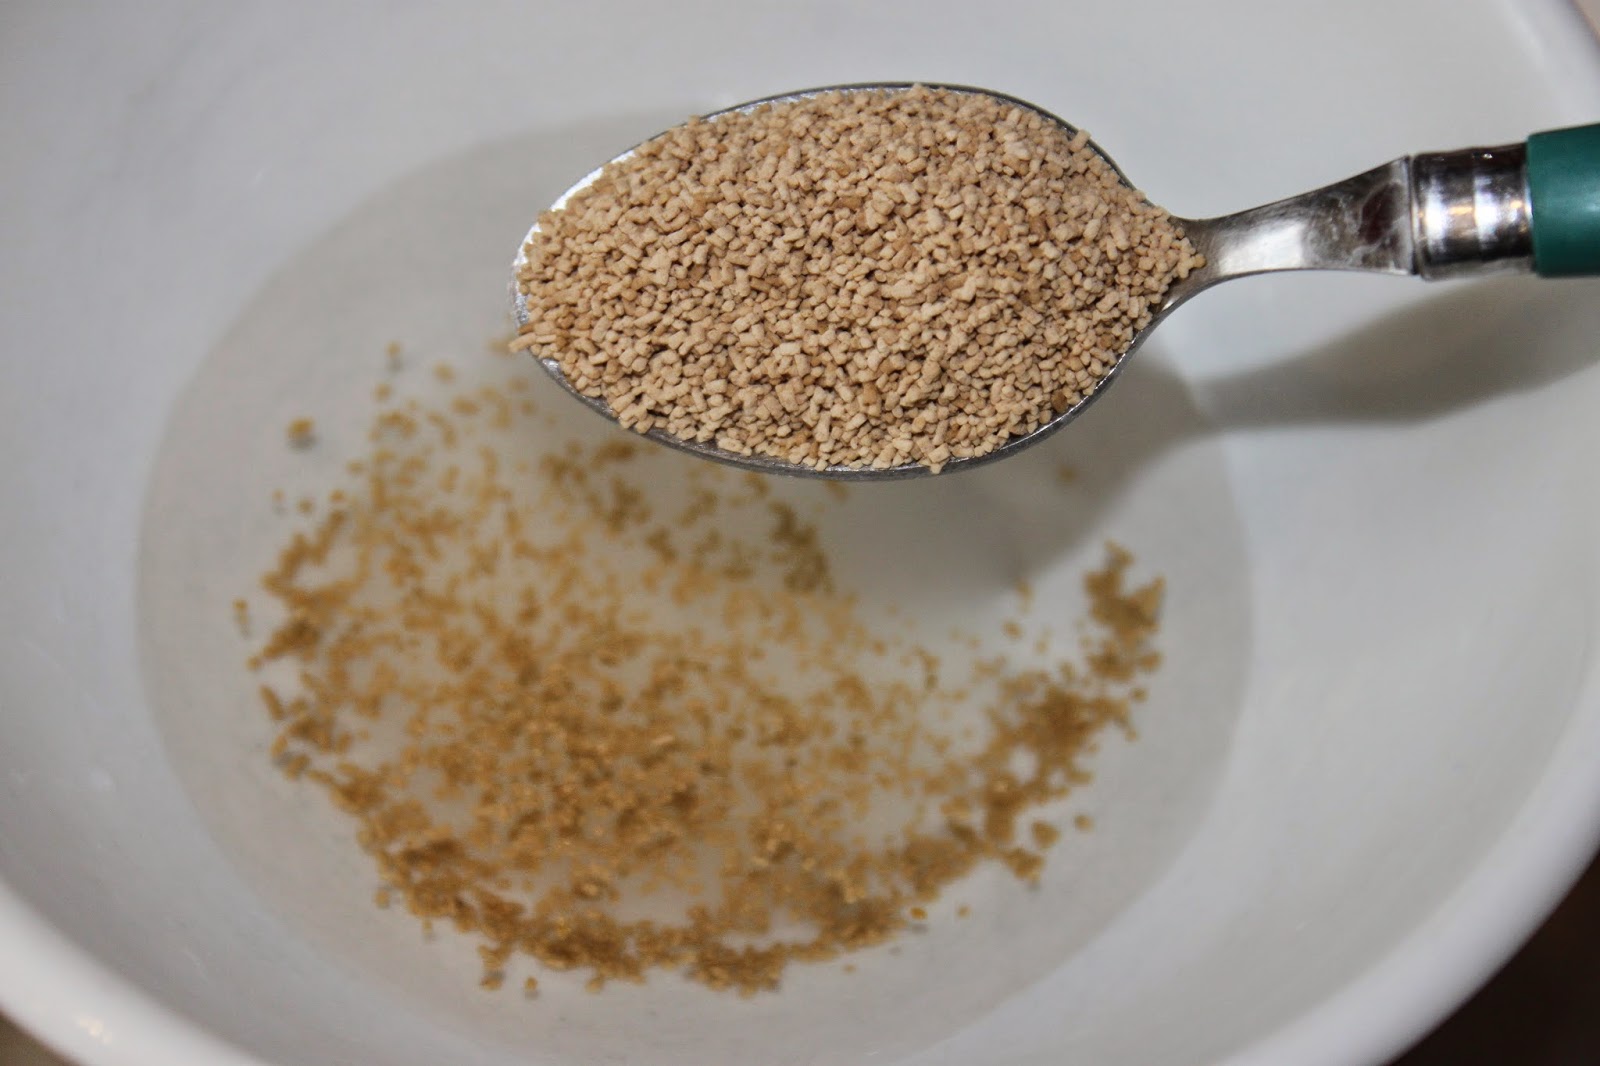
-1 teaspoon dashi powder
-1 pinch of salt

In the 40ml (or grams) of water, put the sugar. 

Add the dashi powder. Dashi is a Japanese powder made of seaweed and dried bonito that can be found in Japanese supermarkets. 
Mix until the sugar and dashi are gone.


Break the whole eggs into a bowl and beat them into an omelet. 


Add the sweet dashi liquid and mix again. 


This is the tamagoyaki pan. You can find it on the internet or always in Japanese supermarkets. Oil it lightly. 


Pour a little of the mixture, about 2mm thick. 
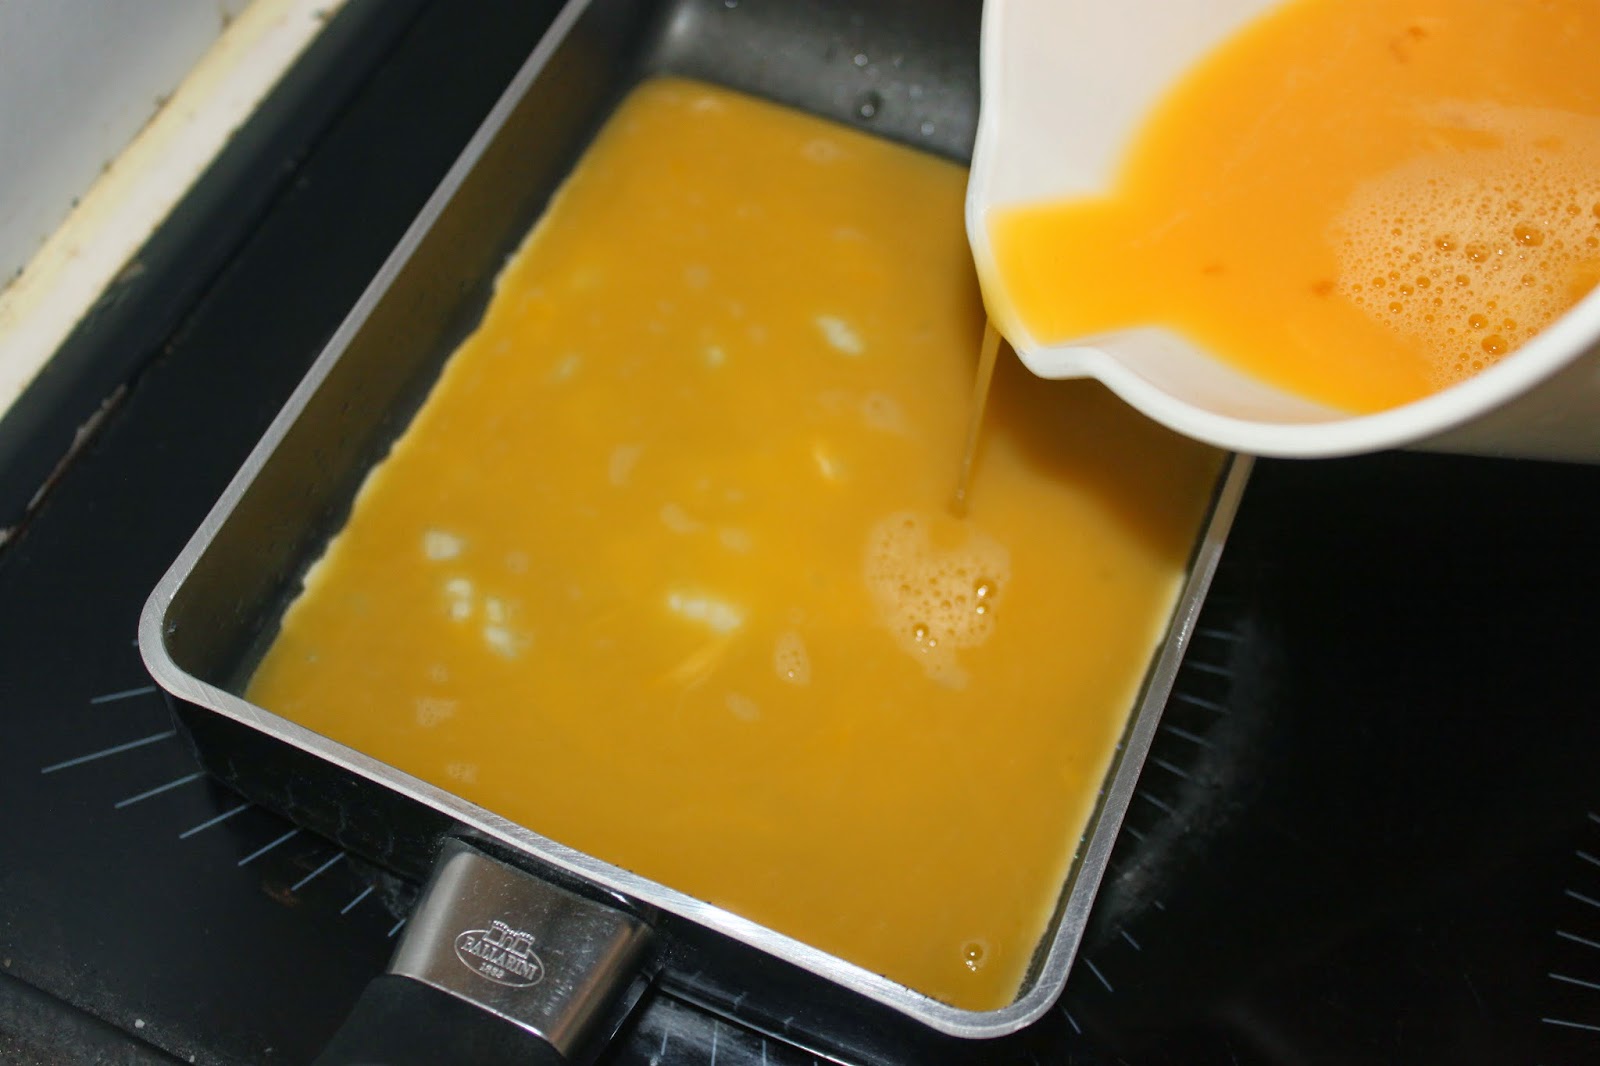

Let cook and then fold in half. 


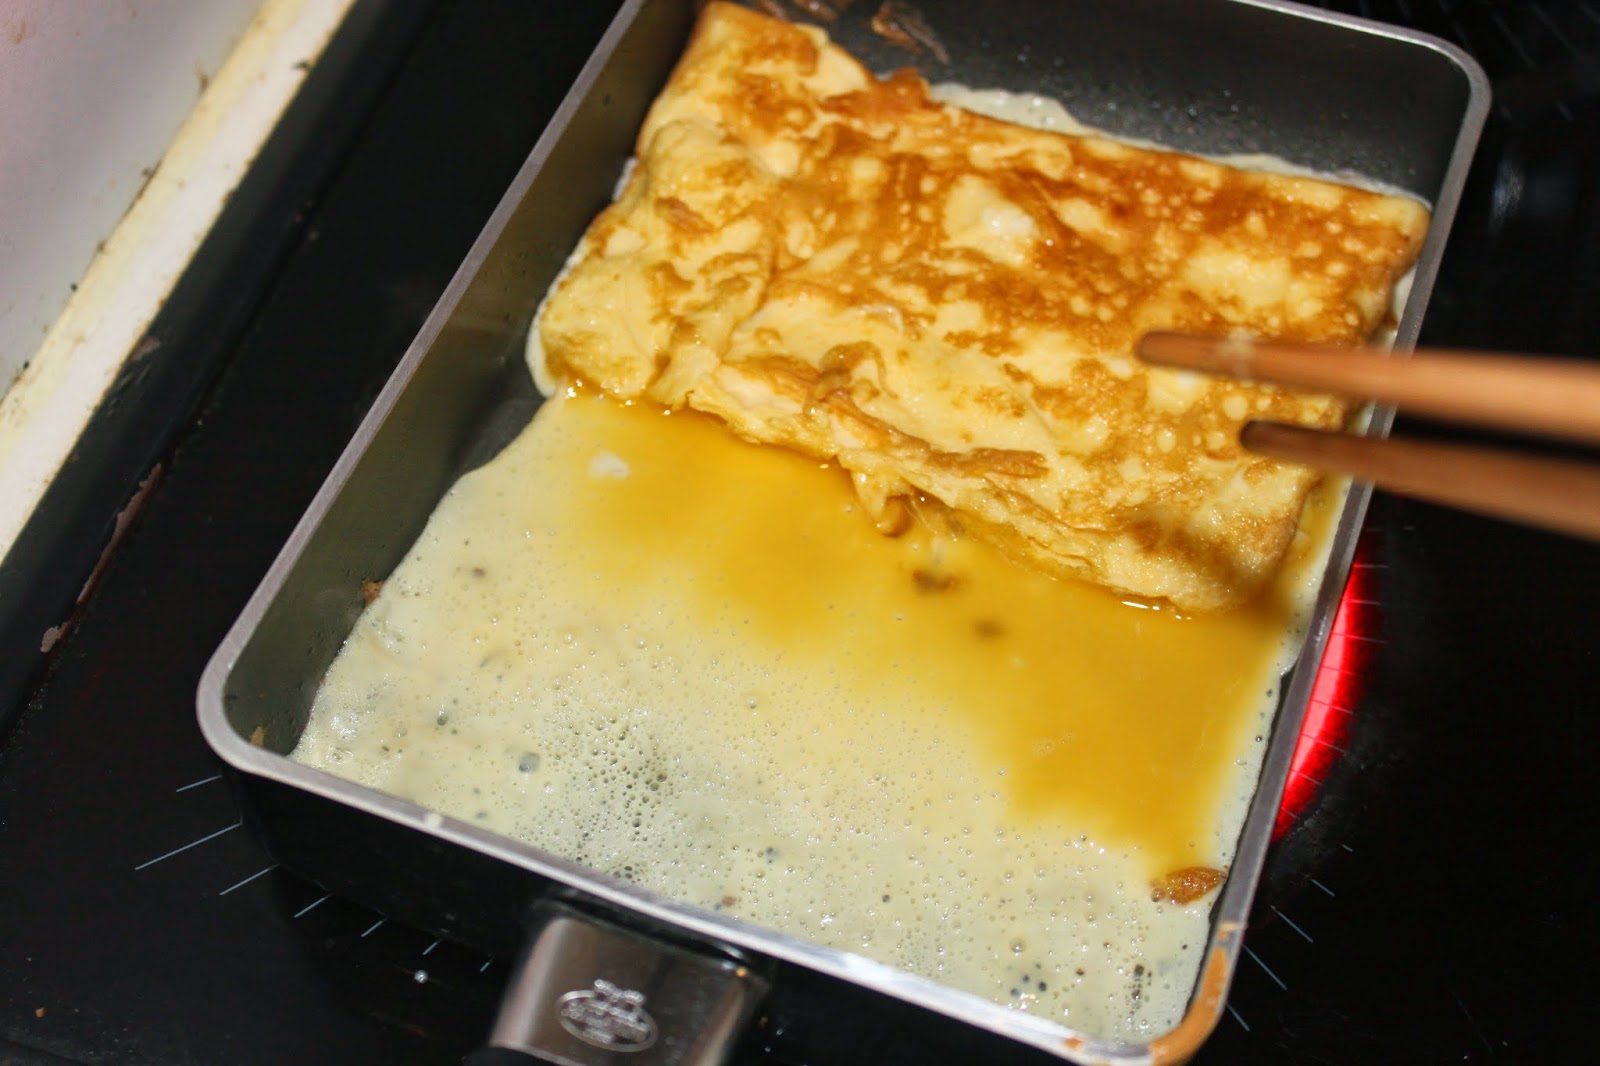
Pour some of the mixture back in, lifting the already cooked omelette so that the liquid runs underneath. 


Once the egg is seized, fold the right side to the left. 


Slide the omelet to the right. 


Then repeat: pour the liquid, passing it under the omelet by lifting it with a spatula or chopsticks. 

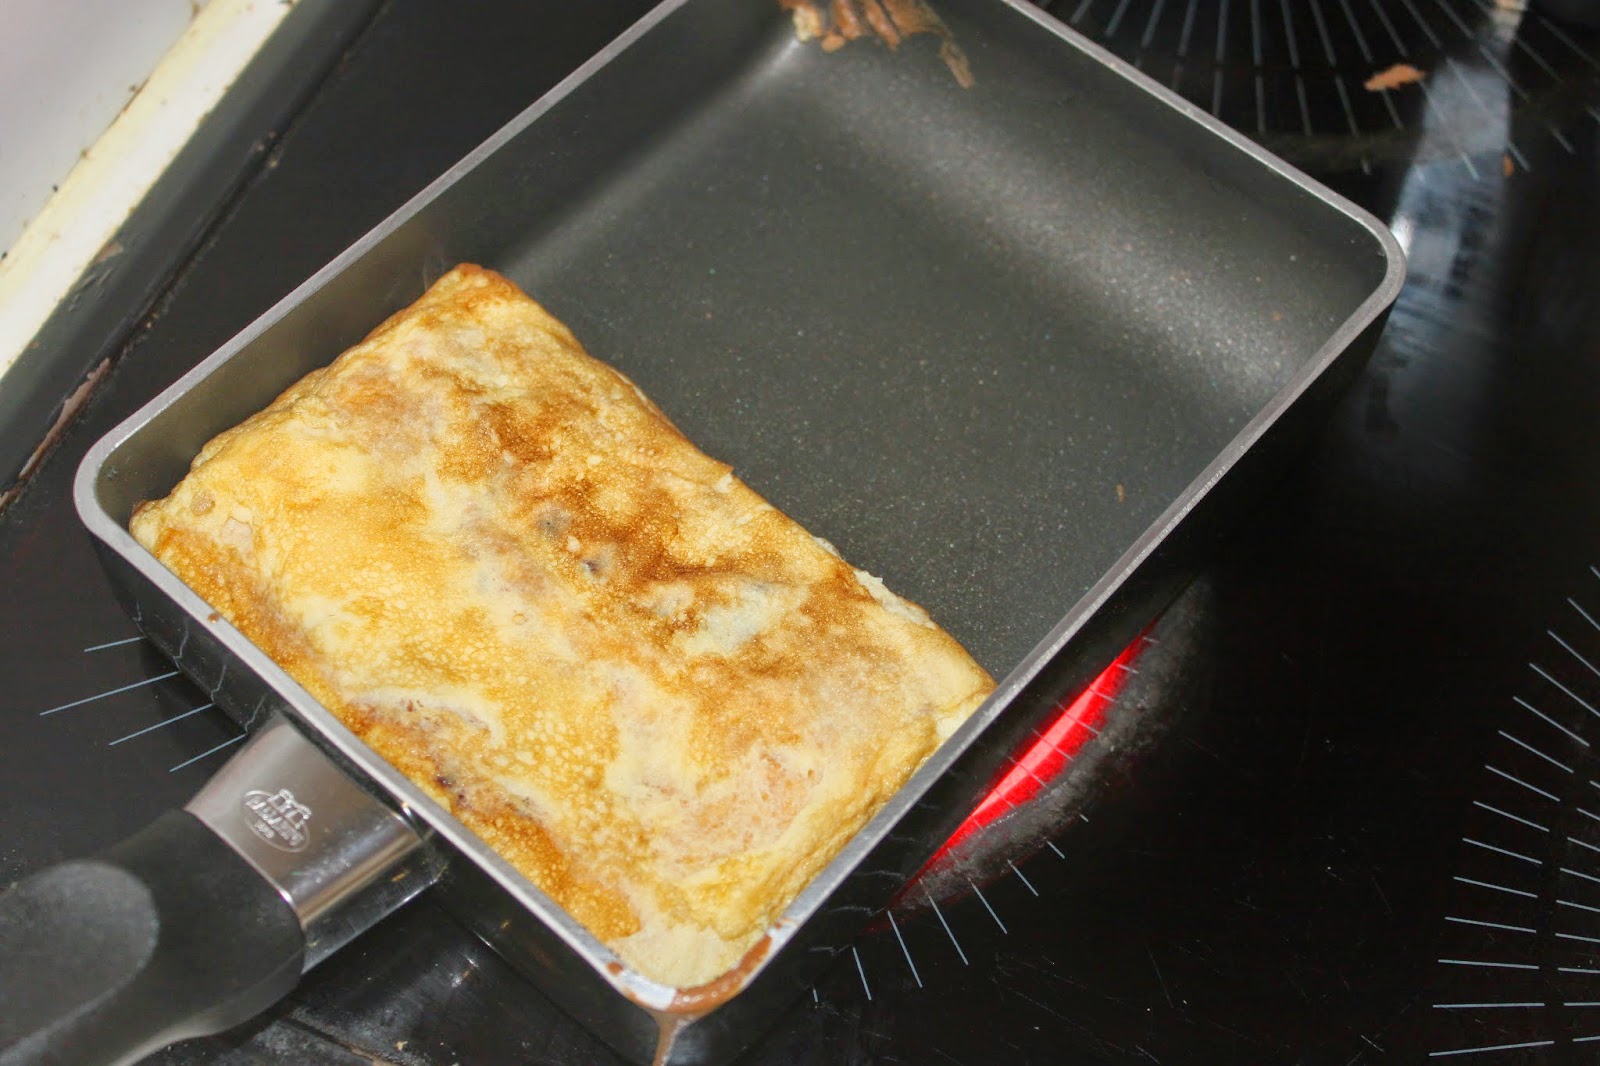
Once seized, fold up the whole towards the left then hop one slides towards the right. 


 Do this until the omelet is gone. When finished, slide the tamagoyaki onto a plate. 


You can eat it hot by cutting it in slices, or let it cool down completely, then put it in the fridge to eat it cold, or even in sushi ! 

]]>
https://stagingapp15670.cloudwayssites.com/en/tamagoyaki-japanese-omelette/feed/ 0
Pork, Lychee and Peanut Panang Curry https://stagingapp15670.cloudwayssites.com/en/pork-lychee-and-peanut-panang-curry/ https://stagingapp15670.cloudwayssites.com/en/pork-lychee-and-peanut-panang-curry/#respond Fri, 13 Jun 2014 18:33:00 +0000 https://stagingapp15670.cloudwayssites.com/pork-lychee-and-peanut-panang-curry

After publishing several curry recipes on my cooking blog (red curry, green curry, yellow curry, the massaman curry) where I presented you the methods to make “homemade” pasta, which can be quite tedious but nevertheless infinitely delicious, I present you a panang curry with a ready-made paste for a bluffing result of flavors and especially much faster to prepare. I just came back from Bangkok where I enjoyed this panang curry with pork, lychees and peanuts and I couldn’t wait: as soon as I came back I started to try it! So I propose you my version which was swallowed very quickly by all my guests. This curry is a journey in itself. Thailand invites itself into the pot, especially with a good homemade sticky rice! A curry that I will make again and again…

Recipe of panang curry with pork and lychees for 6 to 8 persons:

-900g of boneless pork loin
-2 tablespoons of oil
-75g to 100g of panang curry paste (depending on the strength of chilli you want)
-1,5 liter of coconut milk for cooking
-1 tablespoon of fish sauce
-2 teaspoons of palm sugar or vergeoise sugar
-500g of fresh or canned peeled and pitted lychees
-200ml of lychee juice (the one in the box is perfect)
-7-8 kaffir leaves (or more)
-100g unsalted roasted peanuts
-a dozen flat coriander leaves (larger, but classic coriander will do just fine)


-glutinous rice (recipe HERE

This is the panang curry paste. This paste, which can be found at Tang’s or in Asian grocery stores, works very well, especially if you have a craving for curry…! Next to it is the pork loin.


Put the oil in a large pot over fairly high heat. Add the curry paste. You can go easy on it and add it later if you’re worried about the curry being too strong. 
Stir so that the curry wriggles a little in the hot oil.


Add the special coconut milk. 


Allow to heat and bring the milk to a boil. Meanwhile, cut the pork loin into small pieces. 


Add them to the boiling coconut milk. 


Cut the kaffir leaves into thin slices. 


Put them in the curry. 


Wash the cilantro and cut it into pieces.


Add the leaves and also the fish sauce. It is to the taste of each one, it is necessary to taste the curry. When the fish sauce is added, the curry takes on a somewhat special smell. But don’t worry, everything goes back to normal afterwards!


Don’t forget the sugar. Pour in the lychee juice at this point. After the first cooking, you will add the lychees to prevent them from spoiling.


Let the curry cook on a more moderate heat for a good hour. The meat will tenderize well and the flavors will develop. 
Then coarsely chop the peanuts in a blender.


It should not be too fine a powder. 


Direction curry! 


Finally, add the lychees.


Simmer for another 20 minutes. It is time to taste to adjust the elements: more or less sugar, curry paste, lychee juice, lemon leaves… 


Finely chop kaffir leaves again to place on top of curry before serving hot with glutinous rice. Finely cut, the kaffir leaves are easy to eat! 

]]>
https://stagingapp15670.cloudwayssites.com/en/pork-lychee-and-peanut-panang-curry/feed/ 0
Pho https://stagingapp15670.cloudwayssites.com/en/pho/ https://stagingapp15670.cloudwayssites.com/en/pho/#respond Sun, 26 Jan 2014 17:26:00 +0000 https://stagingapp15670.cloudwayssites.com/2014/01/pho.html

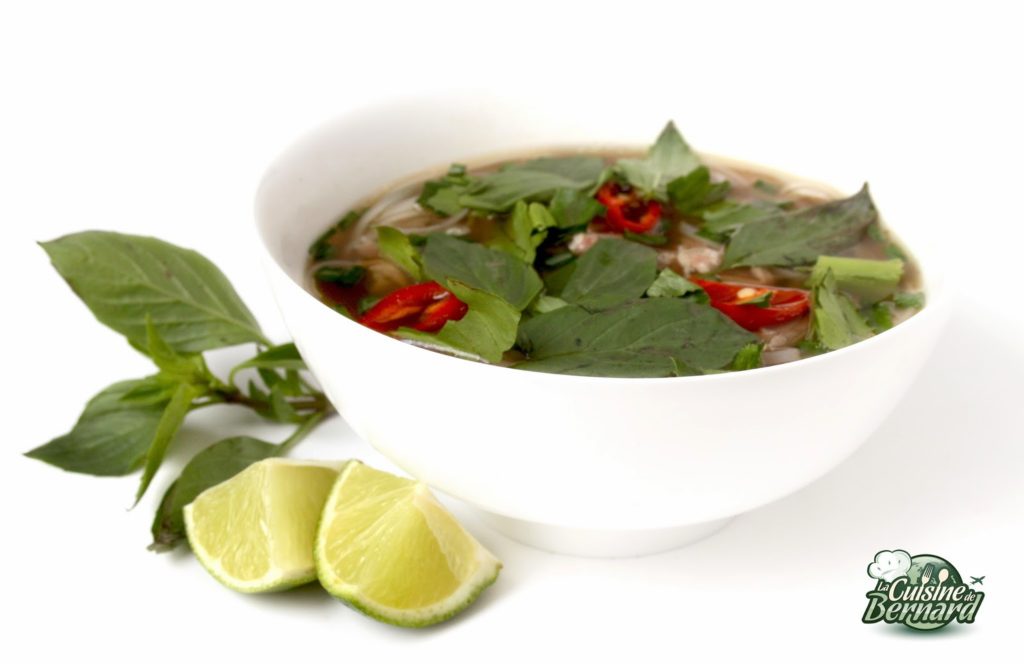
Back from Vietnam where I spent an incredible gustatory stay in Saigon (Ho Chi Minh), I offer you the recipe for phở. There are of course plenty of variations of this delicious dish between northern, central and southern Vietnam. I asked dozens of questions to lots of Vietnamese for the best method to obtain a very tasty phở. I ate it almost every day of my stay (for breakfast or dinner), I stuffed myself with spring rolls and I tasted many other delicious things, which I will invite you to discover during my report that I will put online very soon. It is a country rich in a very healthy and particularly delicious culinary culture. I will also post new very traditional recipes soon. I give you here all the elements that I collected. Each cook has his own recipe (like pancakes in Brittany) and I noticed that the phở that I tasted in Saigon, is not exactly identical to that of Hanoi and that of the center of the country. So I give you the recipe for the broth, and it’s up to you to add the herbs and other things you want! In any case, this recipe is perfect: a complete and very healthy dish. A spiced broth with fine and very tender meat in which aromatic herbs are added and depending on the version, nuoc mâm, hoisin sauce and a few mung bean sprouts. Perfect for a balanced dish with friends!! 

Phở recipe:

For the Phở broth:

-2 large onions

-1 ginger root

-2kg of beef bones (knee or others that contain cartilage…)

-30g of sugar (palm or semolina)

-2 tablespoons of nuoc mâm

-6 star anise (star anise)

-2-3 cinnamon sticks

-1 tablespoon of coriander seeds

-5 cardamom pods

-6 cloves

-4 to 5 liters of water

-1 small fillet of beef

-3-4 Chinese chives

-1 bunch of Thai basil

-1 bunch of long coriander

-1 nuoc mam bottle

-1 bottle of hoi-sin sauce

-2 to 3 limes

-1 packet of rice paste

-1 or 2 red or green peppers not too hot

-500g mung bean sprouts 


Put the meat in the freezer for at least 3 hours before cutting it into thin slices. It’s up to you to see when it will be the most opportune. The principle is to slice it half frozen. 


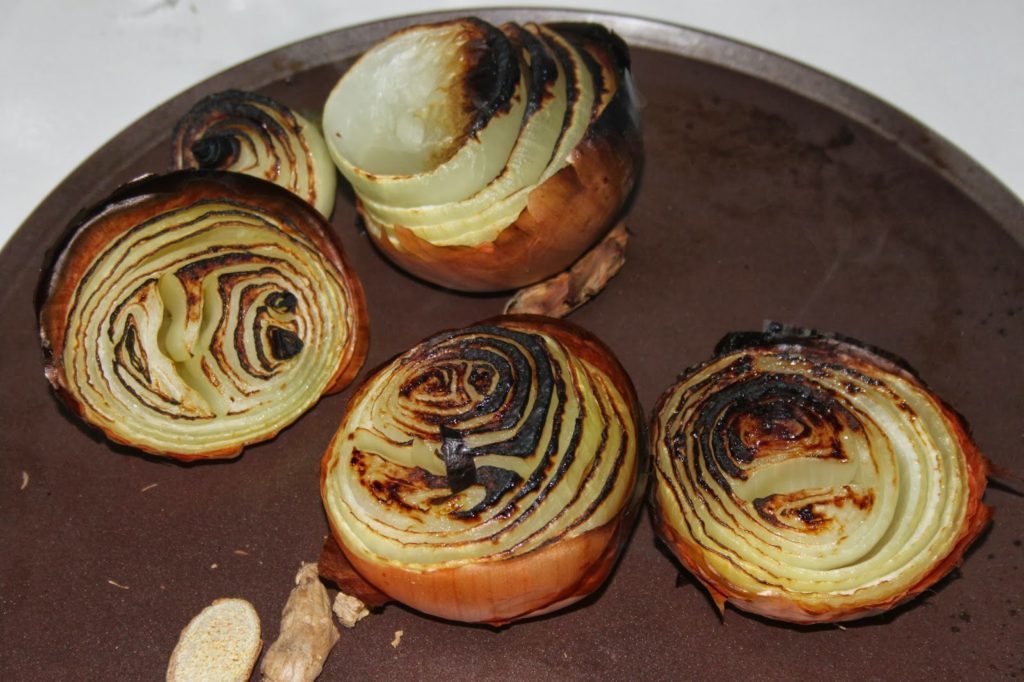
Start by cutting the onions in half and the ginger in slices.
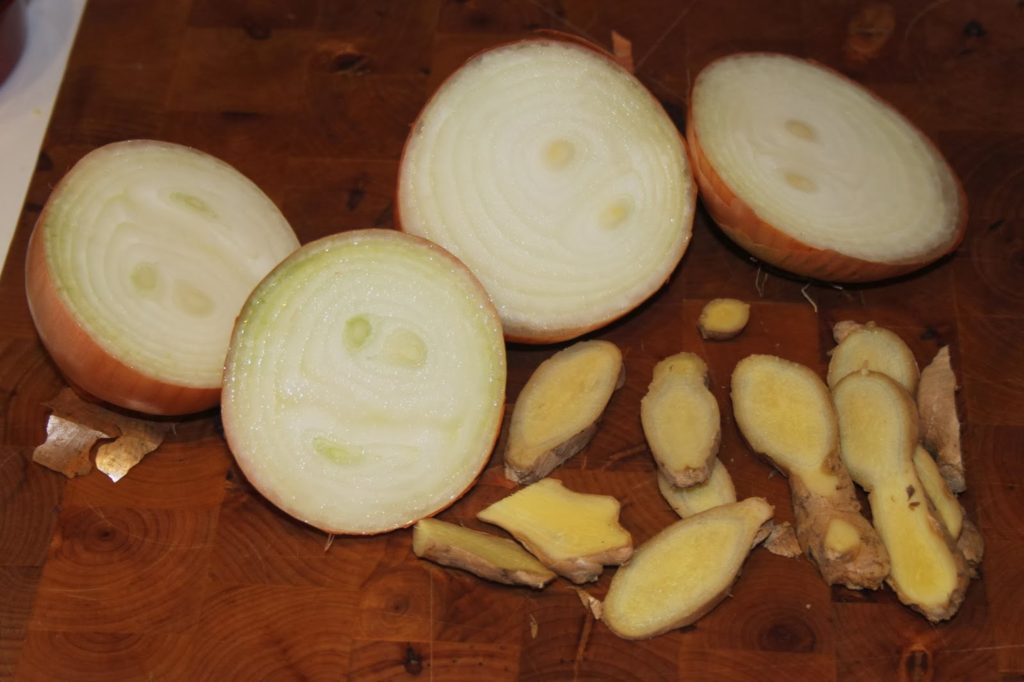


Put everything under the grill of the oven until the onion is well grilled on the surface. 


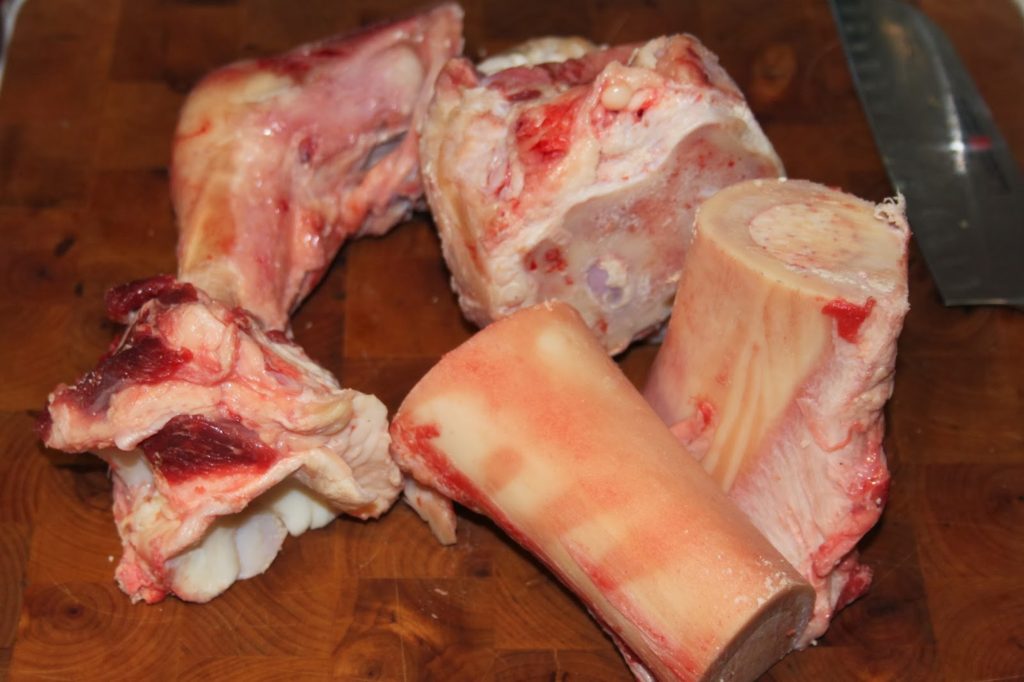
Here are the beef bones. Some people add meat to the broth, some don’t. I didn’t and the broth was just as tasty as in Saigon. 


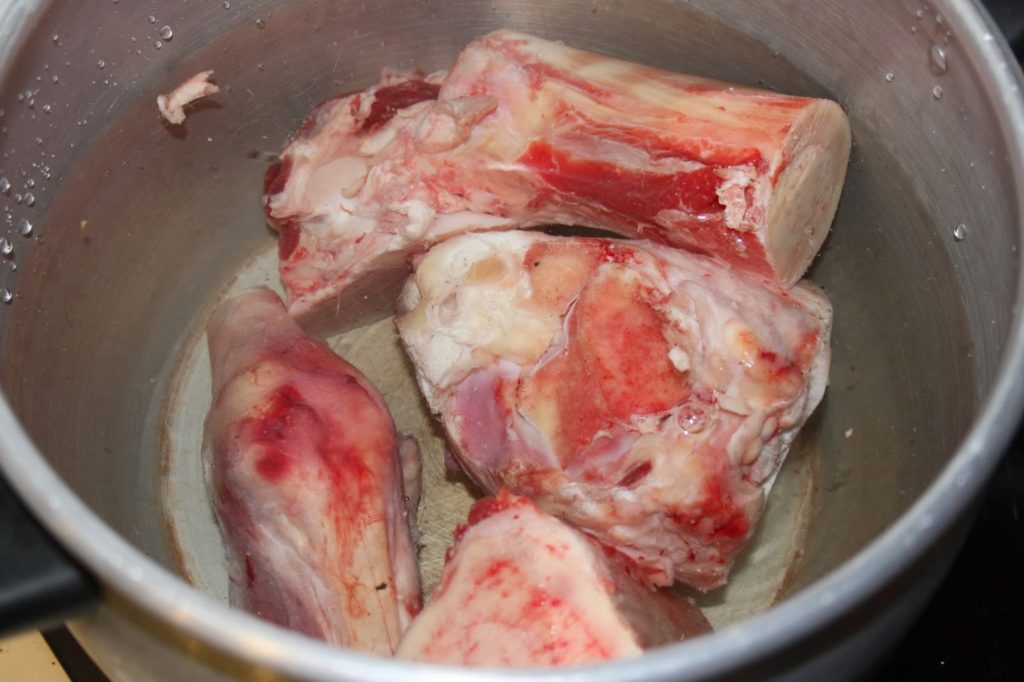
Place the bones in a large pot with 4 liters of cold water.


Bring to a boil and cook for 10 minutes. 
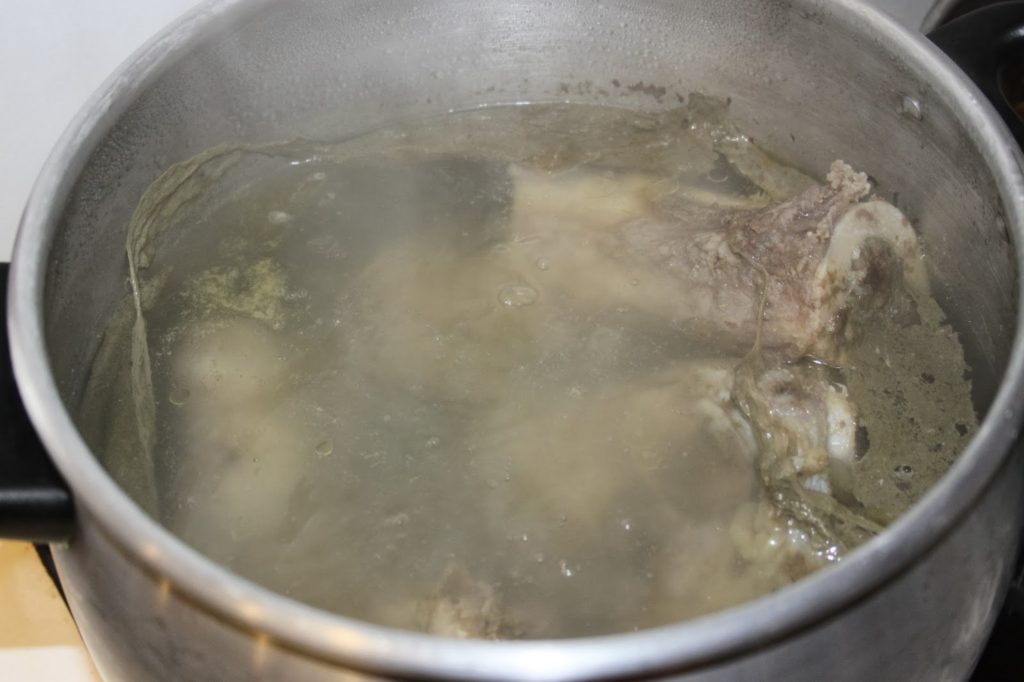


Get rid of the water, which at this point does not seem very appetizing. Wash the pot, cleaning the sticky parts well and also wash the bones. 
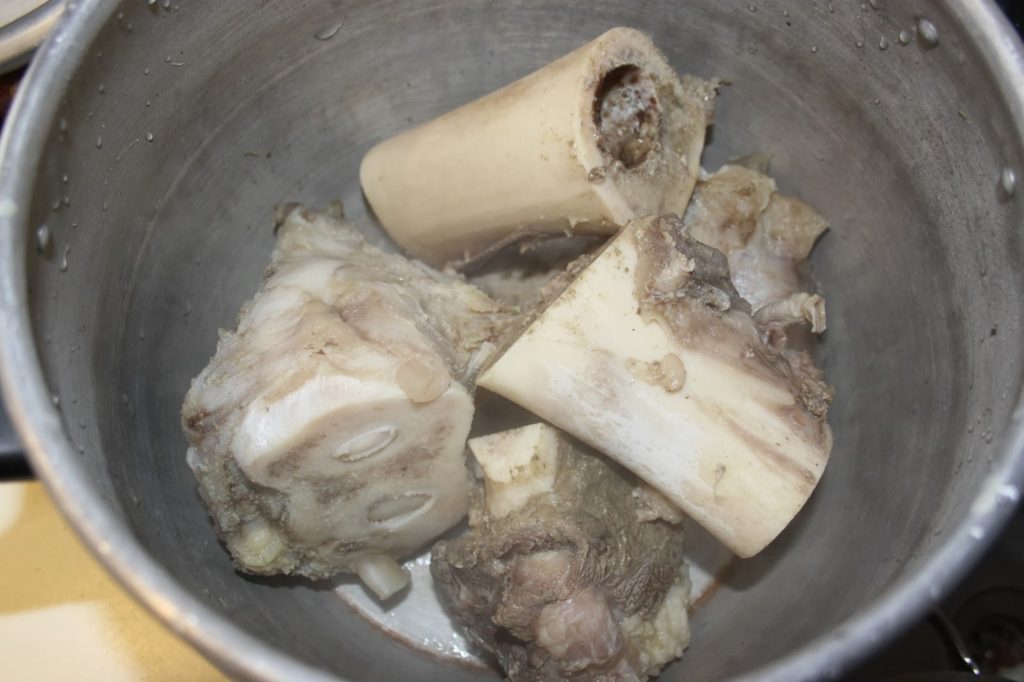


Put the bones back in the clean pot with another 4 liters of fresh water, the grilled onions and the ginger. I found my ginger a little dry because it cooked with the onion), so I added a slice or two of fresh ginger. The fat on the surface is bone marrow. I removed part of it but I still leave some for the taste. We can degrease the broth afterwards. 


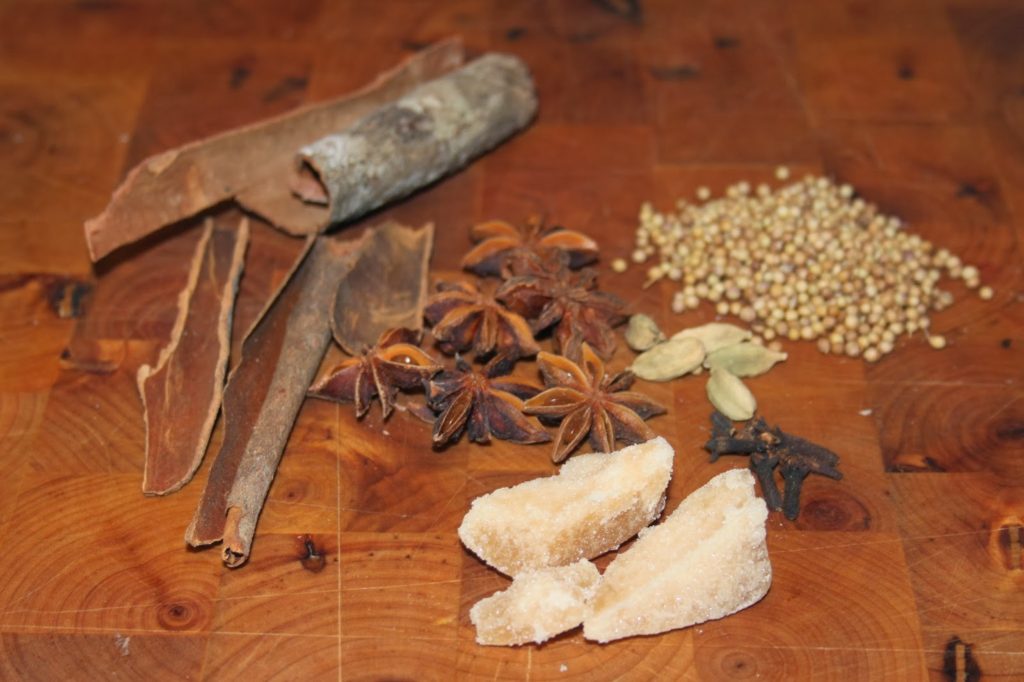
Here are the spices for the phở: cinnamon stick, star anise, cloves, cardamom, coriander seeds. I also added the sugar for the photo. 


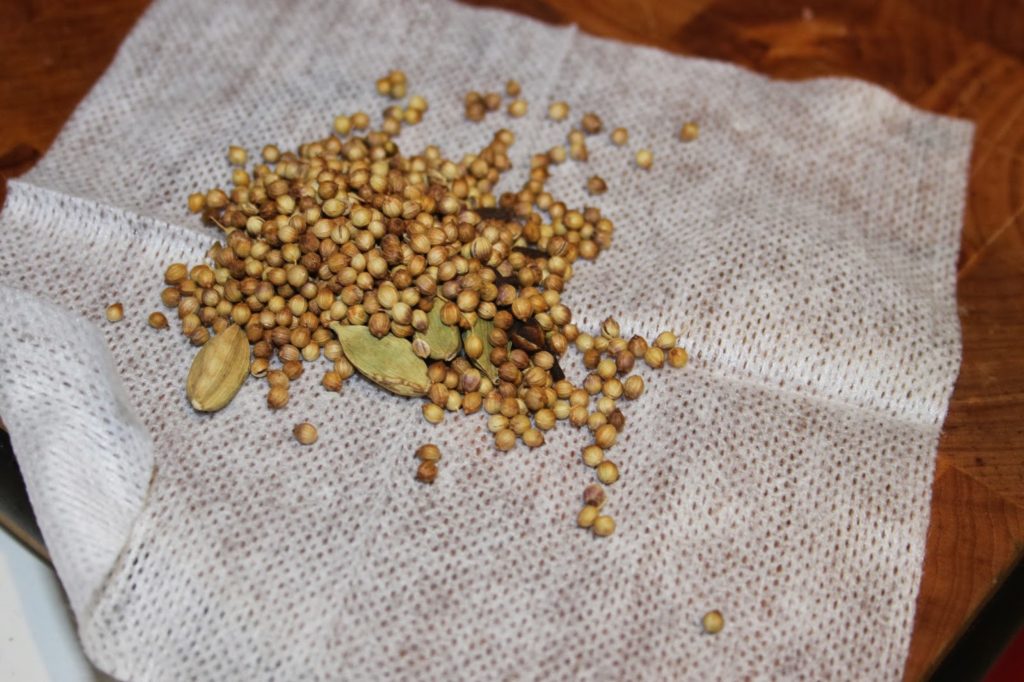
Put the spices in small cloth ballotins. I looked everywhere for my cotton canvas which I couldn’t find, so I went to the pharmacy to buy some gauze for the bandages. It’s perfect and especially not expensive at all !! 


Bernard’s tip:

For even more flavour, you can lightly toast some spices in the pan…


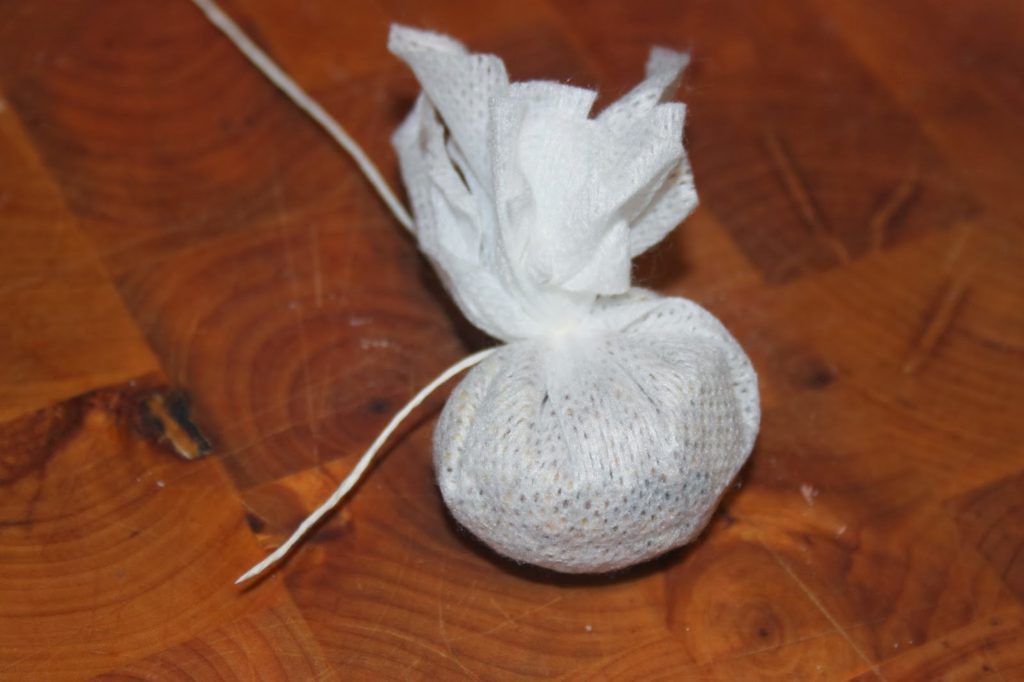
Close the ballotins (I needed two) with string. The cinnamon does not need to be boxed. 


Here is the nuoc mâm sauce. The most important thing when you buy nuoc mâm is the number on the bottle. This gives the salt concentration. 35° is perfect! 
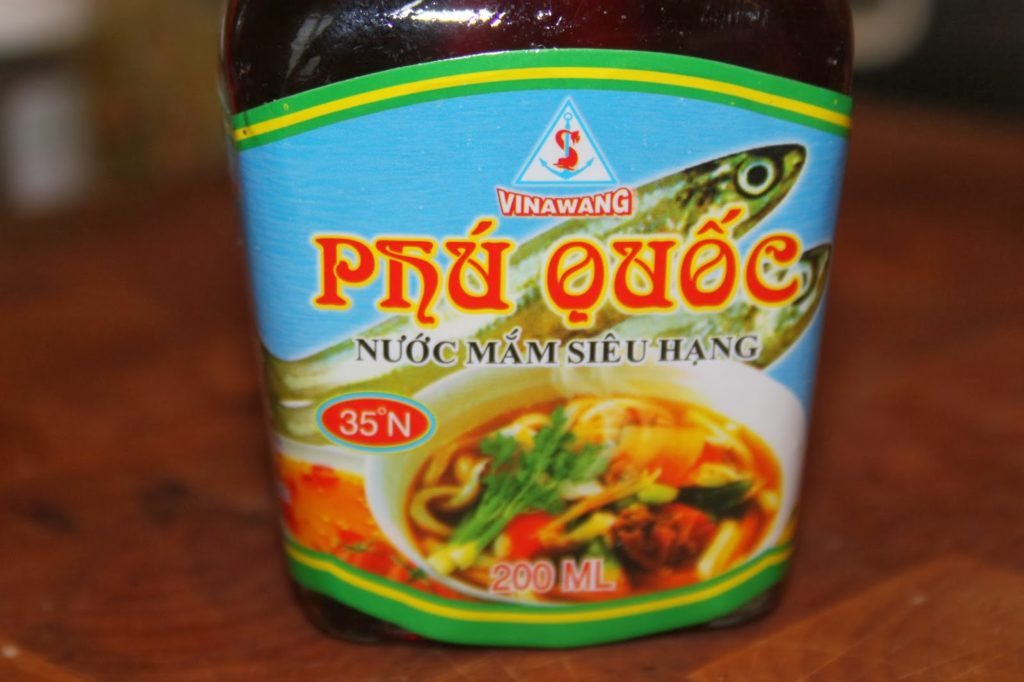


Add the nuoc mâm and the sugar to the broth. 
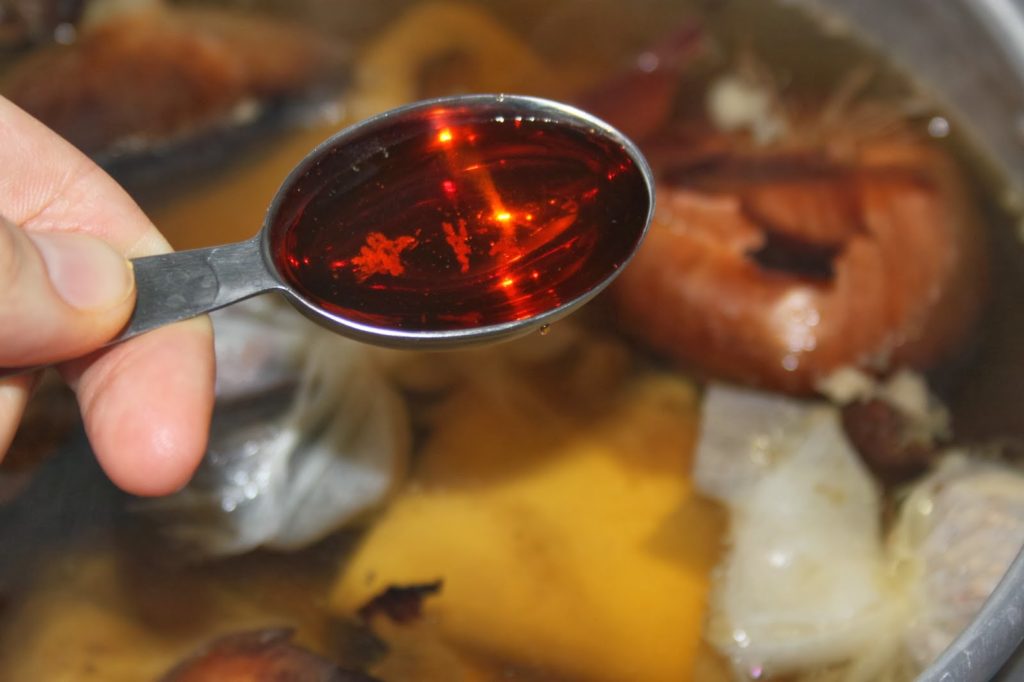


So ! The hardest thing is done !! Now bring to the boil, then lower the heat to moderate to low and simmer for 4-6 hours… No need to take care of it. During this time I went to take my nap!
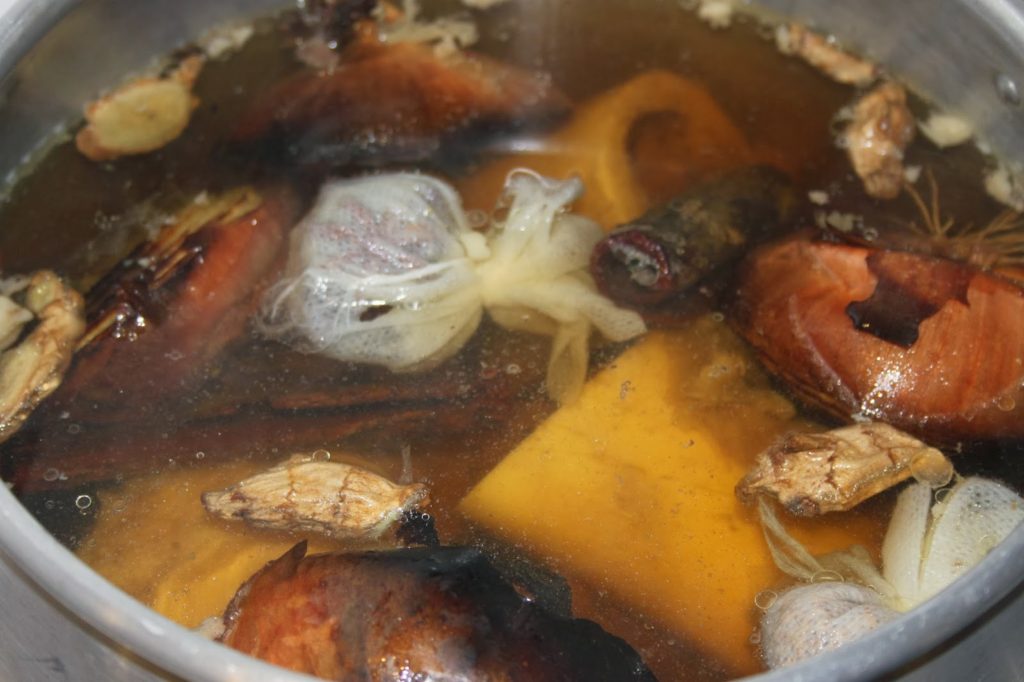


The slower and longer the broth simmers, the tastier it will be. There are also ready-made phở bouillon cubes, you can add a cube to the liquid, but I don’t recommend replacing a homemade broth with this cube. But it brings flavor to the phở.
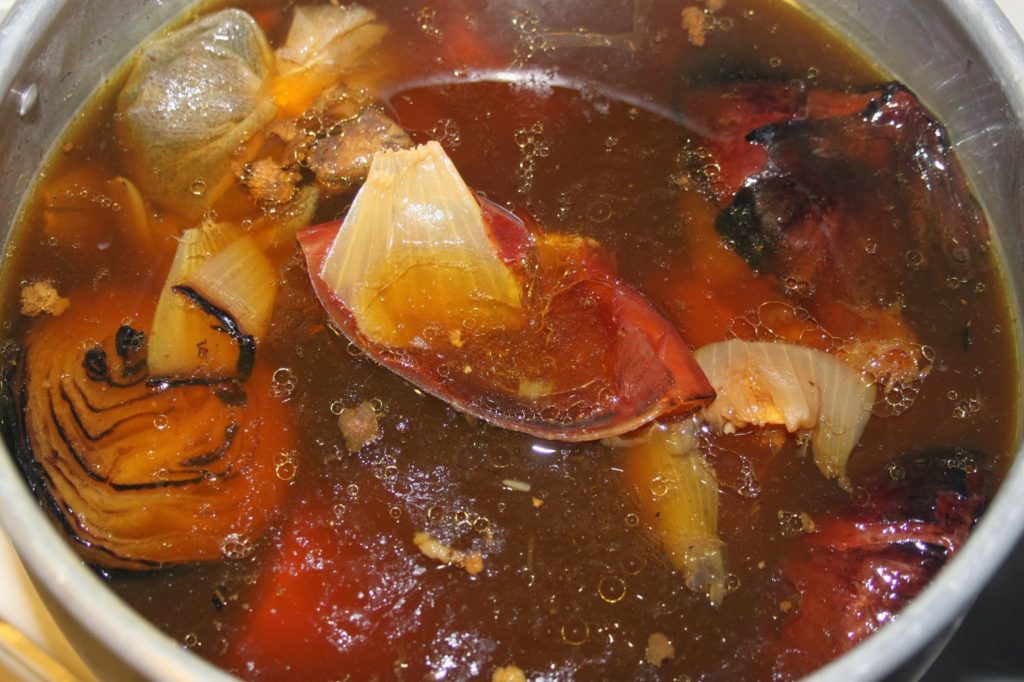


It is now necessary to remove all the elements from the broth. Don’t make the mistake of emptying the contents into a colander and seeing your broth go to the bottom of the sink… It is the opposite that must be done. I say that because I almost did (a gesture that we do so often when we cook pasta!!). 


We see here that there is a bit of fat (little in the end compared to the 4 liters of broth) on the surface. If you really want to get rid of it, then you have to let the broth cool completely and then remove the fat that will have frozen. 
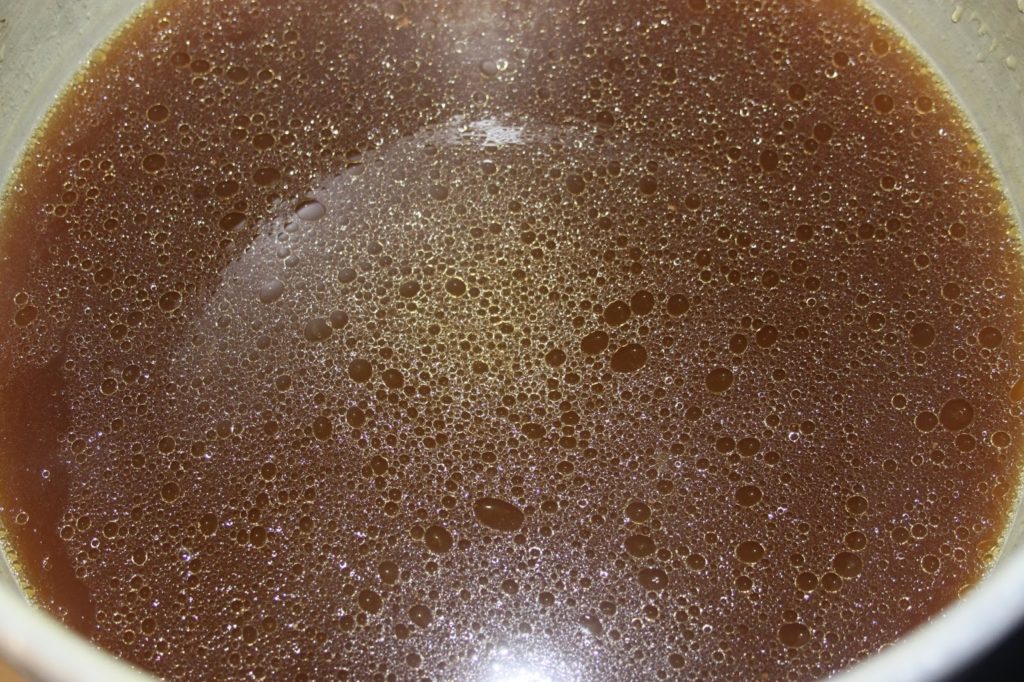


Here is the broth once rid of most of the fat (I took the picture the next day). If your broth seems too concentrated, add a little water. 



Here is the meat (a fillet of beef) half frozen.
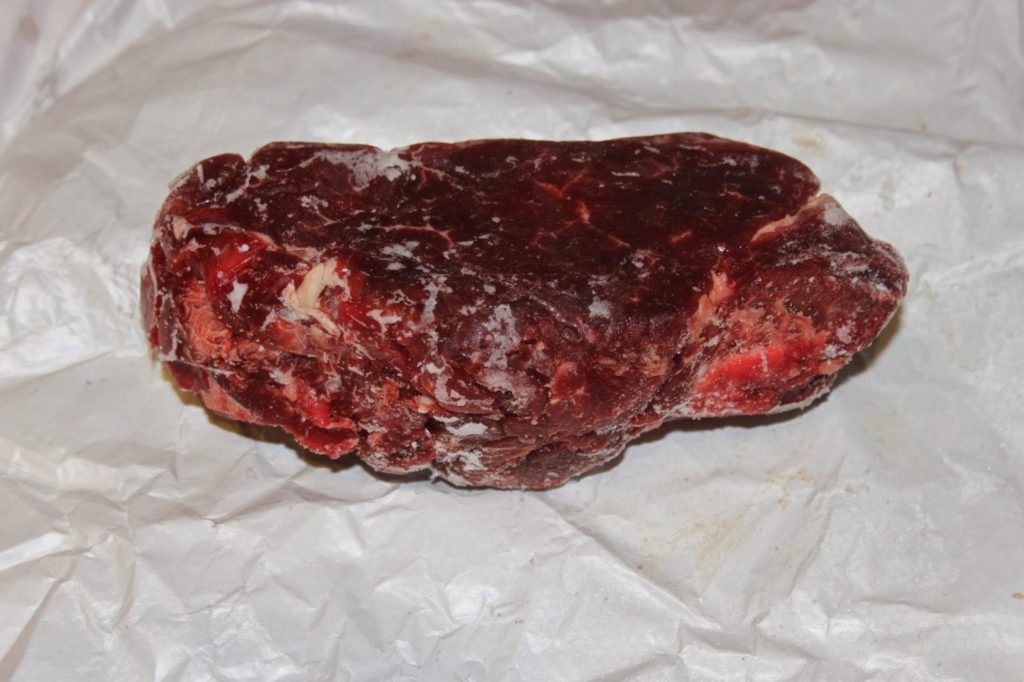


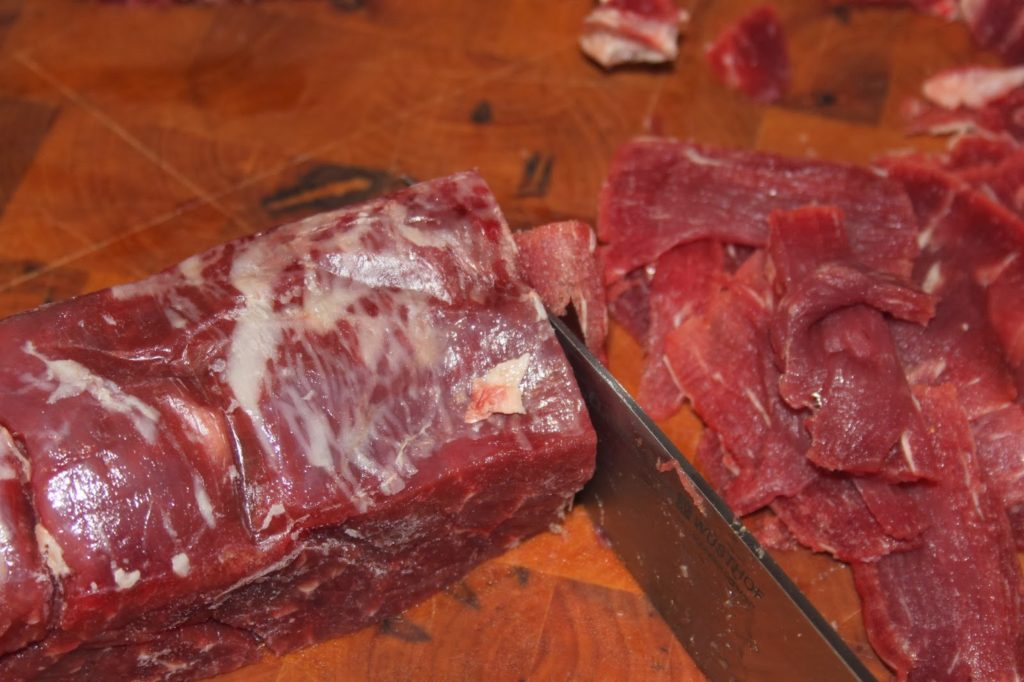
This way, it will be easier to cut it into very thin slices.


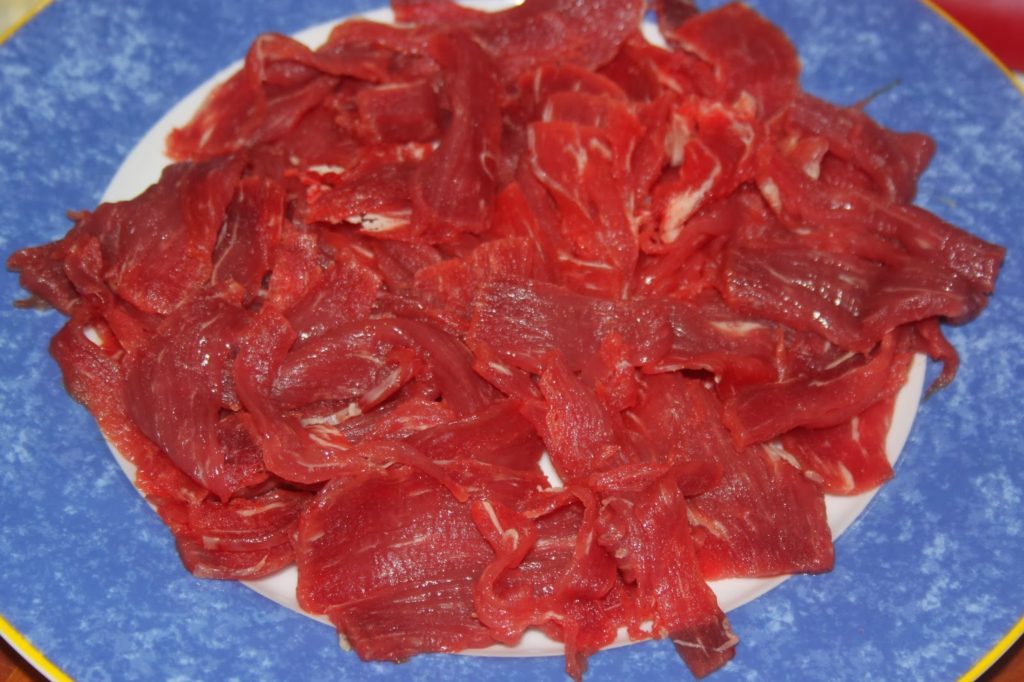
Prepare all or part of the meat (if not all eaten the same day). 


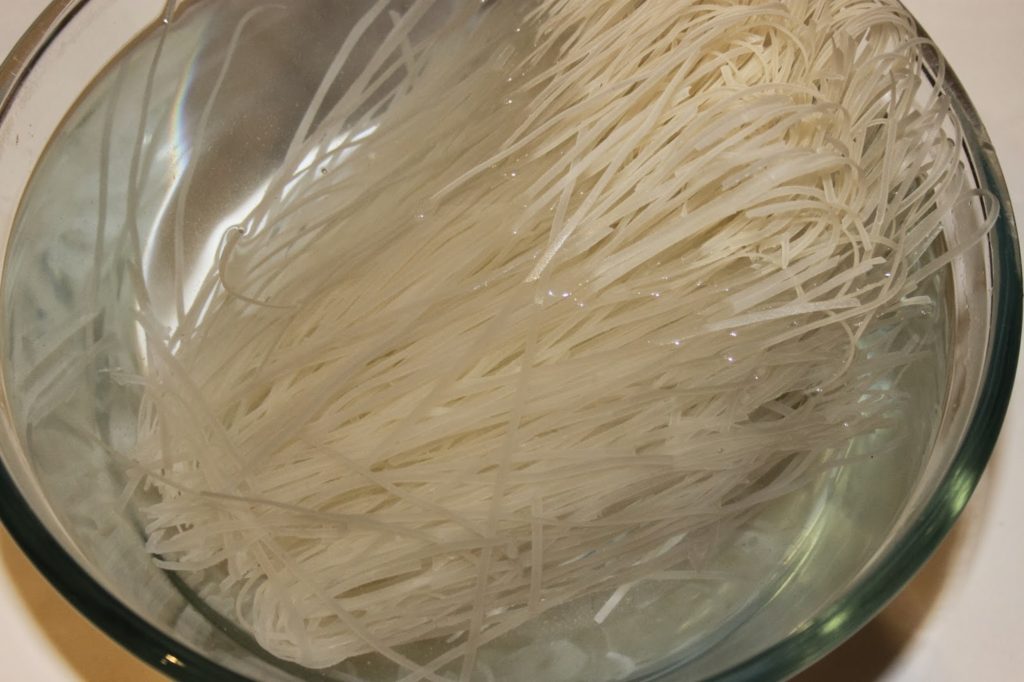
For rice noodles, two options: fresh noodles, which must be cooked, or dry noodles, which just need to be left in lukewarm water for 15 minutes. You will have understood, I chose the dry ones…!
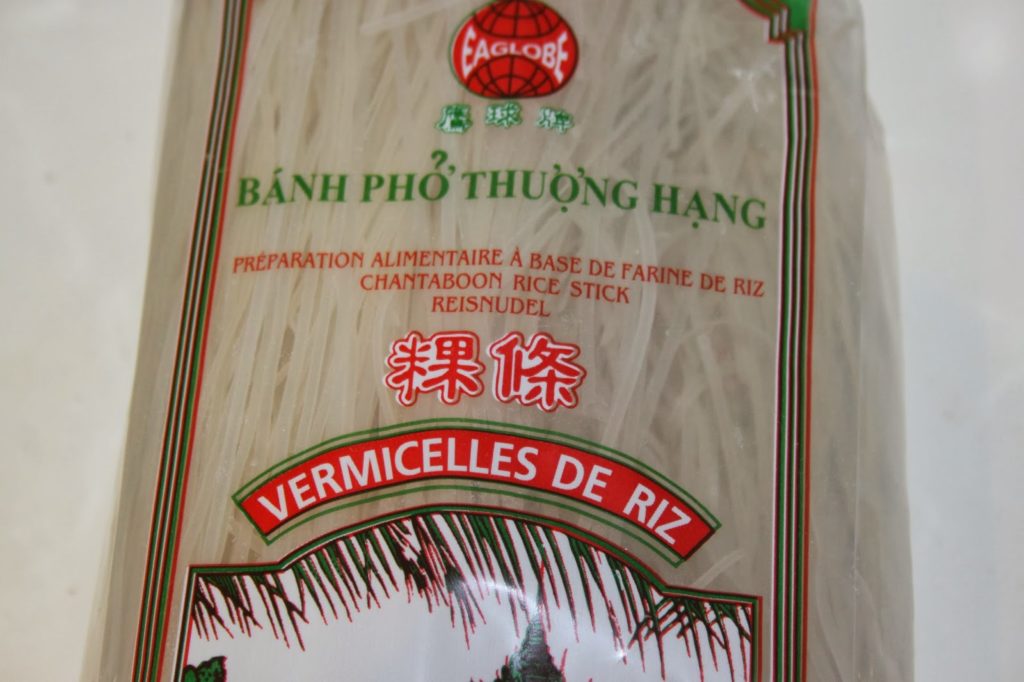


Fill a bowl with lukewarm to very hot water. On the package it is explained that lukewarm water is enough, but I prefer very hot water (from the tap) because in this way the pasta will already be hot when it is added to the broth. 


Wash and prepare your fresh herbs: Thai basil, and coriander in long leaves. Cut the lime into pieces. Also cut the Chinese chives into small pieces. 


Two options again for the meat: if your bowls are large, as you will be adding a lot of hot broth to them, you can arrange it raw directly in these. Also add the Chinese chives in pieces. 
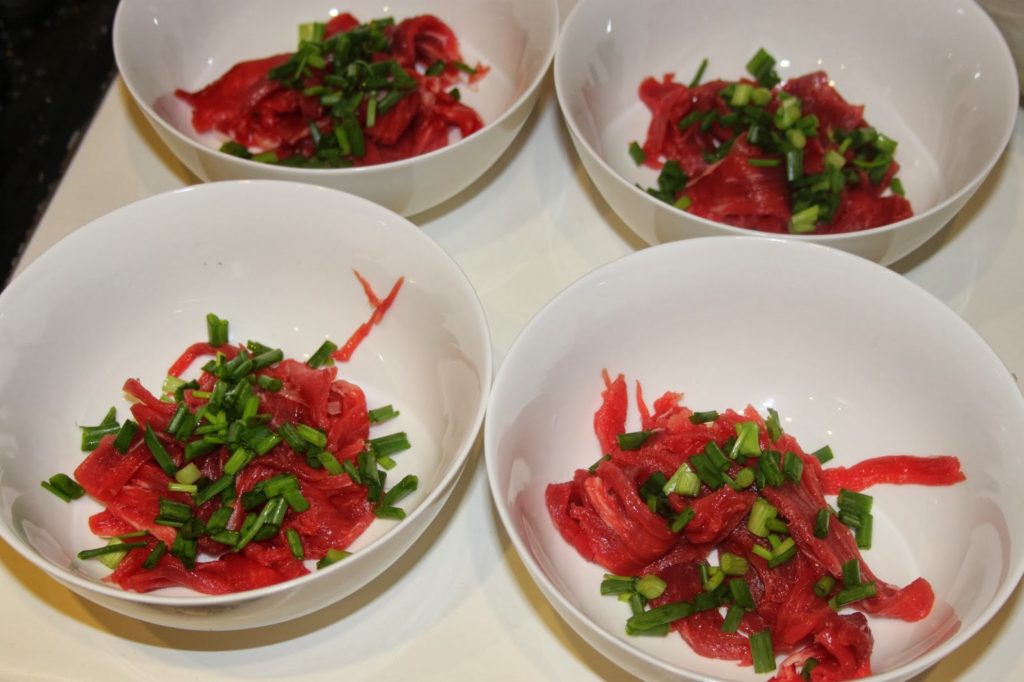


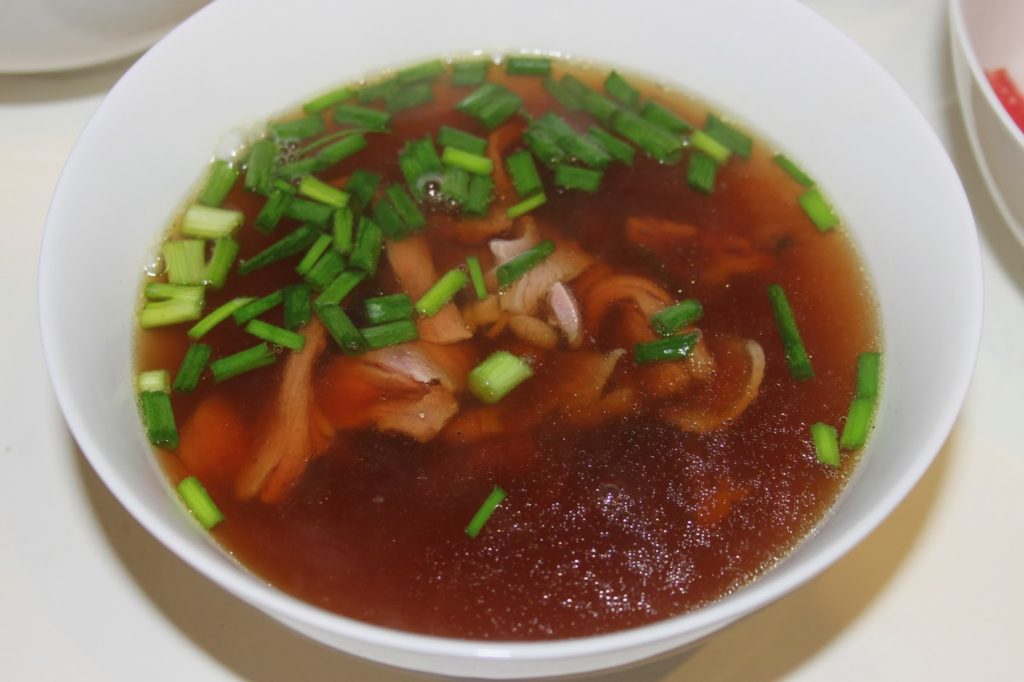
Add the boiling broth. The meat cooks instantly and it will be very tender. 


The other option is to have a pan of boiling water nearby and plunge the meat into it for 15 seconds before putting it (well drained) in the bowls. This way, you won’t have cooked blood in your bowl, which will result in a clearer broth, and the meat will be piping hot and won’t make your broth lukewarm. 


Add the hot, drained rice noodles and, if desired, a little sliced red or green chilli. 
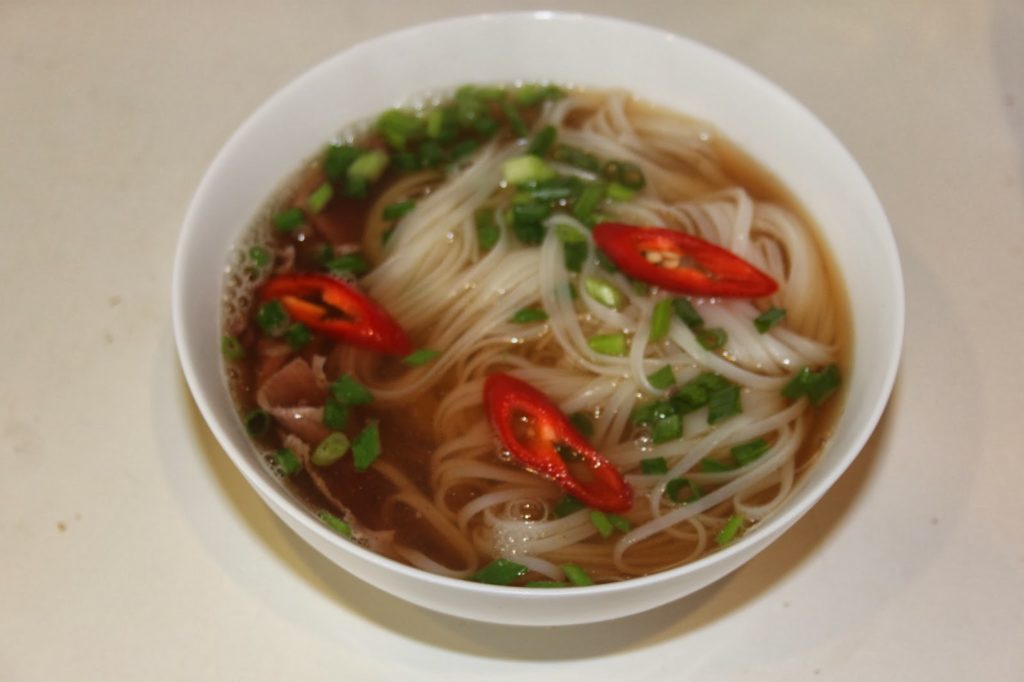


For the phở of Saigon, also add mung bean sprouts… 


For seasoning:


 add a little nuoc mâm, the juice of a small piece of lemon, add a little hoisin sauce and all the herbs you want.
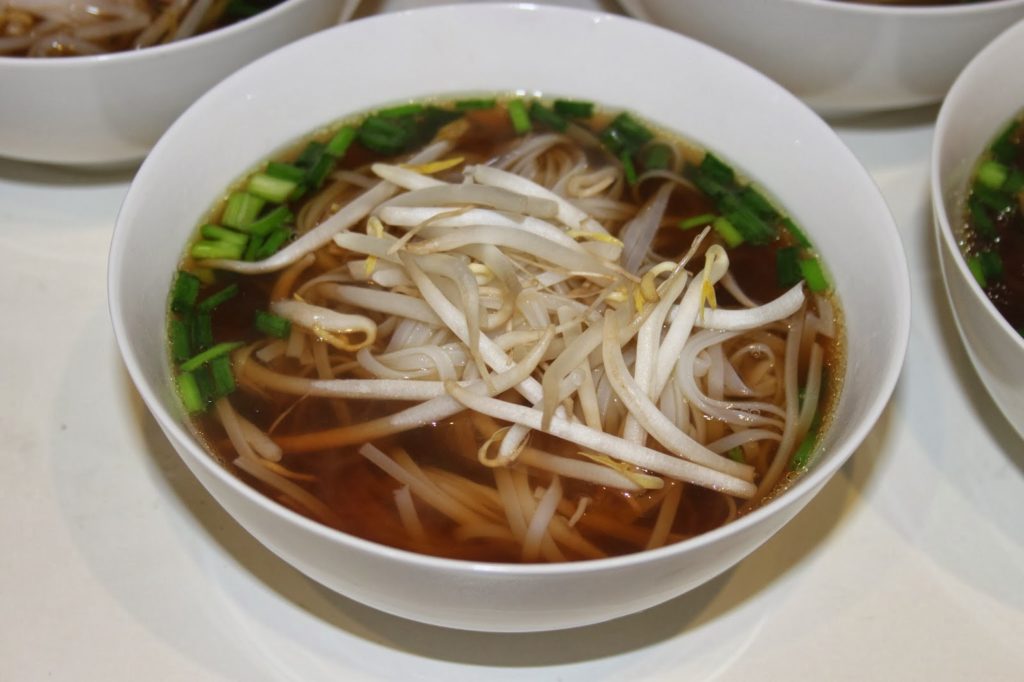


Here are the phởs you can have: Hanoi pho, which is  concentrate  more  on the broth, just composed of  broth and meat, or even rice noodles. 
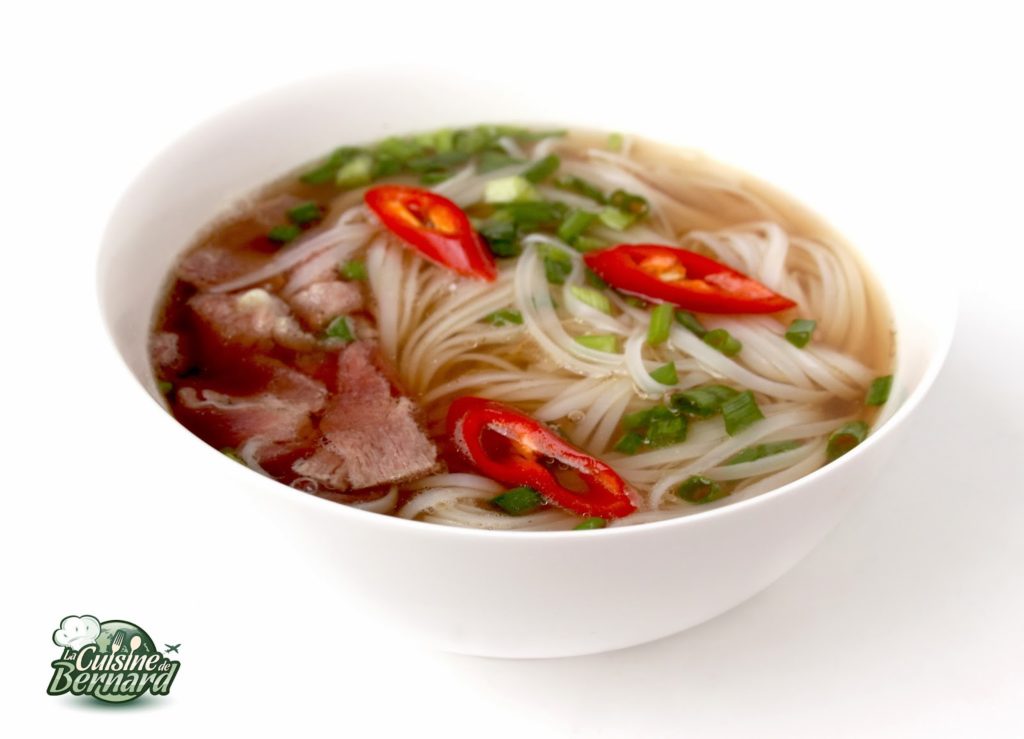


For the phở of Saigon, add more herbs with Thai basil and flat cilantro in pieces to the bowl.


And for a more decorated phở, add bean sprouts, even more herbs. I added a tiny bit of grated banana flower for the visual. It’s less traditional, it brings almost no flavor, but it gives a nice bowl. I ate some like that in Saigon. 
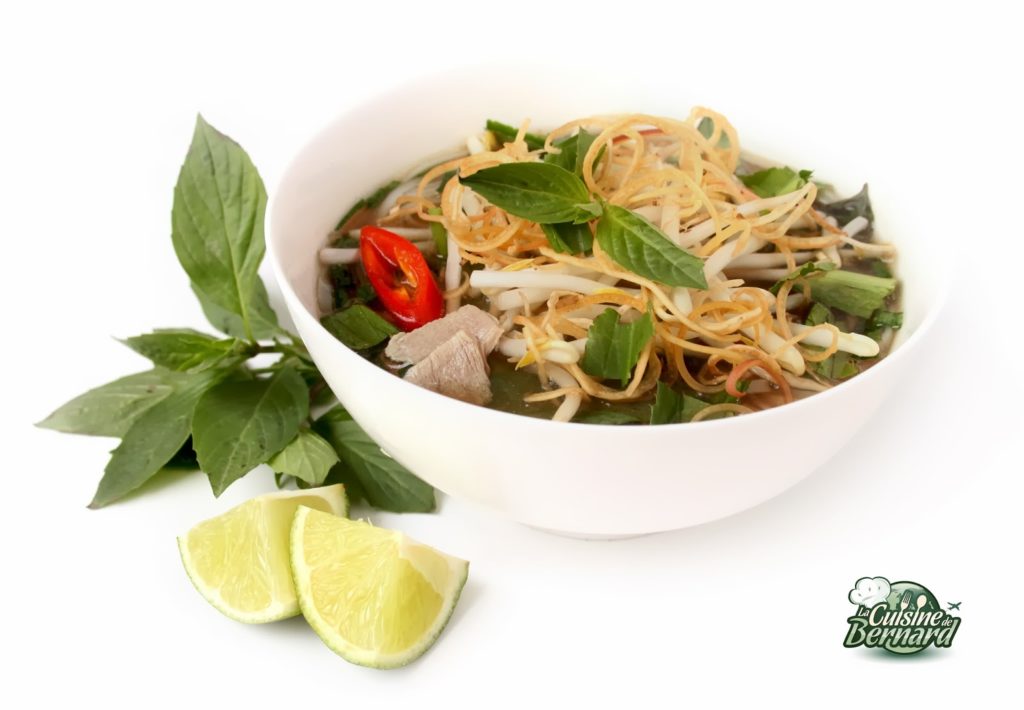


In any case, it’s easier to put everything in the middle of the table and everyone puts in what they want. The base is broth and meat. 


For seasoning:


add a little nuoc mâm, the juice of a small piece of lemon, add a little hoisin sauce and all the herbs you want. Taste very hot by mixing all the elements together… A wonder…
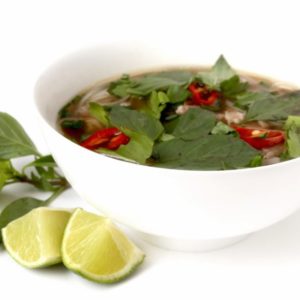
 

Pho

This recipe is perfect: a complete and very healthy dish. A spiced broth with fine and very tender meat in which aromatic herbs are added and depending on the version, nuoc mâm, hoisin sauce and a few mung bean sprouts. Perfect for a balanced meal with friends!
No notes yet
Type de plat Plat principal, Soupe
Tried this recipe?Let us know how it was!
]]>
https://stagingapp15670.cloudwayssites.com/en/pho/feed/ 0